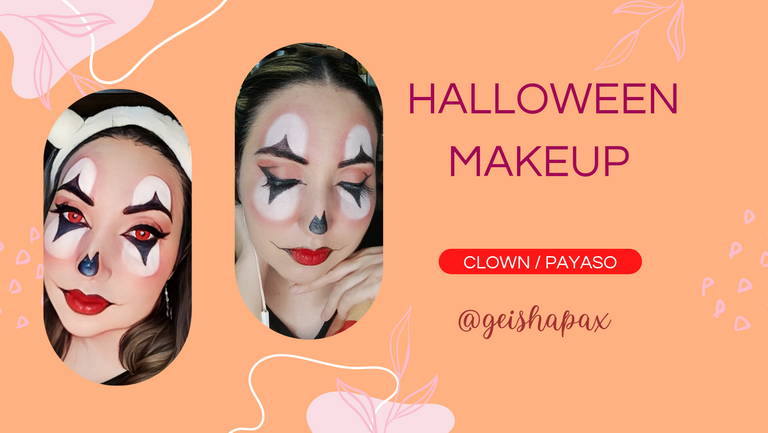
Cover: Canva
Photos: By me

Buen día queridos amigos de Hive.
Estuve esperando todos estos días para dar por iniciada la temporada de Halloween y Día de Muertos.
Al ser mi temporada favorita y pensando que en años pasados hice muchas calaveras y catrinas por ser mexicana, he decidido cambiar este año un poco lo más tradicional y aunque sí pienso hacer algún look de calavera, en esta ocasión haremos más variedad.
Así que los invito a recrear y hacer este maquillaje de payasita.
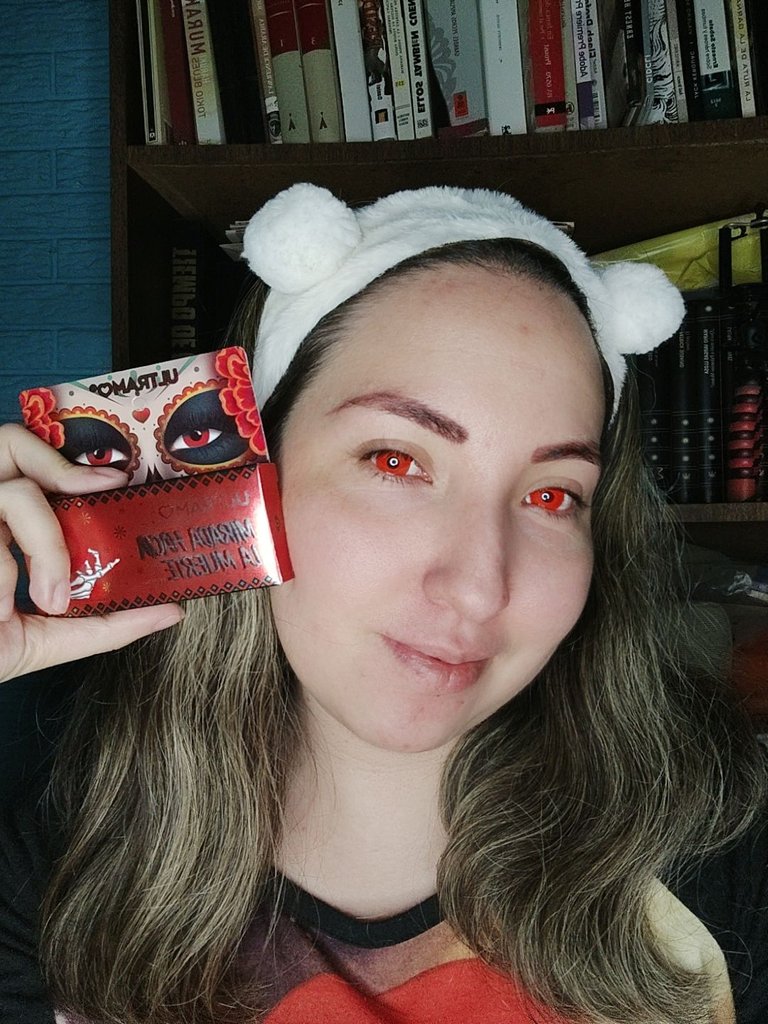
La primera recomendación que les puedo hacer y súper importante: si no son expertos en colocarse los lentes de contacto de colores, siempre coloquenlos primero, ya que el ojo suele lagrimear mucho y puede arruinar el resultado final, o en el peor de los casos, puede entrar maquillaje en el ojo y puede lastimar.
De igual manera les recuerdo que antes de desmaquillarse se deben retirar los lentes por los mismos motivos de antes. Evitar daño al ojo.
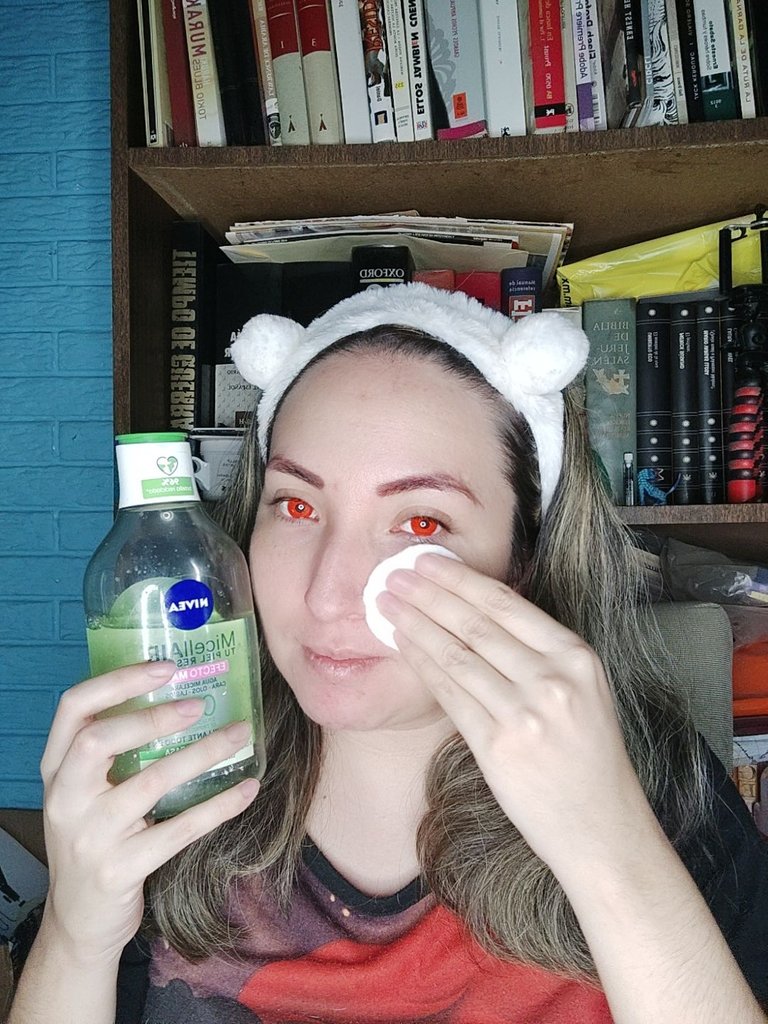
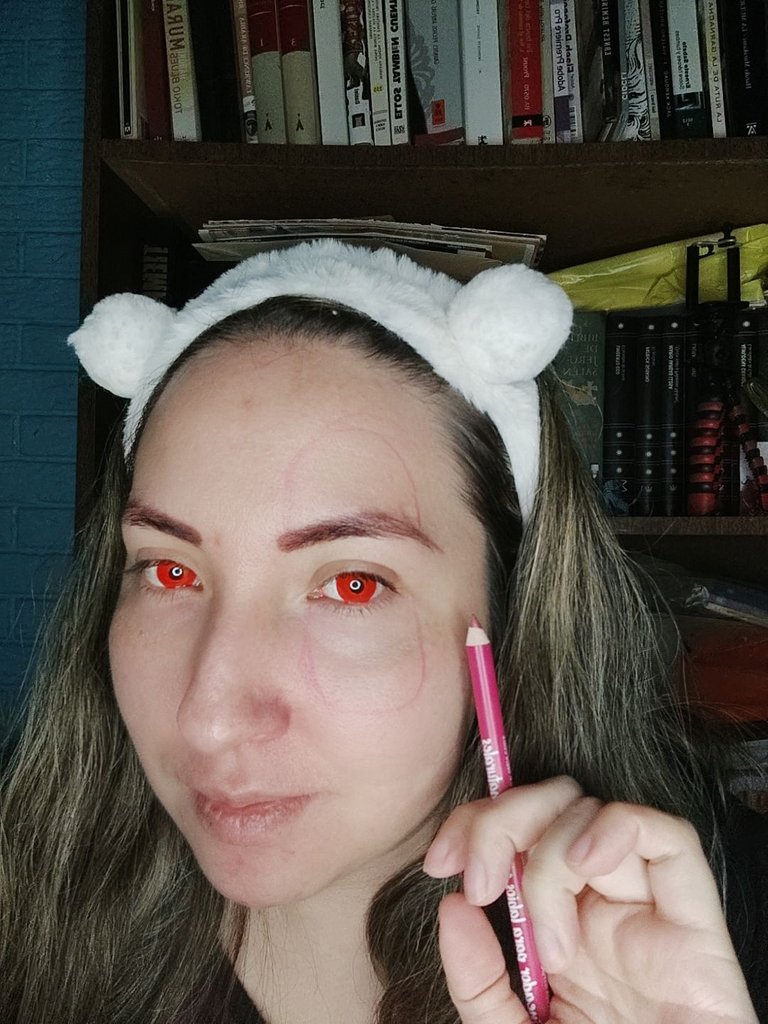
El primer paso es hidratar y limpiar bien la piel, así que vamos a pasar un pad con agua micelar matificante antes de comenzar. Igual un poco de su crema facial para su tipo de piel.
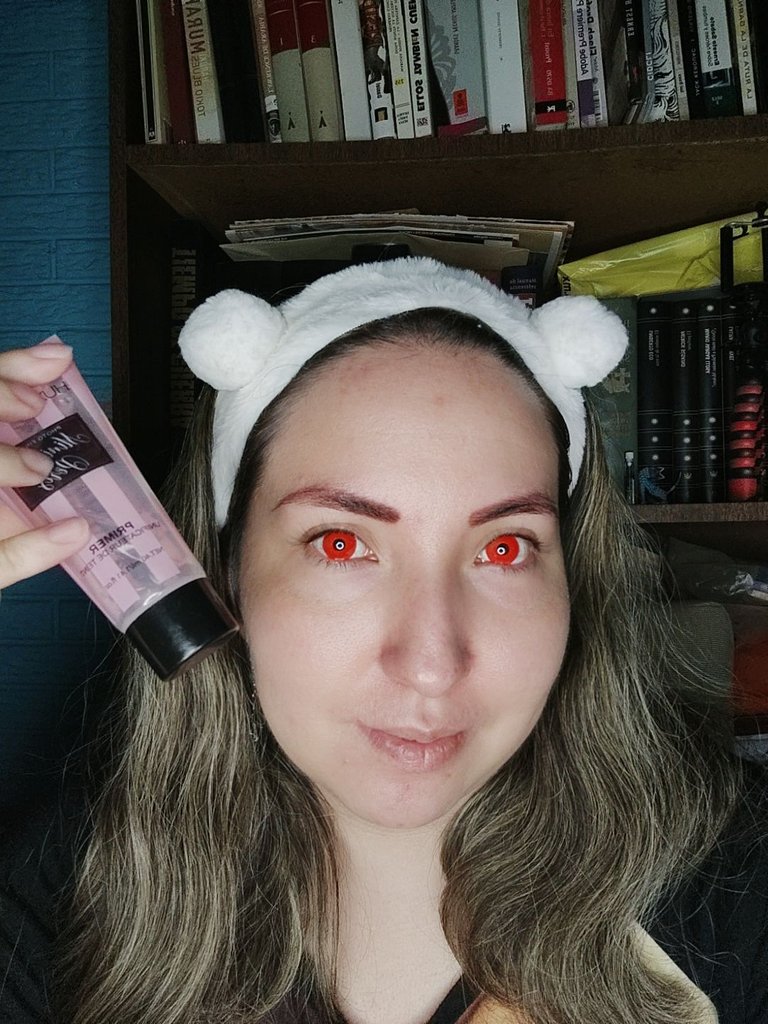
Después sigue la pre base, y con un delineador, marcar las partes que van a colorearse, yo utilicé un color rosado ya que mi lápiz café es muy oscuro.
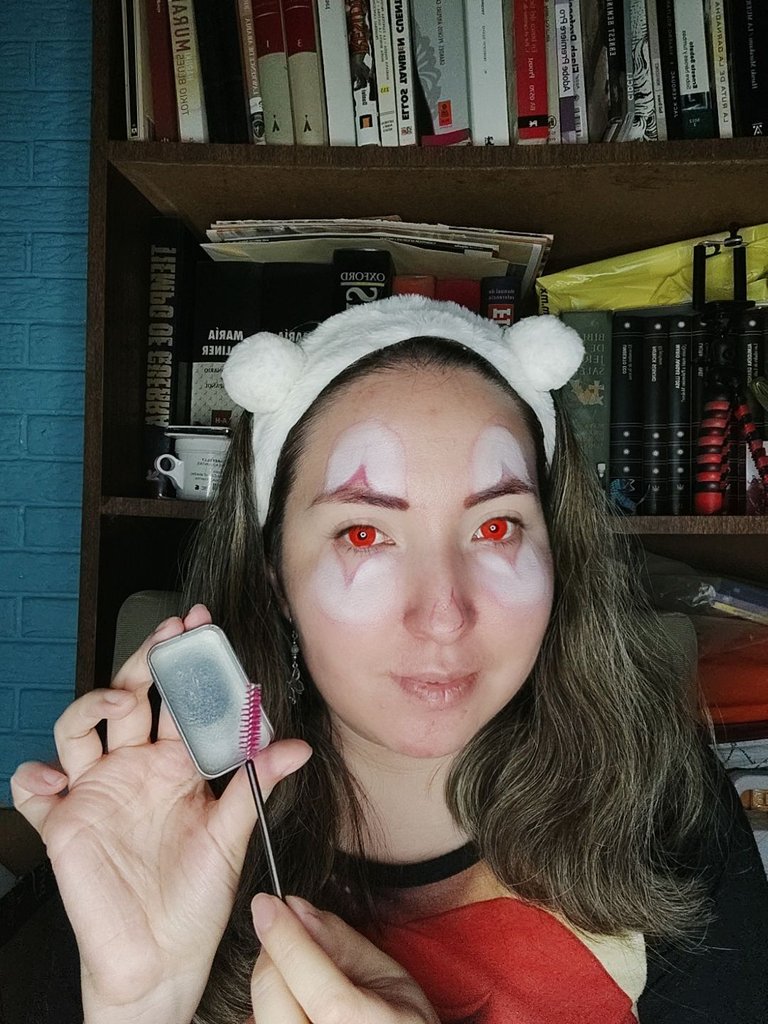
No se les olvide peinar sus cejas si son rebeldes como las mías, yo uso un jabón con efecto 3D.
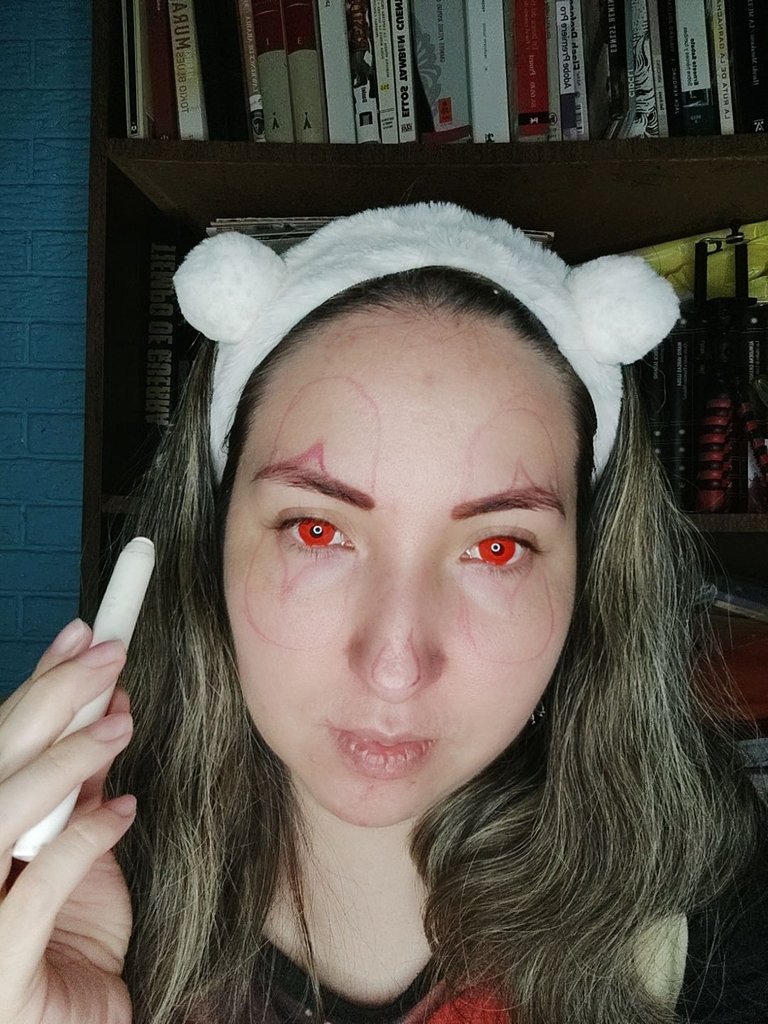
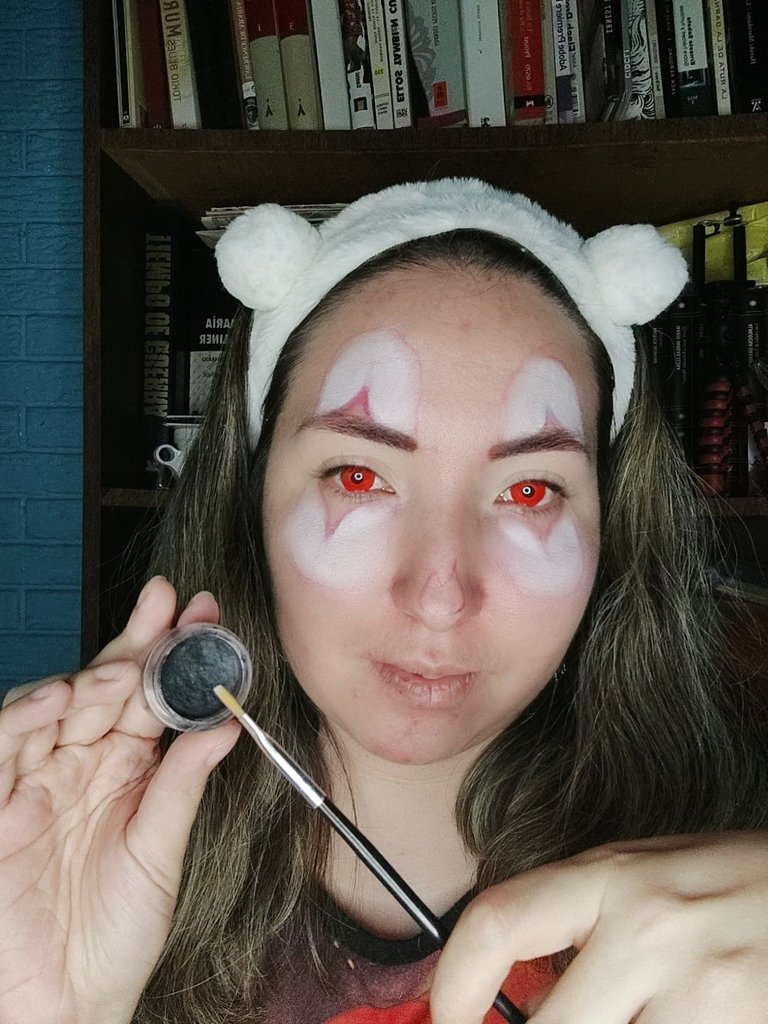
A continuación con un corrector blanco, voy a colocar color en las partes que parecen lenguas, no importa que al inicio no quede de un color uniforme, ya que después vamos a colocar el pigmento negro, ese lo voy a preparar desde cero con pigmento negro en polvo, delineador en gel y el activador de Kleancolor Shadow seal.
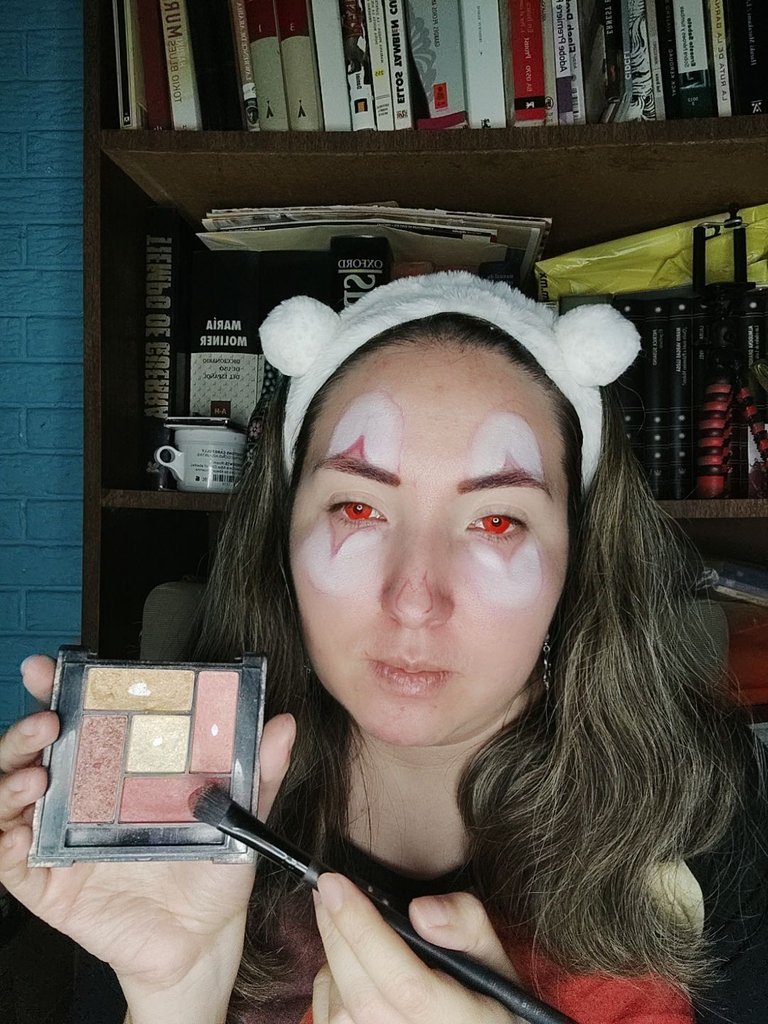
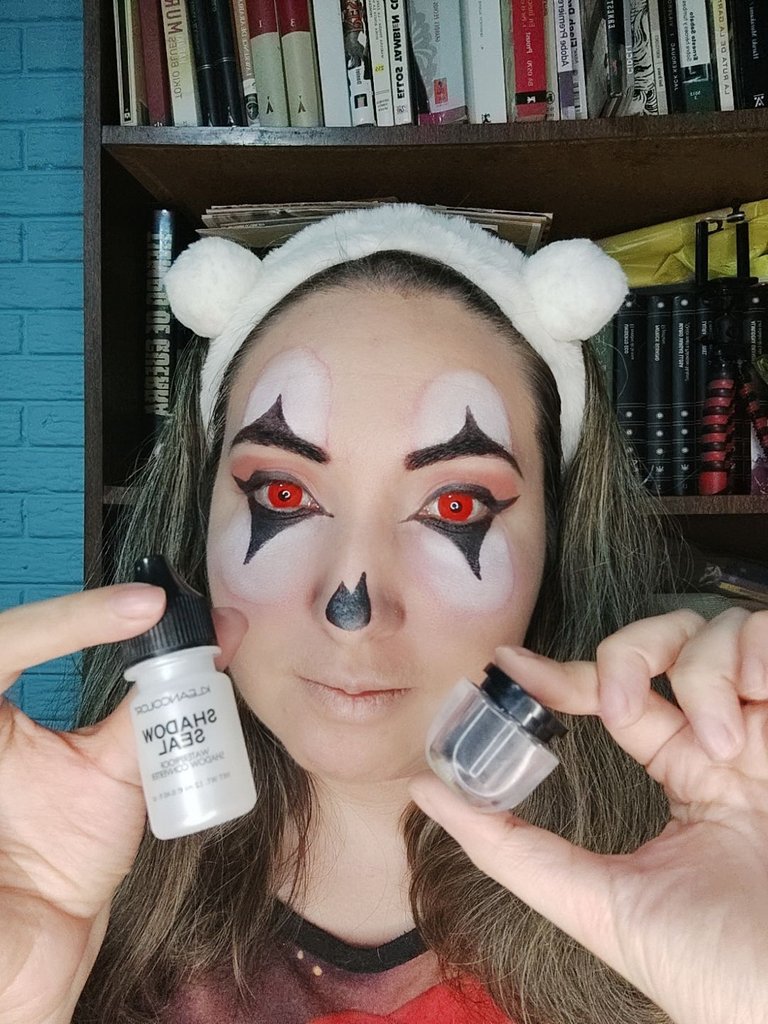
Primero solo colocaré el pigmento del delineador en gel en las cejas y la parte inferior del ojo, y en lo que seca, utilizaré unas sombras café de la marca Kleancolor para los ojos.
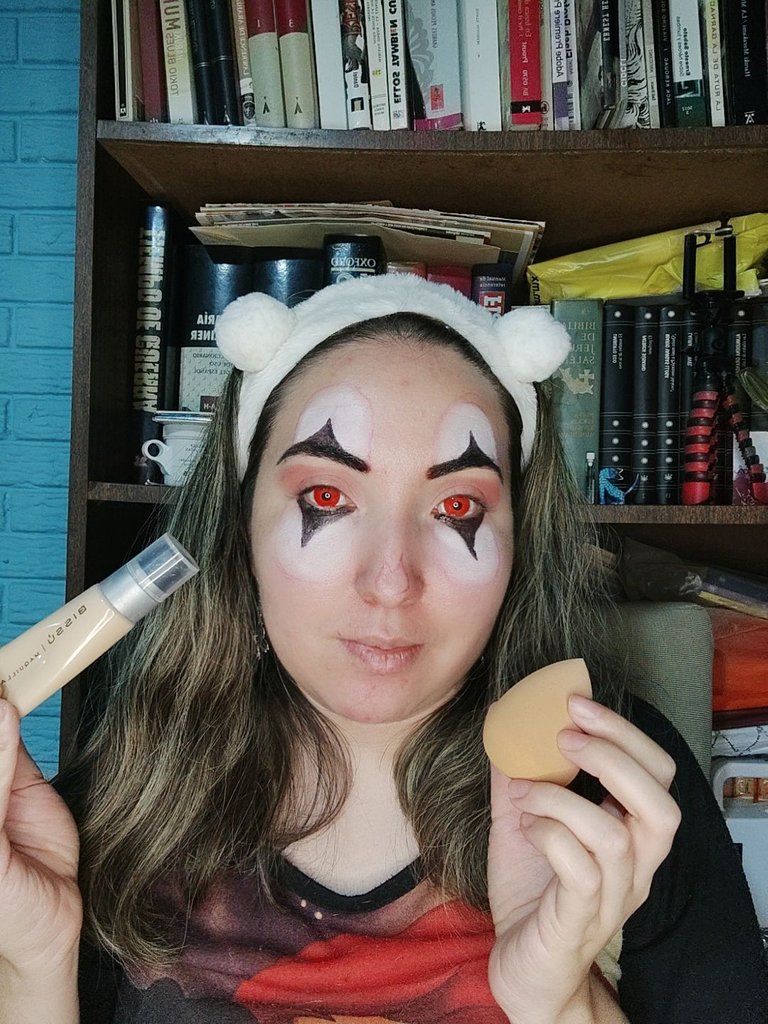
Ahora voy a colocar mi base de la marca Bissú, utilizaré una esponja y después brocha para los bordes.
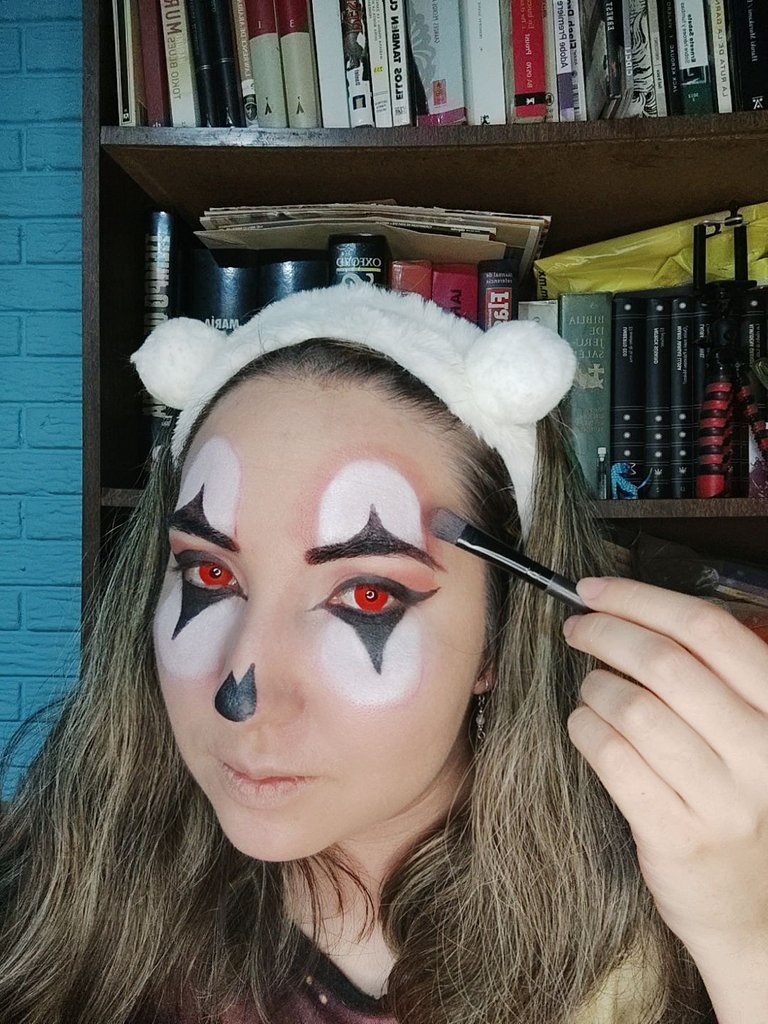
Después de sellar con mi spray fijador, es momento de retocar y delinear los ojos usando el pigmento preparado antes. Con la misma sombra café de antes, resaltaré los bordes para difuminar.
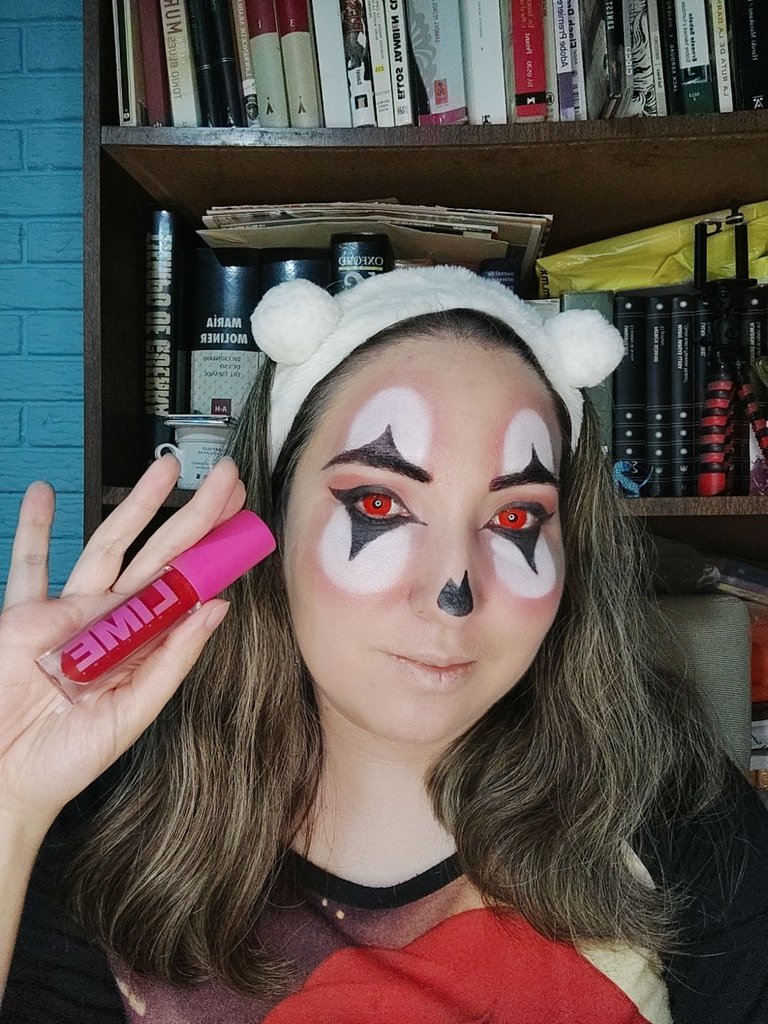
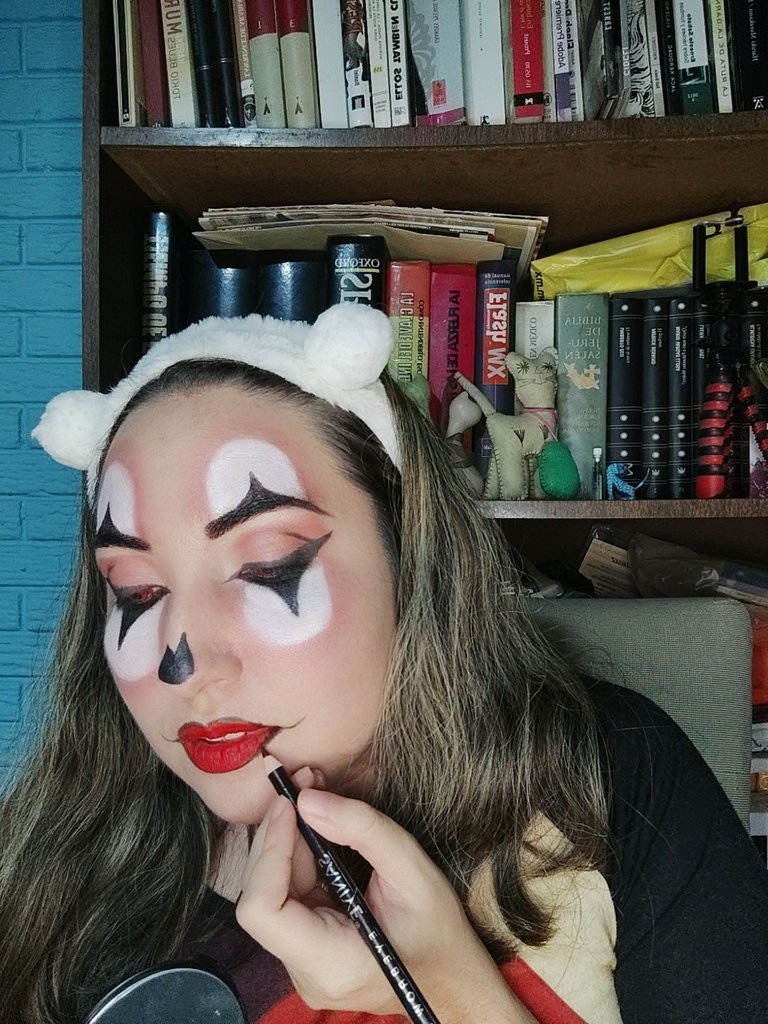
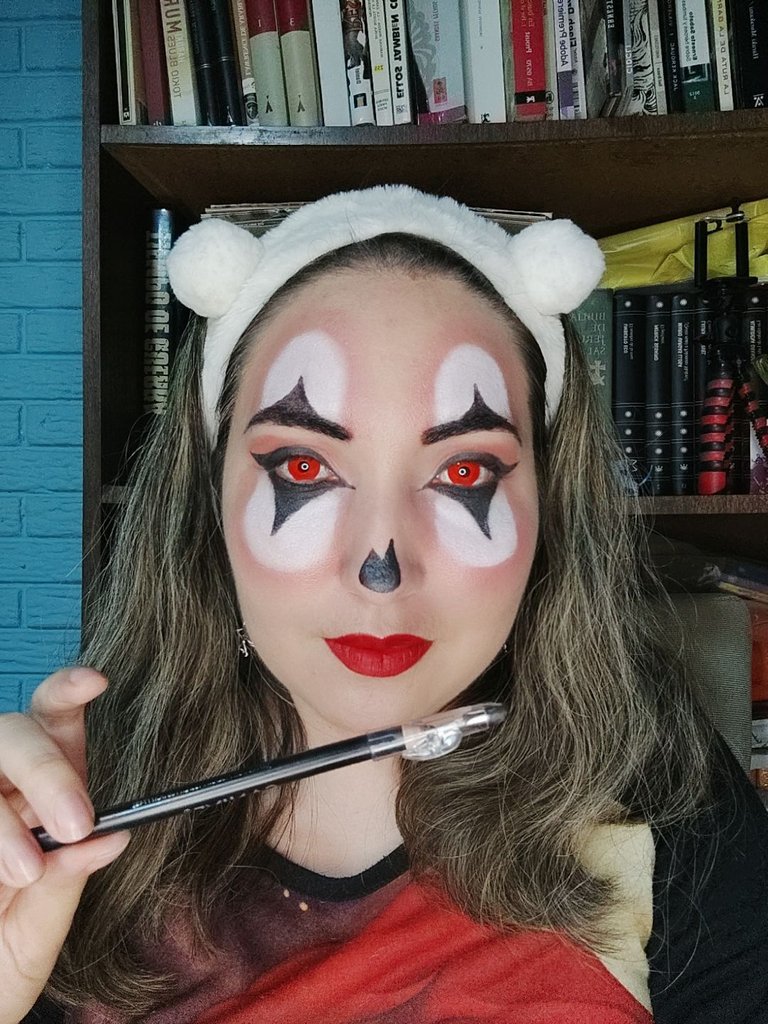
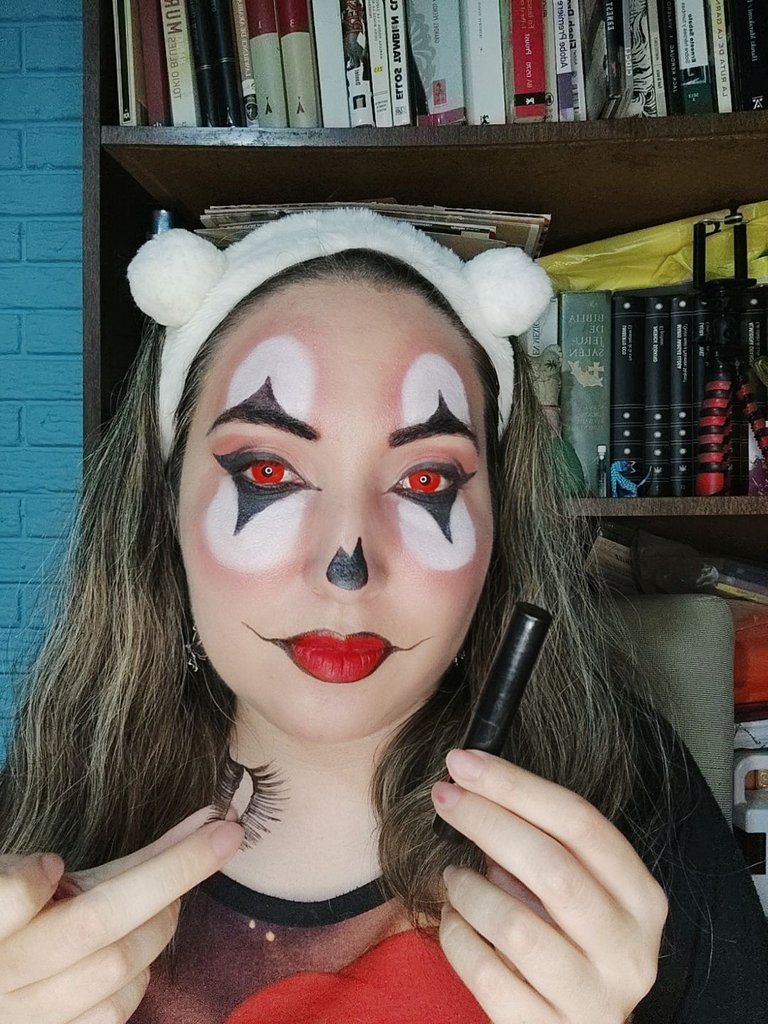
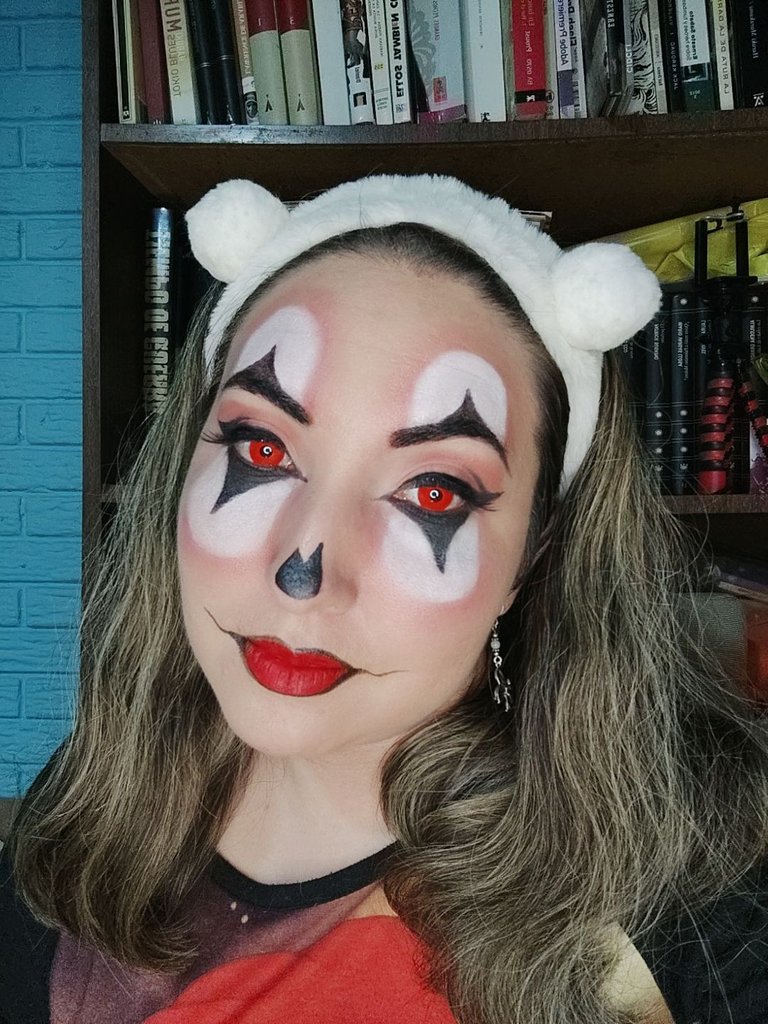
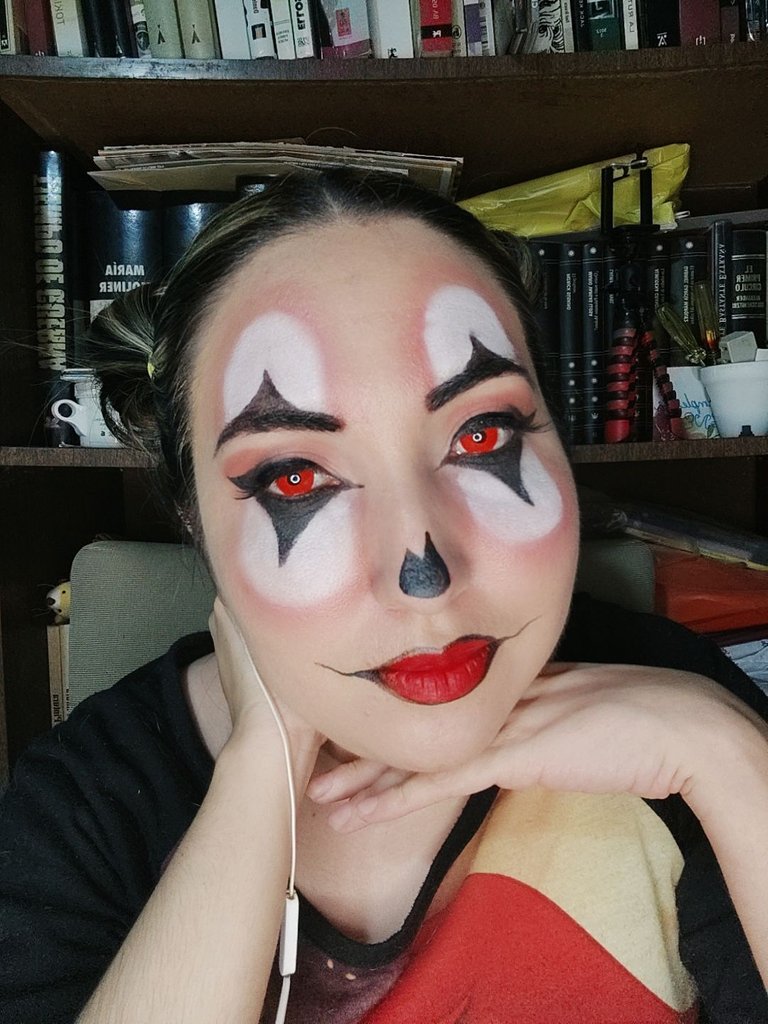
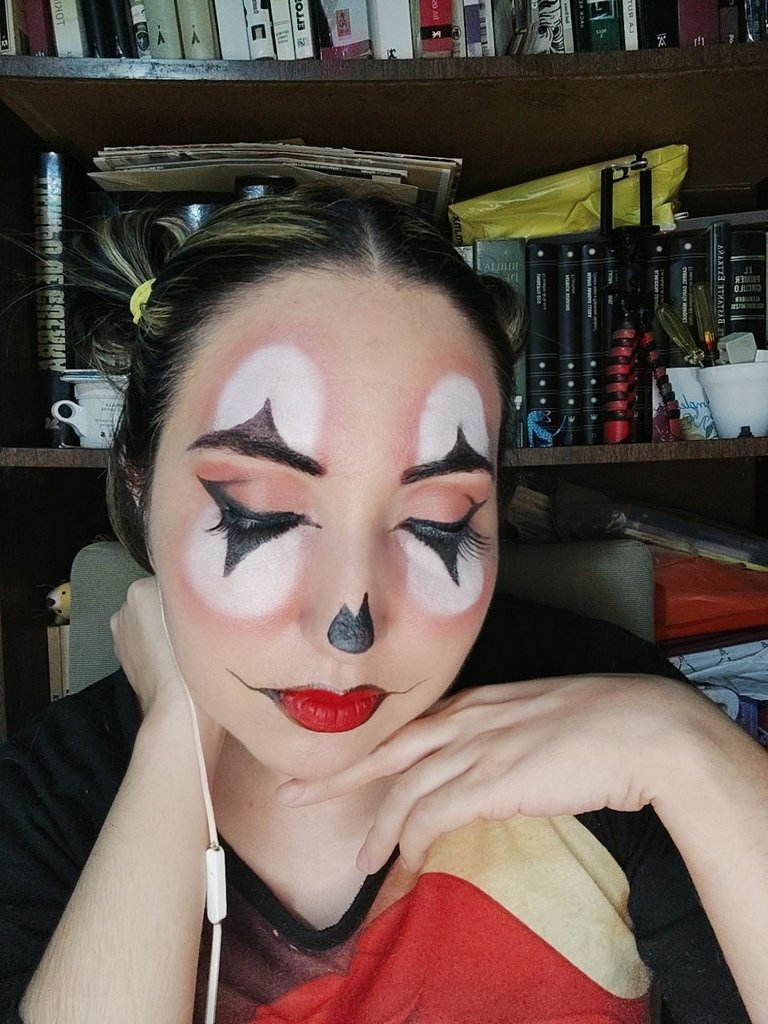
En esta ocasión no he rizado las pestañas ni usé máscara de pestañas porque traigo lifting con pigmento, así que pasaremos directo a los labios rojos, después delinear los bordes para dar la apariencia más de payaso. Finalizaremos con las pestañas postizas.
Y listo, espero que les haya gustado el look y si les gusta, verlo en un futuro en sus fiestas de disfraces.

Good day dear friends of Hive.
I've been waiting all these days to kick off the Halloween and Day of the Dead season.
Being my favorite season and thinking that in past years I did a lot of skulls and catrinas for being Mexican, I decided to change this year a little more traditional and although I do plan to do some skull look, this time we will do more variety.
So I invite you to recreate and make this clown makeup.

The first recommendation I can make and super important: if you are not experts in putting on colored contact lenses, always put them on first, because the eye tends to tear a lot and can ruin the final result, or in the worst case, makeup can get into the eye and can hurt.
I also remind you that before removing your make-up, remove the lenses for the same reasons as before. Avoid damage to the eye.


The first step is to moisturize and cleanse the skin well, so we are going to pass a pad with micellar mattifying water before starting. Same with a bit of your face cream for your skin type.
Then follow the pre base, and with an eyeliner, mark the parts that are going to be colored, I used a pink color since my brown pencil is very dark.

Don't forget to comb your eyebrows if they are unruly like mine, I use a 3D effect soap.


Next with a white concealer, I am going to place color on the parts that look like tongues, it doesn't matter if at the beginning it is not a uniform color, because later we are going to place the black pigment, I am going to prepare it from scratch with black pigment powder, gel eyeliner and Kleancolor Shadow seal activator.


First I'm just going to place the gel liner pigment on the brows and under eye, and as it dries, I'm going to use some Kleancolor brand brown shadows for the eyes.
Now I'm going to apply my Bissú foundation, I'll use a sponge and then a brush for the edges.
After sealing with my setting spray, it's time to touch up and line the eyes using the pigment prepared earlier. With the same brown shadow as before, I will highlight the edges to blend.


This time I didn't curl the lashes or use mascara because I have a lift with pigment, so we'll go straight to the red lips, then line the edges to give a more clown-like look. Finish with false eyelashes.
And ready, I hope you liked the look and if you like it, see it in the future in your costume parties.
No olviden seguirme en/Don't forget to follow me in:
ALL MY SOCIAL MEDIA
Hey! Siempre lo he dicho, los payasos son unos de los personajes más terroríficos de la historia 😅 Los lentes de contacto le dieron un toque cool a tu propuesta 👏✨
Hola, muchas gracias por pasar ❤️
A algunas personas aún les causan mucho conflicto, a mi me agradan por ser actriz y saber los diferentes tipos de payasos que hay. Sabiendo la historia detrás de, pueden causar menos miedo.
Y pienso lo mismo,los lentes de contacto cambiaron totalmente el resultado 🤡❤️
Un abrazo fuerte para ti.
Muchas gracias por pasar mi hermosa comunidad ❤️🧟🤡
Congratulations @geishapax! You have completed the following achievement on the Hive blockchain and have been rewarded with new badge(s):
Your next target is to reach 4500 upvotes.
You can view your badges on your board and compare yourself to others in the Ranking
If you no longer want to receive notifications, reply to this comment with the word
STOPCheck out the last post from @hivebuzz:
I love it
Muchas gracias ☺️❤️🤡🧟
The rewards earned on this comment will go directly to the people sharing the post on Twitter as long as they are registered with @poshtoken. Sign up at https://hiveposh.com.