Hola Hivers. Bienvenidos a mi Blog.🥰🌈🧿
Hi Hivers. Welcome to my Blog.🥰🌈🧿
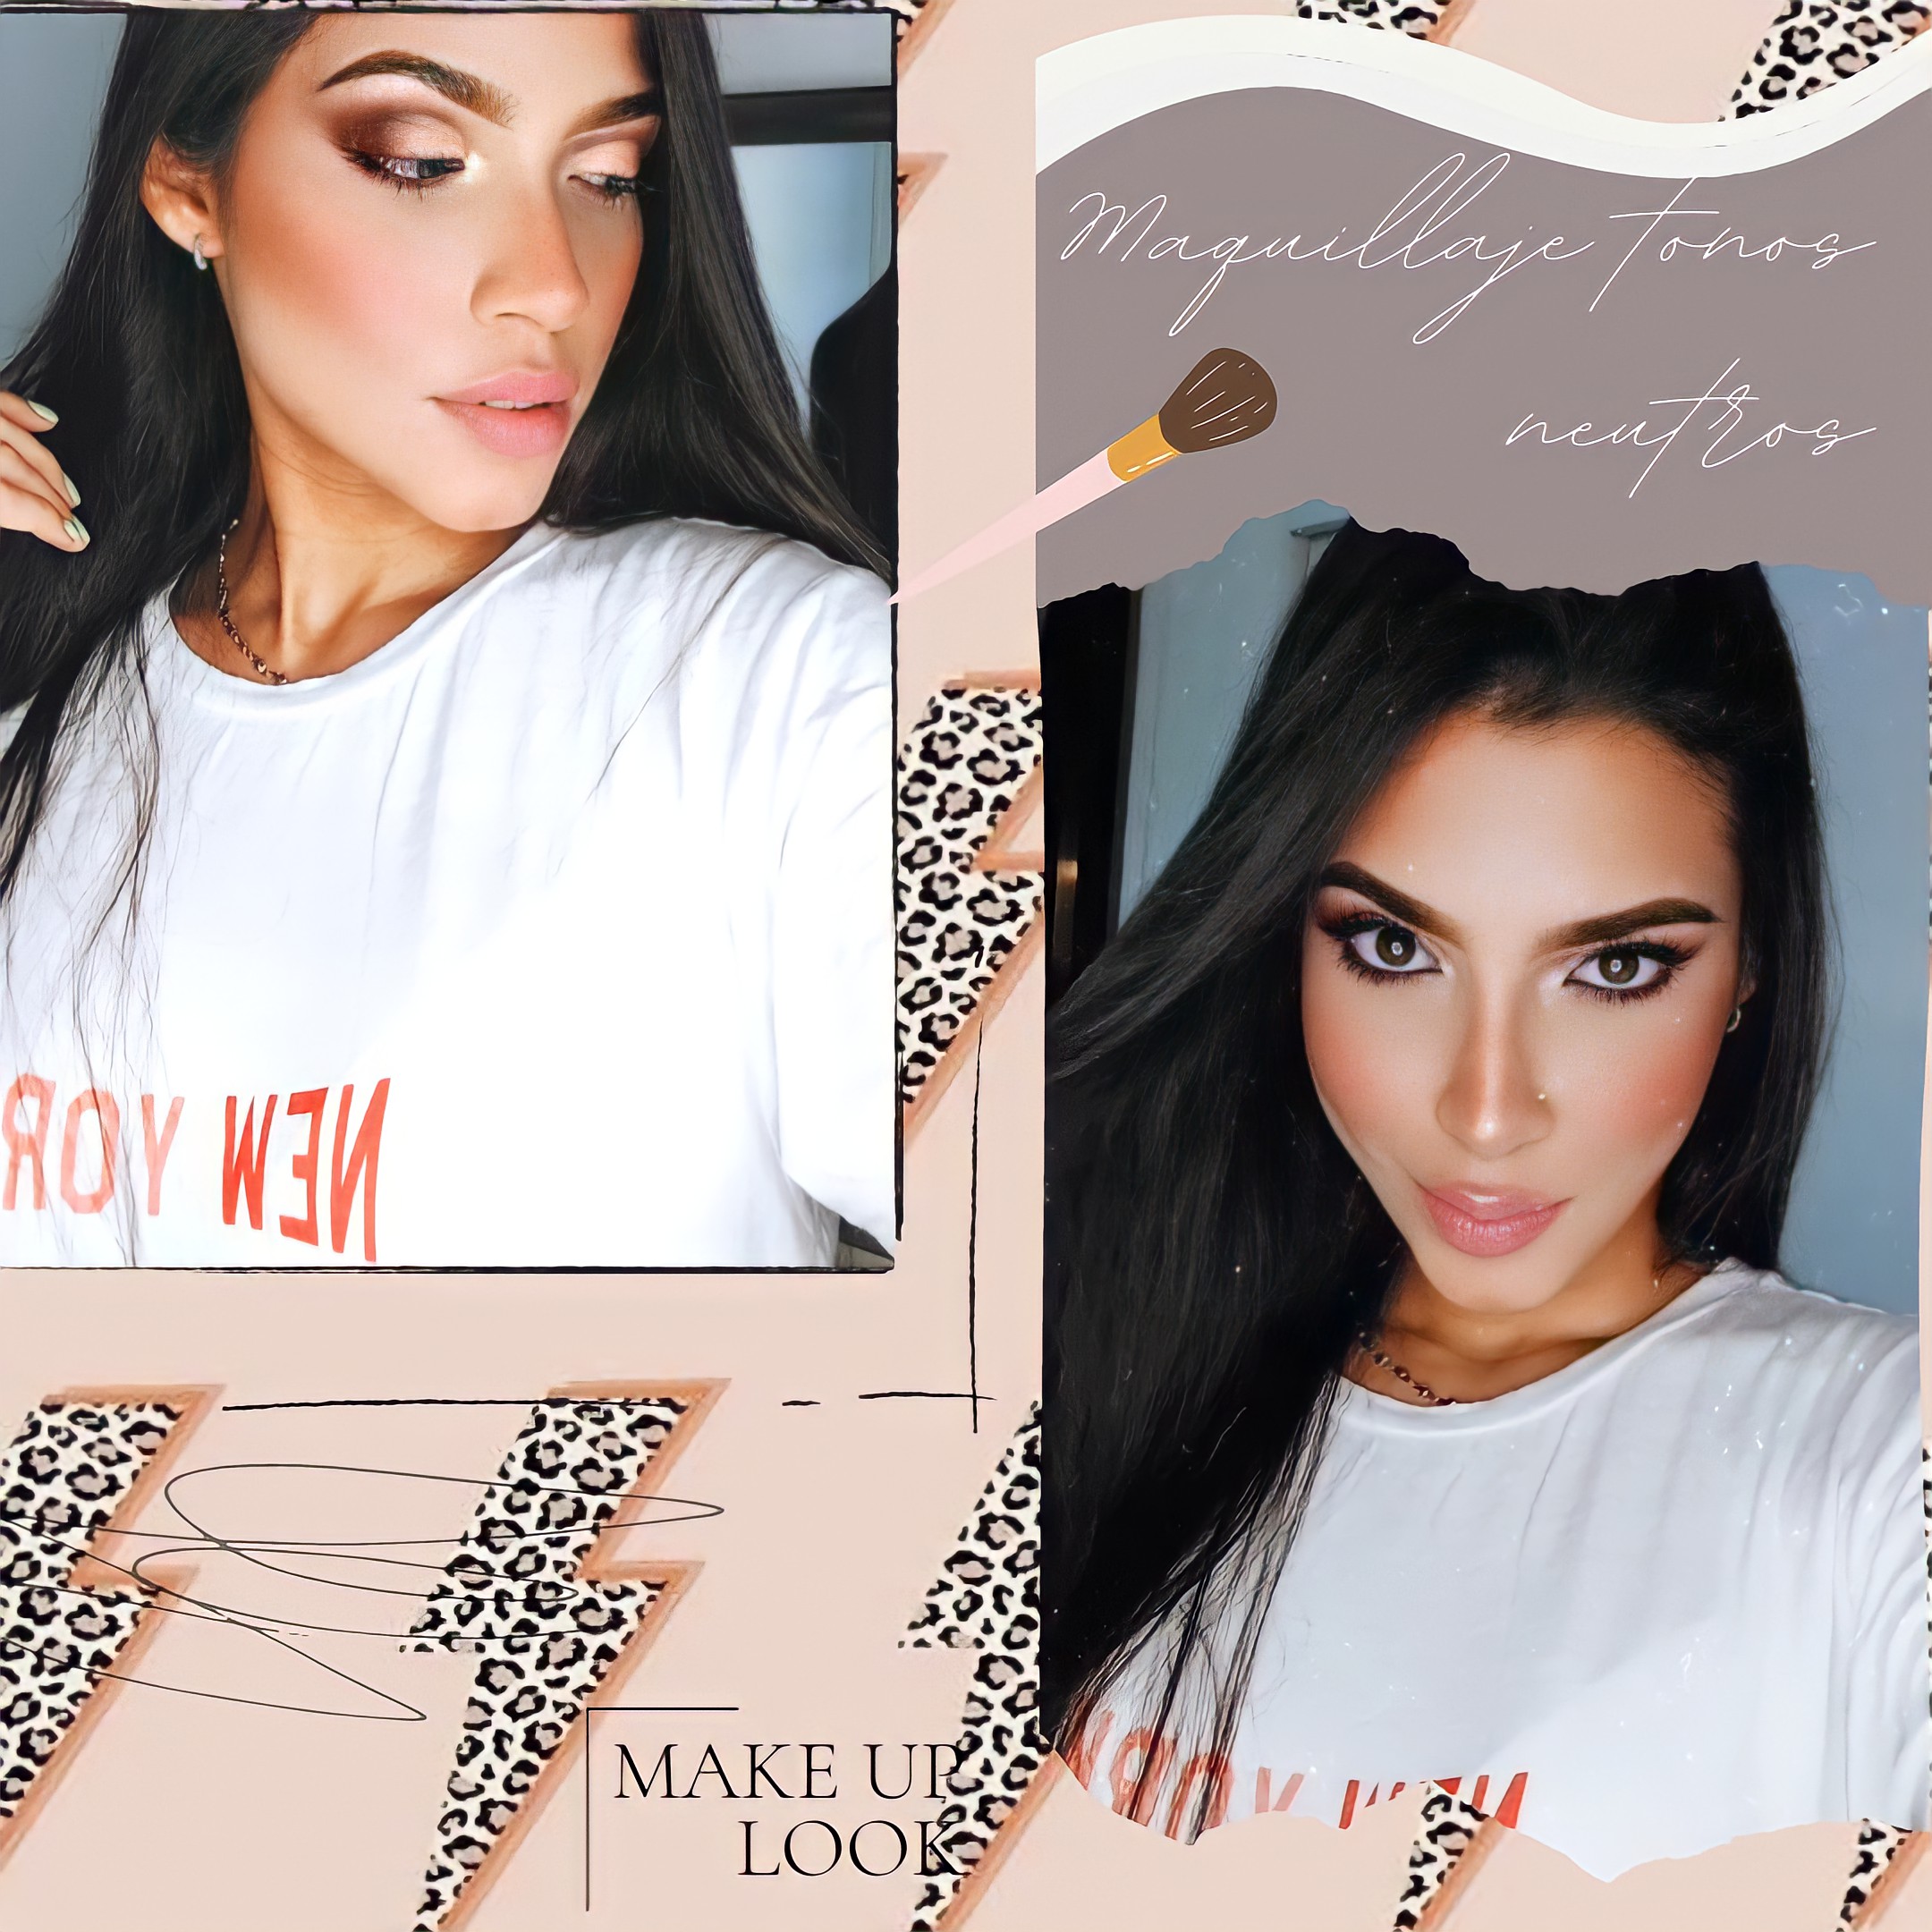
En esta oportunidad les traigo mi primer tutorial de maquillaje, quise empezar por algo sencillo pero fuerte, los colores neutros son tonos que puedes combinar con todo y para cualquier ocasión, es por eso que fue mi primera elección. Comencemos...
This time I bring you my first makeup tutorial, I wanted to start with something simple but strong, neutral colors are tones that you can combine with everything and for any occasion, that is why it was my first choice. Let's get started ...
•Primero, debemos preparar nuestra piel .
La piel tiene que estar totalmente limpia, es muy importante mencionar que para que nuestro maquillaje tenga un buen acabado, hay que tener una buena higiene en nuestra cara. La piel debe estar tersa. En este caso lave mi cara con gel limpiador, les recomiendo Cetaphil, y luego puse un gel purificador, para que la piel quede tersa y firme.
• First, we must prepare our skin. The skin has to be completely clean, it is very important to mention that for our makeup to have a good finish, we must have good hygiene on our face. The skin must be smooth. In this case, I washed my face with cleansing gel, I recommend Cetaphil, and then I put a purifying gel, so that the skin is smooth and firm.)
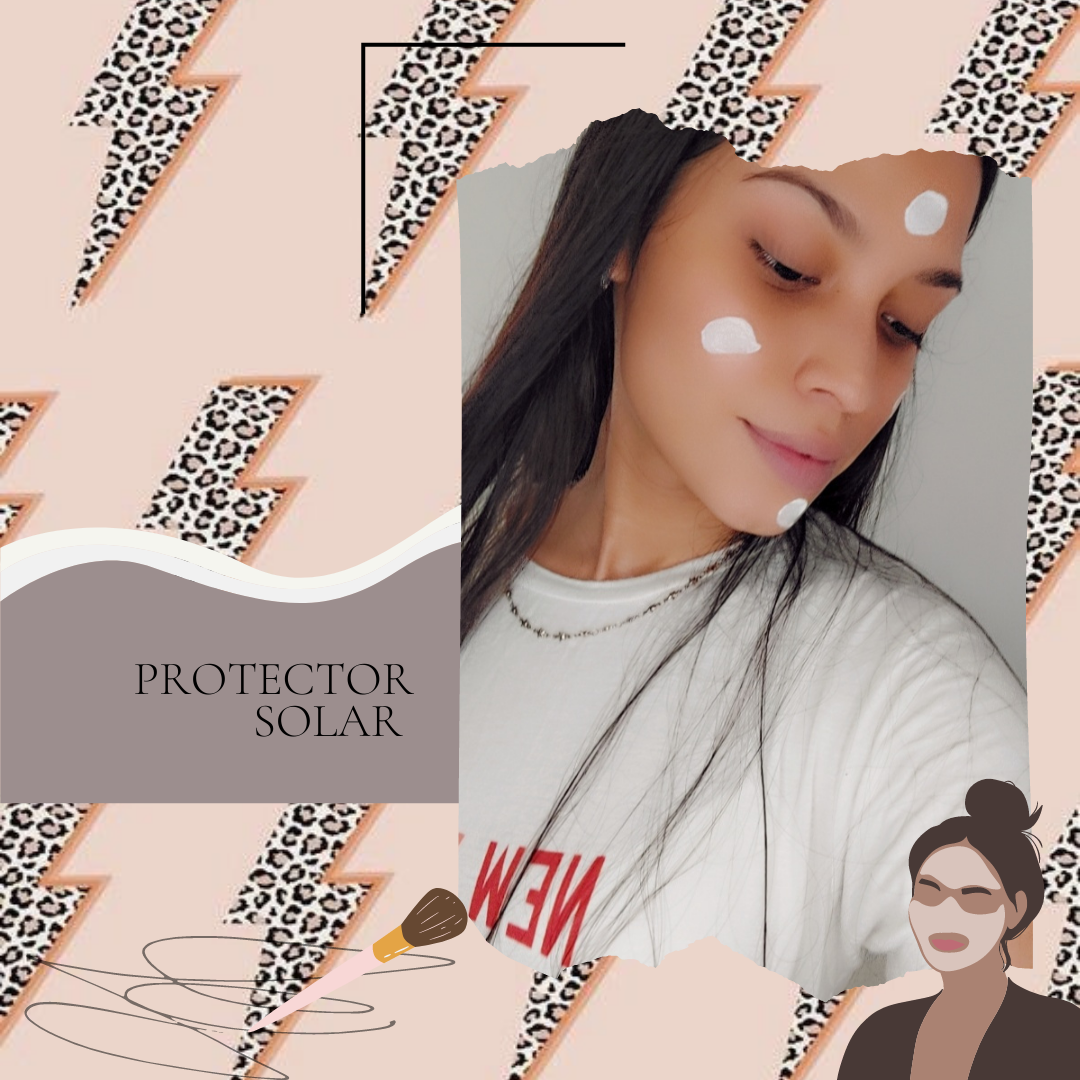
• Protector solar. Este debe ser indispensable en cualquier rutina, el protector solar otorga beneficios y también ayuda con las manchas y arrugas protegiendo la piel de los rayos UV.
• Sunscreen. This should be essential in any routine, sunscreen provides benefits and also helps with spots and wrinkles by protecting the skin from UV rays.
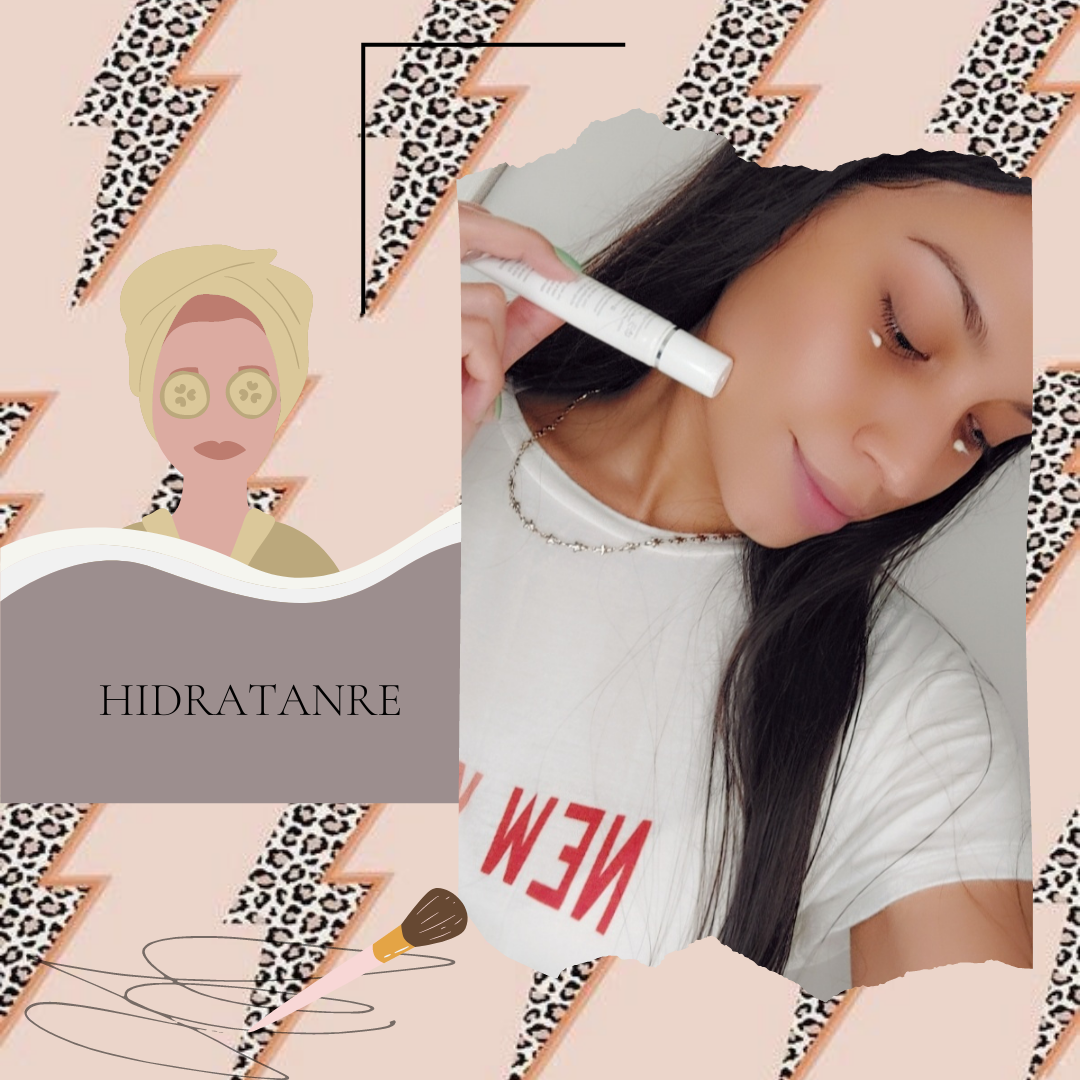
• Hidrante. El Hidrante es fundamental, si la piel no es tan bien hidratada, el maquillaje puede quedar acartonado, es por eso que no sólo debemos hidratar la cara, también el contorno de ojos, ya que al momento de aplicar sombras y corrector, tiene que estar bien hidratado.
• Hydrant. The hydrant is essential, if the skin is not so well hydrated, the makeup can be stiff, that is why we must not only hydrate the face, but also the eye contour, since when applying shadows and concealer, it has to be well hydrated.
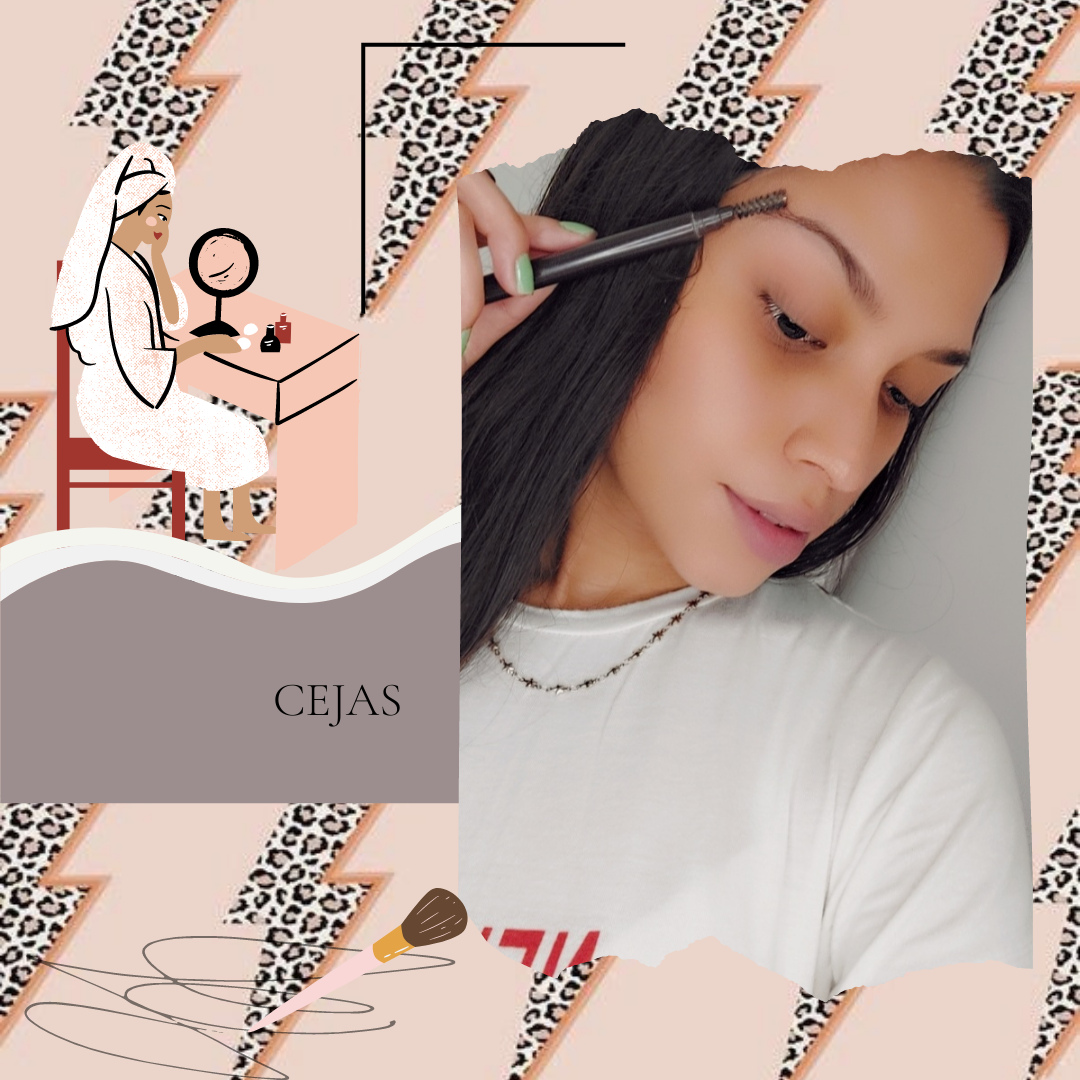
• Cejas. Ya cuando tengamos la piel preparada, empezamos peinando la cejas de forma ascendente, de esta forma vamos a tener más facilidad de pintarlas.
• Eyebrows. When we have the skin prepared, we start combing the eyebrows in an ascending way, in this way we will have it easier to paint them.
• Rellenamos las cejas de acuerdo a la forma que tengas. En este caso use un lápiz de ceja, también puedes usar sombras o gel.
• We fill in the eyebrows according to the shape you have. In this case use an eyebrow pencil, you can also use shadows or gel.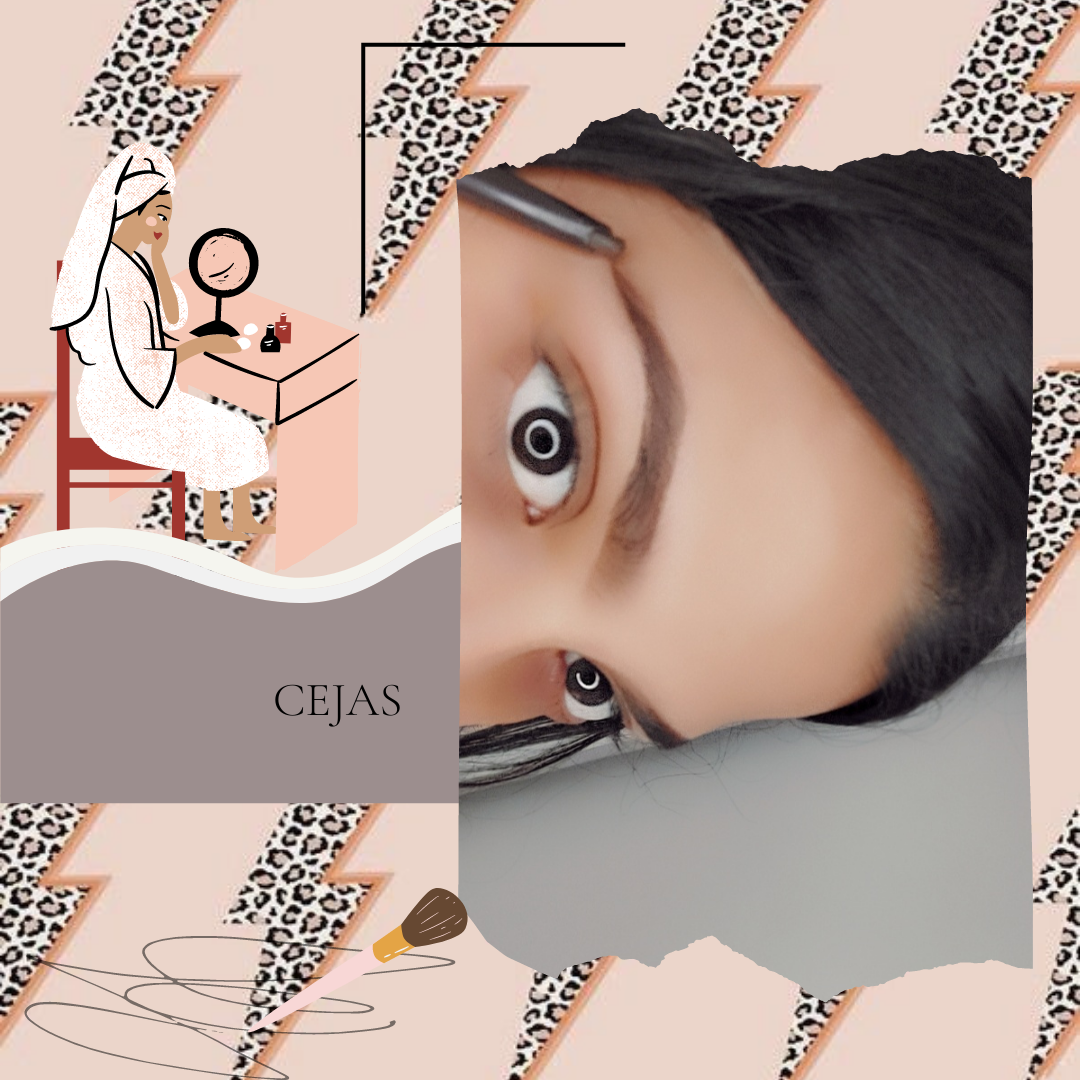
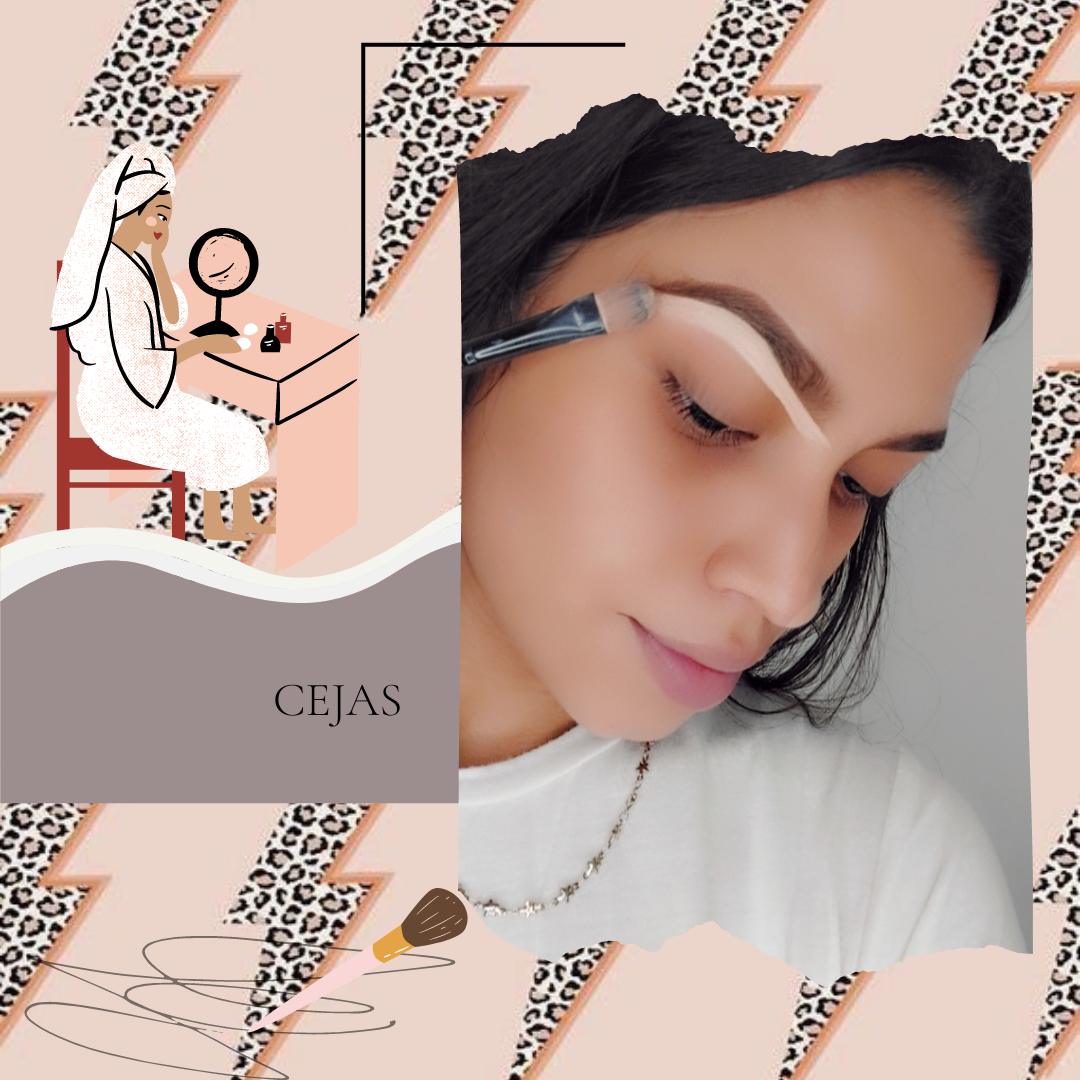
• Con concerrector, perfeccionamos la forma y le damos luz. Es importante hacer con una brocha plana.
• With a concealer, we perfect the shape and give it light. It is important to do with a flat brush.
• Base. Una de los pasos más importantes, si no tienes una buena técnica para distribuir bien la base, es posible que no quede uniforme. Debemos distribuir con pequeños toques sutiles, en este caso utilice una brocha. También puedes utilizar una esponja si quieres un efecto menos cargado.
• Fundation. One of the most important steps, if you do not have a good technique to distribute the Fundation well, it may not be uniform. We must distribute with small subtle touches, in this case use a brush. You can also use a sponge if you want a less loaded effect.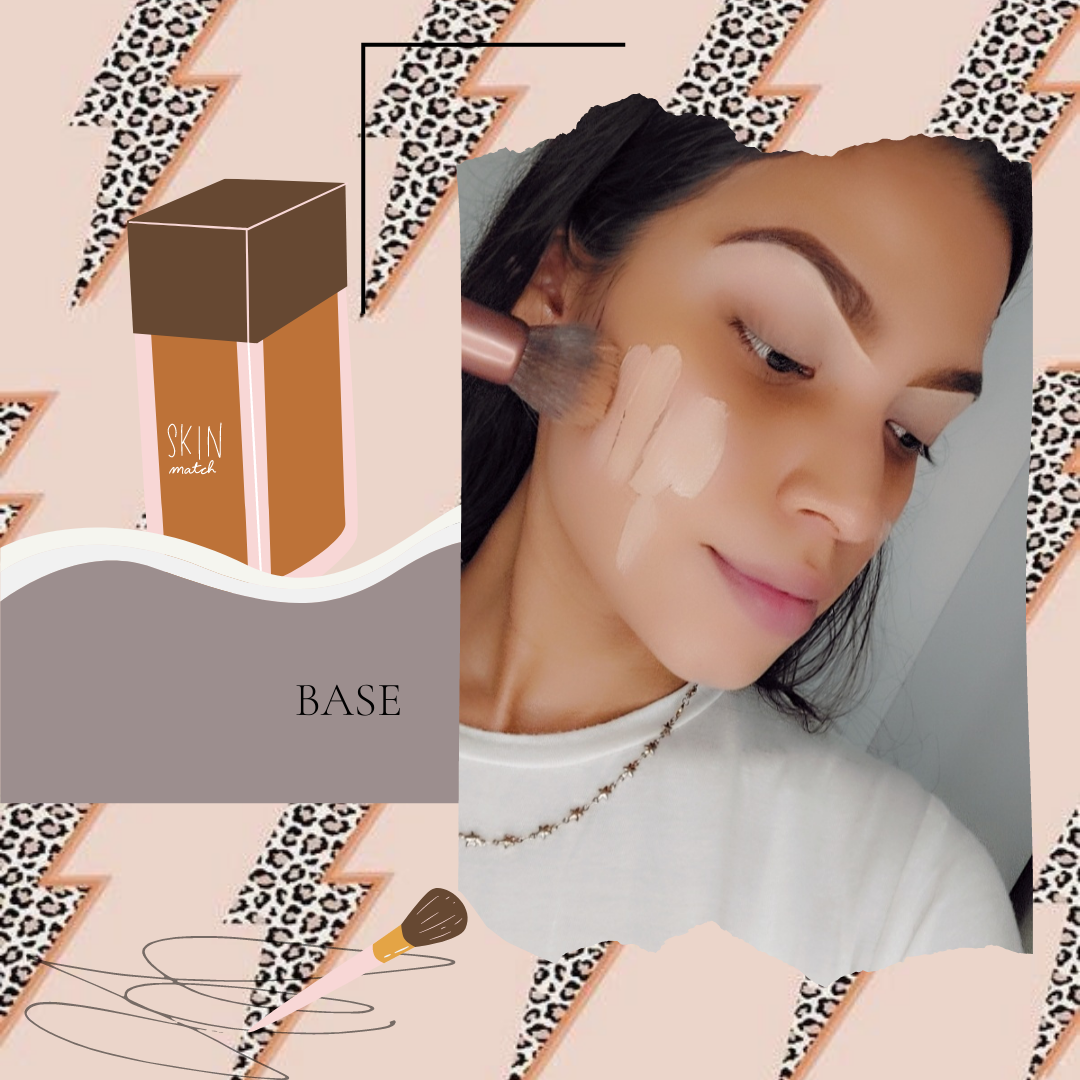
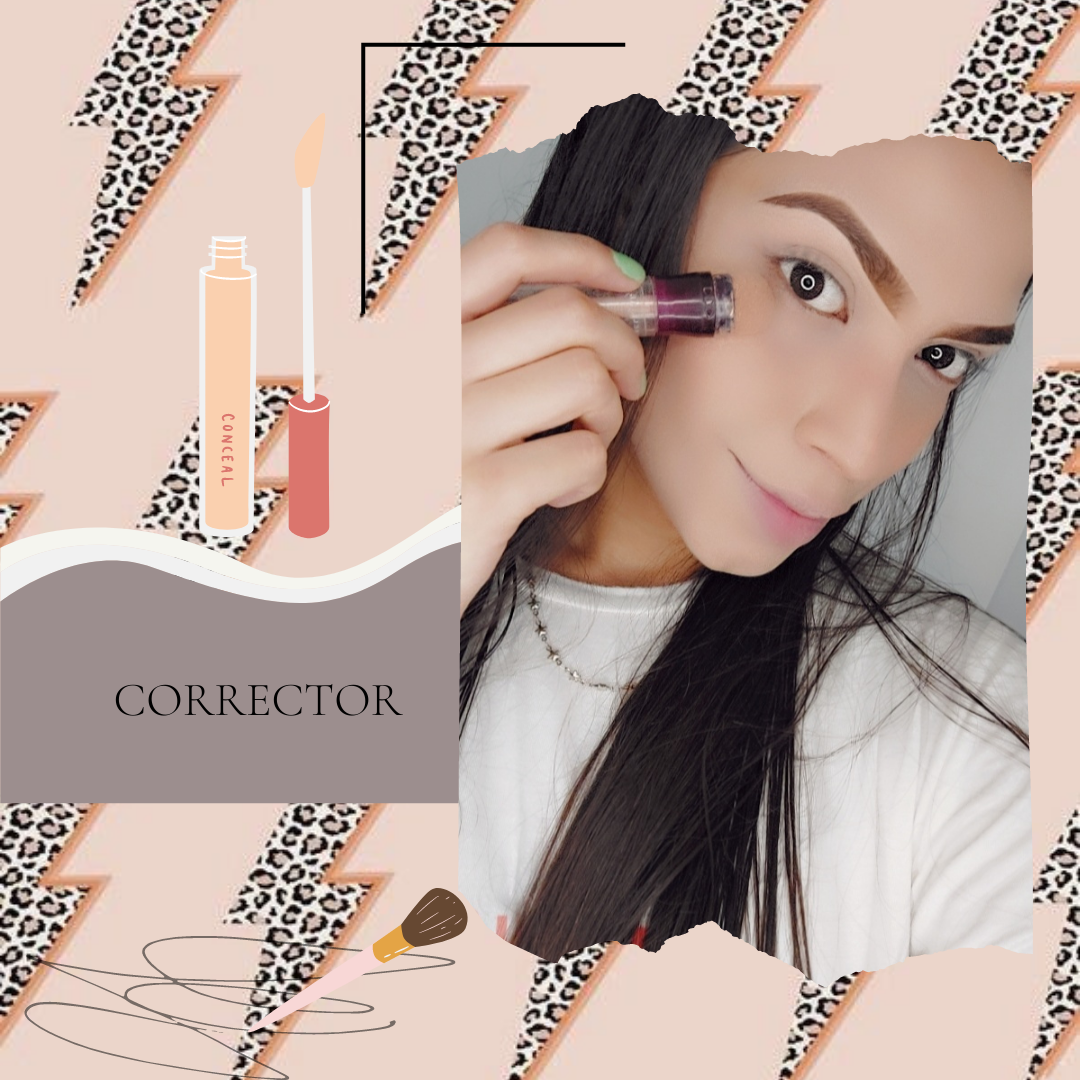
• Corrector. Luego de aplicar la base, agregamos el corrector en el contorno del ojo, incluyendo párpado para así tener un mejor acabo al momento de poner la sombra .
• Concealer. After applying the foundation, add the concealer around the eye, including the eyelid to have a better finish when applying the shadow.
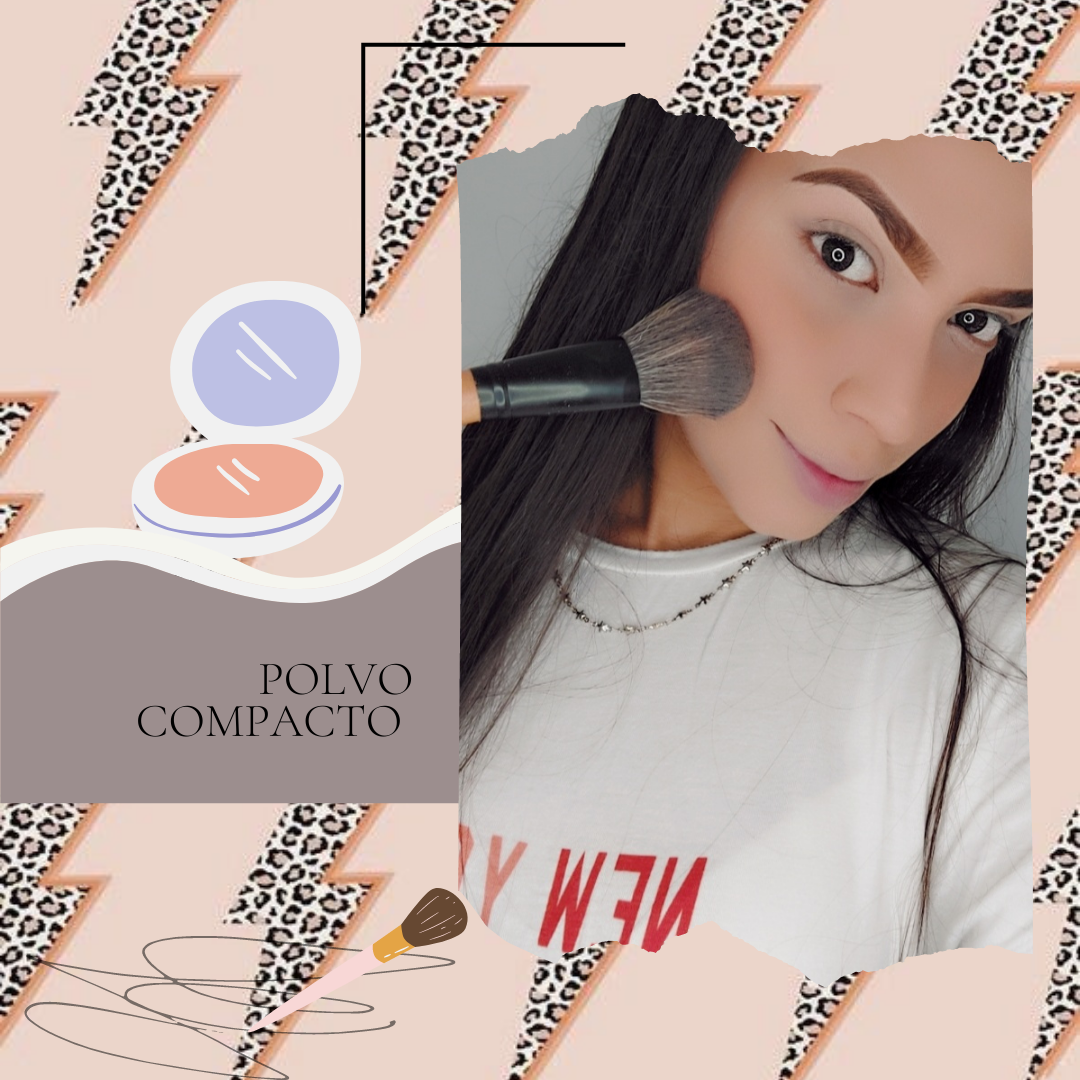
• polvo compacto. Para sellar la base, debemos poner el polvo compacto, esto lo hacemos con una brocha más grande, con toques sutiles sin arrastrar. Tampoco debemos tocar la zona dónde pusimos el corrector.
• Podwer. To seal the Fundation, we must put the compact powder, we do this with a larger brush, with subtle touches without dragging. Nor should we touch the area where we put the concealer.
• Bronzer . Con el bronzer vamos a definir las facciones de nuestro perfil, lo aplicamos en la frente, pómulo y mentón.
• Bronzer. With the bronzer we are going to define the features of our profile, we apply it to the forehead, cheekbone and chin.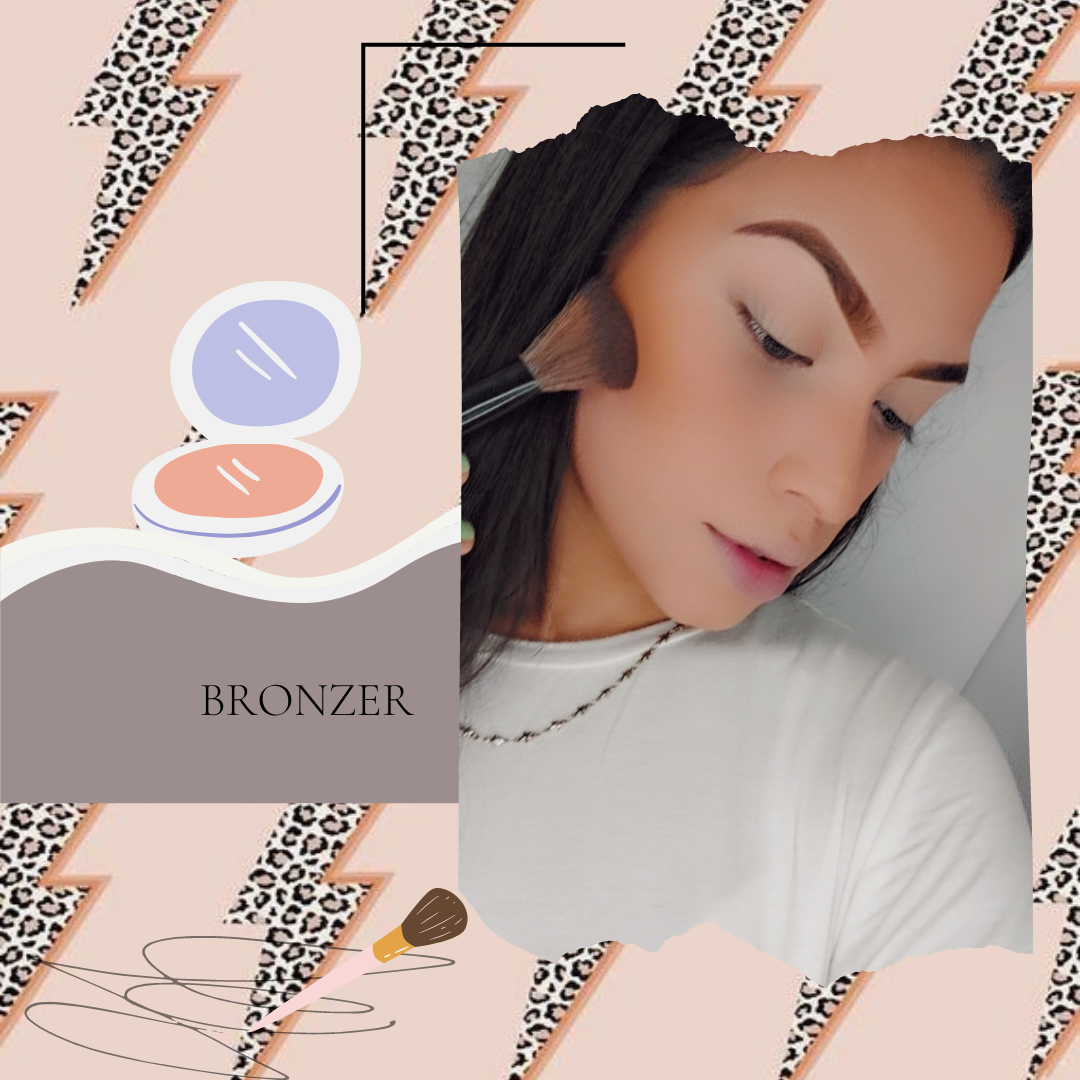
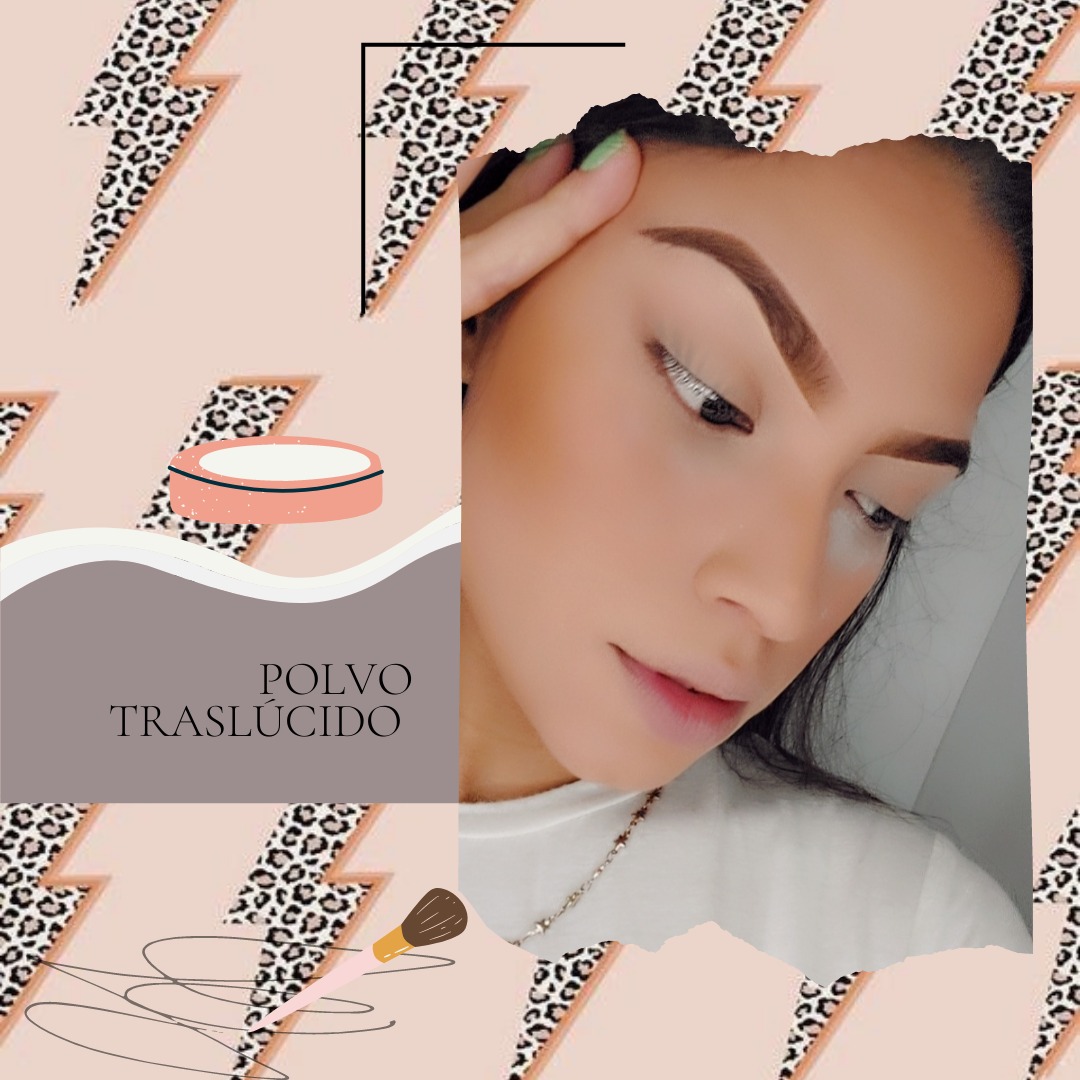
• Polvo traslúcido. Con el polvo traslúcido vamos a sellar el area donde colocamos el corrector.
• Translucent powder. With the translucent powder we are going to seal the area where we put the concealer.
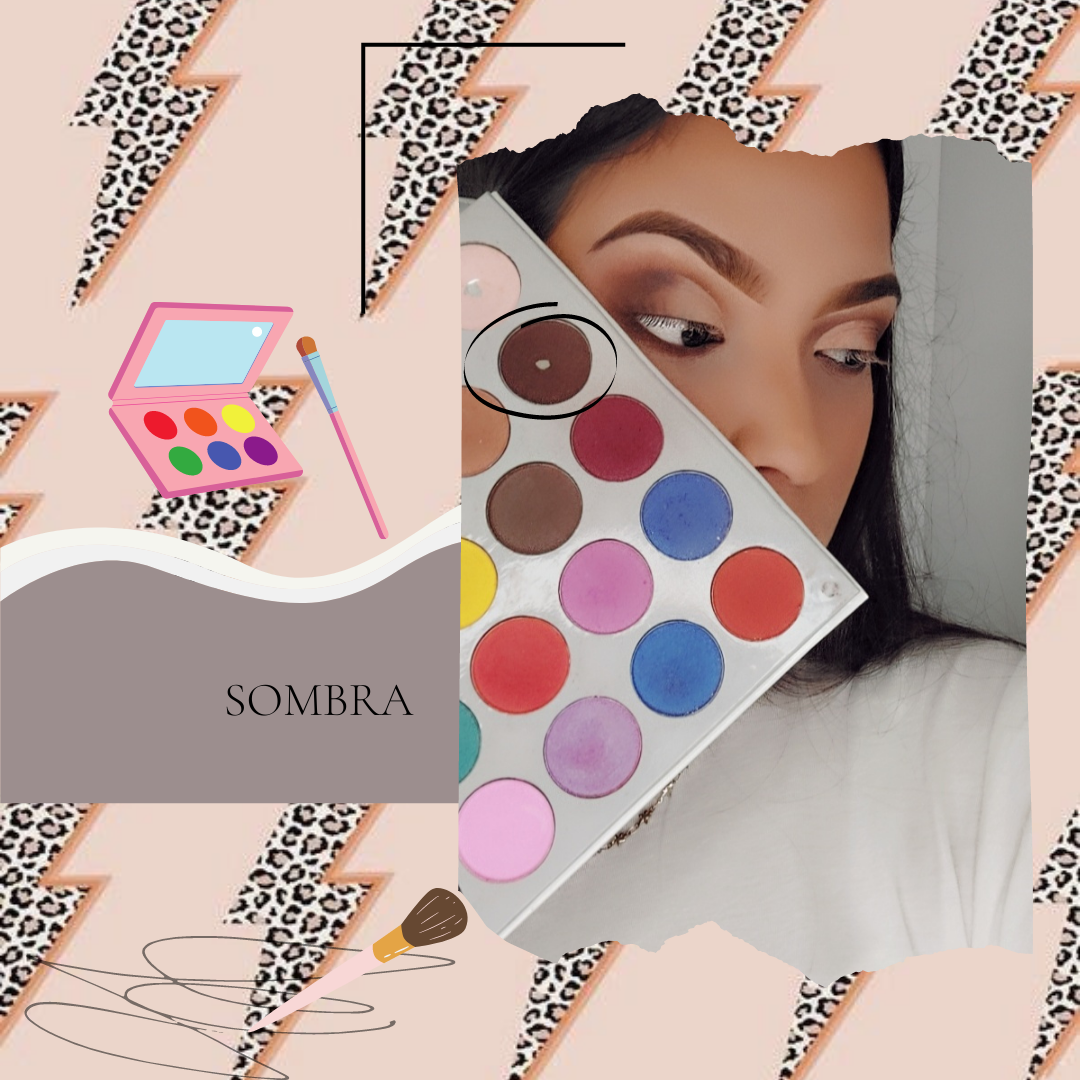
• sombra. Agregamos la primera sombra en la cuenca del ojo, esto hará que se haga un poco las profundo y será la base para las siguientes que vamos a colocar hasta llegar al tono deseado.
• shadow. We add the first shadow in the eye socket, this will make it a little deep and will be the fundation for the next ones that we are going to place until we reach the desired tone.
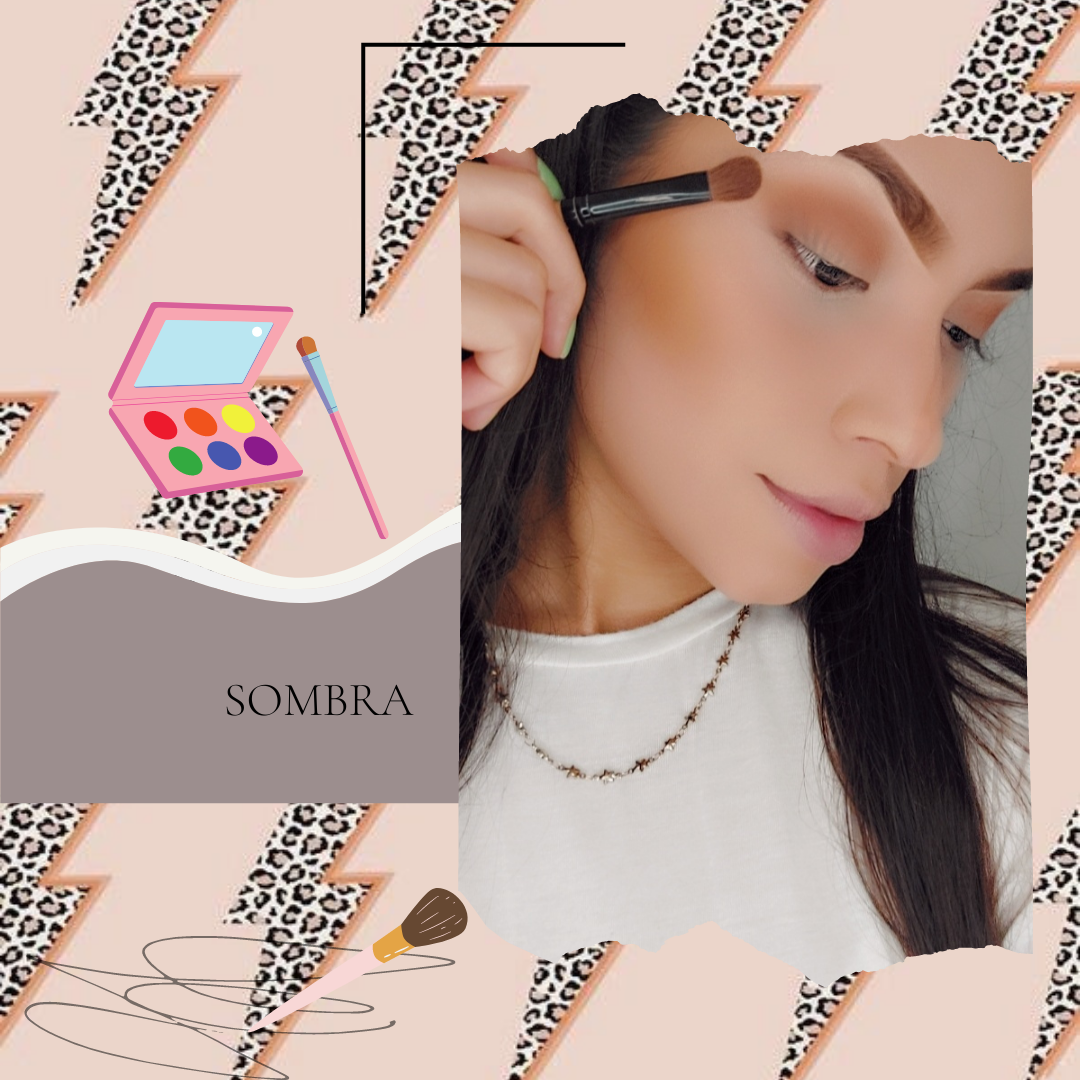
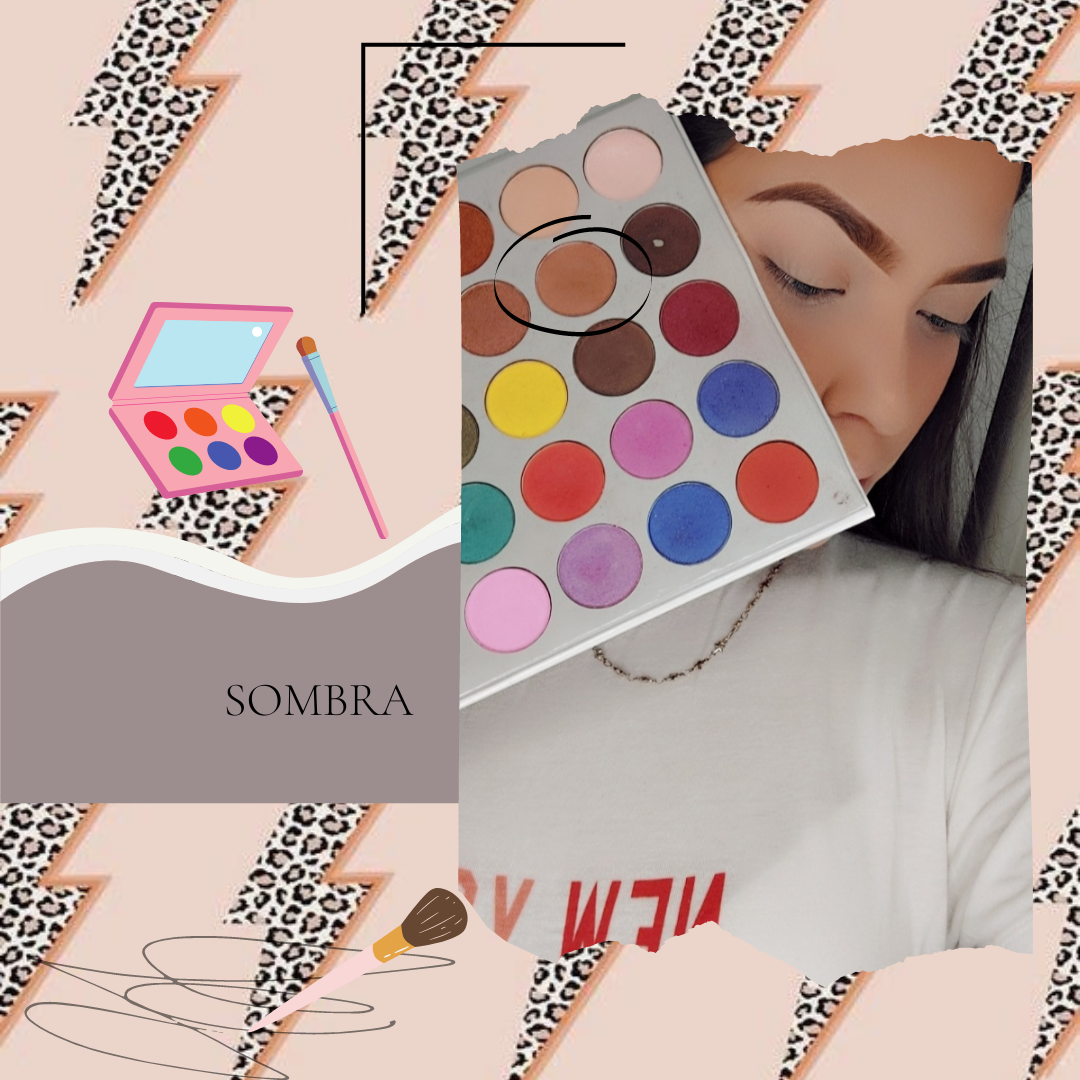
• Posterior, agregamos una sombra más oscura de la misma manera.
• Later, add a darker shadow in the same way.
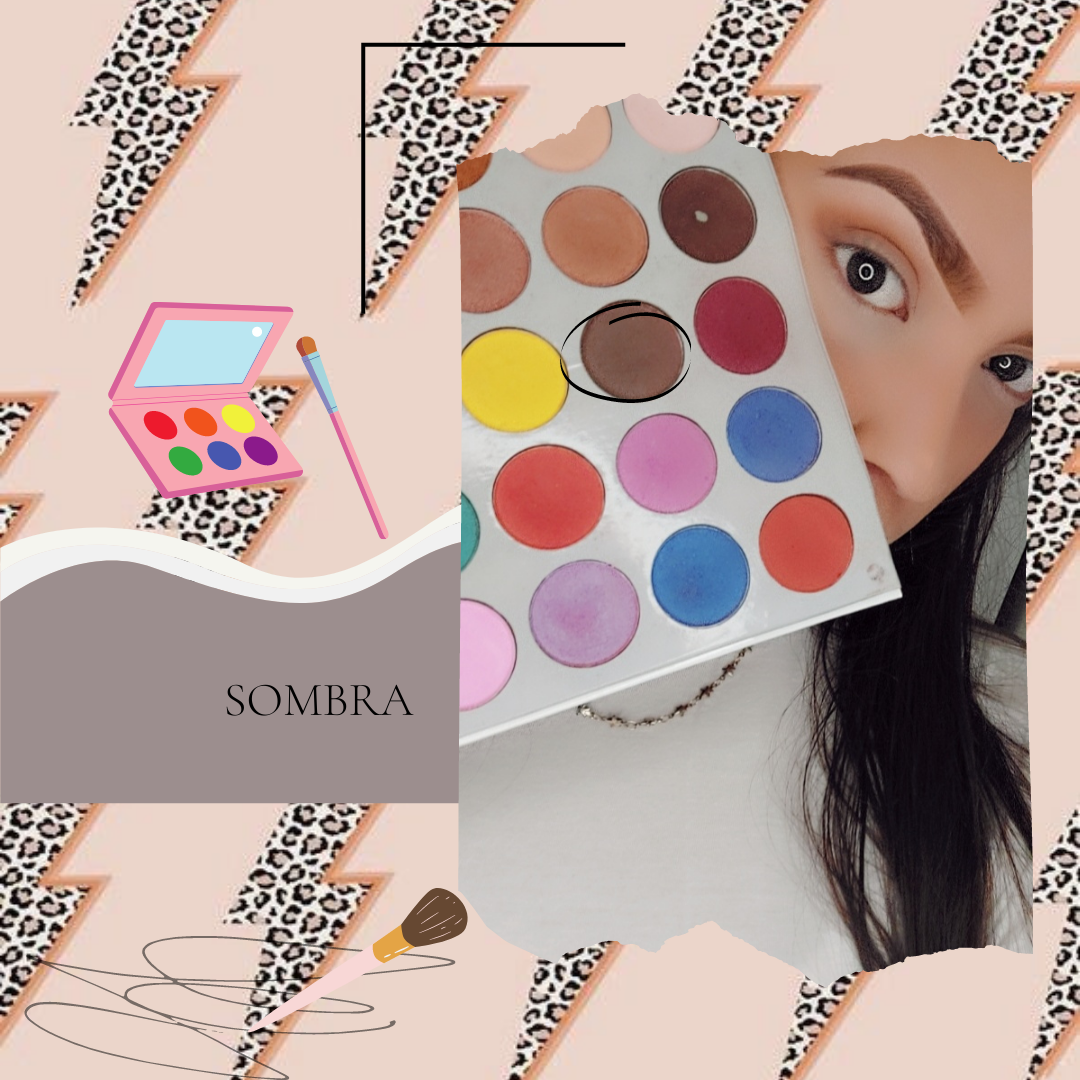
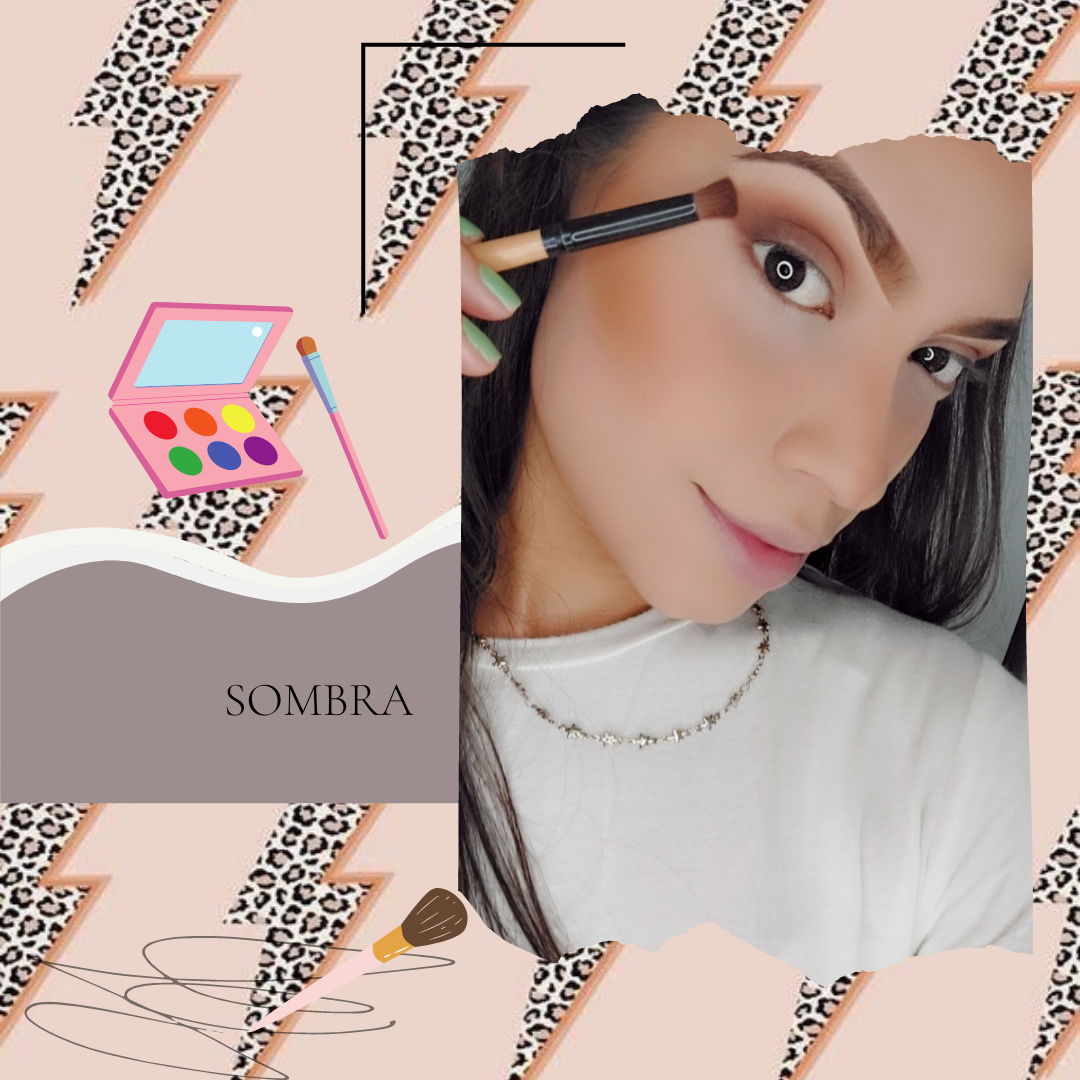
• Ya cuando lo tengamos difuminado, hacemos un corte en la cuenca con un pincel plano y corrector.
• When we have it blurred, we make a cut in the basin with a flat brush and concealer.
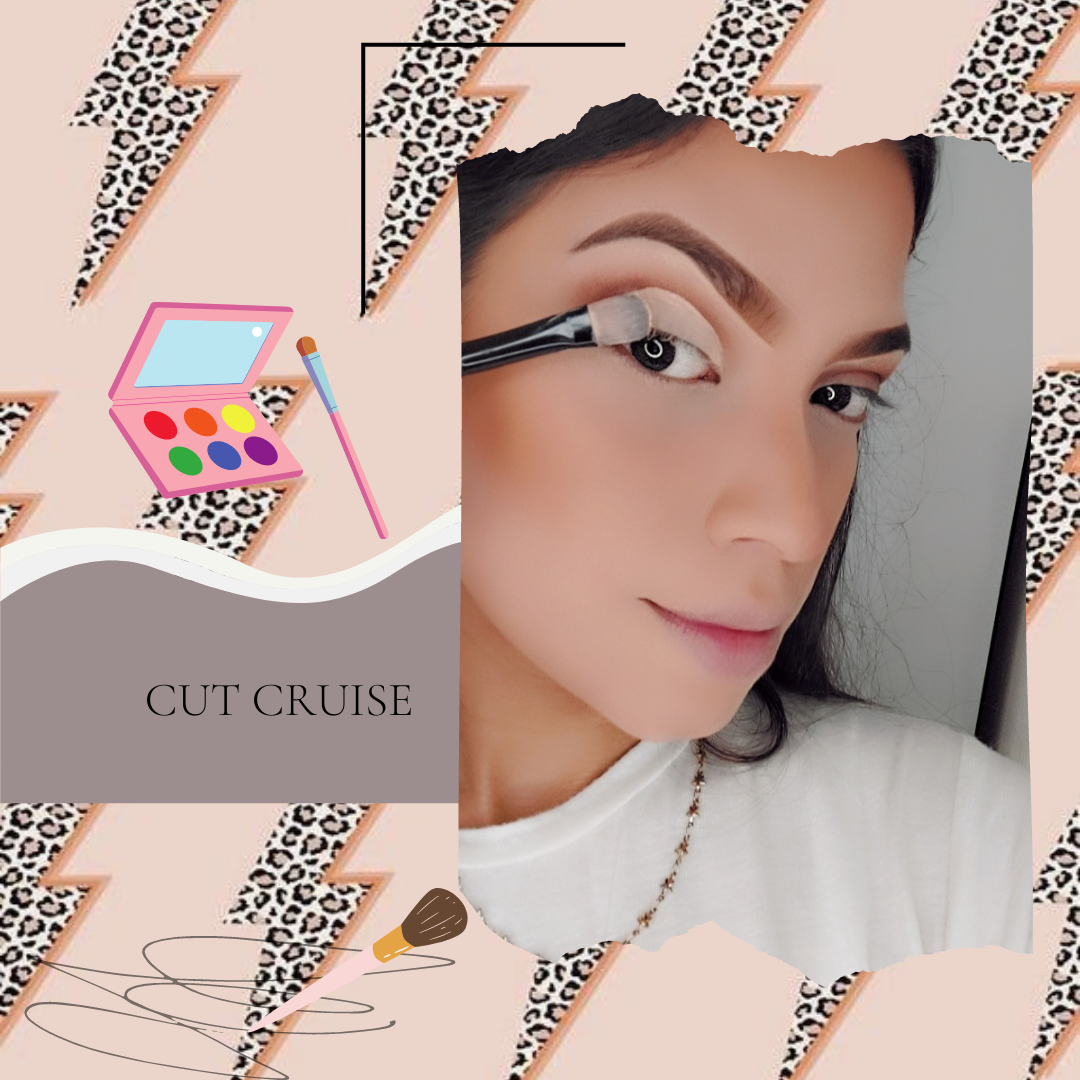
• Difuminados un poco con la sombra oscura con el lado claro del ojo para que se note un degradado.
• Smudged a little with the dark shadow with the light side of the eye so that a gradient is noticeable.
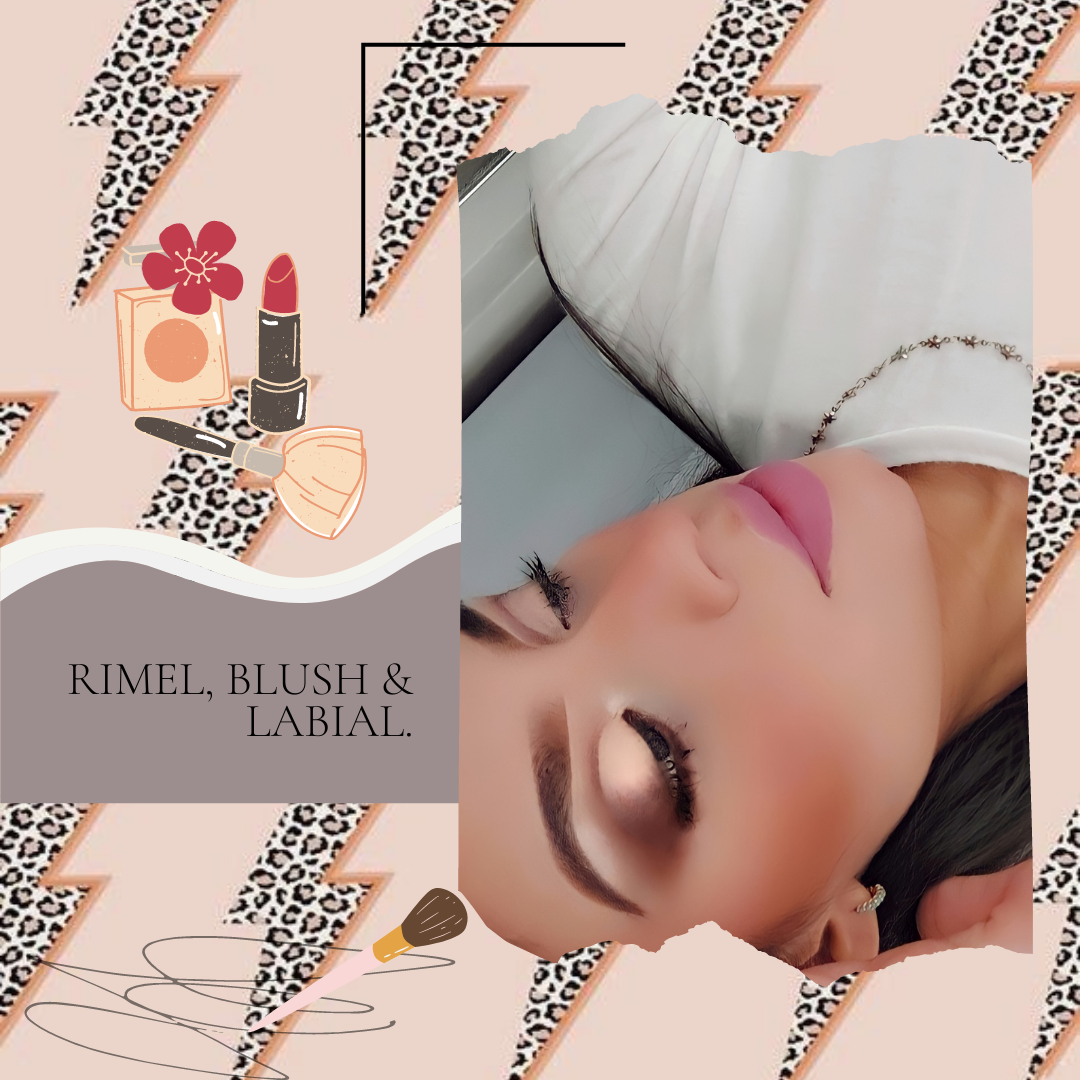
• Por último colocamos Rimel , rubor y labial a tu preferencia. Y listo un maquillaje para cualquier ocasión. Cabe destacar que los movimientos para aplicar todos los productor deben ser sutiles, de lo contrario puedes generar manchas de maquillaje.
• Finally we put Mascara, blush and lipstick to your preference. And ready a makeup for any occasion. It should be noted that the movements to apply all the producers must be subtle, otherwise you can generate makeup stains.
Espero les haya gustado hirvers y lo hagan en casa😍 .
Gracias por leerme y nos vemos en otra oportunidad 🤞🏼🦋🧿.
I hope you liked hirvers and do it at home😍. Thanks for reading and see you another time 🤞🏼🦋🧿.
Congratulations @karlalares! You have completed the following achievement on the Hive blockchain and have been rewarded with new badge(s) :
Your next target is to reach 500 upvotes.
You can view your badges on your board and compare yourself to others in the Ranking
If you no longer want to receive notifications, reply to this comment with the word
STOPCheck out the last post from @hivebuzz: