
Makeup Practice
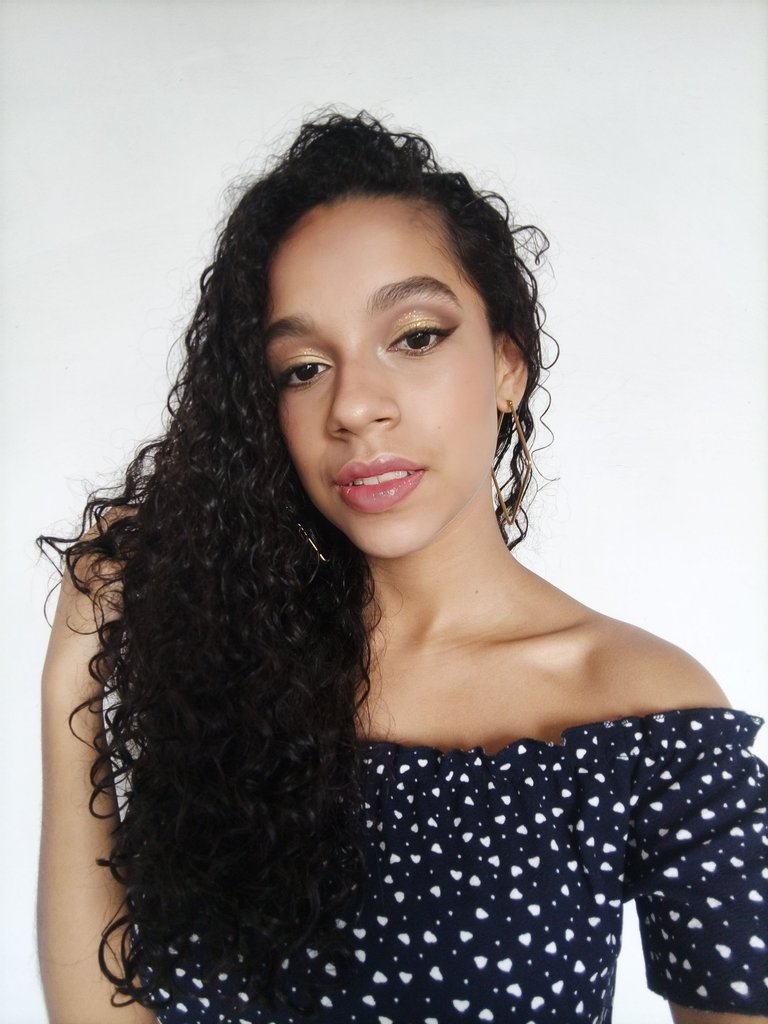
Hello MakeUp Power beauties, I am very happy to share with you this simple eye makeup tutorial that will make you look really beautiful and highlight the shape of your eyes, I had a long time without makeup so I took this time to resume a little practice and improve my technique. Below, I leave a list of the step by step accompanied by some images for a better understanding of how to perform this style, I hope you enjoy it <3.
Hola hermosuras de MakeUp Power, estoy muy contenta de compartir con ustedes este tutorial sencillo de maquillaje para ojos que las hará lucir realmente bellas y resaltará la forma de su mirada, tenía bastante tiempo sin poder maquillarme por lo que aproveche este momento para retomar un poco la practicas y así poder mejorar mi técnica. A continuación, les deje un listado del paso a paso acompañado de algunas imágenes para mejor entendimiento de cómo poder realizarse este estilo, espero lo disfruten <3.
PASO A PASO
STEP BY STEP
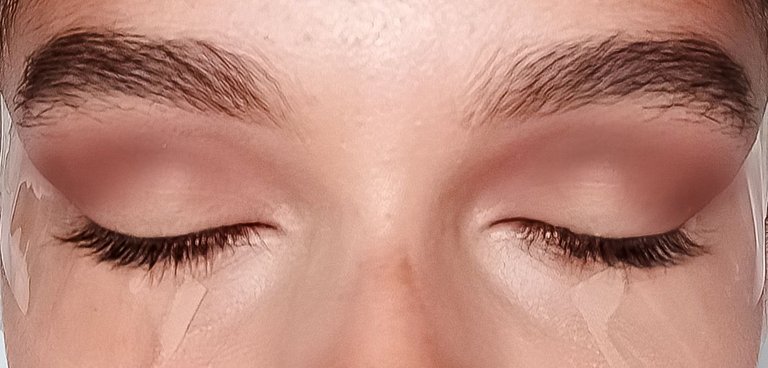
- First of all, we are going to start by applying our foundation on the entire eyelid area and then apply our concealer on the area of the dark circles and then proceed to blend everything with a sponge until it is unified.
- After that for better definition of the makeup, we are going to take an adhesive tape and first we are going to stick it on our wrist after cutting some strips appropriate to the measures of our vision area, once the tape no longer has so much glue, we place it under our eye until the end of the eyebrow.
- With that we can proceed to apply a brown shadow with a blending brush, and making the shape of an arc, we apply it above our mobile eyelid and darken more in the corner of the eye.
- En primer lugar, vamos a iniciar aplicando nuestra base en toda la zona del parpado para luego aplicar nuestro corrector en la zona de las ojeras y así proceder a difuminar todo con una esponjita hasta que quede unificado.
- Luego de eso para mejor definición del maquillaje, vamos a tomar una cinta adhesiva y primero la vamos a pegar en nuestra muñeca luego de recortar unas tiras adecuadas a las medidas de nuestra zona de visión, una vez la cinta ya no tenga tanto pegamento, la colocamos por debajo de nuestro ojo hasta el final de la ceja.
- Con eso podemos proceder a aplicar una sombra marrón con una brocha de difuminar, y haciendo la forma de un arco, la aplicamos por encima de nuestro parpado móvil y oscurecemos mas por el rabillo del ojo.
STEP BY STEP
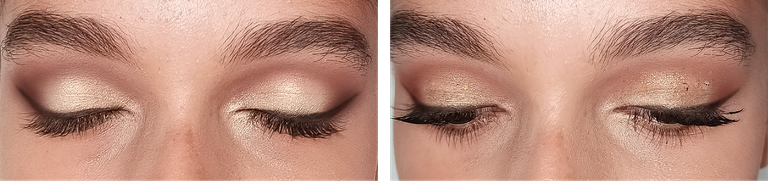
- Once the shadow is well applied, we proceed to take a frosted yellow tone and this time with the fingertips, we place it in small touches all over our mobile eyelid.
- Once this part is finished, we take a black eyeliner pencil and we do our usual eyeliner once the tape is removed, when we finish, we take a flat brush and we carefully blend the eyeliner.
- Finally we take with our fingertips gold glitter and apply it all over the mobile eyelid in small touches.
- Una vez bien aplicada la sombra, procedemos a tomar un tono amarillo escarchado y esta vez con la yema de los dedos, lo colocamos a toquecitos por todo nuestro parpado móvil.
- Finalizada esa parte, tomamos un lápiz delineador de color negro y hacemos nuestro delineado habitual una vez retirada la cinta, al culminar, tomamos una brocha plana y difuminamos con cuidado el delineado antes hecho.
- Finalmente tomamos con nuestra yema de los dedos glitter para maquillaje de color dorado y aplicamos por todo el parpado móvil a toquecitos.
STEP BY STEP
- After all the above, we can proceed with the application of foundation, contouring, sealing with powder, I always recommend sealing with a brush because it avoids excess product on the face and allows us to have a light makeup.
- We apply our blush and highlighter and finally our lipstick, in this case I preferred to use a lip gloss of a very subtle flesh color, but you can use other earth tones or stronger flesh tones.
- Culminado todo lo anterior, podemos proceder con la aplicación de la base, contorno, sellado con polvo, siempre recomiendo sellar con brocha por que evita el exceso de producto en el rostro y nos permite tener un maquillaje ligero.
- Aplicamos nuestro rubor e iluminador y por último nuestro labial, en este caso yo preferí utilizar un lip gloss de un color carnita muy sutil, pero puedes utilizar otros tonos tierra o carne mas fuertes.
STEP BY STEP
And with that we will have completed this simple but attractive makeup for the day, although it can also be used at night and still highlight very well if you want to be more simple; this type of makeup combines very well with colors like white or black, even red because its pigmentation in the eyes is not too flashy, so it makes it more combinable with different outfits. I hope you have liked and served much this tutorial, if you like it do not forget to comment your opinions that all are very well received, greetings and see you in a next publication!
Y con eso habremos culminado este simple pero atractivo maquillaje para el día, aunque también puede utilizarse en la noche y aun así resaltar muy bien si quieres ser más sencilla; este tipo de maquillaje combina muy bien con colores como el blanco o negro, incluso rojo debido a que su pigmentación en los ojos no es demasiado llamativa, por lo que lo hace más combinable con diferentes atuendos. ¡Espero les haya gustado y servido mucho este tutorial, si les gusto no olviden comentar sus opiniones que todas son muy bien recibidas, un saludito y nos veremos en una siguiente publicación!
Credits
- All images were taken by me from my Tecno Camon 17 Pro phone.
- All images were cropped from Photoshop.
- English translation
Créditos
- Todas las imágenes fueron tomadas por mi persona desde mi teléfono Tecno Camon 17 Pro.
- Todas las imágenes fueron recortadas desde Photoshop
- Traducción al inglés
Congratulations @lin-lindsey! You have completed the following achievement on the Hive blockchain And have been rewarded with New badge(s)
Your next target is to reach 100 upvotes.
You can view your badges on your board and compare yourself to others in the Ranking
If you no longer want to receive notifications, reply to this comment with the word
STOPCheck out our last posts: