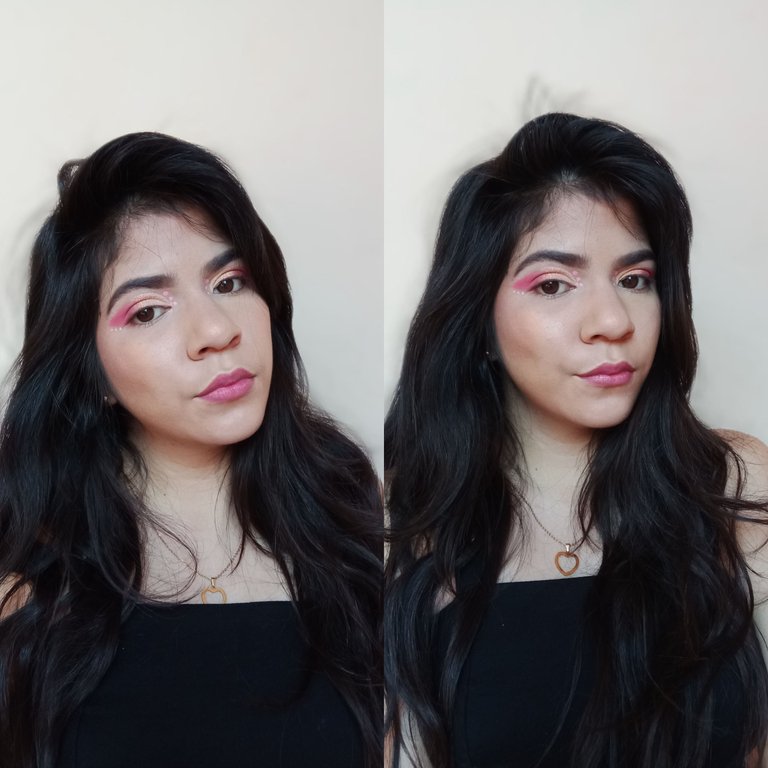
¡Hola hola amores de Hive! Hoy vengo con un maquillaje sencillo pero hermoso en tonos rosa y dorado, me encanta hacer este tipo de maquillaje que aunque no lleva mucho trabajo son hermosos.
Hello hello Hive lovers! Today I come with a simple but beautiful makeup in shades of pink and gold, I love to do this kind of makeup that although it does not take much work are beautiful.
Materiales / Materials:
- Tónico facial / Facial tonic.
- Jabón facial neutro / Neutral facial soap.
- Primer / Primer.
- Crema hidratante / Moisturizing cream.
- Protector solar / Sunscreen.
- Paleta de sombras / Shadow palette.
- Rubor / Blush.
- Iluminador / highlighter.
- Pomada de cejas / Eyebrow pomade.
- Delineador Rosa / Pink eyeliner.
- Base / Foundation.
- Beauty blender / Beauty blender.
- Polvo suelto / Loose powder.
- Contorno / Contour
- Pinceles / Brushes
- Labial rojo / Red lipstick.
- Brillo labial / Lip Gloss.
Procedimiento / Procedure:
ESPAÑOL
Primer paso:
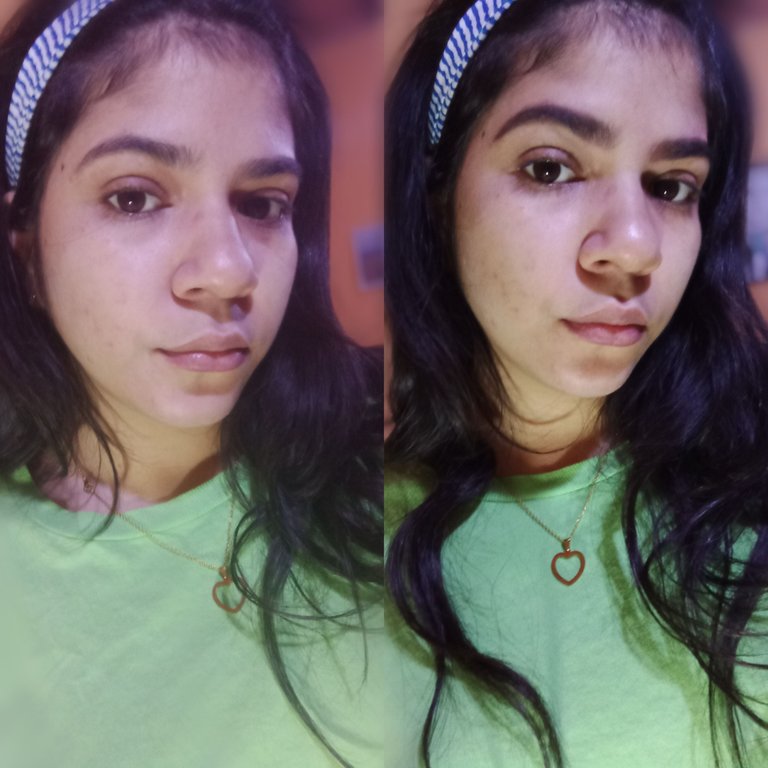
Antes de realizar cualquier tipo de maquillaje es importante preparar nuestro rostro, es por eso que limpie mi cara con tónico facial, luego lo lave con jabón facial neutro y al secarlo aplique crema hidratante, protector solar y primer.
Segundo paso:
Con mi rostro ya preparado, comencé el maquillaje con mis cejas, así que las peine bien y con pomada marrón y un pincel delgado hice una línea debajo de mi ceja y fui rellenando los espacios en blanco había hacia, luego de esto difumine con un cepillo para quitar el exceso y lograr un tono uniforme, luego limpie los bordes con un hisopo y agua micelar, aplique corrector en los bordes y lo difumine para terminar de corregir y definir la forma de las cejas lo más perfecto posible.
ENGLISH
First step:
Before doing any type of makeup it is important to prepare our face, that's why I clean my face with facial toner, then wash it with neutral facial soap and when dry apply moisturizer, sunscreen and primer.
Second step:
With my face already prepared, I started the makeup with my eyebrows, so I combed them well and with brown pomade and a thin brush I made a line under my eyebrow and went filling in the blanks I had towards, after this I blurred with a brush to remove the excess and achieve a uniform tone, then I cleaned the edges with a swab and micellar water, applied concealer on the edges and blurred it to finish correcting and defining the shape of the eyebrows as perfect as possible.
Tercer paso:
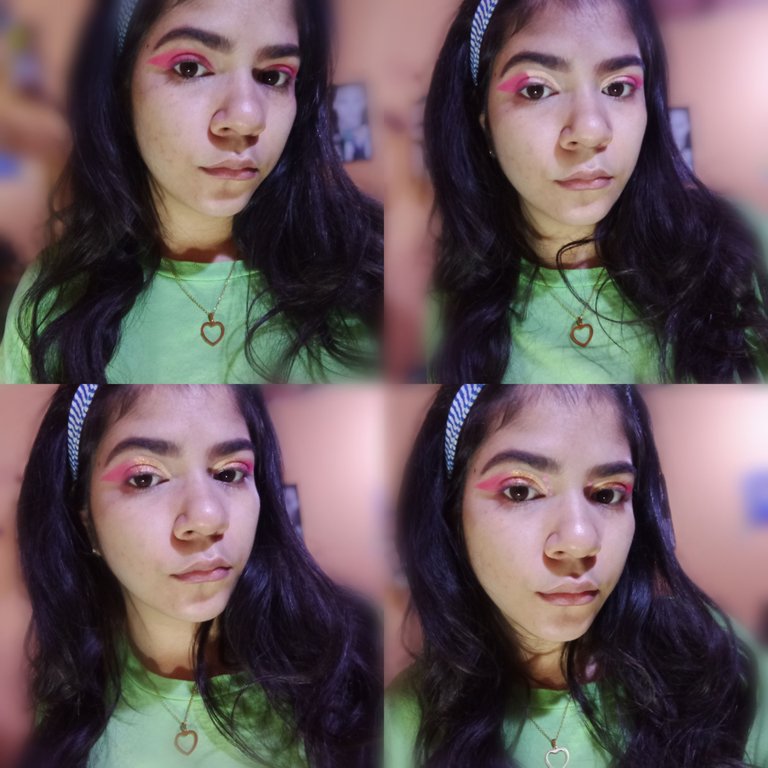
Aplique corrector en mis párpados y lo difumine para lograr una mejor pigmentación, tome cinta adhesiva y coloque dos pequeños pedazos al final de mi ojo en dirrección del final de mi ceja, tome una brocha y con sombra rosada la fui agregando en mi ojo, lo hice con cuidado para tener una forma circular y al final afilada, quería este estilo de maquillaje más afilado.
Cuarto paso:
Tras terminar de agregar la sombra rosa retire las cintas adhesivas y con un brocha plana y corrector hice un cut crease hasta la mitad de mi ojo, siguiendo la forma original de la sombra rosa, luego de aplicar el corrector lo sellé con sombra dorada en ambos ojos, al final de la sombra dorada agregue un glitter dorado oscuro, esto para resaltar más los colores y la transición.
Tras terminar con esa parte, tome mi delineador rosado y agregue tres círculos al comienzo de mi ojo, haciendo una diferencia de tamaño en cada uno para que resaltarán más, fue un detalle que quise agregar.
Third step:
I applied concealer on my eyelids and blurred it to achieve a better pigmentation, I took masking tape and placed two small pieces at the end of my eye in dirrección of the end of my eyebrow, I took a brush and with pink shadow I was adding it on my eye, I did it carefully to have a circular shape and at the end sharpened, I wanted this style of makeup sharper.
Fourth step:
After finishing adding the pink shadow remove the tapes and with a flat brush and concealer I did a cut crease to the middle of my eye, following the original shape of the pink shadow, after applying the concealer I sealed it with gold shadow on both eyes, at the end of the gold shadow I added a dark gold glitter, this to highlight more the colors and the transition.
After finishing that part, I took my pink eyeliner and added three circles at the beginning of my eye, making a difference in size on each one to make them stand out more, it was a detail I wanted to add.
Quinto paso:
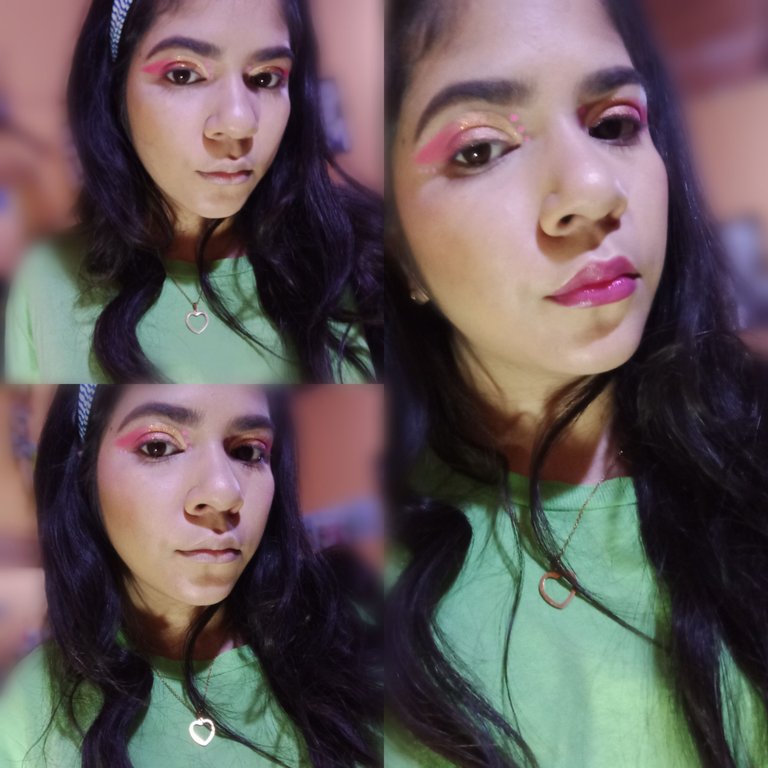
Tras terminar en mis ojos, agregue pequeños puntos de base y lo difumine con mi beauty blender, aplique pequeños puntos de contorno líquido en mis pomulos y lo difumine con un beauty blender, aplique corrector en mis ojeras para disimularlas y lo difumine.
Luego tome el polvo suelto y sellé todo, aplique rubor e iluminador en mis pomulos y lo difumine.
Luego para agregar más detalles también hice tres puntos con el delineador rosa al final de mi ojo siguiendo la forma de la sombra rosa.
Aplique pintura rosada en mis labios y brillo labial ¡Y listo! Maquillaje terminado.
Fifth step:
After finishing on my eyes, add small dots of foundation and blend it with my beauty blender, apply small dots of liquid contour on my cheekbones and blend it with a beauty blender, apply concealer on my dark circles to conceal them and blend it.
Then I took the loose powder and sealed it all in, applied blush and highlighter on my cheekbones and blended it out.
Then to add more detail I also made three dots with the pink eyeliner at the end of my eye following the shape of the pink shadow.
I applied pink paint on my lips and lip gloss and that's it! Makeup finished.
El resultado / The result:
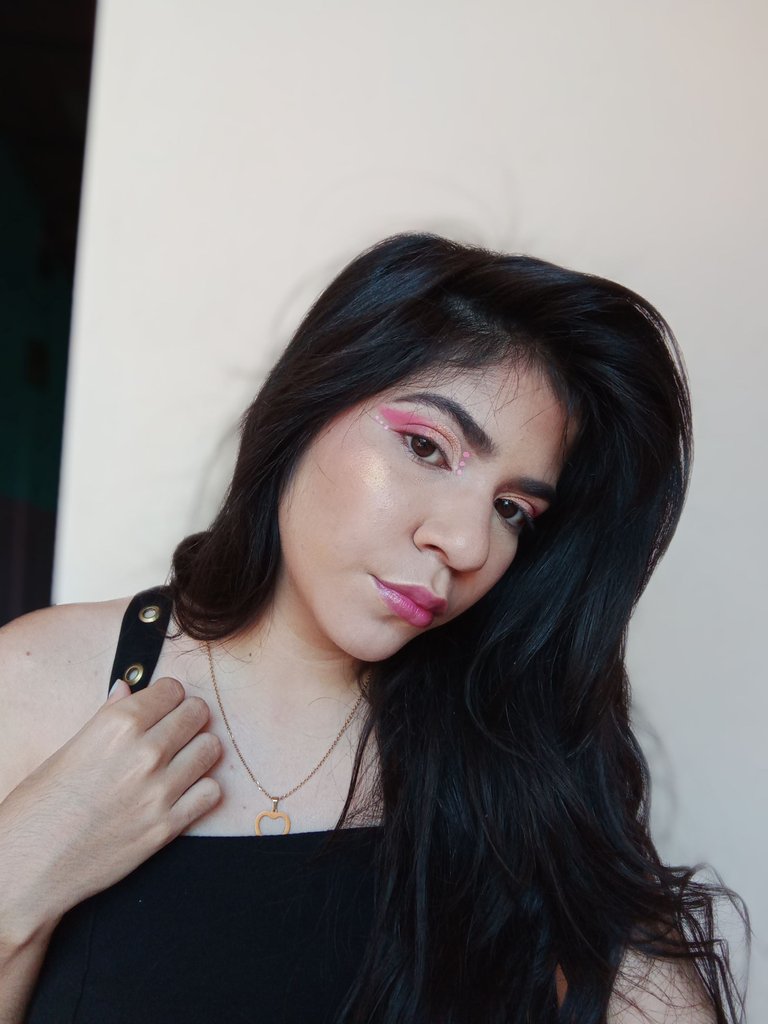
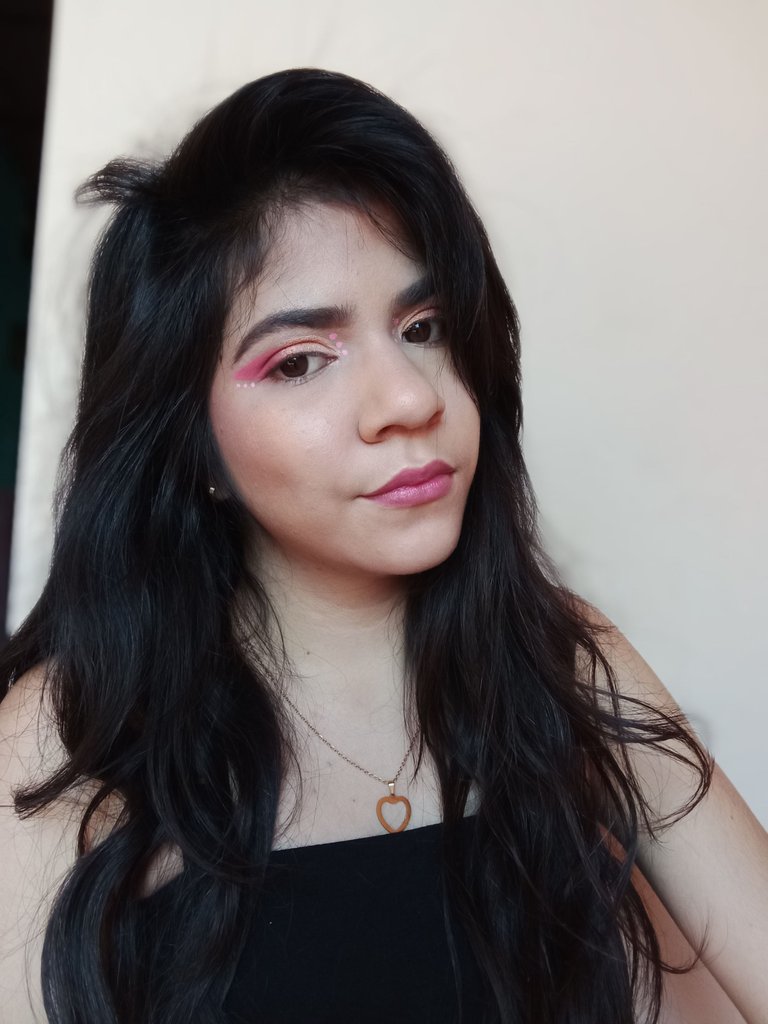
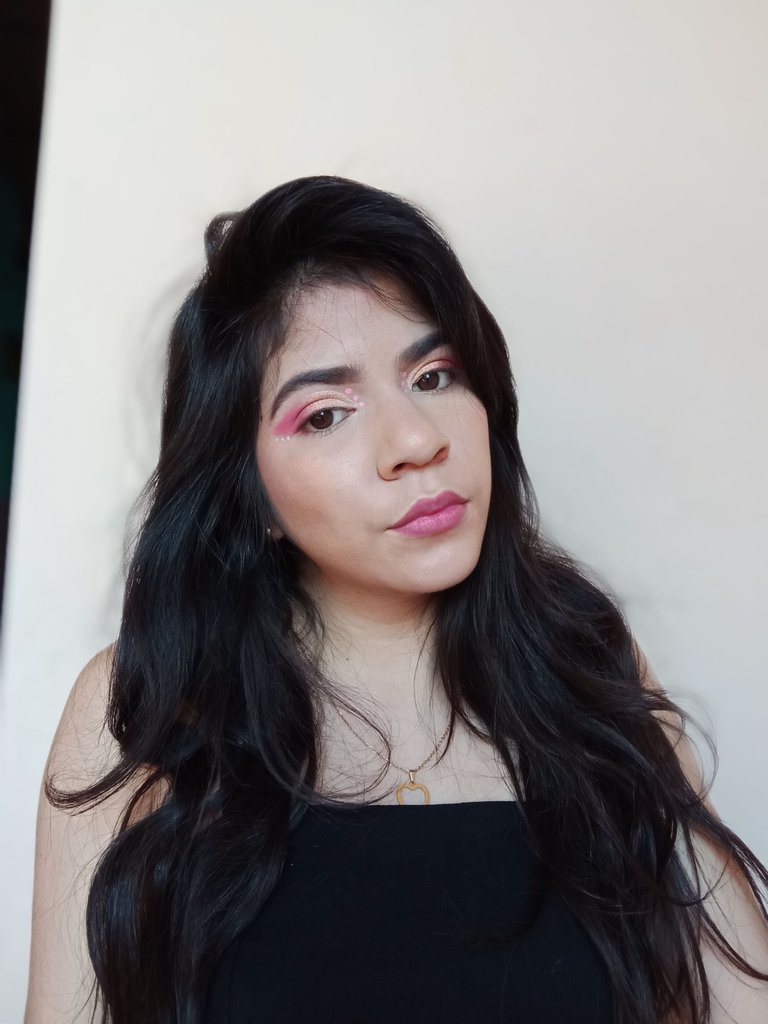
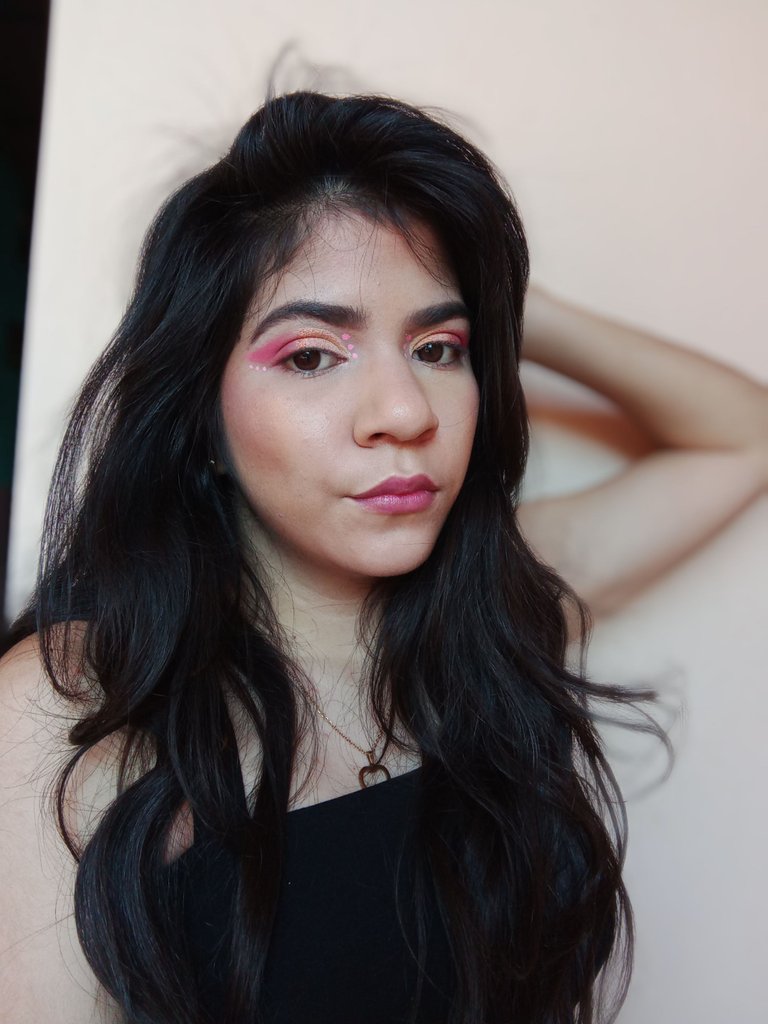
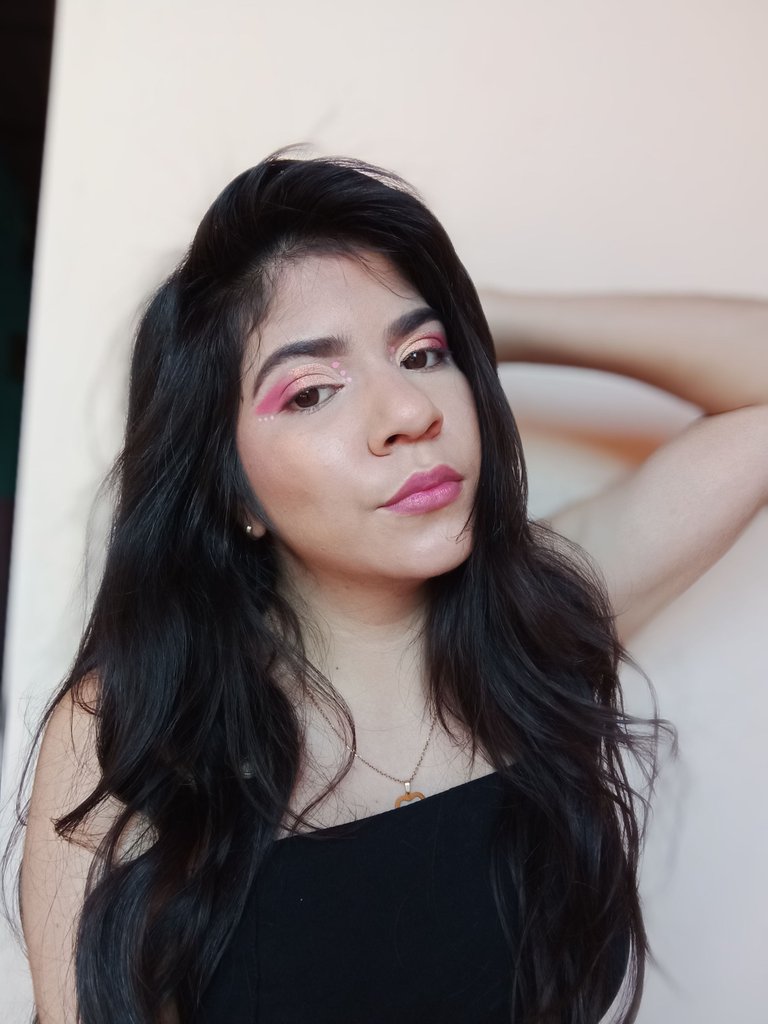
¡Muchas gracias por leer mi post! Aunque el maquillaje es sencillo me gustó mucho el resultado y los pequeños detalles que agregue para hacerlo resaltar más. ¡Nos leemos pronto! XOXO.
Thank you so much for reading my post! Although the makeup is simple I really liked the result and the little details I added to make it stand out more. see you soon! XOXO.
Cover edited in: Canvas.
Text translated with: DeepL.
All photos of the procedure and results belong to me.
Te amo muchísimo amor mío no te rindas ❤️❤️❤️ yo creo en ti tu puedes ❤️❤️❤️