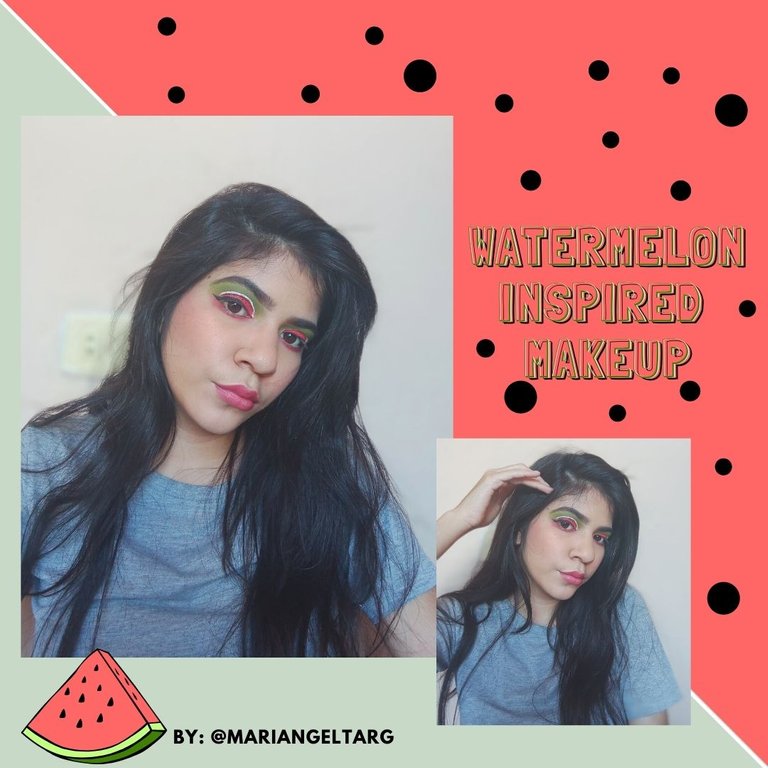
¡Hola mis amores de Hive! Una vez más vengo con un bonito maquillaje, y esta vez quise inspirarme en una sandía, me encantó hacer este maquillaje porque los colores son excelentes y un poco llamativos, así que comencemos!
Hello my Hive loves! Once again I come with a nice makeup, and this time I wanted to be inspired by a watermelon, I loved doing this makeup because the colors are great and a bit flashy, so let's get started!
Materiales / Materials:
- Tónico facial / Facial tonic.
- Jabón facial neutro / Neutral facial soap.
- Primer / Primer.
- Crema hidratante / Moisturizing cream.
- Protector solar / Sunscreen.
- Paleta de sombras / Shadow palette.
- Rubor / Blush.
- Iluminador / highlighter.
- Pomada de cejas / Eyebrow pomade.
- Pintura Blanca / White paint.
- Delineador / Eyeliner.
- Base / Foundation.
- Beauty blender / Beauty blender.
- Polvo suelto / Loose powder.
- Contorno / Contour
- Pinceles / Brushes
- Labial rojo / Red lipstick.
- Brillo labial / Lip Gloss.
Procedimiento / Procedure:
ESPAÑOL
Primer paso:
Antes de comenzar el maquillaje siempre es importante preparar nuestro rostro, es por eso que limpie mi cara con tónico facial, lave mi rostro con jabón facial neutro y aplique crema hidratante, protector solar y primer.
Segundo paso:
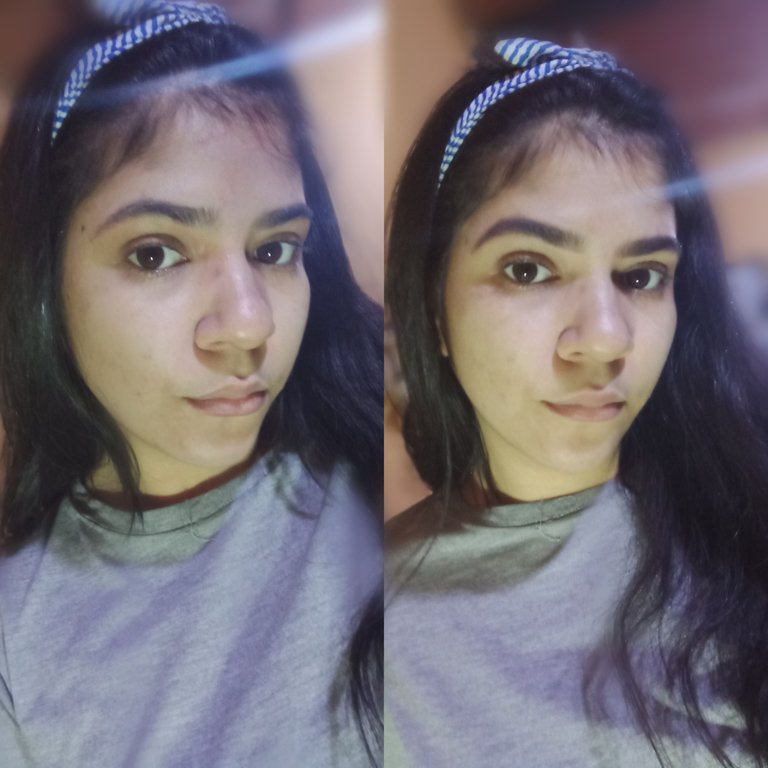
Para realizar mis cejas primero las peine bien, luego con una brocha y pomada tracé una línea debajo de mi ceja y comencé a rellenar los espacios vacíos hacia arriba, luego de esto con un cepillo pequeño la difumine, quitando el exceso de pomada y nivelando el color de la ceja.
Luego de esto limpie los bordes con un hisopo y agua micelar, agregue corrector por los bordes de mis cejas y lo difumine para lograr una figura más limpie y perfecta.
ENGLISH
First step:
Before starting makeup it is always important to prepare our face, that's why I clean my face with facial toner, wash my face with neutral facial soap and apply moisturizer, sunscreen and primer.
Second step:
To make my eyebrows I first combed them well, then with a brush and pomade I drew a line under my eyebrow and started to fill in the empty spaces upwards, after this with a small brush I blurred it, removing the excess pomade and leveling the color of the eyebrow.
I then cleaned the edges with a cotton swab and micellar water, added concealer along the edges of my eyebrows and blended it out for a cleaner, more perfect shape.
Tercer paso:
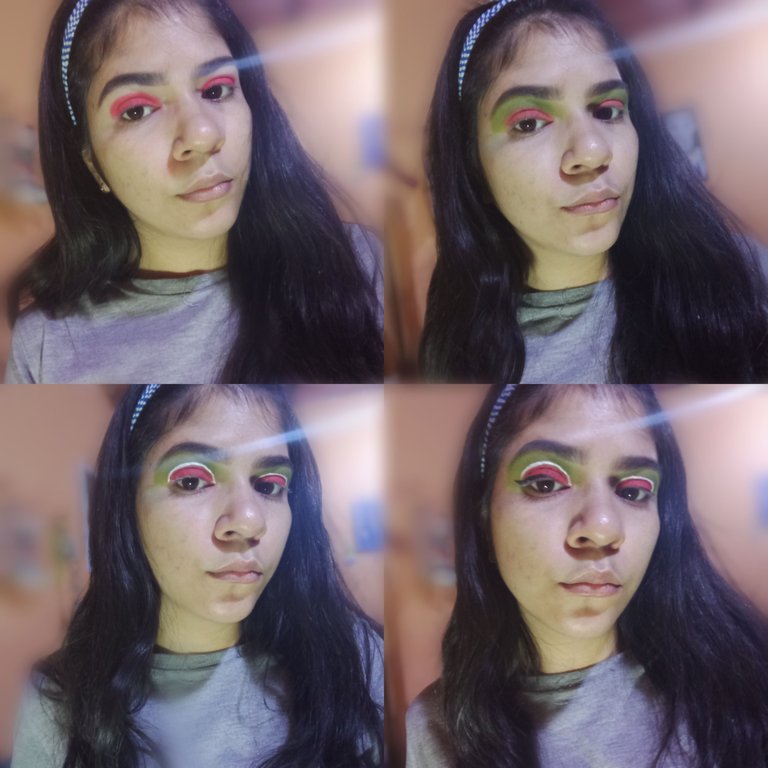
Aplique corrector en mis párpados para tener una mejor pigmentación, con una brocha aplique sombra roja en la cuenca de mi ojo y fui difuminando poco a poco hacia arriba, luego de esto agregue sombra verde claro arriba de la roja y fui dimuninandola.
Ya después de agregar la sombra verde tome un tono más oscuro de esto color y también lo aplique y difumine para agregarle profundidad al maquillaje.
Cuarto paso:
Tras terminar con las sombras tome un pincel delgado y pintura blanca e hice un delineado alrededor de la sombra roja, separando los colores y así obtener la figura de la sandía.
También realice dos cat eye delgados para resaltar el maquillaje, y en la sombra roja agregue pequeños puntos con el delineador para recrear las semillas de la sandía.
Third step:
I applied concealer on my eyelids to have a better pigmentation, with a brush I applied red shadow on the socket of my eye and I was blending little by little upwards, after this I added light green shadow on top of the red one and I was dimuninating it.
After adding the green shadow, take a darker shade of this color and also apply and blend it to add depth to the makeup.
Fourth step:
After finishing with the shadows I took a thin brush and white paint and made an outline around the red shadow, separating the colors and thus obtaining the figure of the watermelon.
Also make two thin cat eyes to highlight the makeup, and in the red shadow add small dots with eyeliner to recreate the seeds of the watermelon.
Quinto paso:
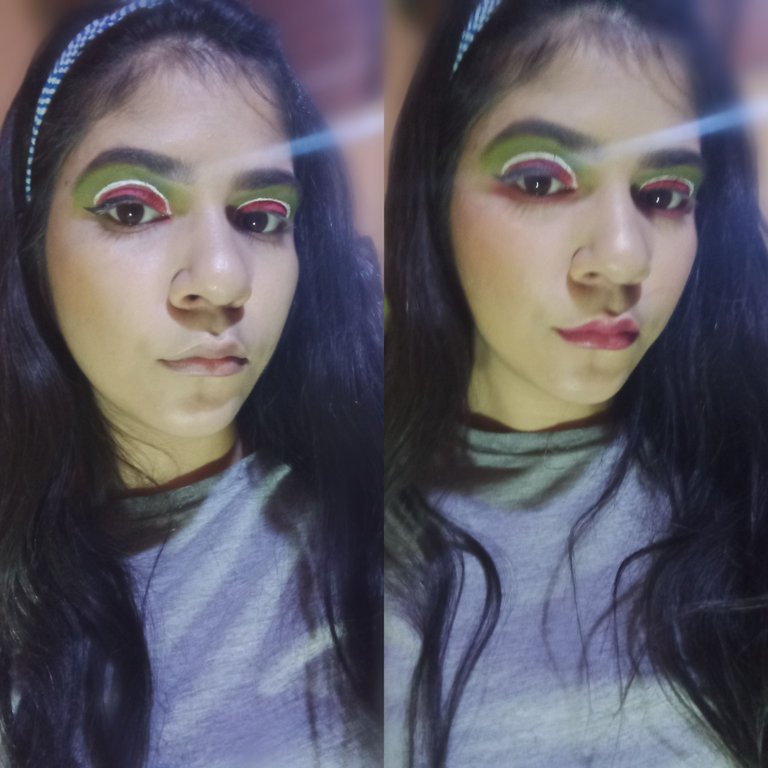
Aplique pequeños puntos de base en mi rostro y lo esparcí con mi Beauty blender, agregue contorno líquido siguiendo el hueso de mi pómulo y mi oreja, lo difumine con otro Beauty blender y también agregue un poco de bronzer.
Tras terminar con el contorno sellé todo con polvo suelto, luego agregue pintura labial roja en mis labios y brillo labial para resaltar el maquillaje.
Luego de esto aplique rubor e iluminador en mis pomulos y lo difumine con una brocha, ¡Y listo! Maquillaje terminado.
Fifth step:
I applied small dots of foundation on my face and spread it with my Beauty blender, added liquid contour following my cheekbone and ear bone, blended it with another Beauty blender and also added some bronzer.
After finishing with the contour I sealed everything with loose powder, then I added red lipstick on my lips and lip gloss to highlight the makeup.
After that I applied blush and highlighter on my cheeks and blended it with a brush, and that's it! Makeup finished.
El resultado / The result:
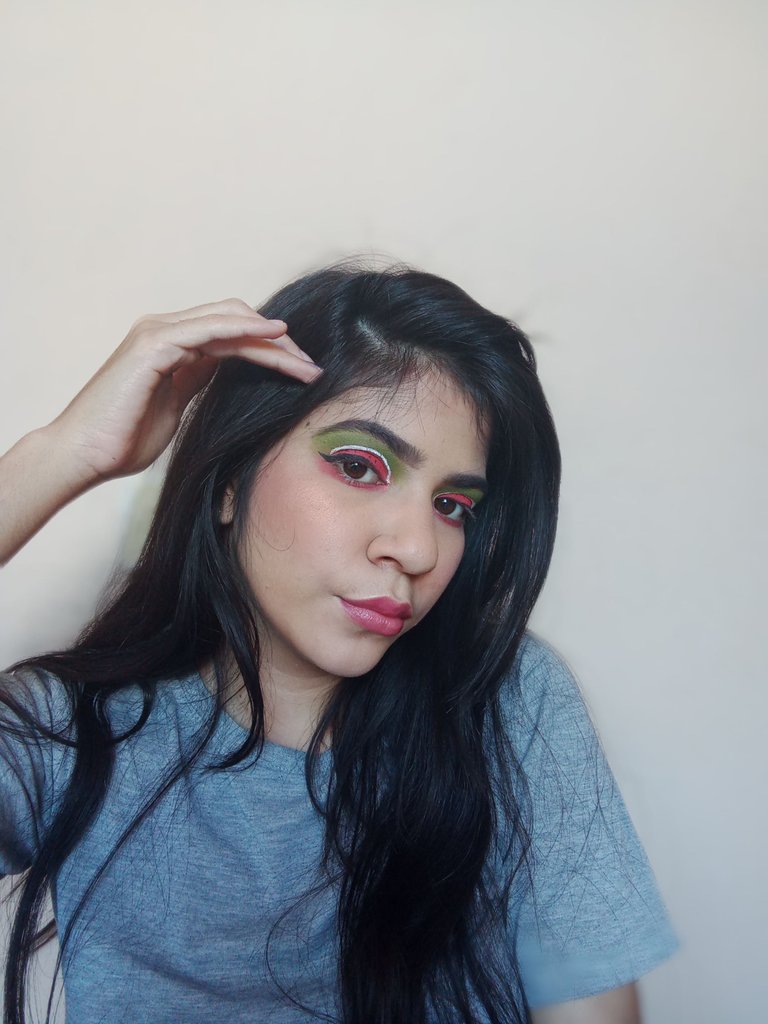
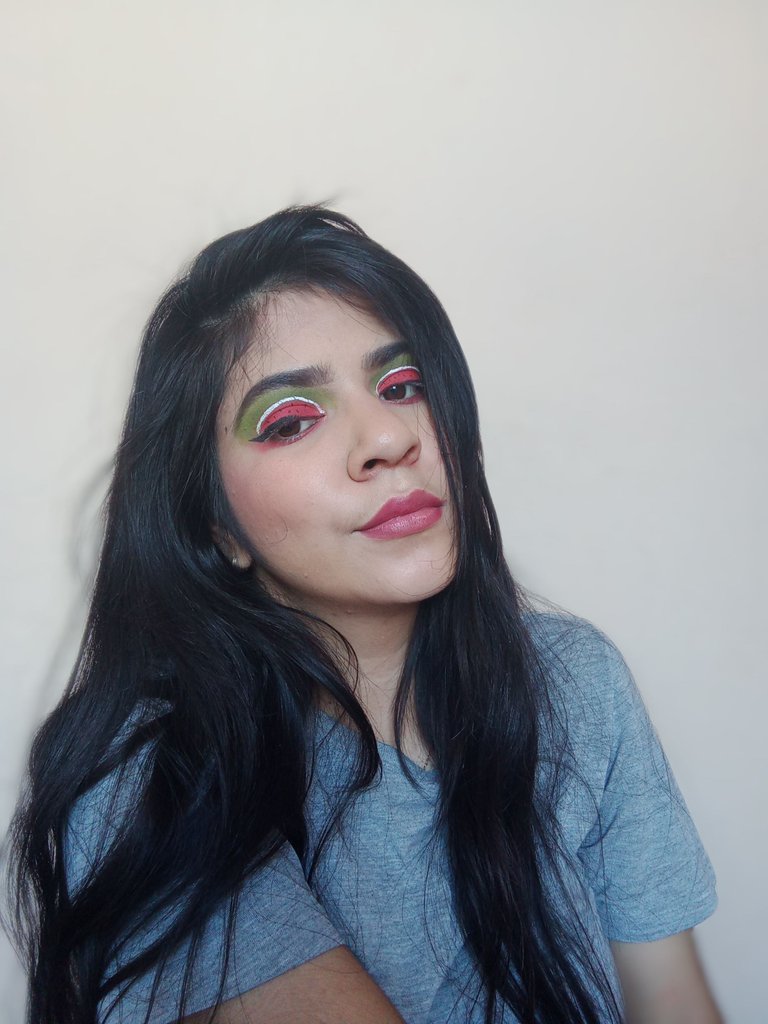
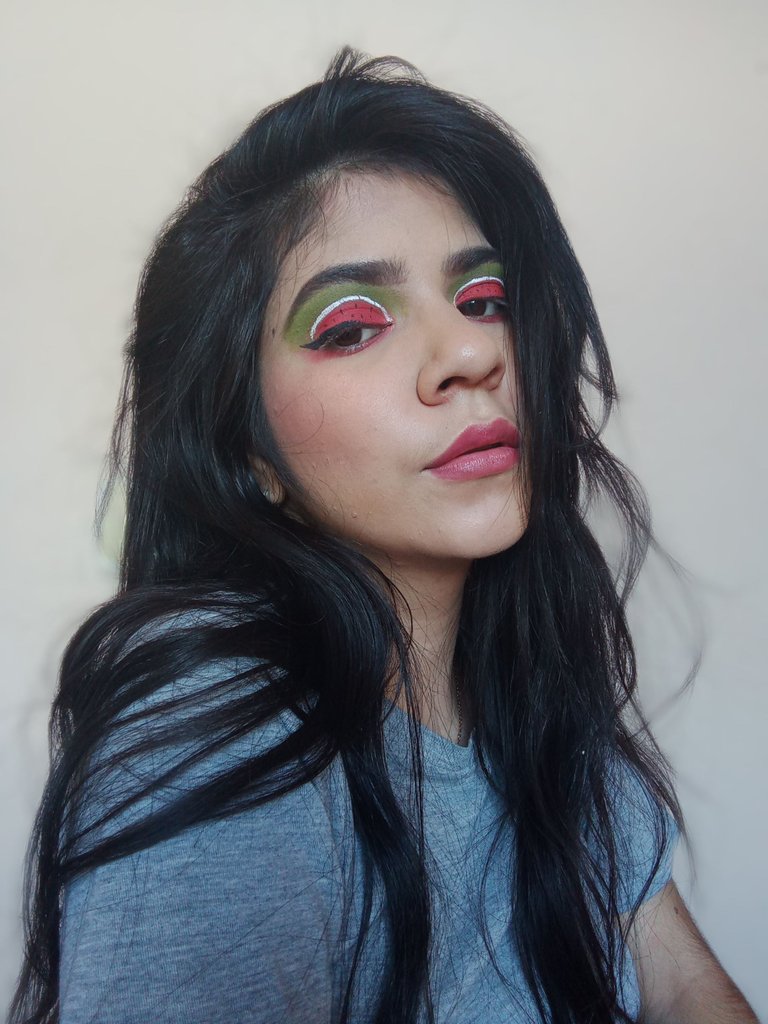
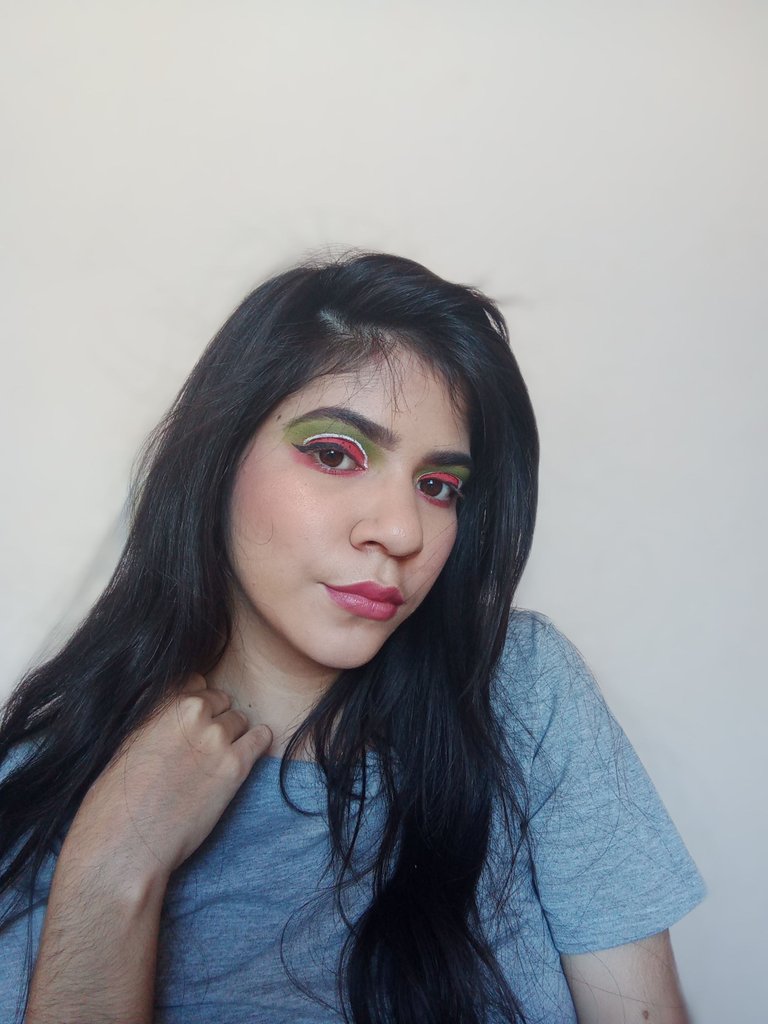
Espero que les haya gustado este maquillaje, desde hace un tiempo he querido hacer algo de este estilo pero hasta ahora fue que me anime ¡Nos leemos pronto, XOXO!
I hope you liked this makeup, I've been wanting to do something like this for a while but only now did I get around to it. See you soon, XOXO!
Cover edited in: Canvas.
Text translated with: DeepL.
All photos of the procedure and results belong to me.
Me gustó mucho tu maquillaje, sigue creando ideas nuevas y llegarás lejos.
Saludos y bendiciones.
Muchas gracias! Me alegro de que te haya gustado 🥺✨