ESPAÑOL • ENGLISH
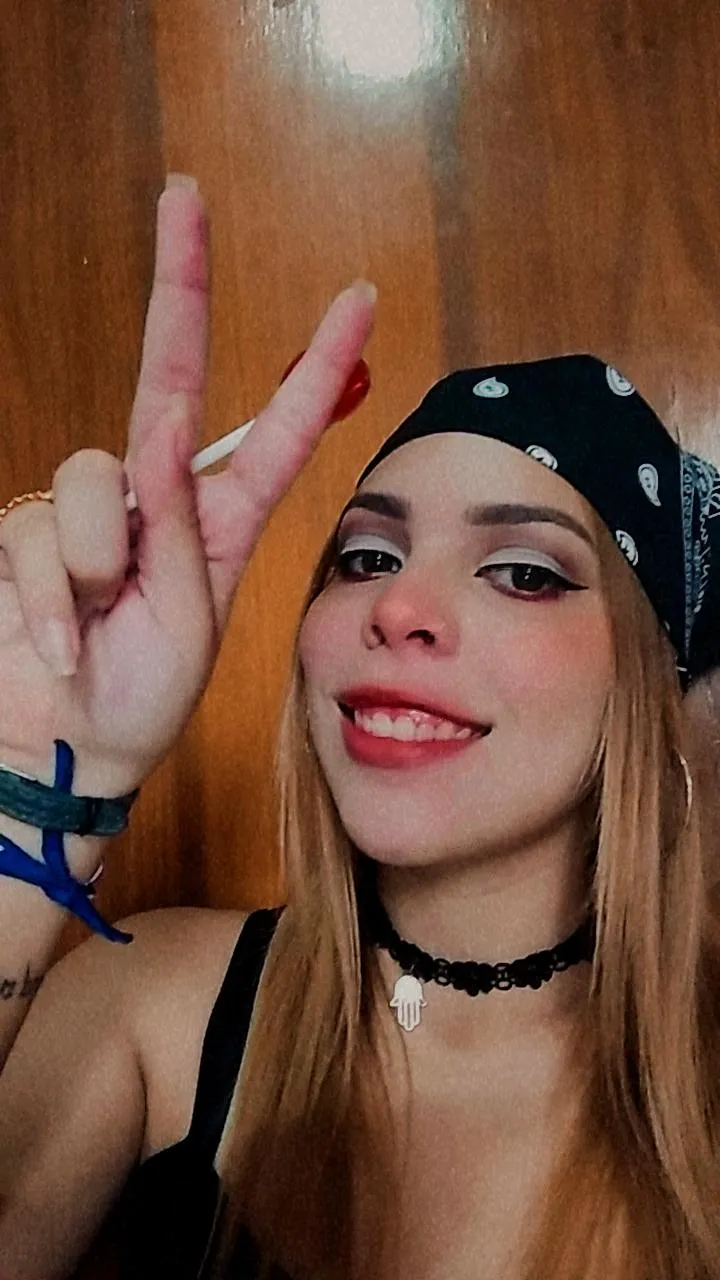
MUY MUY MUY BUENOS DÍAS HERMOSA COMUNIDAD, El día de hoy les comparto mi maquillaje que realicé con la idea de la moda Bad Girl, es un maquillaje relativamente sencillo y sutil en comparación a los maquillajes Darks que se basan en los colores oscuros y profundos, este maquillaje quise realizarlo colocándole un toque de color para darle vida a la mirada. En mi ciudad no es muy común ver a las personas maquilladas, más que todo se ven puros maquillajes sutiles y neutros por la calle así que cuando uno se maquilla de una forma peculiar tiene a llamar un poco más (mucho) la atención de los demás, gracias a dios al hacerme este maquillaje y salir recibí uno que otro comentario positivo de el, lo cual me puso muy feliz, sin más que acotar les dejo el procedimiento ❤️.
VERY VERY VERY GOOD MORNING BEAUTIFUL COMMUNITY, Today I share with you my makeup that I made with the idea of fashion Bad Girl, is a relatively simple and subtle makeup compared to the Darks makeup that are based on dark and deep colors, this makeup I wanted to make it by placing a touch of color to give life to the look. In my city is not very common to see people with makeup, mostly you see only subtle and neutral makeup on the street so when you make up in a peculiar way you have to call a little more (much) attention from others, thank god to do this makeup and go out I received one or another positive comment from him, which made me very happy, without further ado I leave you the procedure ❤️.

PROCEDIMIENTO • PROCEDURE
→ Bueno mis amores lo primero que hay que hacer es lavarnos bien la cara y aplicarnos una crema hidratante para preparar el rostro, es muy necesario este primer paso ya que nos ayuda a que la piel se vea radiante y fresca, además de ayudarnos a que el maquillaje no se vea pastoso. Luego lo que hice fue aplicarme base del respectivo tono de mi piel para unificarla, además de sellarla utilizando un polvo compacto para que de esta manera nos dure más el maquillaje. Al tener estos pasos listos lo siguiente que me realice fueron el relleno de las cejas, yo no soy muy fan de pintarlas de forma semipermanente por lo que prefiero rellenarlas y darle forma con una pomada para cejas, y sí, utilizo un tono marrón un poco oscuro teniendo el cabello rubio pero es porque me gusta el estilo de las cejas oscuras. Como ya tenía lo que necesitaba tener listo inicié con el maquillaje de los ojos, para comenzar aplique una sombra en tono café algo oscura en todo el párpado y lo fui difuminando poco a poco hacia afuera, en dirección a la ceja ya que esto sería nuestra base para el maquillaje.
Well my loves, the first thing to do is to wash our face well and apply a moisturizer to prepare the face, this first step is very necessary because it helps us to make the skin look radiant and fresh, besides helping us to make the makeup does not look pasty. Then what I did was to apply foundation of the respective tone of my skin to unify it, in addition to seal it using a compact powder so that in this way the makeup lasts longer. Having these steps ready the next thing I did was to fill in my eyebrows, I'm not a big fan of painting them semi-permanently so I prefer to fill them in and shape them with an eyebrow pomade, and yes, I use a dark brown tone having blonde hair but it's because I like the dark eyebrows style. Since I already had what I needed to have ready I started with the eye makeup, to start I applied a somewhat dark brown shadow all over the eyelid and blended it little by little outwards towards the eyebrow as this would be our base for the makeup.
→Lo siguiente que hice fue oscurecer ese tono café un poco más con una sombra más oscura, aplicando de poco a poco para no pasarme de más, y con una brocha bien chiquita la fui agregando en el pliegue del párpado, como haciendo una separación, la difumine pero no la llegué hasta arriba como la anterior sombre, sino que la deje ahí mismo en el pliegue. Con una brocha plana agarré un poquito de corrector claro y lo agregué en todo el párpado, para que de esta manera se notará mucho más la división y la sombra color beige se adhiera mucho mejor a esa zona del ojo.
The next thing I did was to darken that brown shade a little more with a darker shadow, applying it little by little so as not to overdo it, and with a very small brush I added it in the crease of the eyelid, as if making a separation, I blurred it but I didn't go all the way up like the previous shade, I left it right there in the crease. With a flat brush I took a little bit of light concealer and added it all over the eyelid, so that the division would be much more noticeable and the beige shadow would adhere much better to that area of the eye.
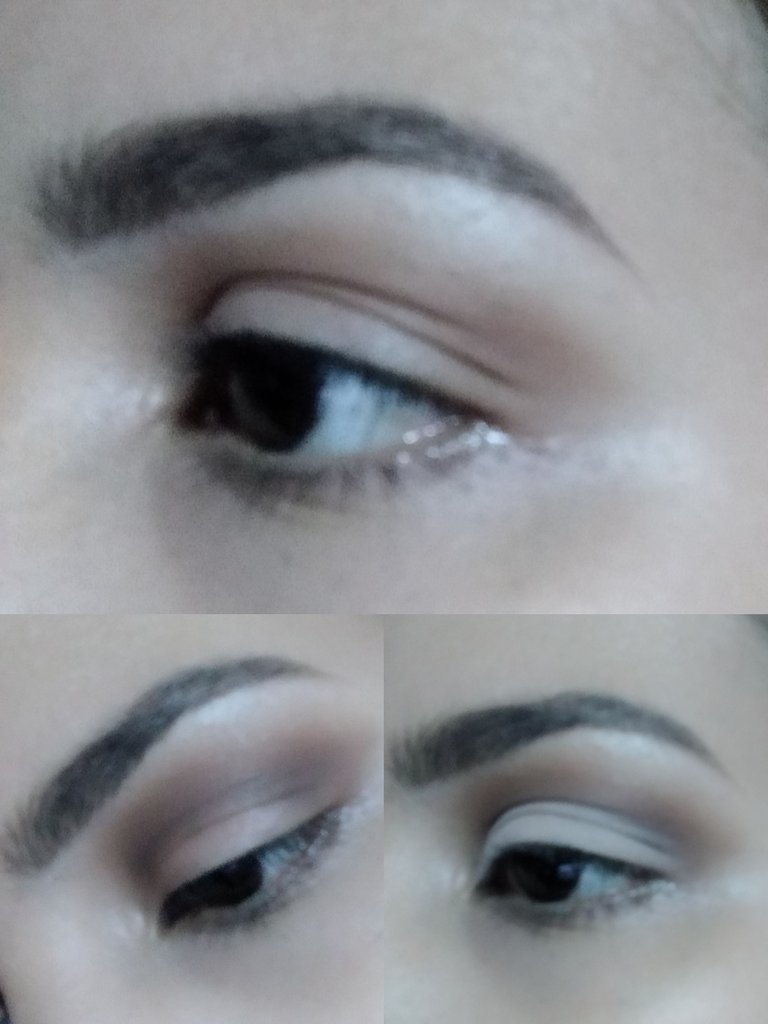
→ Luego tomé una sombra en color rojo y la apliqué en el párpado inferior, por toda la línea de las pestañas para darle ese toque más impactante al maquillaje y lo combine con un lápiz para ojos color rojo el cual apliqué en la línea de agua. Me hice un delineado algo fino y un poquito largo para lo que acostumbro a hacerme ya que no me puse pestañas postizas esta vez, solo agregué máscara de pestañas tanto en las pestañas superiores como en las inferiores, lo último a seguir fué aplicar el iluminador en el área del lagrimal, el arco de la ceja, en la nariz y en la parte superior de los pómulos, no me puse labial sino que solo agregué un brillo.
Then I took a red eye shadow and applied it on the lower eyelid, along the lash line to give it that more impactful touch to the makeup and I combined it with a red eye pencil which I applied on the water line. I did a thin eyeliner and a little long for what I usually do because I did not put false eyelashes this time, I only added mascara on both the upper and lower lashes, the last thing to follow was to apply the highlighter in the area of the tear, the arch of the eyebrow, on the nose and on top of the cheekbones, I did not put lipstick but only added a gloss.
→ Aprovecho para mostrarles la hermosa pañoleta que me compré el pasado sábado, me encanta demasiado que no quiero ni quitarmela jajaja.
I take this opportunity to show you the beautiful scarf I bought last Saturday, I love it so much that I don't even want to take it off hahaha.


RESULTADO •RESULT
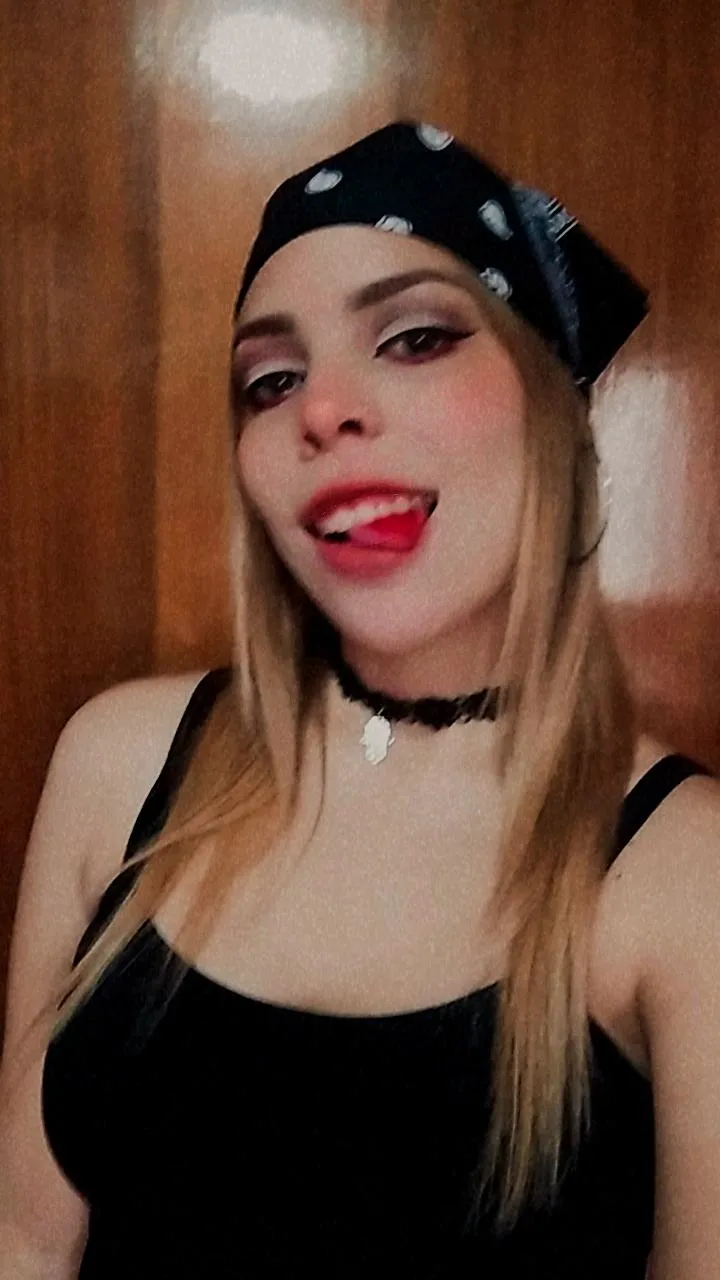
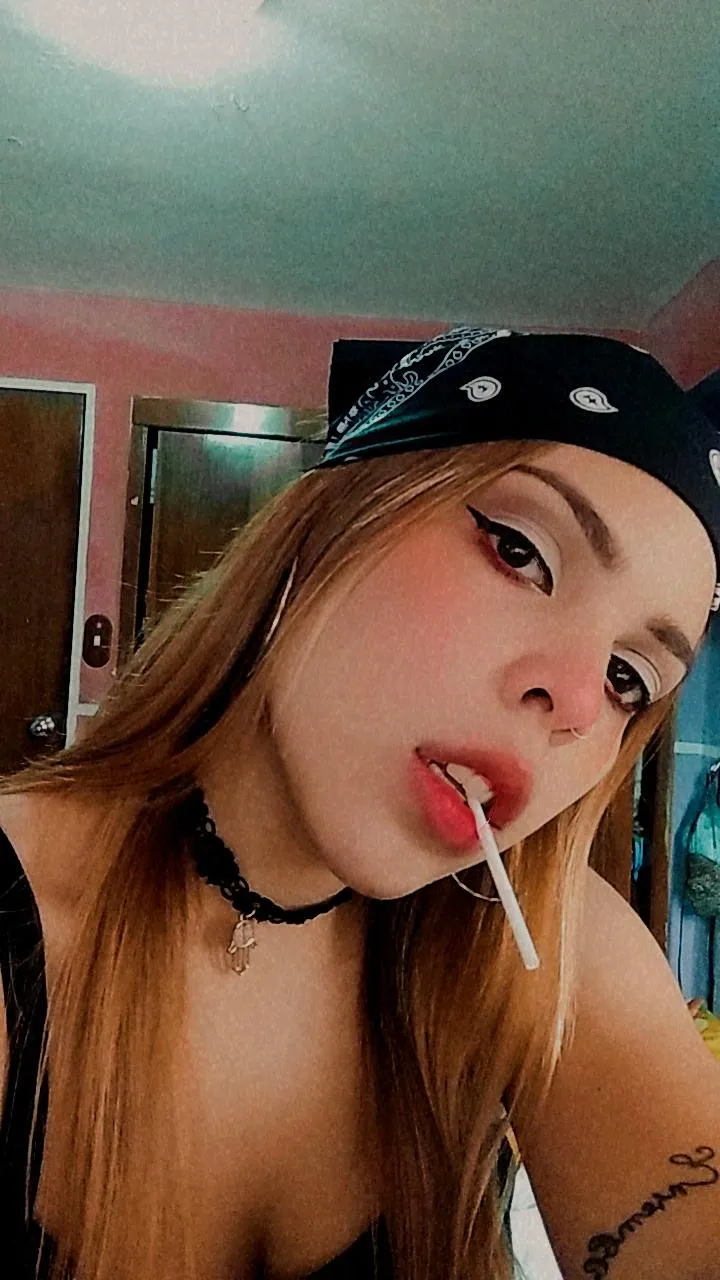
Espero que les gustara mi maquillaje del día de hoy, si gustan comentarme que tipo de maquillajes son los que más les gustan para poder recrearlos estaré muy feliz de leerlos, que tengan una semana llena de bendiciones y prosperidad, nos leemos en el próximo post. 💗
I hope you liked my makeup today, if you like to tell me what kind of makeup are the ones you like the most to recreate them I will be very happy to read them, have a week full of blessings and prosperity, see you in the next post. 💗
Traducción de texto con / Text translated with: DeepL.
Photos edited with: PicsArt.
Separadores hechos con: PicsArt.
All photos are my own