

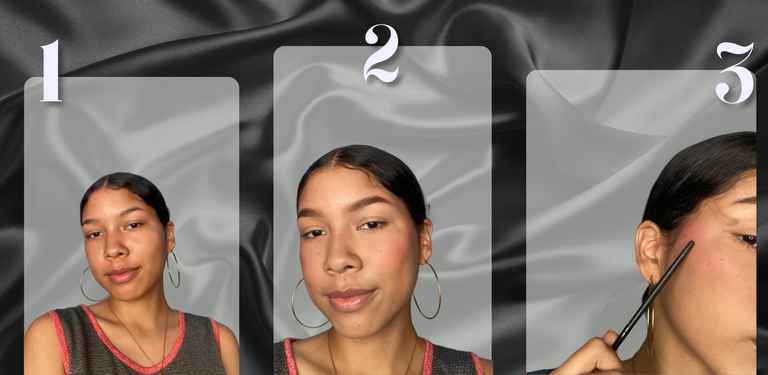
Lo primero que hice fue tomar una sombra café y con un pincel delgado dibujar la forma para que queden ambos ojos lo más simétricos posibles. Intenta que la línea que sale hacia la sien siga la línea natural de tus pestañas inferiores.
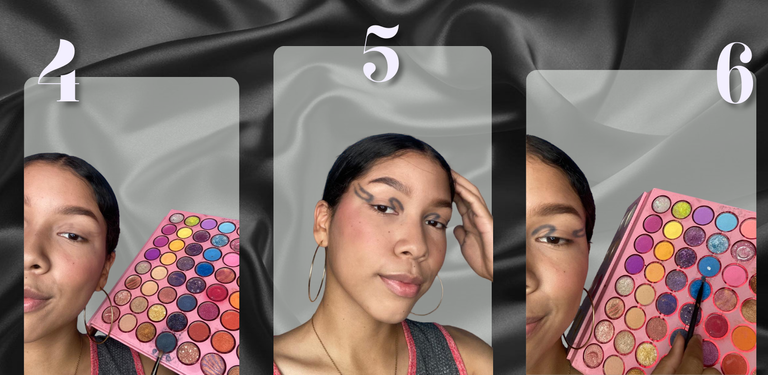
Con un tono azul muy oscuro marco las líneas que dibujé, intenta depositar la mayor cantidad de color posible y no usar una brocha muy amplia para evitar que sombrees más espacio del necesario. Uso un tono de azul medio y repito las líneas pero más hacia adentro para que aún se perciba el tono que colocamos primero.
Antes de difuminar utilizo un último tono muy claro, de nuevo repasando las líneas hasta la parte interior del ojo y dejando visibilidad a los tonos anteriores. Ahora sí, con una brocha limpia difumino las líneas, si la más oscura se te pierde un poco puedes repasar con cuidado el color. Ahora se ven un poco desordenados los bordes pero en el siguiente paso lo vamos a solucionar.
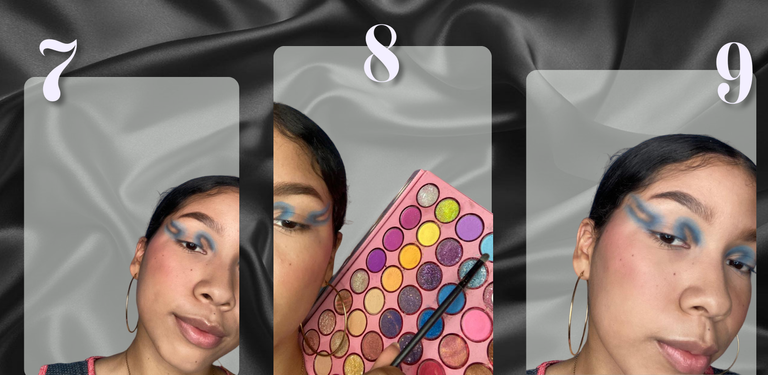
Con una brocha muy pequeña tomo corrector y empiezo a definir los bordes externos. Si se te ha corrido mucho el color puedes retirar el exceso con un hisopo y luego aplicar el corrector.
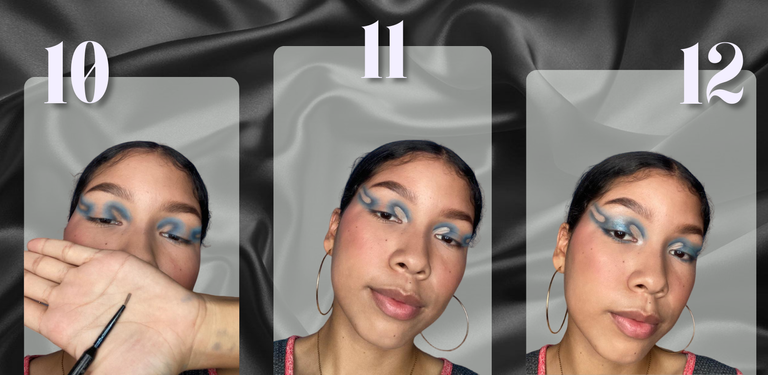
Para complementar el look aplico sombra satinada azul en el centro del párpado y sombra azul oscuro en las pestañas inferiores y lo extiendo un poco fuera del ojo, por eso les dije que la línea saliente siguiera la forma natural de las pestañas inferiores, ambas contribuyen a que el ojo se vea alargado.
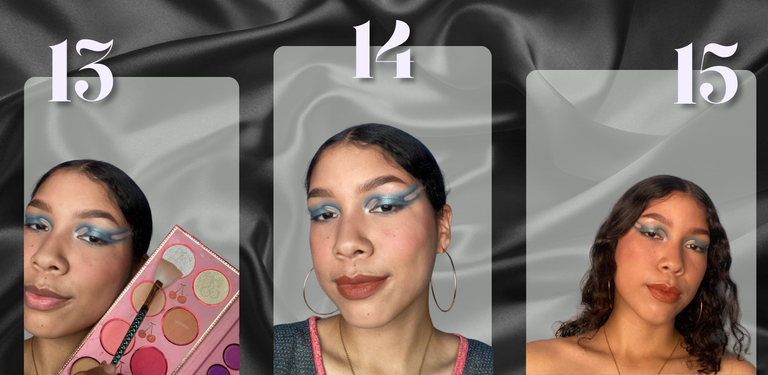
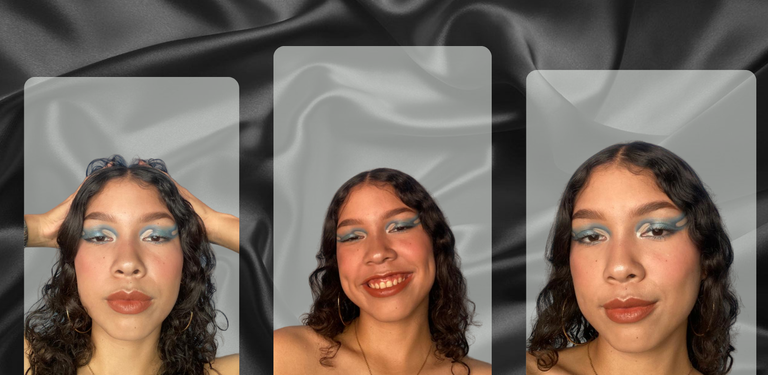
Como últimos detalles aplico rímel, iluminador y labial, ¡voilá! Estamos listas. Espero te haya gustado este maquillaje tanto como a mí hacerlo, recuerda que estoy abierta siempre a sugerencias y que si lo recreas en alguna ocasión puedes etiquetarme en tu post. Nos vemos en un próximo look, les mando un apapacho <3.


La portada y separadores fueron editados en Canva App, el fondo de las imágenes fue retirado mediante Photoroom y el texto fue traducido en DeepL App.


Hello, hello, community! How have you been? It's been a while since I've stopped by, but last week I remembered a trend that was recently active and decided to get inspired by it for a pretty blue makeup that I'll be sharing with you. To make the reading lighter I've skipped the skin and brow process, you guys can do them as usual. I will be bringing you my skin and brow tutorial soon, but today what we came for.


The first thing I did was to take a brown shadow and with a thin brush draw the shape so that both eyes are as symmetrical as possible. Try to make the line that comes out towards the temple follow the natural line of your lower lashes.

With a very dark blue tone I mark the lines I drew, try to deposit as much color as possible and do not use a very wide brush to avoid shading more space than necessary. I use a medium shade of blue and repeat the lines but more inward so that the tone we placed first is still perceived.

Before blending, I use a last very light shade, again going over the lines up to the inner part of the eye and leaving visibility to the previous shades. Now, with a clean brush I blend the lines, if the darker one gets a bit lost you can carefully go over the color. Now the edges look a bit messy but in the next step we are going to fix it.

With a very small brush I take concealer and start to define the outer edges. If you have smudged a lot of color you can remove the excess with a cotton swab and then apply the concealer.

To complete the look I apply blue satin shadow in the center of the eyelid and dark blue shadow on the lower lashes and extend it a little outside the eye, that's why I told them that the protruding line should follow the natural shape of the lower lashes, both contribute to make the eye look elongated.

As finishing touches I apply mascara, highlighter and lipstick, voila! We are ready. I hope you liked this makeup as much as I did, remember that I'm always open to suggestions and if you recreate it on any occasion you can tag me in your post. See you in a next look, I send you a love <3.


The cover and dividers were edited in Canva App, the background of the images was removed using Photoroom and the text was translated in DeepL App.

Saludos @nievesgl! Muy exótico tu maquillaje me gustó mucho 😊🌷
Tu maquillaje siempre te queda precioso, muero 🥹. Ojalá yo tener tanto talento para eso