Hola, buenos días/tarde/noche a todas las personas que hacen vida en la comunidad de Hive. Hace días vi una iniciativa de nuestra amiga @tefyart de recrear un maquillaje de los 60's , me parecio una excelente idea y me quise unir porque amo el maquillaje de esta época.
Hello, good morning / afternoon / evening to all the people who make life in the Hive community. Days ago I saw an initiative of our friend @tefyart to recreate a makeup from the 60s, it seemed like an excellent idea and I wanted to join because I love makeup from this time.
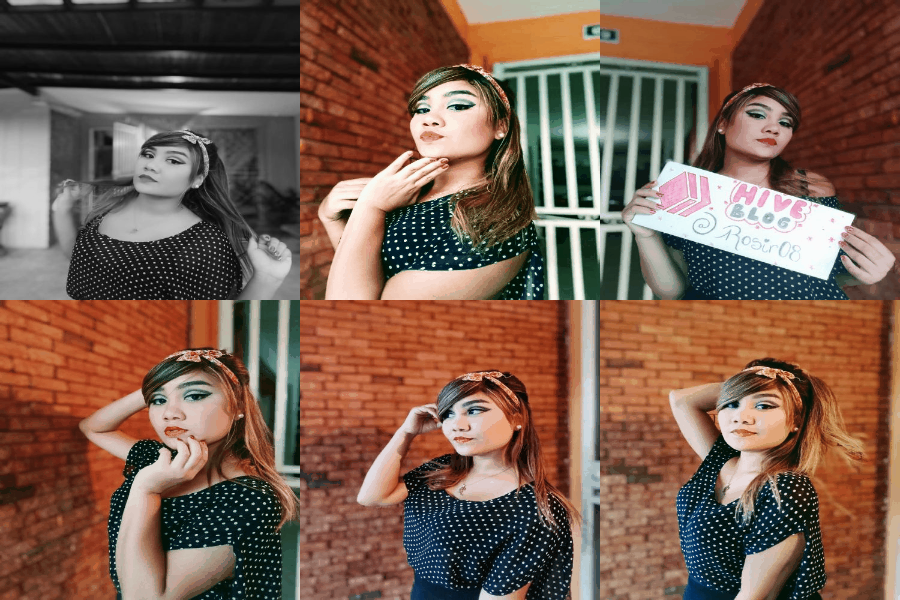
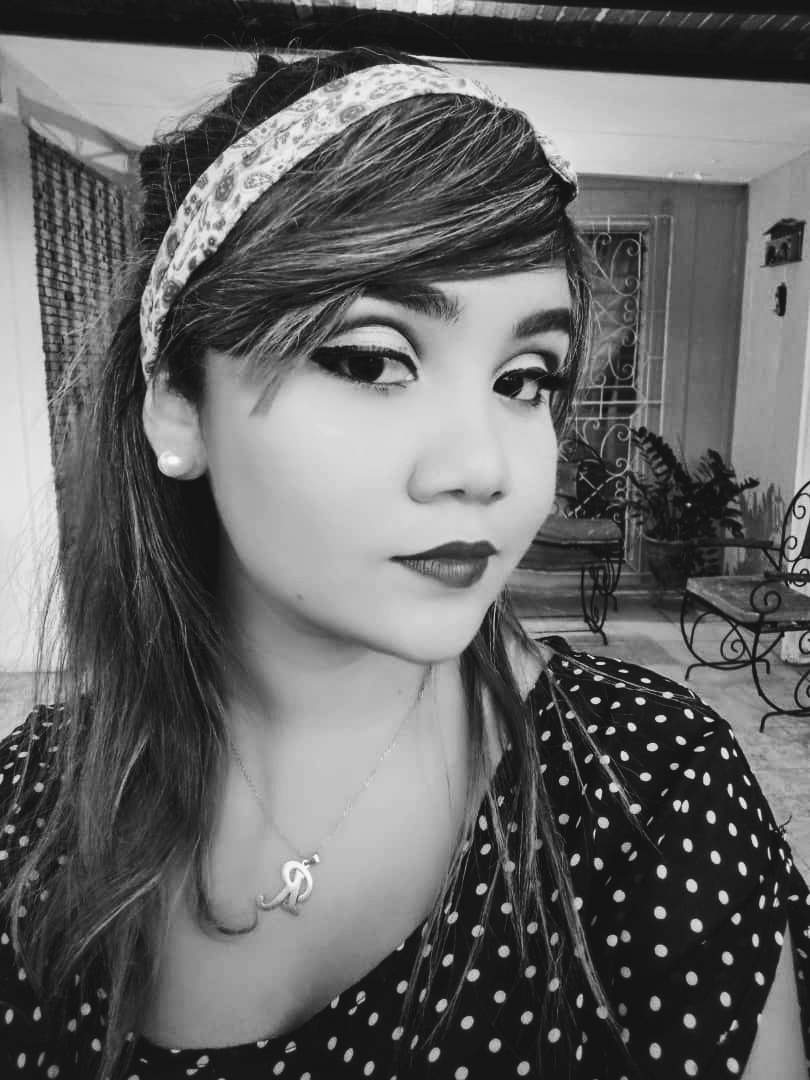
El maquillaje de esta época se centra en los ojos, por primera vez comenzaban a delinearse los ojos al estilo gatuno, se resaltaban mucho porque la intención era hacerlos ver mas grandes.
The makeup of this time focuses on the eyes, for the first time the eyes began to be outlined in the cat style, they were highlighted a lot because the intention was to make them look bigger.
.jpg)
A continuación, MI forma de realizarlo (Quiero aclarar que no soy maquilladora profesional, solo es hobby).
My way of doing it (I want to clarify that I am not a professional makeup artist, it is just a hobby)
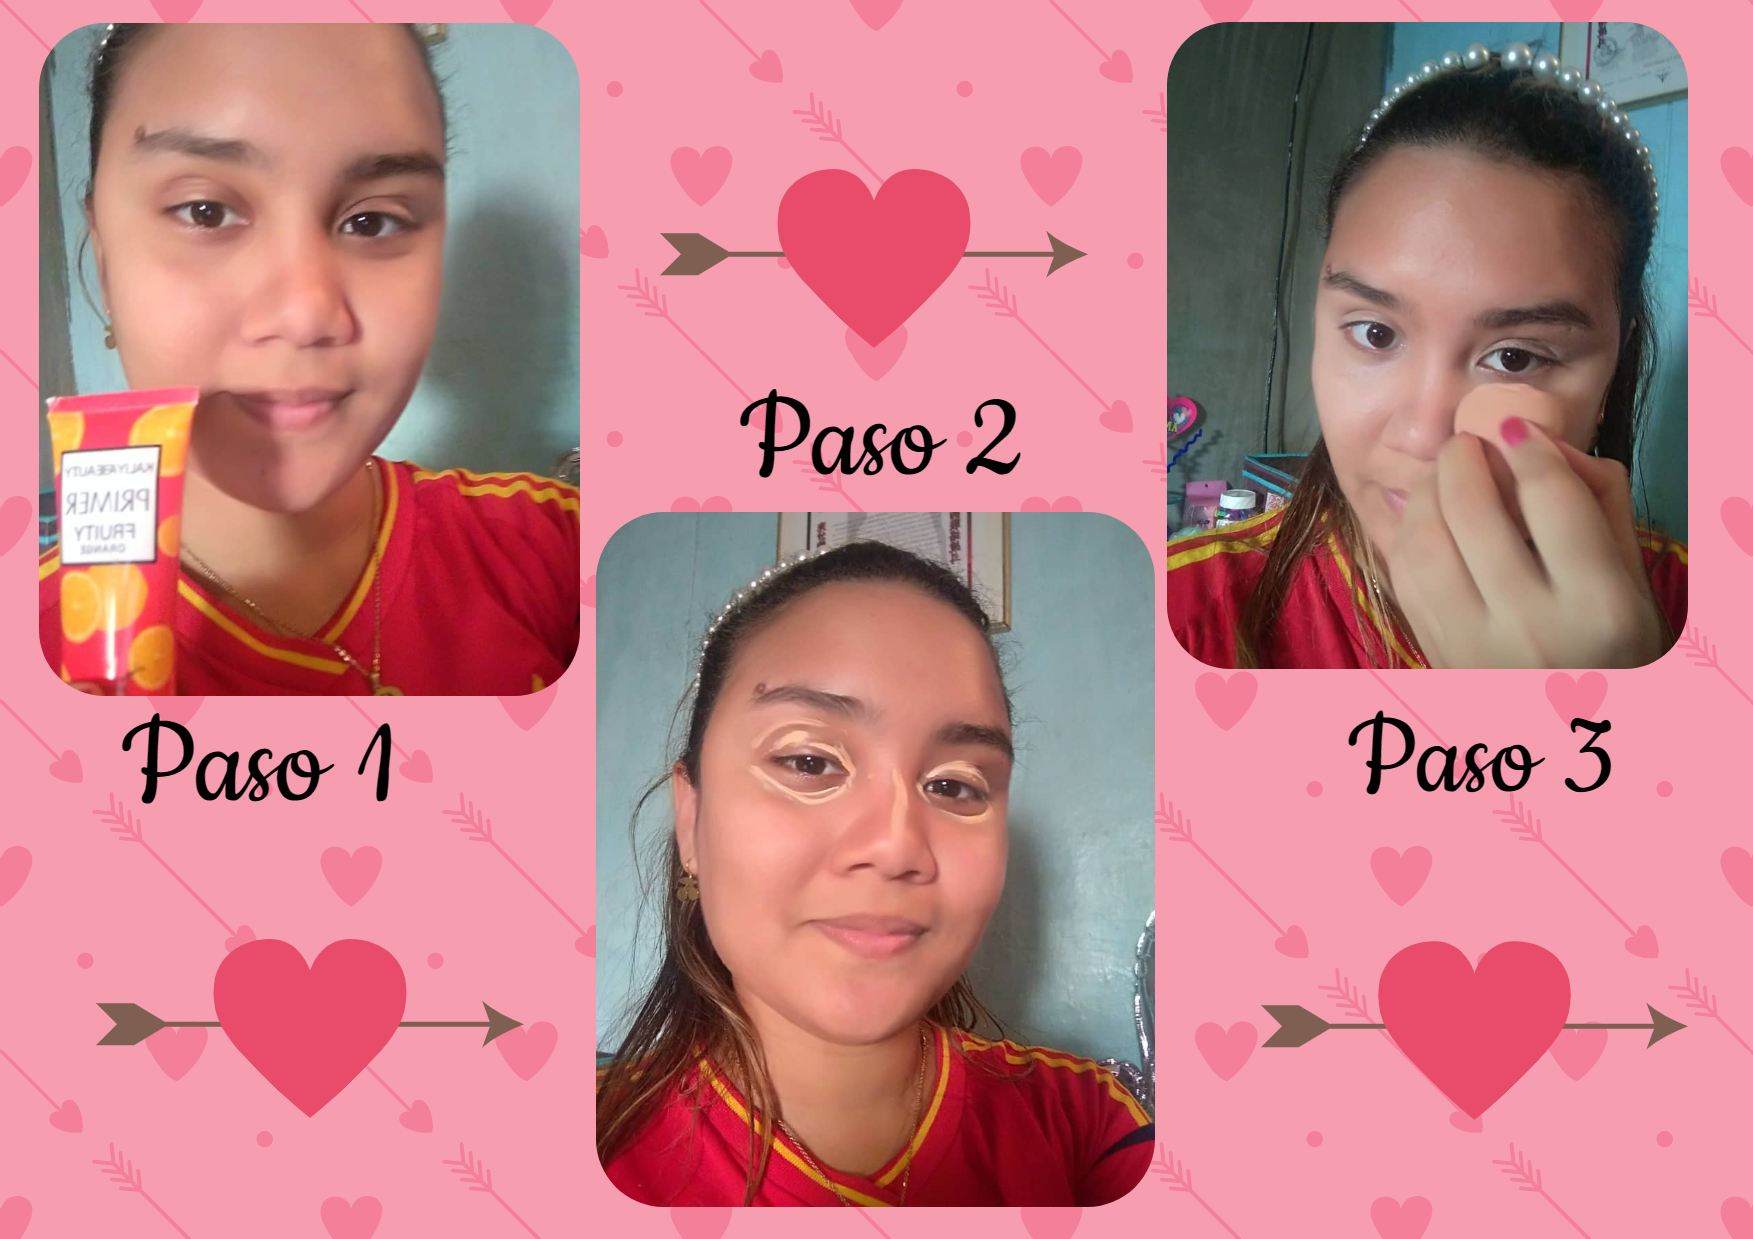
• Paso 1: Primero hidrate, exfolie y lave mi cara. Luego procedí a aplicarme el primer, para acondicionar la piel y dejarla preparada para la aplicación de la base
• Paso 2: Coloque un poco de corrector en la zona de mis ojos, para así, al momento de aplicar las sombras, los colores resalten muchísimo mas.
• Paso 3: Difumine con la ayuda de una beauty blender.
• Step 1: First hydrate, exfoliate and wash my face. Then I proceeded to apply the primer, to condition the skin and make it ready for the application of the foundation.
• Step 2: I put a little concealer in the area of my eyes, so that, when applying the shadows, the colors stand out much more.
• Step 3: blend with the help of a beauty blender.
.jpg)
• Paso 4: En la zona del parpado movil procedemos a aplicar la sombra. Es recomendable usar una sombra blanca, azules o tonos pasteles, pues eran las tonalidades que que usaban en esa época. En mi caso use un color champagne.
• Paso 5: En esta fase, vamos a utilizar un color oscuro en el hueso de la cuenca del ojo, en el párpado superior, formando una media luna desde el lagrimal hacia el extremo del ojo. En mi caso utilice un color marrón muy oscuro, casi que llegando a negro.
• Step 4: In the area of the mobile eyelid we proceed to apply the shadow. It is advisable to use a white, blue or pastel shade, since they were the tones that were used at that time. In my case I used a champagne color.
• Step 5: In this phase we are going to use a dark color in the bone of the eye socket, in the upper eyelid, forming a crescent from the tear duct towards the end of the eye. In my case I used a very dark brown color, almost reaching black.
.jpg)
.jpg)
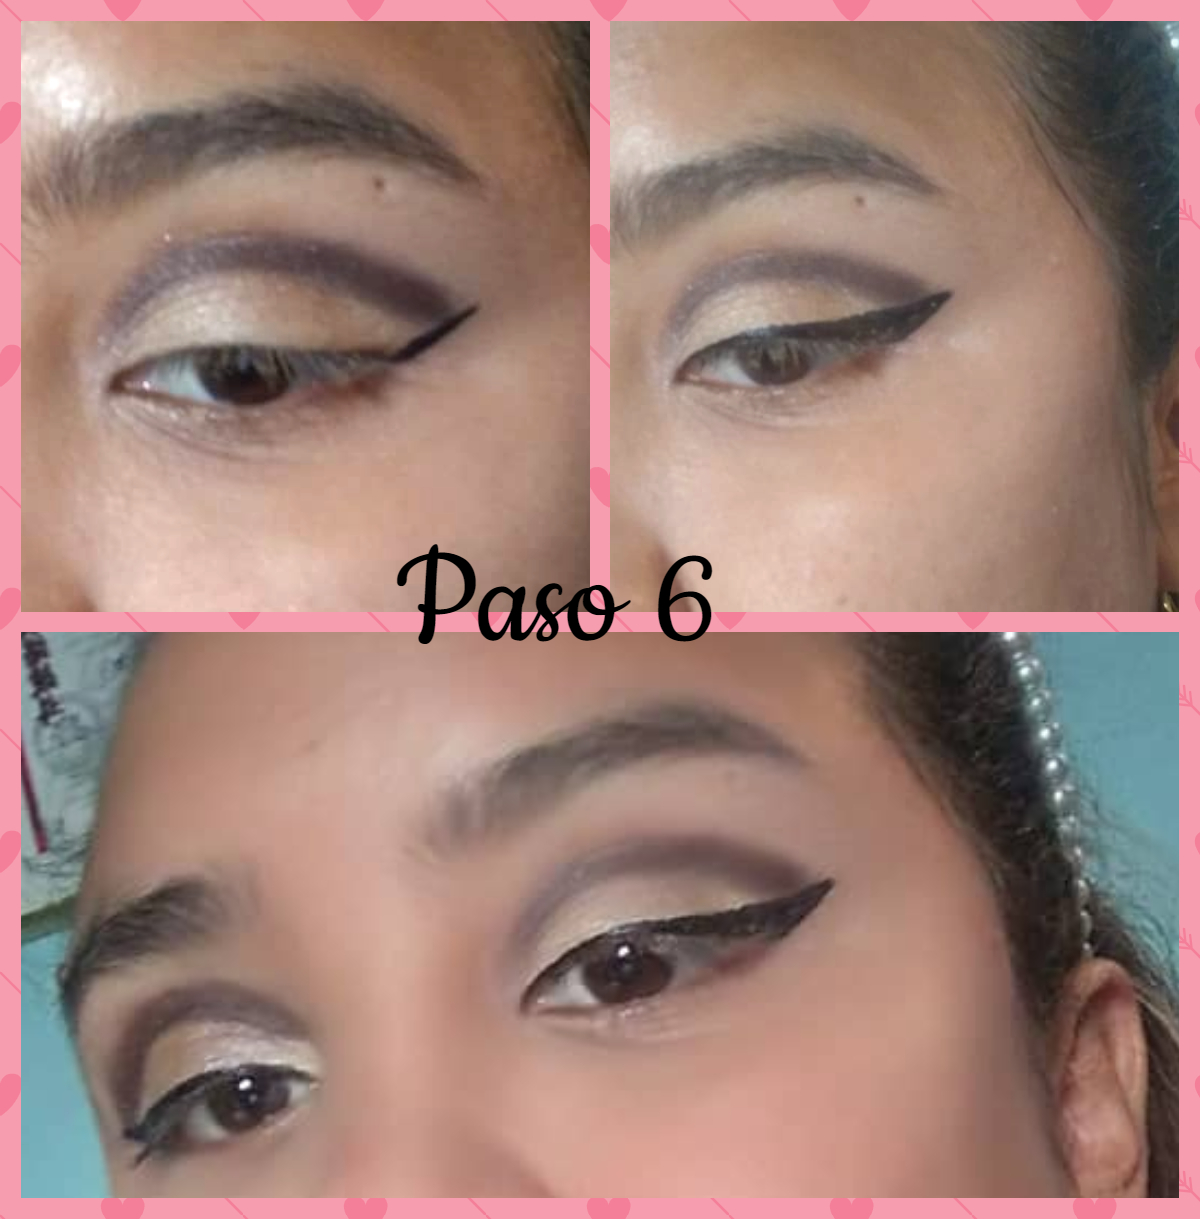
• Paso 6: Mi parte favorita, ¡EL DELINEADO! Muchas personas encuentran este paso algo difícil, ya sea porque no tienen pulso para eso, o sencillamente no logran obtener la forma deseada. Yo era una de esas, practicaba y practicaba y nada. Hasta que con esfuerzo logre aprender, el truco esta en hacer una pequeña linea al final del ojo, puede ser larga o pequeña dependiendo de que tan llamativo o discreto quieras tu delineado, sin despegar el delineador vas a llevarlo al centro del ojo, luego en la zona del lagrimal iras haciendo una delgada linea hasta el centro del otro , uniéndola con la anterior y vas dando forma. Recomiendo llenarte de paciencia y empezar a practicar con un delineador en forma de plumón, es sumamente sencillo.
• Step 6: My favorite part, the eyeliner! . Many people find this step difficult, either because they do not have a pulse for it, or they simply cannot get the shape they want. I was one of those, I practiced and practiced and nothing. Until you can learn with effort, the trick is to make a small line at the end of the eye, it can be long or small depending on how striking or discreet you want your eyeliner, without taking off the eyeliner you are going to take it to the center of the eye, then in The tear duct area will go by making a thin line to the center of the other, joining it with the previous one and you are giving shape. I recommend filling yourself with patience and starting to practice with a down-shaped eyeliner, it is extremely simple.
.jpg)
• Paso 7: Aplicamos la base en nuestro rosto y con la ayuda de una beauty blender o brocha extendemos por toda la cara
• Paso 8:
Sellamos con el polvo de nuestra preferencia (compacto o suelto) Decidí usar un polvo suelto.
• Step 7: We apply the base on our face, spread it and blend it with our beauty blender or brush.
• Step 8: We seal with the powder of our preference (compact or loose) I decided to use a loose powder.
.jpg)
• Paso 9: Quitamos el exceso de polvo con la ayuda de una brocha, para que nuestro maquillaje se vea mas natural. Procedí a sombrearme un poco las cejas, en los 60's eran muy usadas las cejas tipo arco, pero preferí sombrearmelas como normalmente lo hago, pues siento que por la forma de mi rostro se me ve mejor así.
• Step 9: We remove the excess powder with the help of a brush, so that our makeup looks more natural. I proceeded to shade my eyebrows a bit, in the 60's arch-type eyebrows were widely used, but I preferred to shade them as I normally do, because I feel that because of the shape of my face I look better that way.
.jpg)
• Paso 10 : ( OPCIONAL) Colocamos las pestañas de nuestra preferencia. Otra característica de los ojos en los años 60 eran las pestañas muy exageradas, la mayoria se dibujaban pestañas en la parte inferior del ojos, como la modelo Twiggy.
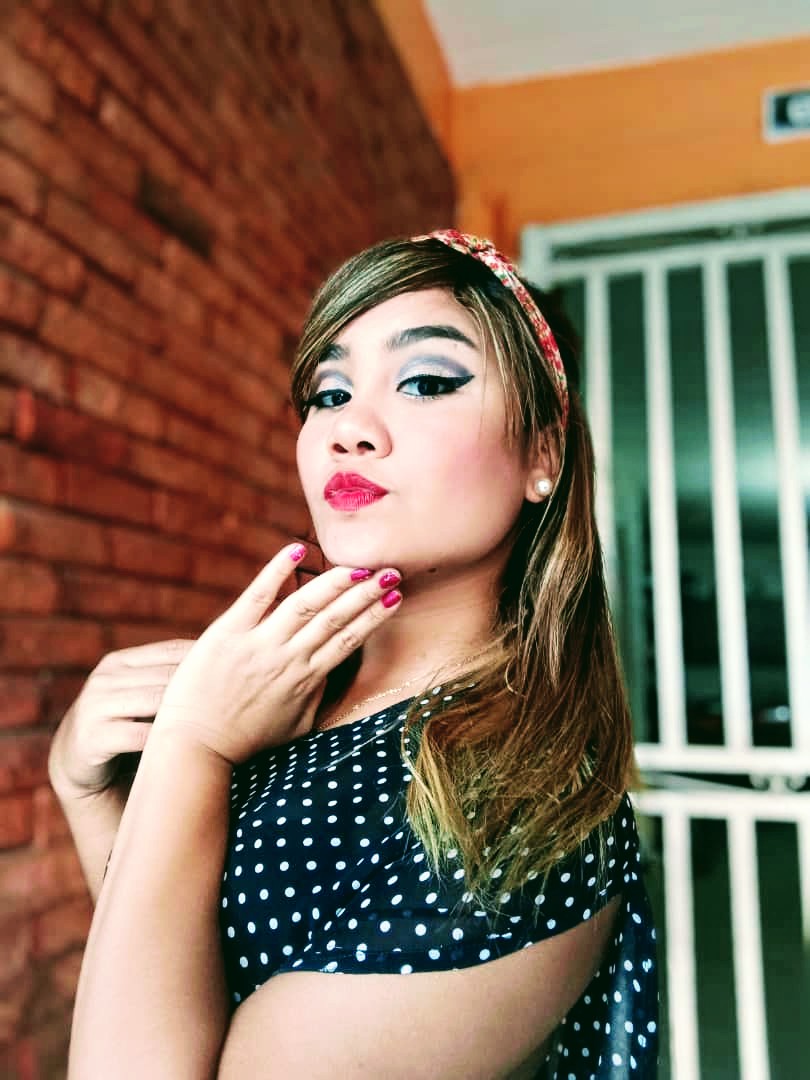
• Paso 11: Un poco de rubor y listo. Terminamos nuestro maquillaje aplicando lápiz labial. Decidí usar uno rojo, ya que es mi color de labios favorito, me transporta a los viejos tiempos.
• Step 10: (OPTIONAL) We placed the eyelashes of our preference, since another characteristic of the eyes in the 60s was the very exaggerated eyelashes, most of them drew eyelashes in the lower part of the eyes, like the Twiggy model.
• Step 11: A little blush and voila. We finish our makeup by applying lipstick. I decided to wear a red one, as it is my favorite lip color, it transports me back to the old days.
.jpg)
.jpg)
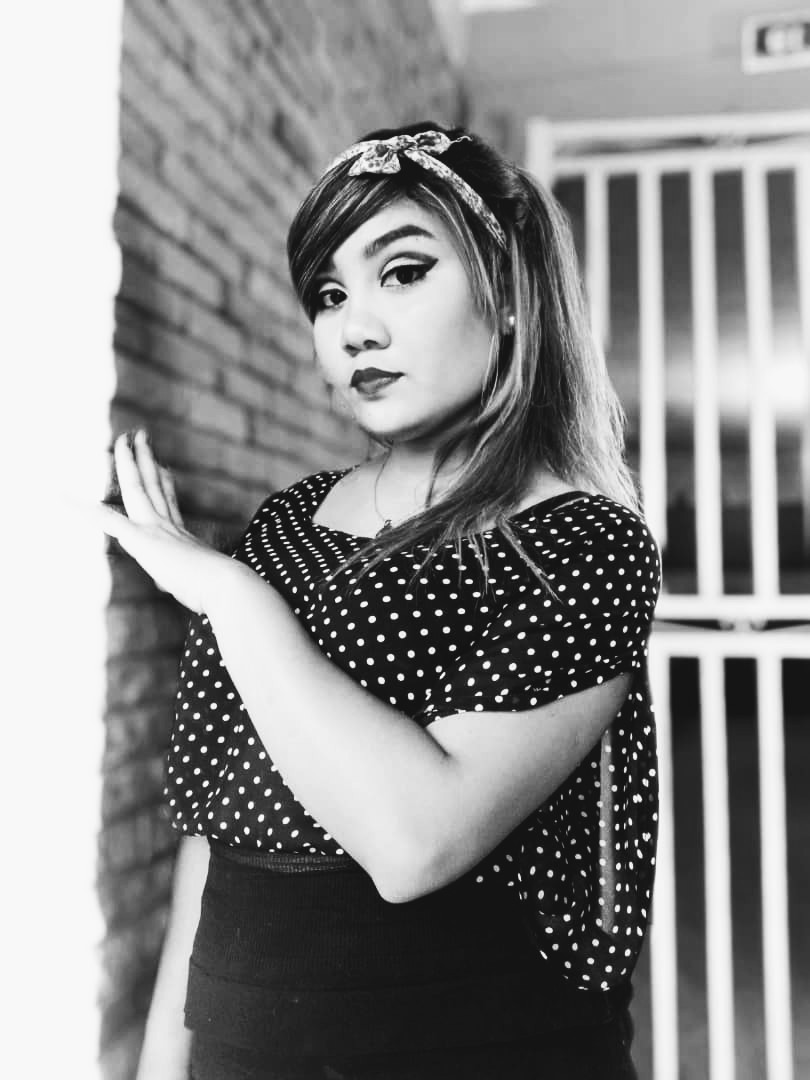
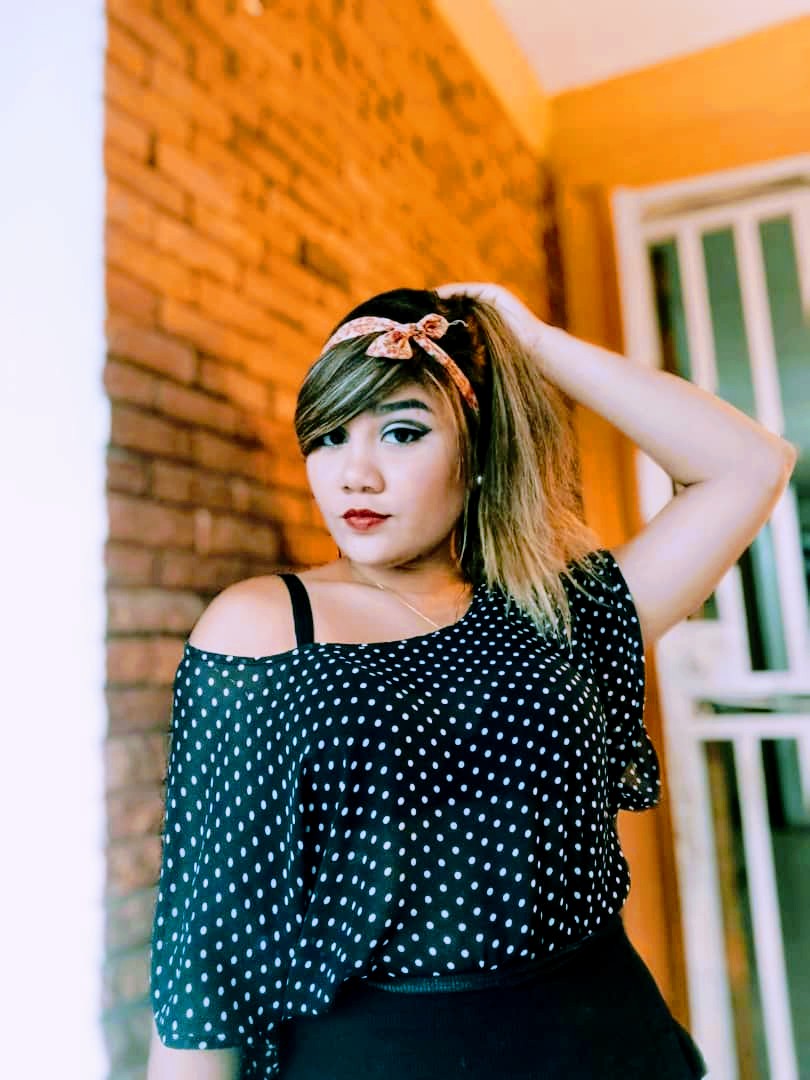
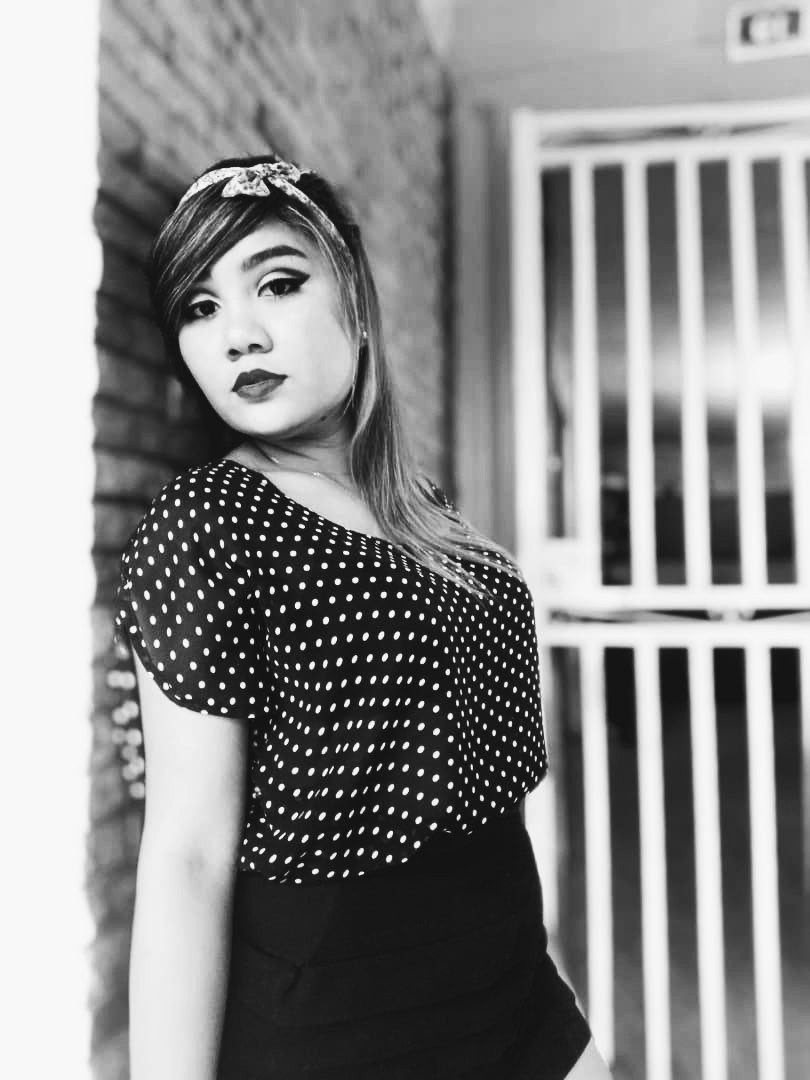
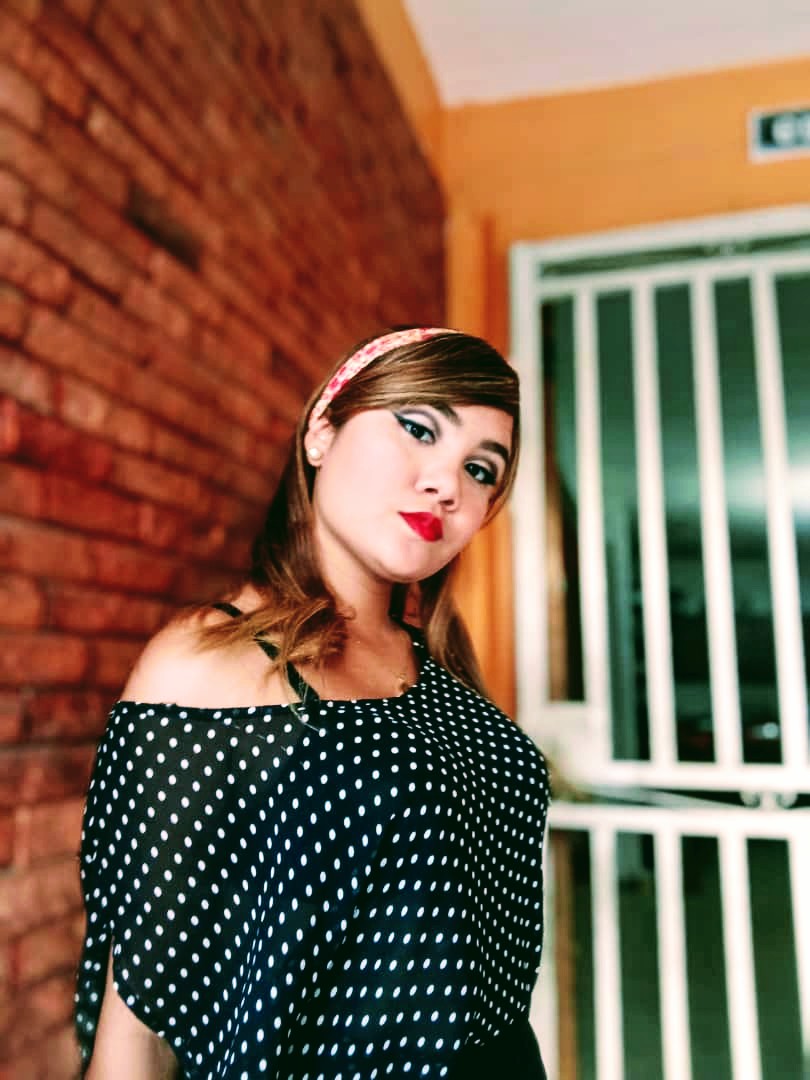
• Con el maquillaje completamente terminado, decidí completar el atuendo con un peinado de la época, una diadema y una camisa de lunares blancos que me recordaba a los años 60.
• With the makeup completely finished, I decided to complete the outfit with a hairstyle from the period, a headband and a white dotted shirt that reminded me of the 60's.
Espero les haya gustado tanto como a mi ♥•♥
I hope you liked it as much as I did ♥ • ♥
Gracias a todos por leerme, Me despido amigos, pero no sin antes etiquetar al administrador de esta comunidad @mintdreams y a la comunidad de curadores @appreciator, @rocky1 y @upmewhale @blocktrades , @curie @kpine @cervantes @trafalgar @ocd @ocdb
Thank you all for reading, I say goodbye friends, but not before tagging the administrator of this community @mintdreams and the community of curators @appreciator, @rocky1 and @upmewhale @blocktrades, @curie @kpine @cervantes @trafalgar @ocd @ocdb
Cualquier consejo o sugerencia sera bien recibida♥
Any advice or suggestion is welcome ♥

.jpg)
.jpg)
.jpg)
.jpg)
.jpg)
.jpg)
.jpg)
.jpg)
.jpg)


Wow you really transformed into that 60s look, good job.
Thank you so much ♥
Congratulations @rosir08! You have completed the following achievement on the Hive blockchain and have been rewarded with new badge(s) :
Your next target is to reach 50 replies.
You can view your badges on your board and compare yourself to others in the Ranking
If you no longer want to receive notifications, reply to this comment with the word
STOPCheck out the last post from @hivebuzz:
Support the HiveBuzz project. Vote for our proposal!
Ohh que hermosaaa, me encanta tu maquillaje, y todo tu look se ve hermoso, muchísimas gracias por participar mi bella, saludos!!!
Graciaaas a ti amiga, por esta linda iniciativa.. me encantooo
Hermosa ❤ me encantó tu maquillaje
Graciaaas de verdad, me alegra que te gustara ❤