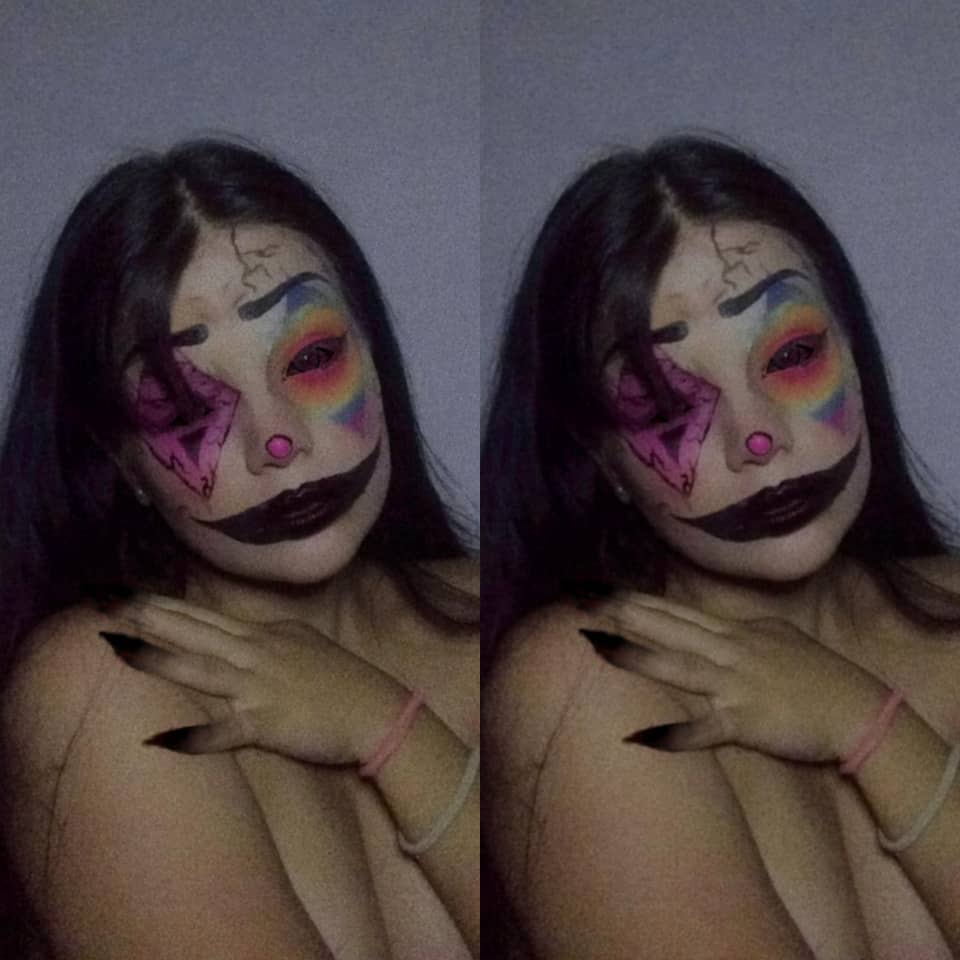
Buen día, preciosas personas de Hive Blog, hoy de nuevo me encuentro feliz de publicar en esta preciosa comunidad: MakeUp Power, donde se me ha otorgado la oportunidad de expresarme libremente y compartir mis conocimientos con todos! Hoy, traigo para ustedes el que hasta ahora es mi maquillaje favorito, un maquillaje de payaso aterrador, me divertí mucho haciéndolo, realmente espero que les guste.
Good morning, precious people of Hive Blog, today again I am happy to post in this beautiful community: MakeUp Power, where I have been given the opportunity to express myself freely and share my knowledge with everyone! Today, I bring for you what so far is my favorite makeup, a scary clown makeup, I had a lot of fun doing it, I really hope you like it.
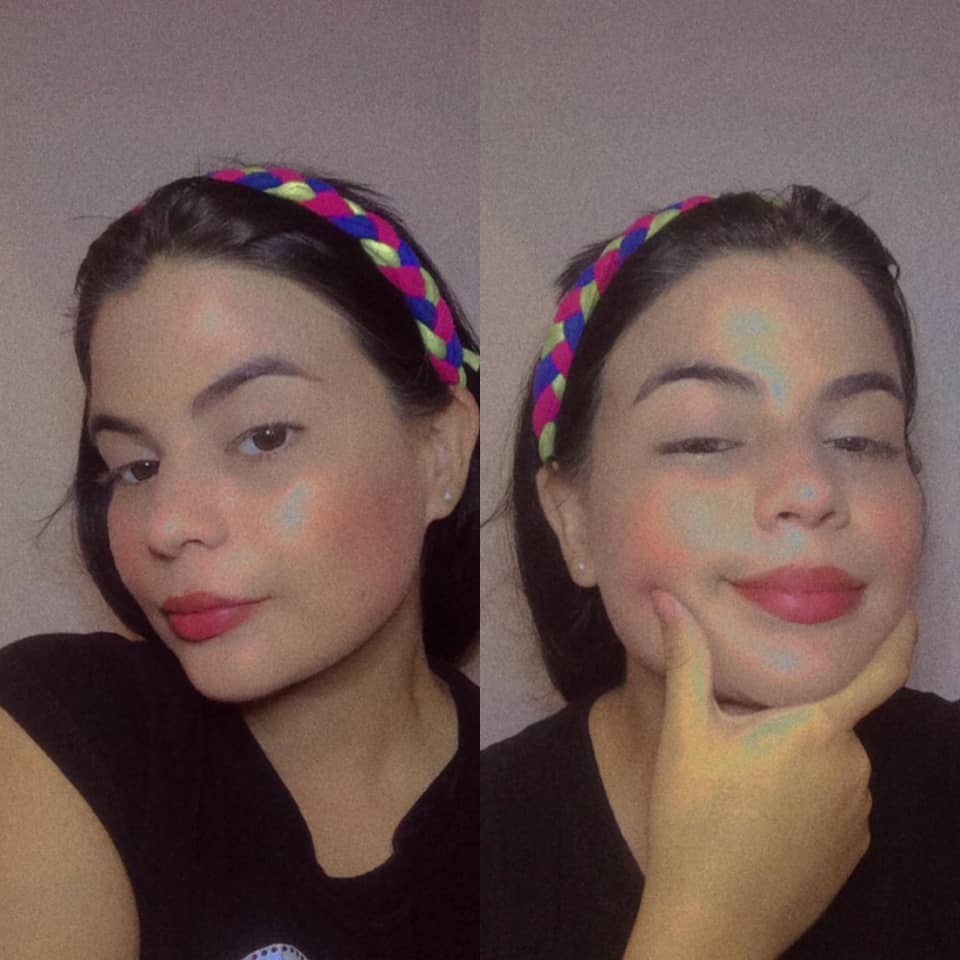
Primero debemos tener nuestra carita muy limpia, yo la limpié con una toallita desmaquillante y luego la hidraté con una crema.
First we must have our face very clean, I cleaned it with a makeup remover wipe and then moisturized it with a cream.
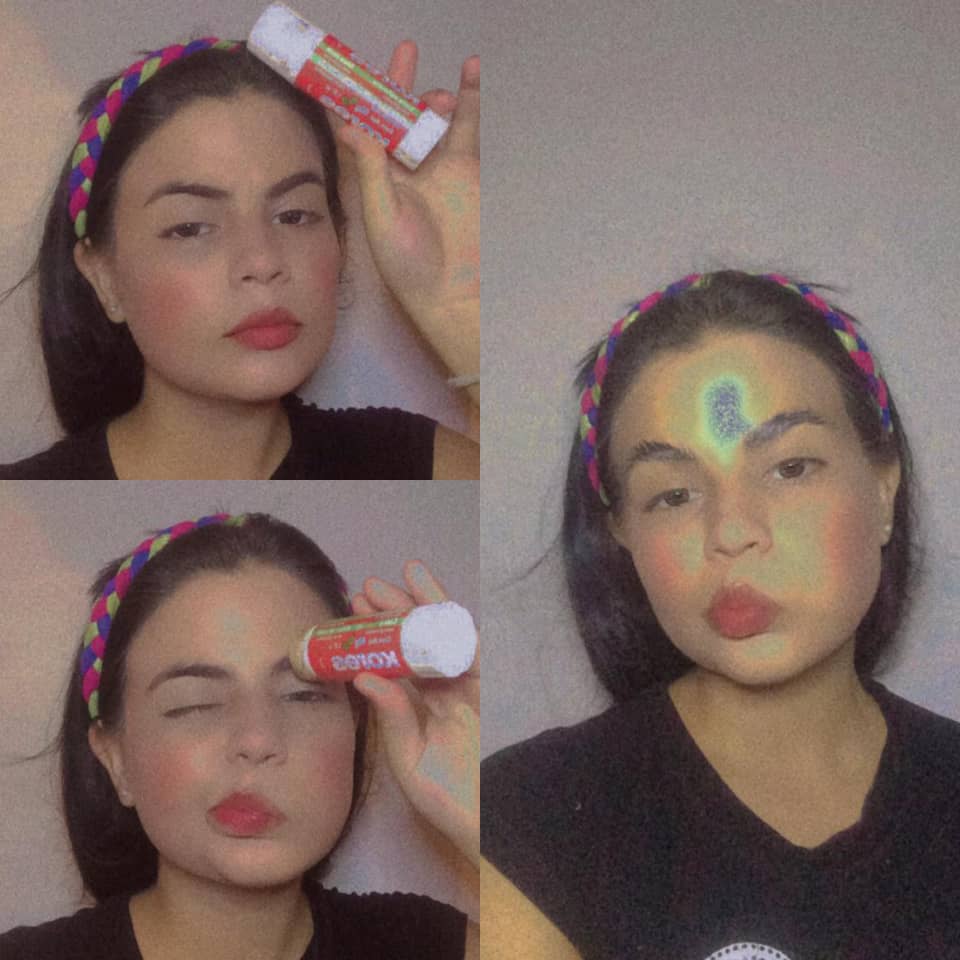
Ocuparemos nuestro pegamento en barra no tóxico. Lo aplicaremos en nuestras cejas de manera ascendente presionando para templar nuestros vellitos. Dejar secar y repetir una vez más.
We will use our non-toxic glue stick. We will apply it on our eyebrows in an ascending way pressing to temper our hairs. Let it dry and repeat once more.
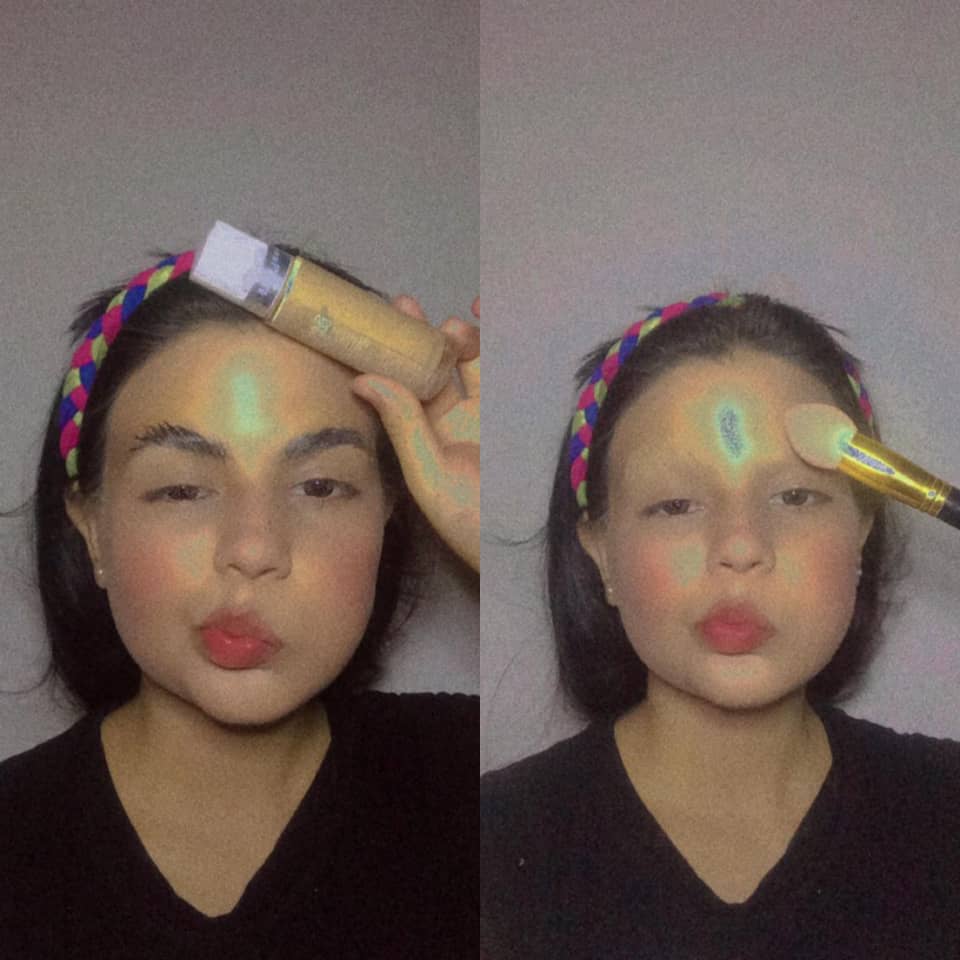
Luego, cubriremos nuestras cejas con corrector o base mate de secado rápido, es importante que no sea húmeda para que no arruine el trabajo del pegamento.
Then, we will cover our eyebrows with concealer or quick-drying matte foundation, it is important that it is not wet so that it does not ruin the glue work.
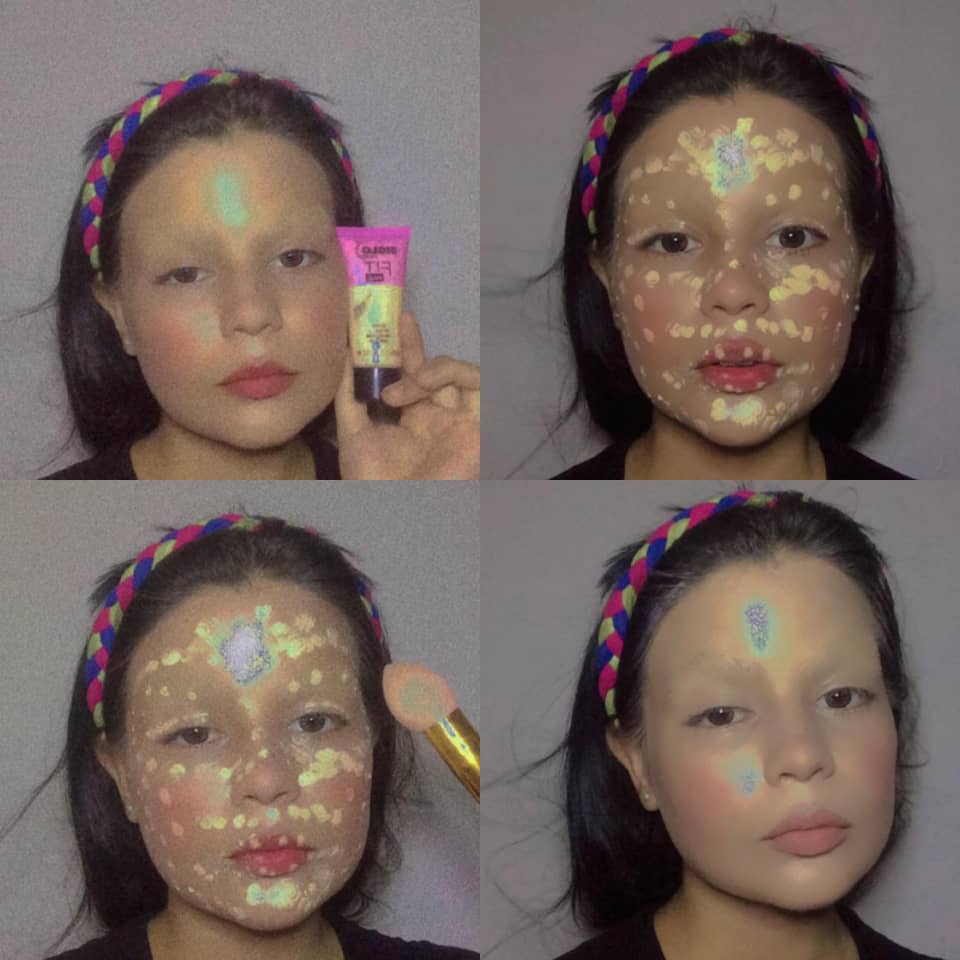
En toda la superficie de nuestro rostro, aplicamos nuestra base adecuada para nuestro tono de piel y con nuestra esponja para difuminar la esparcimos.
On the entire surface of our face, we apply our foundation suitable for our skin tone and with our blending sponge we spread it.
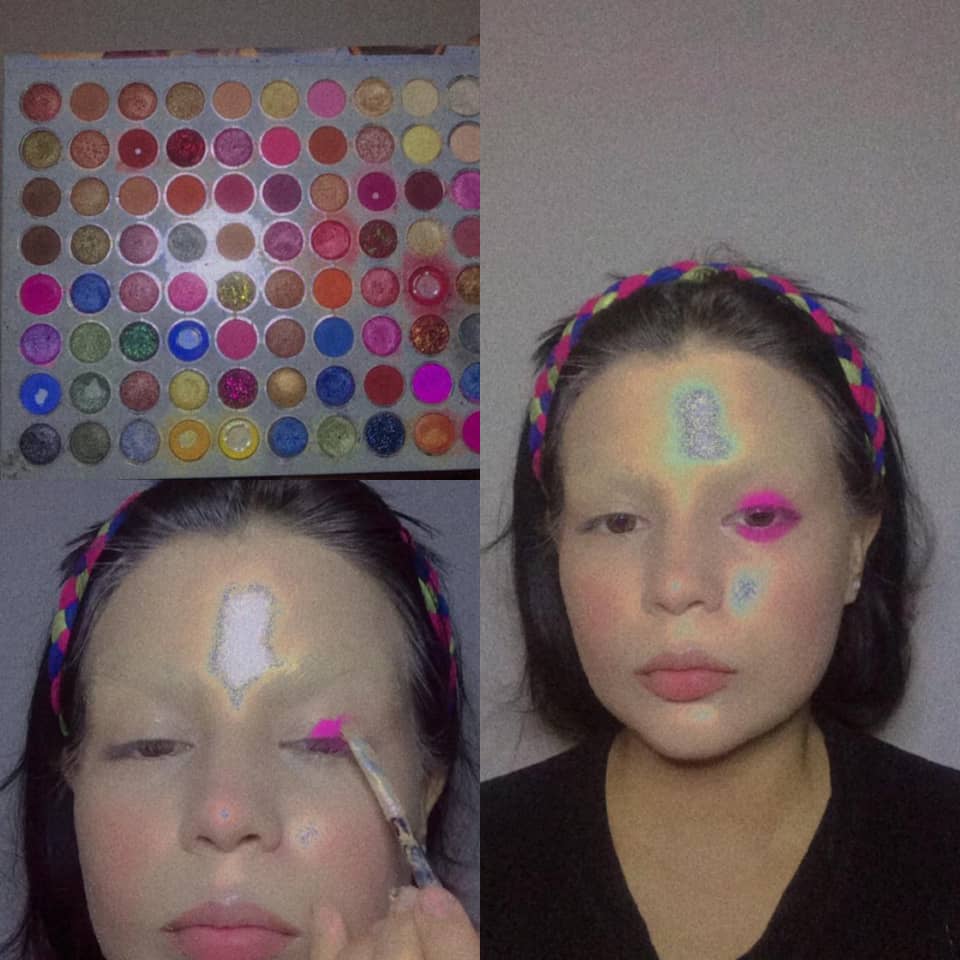
Hora del color! Empezaremos usando un color fucsia bastante vibrante de nuestra paleta de sombras, y la aplicaremos en el párpado y la zona de nuestras pestañas inferiores dando la ilusión de una especie de pequeño círculo
Time for color! We'll start by using a fairly vibrant fuchsia color from our eyeshadow palette, and apply it to the eyelid and lower lash area, giving the illusion of a sort of small circle.
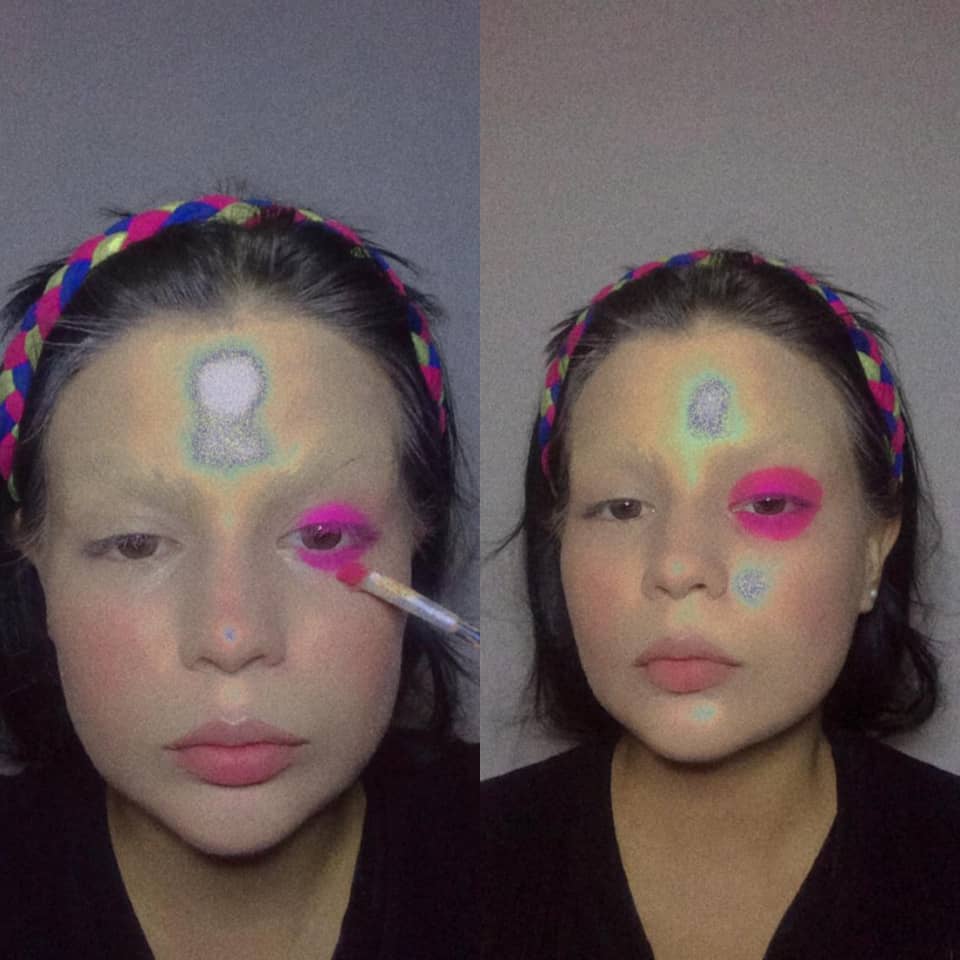
A partir de nuestro círculo fucsia, empezaremos a aplicar colores de manera arcoiris alrededor de él, hasta rellenar la forma de un diamante. Ahora aplicaremos un tono rojo
Starting from our fuchsia circle, we will start applying colors in a rainbow fashion around it, until we fill in the shape of a diamond. Now we will apply a red tone
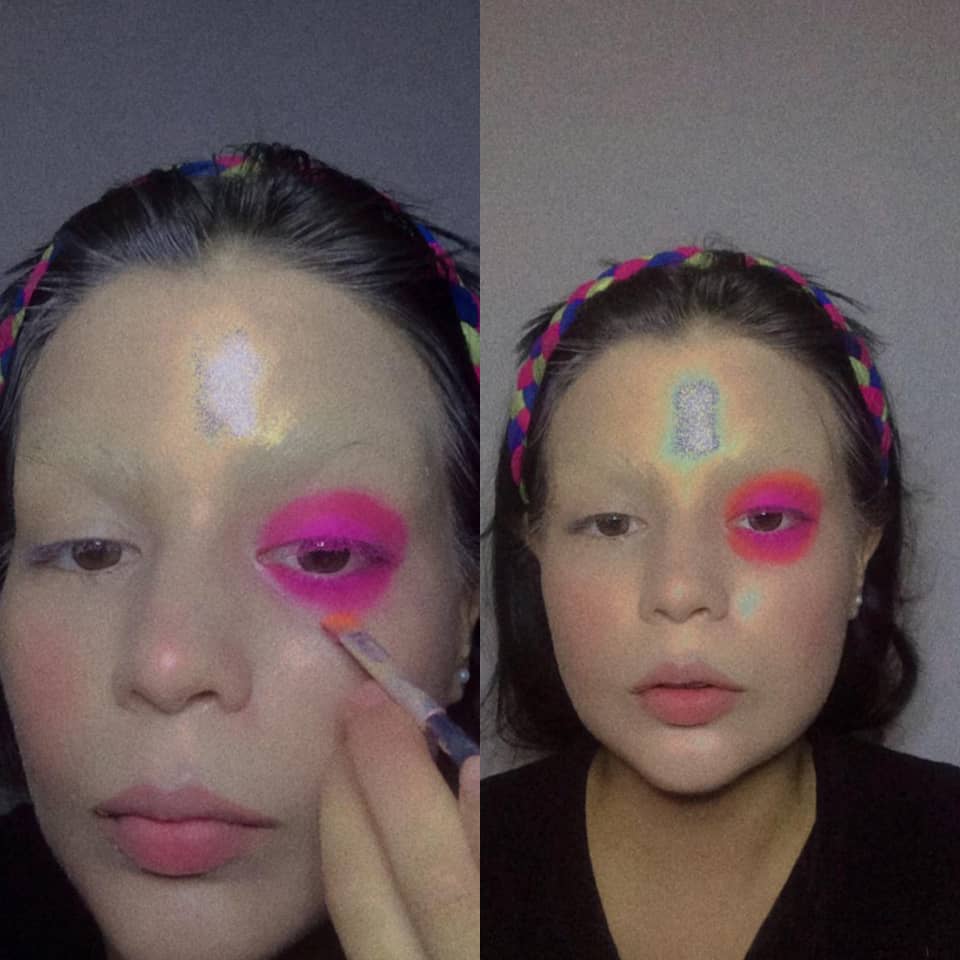
Seguimos con el color naranja. Es importante difuminar bien para lograr una bonita transición entre color y color
We continue with the orange color. It is important to blend well to achieve a nice transition between color and color.
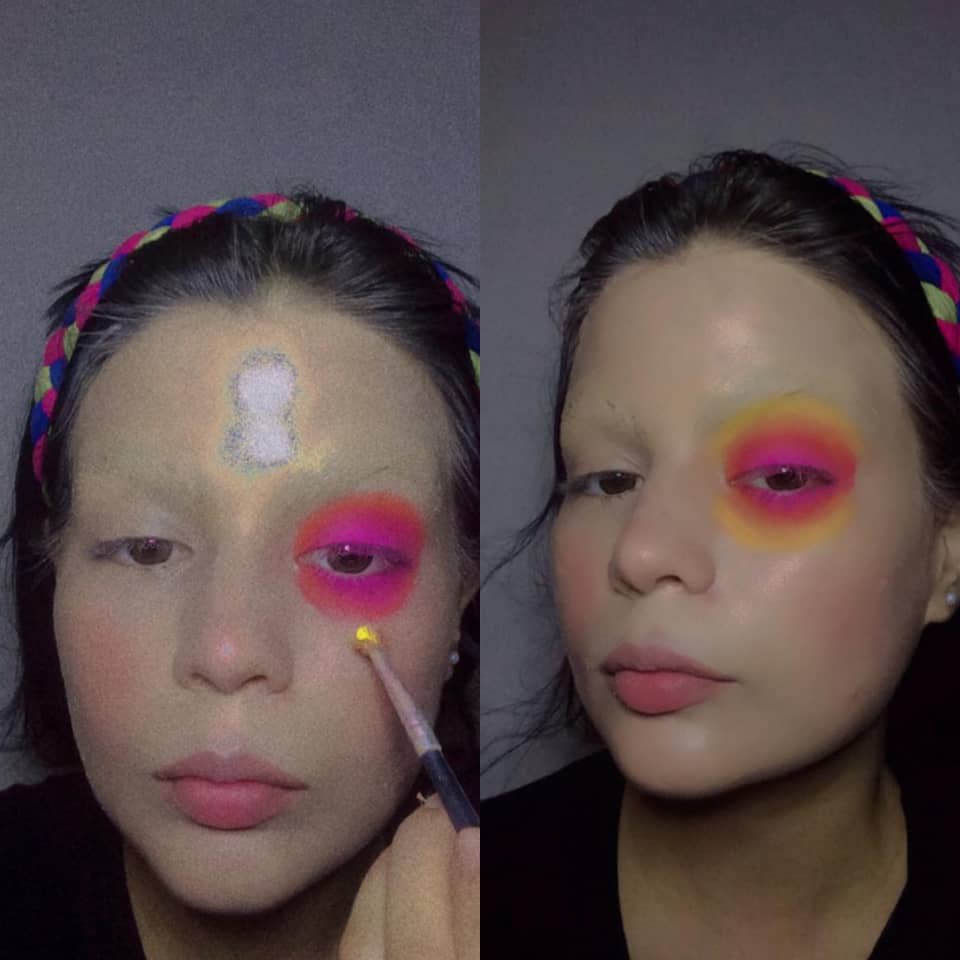
¡¡!Color amarillo!!!
Yellow color!!!!
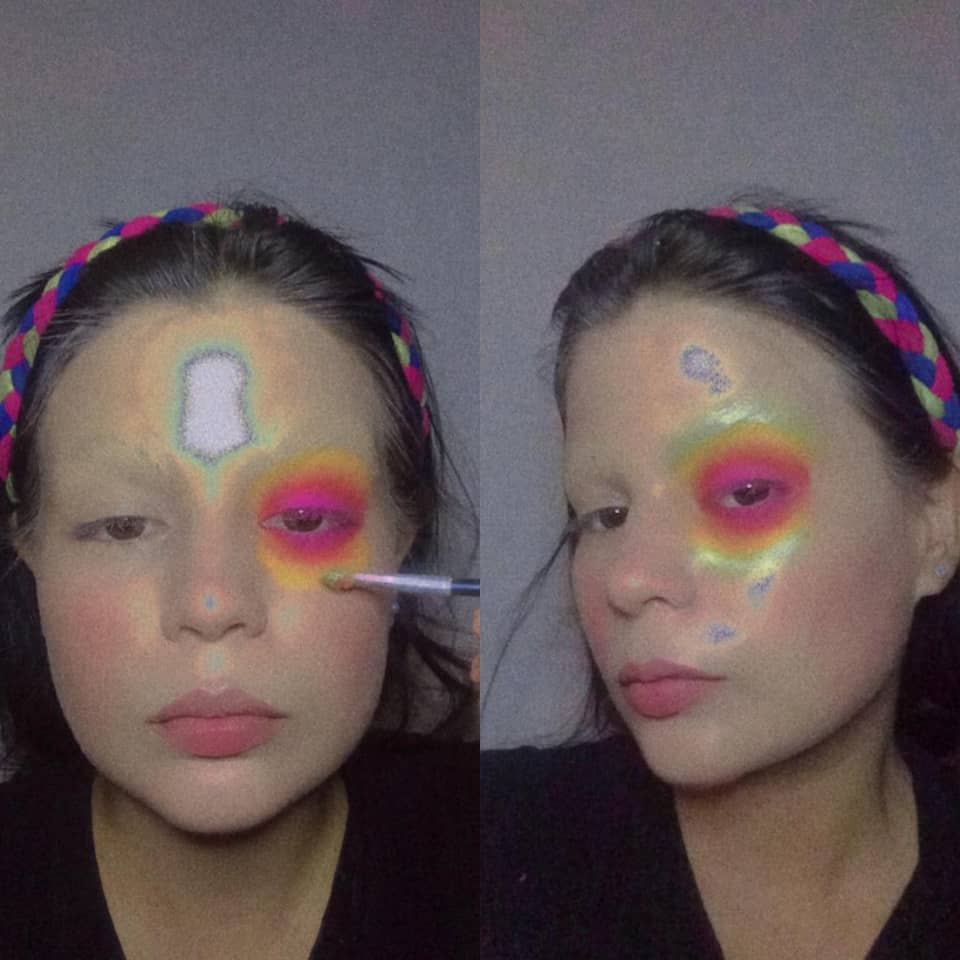
Seguimos con nuestro color verde.
We continue with our green color.
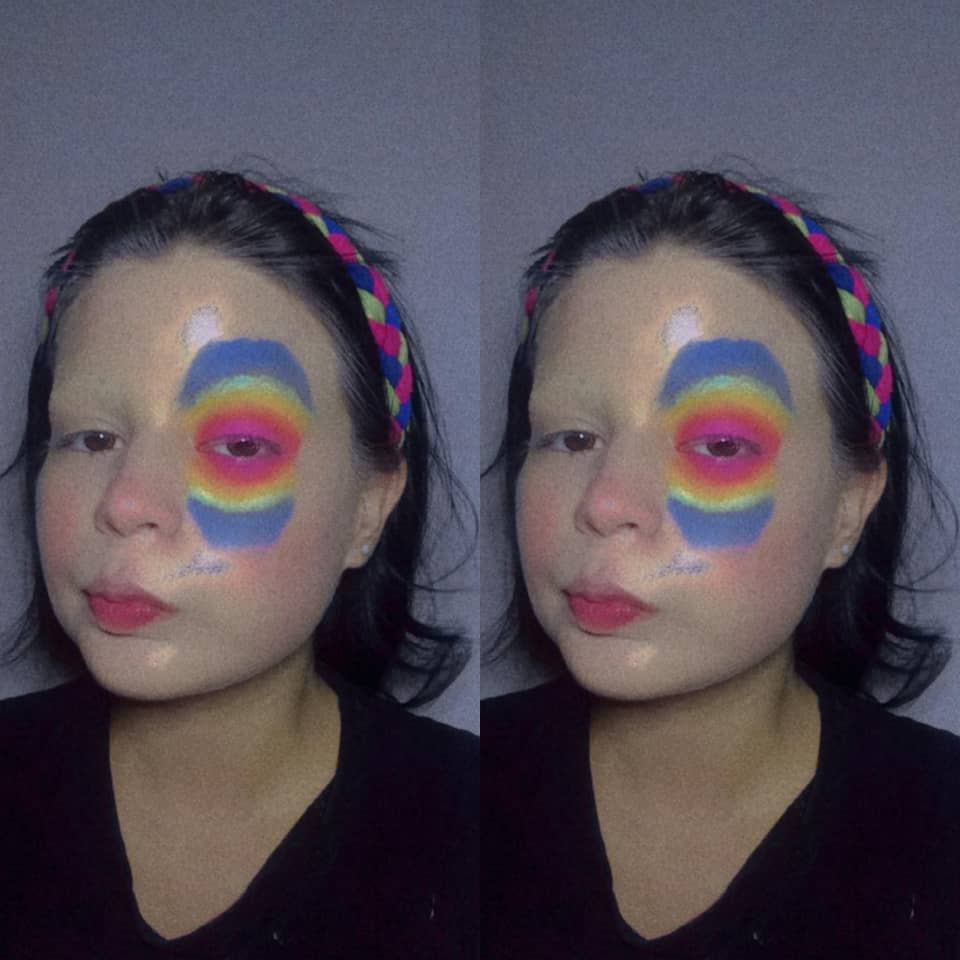
Ahora con el azul, empezaremos a darle más forma a nuestro diamante.
Now with the blue, we will start to give more shape to our diamond.
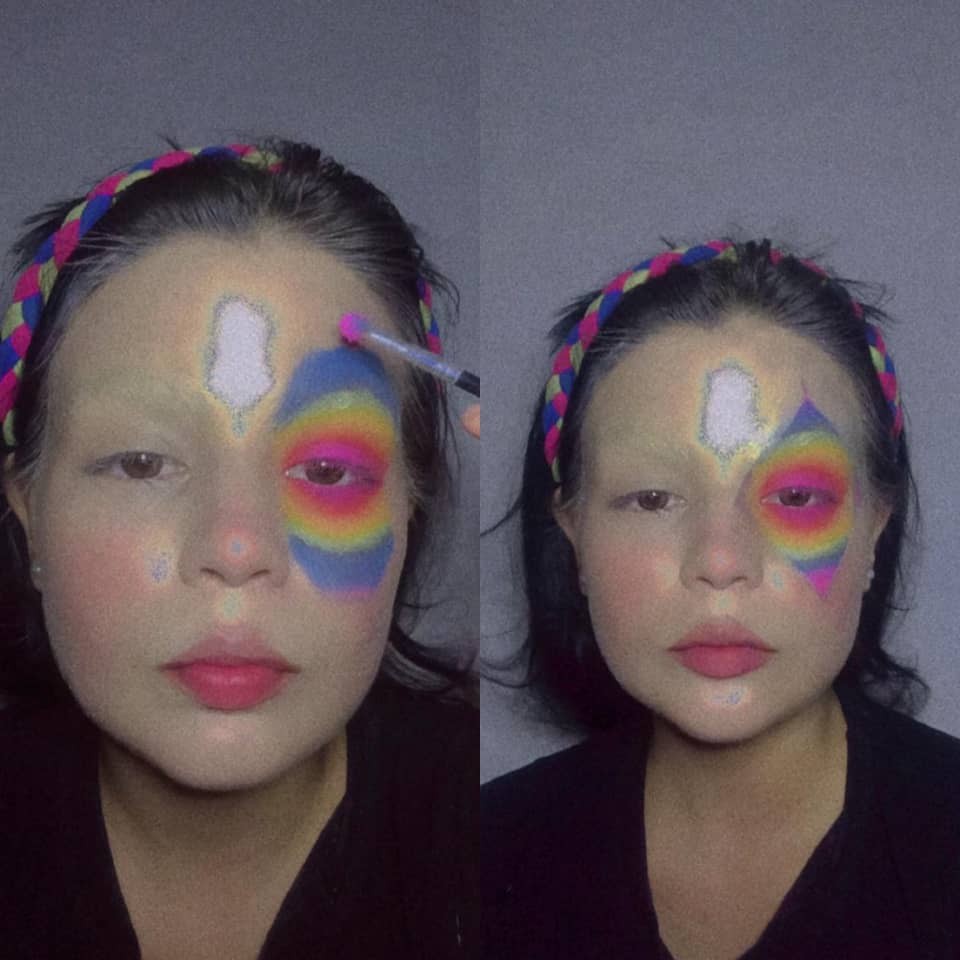
Por último, haremos los bordes con nuestro color púrpura. Cualquier imperfección podremos corregirlo con corrector o base.
Finally, we will do the edges with our purple color. Any imperfections can be corrected with concealer or foundation.
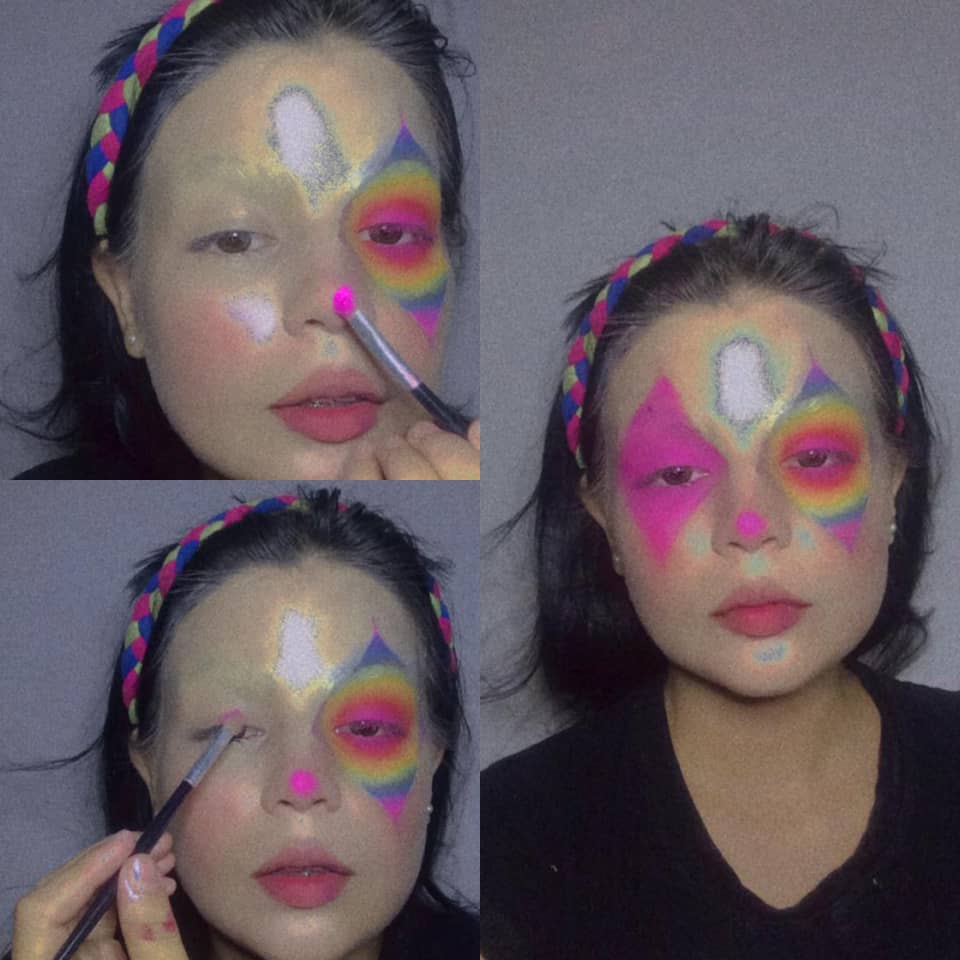
Con el mismo tono fucsia, haremos un círculo en la punta de muestra nariz, y de igual forma, haremos en nuestro otro ojo un diamante igual al de colores, solo que este será fucsia.
With the same fuchsia tone, we will make a circle on the tip of the nose sample, and in the same way, we will make a diamond in our other eye the same as the colored one, only this one will be fuchsia.
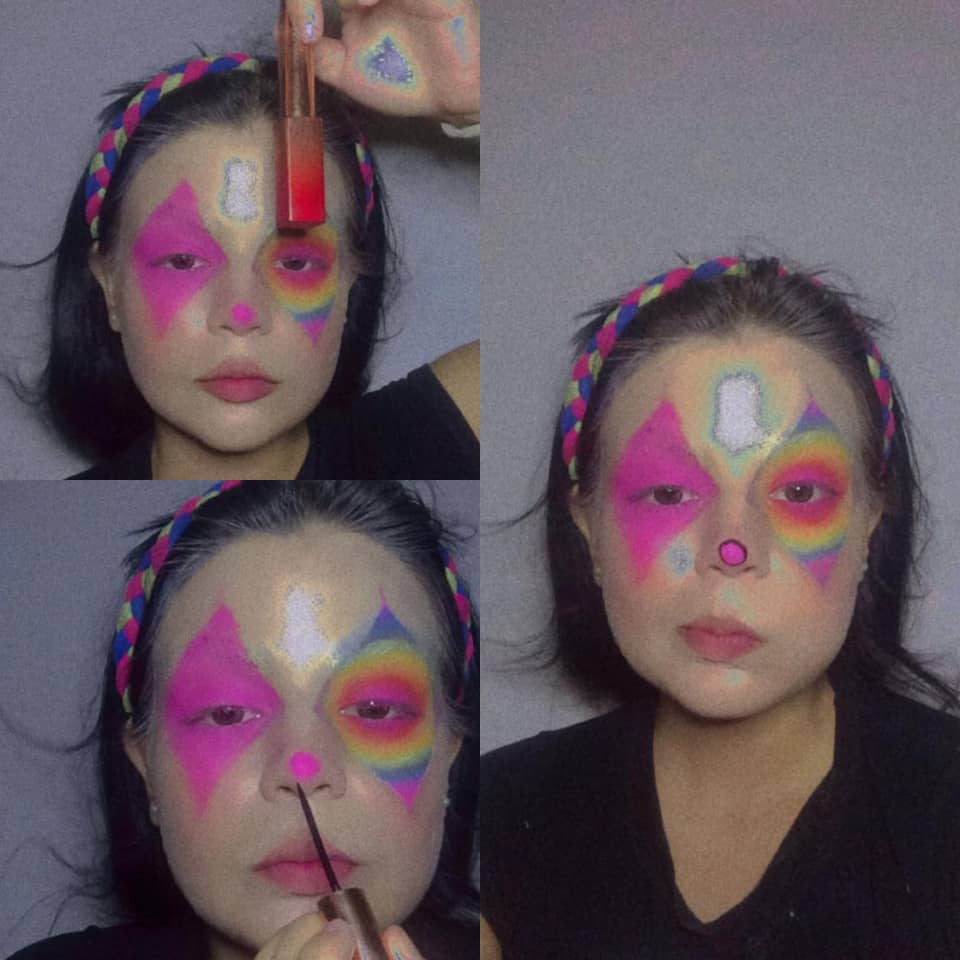
Empezaremos a usar nuestro delineador líquido. Marcaremos todo el contorno de nuestro círculo en la nariz.
We will start using our liquid eyeliner. We will mark the entire outline of our circle on the nose.
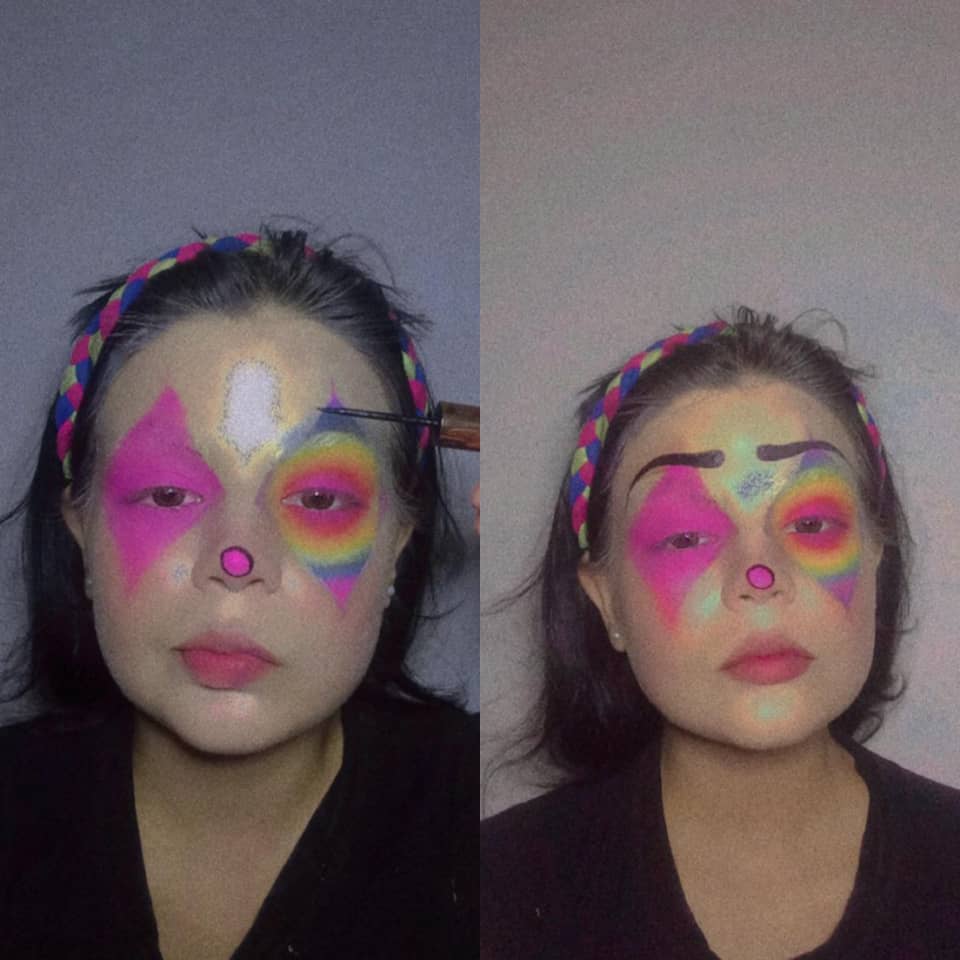
Ahora, haremos unas cejas un poco preocupadas y largas, casi en el límite de nuestros diamantes
Now, we will make some eyebrows a little worried and long, almost at the limit of our diamonds.
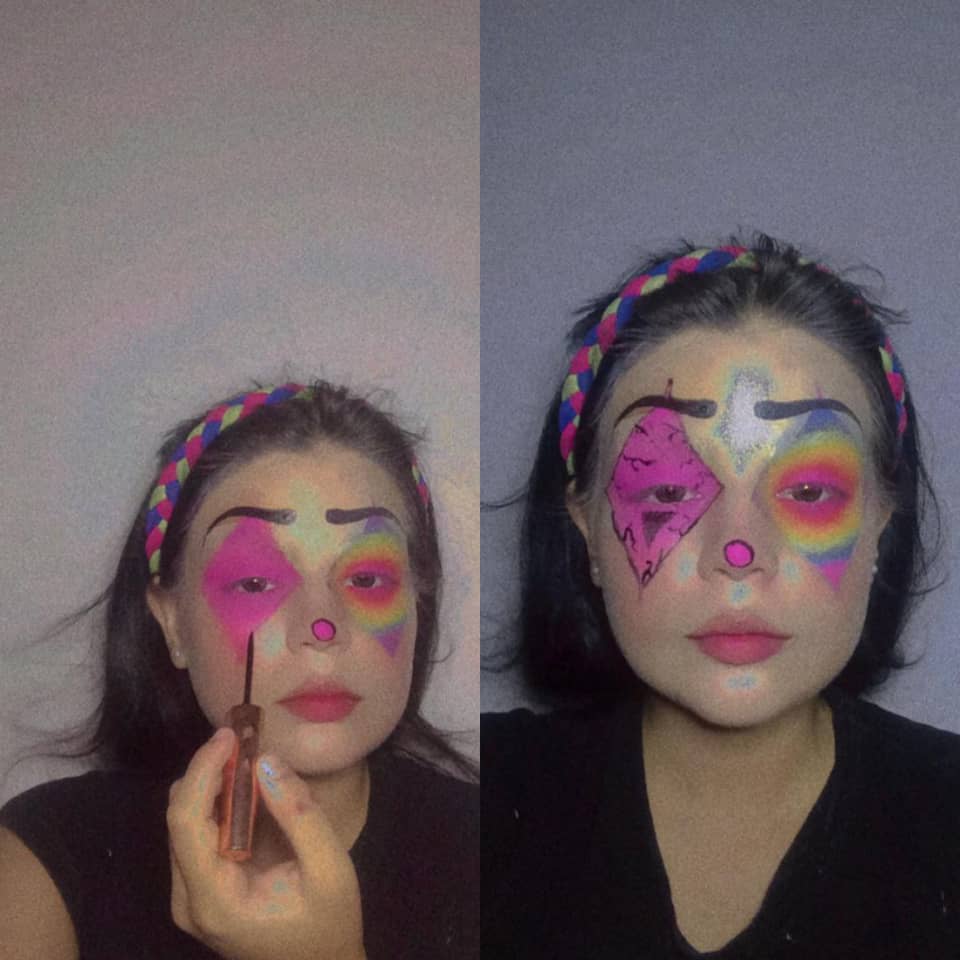
Dibujaremos todo el contorno del diamante fucsia, y podemos personalizar su aspecto interior a nuestro gusto.
We will draw the entire outline of the fuchsia diamond, and we can customize its inner appearance to our liking.
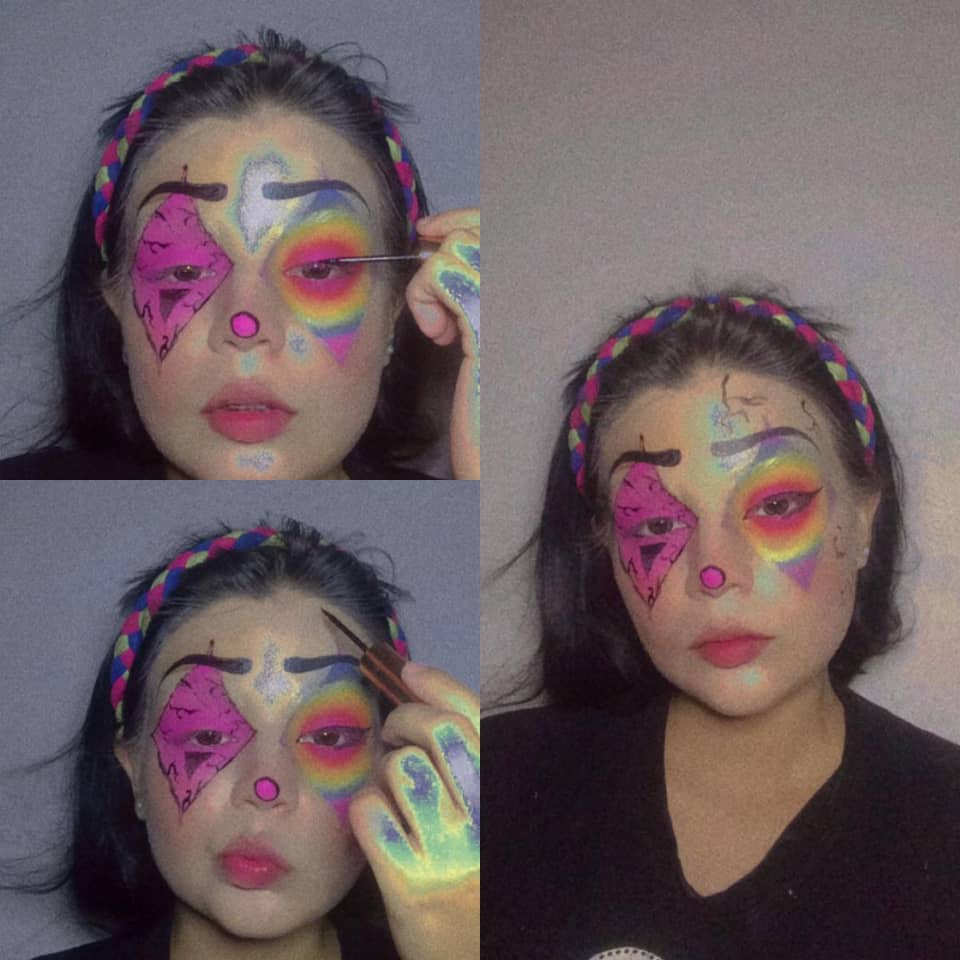
Haremos una especie de grietas en la parte de arcoiris de nuestro rostro
We will make some kind of cracks in the rainbow part of our face.
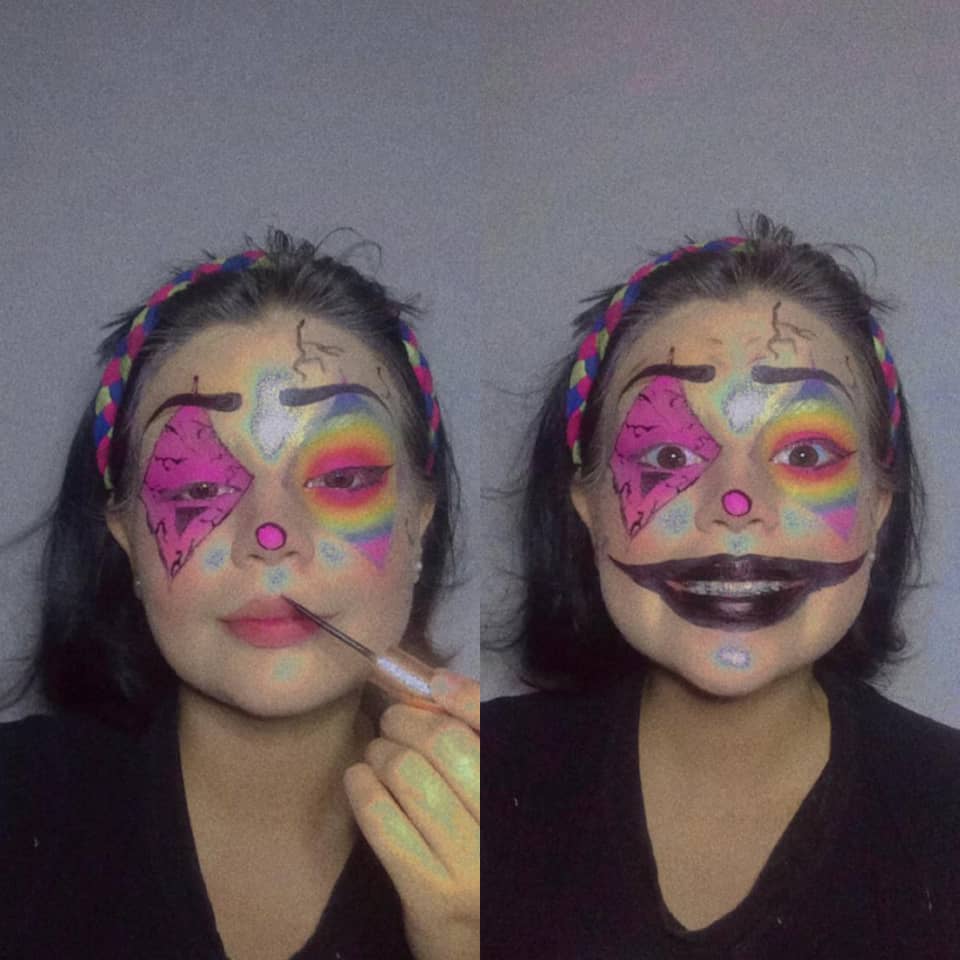
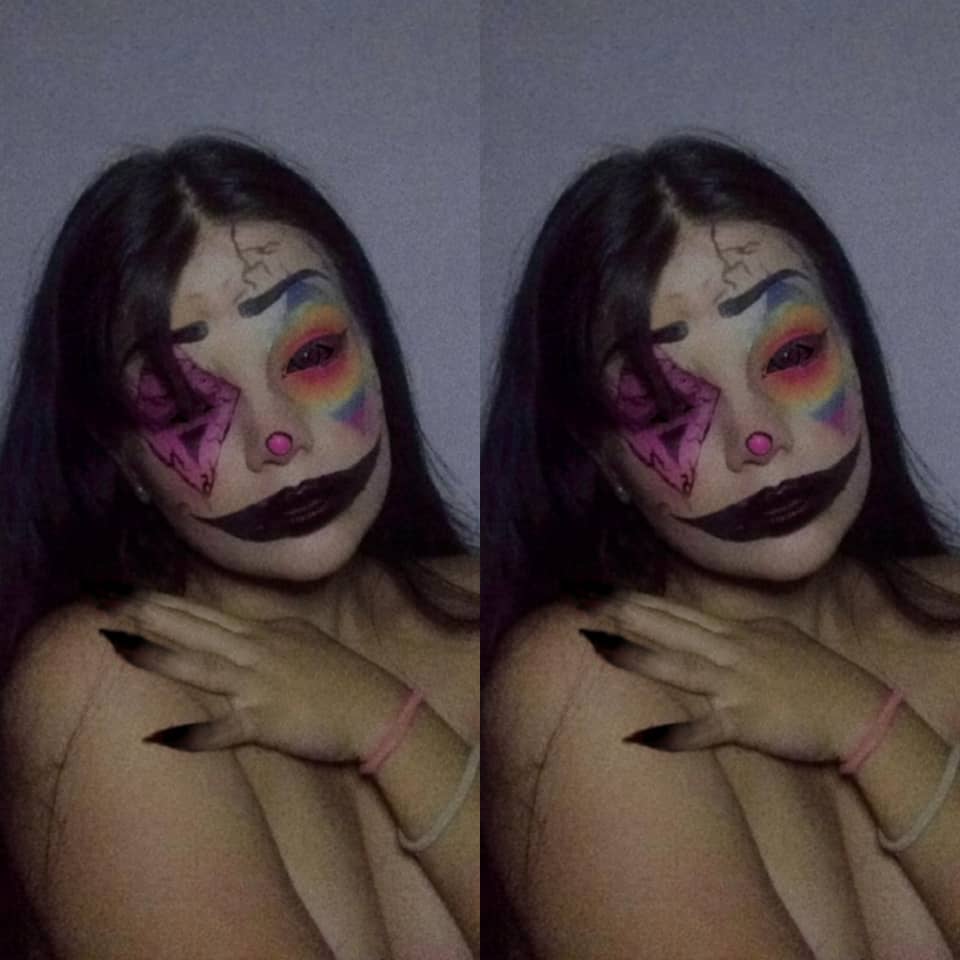
Dibujamos una boca sonriente con delineador y con labial negro la rellenamos. Y listo!!!! Estos son los resultados.
Draw a smiling mouth with eyeliner and fill it with black lipstick. And ready!!!! These are the results.
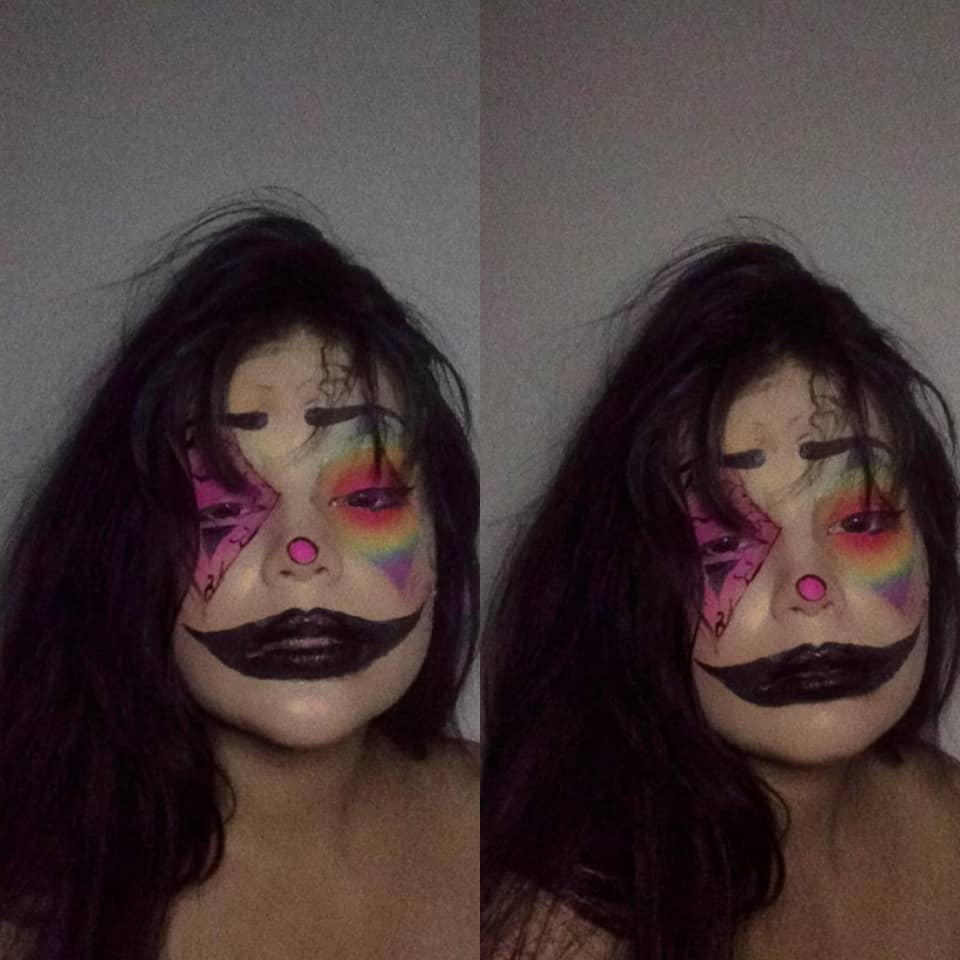
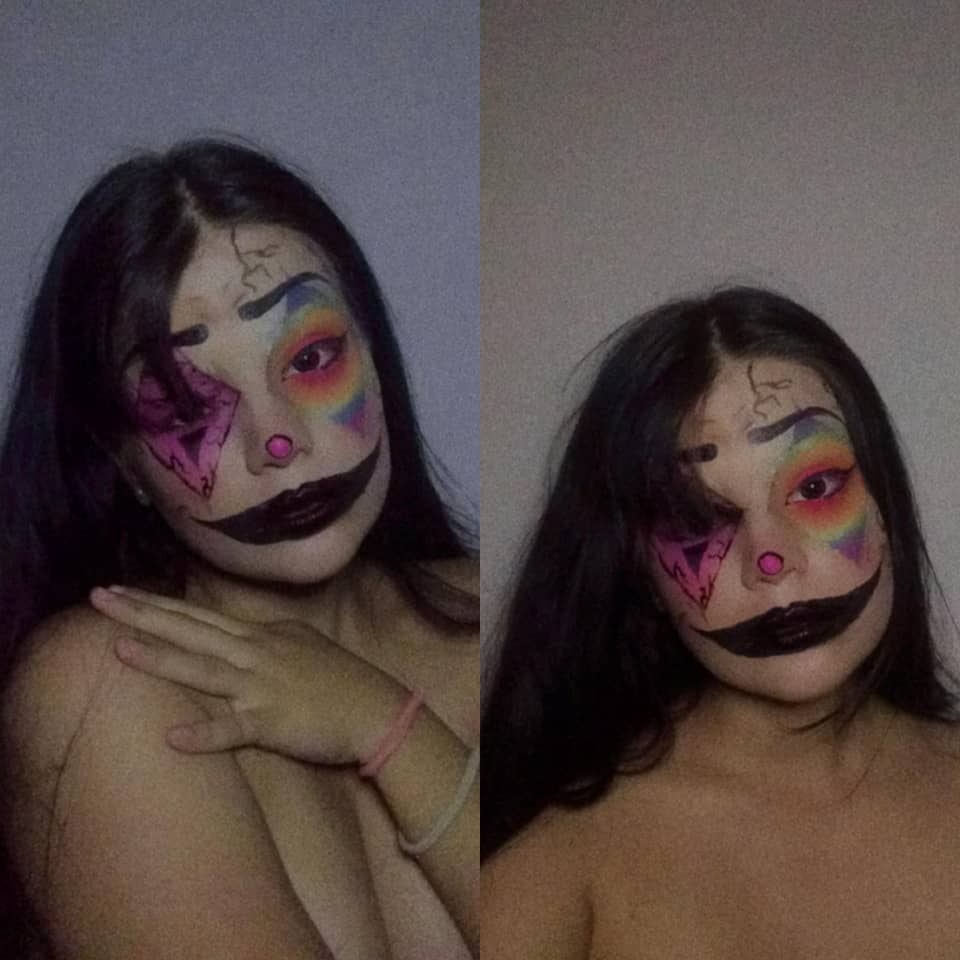
Muchas gracias por llegar hasta aquí, espero les haya gustado y puedan ponerlo en práctica en casa. MUCHO AMOR Y BUENAS VIBRAS PARA TODOS!!!!!
Muchas gracias por llegar hasta aquí, espero les haya gustado y puedan ponerlo en práctica en casa. MUCHO AMOR Y BUENAS VIBRAS PARA TODOS!!!!!