Hello hivers! guess who's back with another makeup look, me ofc. Today I'm sharing with y'all the euphoric look that was trending back in 2020, not a long time ago. Never really tried back then but here I am as usual running late on the trends.
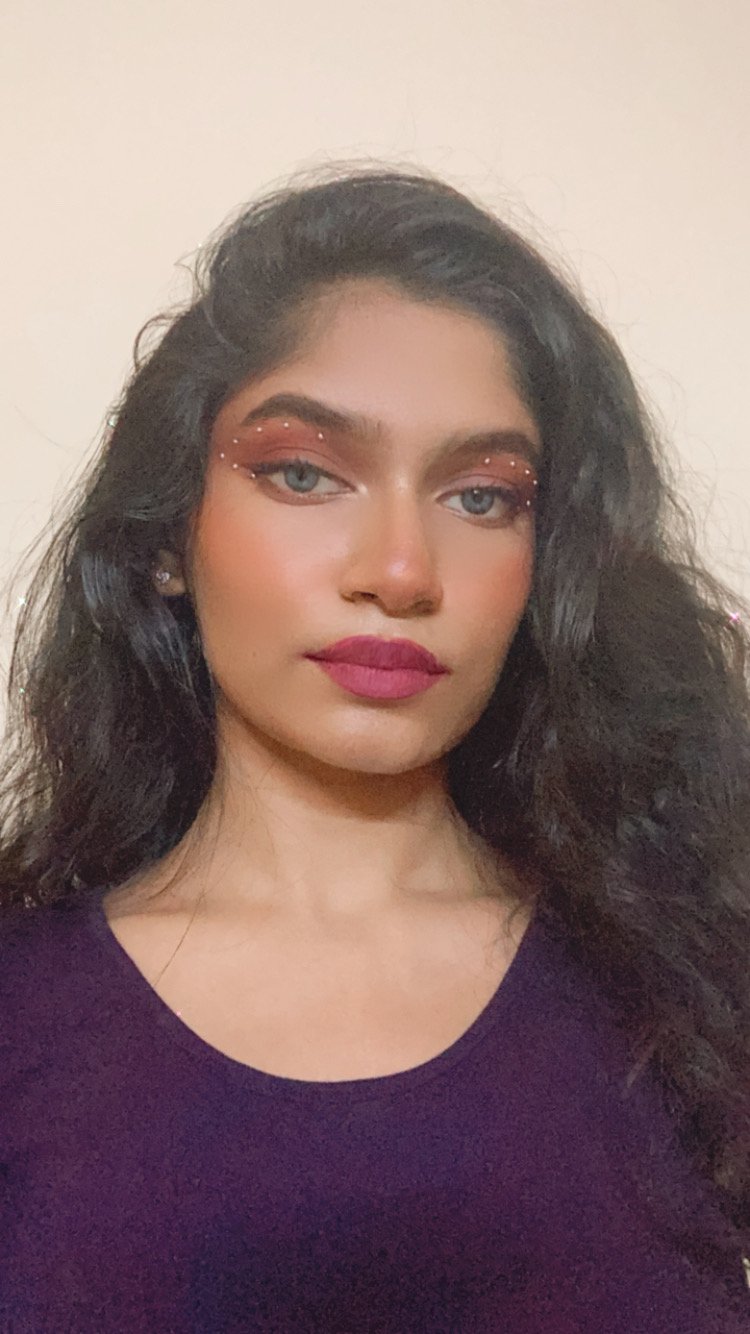
This is quite minimal for euphoric looks from what I've seen. I have not used a lot of glitters, mostly tried to keep it in the purple theme. The whole routine was different for this one and I'll be giving step by step process of it.
Products required for this look:
- primer
- foundation
- concealer
- eyeshadow palette
- blender
- makeup brush
- eyeliner
- mascara
- lipstick
- contour
- blush
- highlighter
- setting spray
- stickers
- eyebrow pencil
I know the products might look like a lot but sometimes the look is simpler than it seems. Also I don't use any creative makeup and tools, just working with whatever I have. If you do it quickly it (unlike me) it will not take you a lot of time.
Step by step process:
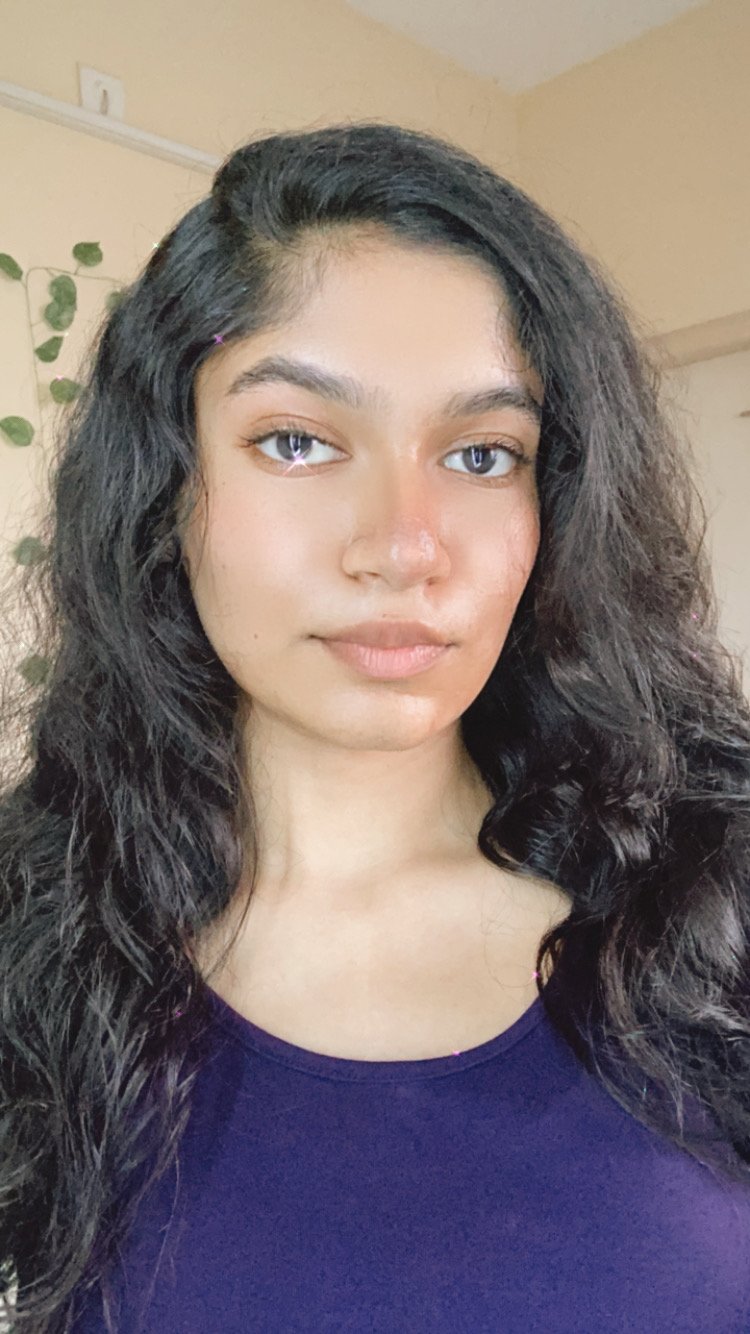
Once I'm done cleansing and moisturizing, I'm starting with the primer . If you've read my other blogs you would know that I like glossy primers. I love the extra shine that it leaves on your face.
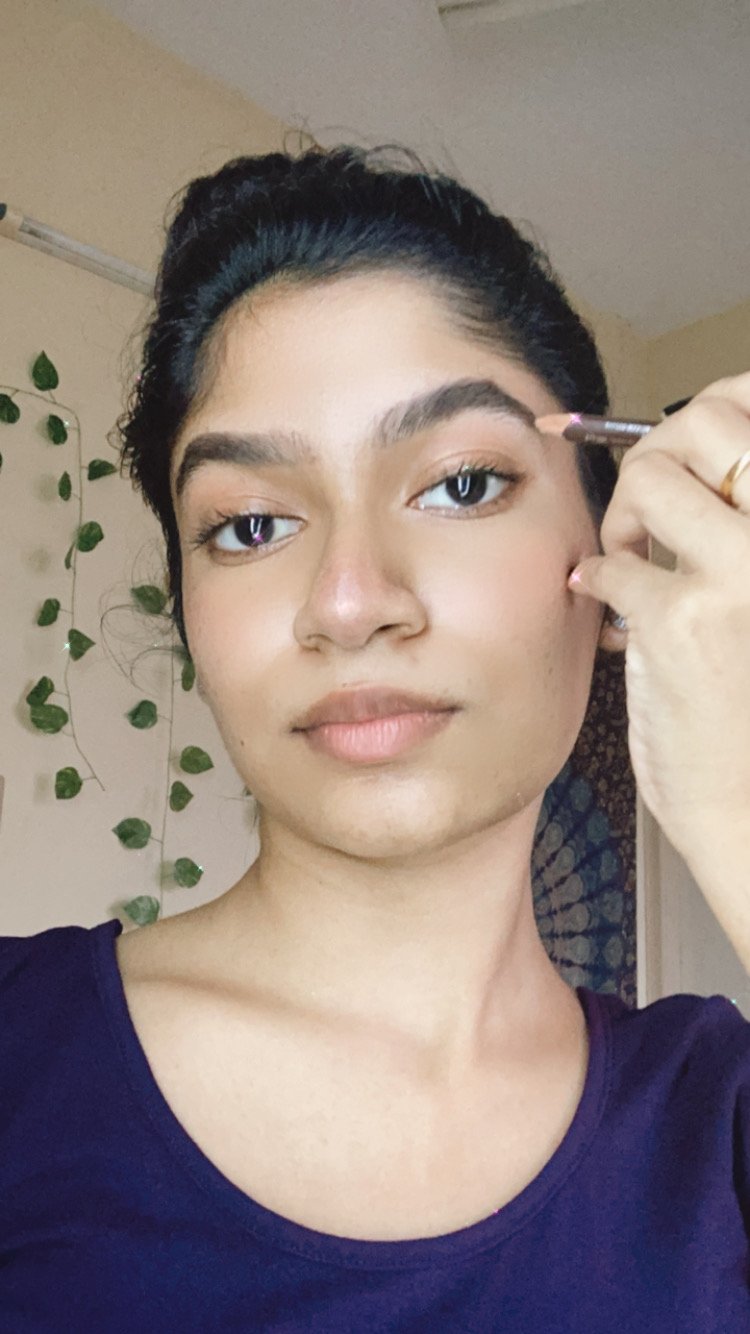
Now that I realize I should've actually applied the eyebrow product first because it sits better. It sometimes smudges on top of a glossy primer. Anyways, I'm using a eyebrow pencil in dark brown shade to fill in my brows. Drawing it thick because who doesn't love thick brows. I take my time trying to match both of them.
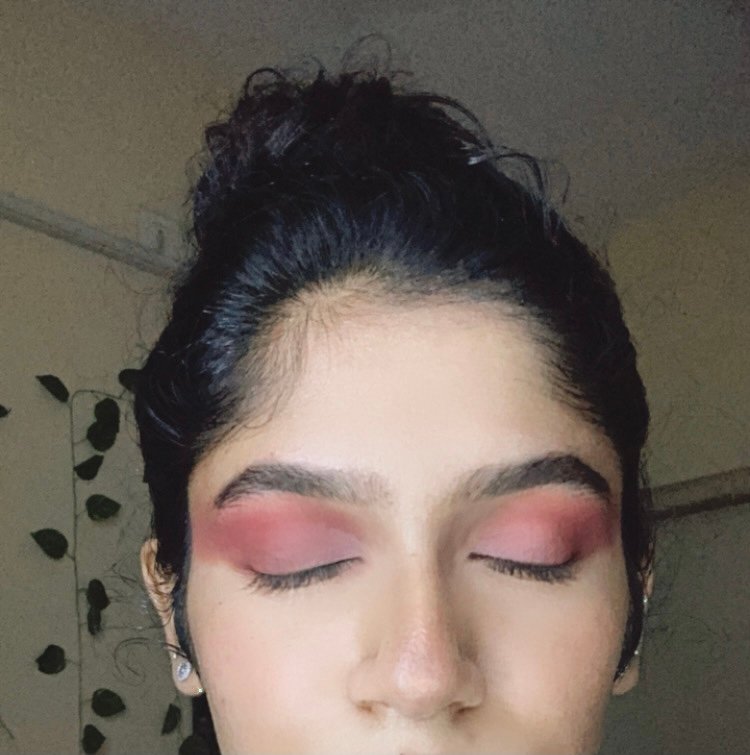
Next concealing my eyelids as a base for the eyeshadow. I'm using a lighter shade for this. White concealers are also preferred for crazy creative looks , but this will do as well ig. I'm blending it using a blender.

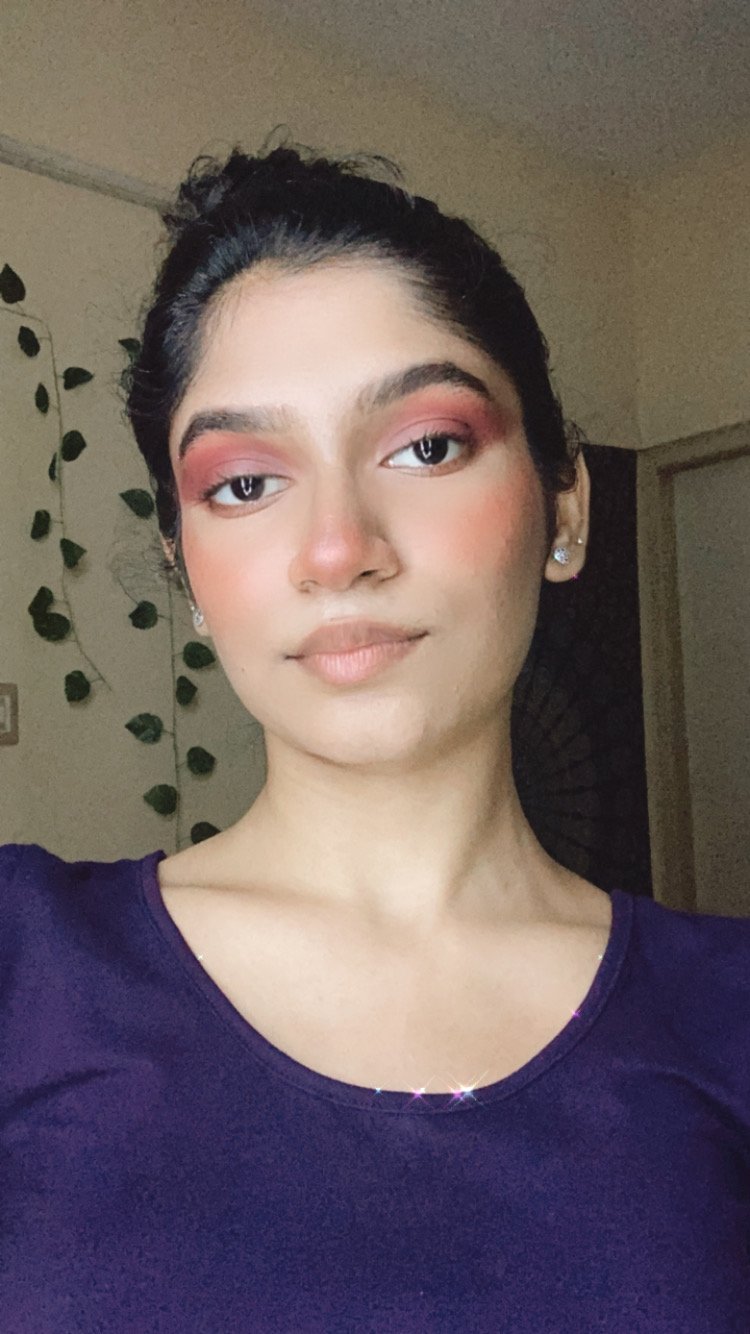
I'm applying a dark purple shade on my eyelids extending outwards, not really using it on the inner corners. Blending it well in the direction I want it to be. Then I'm taking a mauve shade and applying it on my inner corners using my fingers. That's all , this eyelook barely took two colours.
I'm concealing the under eye after doing the eyelook just in case there is any fallout. Also applying concealer on the high points of my face and blending it.
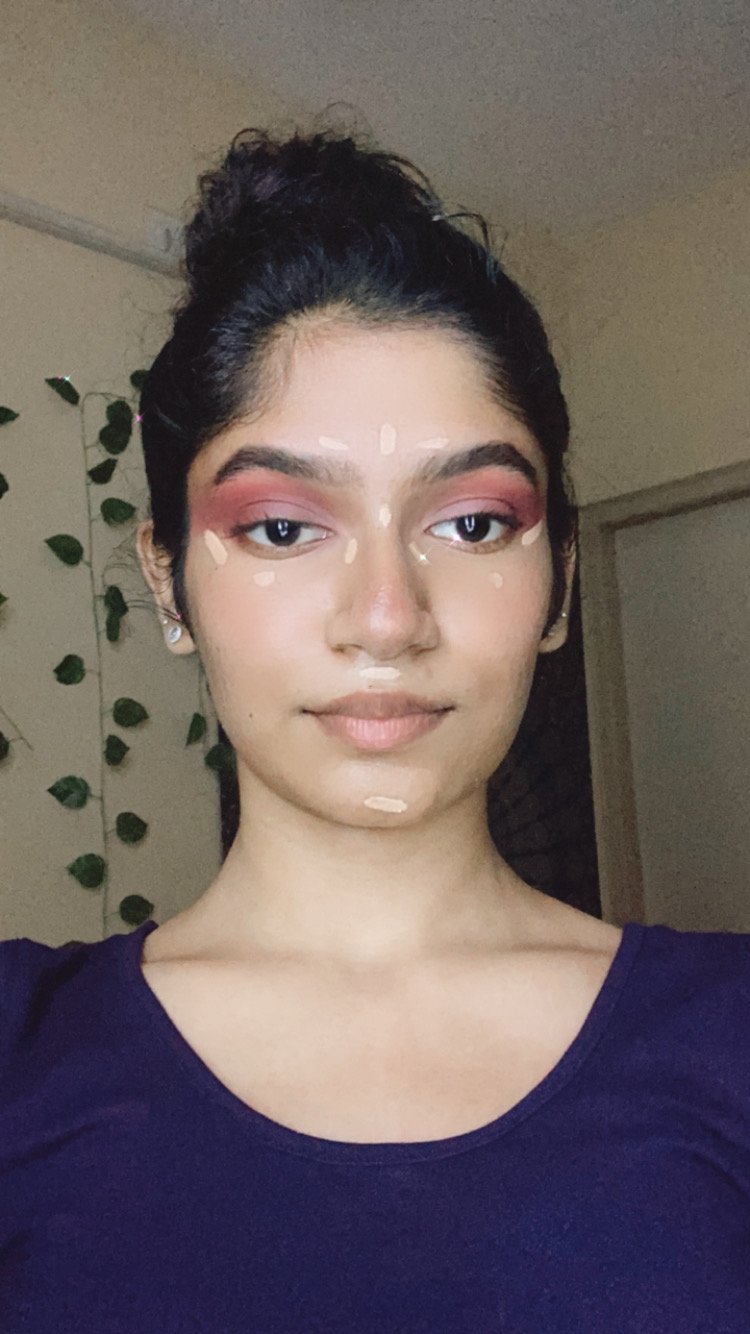
For this look I went in with the concealer first now moving on to the foundation. Applied the foundation all over my face and now blending it using the same blender.
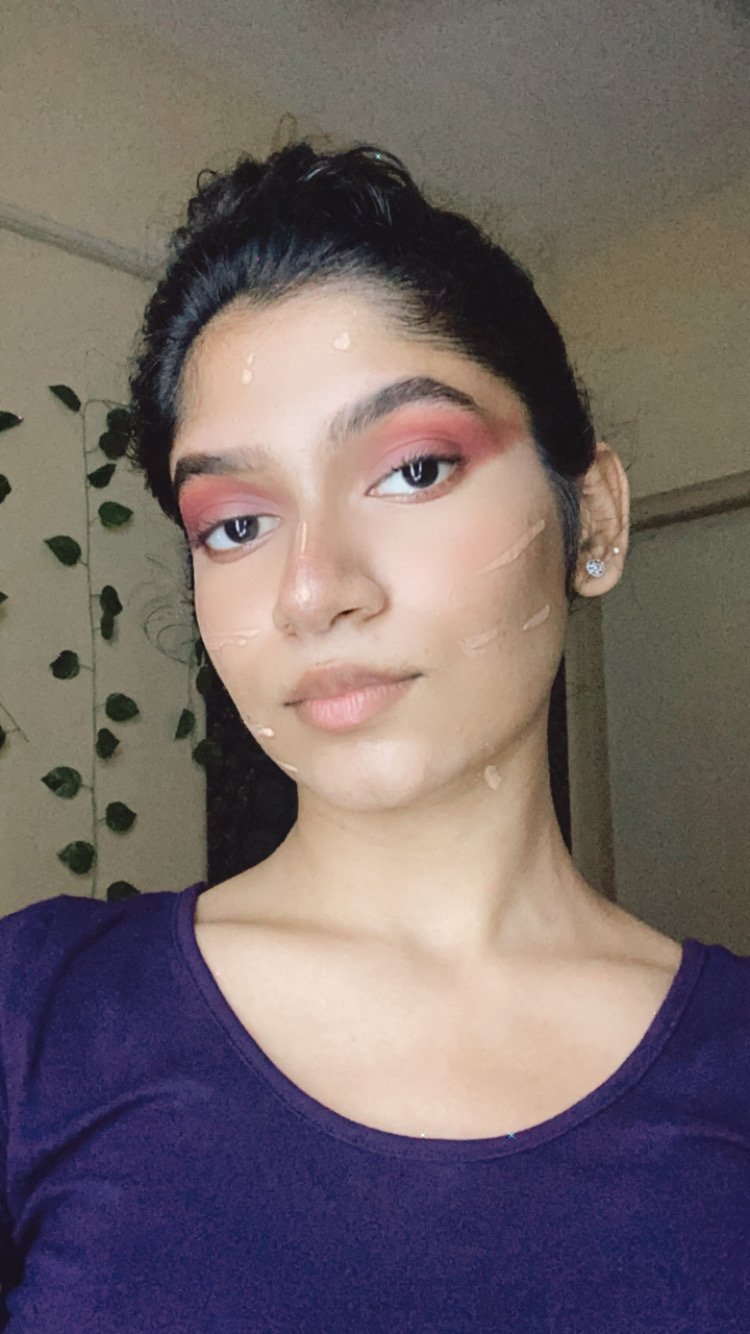
Moving on to rest of the face , I'm lightly bronzing up my face for this look. It's barely seen but does make a difference. Next I'm applying blush on cheeks and on tip of my face. Don't forget to apply blush for any look it just makes everything cute and so much better. Then I'm applying highlighter on the high point of the cheek, brow bones, nose, inner corner of the eye.
 |  |
|---|
I'm using a very bright purple liquid lipstick for this look so that it stands out. Usually this is one among the last steps of my makeup routine but here it comes early.
 )
)
Moving back to the eye , I'm just applying a classic winged eye liner. Thought of doing something else but this looked good I felt. Now comes the most important part of this look. I'm applying these very very tiny stickers around my eyes in the shape of a graphic liner. It was hard to pick and stick these tiny things. Kept this for the last because I didn't want them coming off even before I clicked pictures😋
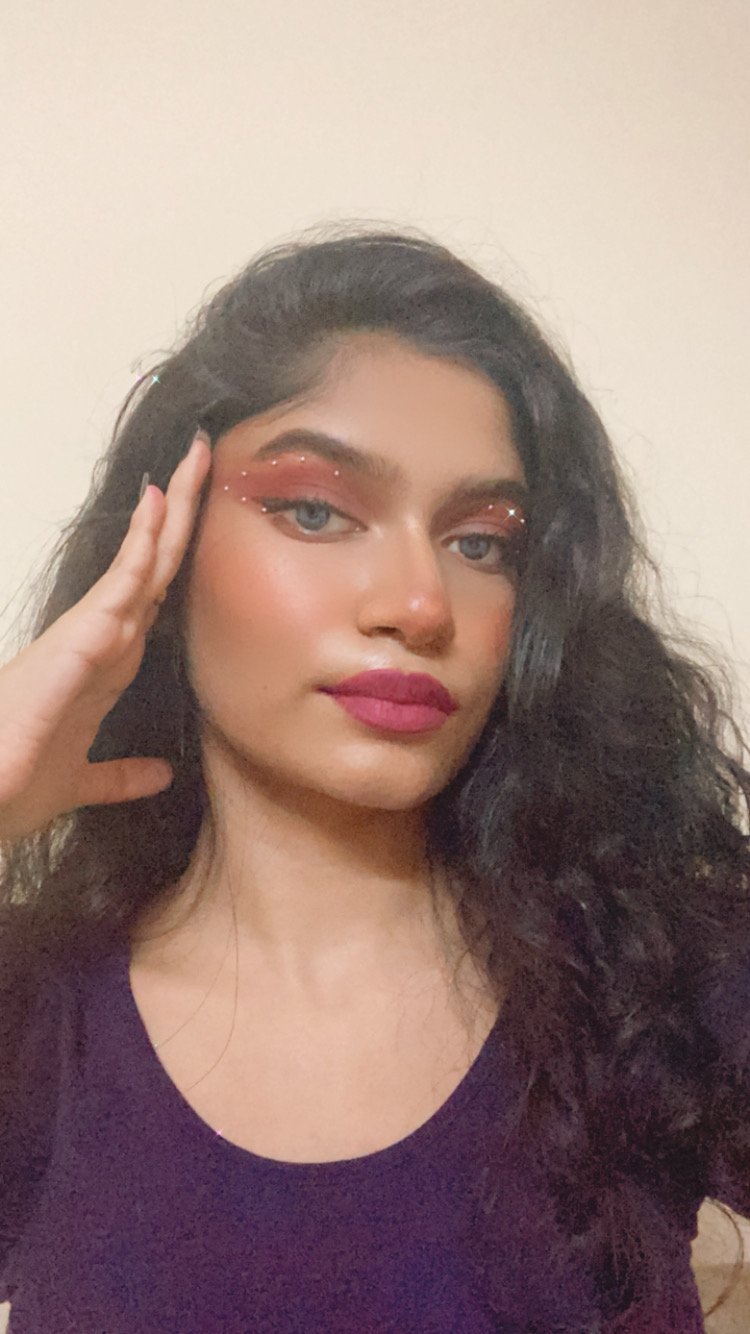
That's it for this look, really love how it turned out!❤️ What do you guys think? do let me know!
If you like my work please do upvote, repost, comment and follow me to see more❤️
Beautiful ❤️
Thank you so much! ❤
Congratulations @sheethalx! You have completed the following achievement on the Hive blockchain and have been rewarded with new badge(s) :
Your next target is to reach 100 upvotes.
You can view your badges on your board and compare yourself to others in the Ranking
If you no longer want to receive notifications, reply to this comment with the word
STOPTo support your work, I also upvoted your post!
Check out the last post from @hivebuzz: