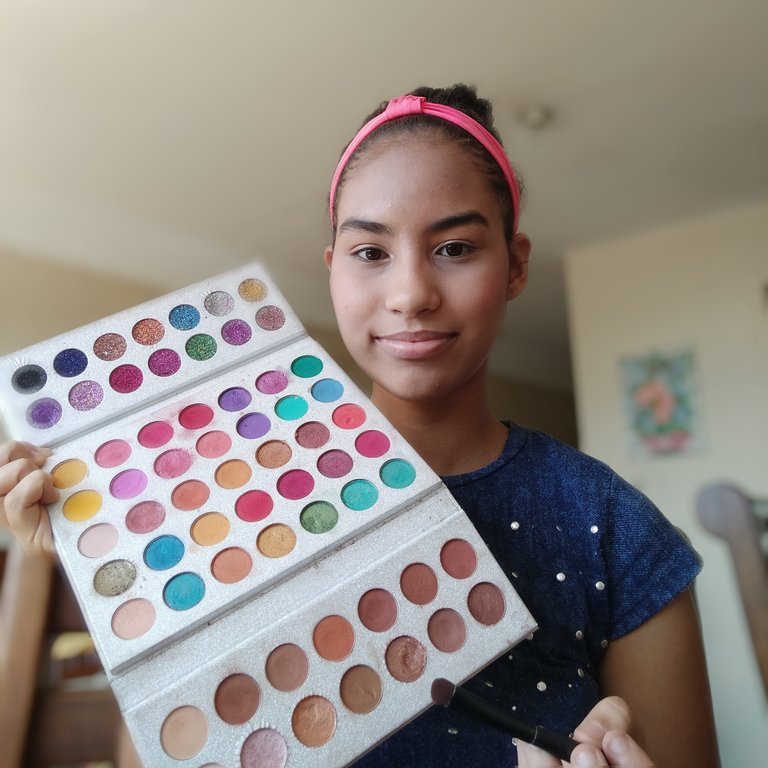
Hola amigos de Hive! Hoy les traigo un Glam makeup muy hermoso que se lo pueden realizar para ir a todos lados porque es un maquillaje que tiene colores neutros pero es demasiado precioso y muy elegante
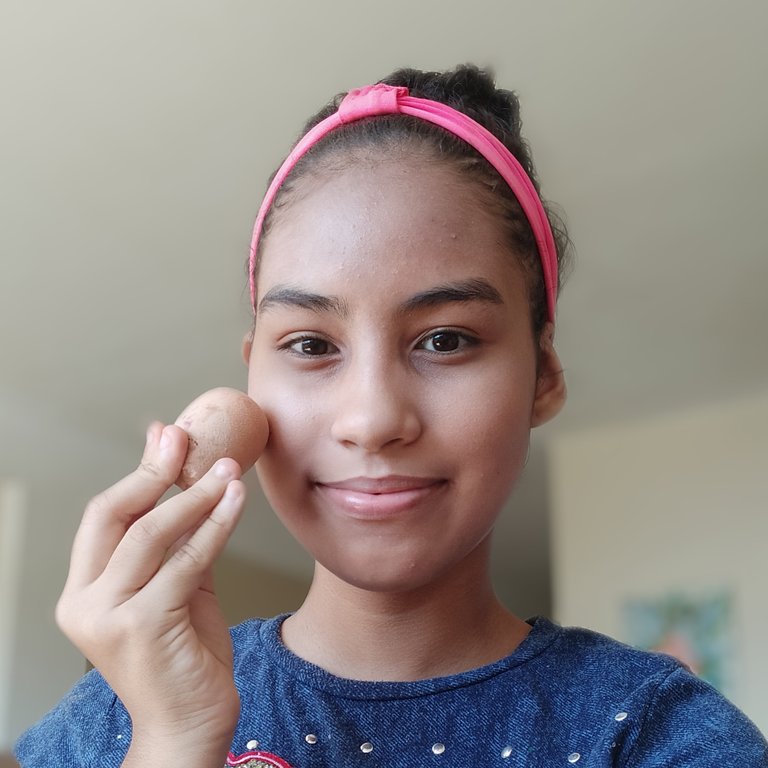
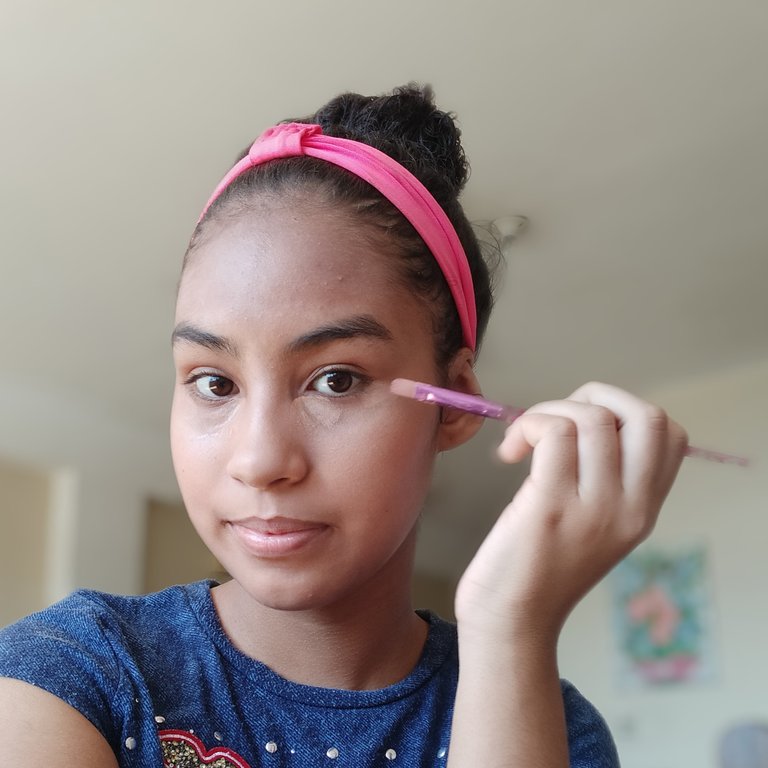
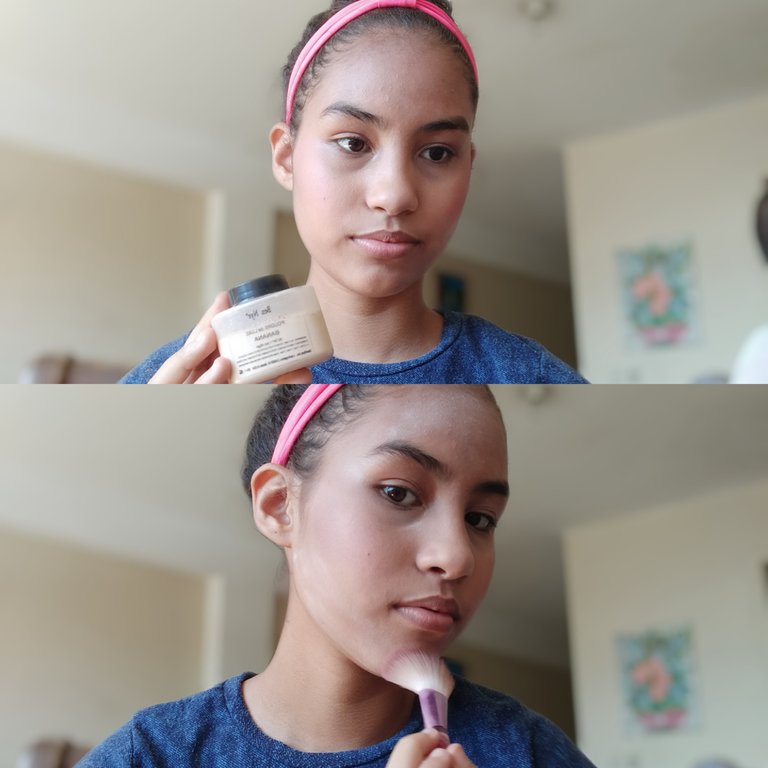
Vamos a empezar maquillando nuestro rostro primero vamos a colocar nuestra base y la difuminamos bien, luego vamos a aplicar corrector en las ojeras en la parte de las ojeras no aplicó base ya que si aplicamos base y luego arriba de la base aplicamos el corrector se puede agrietar esa parte y se verá más pesado y no queremos eso
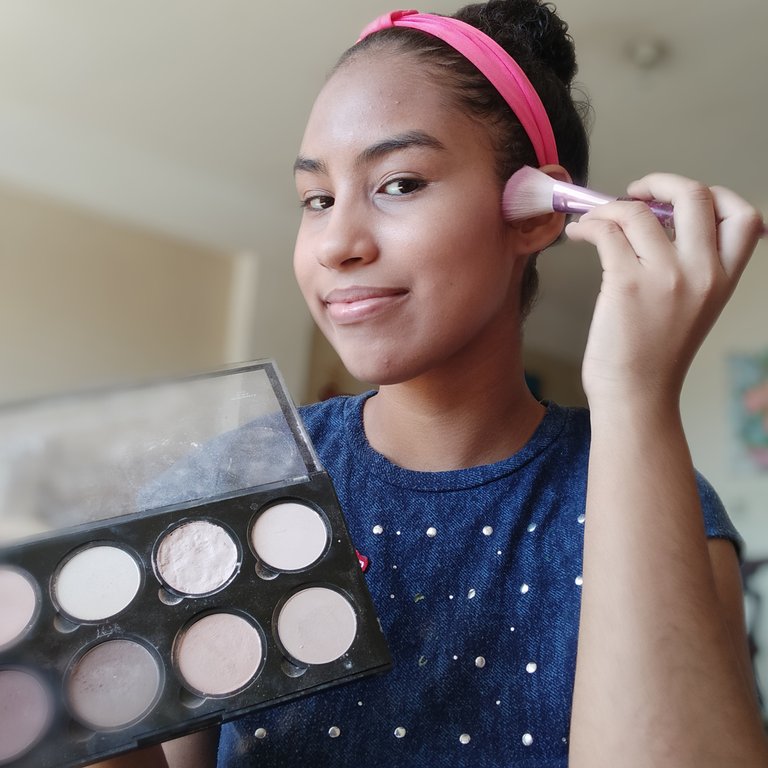
Ya luego difuminamos bien el corrector y luego vamos a aplicar el contorno en los pómulos yo lo aplico hacía arriba para que el rostro este más definido
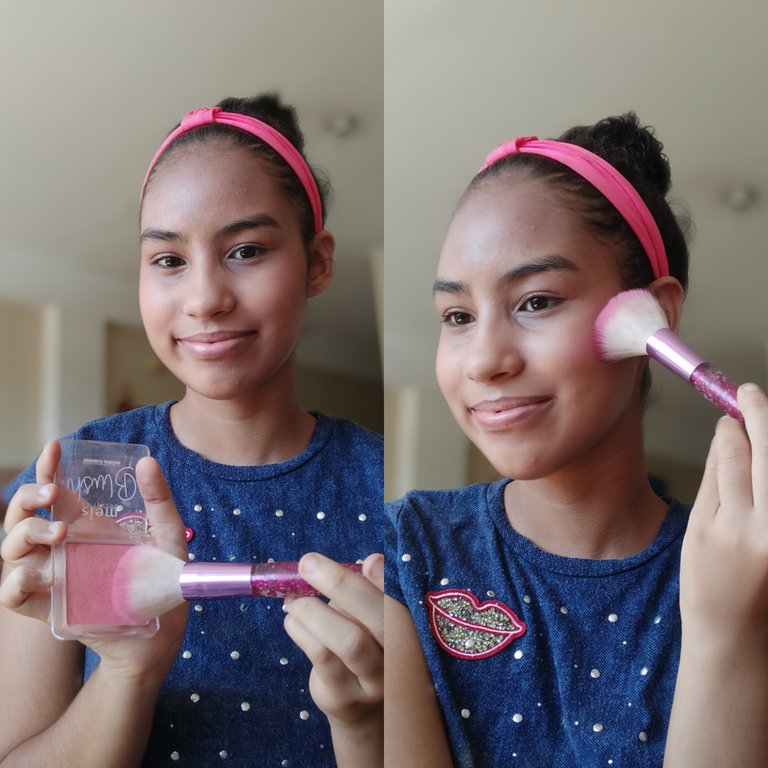
Ya que colocamos el contorno vamos a aplicar el blush en los pómulos igualmente hacia arriba

Y ya después vamos a sellar todo el maquillaje con polvo translúcido o suelto, si no tienen también lo pueden hacer con su polvo compacto
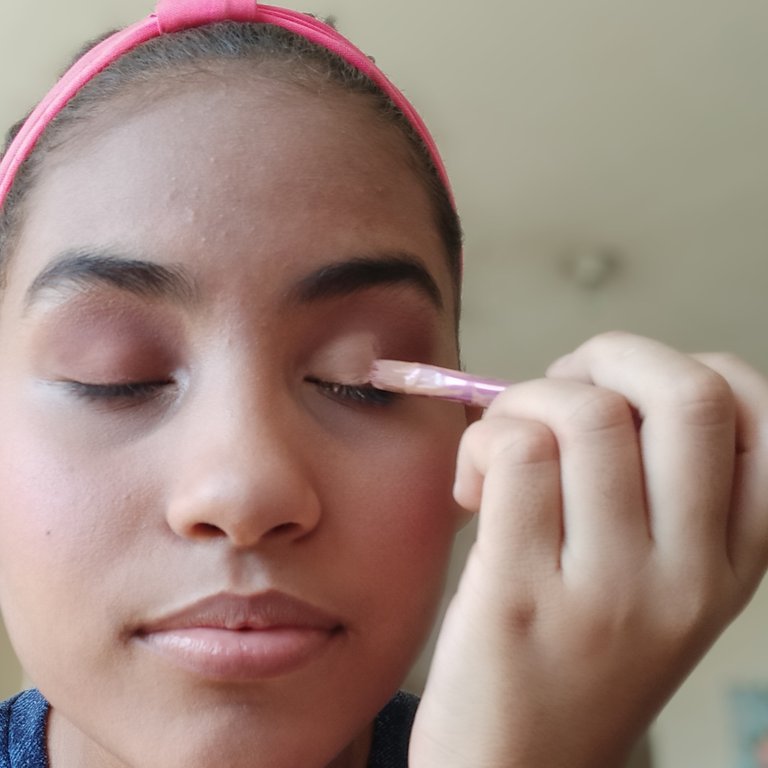
Ya que terminamos de hacer el rostro, vamos a empezar con el maquillaje de ojos, lo primero que vamos a hacer es aplicar el corrector en el párpado y esto lo hacemos para que las sombras pigmenten

Ya después que hacemos este paso vamos a empezar a colocar nuestras sombras
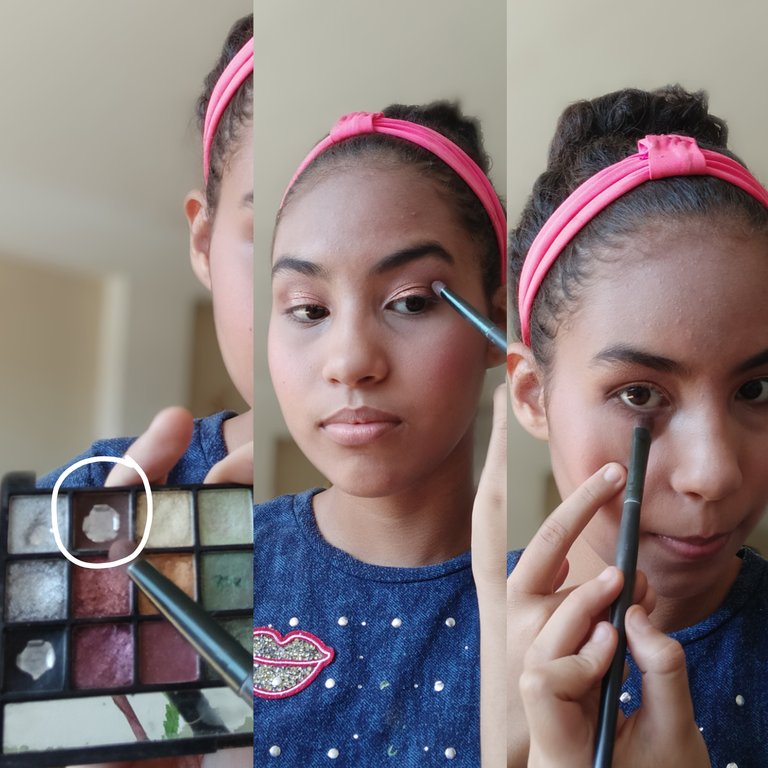
como sombra de transición coloqué un marrón claro y lo apliqué en todo el párpado
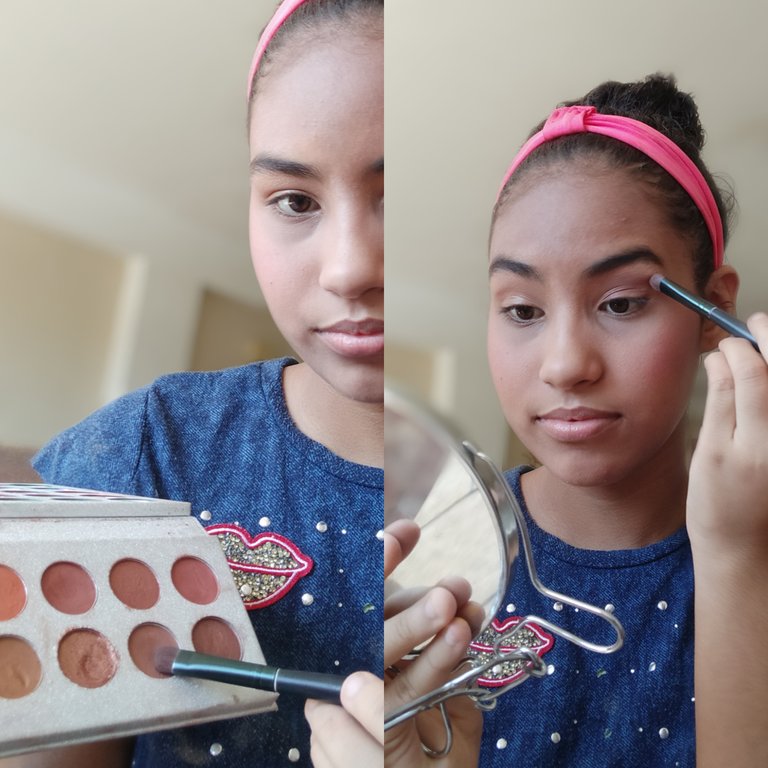
Luego coloqué otro tono de marrón y lo coloqué en la cuenca
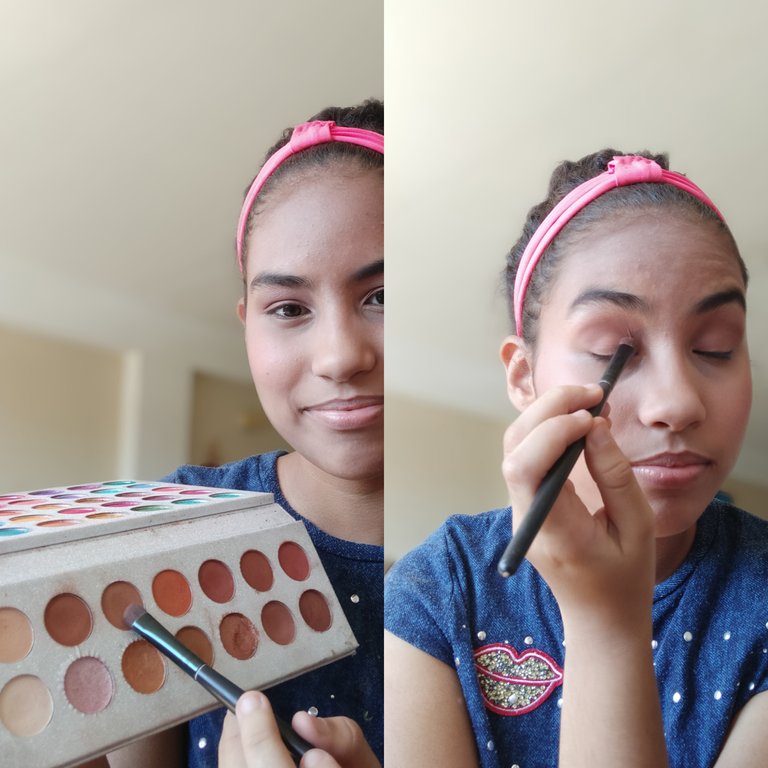
Y después realicé el cut crease que es el corte de cuenca, y en el apliqué una sombra satinada color marrón dorado muy lindo, el cut crease lo realicé con una brocha lengua de gato


Ya después colocamos al lado del corte de cuenca en el párpado móvil para dar profundidad un marrón oscuro y lo colocamos también en el párpado inferior
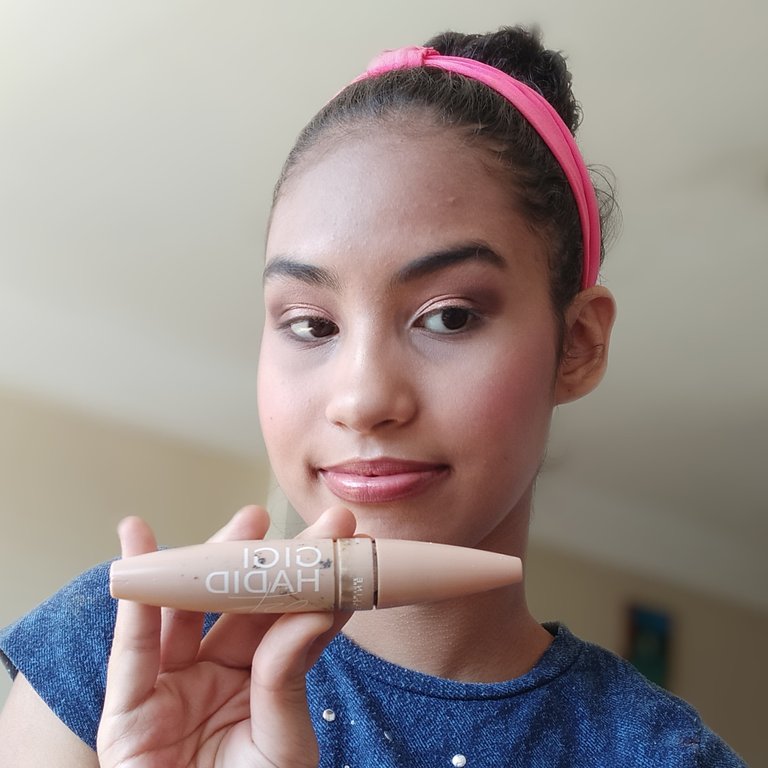
Y ya para terminar los ojos vamos a colocarnos máscara de pestañas, si quieres colocar pestañas postizas ya es a tu gusto, son muy lindas y realzan la mirada
Y ya para culminar el maquillaje colocamos iluminador y el labial, yo coloqué un labial rojo y luego le puse un lip gloss, pero si ustedes quieren lo dejan sin el lip gloss

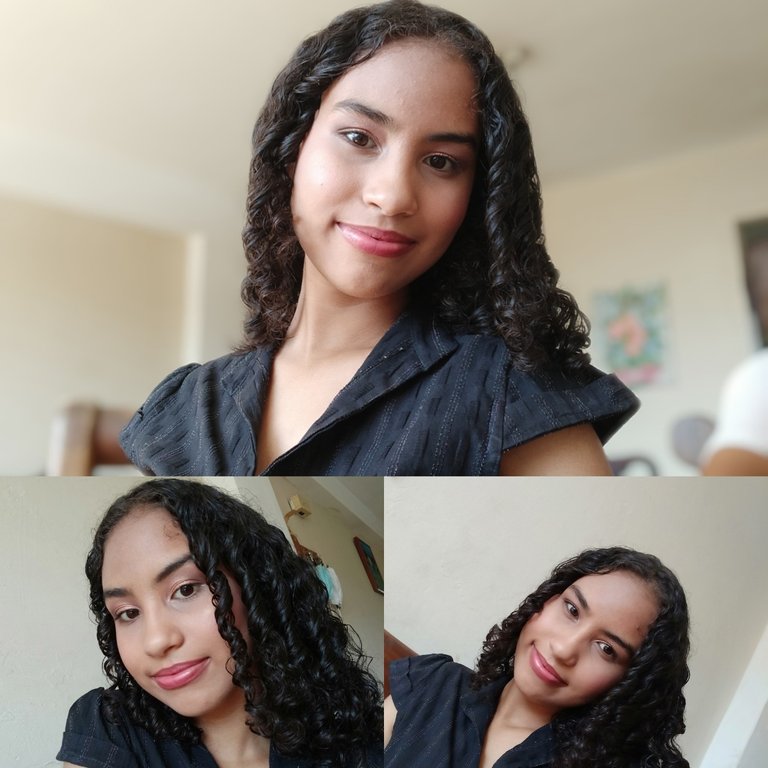

Y así quedaría el maquillaje, no realicé la cirugía con maquillaje: perfilado de nariz (se me olvidó) espero que les haya gustado mucho este tutorial y que lo puedan realizar.

Todas la fotos son de mi autoría y fueron tomadas con un Redmi note 8
Las fotos fueron editadas con PicsArt
La traducción fue realizada con DeepL Traslate
Hello friends of Hive! Today I bring you a very beautiful Glam makeup that you can do to go everywhere because it is a makeup that has neutral colors but is too precious and very elegant.
Let's start making up our face first we will place our base and blur it well, then we will apply concealer on the dark circles under the eyes in the part of the circles did not apply base because if we apply base and then above the base we apply the concealer can crack that part and it will look heavier and we do not want that


Then we blend the concealer well and then we apply the contour on the cheekbones I apply it upwards to make the face more defined.

Once the contour is applied we apply the blush on the cheekbones also upwards

And then we are going to seal all the makeup with translucent or loose powder, if you don't have it you can also do it with your compact powder

Since we finished doing the face, we are going to start with the eye makeup, the first thing we are going to do is apply concealer on the eyelid and we do this so that the shadows will pigment

Already after we do this step we are going to start placing our shadows.

as a transition shadow I placed a light brown and applied it all over the eyelid.

Then I placed another shade of brown and placed it in the basin.

And then I did the cut crease which is the basin cut, and on it I applied a very nice golden brown satin shadow, the cut crease I did it with a cat tongue brush.

And then we placed next to the basin cut on the mobile eyelid to give depth a dark brown and we also placed it on the lower eyelid

And now to finish the eyes we are going to apply mascara, if you want to place false eyelashes is to your taste, they are very nice and enhance the look

And now to finish the makeup we put the highlighter and lipstick, I put a red lipstick and then I put a lip gloss, but if you want you can leave it without the lip gloss


And this is how the makeup would look like, I didn't do the surgery with makeup: nose contouring (I forgot) I hope you liked this tutorial a lot and that you can do it.

All photos are by me and were taken with a Redmi note 8.
The photos were edited with PicsArt
The translation was done with DeepL Traslate
Love that simple make up lovely palette!!
I agree
So cute...lovely makeup on a cute face..