
”ESPAÑOL”

Hola Comunidad de Makeup Power🖌️🎨
Hola mis queridos y hermosos hivers, feliz inicio de semana espero que todos estén súper bien, y hayan pasando un súper fin de semana, especialmente a todos los integrantes y lectores de la familia de makeuppower.
Hoy volvemos a la normalidad jaja y con eso me refiero a seguir creando maquillajes nuevos para ustedes, realizados con muchos esfuerzo y amor, probablemente no seré la más experta, pero siempre trato de mejorar, aprender de ustedes y traerles nuevas propuestas realizadas por mi e inspiradas en algunas fotos de Instagram, Pinterest o cualquier red social, incluso de mi imaginación.
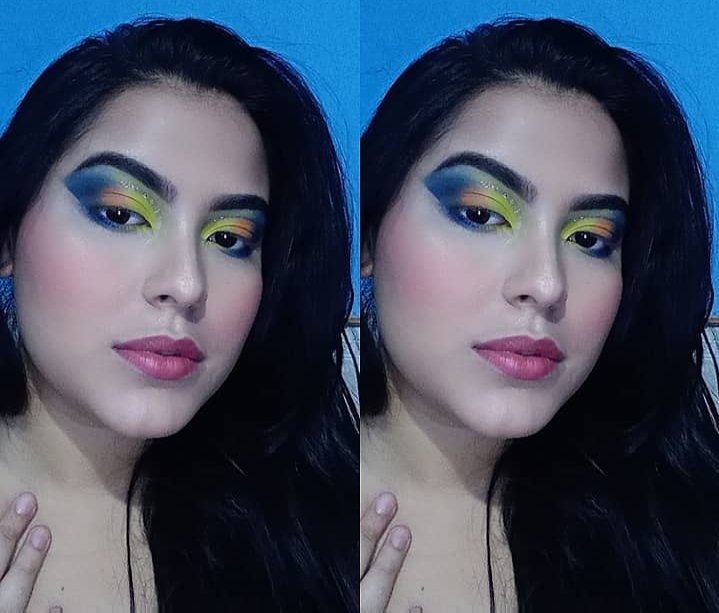
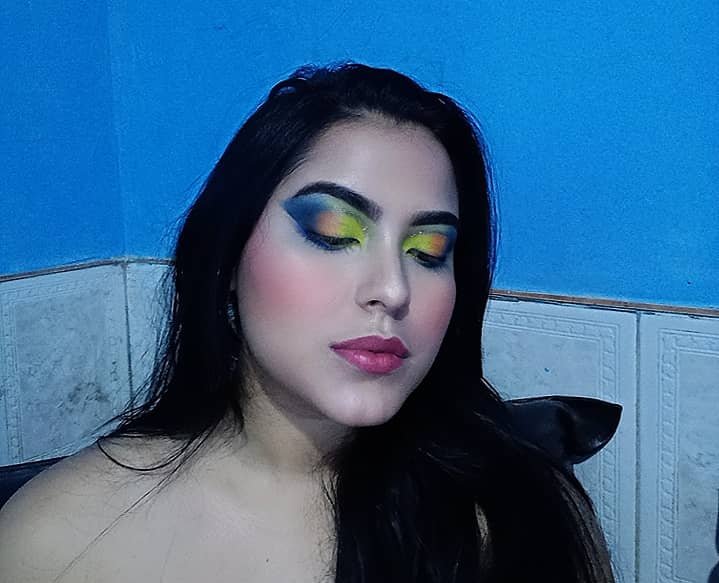
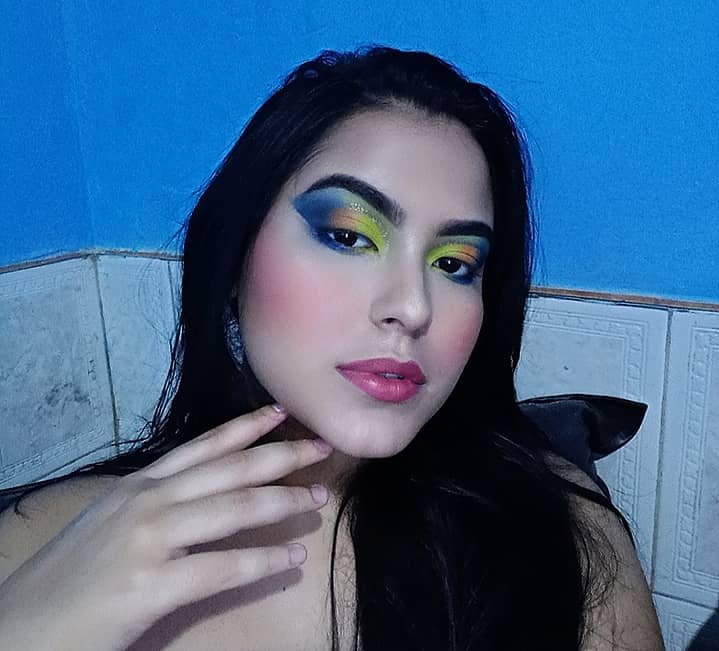
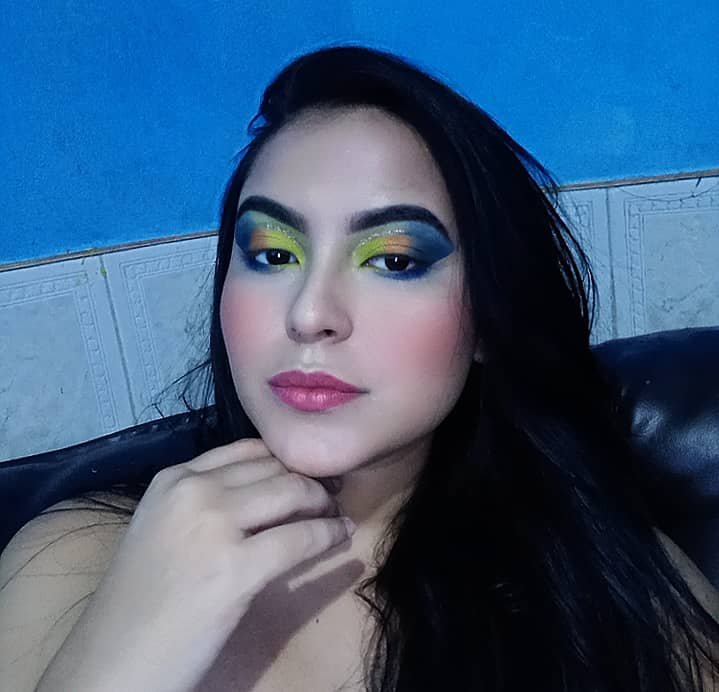
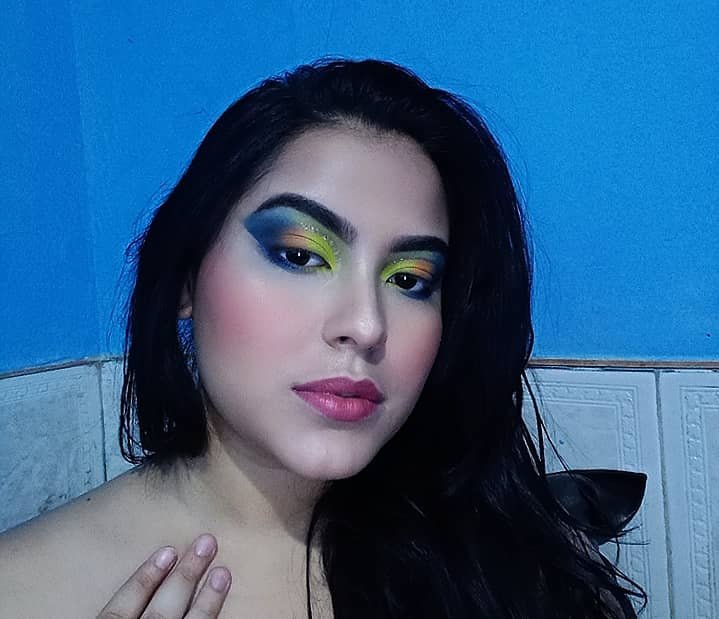
Para esta oportunidad quise traerles un maquillaje colorido, con una mezcla de colores como lo son el azul, el verde naranja y amarillo como tono principal resaltante, agregando un poco de glam o mejor dicho brillo al ojo.
Por tal motivo te invito a que continúes con la lectura y estar al tanto del paso a paso realizado , para que tú también puedas recrearlo.


Espero Disfrutes este Tutorial de Maquillaje 🖌️🎨
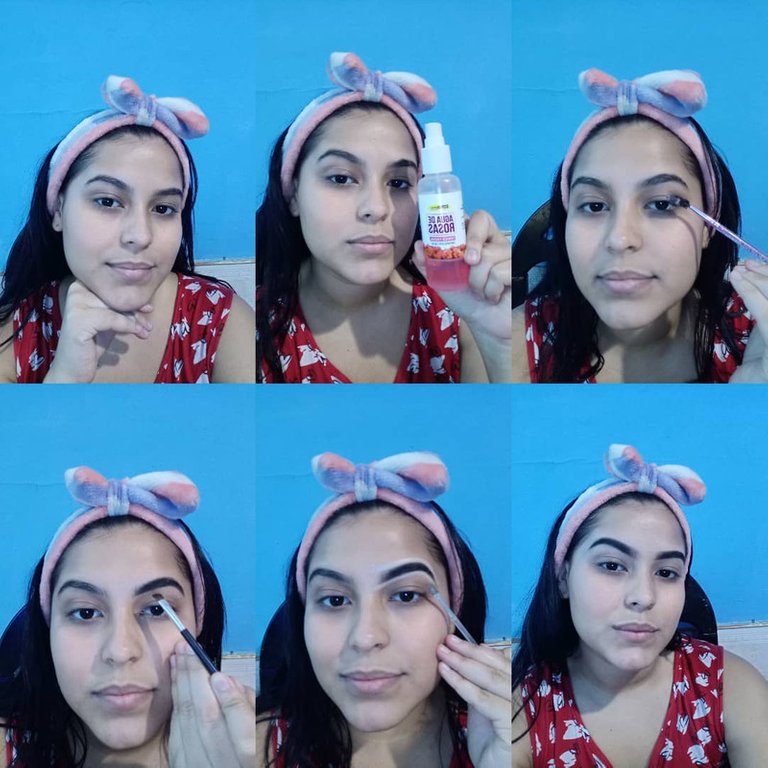
Para esta oportunidad lo que debemos hacer es tener nuestra cara bien lavada y limpia, antes de agregar cualquier producto. Después de eso me coloco mi diadema para no desordenar mi cabello y tener una mejor disposición para aplicar mi maquillaje. Después empiezo a añadir mi tónico facial de agua de rosas que va a hacer que mi piel se vea un poco más reluciente e hidratada.
Luego paso a mis cejas que debo confesar que realmente necesito ir a la peluquería para darles forma jaja pero mientras no puedo ir hay maquillaje jaja, así que lo que hago es rellenar todo mi espacio con sombra, lo pincelo y difumino siempre al principio para que no se vean marcadas, luego con la ayuda del corrector limpio toda esa zona para que se vea mejor.
Para la parte de los ojos empiezo colocando mi corrector para que mi sombra se vea mucho más pigmentada, empiezo añadiendo el tono negro como tono de fondo, luego lo difumino con un poco de verde en la parte superior y también hago lo mismo con el tono azul. Hacemos un corte de Cuenca con la ayuda de un pincel y el corrector, luego aplicamos el color amarillo seguido del tono naranja, y terminamos dándole un toque de brillo por encima del corte que hicimos.
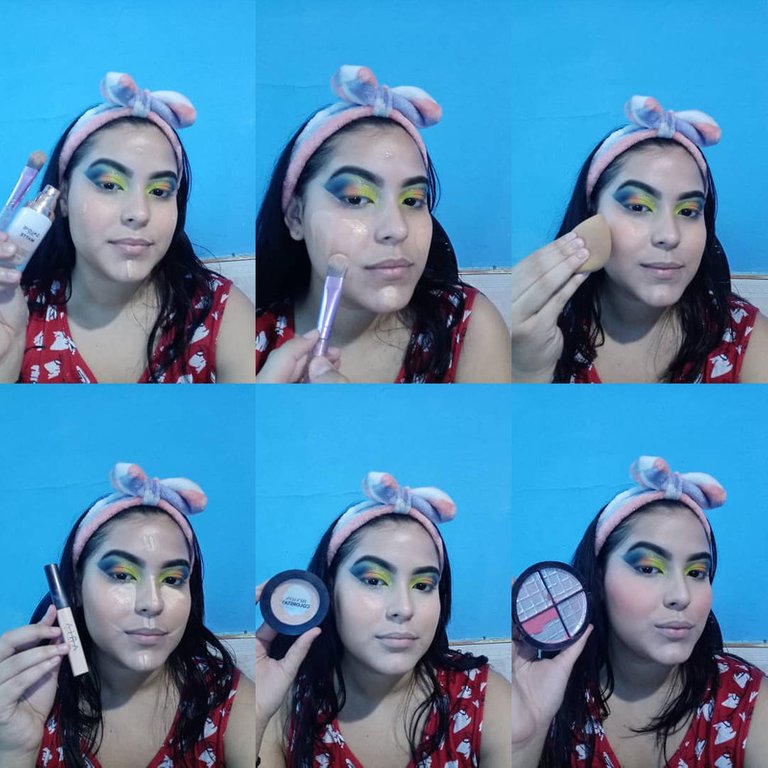
Seguimos con la parte del rostro y empezamos a añadir nuestra base de maquillaje, en mi caso me gusta colocarla con esta brocha que veis en la foto, la extiendo y luego la difumino con la esponja, añadimos nuestro corrector y luego sellamos todo con polvos. Luego terminamos añadiendo nuestro colorete, un poco de iluminador y un labial para completar este look.
Espero que te haya gustado este maquillaje, nos vemos pronto.
.





”ENGLISH”

Hello Makeup Power Comunity 🖌️🎨
Hello my dear and beautiful hivers, happy start of the week, I hope everyone is doing great, and had a great weekend, especially to all the members and readers of the makeuppower family.
Today we are back to normal haha and by that I mean to continue creating new makeup looks for you, made with a lot of effort and love, probably I won't be the most expert, but I always try to improve, learn from you and bring you new proposals made by me and inspired by some photos from Instagram, Pinterest or any social network, even from my imagination.
For this opportunity I wanted to bring you a colorful makeup, with a mix of colors such as blue, orange green and yellow as the main highlighting tone, adding a little glam or rather glitter to the eye.
For this reason I invite you to continue reading and be aware of the step by step, so you can recreate it too.

I hope you enjoy this Makeup Tutorial🖌️🎨

For this opportunity what we must do is to have our face well washed and clean, before adding any product. After that I place my headband so I don't mess up my hair and have a better disposition to apply my makeup. After that I start adding my rose water facial toner which is going to make my skin look a little more reduced and hydrated.
Then I move on to my eyebrows which I must confess that I really need to go to the hairdresser to shape them haha but while I can't go there is makeup haha, so what I do is fill in all my space with shadow, I brush and blend it always at the beginning so they don't look marked, then with the help of concealer I clean all that area to make it look better.
For the part of my eyes I start by placing my concealer so that my shadow looks much more pigmented, I start by adding the black tone as a background tone, then I blend it with a little bit of green on the top and I also do the same with the blue tone. We make a Cuenca cut with the help of a brush and concealer, then apply the yellow color followed by the orange tone, and finish by giving it a touch of glitter above the cut we made.
We continue with the face part and we start adding our foundation, in my case I like to place it with this brush that you see in the picture, I spread it and then I blend it with the sponge, we add our concealer and then we seal everything with powder. Then we finish by adding our blush, a bit of highlighter and a lipstick to complete this look.
I hope you liked this makeup, I'll see you soon.
.



Les doy las gracias por visitar mi blog, sus comentarios son muy valiosos para mi.
I thank you for visiting my blog, your comments are very valuable to me.
Me despido, hasta una próxima oportunidad.
I bid you farewell, until a future opportunity.
The translator used in my publication is :Translated with www.DeepL.com/Translator (free version)
Todo lo escrito es de mi autoría @virgi2001
Everything written is of my authorship @virgi2001
Las fotografías son de mi propiedad, capturando el momento con la cámara de mi teléfono Realme 6.
The photographs are my own, capturing the moment with my Realme 6 phone camera.

Hermoso maquillaje, como siempre amiga @virgi2001 Saludos 🤗
Gracias hermosa 😘
Hermoso maquillaje siempre con los cortes impecables. Gracias por compartir este tutorial.
Gracias mamá, me alegra que te guste. 😊
The rewards earned on this comment will go directly to the people sharing the post on Twitter as long as they are registered with @poshtoken. Sign up at https://hiveposh.com.
Has sido votado por
PROYECTO ENLACE
'Conectando Ideas y Comunidades'
PROYECTO ENLACE es un proyecto de curación de habla hispana enfocado en recompensar contenido de calidad y apoyar autores en su proceso de crecimiento en HIVE.
Creemos y apostamos por el futuro de esta gran plataforma, y estamos muy emocionados de poder hacerla crecer junto a esta comunidad. Así que te invitamos a usar nuestra etiqueta ENLACE y estar atento a todas las actividades que tenemos preparadas y que estaremos publicando en breve.
¿QUIERES AUTOMATIZAR TUS GANANCIAS DE CURACIÓN? SE PARTE DEL PROYECTO ENLACE APOYANDO A NUESTRO TRAIL EN HIVE.VOTE INGRESA AQUÍ PARA CONOCER LOS DETALLES.
¿QUIERES INVERTIR ENLACE? DESCUBRE COMO HACERLO Y GENERAR INGRESOS DE FORMA SEMANAL MEDIANTE TU DELEGACIÓN DE HP AQUÍ TE EXPLICAMOS COMO.
Te invitamos a participar en nuestro servidor de Discord: https://discord.gg/3S9y7BbWfS
Atentamente
EQUIPO ENLACE 2022
Me gusto ese maquillaje te quedo espectacular me encanto😍
Me gusto mucho la combinacion de la paleta de colores sin duda alguna es arte
Your level lowered and you are now a Red Fish!
Support the HiveBuzz project. Vote for our proposal!