ESPANOL
Ayer salí con mis trabajadores para entregar un contrato que conseguí recientemente. Soy un pintor profesional que se especializa tanto en pintar como en enlucir y mi trabajo es hacer que su habitación se vea bien. Primero, me gustaría que supiera qué es enlucir. Es un paso previo a pintar. ¿Qué quiero decir con eso? Enlucir es lo que debe hacer antes de pintar la pared de su habitación. La imagen a continuación lo explicará mejor.
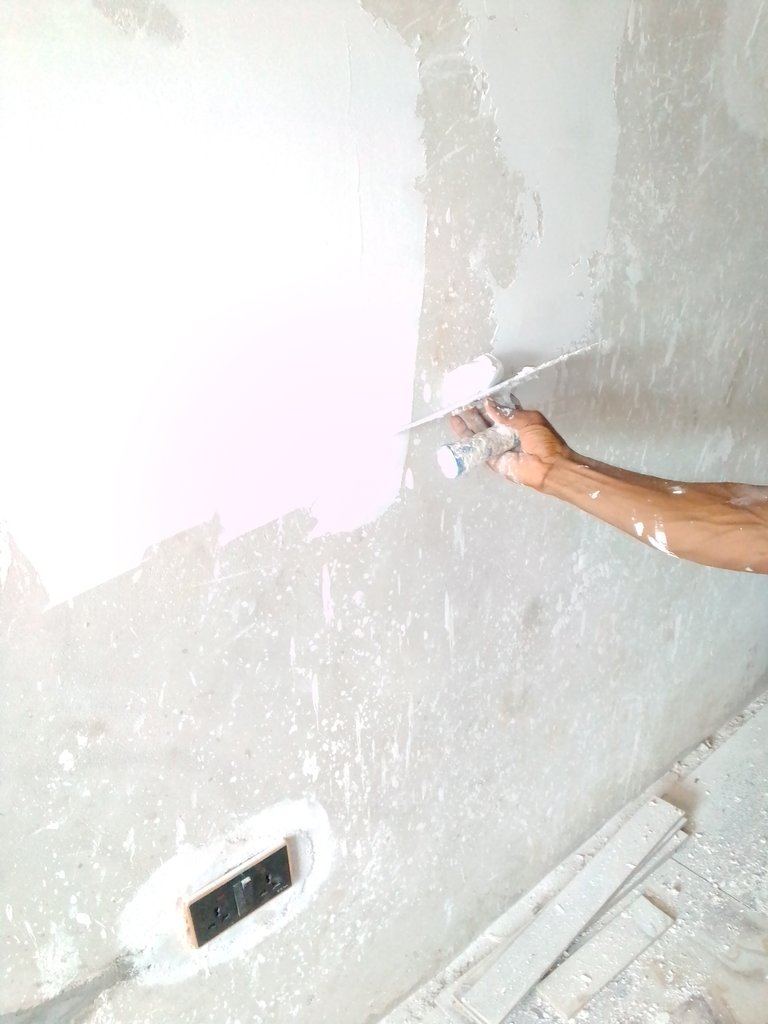
¿Ha notado la cosa blanca en esa pared? Eso es enlucir. ¿Cuáles son las ventajas de enlucir su habitación y por qué debería hacerlo?
El enlucido ayuda a controlar el calor, especialmente durante la estación seca, cuando suele hacer mucho calor.
Rellena cada hueco de la pared y hace que tu habitación quede muy lisa y ordenada.
El enlucido te ahorra el estrés y el coste de pintar tu habitación cada vez. ¿Por qué? Una vez que hayas enlucido tu habitación, hay cuatro tipos diferentes de pintura que puedes aplicar en la pared; estas pinturas son: acrílica, sedosa, mate y satinada. La calidad de estas pinturas permite lavar la pared con agua limpia y jabón siempre que haya una mancha en la pared.
Ese material blanco que se utiliza para hacer el enlucido se llama masilla, y en este post quiero enseñarte cómo puedes producirla y hacer el enlucido tú mismo.
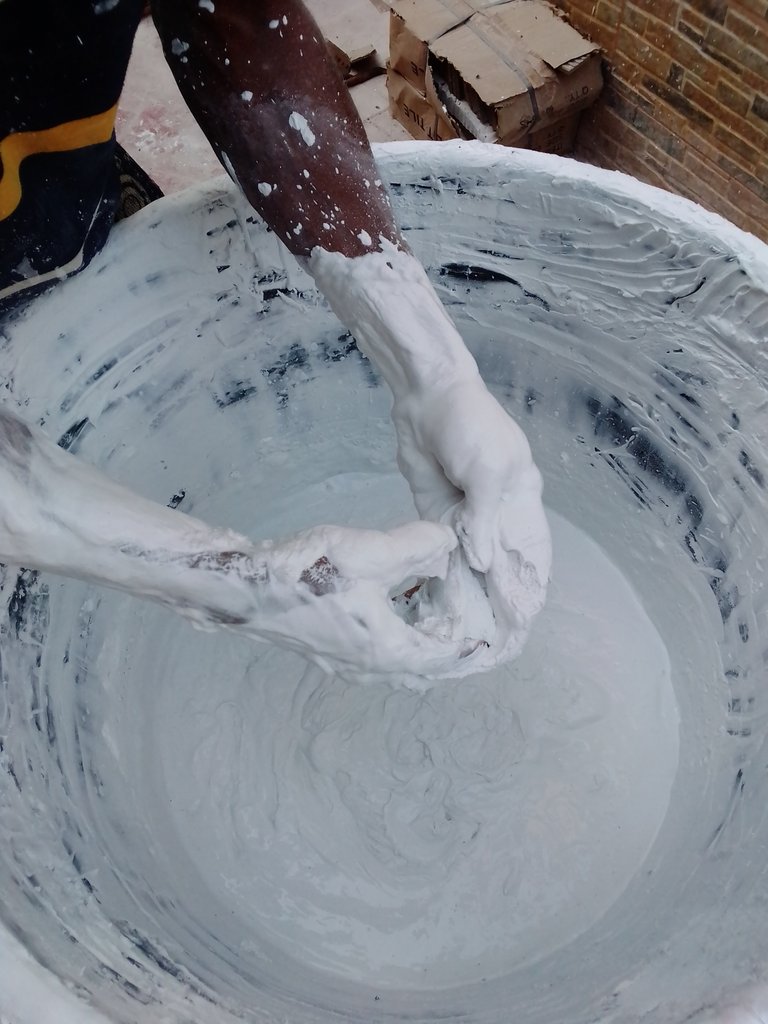
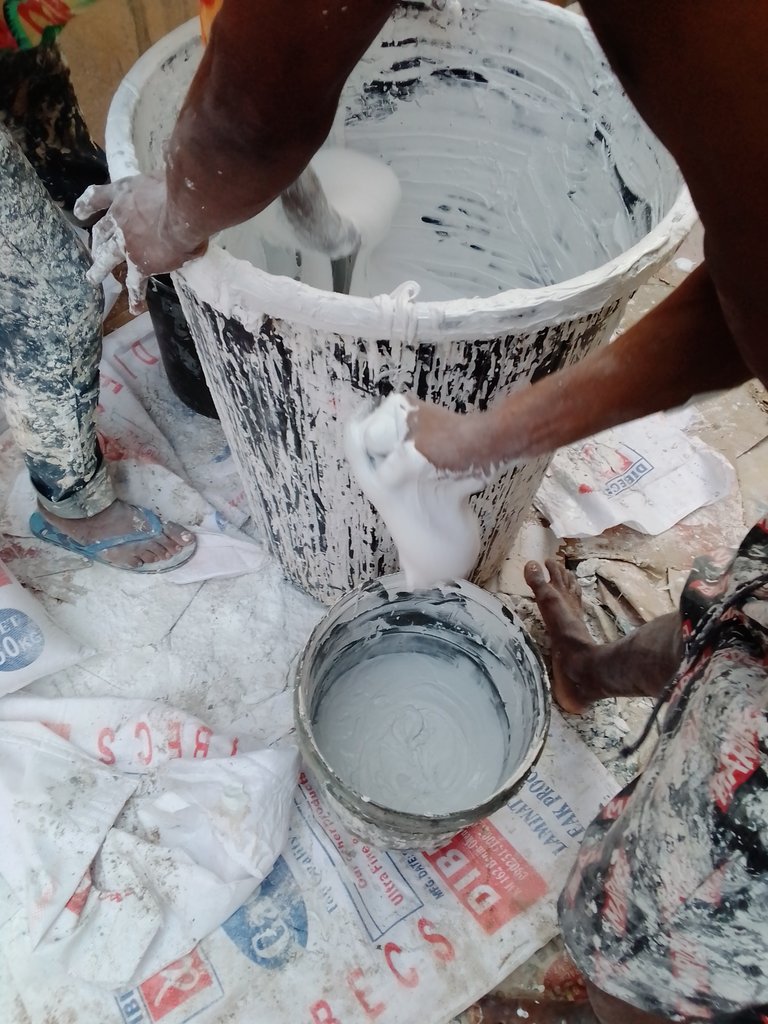
Para hacer una masilla para enlucido, primero, conseguirás un recipiente grande de unos 150 a 200 litros que sea lo suficientemente grande y ancho y te permita estar libre mientras haces la producción. Una vez que lo tengas, vierte cuarenta litros de agua limpia en el recipiente.
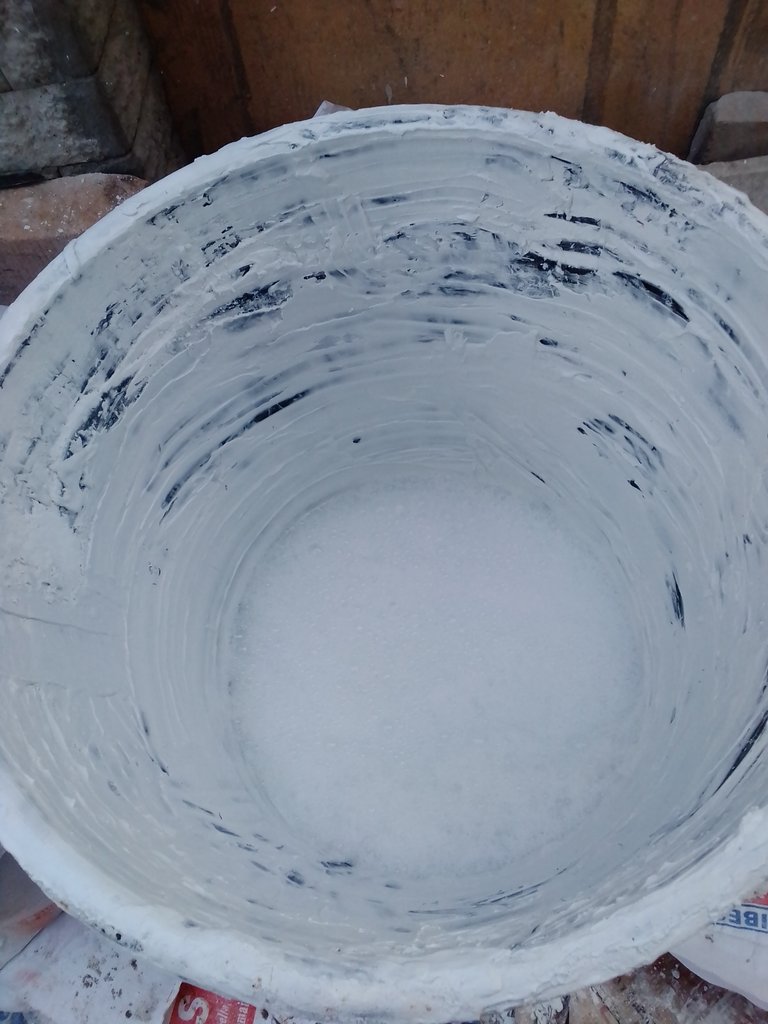
El agua que está dentro de mi recipiente es blanca porque ya lo había usado para la producción. Una vez que se vierte el agua, lo siguiente que agregarás son dos bolsas de calcio. Ten en cuenta que una bolsa equivale a un balde de agua.
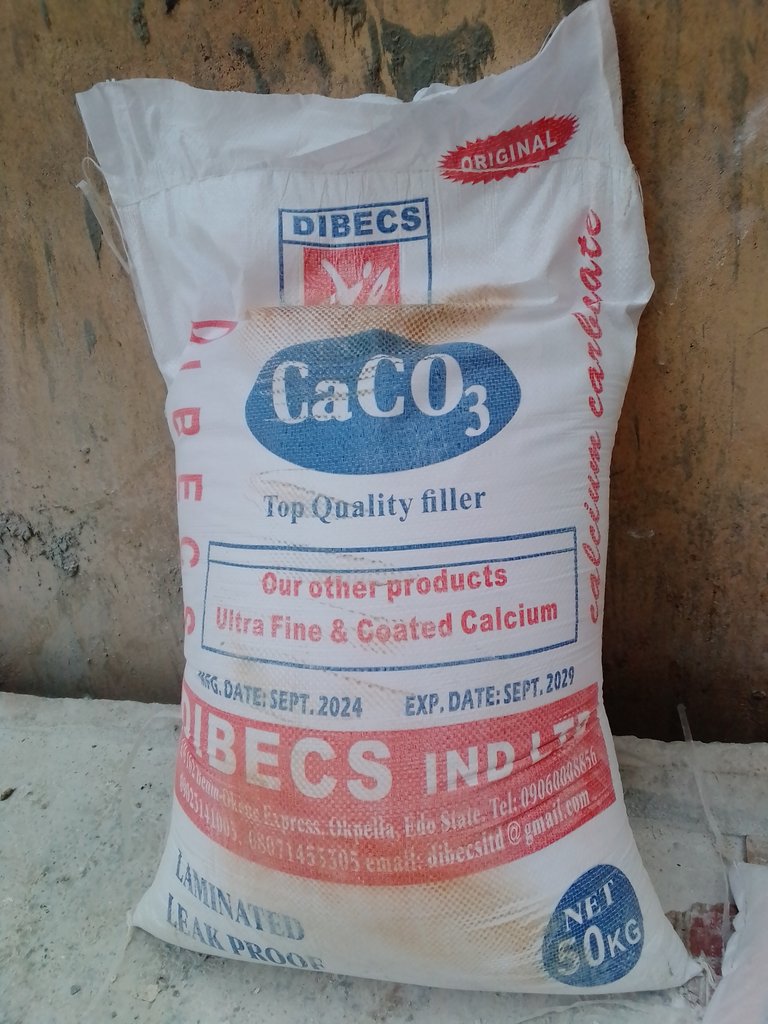
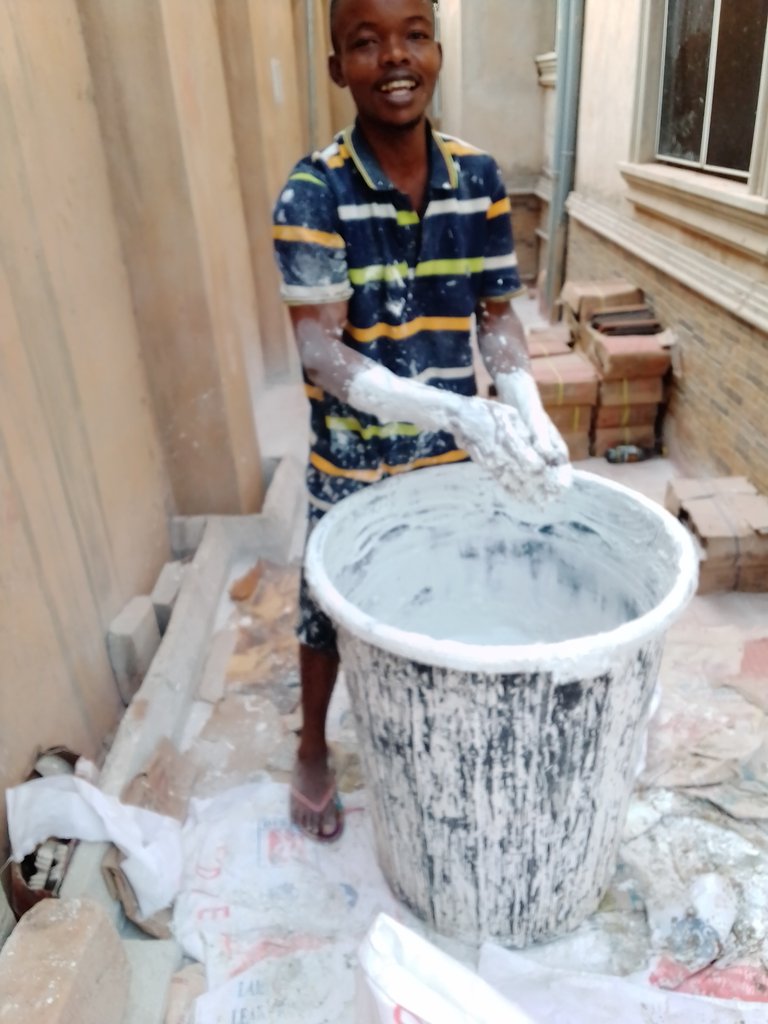
También debes tener en cuenta que no tienes que poner las dos bolsas a la vez. Solo tienes que verter una pequeña cantidad de calcio en el agua y asegurarte de disolverlo antes de seguir añadiendo. Asegúrate de tomarte el tiempo necesario para disolver completamente el calcio.
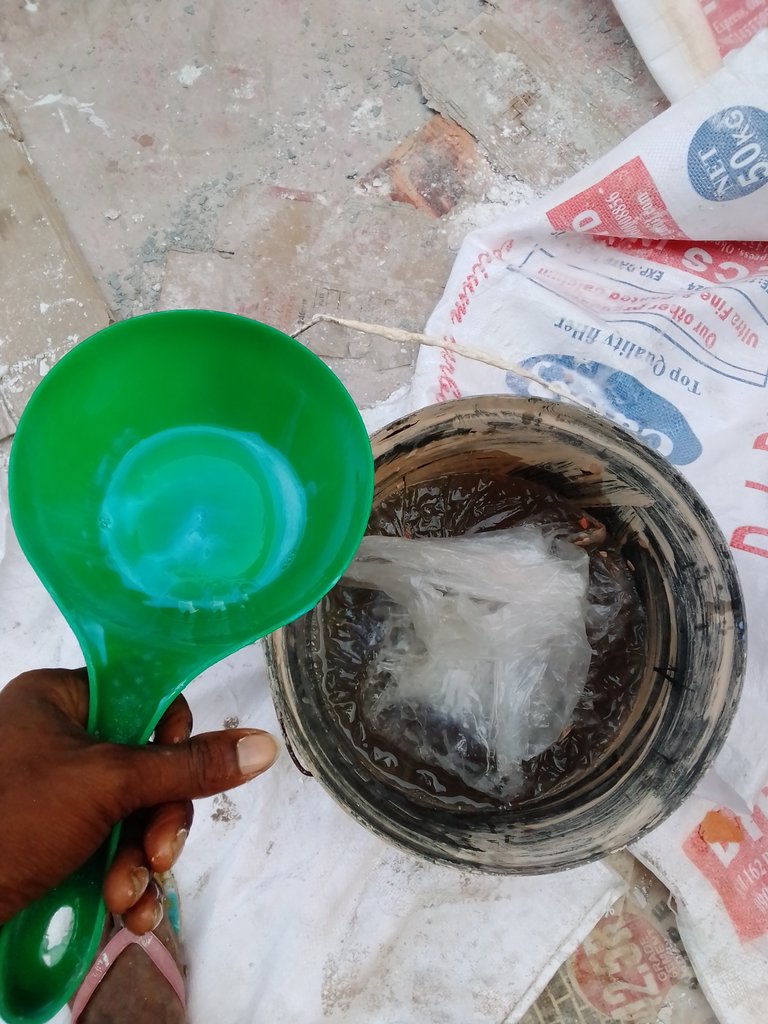
Una vez que hayas terminado de disolverlo, le añadirás 16 kg de goma (adhesivo superior). Esta goma es la que ayudará a que el material se adhiera a la pared cuando lo apliques.

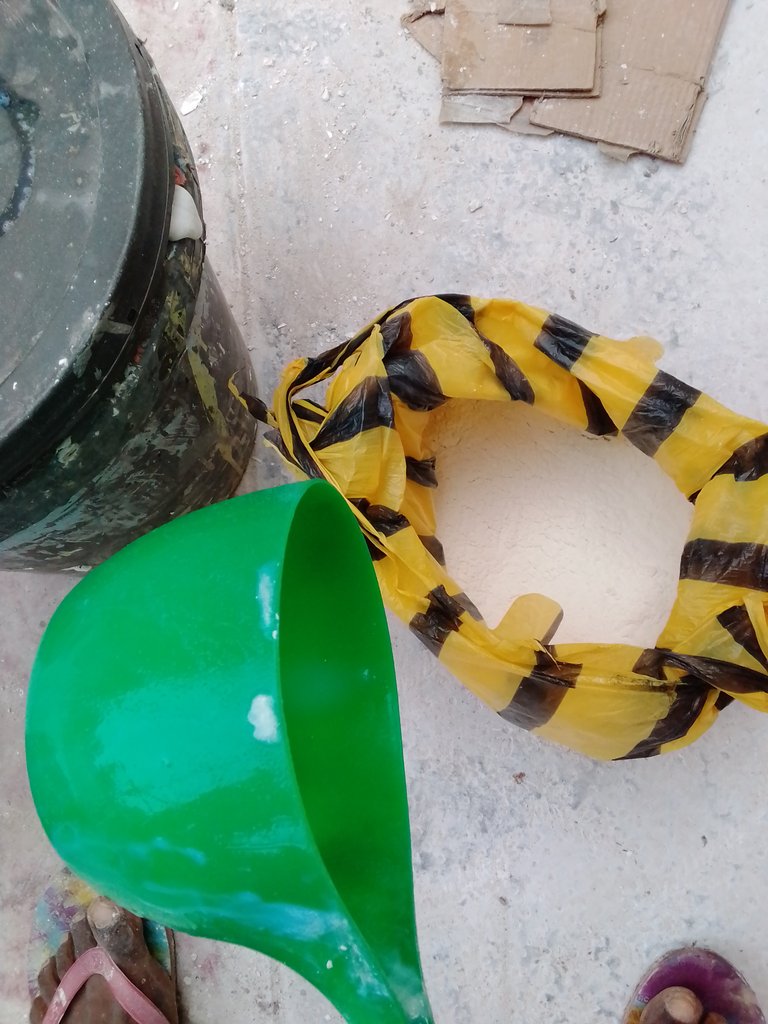
Una vez hecho esto, le añades 3 kg de janupor y lo remueves bien.
Lo siguiente que le agregarás se llama bama o nitro, y para esta cantidad, 2 kg serán suficientes. El nitro es un espesante que le da espesor a la masilla para que no se caiga de la pared cuando la apliques. Añade una pequeña cantidad de agua y disuélvela antes de verterla en la mezcla.
Asegúrate de revolver bien una cosa antes de añadir la otra.
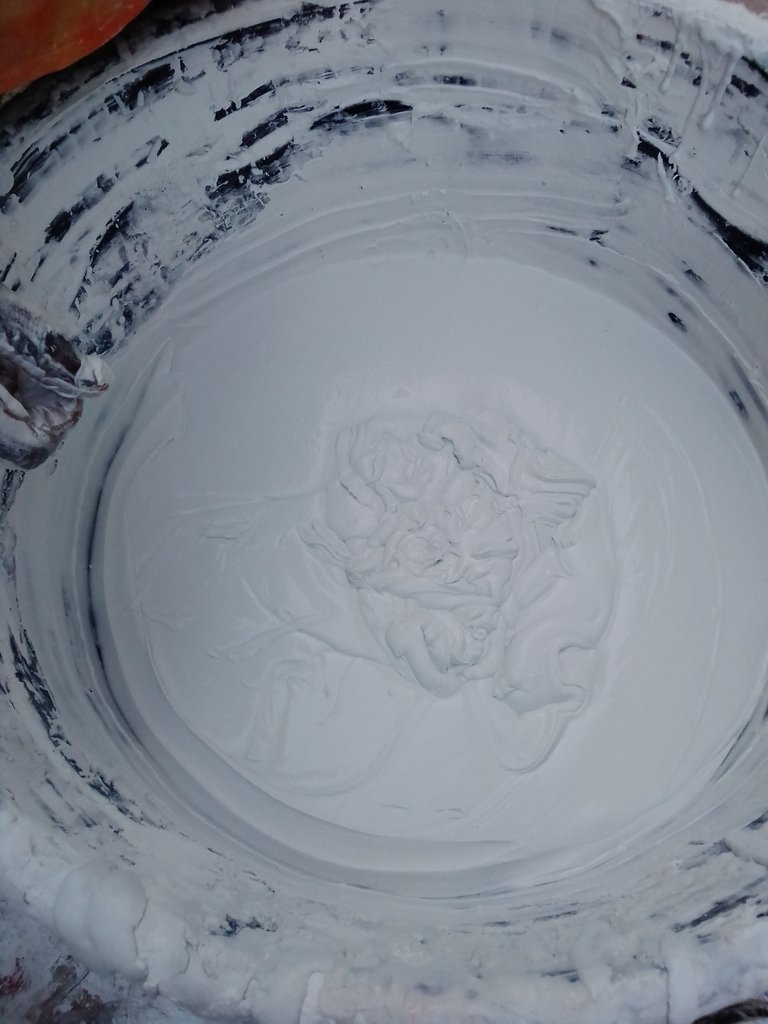
Lo último que añadirás es amoniaco, que sirve como conservante y ayuda a que la masilla dure más tiempo en caso de que no puedas terminar el trabajo en uno o dos días. Y para el amoniaco, bastará con 10 cl.

Una vez añadido, la masilla estará lista.
En mi próxima publicación, te daré una guía sobre cómo puedes aplicarlo en la pared. No tienes que ser un profesional para hacerlo. Muchas gracias por tomarte el tiempo de leer hasta el final.
ENGLISH
Yesterday, I stepped out with my workers to deliver a contract that I secured recently. I am a professional painter who specializes in both painting and screeding and my work is to make your room look good. First, I would like you to know what screeding is. It is a preliminary to painting. What do I mean by that? Screeding is what you must do before you paint the wall of your room. The picture below will explain it better.
Have you noticed the white thing on that wall? That is screeding. What are the advantages of doing screeding in your room and why should you do it?
Screeding helps in controlling heat, especially during the dry season when usually very hot.
It fills every hole on the wall and makes your room very smooth and neat.
Screeding saves you the stress and the cost of painting your room every time. Why? Once you screed your room, there are four different types of paint that you can apply on the wall; these paints are: acrylic, silk, matt, and satin. The quality of these paints allows the wall to be washed with soap and clean water whenever there's a stain on the wall.
That white material that is used in doing screeding is called putty, and in this post, I want to teach you how you can produce it and do the screeding yourself.
To make a putty for screeding, first, you will get a big container like 150 to 200 litres that is big and wide enough and will allow you to be free while doing the production. Once you get it, pour forty litres of clean water into the container
Why the water inside my container here is white is that I had already used my container for production. Once the water is poured in, the next thing that you will add is two bags of calcium. Note that a bag equates with a bucket of water.
You should also note that you don't have to put the two bags at once. You only pour a little quantity of calcium into the water and ensure you dissolve it before you keep on adding. Make sure you take time to thoroughly dissolve the calcium
After you have finished dissolving it, you will add a 16 kg of gum(top bond) to it. It is this gum that will help the material to stick on the wall when you apply it.
Once that is done, you add 3kg of janupor to it and turn it properly.
The next thing you'll add is called bama or nitro, and for this quantity, 2kg of it will be enough. Nitro is a thickener that makes the putty thick so that it doesn't fall off the wall when you apply it. Add a little quantity of water and dissolve it before pouring it into the mixture
Make sure you stir one thing properly before you add the other.
The last thing you will add is ammonia, and it serves as a preservative that helps the putty to last for a longer time in case you are not able to finish the work in a day or two. And for ammonia, a 10cl will do
Once that is added, your putty is ready.
In my next post, I'll be giving you a guide on how you can apply it on the wall. You don't have to be a professional to do it. Thank you so much for taking the time to read to the end.
Posted Using INLEO
Muchas gracias, no conocía esta mezcla, la cal es excelente para que el acabado quedó liso, me imagino que el pegamento es para que después de secarse no manche de blanco. Gracias por compartir tus conocimientos.
Es un placer para mí. Gracias a ti también por leer.
No sabía de este procedimiento, me imagino que es algo que hacen los albañiles antes de entregar una obra. eso cada cuanto habría que retocarlo, o es solo luego de terminar las paredes?
Sí. Los albañiles tendrían que prepararse haciendo yeso antes de hacer esto.
que tal, buen tip!
Gracias.
Esta mezcla está genial amigo, muchísimas gracias por compartir con nosotros en la comunidad.
Es un placer para mí. Gracias a ti también por leer.
Muy buena esa preparación amigo gracias por compartir y voy a estar pendiente de cómo lo aplicas
Muchas gracias por leer
Normalmente el enlucido lo había hecho con pasta profesional y yeso o cemento blanco. Esta muy interesante tu técnica me gustaría probarla.
Sí señor. Estoy seguro que le gustará el resultado cuando lo pruebe.