![](https://images.hive.blog/768x0/https://files.peakd.com/file/peakd-hive/javierlys23/23wWwQrUi3K7zhJquxkenA8xmeYC41i6UYST3XfTy7mpGW9Yqmywsu3qPb5RqxMMC5tpN.jpg)
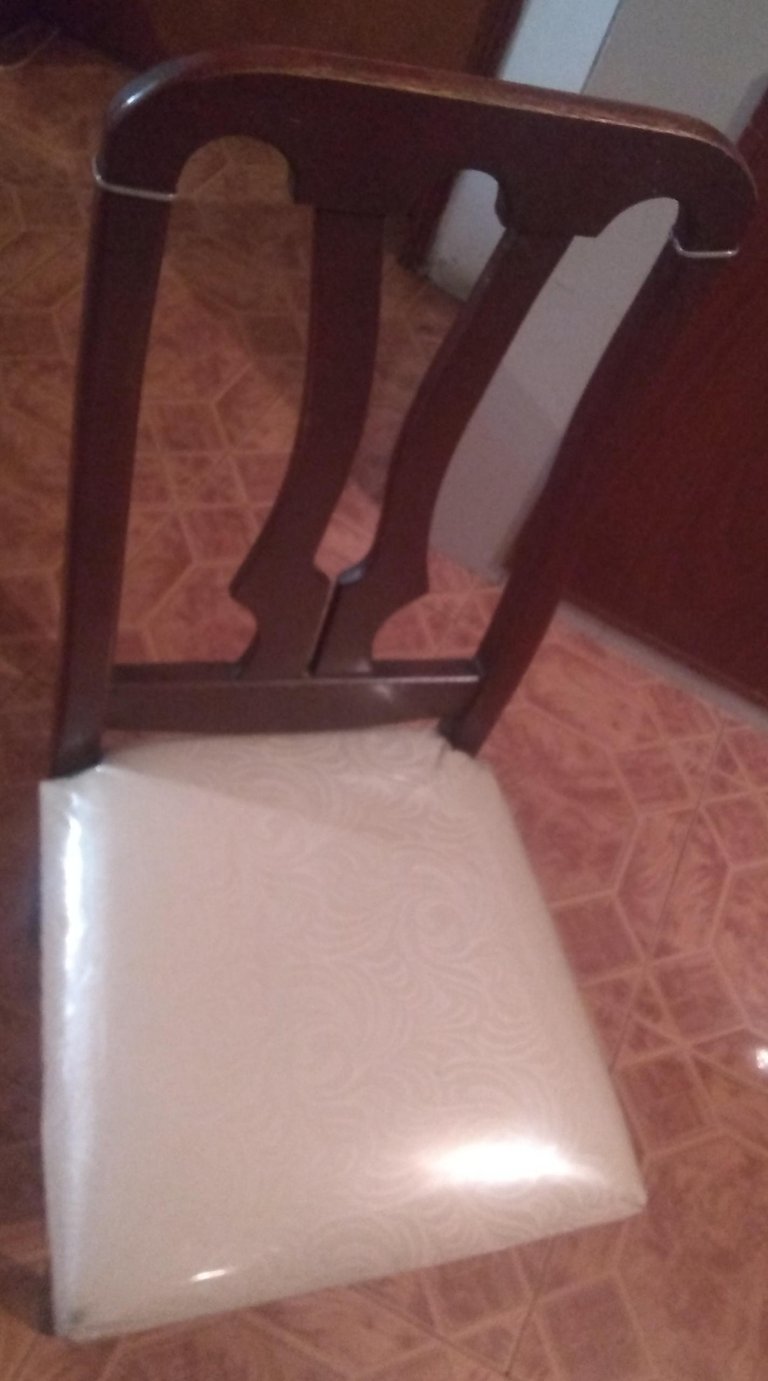
Hola, amigos y amigas soluciones para el hogar, el día de hoy arreglé una silla de comedor que tengo en mi hogar y que estaba dañada y decidí acomodarla para decorar mi casa y también para que aprendan a forrar sillas de comedor y así puedan tener una casa con unas sillas lindas.
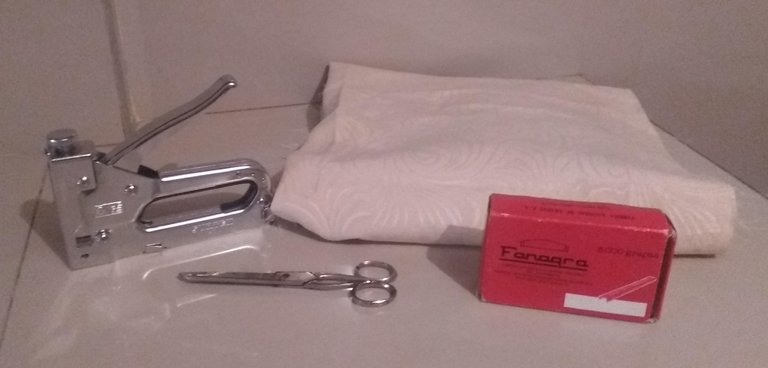
Materiales:
6 metros de tela para muebles.
6 metros de forro plástico transparente.
1 Tijera.
1 Engrapadora para muebles
1 Caja de Grapas para muebles.
![05b8cc44-254d-43a2-bf78-5ac0e0c1425f.jpg](https://images.hive.blog/768x0/https://files.peakd.com/file/peakd-hive/javierlys23/23tSb3bZ9YDNUHNVGwSkjDgkWMdXzvZVsfQNVrz1xiE8crewgncuDvT1XY54vyzhMHx31.jpg)
Paso 1:
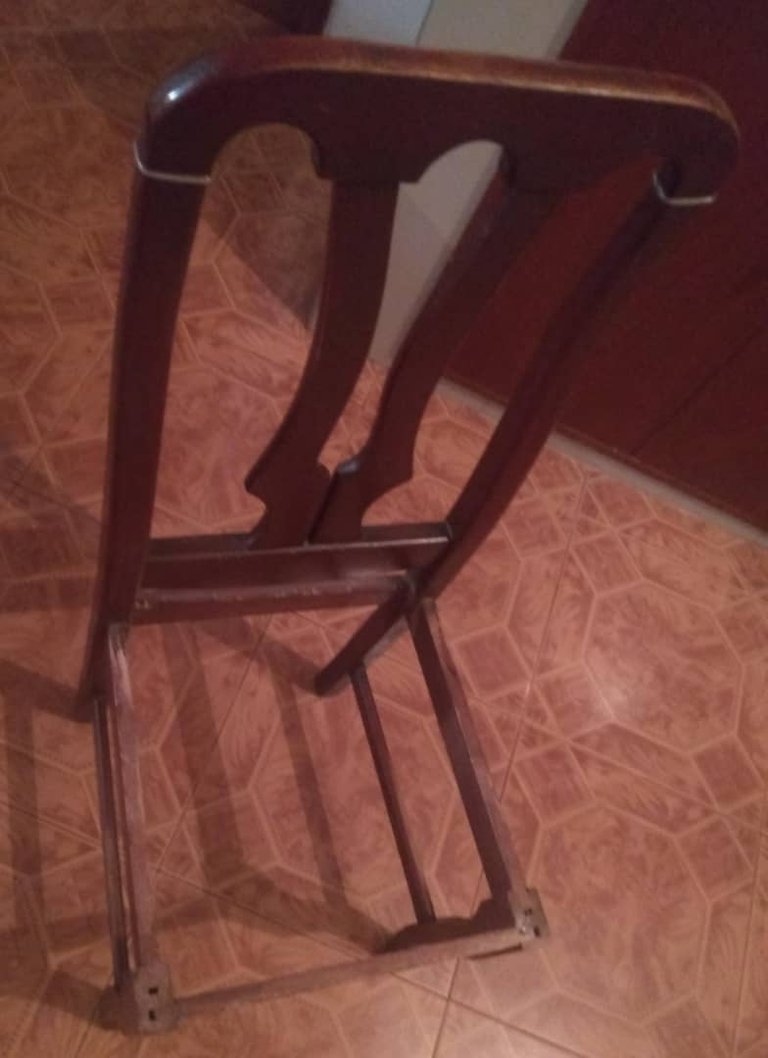
Se quita el forro anterior que tenía la silla antigua.
![a4d41322-c63b-437e-b209-96128ec7e4a4.jpg](https://images.hive.blog/768x0/https://files.peakd.com/file/peakd-hive/javierlys23/23vsNTztmpd2r6fJrFYG5H1eK2SHmobPFG5uppj1HuPAAf5ozmWQor5ARookDXXrsVLgJ.jpg)
![de840761-add5-43ba-ad11-461bfb2289b0.jpg](https://images.hive.blog/768x0/https://files.peakd.com/file/peakd-hive/javierlys23/23tvc4bwyKzc6ikurRNdFghq1c7UghfrK9viJ6XuvjMfmfvLsY82aRxpfGJRY68ZWXraL.jpg)
Paso 2:
Se procede a cortar la tela del tamaño de la base de la silla y se va grapando alrededor de la base de la silla.
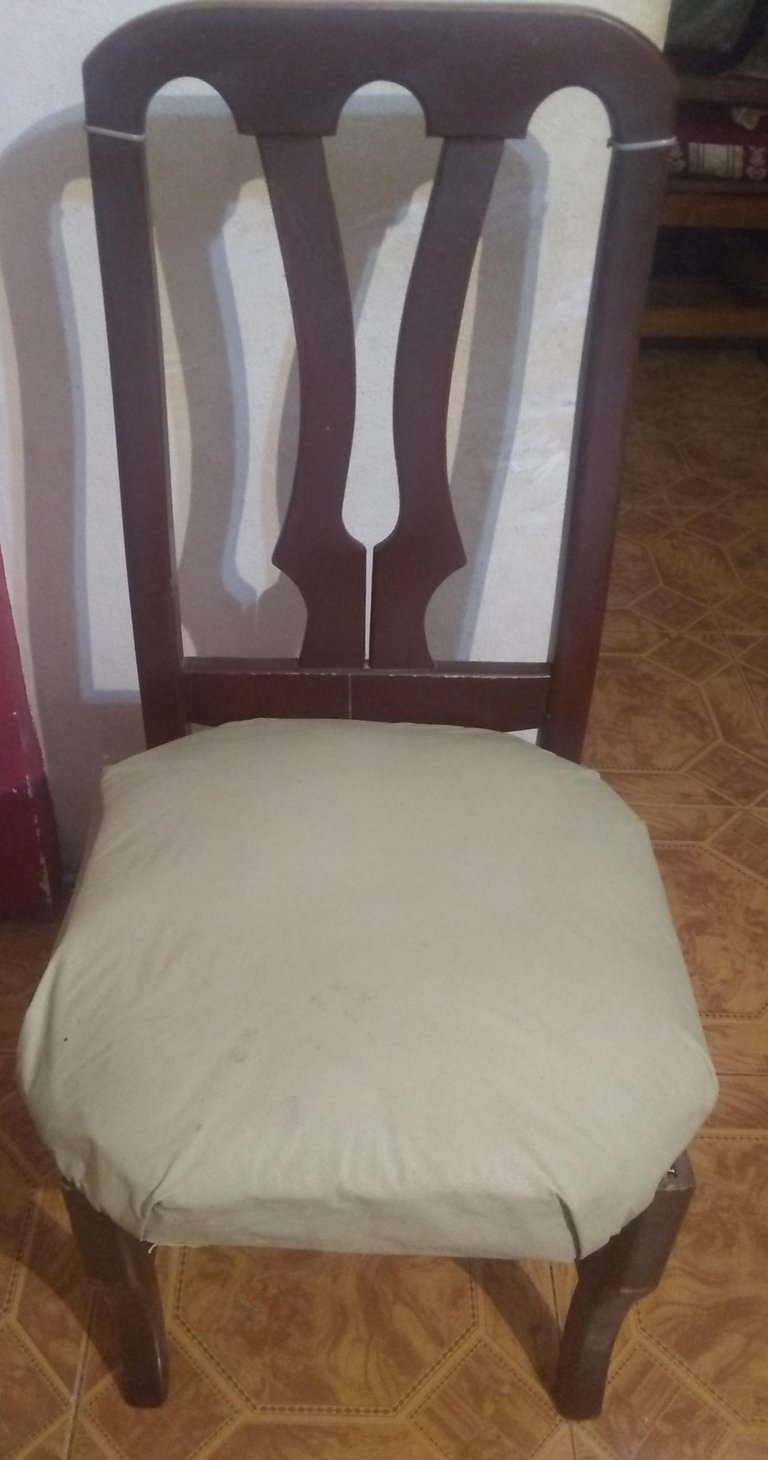
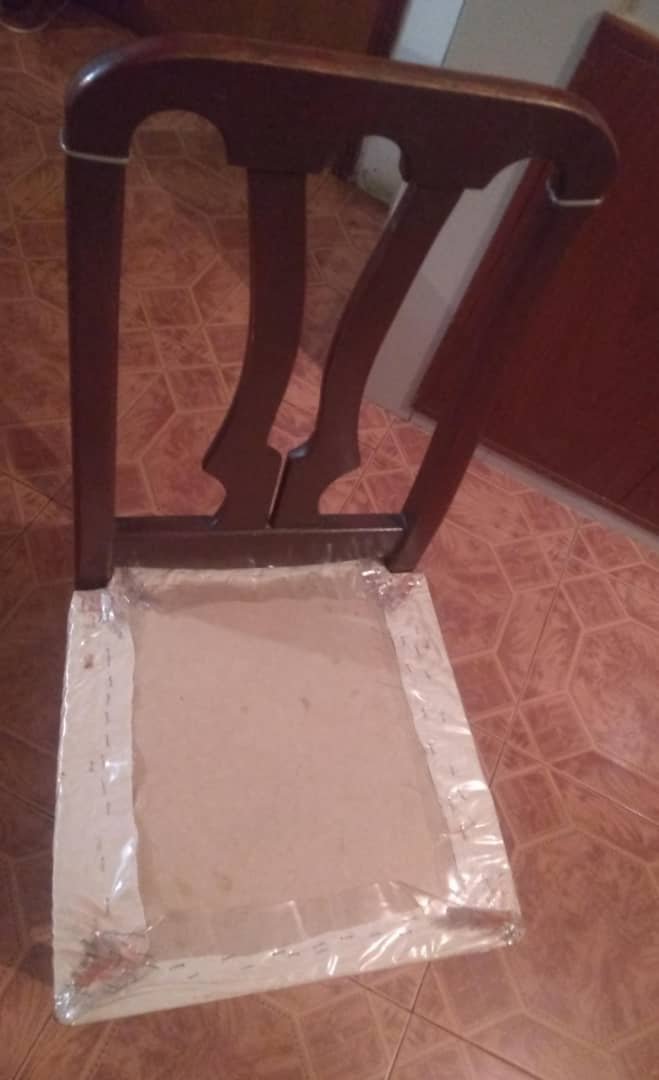
Paso 3:
Luego se procede a cortar el plástico transparente del tamaño de la base de la silla y se va grapando alrededor de la silla y listo! ya se pueden usar las silla que quedaron como nuevas.
![7c7a7a15-6684-4ef1-8752-781e6b190afa.jpg](https://images.hive.blog/768x0/https://files.peakd.com/file/peakd-hive/javierlys23/23w2ksyaWxTo1CDKKgddDxpp4TrkXDLY62XKqbvLB6DFwCHjttUzRkjxKuaX6stYCFZMh.jpg)
![b5b90b92-7415-4075-98b8-00b4356957d0.jpg](https://images.hive.blog/768x0/https://files.peakd.com/file/peakd-hive/javierlys23/23wWwQrUi3K7zhJquxkenA8xmeYC41i6UYST3XfTy7mpGW9Yqmywsu3qPb5RqxMMC5tpN.jpg)
Nota: Las fotografías fueron tomadas desde mi celular MotorolaE5Play
ENGLISH
![](https://images.hive.blog/768x0/https://files.peakd.com/file/peakd-hive/javierlys23/23wWwQrUi3K7zhJquxkenA8xmeYC41i6UYST3XfTy7mpGW9Yqmywsu3qPb5RqxMMC5tpN.jpg)
Hello, friends and friends home solutions, today I made a dining room chair that I have in my home and was damaged and I decided to fix it to decorate my house and also to learn how to cover dining room chairs and so you can have a house with a nice chairs.
Materials:
6 metres of furniture fabric.
6 metres of transparent plastic lining.
1 scissors.
1 furniture stapler.
1 Box of furniture staples.
![05b8cc44-254d-43a2-bf78-5ac0e0c1425f.jpg](https://images.hive.blog/768x0/https://files.peakd.com/file/peakd-hive/javierlys23/23tSb3bZ9YDNUHNVGwSkjDgkWMdXzvZVsfQNVrz1xiE8crewgncuDvT1XY54vyzhMHx31.jpg)
Step 1:
The previous lining that the old chair had is removed.
![a4d41322-c63b-437e-b209-96128ec7e4a4.jpg](https://images.hive.blog/768x0/https://files.peakd.com/file/peakd-hive/javierlys23/23vsNTztmpd2r6fJrFYG5H1eK2SHmobPFG5uppj1HuPAAf5ozmWQor5ARookDXXrsVLgJ.jpg)
![de840761-add5-43ba-ad11-461bfb2289b0.jpg](https://images.hive.blog/768x0/https://files.peakd.com/file/peakd-hive/javierlys23/23tvc4bwyKzc6ikurRNdFghq1c7UghfrK9viJ6XuvjMfmfvLsY82aRxpfGJRY68ZWXraL.jpg)
Step 2:
Proceed to cut the fabric to the size of the chair base and staple it around the base of the chair.
Step 3:
Then proceed to cut the clear plastic to the size of the base of the chair and staple it around the base of the chair and that's it! You can now use the chair and it is as good as new.
![7c7a7a15-6684-4ef1-8752-781e6b190afa.jpg](https://images.hive.blog/768x0/https://files.peakd.com/file/peakd-hive/javierlys23/23w2ksyaWxTo1CDKKgddDxpp4TrkXDLY62XKqbvLB6DFwCHjttUzRkjxKuaX6stYCFZMh.jpg)
![b5b90b92-7415-4075-98b8-00b4356957d0.jpg](https://images.hive.blog/768x0/https://files.peakd.com/file/peakd-hive/javierlys23/23wWwQrUi3K7zhJquxkenA8xmeYC41i6UYST3XfTy7mpGW9Yqmywsu3qPb5RqxMMC5tpN.jpg)
Note: The pictures were taken from my MotorolaE5Play mobile phone.
Feliz día, bienvenida a la comunidad. Gracias por compartir con nosotros esta remodelacion que hiciste a tu silla. Bastante sencilla y práctica. Es un contenido bastante genial, pero te invitamos a leer las normas de la comunidad, ya que la publicación no cumple con el número de palabras. Pedimos 250 por cada idioma.
Te invitamos a editarlo para poder compartirlo con los proyectos que nos apoyan.