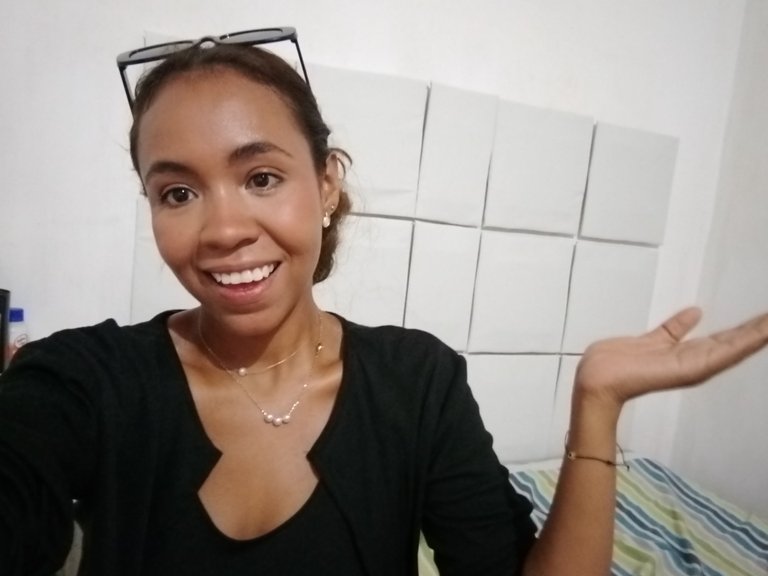
Hola, hola gente bonita de Hive, paso por aquí el día de hoy para mostrarles está súper sencilla forma de darle vida a tu habitación con pocos materiales.
Hello, hello beautiful people of Hive, I'm here today to show you this super simple way to bring your room to life with just a few materials.

Solo vamos a necesitar:
We're just going to need
• 1.50 de Cuerina o semi cuero, si les gusta la tela terciopelo también puede funcionar.
• Cartón suficiente, (Yo utilicé dos cajas de aire acondicionado)
• Silicón caliente
• 1.50 of Leatherette or semi-leather, if you like velvet fabric it can also work.
• Enough cardboard, (I used two air conditioning boxes)
• Hot silicone

El primer paso es marcar los cuadros de 27 x 27 cm, según el tamaño de cama, y otro más pequeño de 18x18cm.
The first step is to mark the 27 x 27 cm squares, depending on the size of the bed, and another smaller one of 18 x 18 cm.
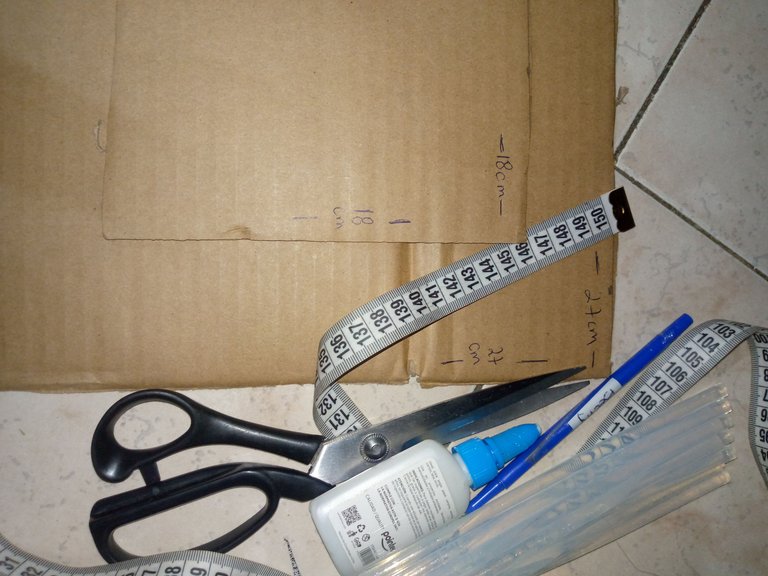
Viene lo que para mí fue la parte más difícil que es cortar los cuadros, utilicé 12 en total de cada uno, y para el centro 3 con la mitad del tamaño más grande.
Next comes what was for me the most difficult part, which was cutting the squares. I used 12 in total of each, and for the center 3 with half the larger size.

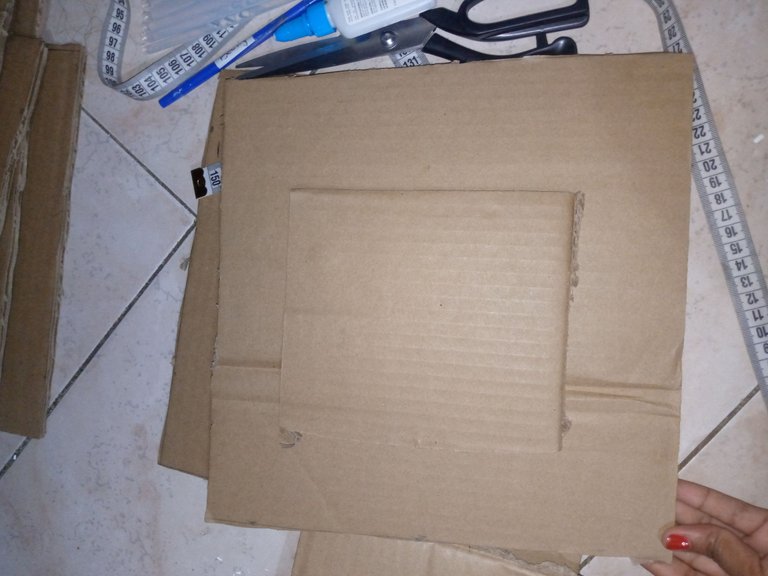
Una vez cortados vamos a unir con silicón o pega cada cuadro de 18cm sobre uno de 27cm hasta terminarlos.
Once cut, we will join with silicone or glue each 18cm square onto a 27cm square until they are finished.
Medimos en el cuero dejando dos centímetros de cada lado para doblar y pegar.
We measure the leather leaving two centimeters on each side to fold and glue.
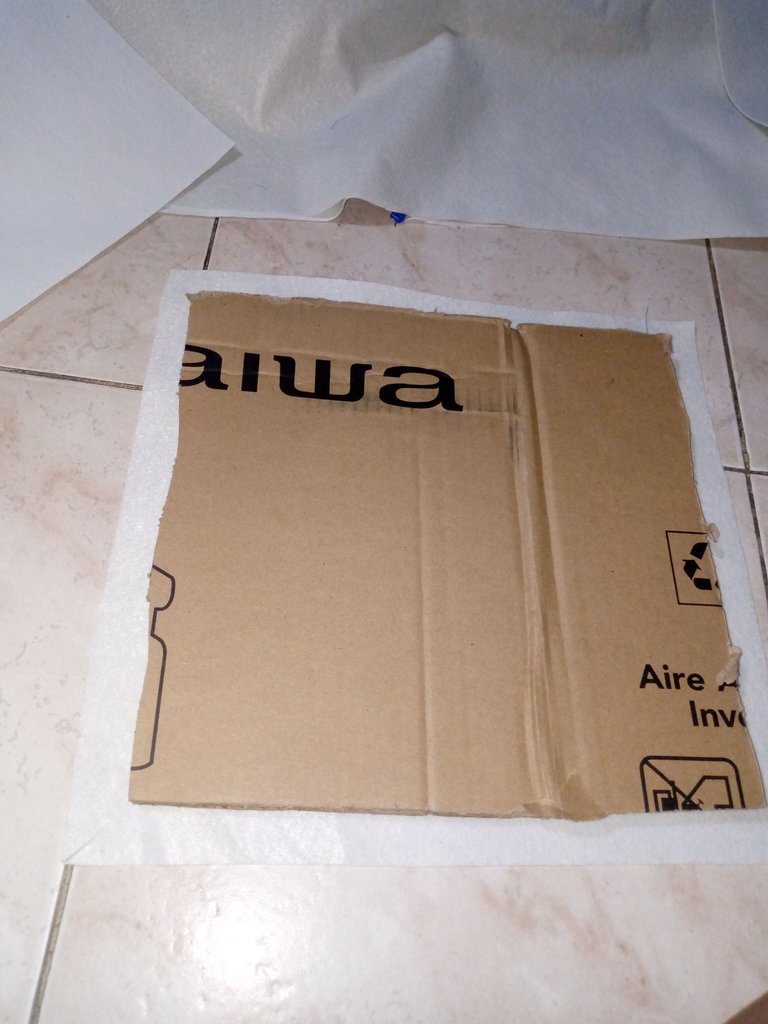
Al pegar el cuero nos quedará este resultado.
When gluing the leather we will have this result.
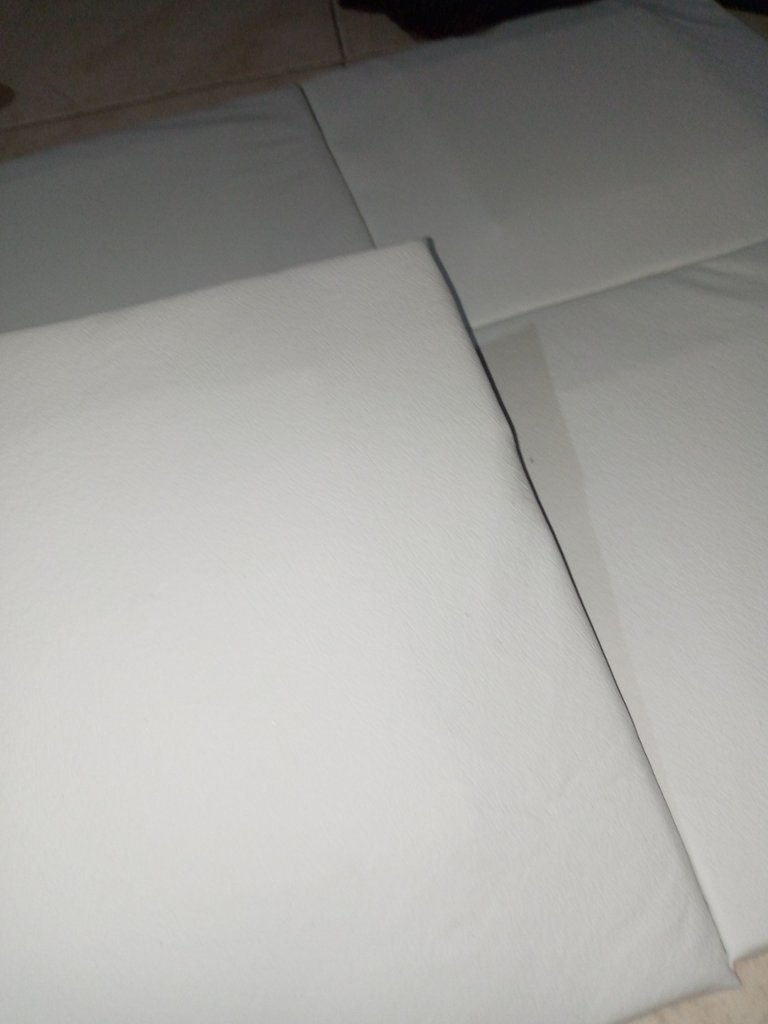
Recomiendo utilizar dos o tres capas de cartón para que tenga más relieve sobre la pared.
I recommend using two or three layers of cardboard so that it has more relief on the wall.

Luego los pegue directo en la pared con silicón caliente, traté de usar cinta adhesiva doble cara, Pero se me despegó varias veces.
Then I stuck them directly on the wall with hot silicone, I tried to use double-sided adhesive tape, but it came off several times.
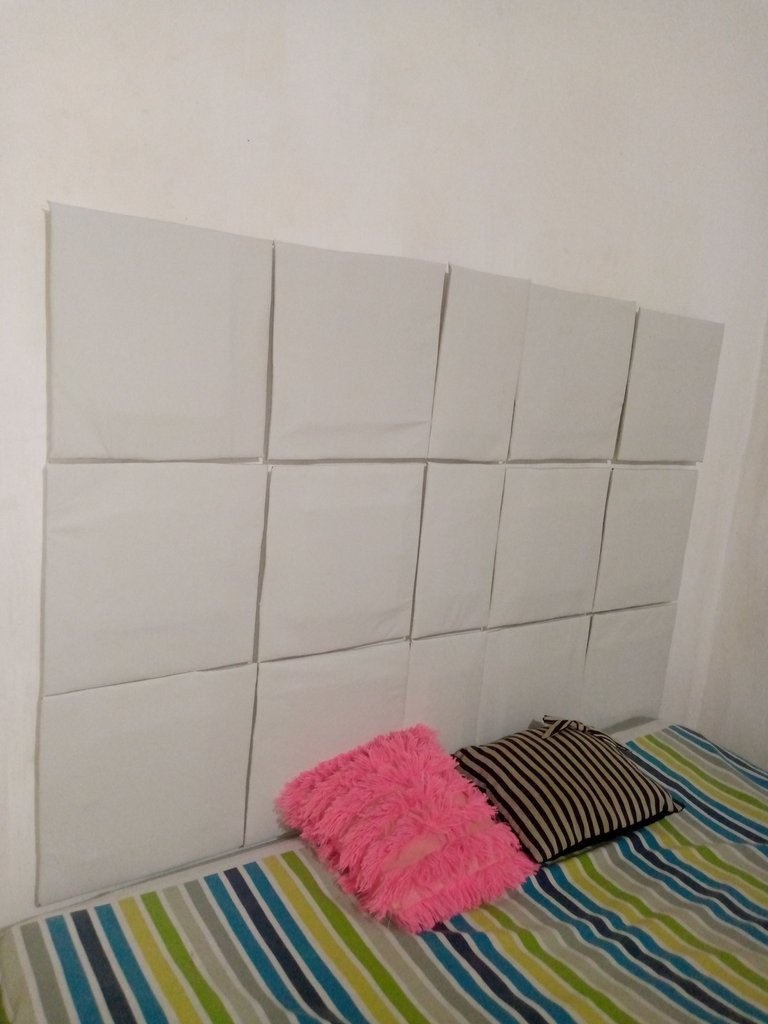
Este es el resultado, y así se ve mi cuarto después de realizarlo.
This is the result, and this is what my room looks like after doing it.
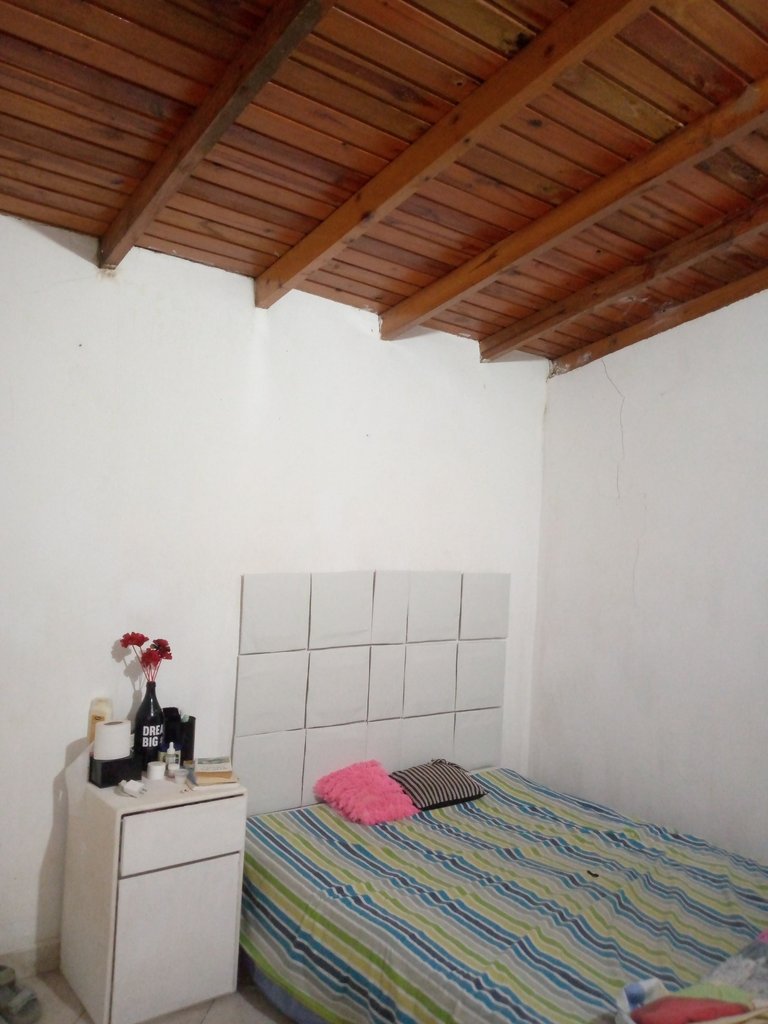
Sinceramente me gustó mucho, desde que me mudé, no había arreglado el cuarto y esto le dió un toque muy bonito.
I honestly liked it a lot. I hadn't cleaned up the room since I moved in, and this gave it a very nice touch.

Hasta aquí mi post de hoy, gracias a todos por leerme, nos vemos en un próximo post.
That’s all for my post today, thank you all for reading, see you in the next post.


Amiga que lindo te quedó, esa tela de cuero blanco es muy elegante... Te combina todo a la perfección...
Usaste varias capas de cartón para darle grosor Pero también podías usar goma espuma o guata para darle ese toque esponjoso.
De todas formas me encanta.... Te quedó súper lindo y original
Hola! Gracias por leerme, tienes razón con la goma espuma, no encontré alguna accesible 🥺
Amiga hiciste un gran trabajo y definitivamente esto le da un aspecto diferente a tu habitación
Gracias, que linda💕🦋