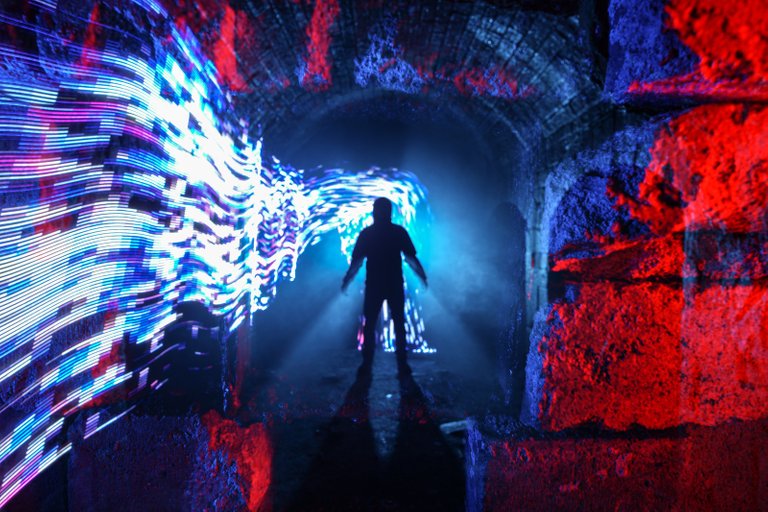
I took this series of shots a while back and I thought it would be a great way of breaking down a shot into its component parts.
Putting together a complex Lightpainting shot is not that hard if you break down the final image into steps. Once you have nailed the techniques and settings for each element it is just a case of putting everything together.
The title image was created during a single long exposure with my mate @fastchrisuk in our favourite Lime Kiln. After seeing @martbarras , James De Luna and RDigi back in the day, shrinking people and putting them in a hole, I knew I wanted to try with this particular orifice.
It involves two tripod positions, a mid-exposure lens swap, complete darkness and an attention for detail.
Firstly I decided where I wanted the figure and hole in the wall to appear in the frame. I set up tripod one with a 50mm lens on the camera pointing towards the hole. Adjusted composition and noted where the dark space was placed and worked on the direction, colour and intensity of the lighting.
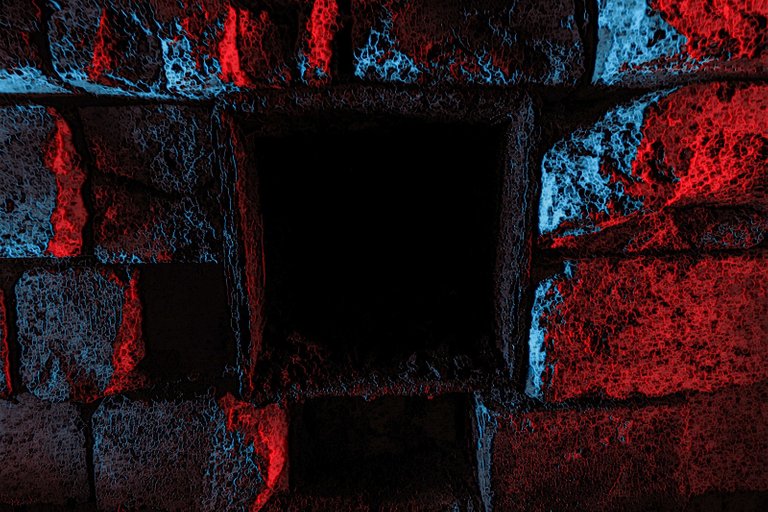
Next up I swap lenses to wide angle and move to tripod number two ensuring not to change any of the settings on my Manual 50mm lens. I frame up the scene with the silhouette in it and ensure it sits within the confines of the hole.....
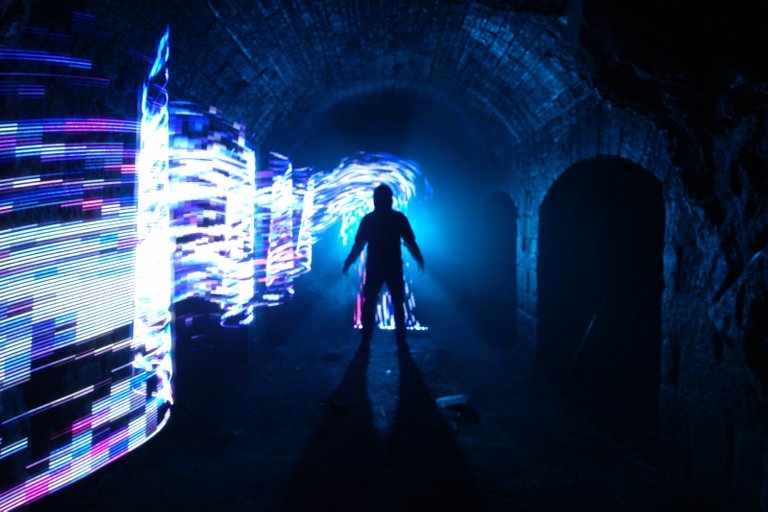
This test shot above was where I took up position as the silhouette and Chris worked on how to illuminate me, where to walk with the digital light wand and the best settings to capture the scene. This is where using older manual lenses comes into its own. With modern automatic lenses your settings are locked in for the length of the exposure whereas on manual lenses you can constantly tweak the aperture and focus for the duration of the shot.
After we were happy with all of the elements it is time to do it all in one long exposure.
Fire the shutter on tripod 1 with the 50mm lens on. Illuminate the wall as with the test shot and replace the lens cap, swap lenses to wide angle and move to tripod 2. Remove the lens cap, take up positions and Chris waved the light wand behind me and walked it out of the frame. Job done.
This technique does mean that most of our shots take about 30 minutes to work out but the more Lightpainting you do the more complex the shots become as you progress.
Here are a few more shots we have created using the same techniques....
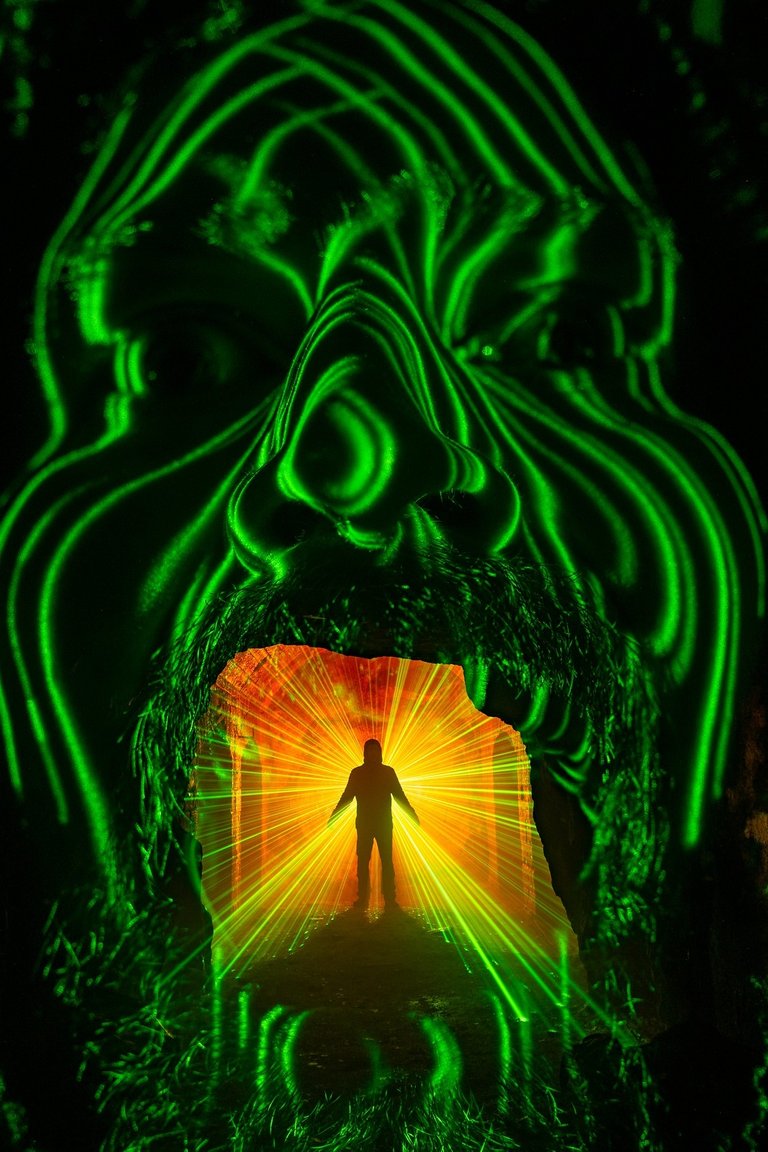
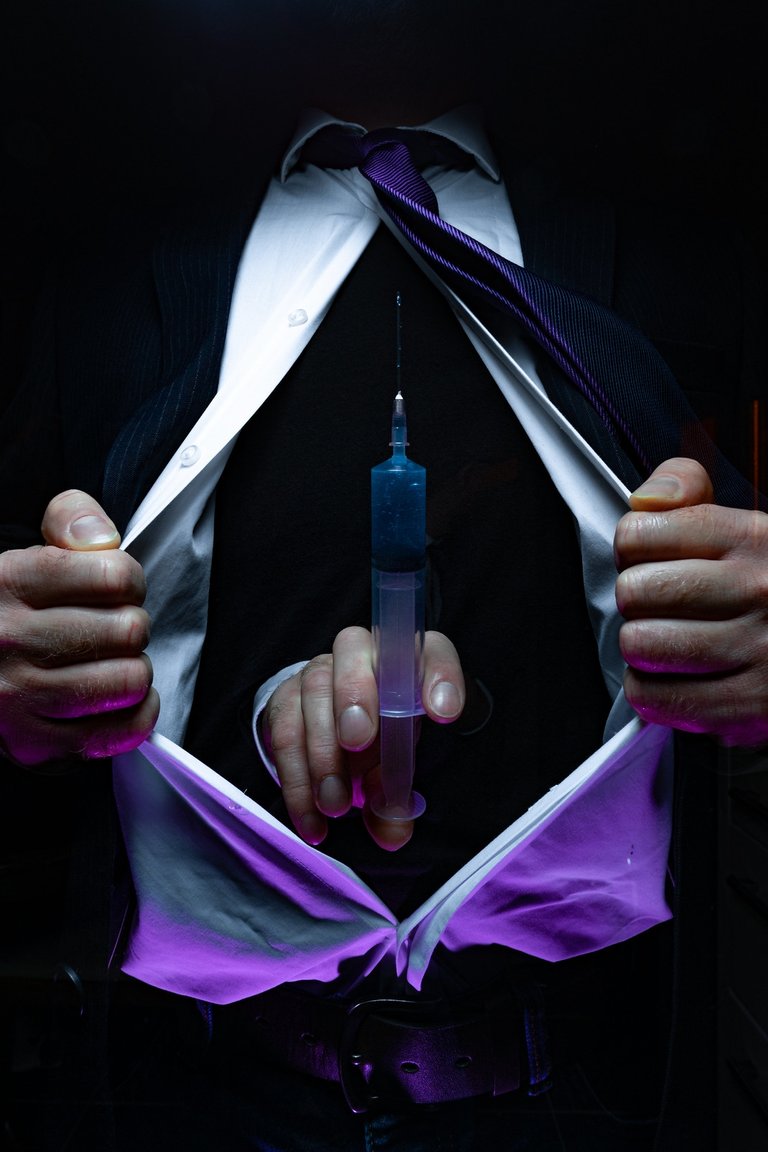
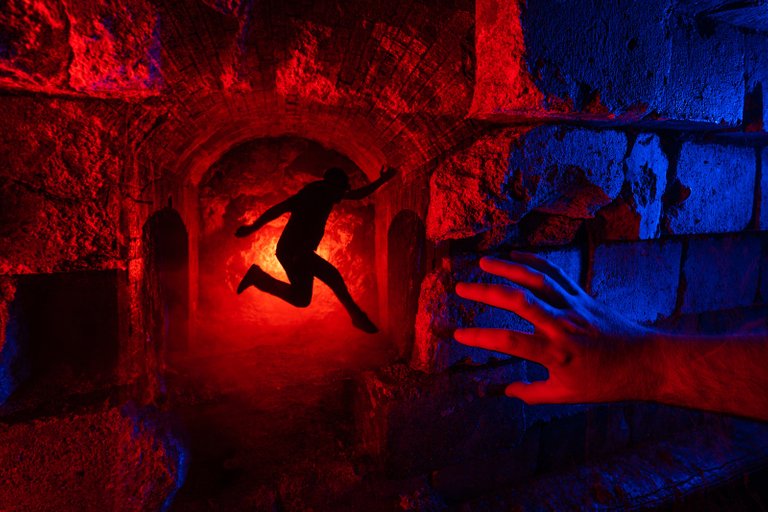
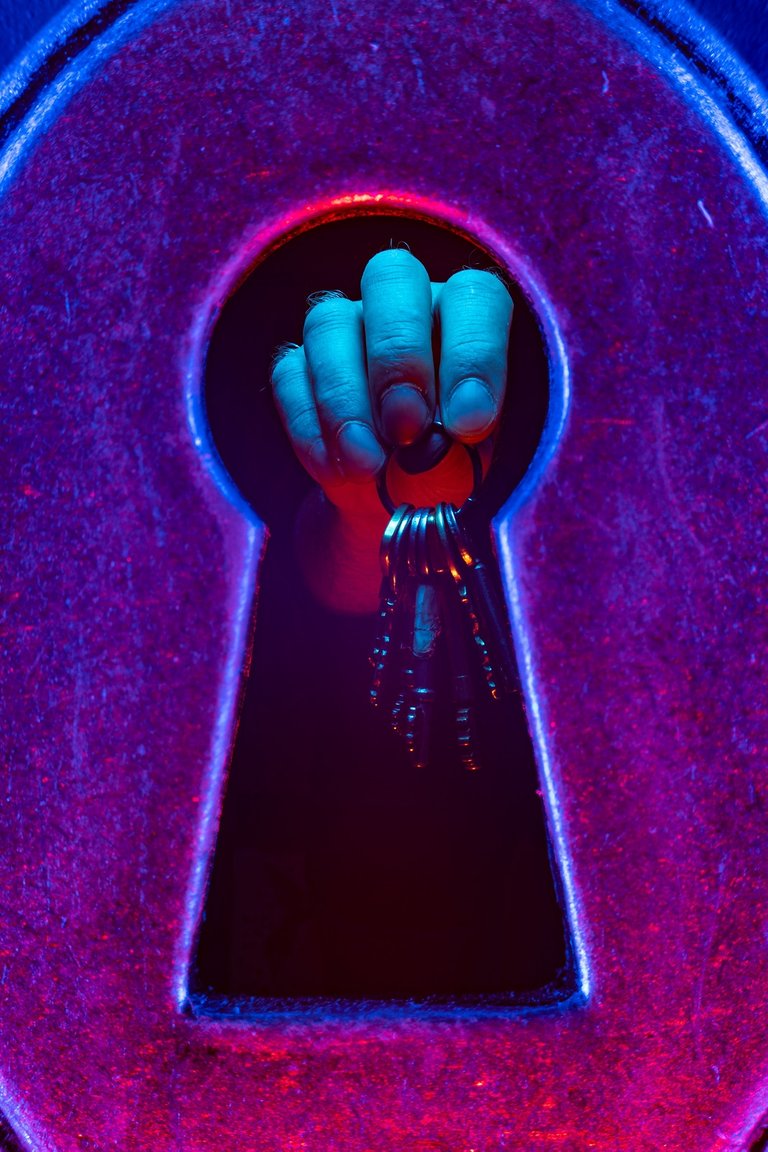
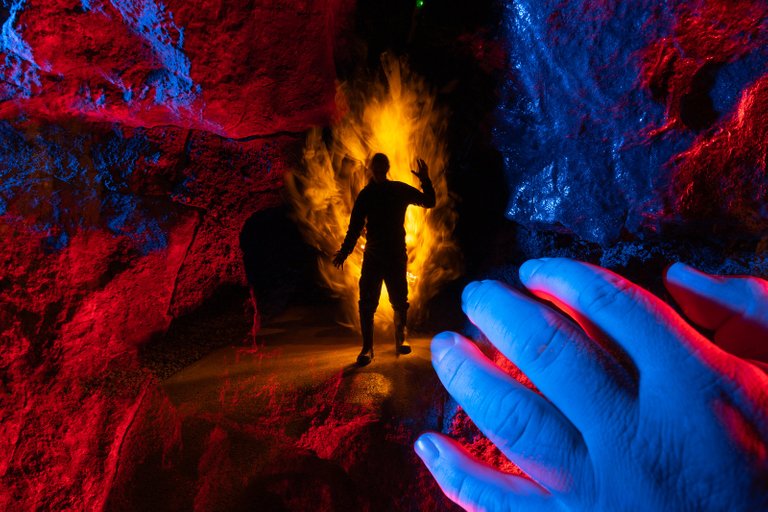
It's all about finding a dark element in one scene and then placing something else in the frame to fill it. You don't always need to swap lenses mid-exposure either, so don't let that put you off. I just like to do it as you can force two perspectives into the shot for added weirdness.
It's a lot of fun to do and when you get the bug you'll be constantly on the lookout for places to make things appear.
I love it.
I hope you enjoyed this set and that it has given a bit of an insight into what Chris and I get up to when we are out in the darkness.
Give our Hive Community Lightpainters United a follow and you will be introduced into the world of light painting.

For more examples of innovative and original lightpainting including camera rotation photography, check these lightpainters: @fastchrisuk @dawnoner @lacelight @mafufuma @oddballgraphics @lichtkunstfoto @martbarras @stefan.stepko @rod.evans.visual @yo-hoho @maxpateau These chaps are amongst the best there is!
Whoa cool photos.
They look awesome.
Cheers mate. Once you get bitten by the Lightpainting bug it's hard to switch it off again :)
Hah, I like that.
Good play on words there if I do say so myself.
Haha. I didn't even mean it that way but it works very well. Cheers mate.
Cracking shots mate and really great explanation of our usual work.
Cheers Sven mate. I've always enjoyed doing a write up for my shots so I think it works really well here on Hive. I'm sure I'll be out in the dark again soon looking for dark places to fill with light :)
Yes, I think it is a good idea to explain our work. Many people can't believe that we are working only in front of the camera and not on the computer.
I hope we can meet soon and do some funny stuff together.
Me too buddy. It'll happen one day mate.
Congratulations @fadetoblack! You received a personal badge!
You can view your badges on your board and compare yourself to others in the Ranking
Check out the last post from @hivebuzz:
Support the HiveBuzz project. Vote for our proposal!
Love the test shot! The lights along the wall look so digital; like something out of Tron.
The kiln shot was pretty cool, too. The colors seemed to change the texture of the kiln, making it look almost like an illustration than a photograph.
Cool stuff!
Cheers mate. Chris and I have been going out pretty regularly for about 8 years now so we tend to end up with something pretty cool when we're together. I'm not as prolific as I once was but fingers crossed that will change this year.
Great post and explanation pal. What you should have included maybe is while Chris walked towards camera with the light stick, he also managed to avoid falling "a" over "t" 🤣
Haha.. I should add that to the Lightpainters United bumf at the bottom of every post. 😂😂. Cheers pal.
The picture with the syringe could now also be called contemporary art.
"Who´s afraid of the Syringe?"
:-D