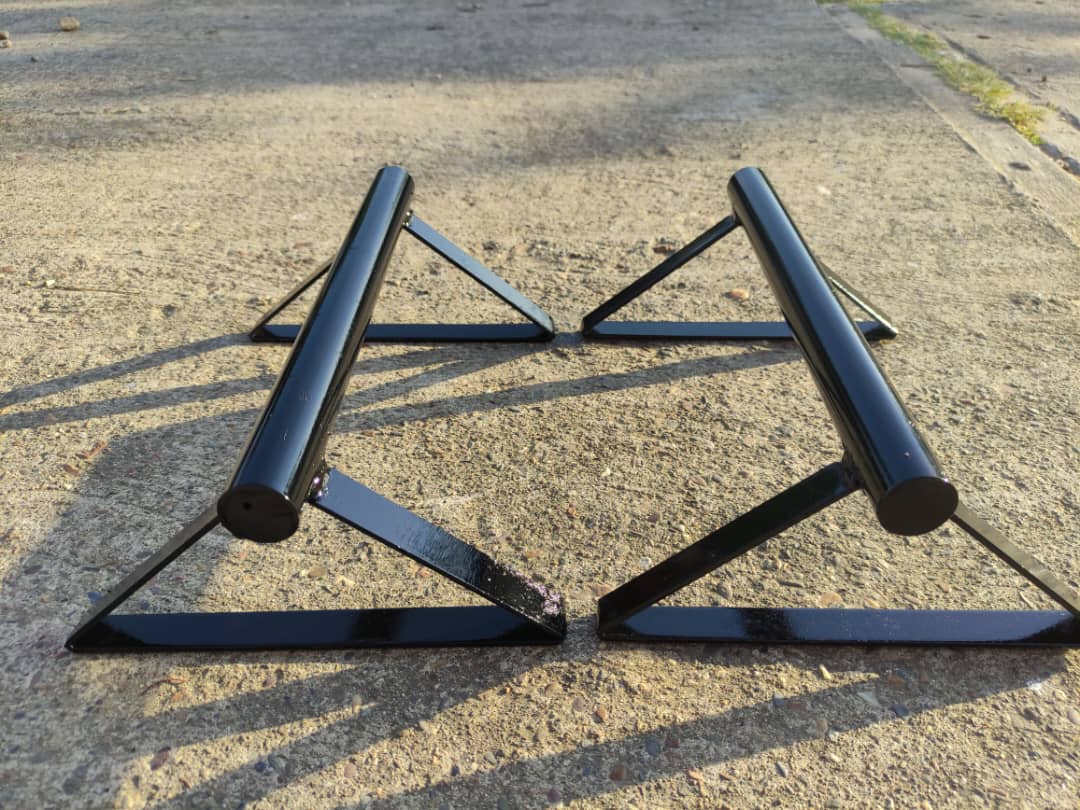
Hola Hive y amigos de SWC , en esta ocasión les enseñare el proceso básico de como realizar unas mini barras paralelas lo más sencillas posibles , espero que el siguiente contenido sea de su agrado.
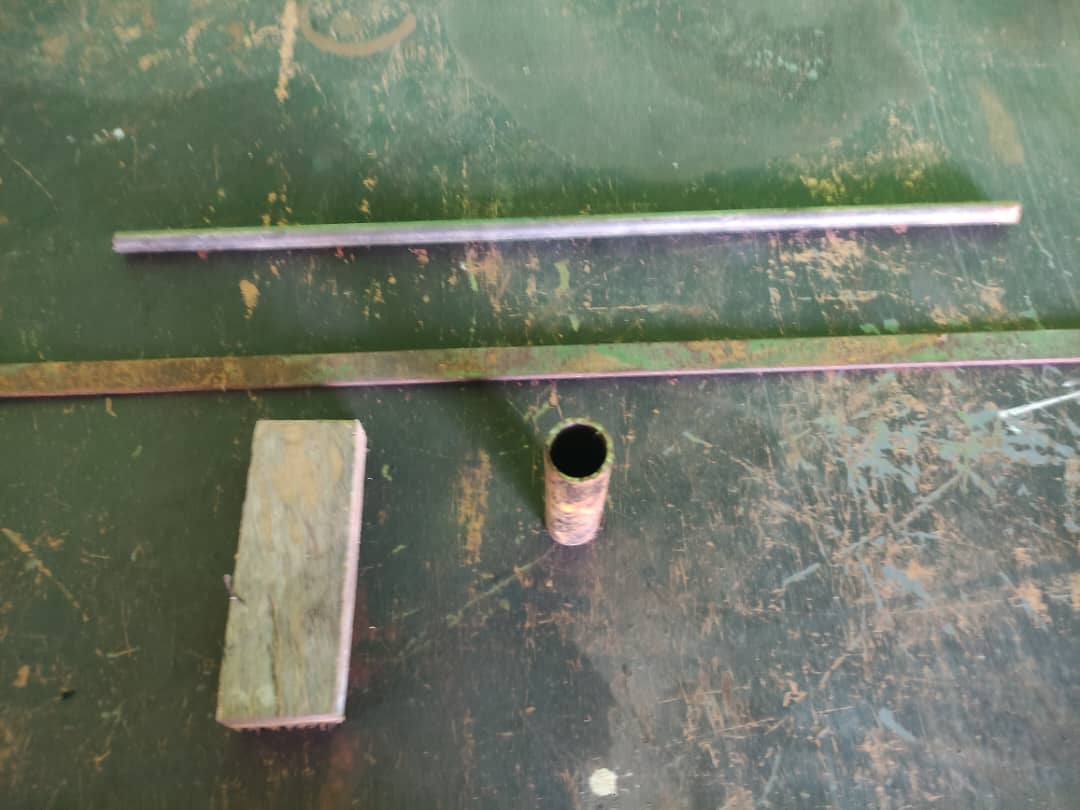
Buenos amigos , para comenzar tenemos los materias que vamos a necesitar :
Pletina de 1 pulgada , 1.80 metros en total
Tubo redondo de 1 pulgada de diámetro, 60 Centímetros en total
Barra lisa 1/2 pulgada ( opcional para el refuerzo?
Trozo de madera
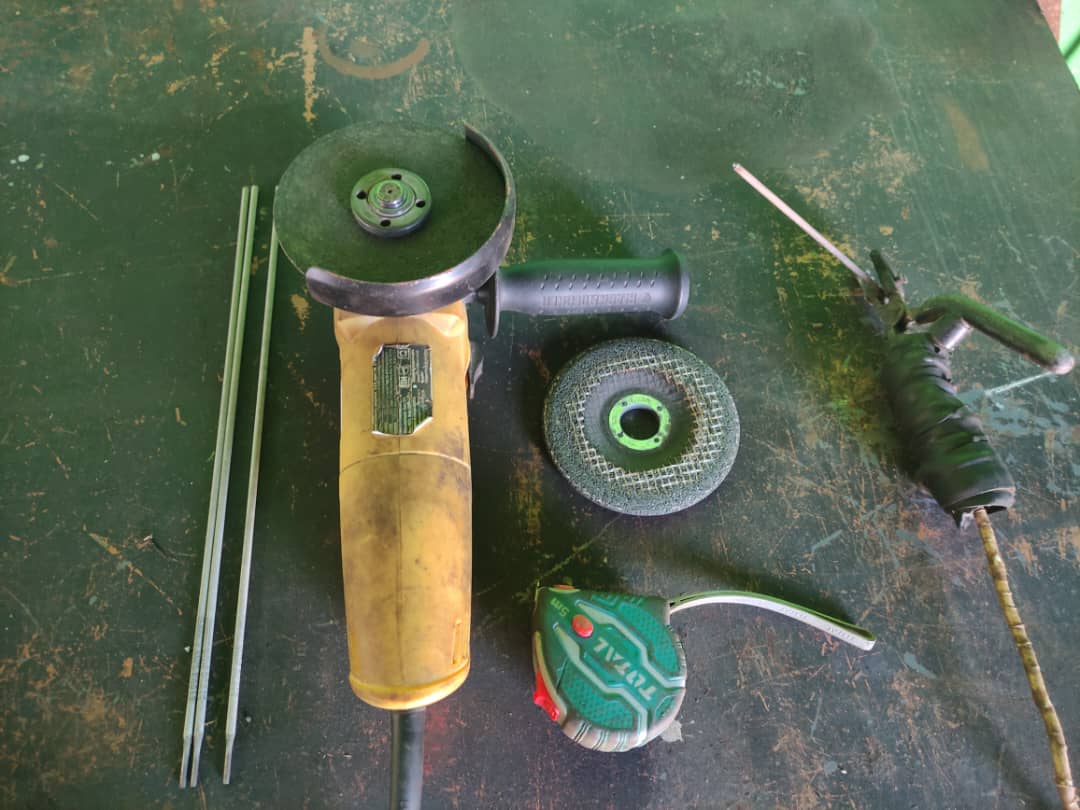
Herramientas:
Esmeril con sus respectivos discos de corte y desbaste
Máquina de soldar con sus respectivos electródos
Cinta métrica
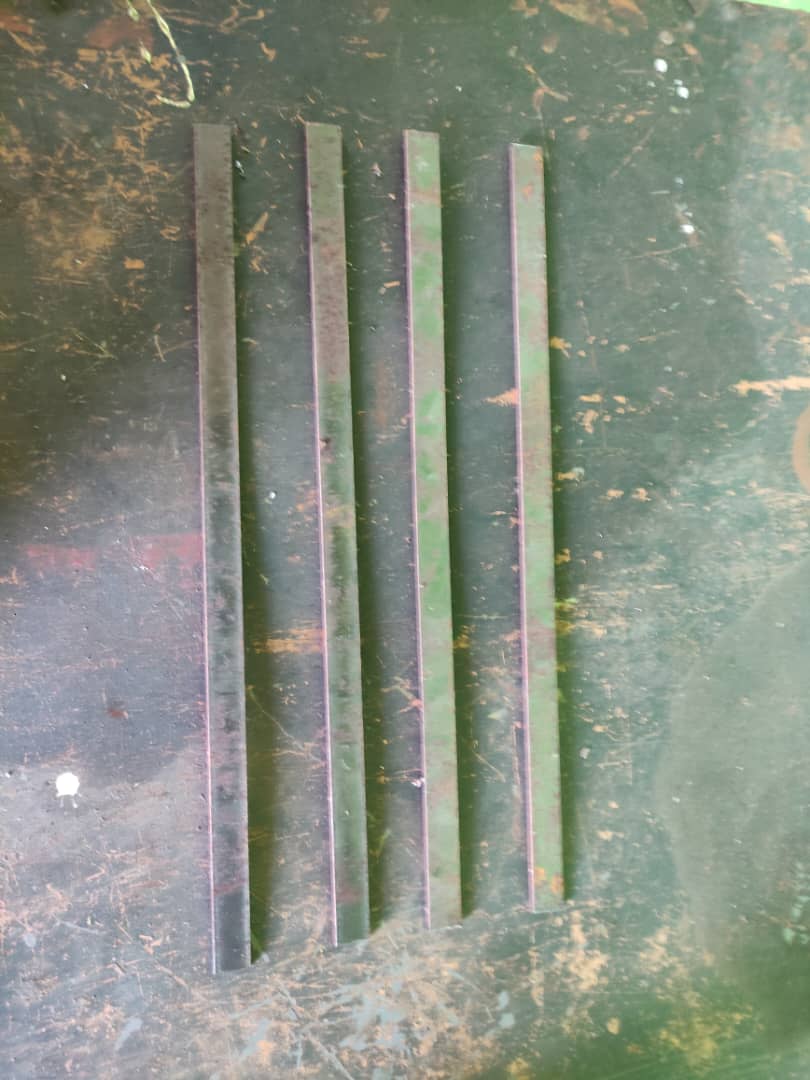
Paso 1 : Cortar 4 partes de pletina con un largo de 44 centímetros
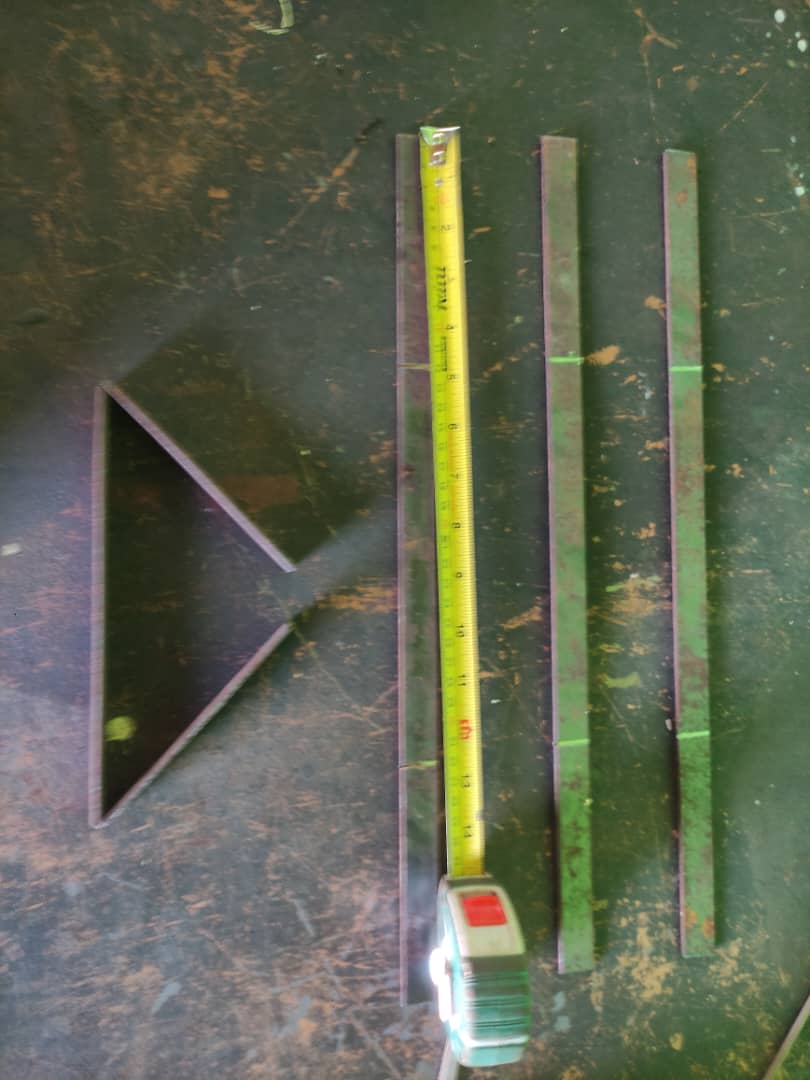
Paso 2 : Midiendo a partir de los extremos hacia el centro realizamos dos cortes a los 12 centímetros de cada pletina, con el fin de lograr doblar cada pletina y hacer la siguientes figuras.
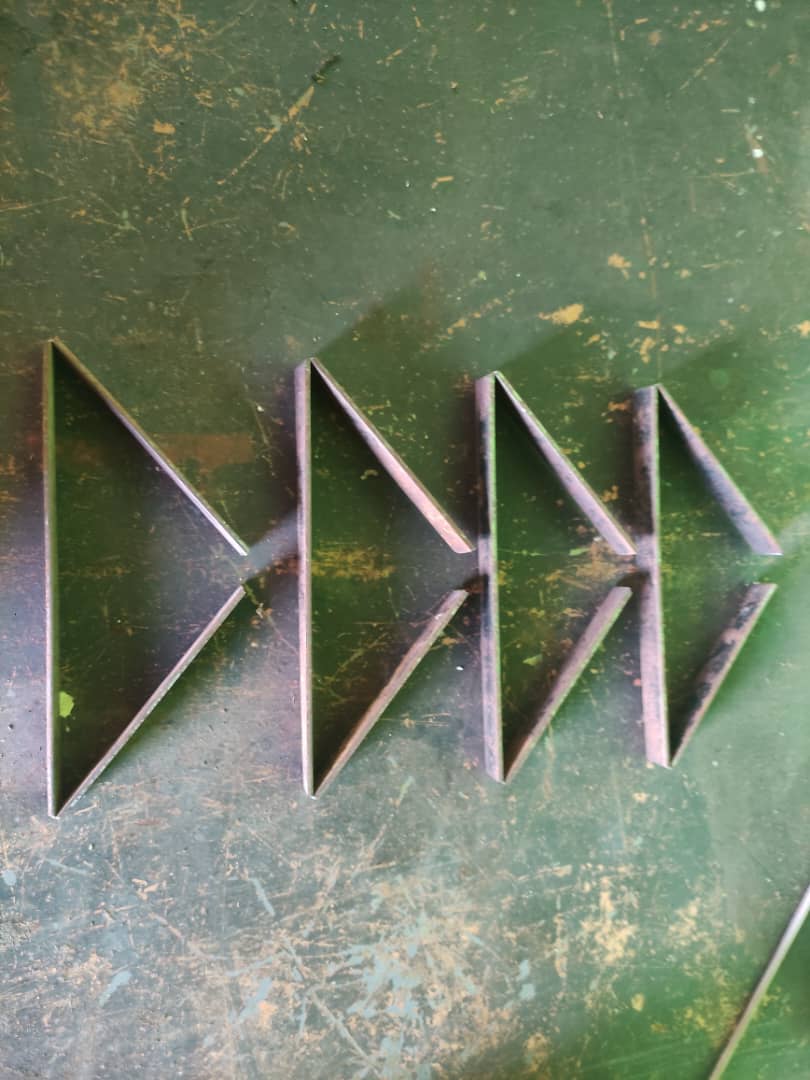
Todas estas deben ser lo más exactas posibles entre ellas para lograr un buen nivel en relación al suelo, ya que estás serán las bases de nuestras paralelas
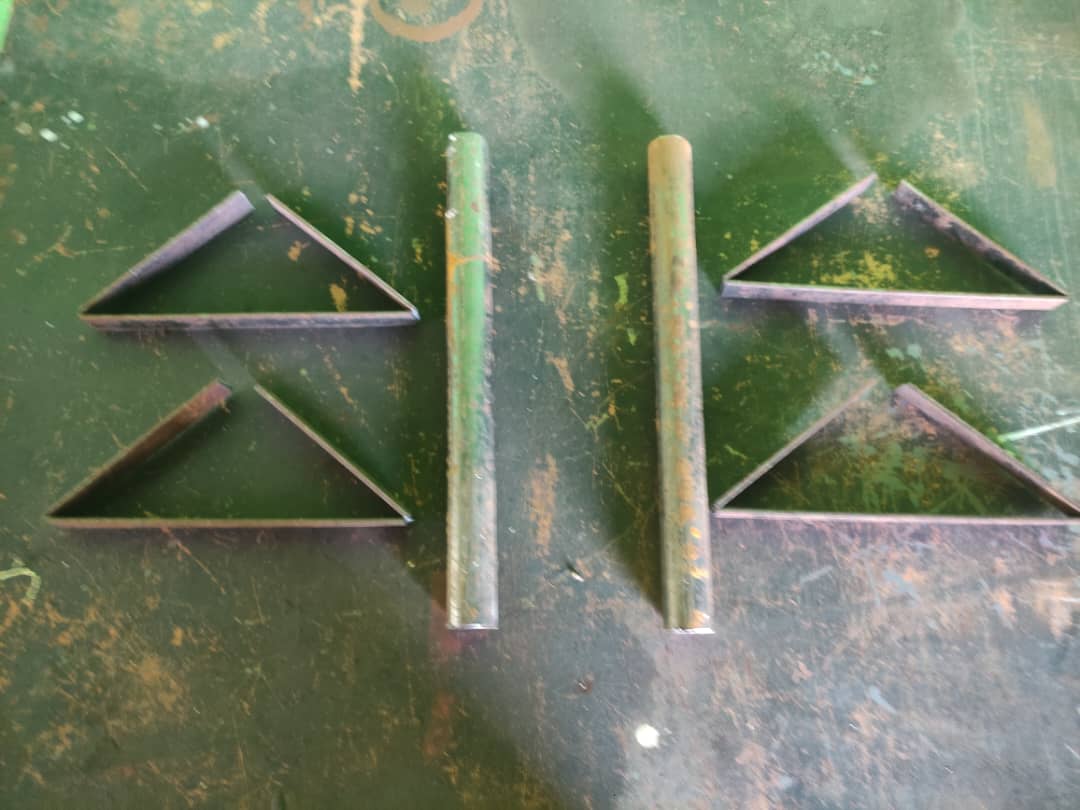
Paso 3 : Cortar dos partes de tubo de 1 pulgada , con un largo de 30 cada uno
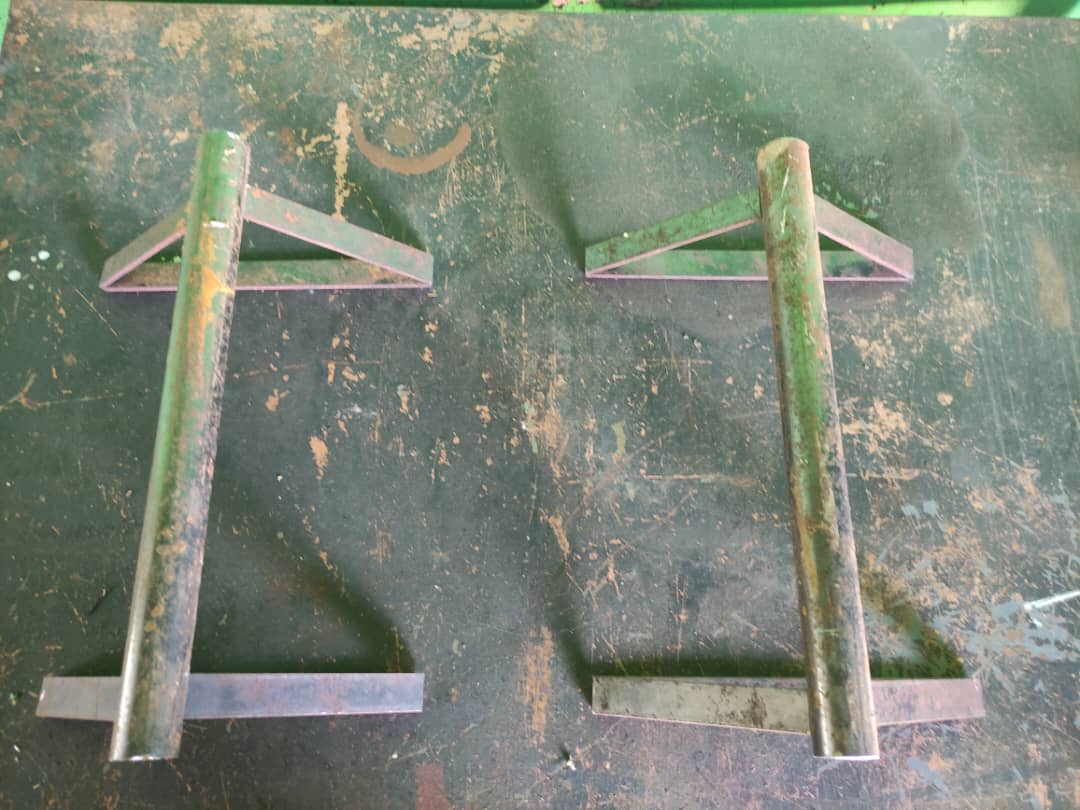
Paso 4: Presentación y nivelación de las paralelas , para luego soldar las bases de cada una
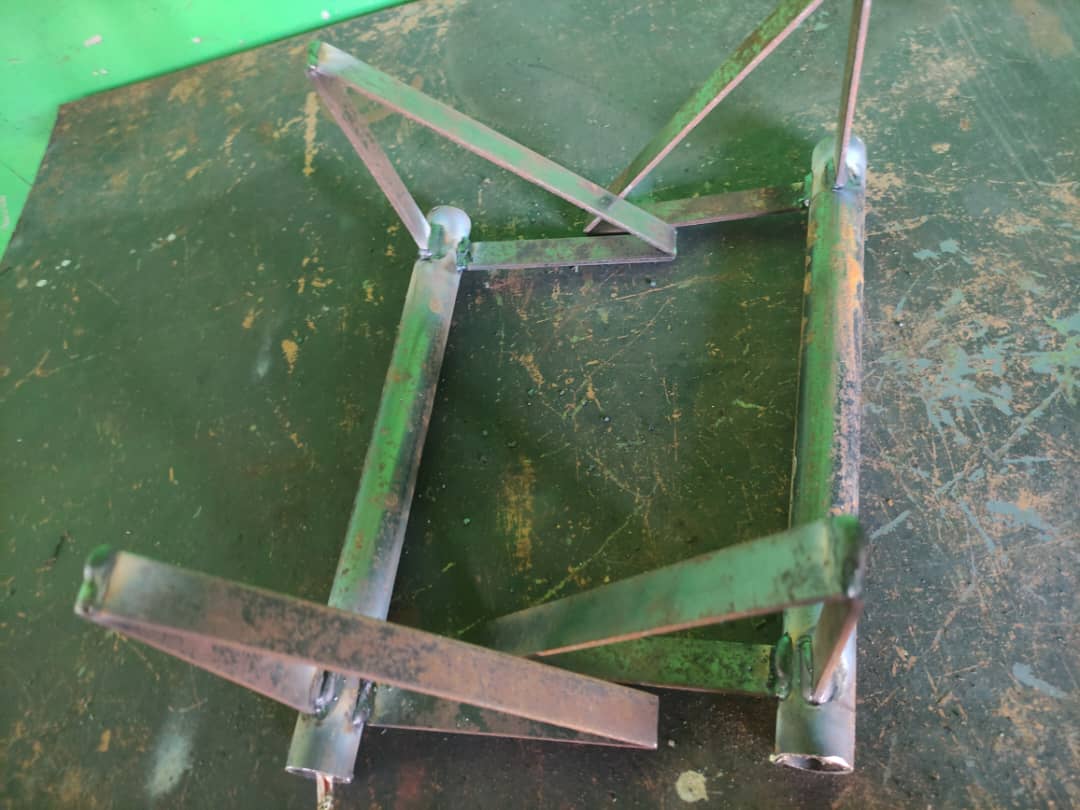
Paso 5: luego nivelar y soldar las bases de nuestras paralelas , procedemos a reforzar con más soldadura los cortes que realizamos en las pletinas al principio y asi conseguir mayor resistencia al peso
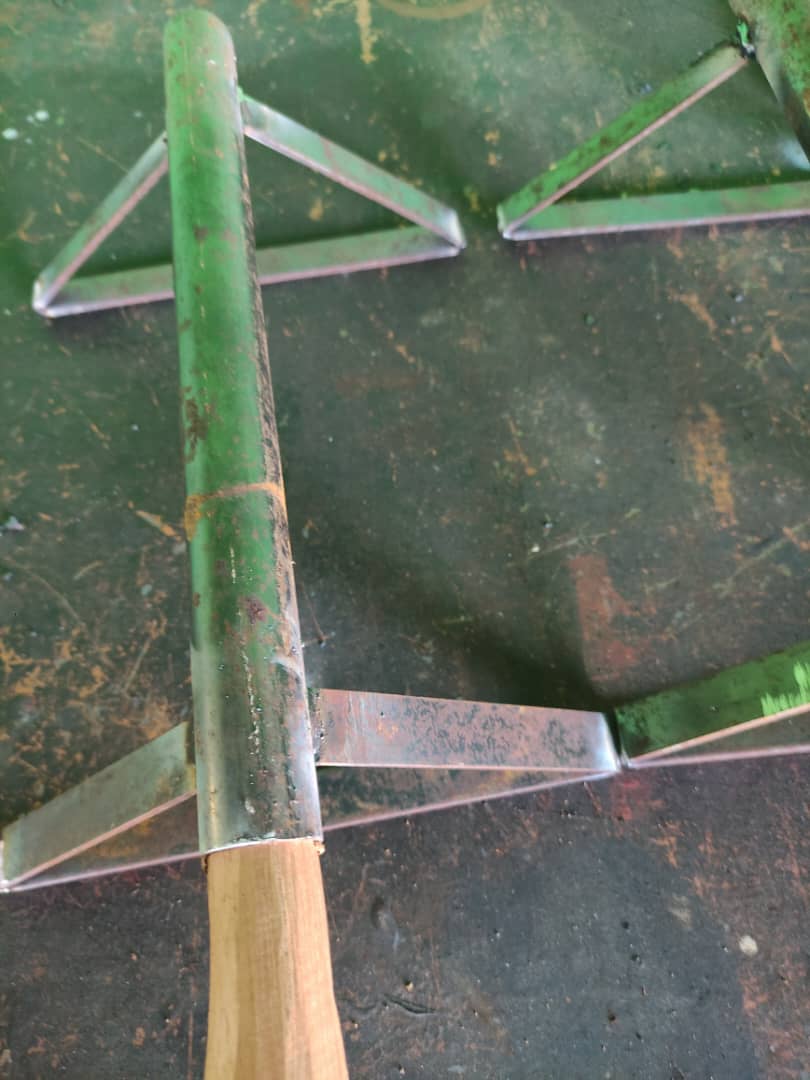
Paso 6 : Utilizando madera u otro material de su preferencia , procedemos a sellar los orificios de cada uno de los extremos de nuestras paralelas
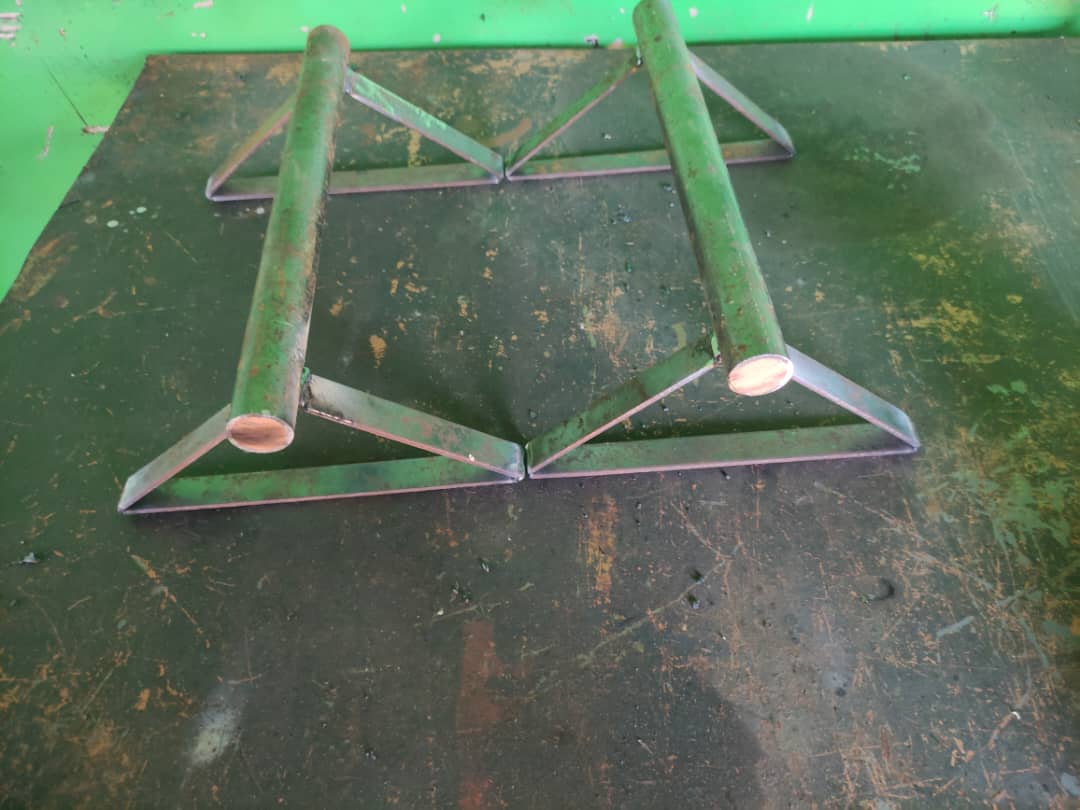
Luego de sella los orificios, quedan de la siguiente manera
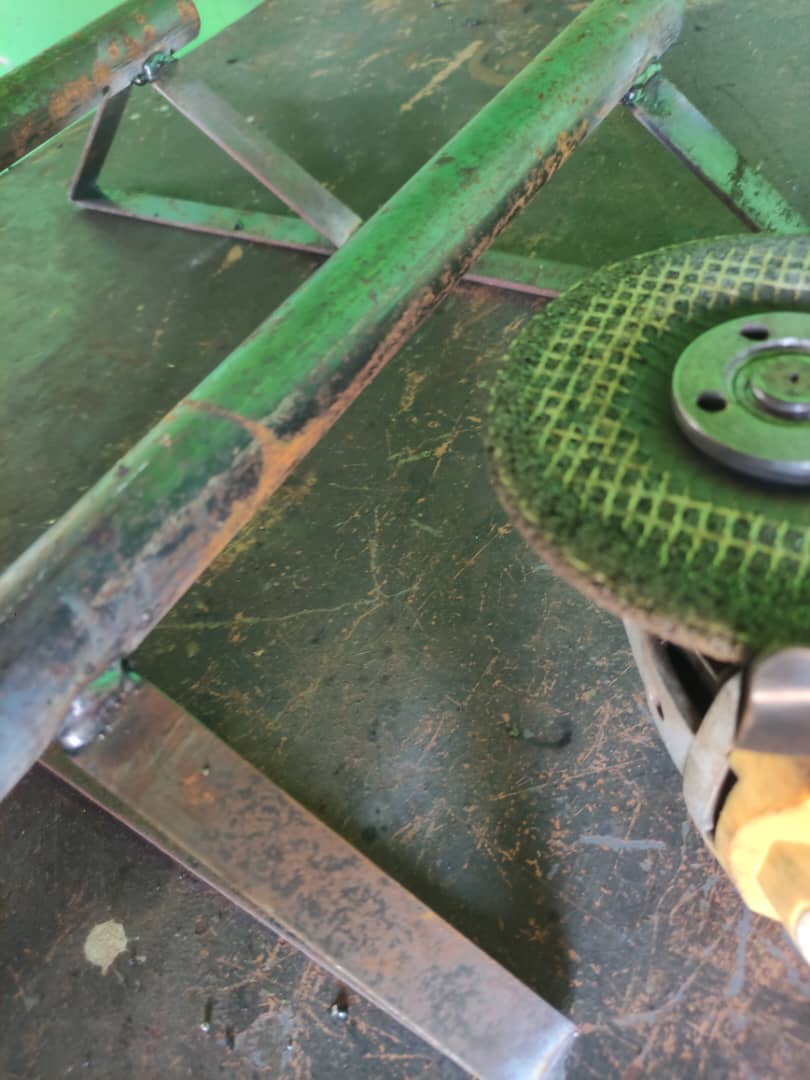
Paso 7 : Utilizando el esperil y un disco de pulir o desbaste, procedemos a eliminar cualquier excedente de soldadura o cualquier otra imperfección
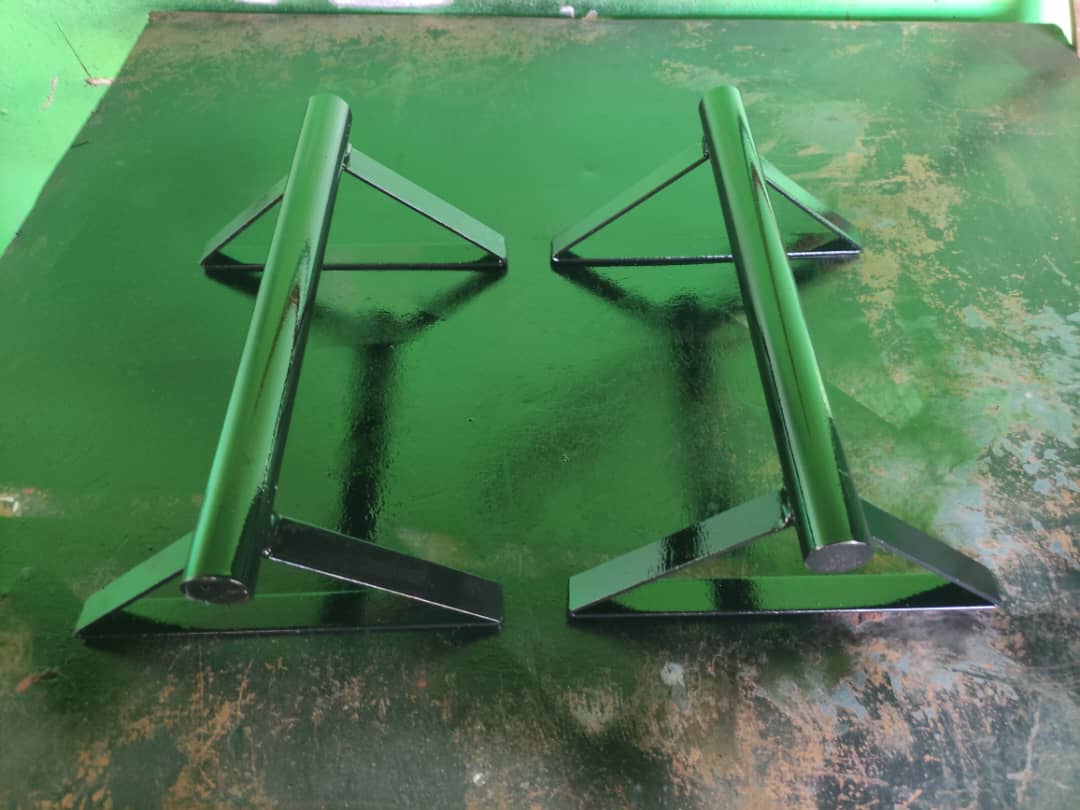
Paso 8: Procedemos a pintar nuestras paralelas del color de nuestra preferencia, lo recomendable es utilizar un tipo de pintura resistente al tacto.
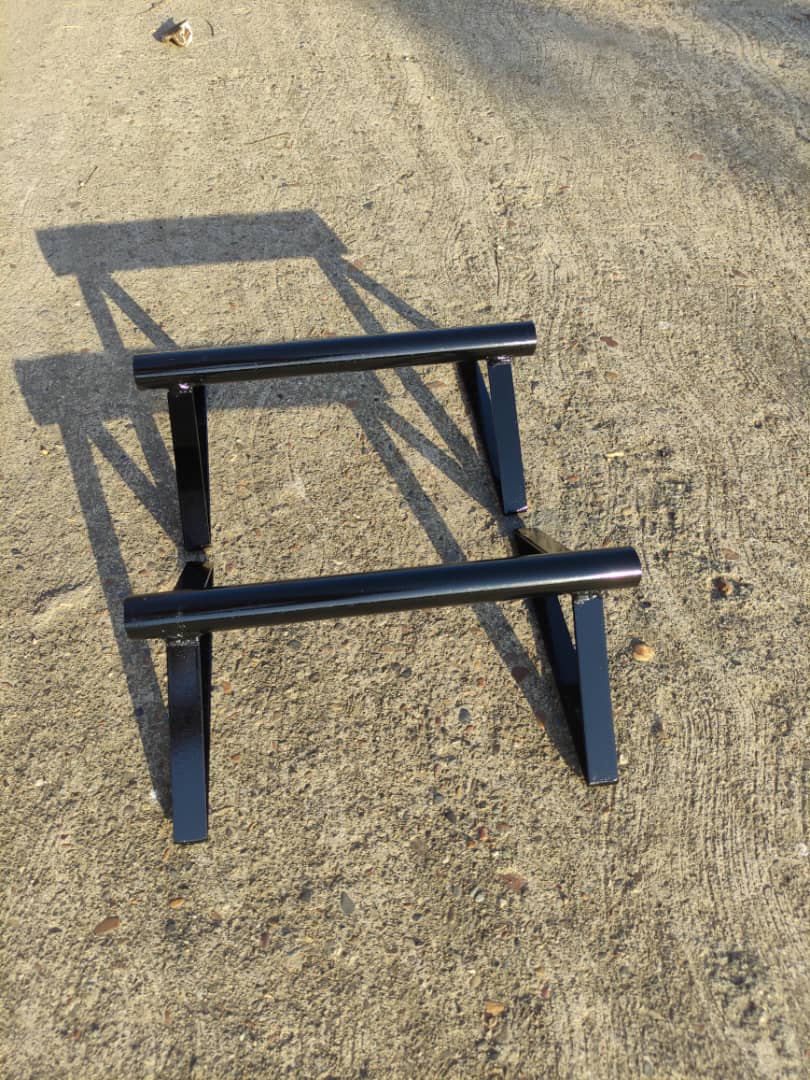
Esto es todo por está ocasión , próximamente estaré publicando contenido sobre como hacer cada herramienta utilizada en el Street Workout, Gracias por todo su apoyo
| Dispositivo | |
|---|---|
| @NEROX_STRONG99 | POCO X3 NFC |
| Fotografos: | @neroxstrong |
| Traduccion: | DeepL |

Hello Hive and friends of SWC, this time I will teach you the basic process of how to make a mini
parallel bars as simple as possible, I hope the following content is to your liking.

Good friends, to begin with we have the materials we are going to need:
- 1 inch plate, 1.80 meters in total
- 1 inch diameter round tube, 60 centimeters in total.
- 1/2 inch smooth rebar (optional for reinforcement?)
- Piece of wood

Tools: - Grinder with respective cutting and grinding discs
- Welding machine with respective electrodes
- Tape measure
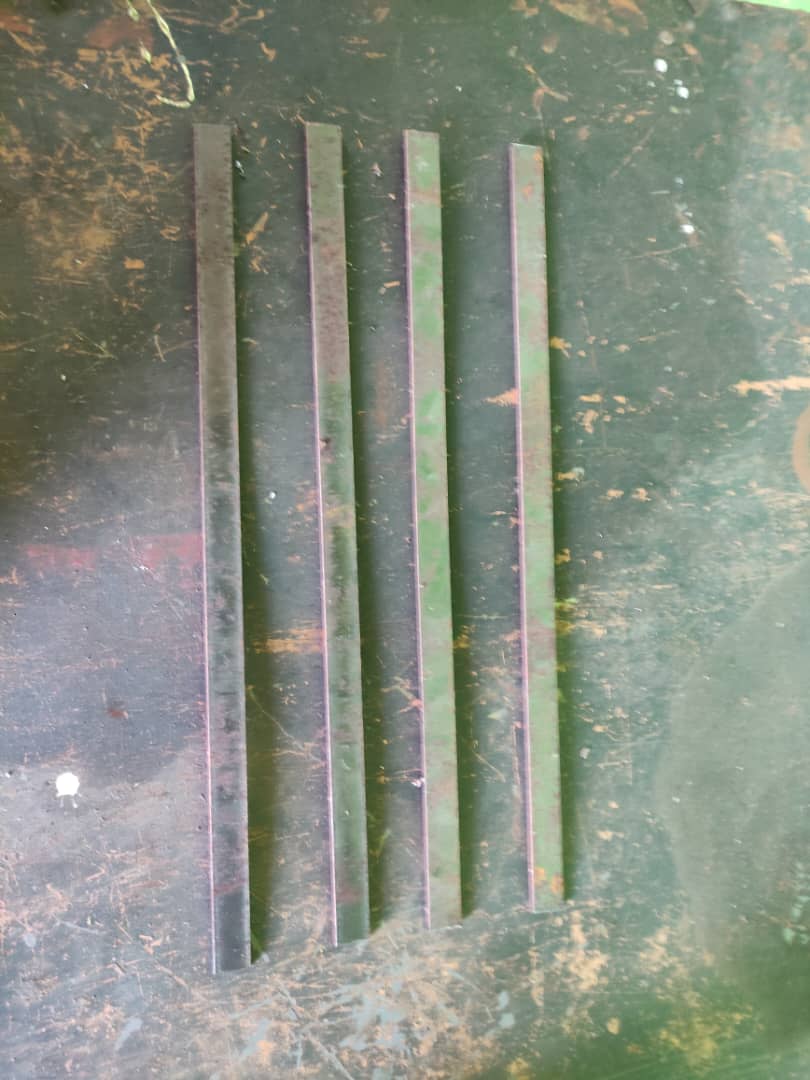
Step 1 : Cut 4 pieces of 44 centimeters long flat bar.
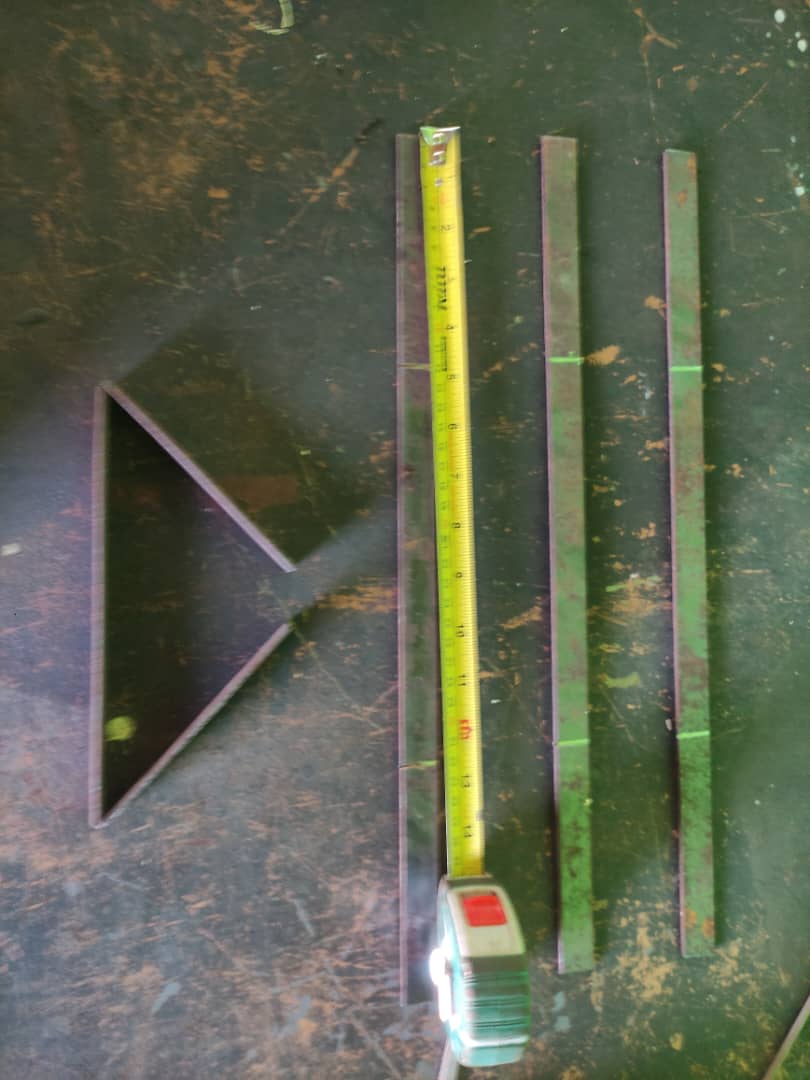
Step 2 : Measuring from the ends towards the center, we make two cuts at 12 centimeters from each
strip, in order to bend each strip and make the following figures.

Subscribe to DeepL Pro to translate larger documents.
Visit www.DeepL.com/pro for more information.
All of them must be as exact as possible in order to achieve a good level in relation to the ground, since
these will be the basis of our parallels.

Step 3: Cut two pieces of 1 inch pipe, each with a length of 30 inches.

Step 4: Presentation and leveling of the parallels, and then welding the bases of each one.

Step 5: after leveling and welding the bases of our parallel bars, we proceed to reinforce with more
welding the cuts we made in the plates at the beginning and thus achieve greater resistance to weight.

Step 6: Using wood and other material of your choice, we proceed to seal the holes at each of the ends of
our parallels.

After sealing the holes, they are as follows

Step 7 : Using the esperil and a polishing or grinding disc, we proceed to remove any excess solder
or any other imperfection.

Step 8: We proceed to paint our parallels in the color of our preference, it is advisable to use a type
of paint resistant to the touch.

This is all for this occasion, soon I will be posting content on how to do each tool used in Street
Workout, Thanks for all your support.
| Device | .|
|---|---|
| @NEROX_STRONG99 | POCO X3 NFC | .
| Photographers: | @neroxstrong |
| Translation: | DeepL |
Exelente post mi bro 😎
Gracias por tu apoyo bro, me alegra que halla Sido de tu agrado
Congratulations @neroxstrong! You have completed the following achievement on the Hive blockchain And have been rewarded with New badge(s)
Your next target is to reach 700 upvotes.
You can view your badges on your board and compare yourself to others in the Ranking
If you no longer want to receive notifications, reply to this comment with the word
STOPCheck out our last posts:
Que finas manooo
Muchas gracias bro , seguiré esforzándome para traer contenido de su agrado
Saludos @neroxstrong
Greetings @neroxstrong
Muy buen trabajo amigo!La verdad me gutó bastante el proceso no los comparte de una manera que se comprende facilmente. Gracias por compartir este post con nosotros, saludos!