Hello hello how are you all, I am pleased to be here with you, today I want to share with you how I made a moisturizing cream for my hair, I did this with the purpose of applying it after dyeing my hair, since today I will be applying a dye blue-black color, and even though I don't have it that damaged because I always try to hydrate it correctly, because I love putting dye in my hair, but this time I wanted to prepare a cream with aloe vera or aloe vera, and My go-to conditioner and styling cream, you can also use coconut oil which is great for hydration, but I don't have any, the good thing is that the conditioner is very moisturizing.
After so long I decided to use aloe vera again, and from my own experience I tell you that it is a very good natural ingredient for various uses due to its healing properties, it helps repair and hydrate the hair, it is good for the skin and can also be Consuming it also has a function for digestion, as long as it is not consumed with the iodine it contains. In that case, to avoid this, you must let the aloe vera leaf soak for 24 hours, and thus there will be no problem. Now I am going to tell you how I made the moisturizing cream and the materials, I hope you will accompany me in the preparation.
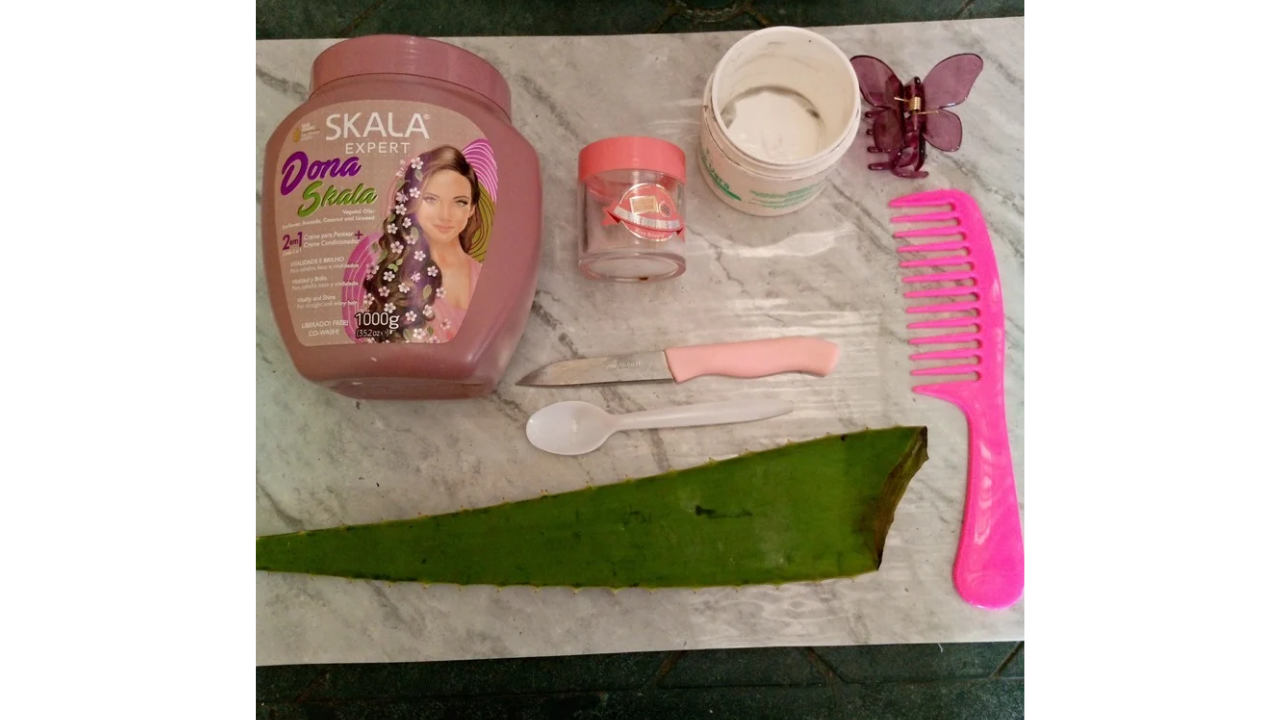
(Materiales:)||(Materials:)
- Una penca de aloe vera
- Crema de peinar
- Acondicionador
- Un envase
- Una cucharillita de plástico
- Un cuchillo
- Peine y peineta
- A leaf of aloe vera
- Styling cream
- Conditioner
- One container
- A little plastic spoon
- A knife
- Comb and clip
(Procedimiento:)||(Procedure:)
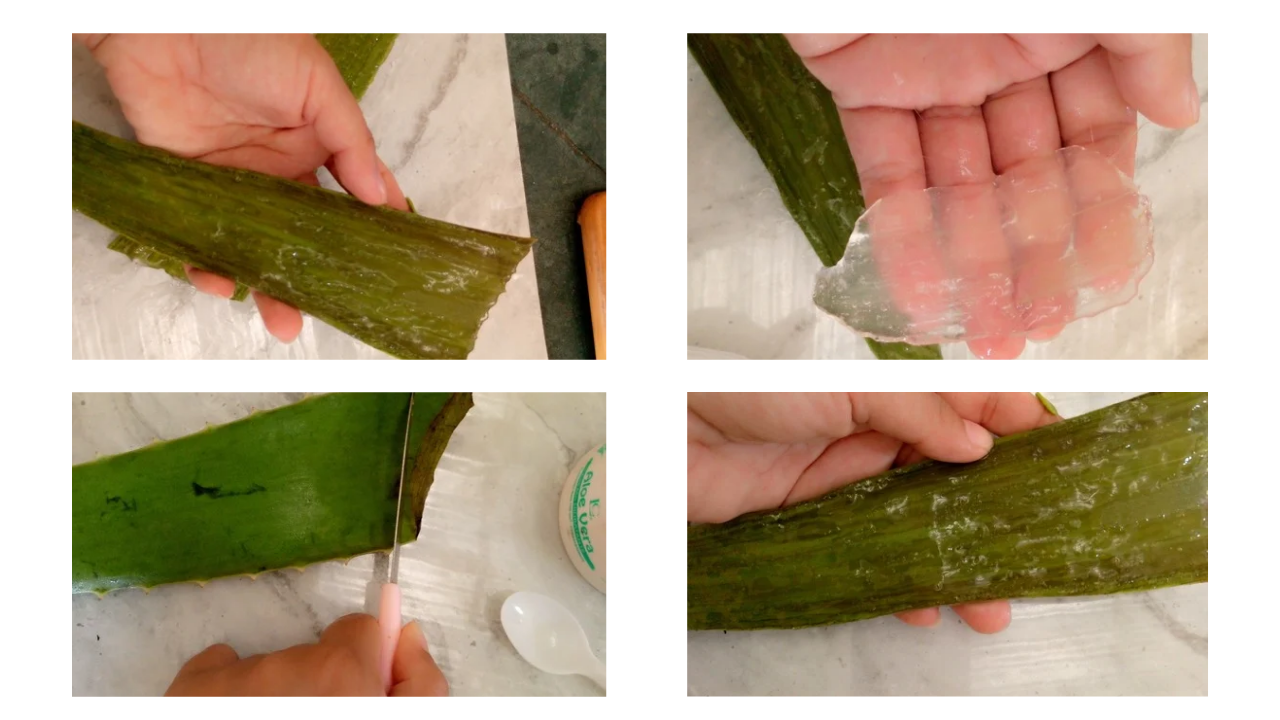
Paso nro 1
Paso nro 1
In the first step I went to my garden and cut a leaf from the aloe vera plant, I left it to soak for 24 hours, and when all that time had passed, with the help of a knife I cut the spine part of the leaf, and then cut it in half to extract the crystal.

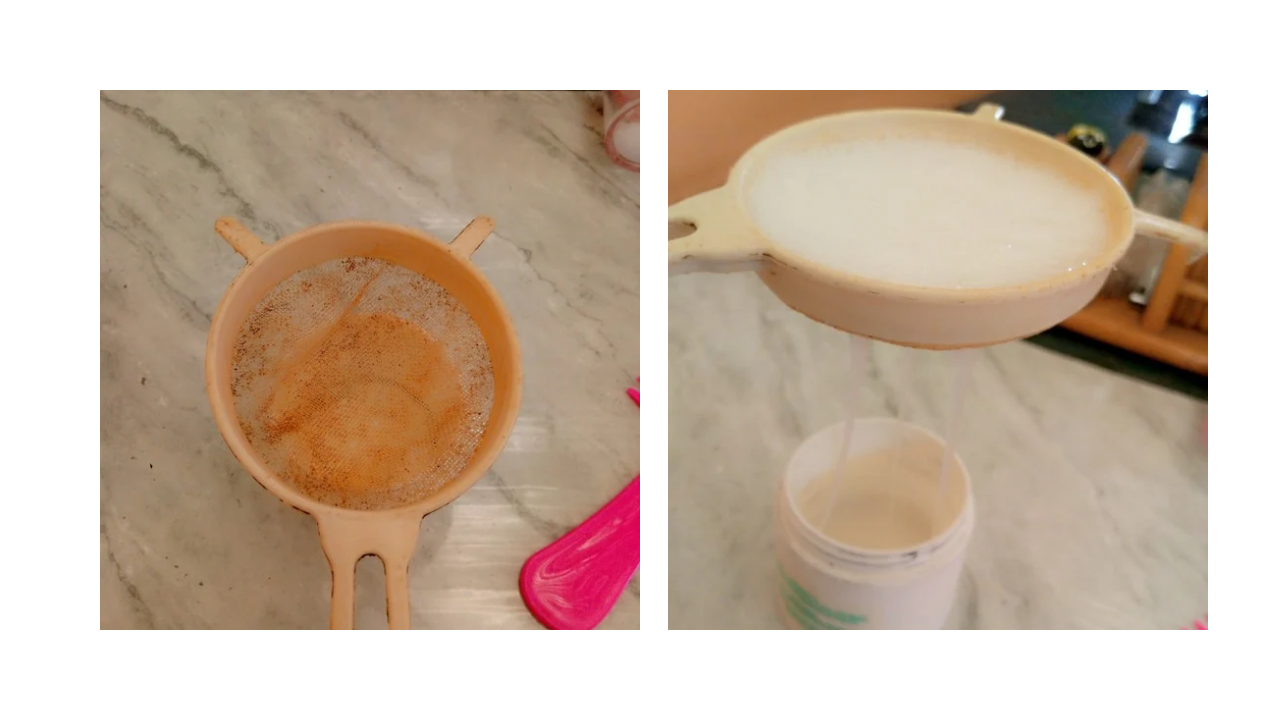
Paso nro 2
Paso nro 2
Then place the aloe vera in the blender, with a little water, not much of a splash, blend it and then pass it through a strainer so that no lumps fall.
Paso nro 3
Paso nro 3
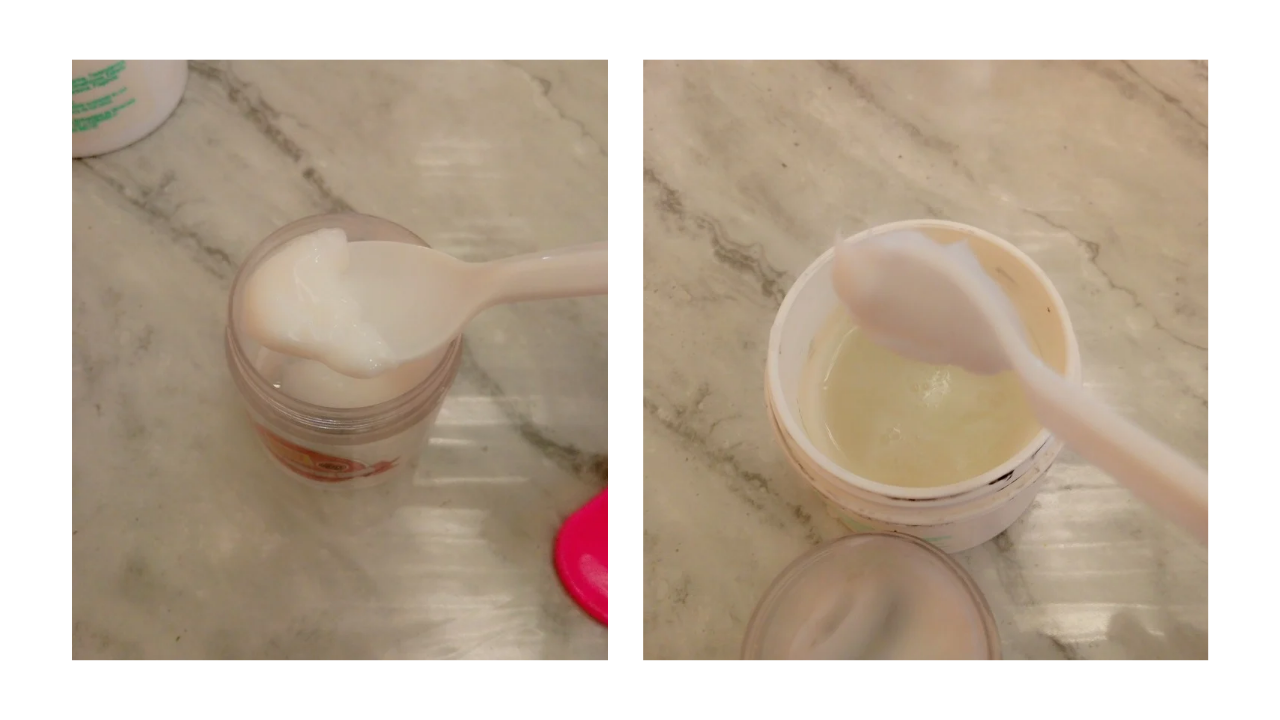
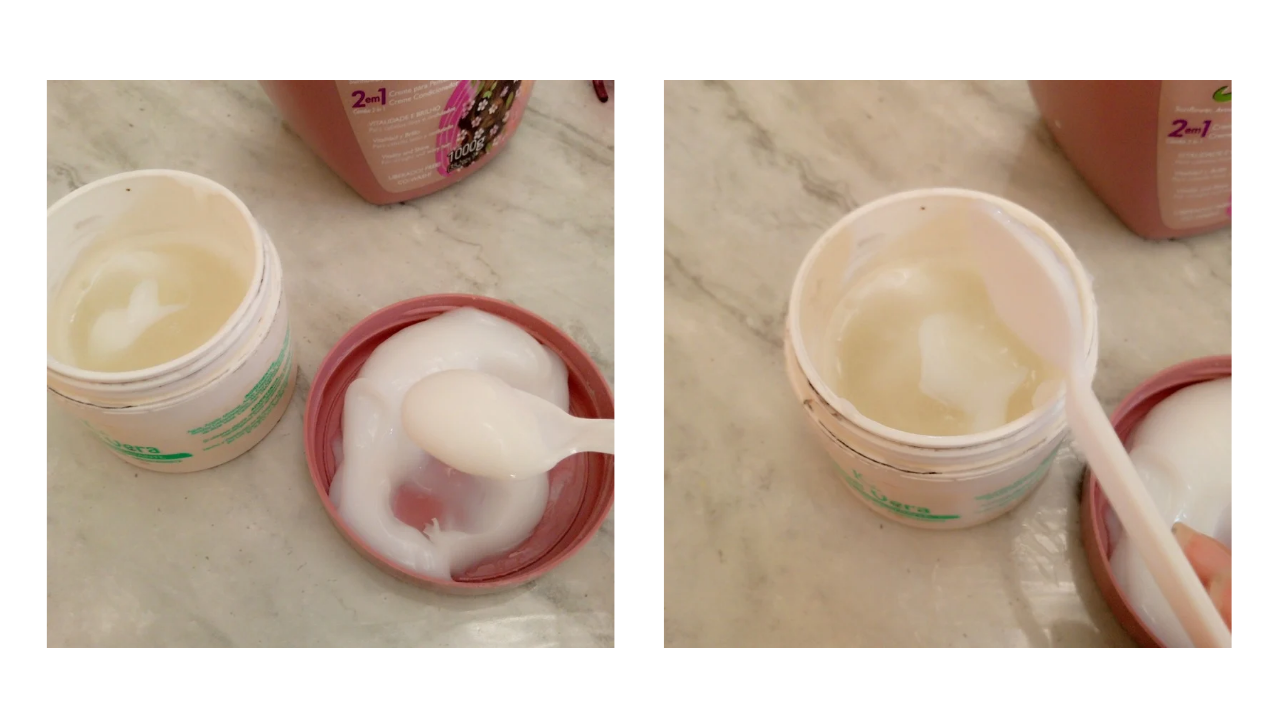
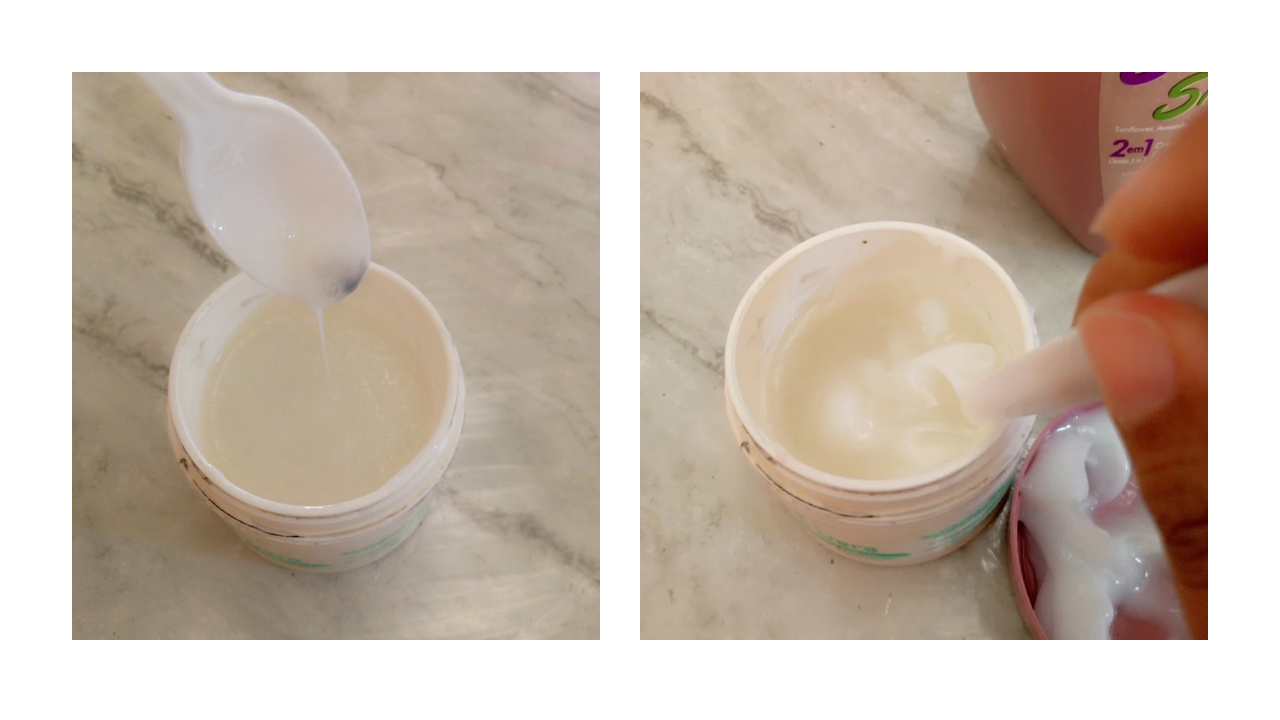
Now that I have the aloe vera ready, I am going to place it in a container that is already used for creams. I added a tablespoon of avocado and olive oil styling cream, and two tablespoons of skala dona conditioner. I highly recommend it. It has a soothing effect. Powerful hydration, stir well with the help of the plastic spoon.
Paso nro 4
Paso nro 4
Now the moisturizer is ready, I preferred to let it sit for a few minutes so that everything mixes well, and in the meantime I wash my hair, I also have to wait for my hair to dry well because I am going to apply the dye, and after everything That's what I applied the cream to.
Paso nro 5
Paso nro 5
I wait about two hours for the entire process, and if so, sometimes I spend almost the entire day waiting because I want the hair to absorb all the nutrients. When I apply the cream, comb my hair first to avoid knots, and divide the hair. hair in sections and apply the cream, then let it sit for 30 minutes, then remove with plenty of water. And so my hair is soft but very soft and despite applying a dye, my hair was not damaged at all. Since I learned to apply moisturizing treatments, my hair no longer suffers from frizz thanks to that.
(Resultado final:)||(Bottom line:)
I hope you liked this moisturizing cream and like me, let's learn together to take care of our hair, thanks to a leaf of aloe vera, on another occasion I hope to continue sharing with you more personal care treatments, thank you.
Las fotos de este blog son de mi propiedad|Las imágenes son editadas en canva|Fotografías tomadas en mi celular infinix Smart 7|El contenido está traducido en el traductor de Firefox.