Hello friends of hive, greetings to all, I have been absent due to signal problems, since I only use mobile data and in my community they are very slow.
Pero bueno, he vuelto.. hoy quiero compartir con ustedes cómo hice una chupetera (todo con material reciclado) sin más preámbulos comencemos.
But hey, I'm back... today I want to share with you how I made a pacifier holder (all with recycled material) without further ado let's start.
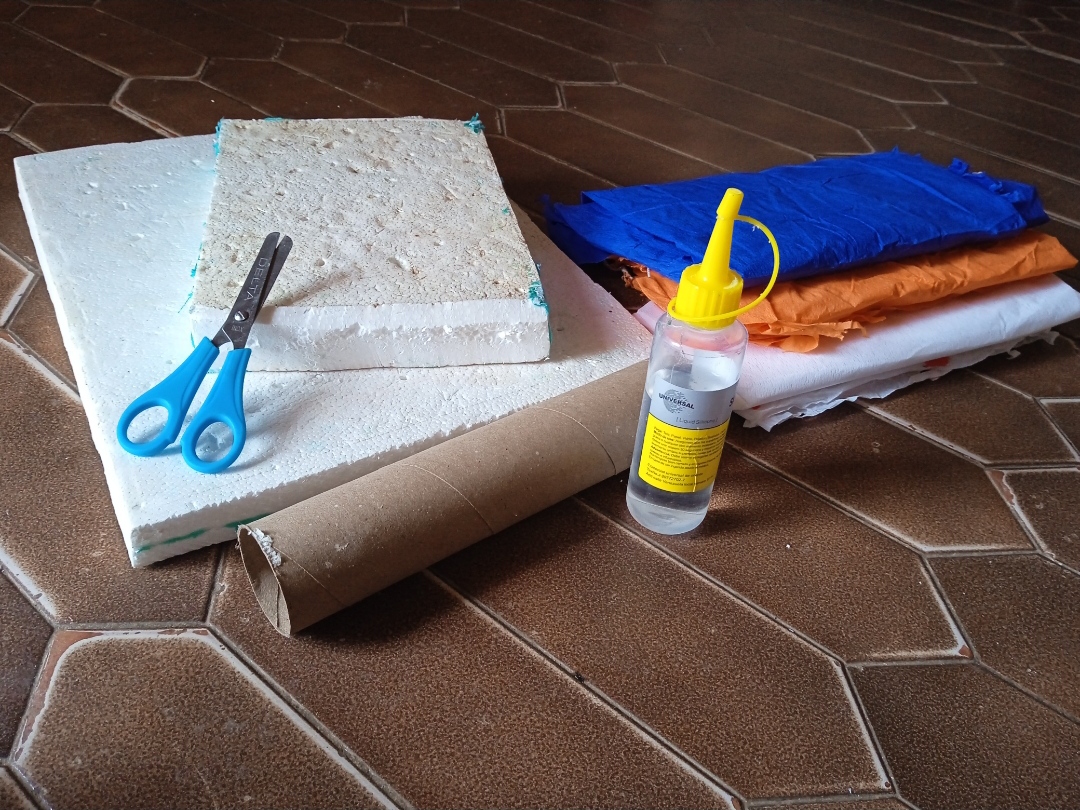
¿QUÉ NECESITAMOS?:
•Anime.
•Papel crepé.
•Pega y tijeras.
•Tubo de cartón de servilleta.
What do we need?:
•Anime.
•Crepe paper.
•Glue and scissors.
• Napkin cardboard tube.
PASOS: STEPS
Paso #1️⃣: Primero, tenemos que cortar el anime la base de abajo a 37 cm de largo y 28cm de ancho, y nuestra base de arriba 25cm de largo y 18cm de ancho. (Cabe resaltar, que ya yo los tenía cortados) Luego, agarré mi papel crepé azul e iba a comenzar a forrar.. antes que todo, tomé el tubo de cartón he hice la marca de dónde iba a ir para así, echarle pega para que su base estuviese firme.
Step #1️⃣: First, we need to cut the bottom base anime to 37cm long and 28cm wide, and our top base 25cm long and 18cm wide. (It should be noted that I already had them cut) Then, I grabbed my blue crepe paper and was going to start lining... first of all, I took the cardboard tube and made the mark of where it was going to go so that I could glue it to that its base was firm.
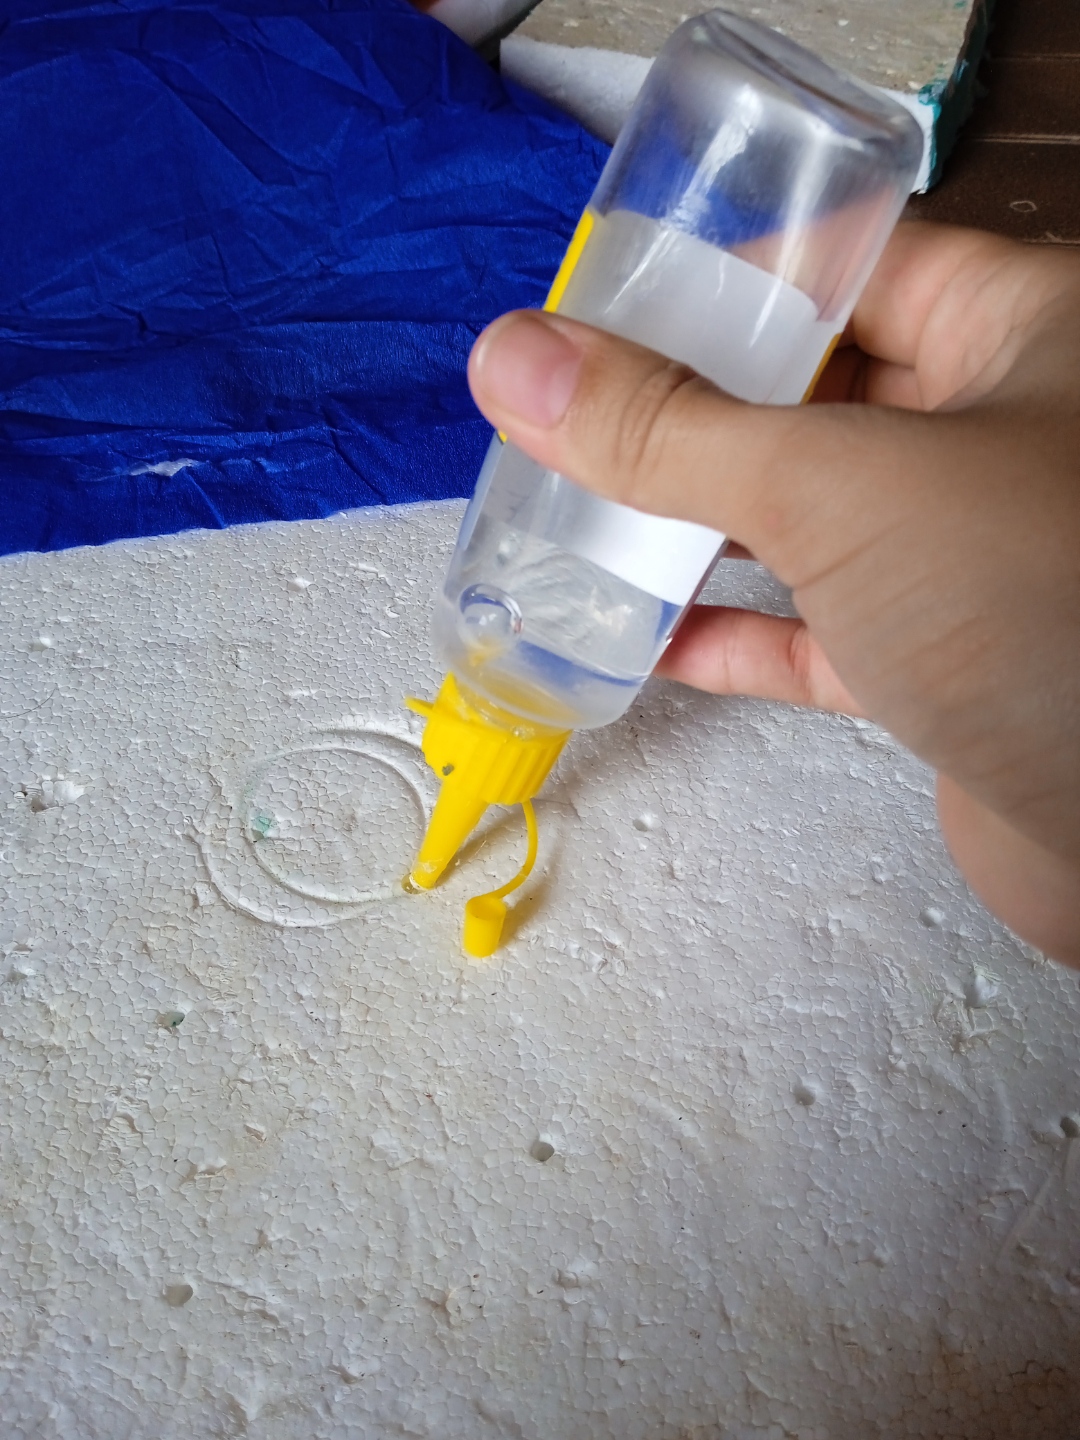
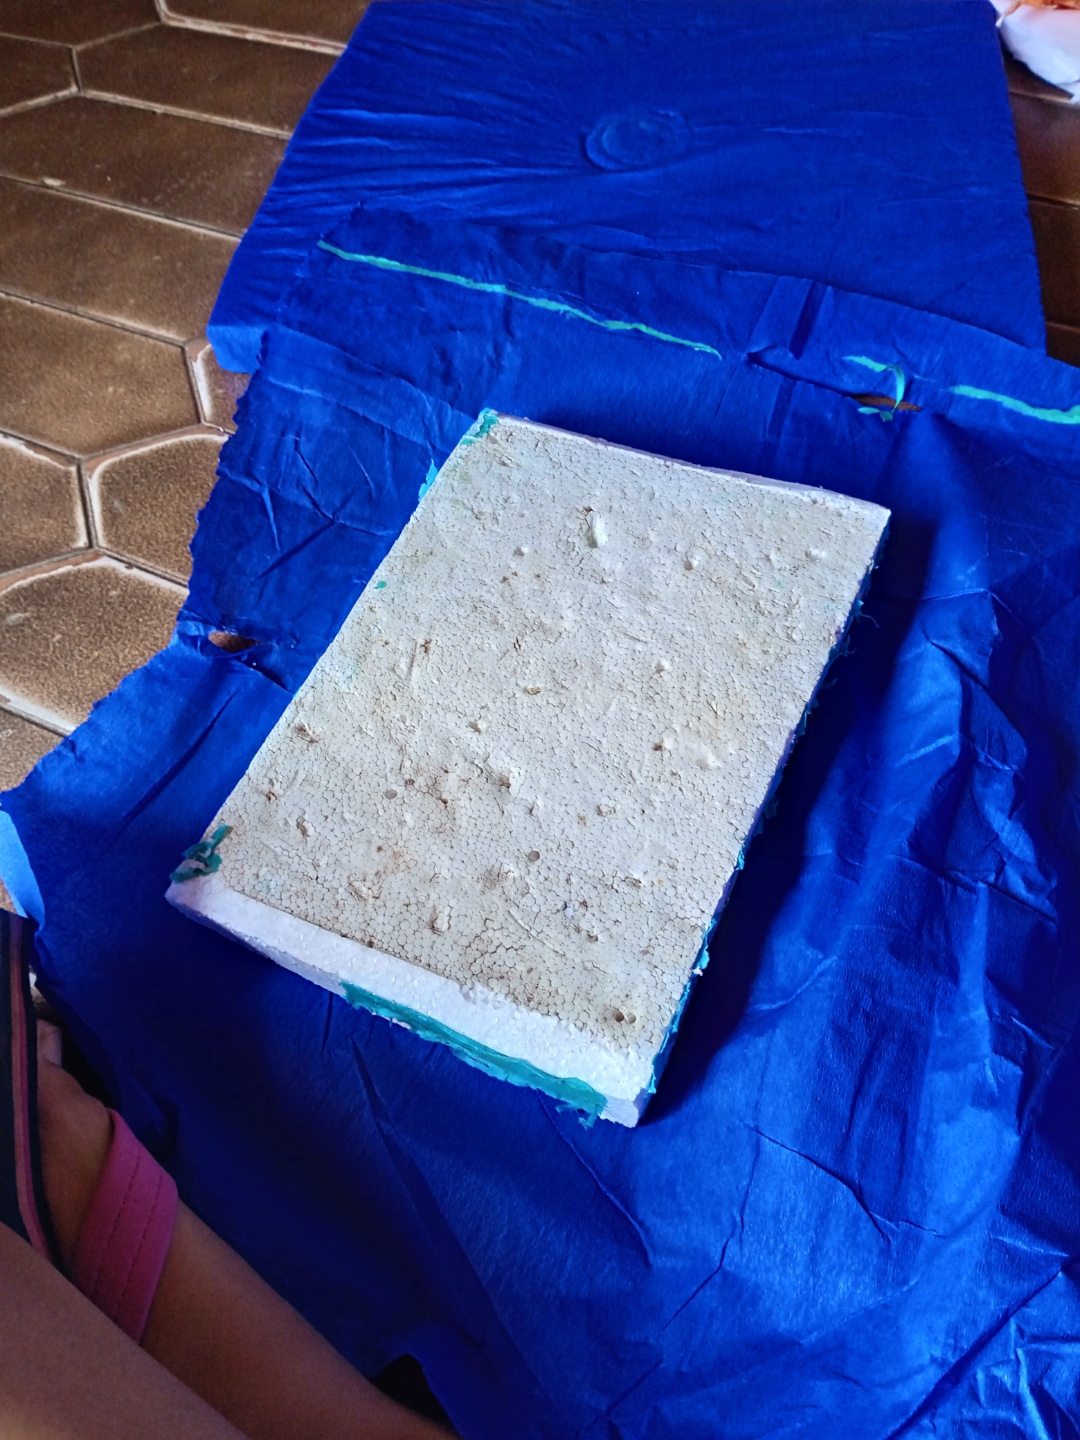
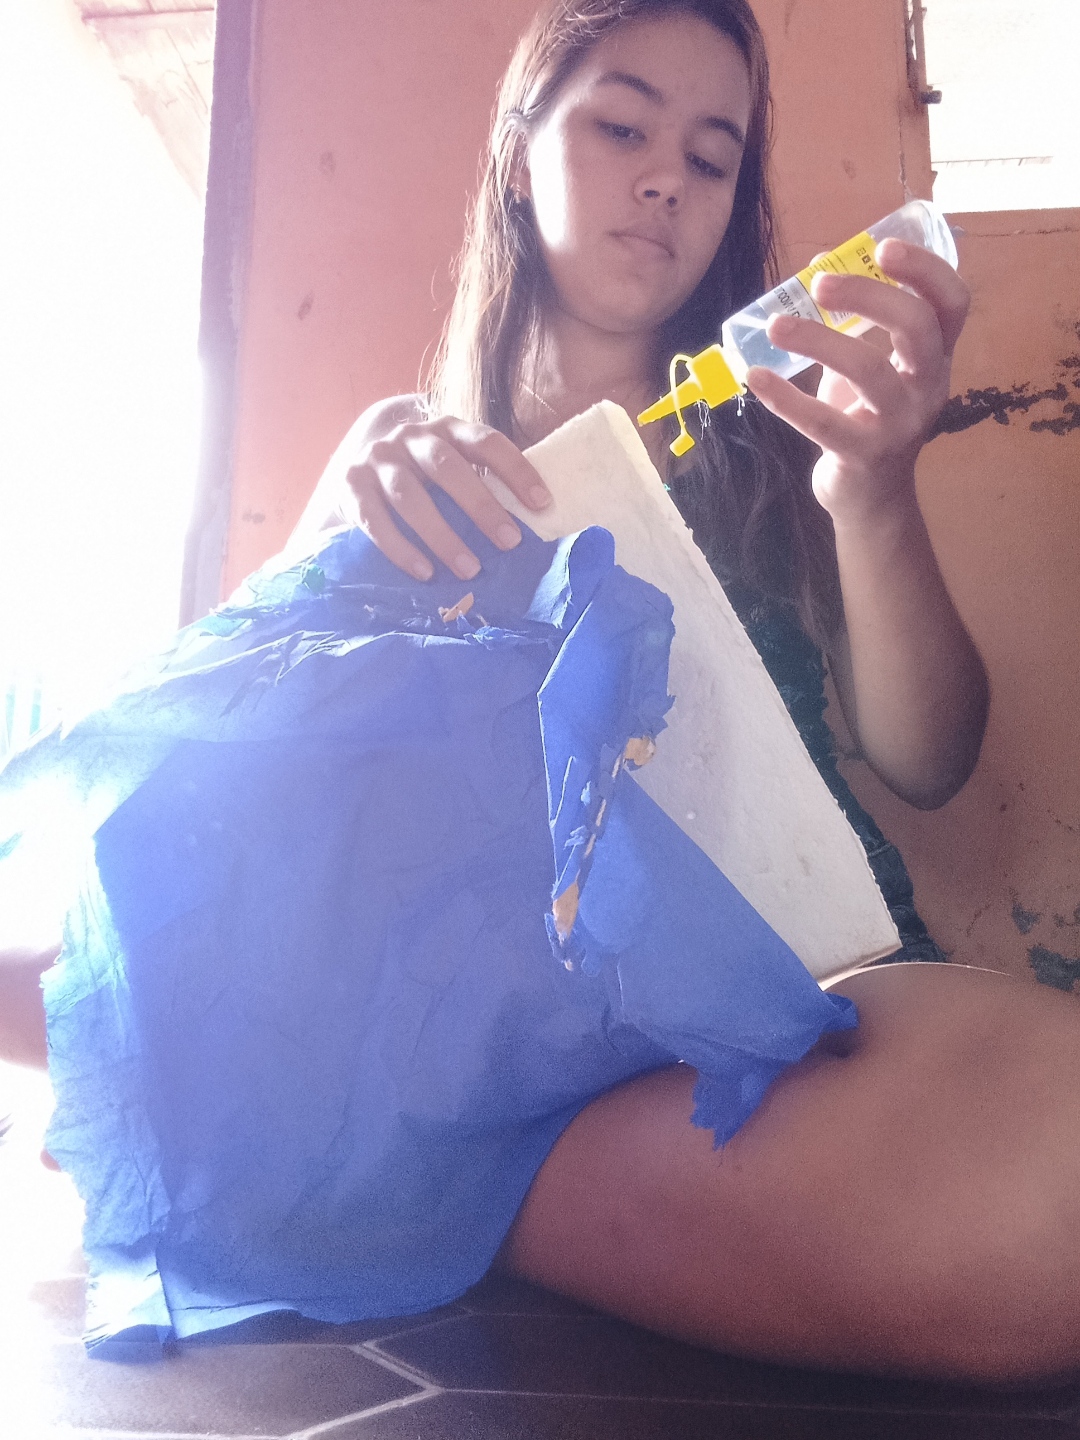
Paso #2️⃣:Después de pegar el papel crepé empecé a hacer el doblaje de las puntas de la siguiente manera:
Step #2️⃣: After gluing the crepe paper I started to fold the ends as follows:
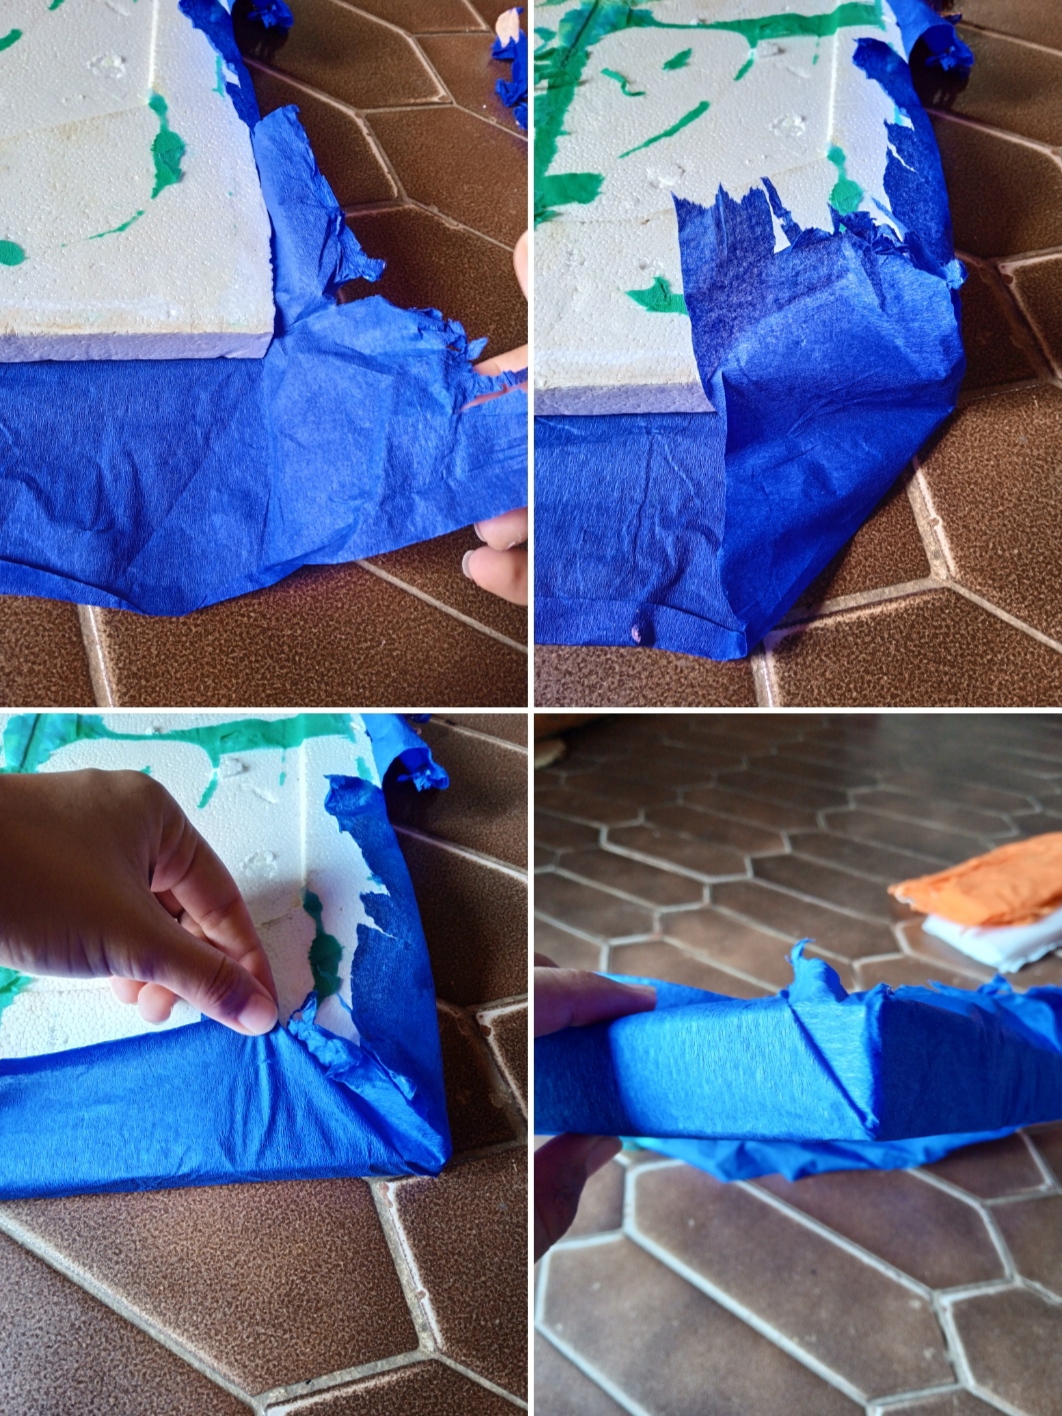
Al tener la base de abajo lista, agarramos y hacemos lo mismo con la base de la parte de arriba
Having the bottom base ready, we grab and do the same with the top base
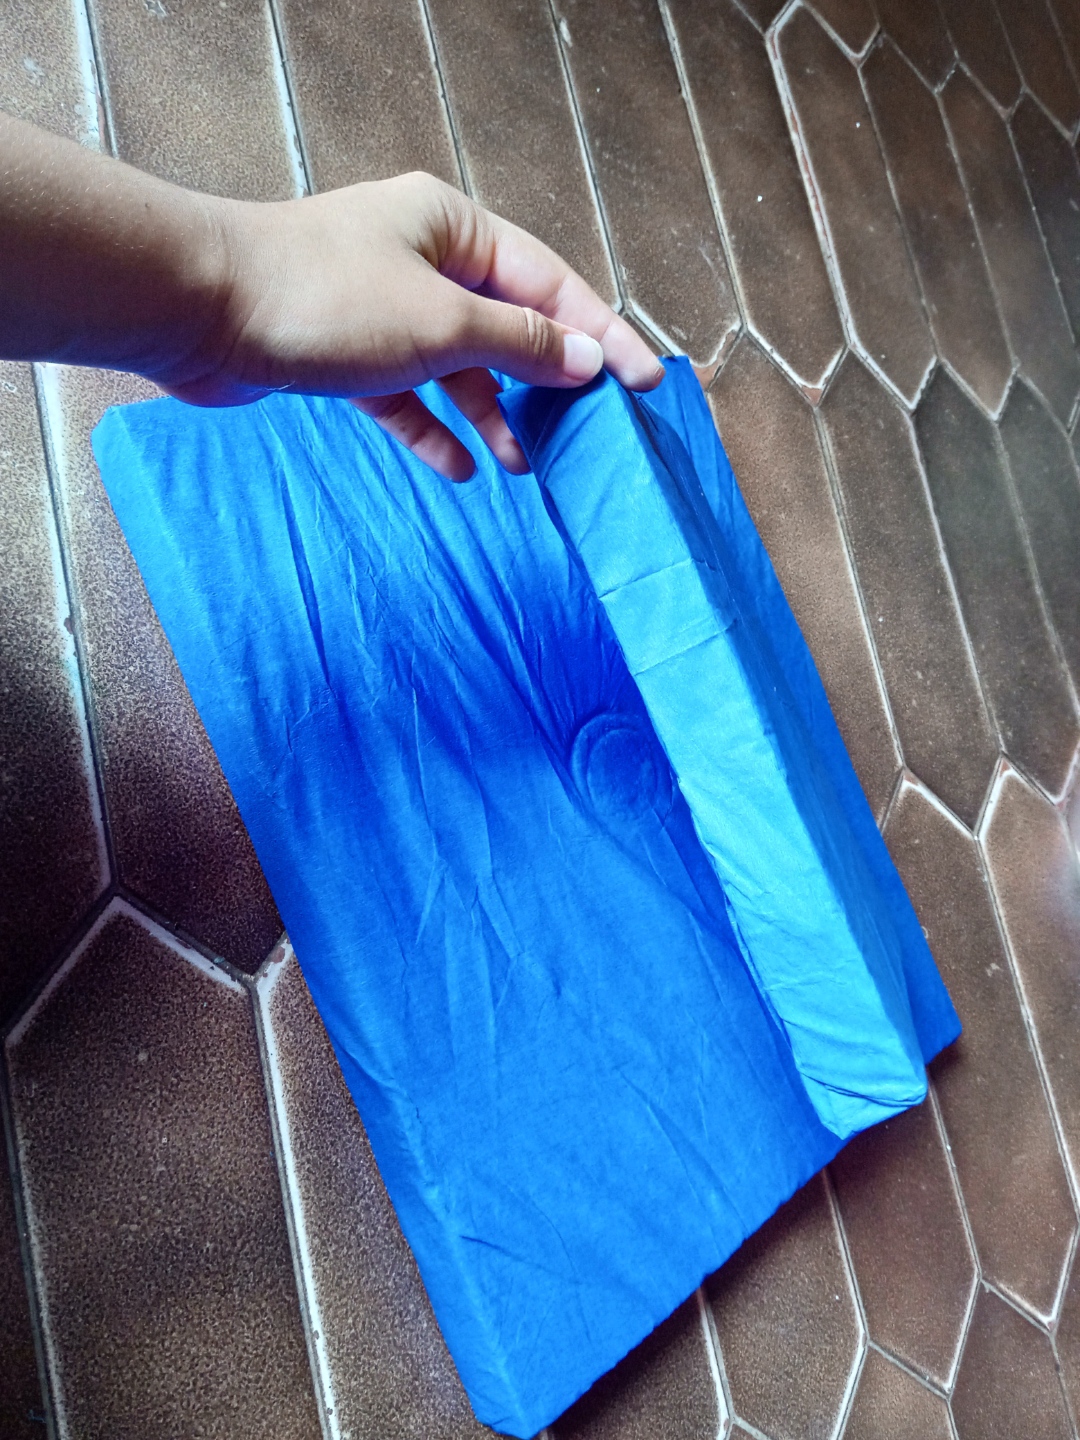
Paso #3️⃣: De esta manera, al tener mis dos bases listas, tomé el papel crepé blanco y corte una tira de 3cm de ancho, pegue una punta de la base y comencé a hacer doblajes.
Step #3️⃣: In this way, when I had my two bases ready, I took the white crepe paper and cut a 3cm wide strip, glued one end of the base and began to fold.
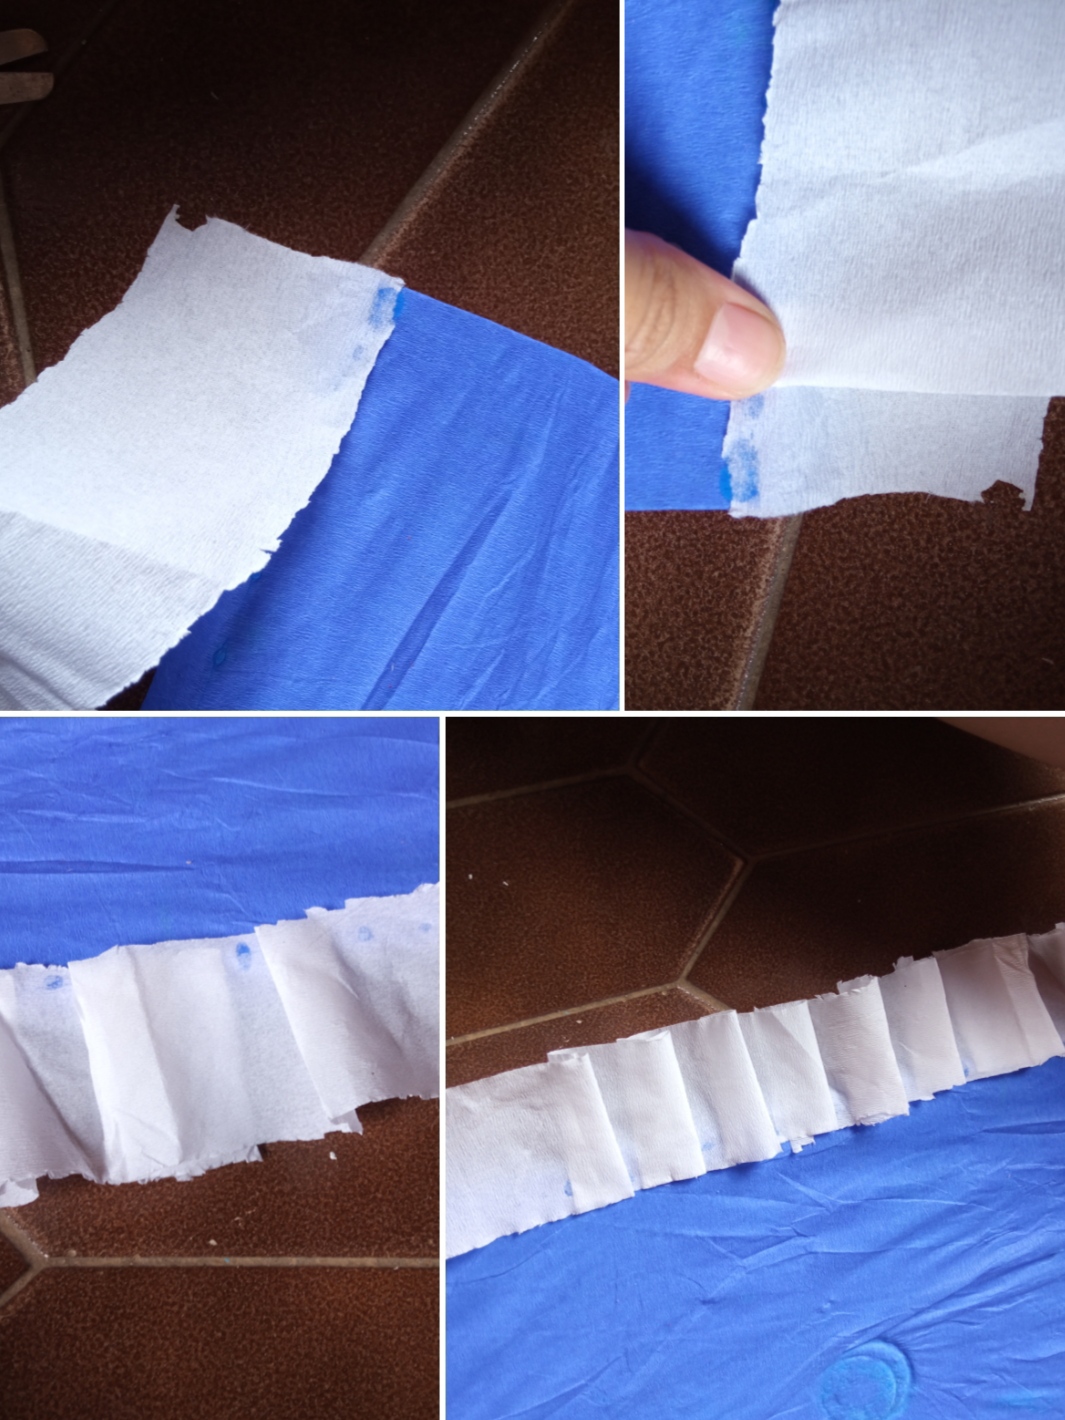
Así fui haciendo hasta que llegué al primer doblaje, quedando de esta forma:
So I was doing until I got to the first dubbing, being this way:
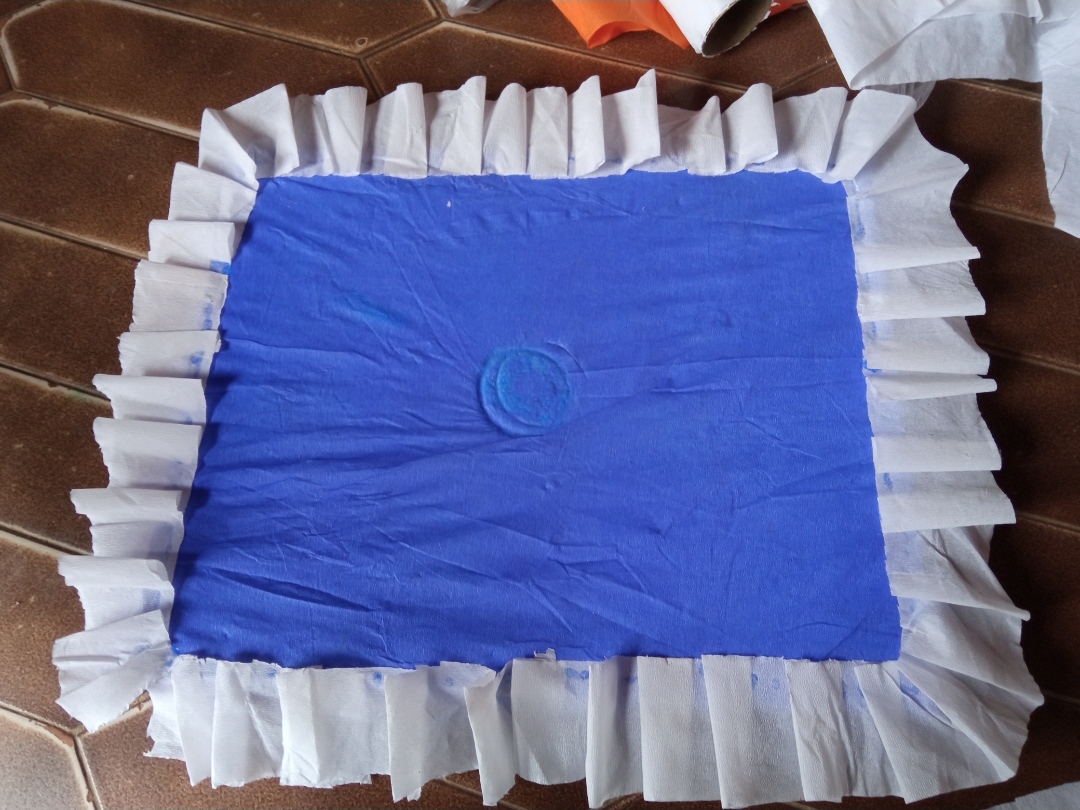
Cuando estaba lista, tomé la pega e iba pegando el doblaje de arriba que sobresalían hacia arriba.
When it was ready, I took the glue and was sticking the top fold that protruded upwards.
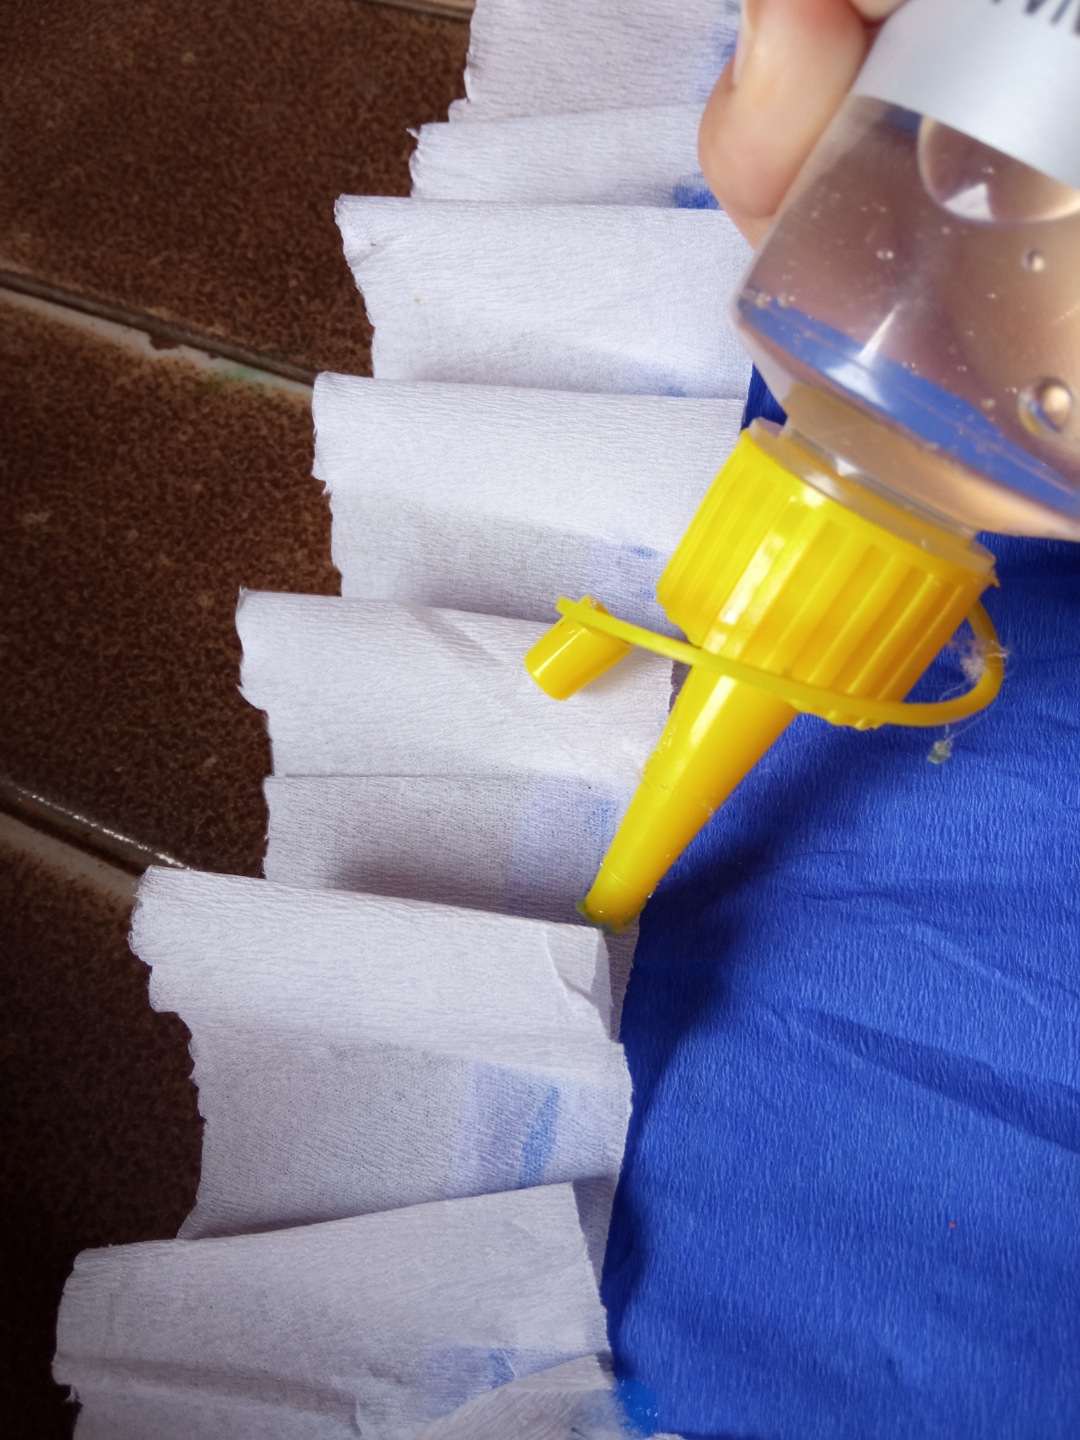
Paso #4️⃣: Al terminar de hacer los doblajes en papel crepé blanco de las 2 bases, comencé a hacer lo mismo con el papel crepé anaranjado. Cabe resaltar que pueden hacerlo con el color que ustedes prefieran.
Step #4️⃣: When I finished making the white crepe paper folds for the 2 bases, I started to do the same with the orange crepe paper. It should be noted that they can do it with the color that you prefer.
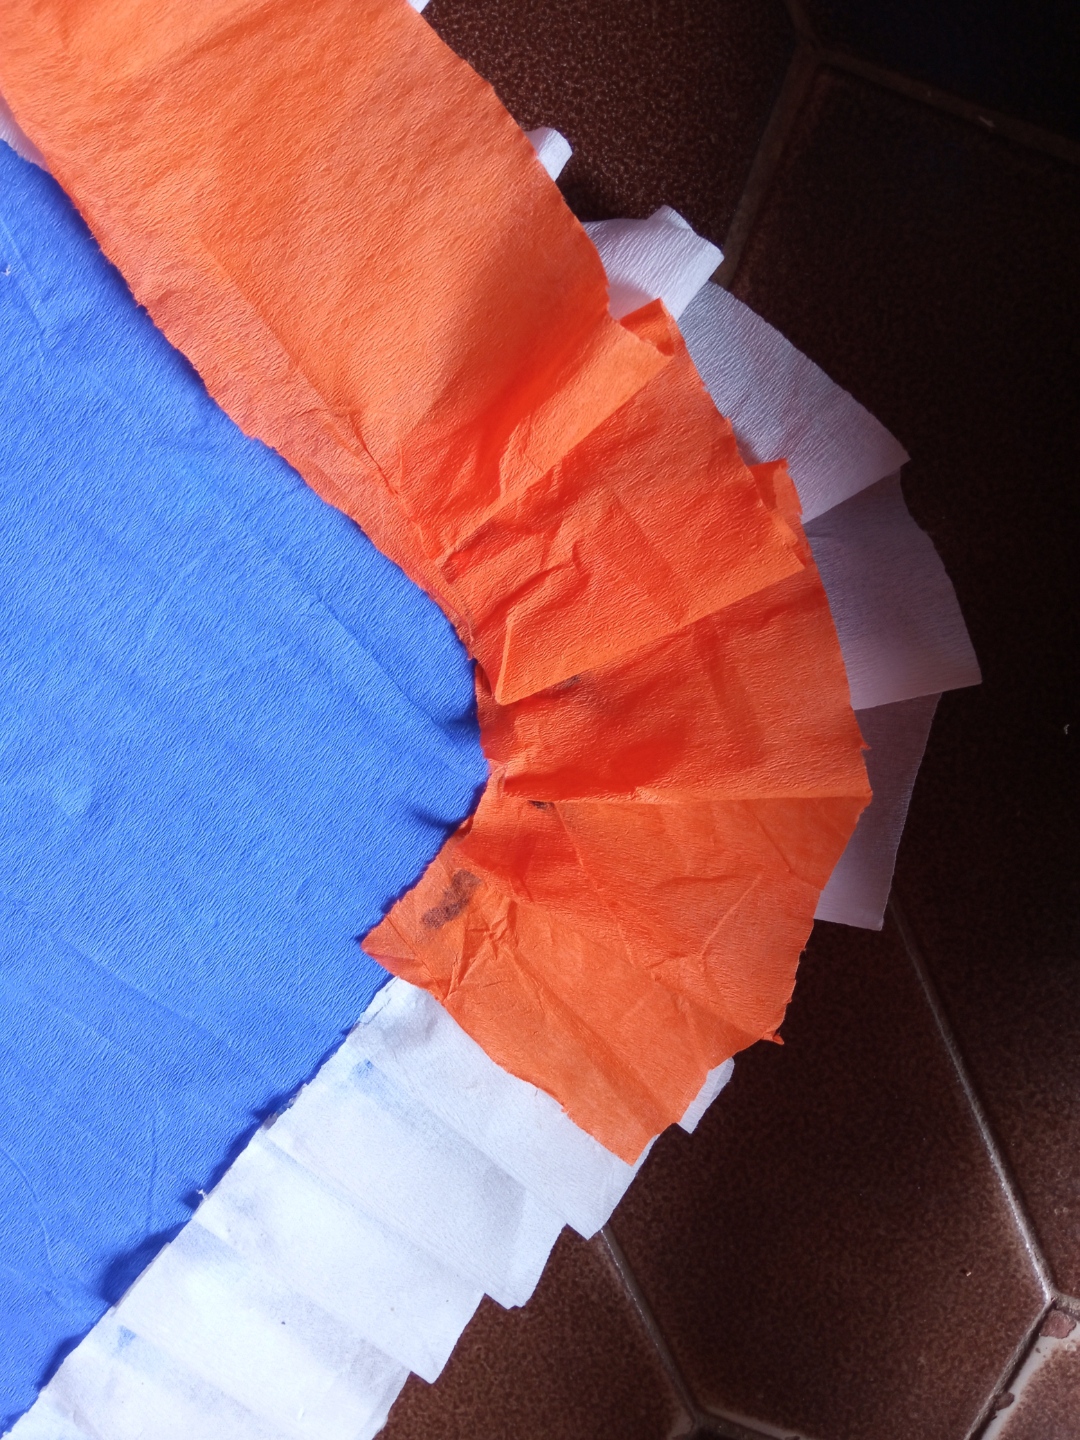
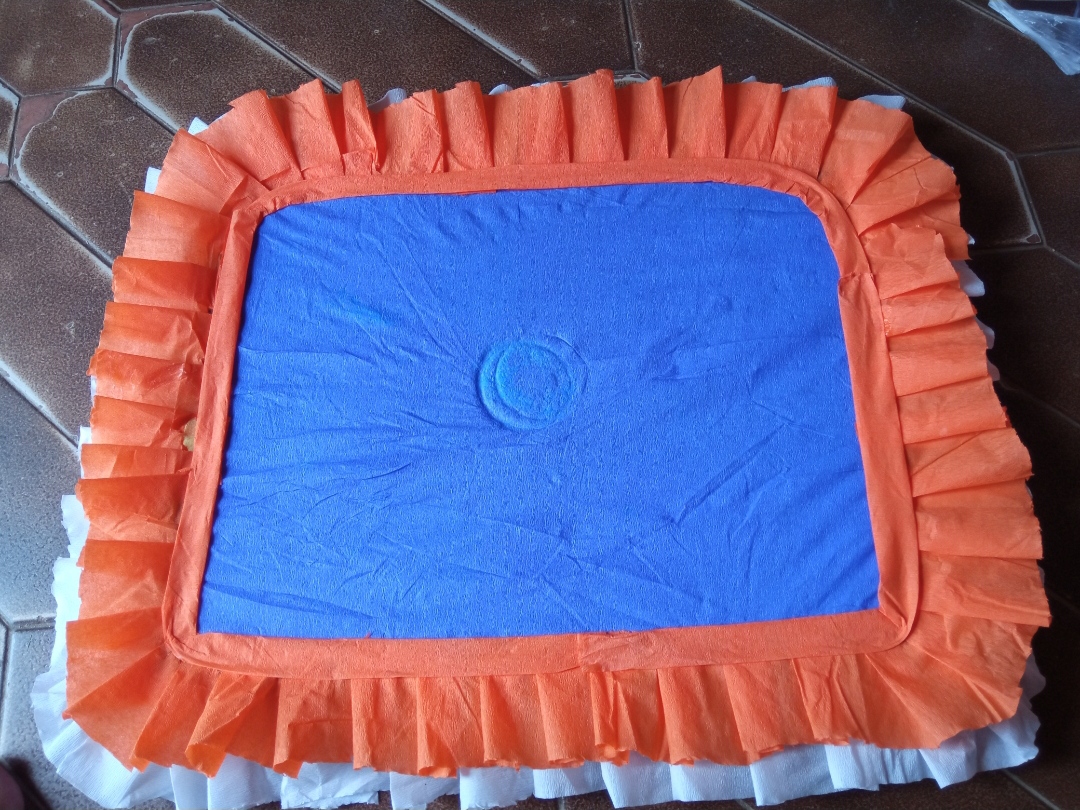
Al terminar todo, tomé una tira de papel crepé anaranjado y lo pegue en el borde de los doblajes para que se viera más bonito.
When everything was done, I took a strip of orange crepe paper and glued it to the edge of the folds to make it look prettier.
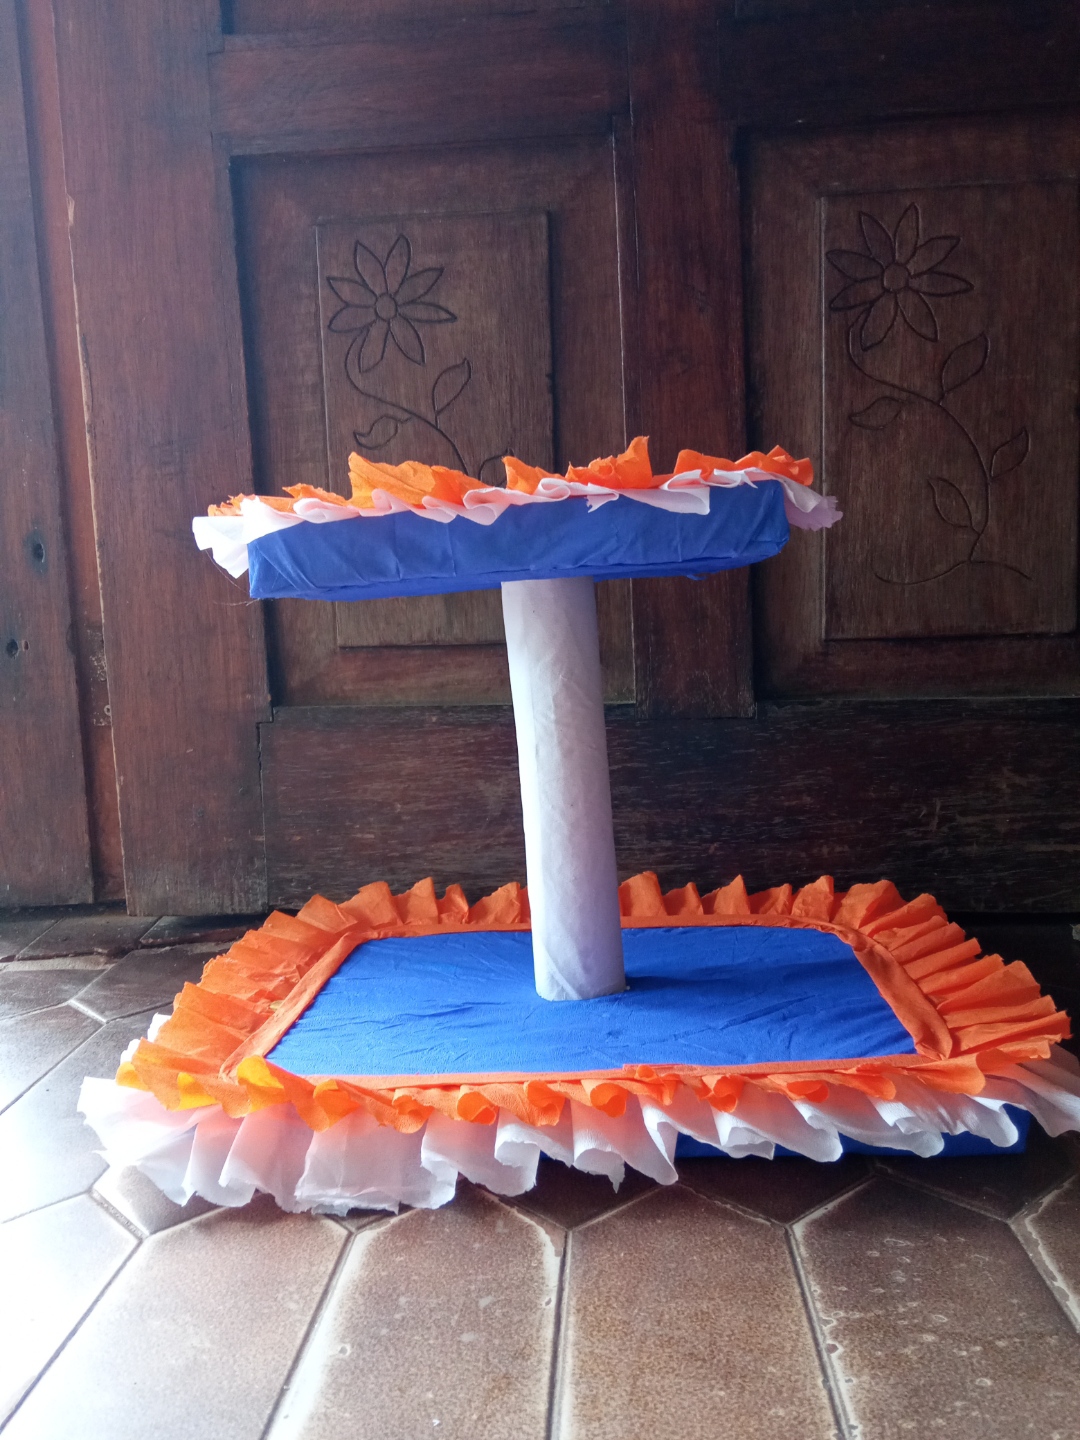
Paso #5️⃣: Cuando terminé de forrar las 2 bases tomé el tubo de cartón y lo forré en papel crepé blanco, al estar listo agarré y lo pegué en la base de abajo, dónde había hecho la marca.
Step #5️⃣: When I finished lining the 2 bases I took the cardboard tube and lined it with white crepe paper, when I was ready I grabbed it and glued it to the bottom base, where I had made the mark.
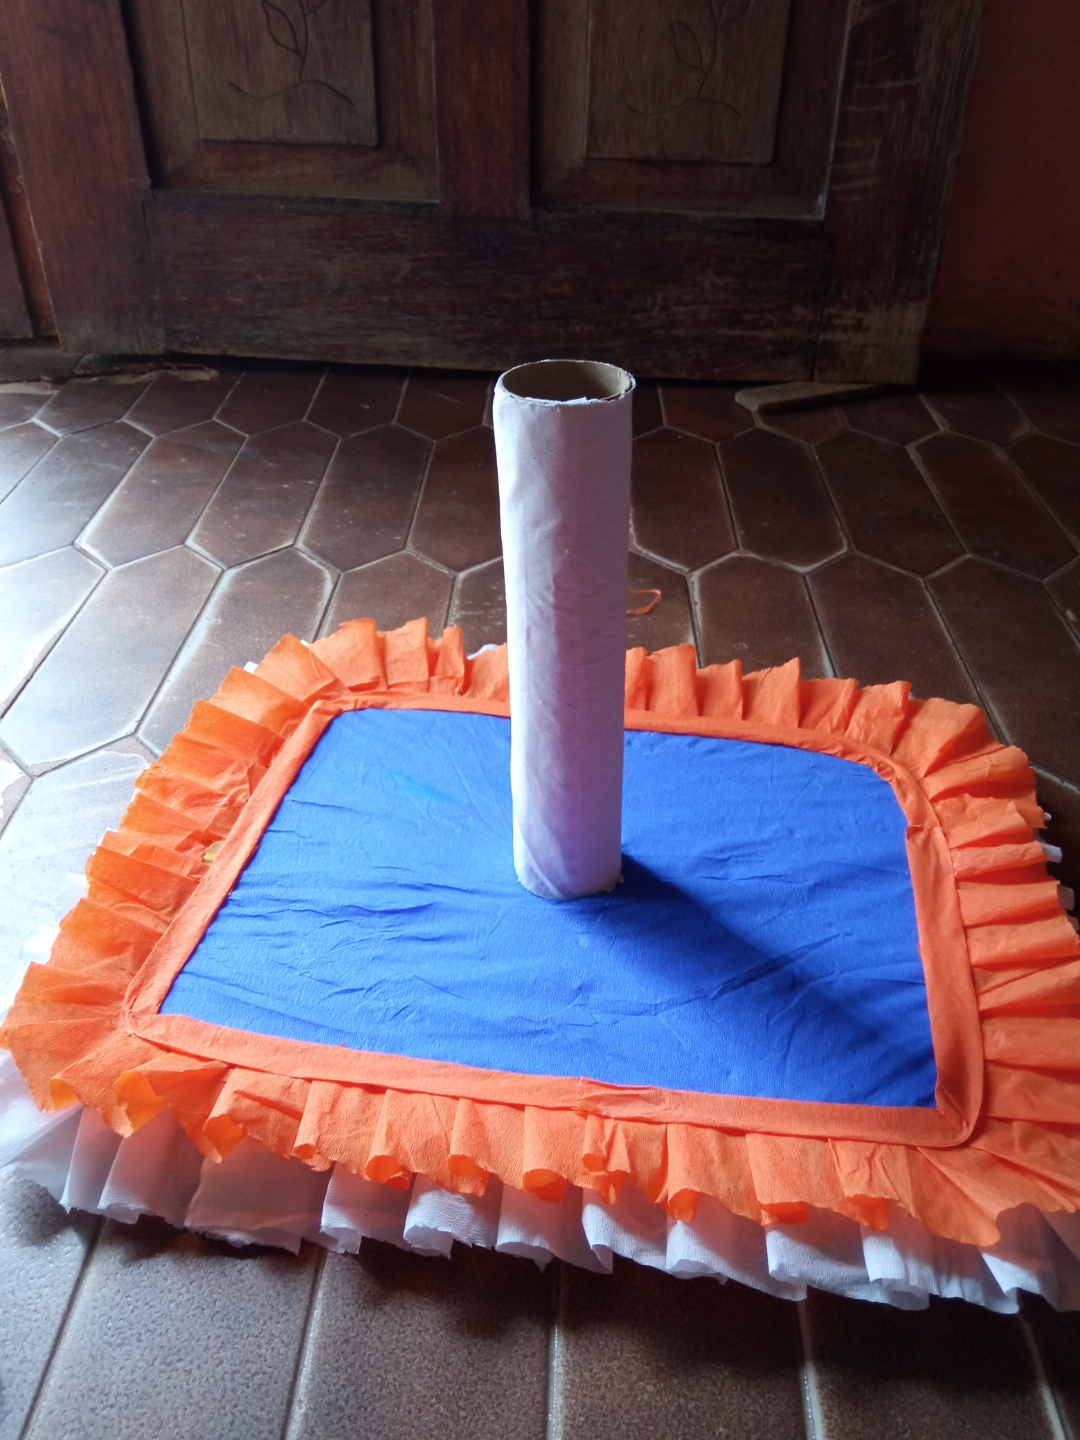
Luego pegué la base de arriba, quedando de la siguiente manera:
Then I glued the top base, looking like this:
Paso #6️⃣: Por último, tomé los muñecos de "SPACE JAM" y los pegué en mi chupetera.
Step #6️⃣: Lastly, I took the "SPACE JAM" dolls and glued them on my lollipop holder.
EL RESULTADO: THE RESULT
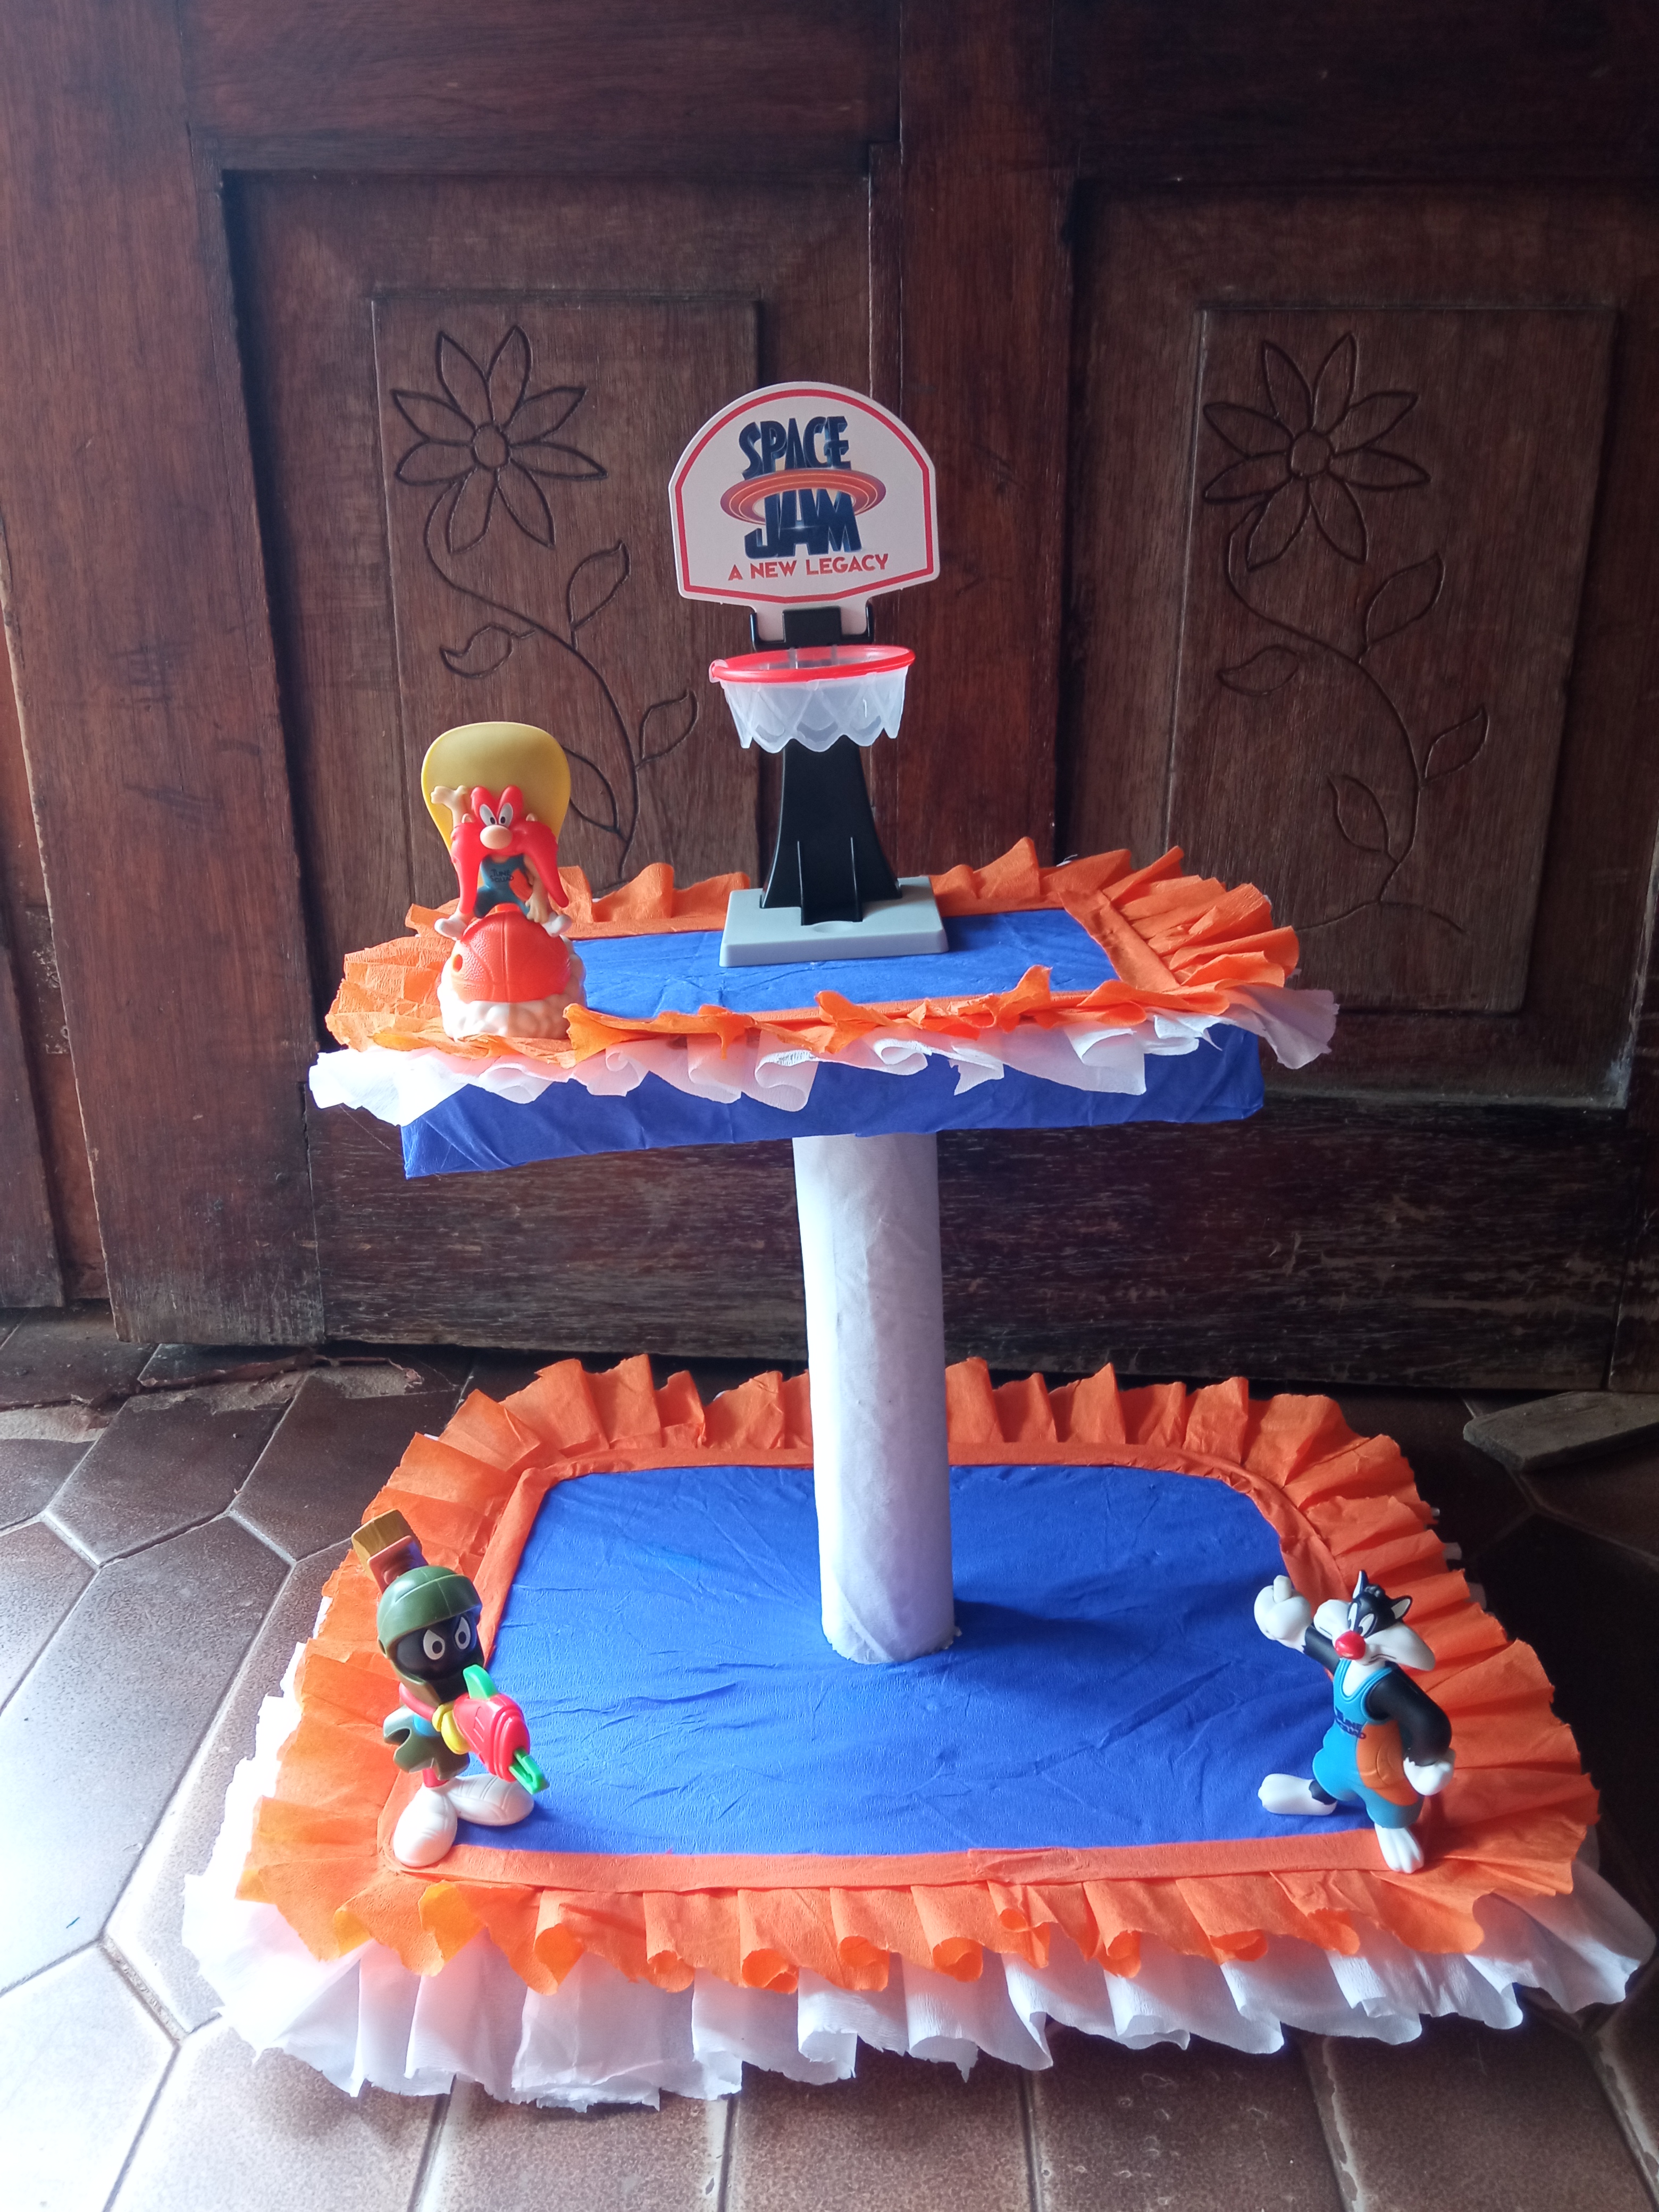
Y listo amigos, es súper fácil de hacer. Todo fue hecho con material reciclable que tenía en casa.. así que puse a volar mi imaginación para crear cosas nuevas.
And ready friends, it's super easy to do. Everything was made with recyclable material that I had at home... so I put my imagination to run wild to create new things.
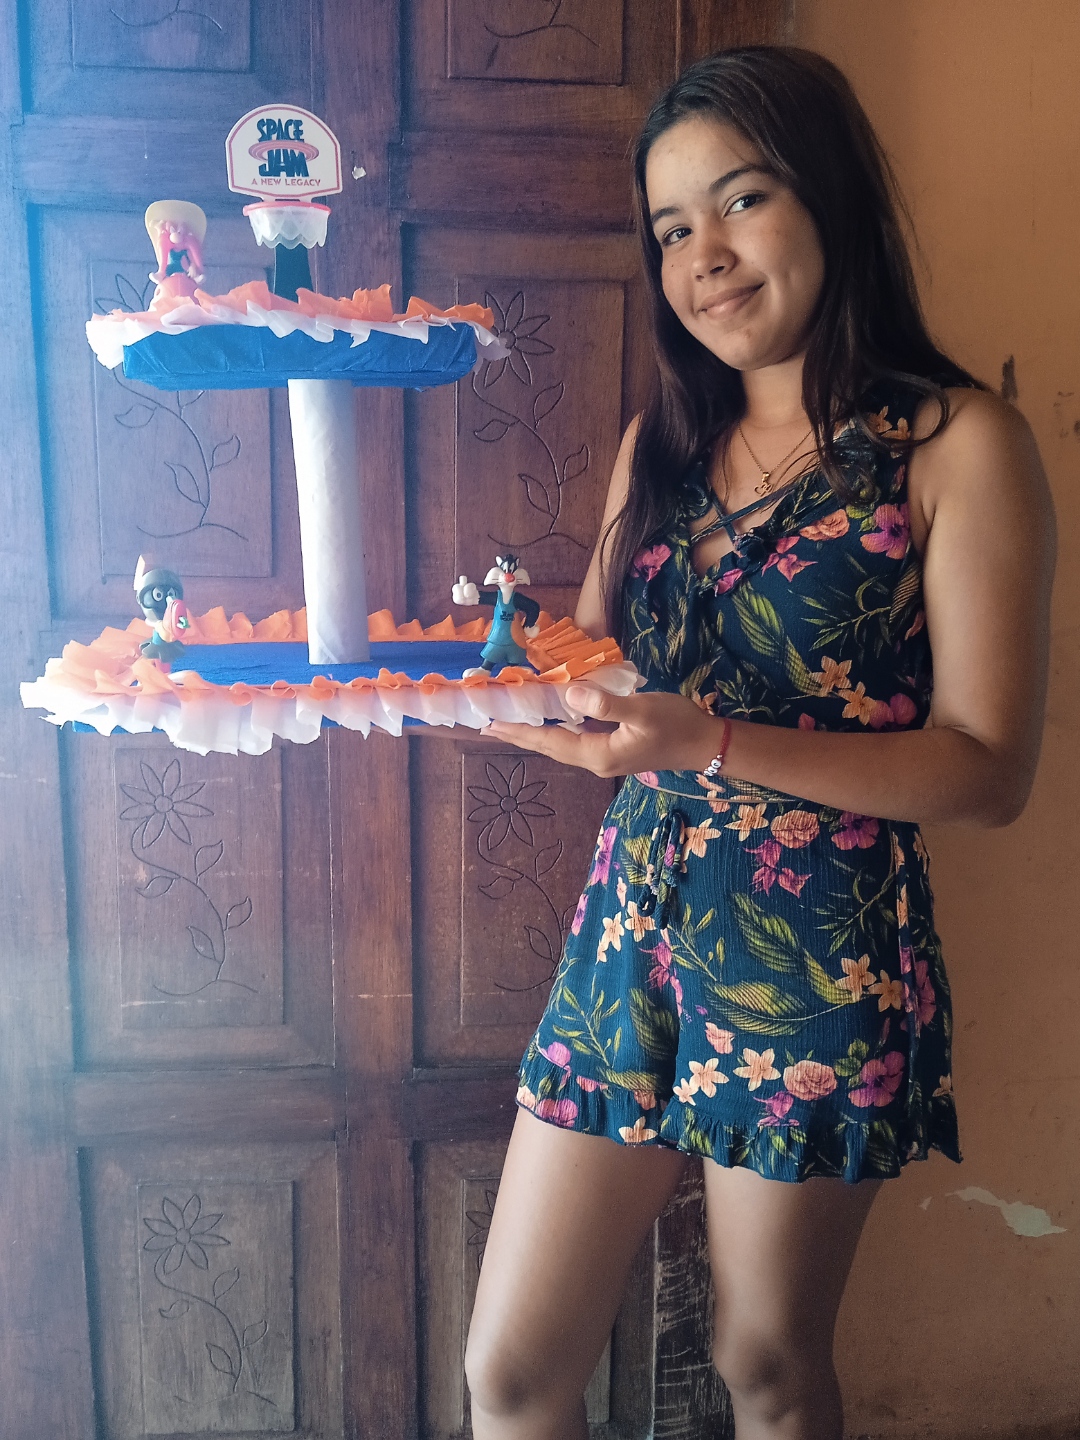
Foto tipo selfie con mi chupetera Selfie type photo with my lollipop holder
Muchas gracias por su visita, espero y sea de su agrado❤️.
Thank you very much for your visit, I hope and be to your liking ❤️.