Good evening Hivers friends, I hope your morning is starting off excellently. I wish you a day full of success and blessings. Today I want to share with you, something that started as an idea, then I had to do it to help a friend, in the end I liked the experience, and I wanted to do it again, with a new photograph that I downloaded from Pexels to show you the process of finishing this restoration.
La verdad me gusta mucho el ámbito del arte, por lo menos yo he dibujado, no lo hago tan mal la verdad, y gracias a eso pude experimentar lo que es el tatuar personas. He tocado algún instrumento, también me gusta la fotografía, me gusta mucho escribir, y pues nada, es por ello que me intrigó la idea de cómo sería el darle vida a una imagen a blanco y negro. Ojo; sirve para una fotografía en sepia, pero debes pasarla a escala de grises para que queden mejor los detalles.
The truth is that I really like the art field, at least I have drawn, I don't do it too bad, and thanks to that I could experience what it is to tattoo people. I have played an instrument, I also like photography, I like to write, and that's why I was intrigued by the idea of what it would be like to give life to a black and white image. It works for a sepia photograph, but you have to change it to grayscale to get better details.
Al principio de la idea me parecía que era simple, luego me di cuenta de la complejidad que conlleva el darle vida a la imagen, y que también esta complejidad va a depender de cada fotografía.
At the beginning of the idea I thought it was simple, then I realized the complexity involved in bringing the image to life, and that this complexity will also depend on each photograph.
Para hacer este proceso, usé Adobe Photoshop Cs6 y elegí esta imagen:
To do this process, I used Adobe Photoshop Cs6 and chose this image:
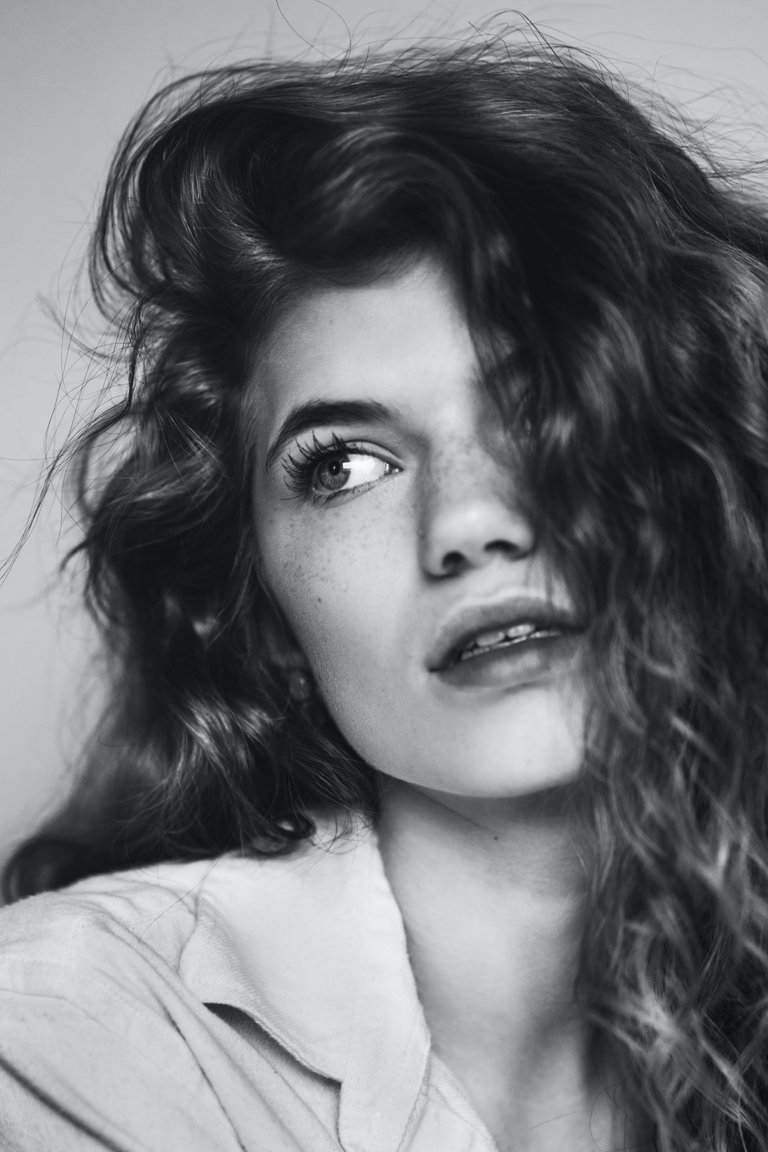
Dando color al rostro. / Giving color to the face.
Antes de empezar a darle color al rostro, vi algunas imágenes referentes a la idea que tuve de cómo imaginé a esta chica. Luego de esto comenzamos a darle vida a la fotografía.
Before we started coloring the face, I looked at some images that referred to the idea I had of how I imagined this girl. After that we started to bring the photograph to life.
Escogí para el color de piel el tono # edcab1, bordeé sobre todo el rostro con el pincel para darle color al rostro con 0 de dureza, un 45% de opacidad para probar, ya que estoy usando el mouse.
I chose for the skin color the shade # edcab1, I skirted over the entire face with the brush to color the face with 0 hardness, 45% opacity to test, since I'm using the mouse.
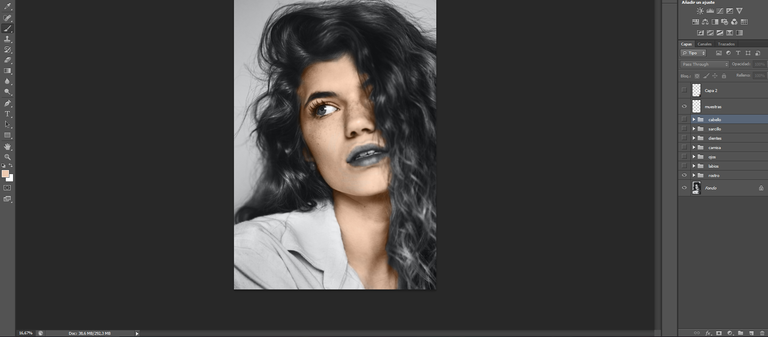
Como pueden ver, usé varios grupos, para cada parte del cuerpo. Hice esto porque dentro de ellos, abrí tres capas: una para dar color, una para las sombras, y otra para la luz. Usando estas tres capas de la manera correcta, podemos darle profundidad a la foto, sino nos quedaría muy plana, y no queremos que eso nos suceda.
As you can see, I used several groups, for each part of the body. I did this because within them, I opened three layers: one for color, one for shadows, and one for light. By using these three layers in the right way, we can give depth to the photo, otherwise it would be too flat, and we don't want that to happen.
If the idea is to bring it to life, let's use all the details that the photo shows us.
Les iré ilustrando el proceso a medida que avancemos en los detalles, por ahora sólo le daremos color a la foto.
I will illustrate the process as we go through the details, for now we will just color the photo.
El rostro luego de colorearlo nos queda así:
After coloring, the face looks like this:


Color a los labios. / Color to the lips.
Luego le di color a los labios, usando siempre poca opacidad, para que cuando pintemos la tonalidad sea suave y así nos brinde el poder probar, hasta obtener el acabo que queremos. Para los labios usé este tono # b15f5b.
Then I colored the lips, always using low opacity, so that when we paint the shade is soft and thus gives us the power to test, until we get the finish we want. For the lips I used this shade # b15f5b.
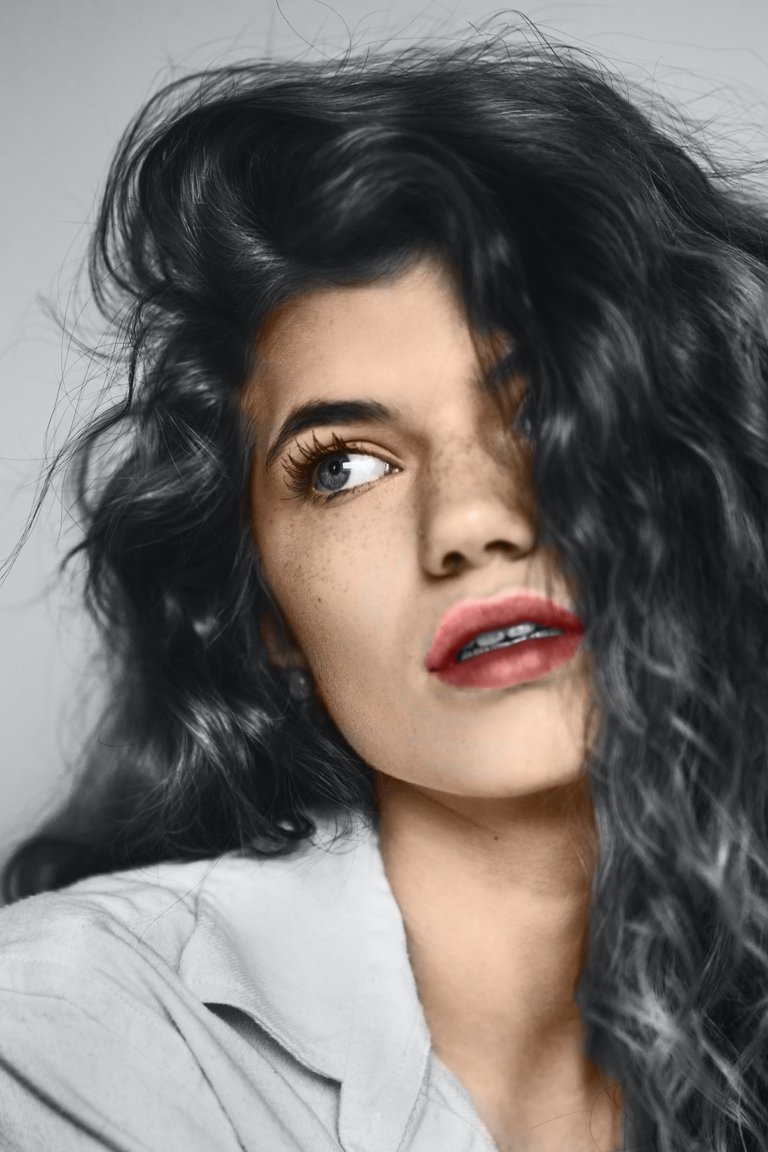

Los ojos, las ventanas del alma. / The eyes, the windows of the soul.
Me imaginé los ojos de esta chica, azules. Este azul, que tiene un poco de gris, quizás un azul más claro, y a veces hasta un poco amarillento cerca de las pupilas. Así que basado en esa idea le di color a estos ojos hermosos.
I imagined the eyes of this girl, blue. This blue, which has a little gray in it, maybe a lighter blue, and sometimes even a little yellowish near the pupils. So based on that idea I colored these beautiful eyes.
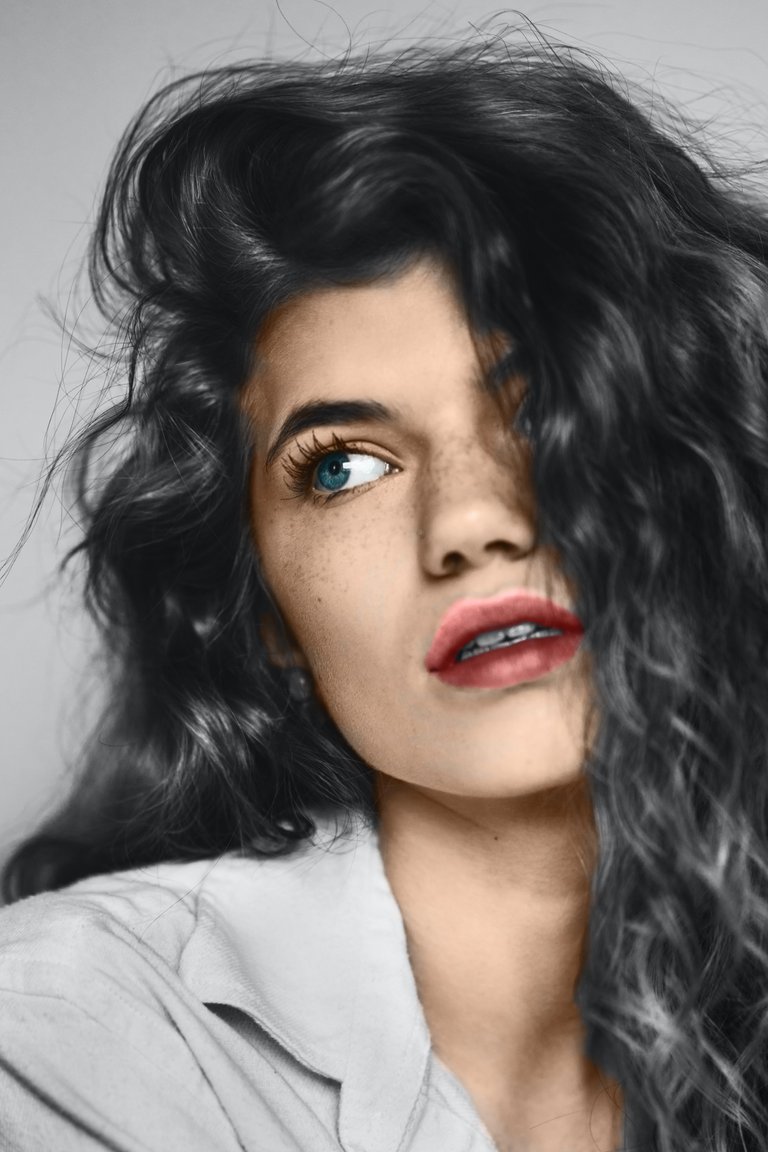

Agregamos color a la ropa. / We add color to clothing.
Le agregamos color a la ropa; quise darle un color claro, para ello usé esta tonalidad # d3e2ed y nos quedó como les mostrará la siguiente imagen:
We added color to the clothes; I wanted to give it a light color, for this I used this shade # d3e2ed and it looked like the following image will show you:
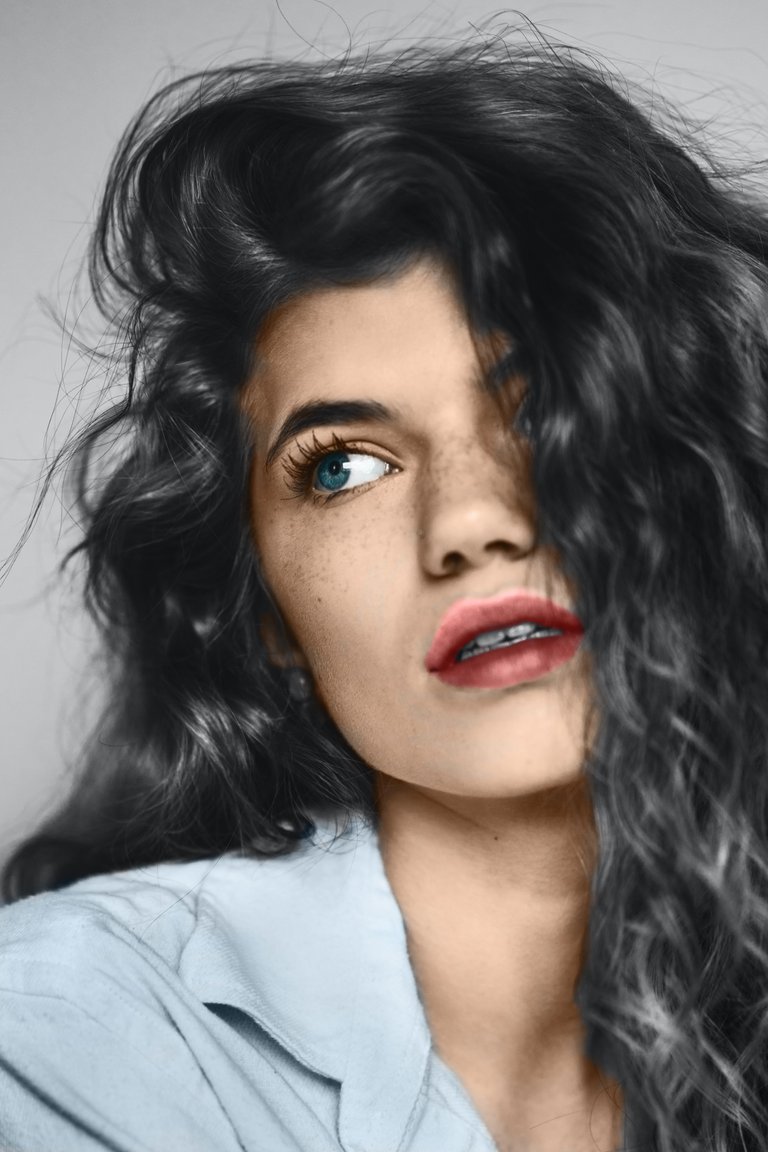

El cabello rojizo. / The reddish hair.
Al cabello le dimos esta tonalidad # 632d22, quise usar un color rojizo que a mi parecer compaginaba con la chica.
We gave the hair this shade # 632d22, I wanted to use a reddish color that I thought matched the girl.
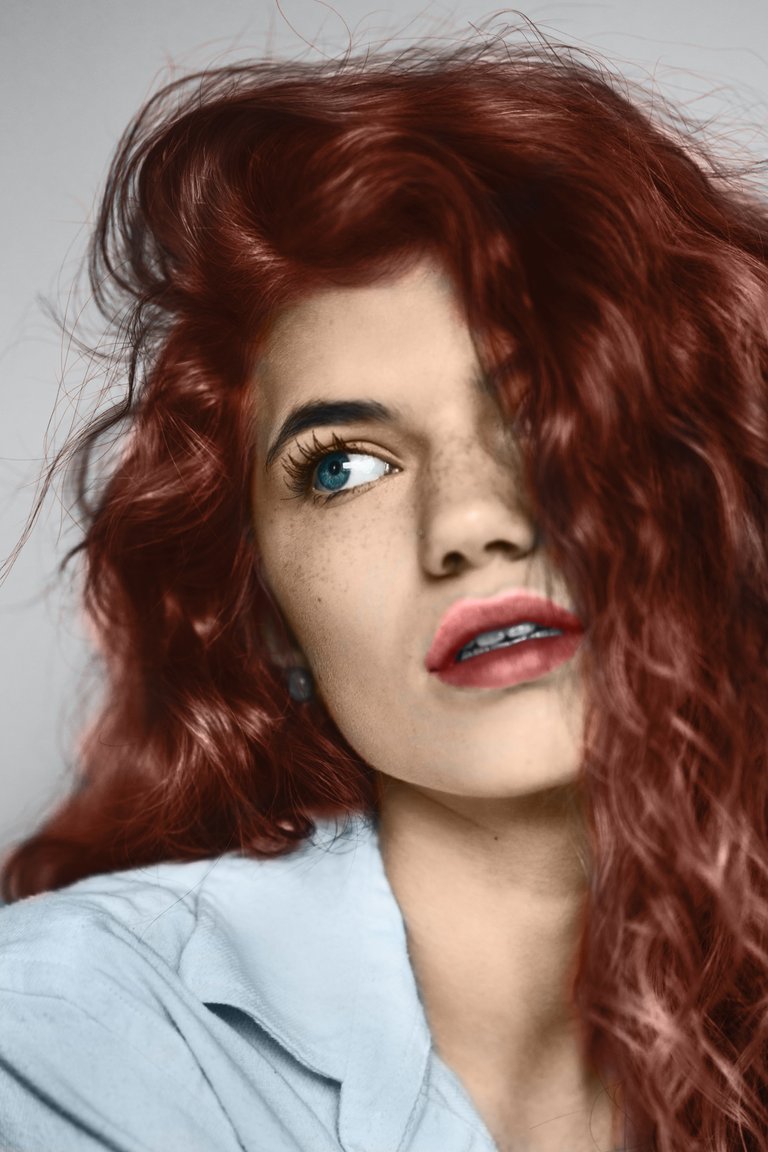

Los Dientes no se ven blancos, se ven grises. / Teeth don't look white, they look gray.
Arreglamos el detalle de los dientes, le damos el color adecuado, y ya pude sonreír con confianza. Y también el zarcillo, le dimos un poco de color, tipo # 2a2d3d.
We fixed the detail of the teeth, gave her the right color, and she could smile with confidence. And also the tendril, we gave it a little color, type # 2a2d3d.
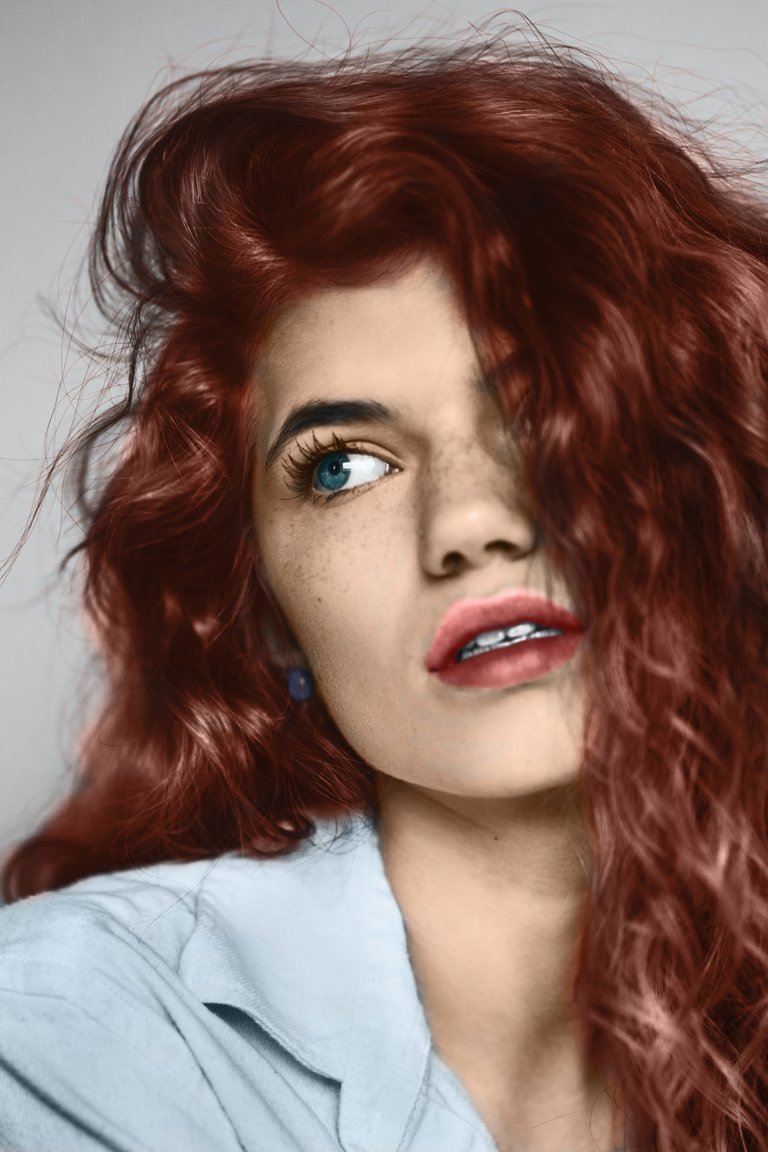

Detalles finales. / Final details.
Finalmente tenemos todos los colores agregados, pero sin los detalles de las sombras y la luz, que nos permiten darle profundidad a la imagen, y aún faltan por resaltar algunos colores.
Finally we have all the colors added, but without the details of the shadows and light, which allow us to give depth to the image, and there are still some colors to be highlighted.
Adding these details gives the photograph a finish like this:
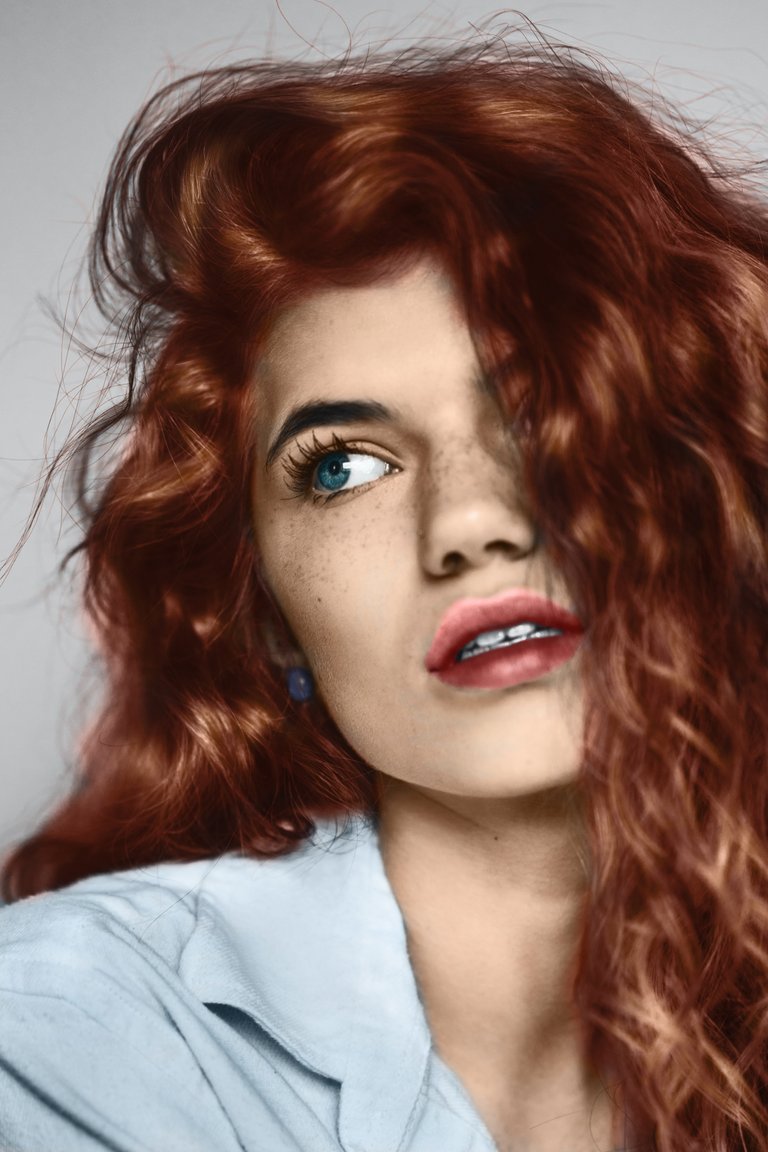

Espero les haya gustado el proceso de darle color a una foto, para mí, después de haberla revivido o haberle dado vida, me agradó. Espero aprender un poco más para afinar detalles, pero me entretuvo bastante y me gustó el proceso. Las partes sueltas del cabello, fue súper tedioso jajajá. Saludos.
I hope you liked the process of giving color to a photo, for me, after having revived it or given it life, I liked it. I hope to learn a little more to refine details, but I was quite entertained and I liked the process. The loose parts of the hair, it was super tedious hahaha. Cheers.
All the content is of my authorship, except for the image that has its source.
me encanto, quiero aprender hacer eso, sabes de algún tutorial donde pueda aprender, yo trabajo con Photoshop, pero aun hay muchas cosas que no se manejar bien, bueno allí voy lento pero seguro jiji, te quedo muy bien, saludos
Así es; la idea es ser constante y poco a poco vamos logrando los objetivos. La cuestión es que abres un grupo para cada parte del cuerpo u objeto. En ese grupo tendrás tres capas, una de ellas la usas para colorear, baja opacidad, quizás un 45% hasta que veas que es lo que deseas, ese capa la colocas en modo color, usas una capa para sombras, esta capa la usas en multiplicar, usa la opacidad en 10% para ella, y la última es la luz, igual con baja opacidad 10% y la capa en modo superponer, a veces de pende de la imagen, te lleva a usar luz focal u otra. Y sí, en youtube puedes conseguir tutorial amiga buscando restaurar una foto, saludos y gracias por pasar.
Yay! 🤗
Your content has been boosted with Ecency Points
Use Ecency daily to boost your growth on platform!
Support Ecency
Vote for new Proposal
Delegate HP and earn more, by @caspell.