Saludos apreciados lectores hoy doy vida y amor a mi blog, con un arte donde certifico que la creatividad no tiene límites y cuando deseamos hacer cosas con las que podamos ahorrar y reciclar material y tiempo son muchas las opciones que podemos encontrar.
Greetings dear readers today I give life and love to my blog, with an art where I certify that creativity has no limits and when we want to make things with which we can save and recycle material and time are many options that we can find.

Hace unos días me encontraba pensando en cómo intervenir una serie de dibujos personales los cuales poseen una gran importancia para mí por las circunstancias en las que fueron creados, los cuales formaron parte de mi tesis final con los que logré demostrar como mi potencial creativo y afectivo en BIODANZA se despertaron permitiéndome autorretratar mi sentir durante largos procesos de introspección y desarrollo personal
A few days ago I was thinking about how to intervene in a series of personal drawings which have a great importance for me because of the circumstances in which they were created, which were part of my final thesis with which I managed to demonstrate how my creative and affective potential in BIODANZA were awakened allowing me to self-portrait my feelings during long processes of introspection and personal development.
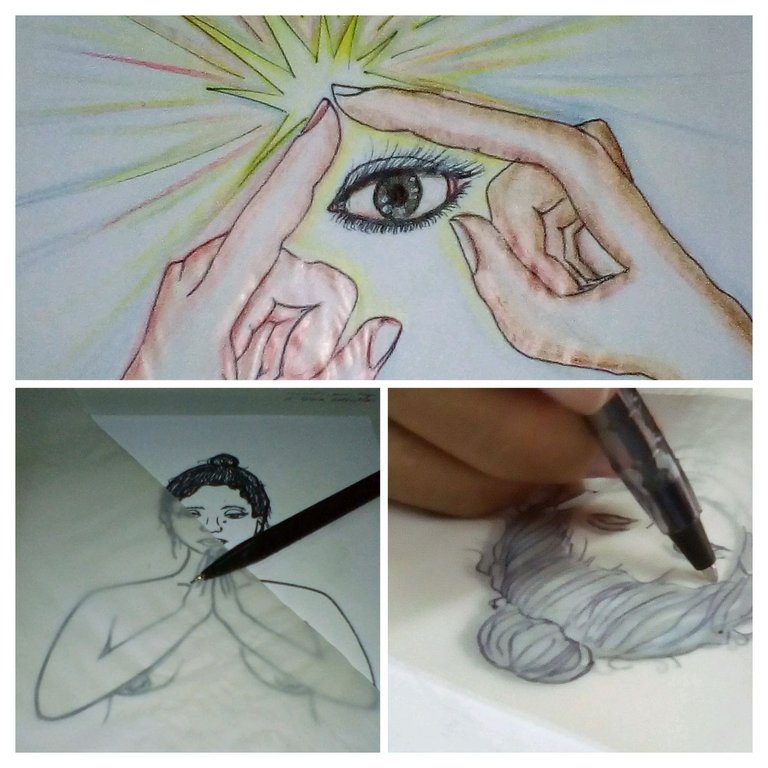
En este proceso de querer preservarlos, hace pocos días encontré una forma muy sencilla y económica, surgiéndome la idea de reproducirlos y poder hacerlos más visible tanto para mí como para alguien que desee tener uno de mis ejemplares. Es así como mi sobrina me enseñó a hacer “stikers o etiquetas”, aprendiendo ella a través de las redes sociales, así experimentó esta técnica que me explico, siendo algo que me resultó súper novedoso.
In this process of wanting to preserve them, a few days ago I found a very simple and economical way, giving me the idea to reproduce them and make them more visible both for me and for someone who wants to have one of my copies. This is how my niece taught me how to make “stikers or labels”, learning it through social networks, so she experimented this technique that she explained to me, being something that was very new to me.
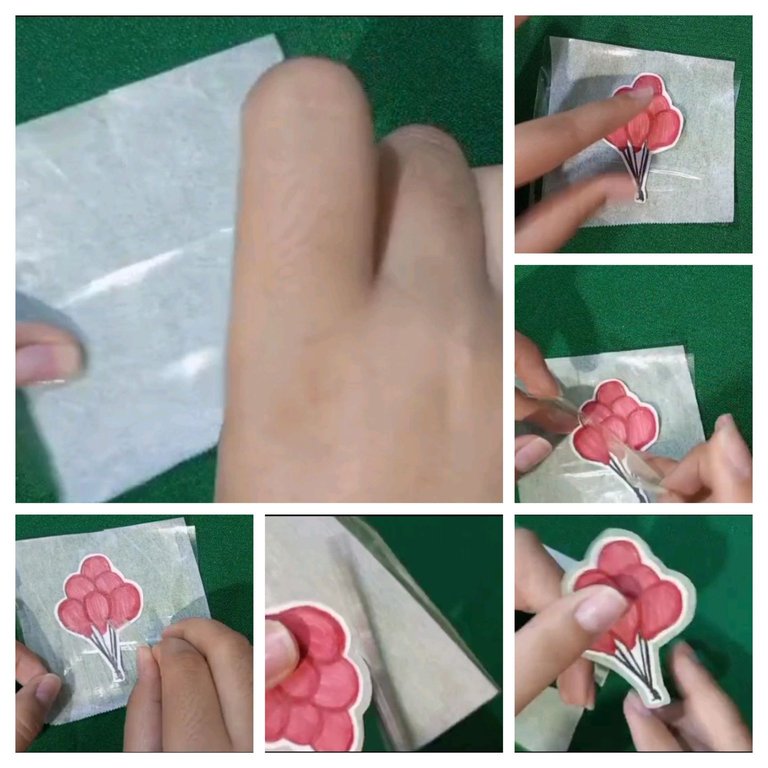
Los materiales que ella me presento fueron: Tirro transparente de embalaje, papel de cocina encerado, la imagen que se deseado etiquetar y tijera. Sus indicaciones fueron claras y sencillo, sin embargo, pensé que no todos tenemos la posibilidad de tener el papel encerado y más si en algún momento lo iba a enseñar a mis estudiantes en el colegio, entonces me dispuse en usar otro material que pudiera darme el mismo resultado y que también fuera reusable.
The materials she presented to me were: transparent packaging paper, waxed kitchen paper, the image to be labeled and scissors. Her indications were clear and simple, however, I thought that not all of us have the possibility of having the waxed paper and even more so if at some point I was going to teach it to my students at school, so I decided to use another material that could give me the same result and that was also reusable.
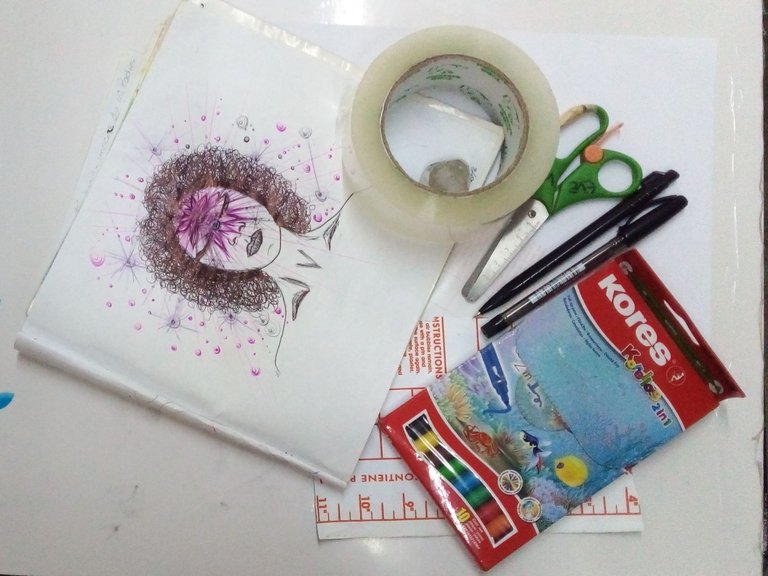
MATERIALES - MATERIALS
- Tirro de embalaje transparente.
- Dibujo.
- Papel blanco.
- Lápiz.
- Bolígrafo.
- Colores.
- Macadores.
- Tijera.
- Retazo de sobra de papel contac.
- Transparent packing strap.
- Drawing.
- White paper.
- Pencil.
- Ballpoint pen.
- Colors.
- Macadores.
- Scissors.
- Scrap of leftover contac paper.
Paso - Step 1:
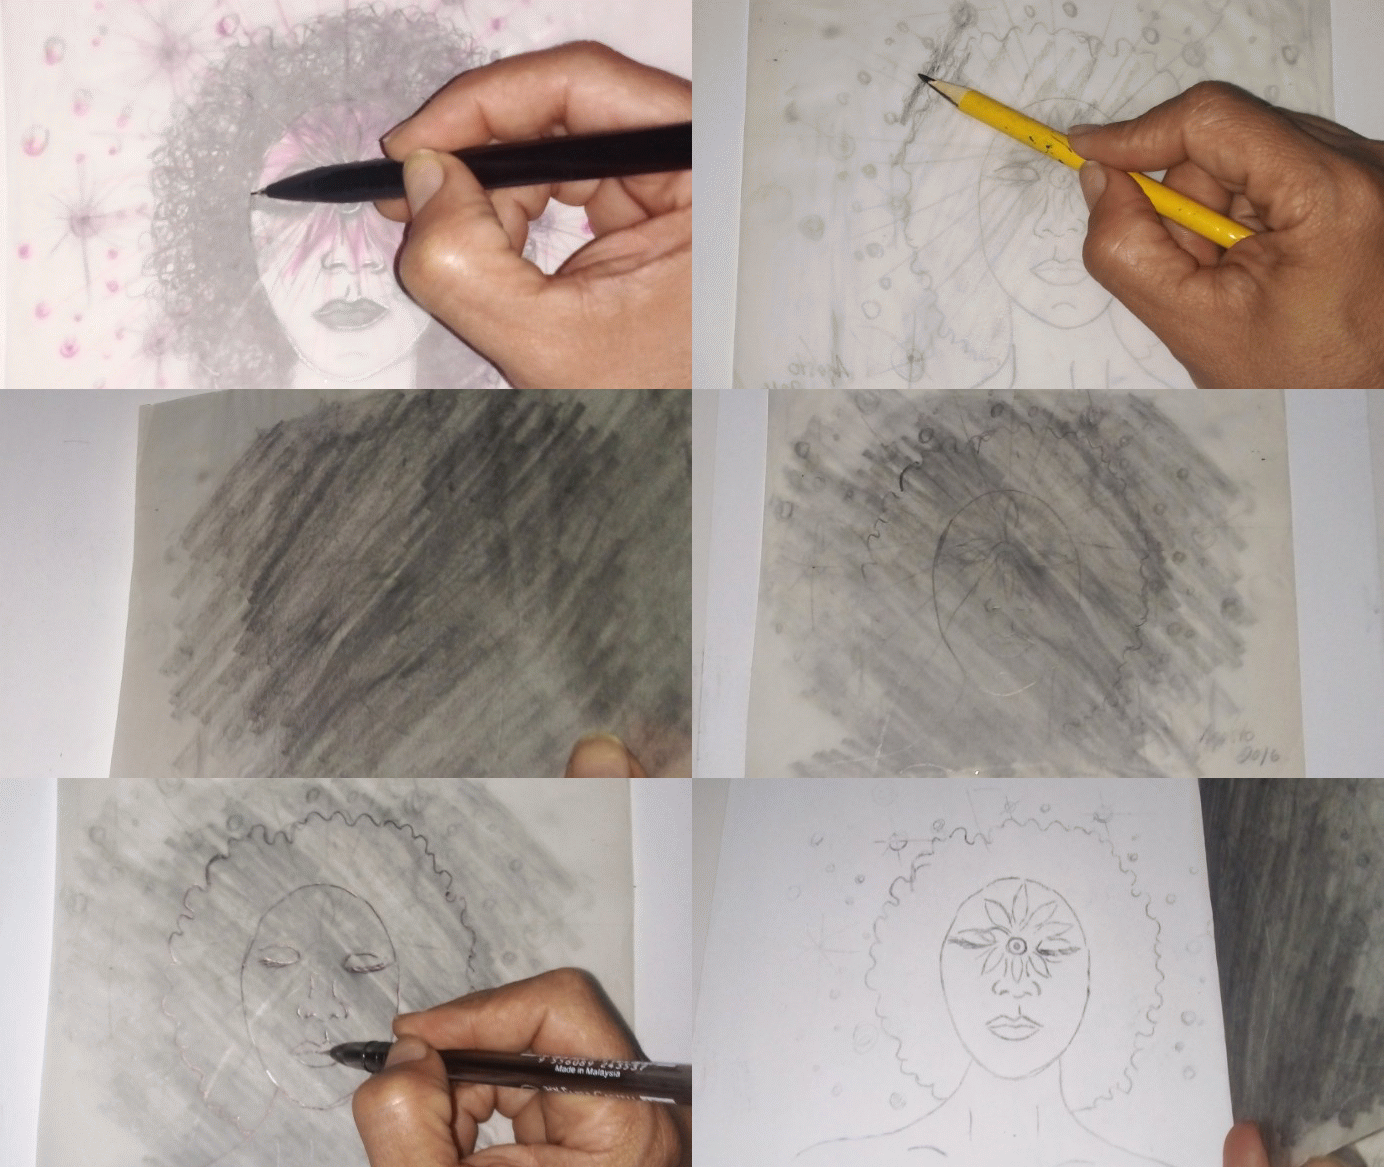
Entonces el procedimiento fue sencillo. Tome uno de mis dibujos lo reproduje sobre un trocito de papel pergamino que tenía guardado usando la técnica del calcado con lápiz, de este modo evité perder la imagen originalidad.
So the procedure was simple. I took one of my drawings and reproduced it on a small piece of parchment paper that I had saved using the technique of tracing with pencil, thus avoiding losing the original image.
Paso - Step 2:
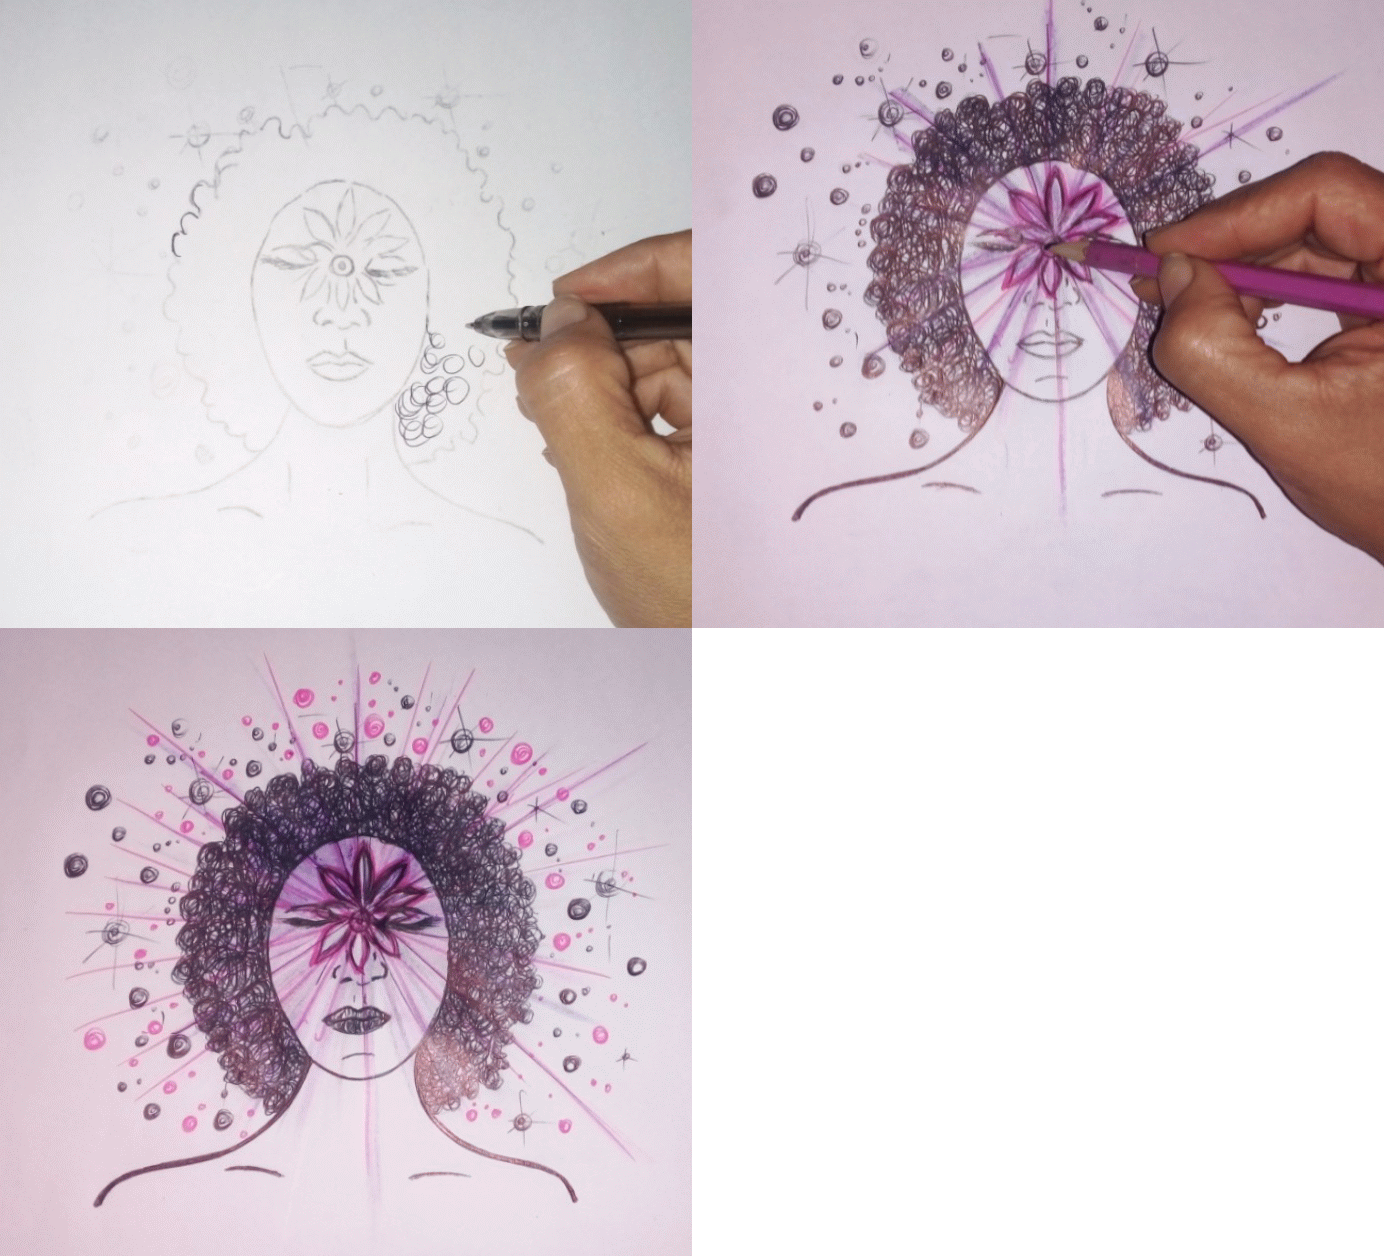
Ya una vez listo el dibujo lo intervení con el bolígrafo, marcadores y colores teniendo así una replica de la imagen original.
Once the drawing was ready, I intervened with the pen, markers and colors, thus having a replica of the original image.
Paso - Step 3:
.
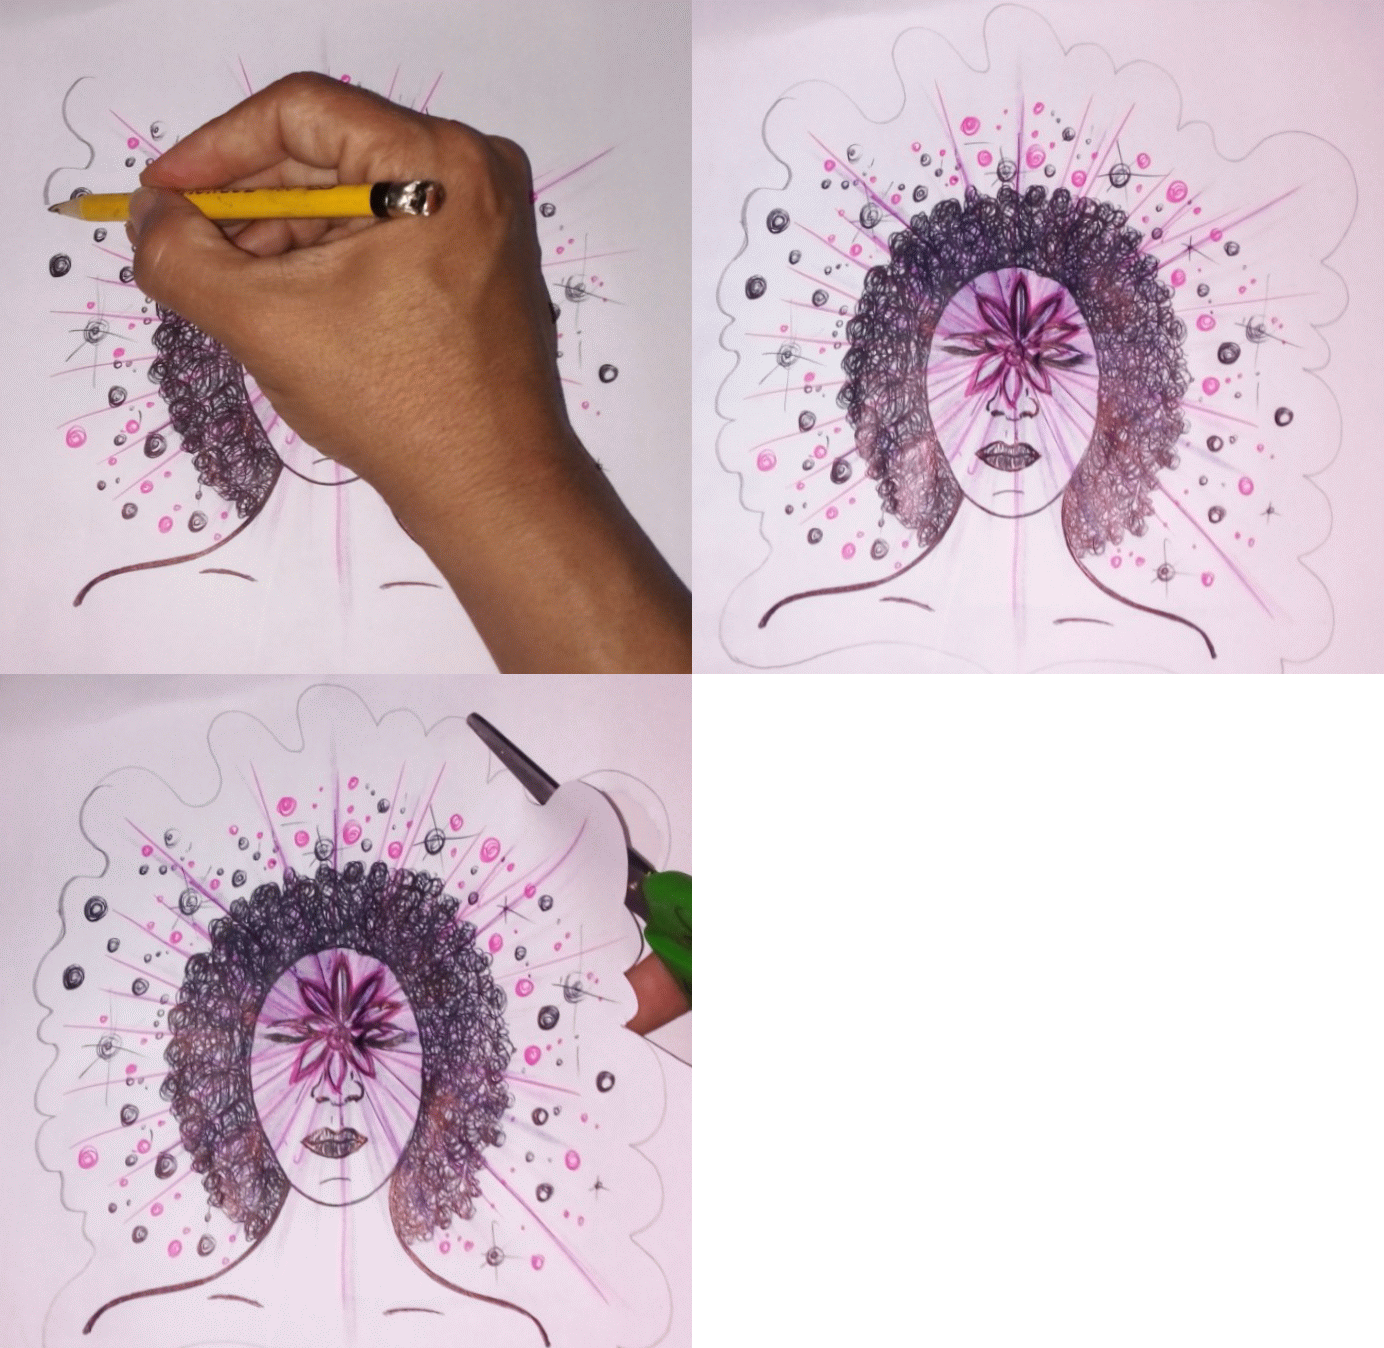
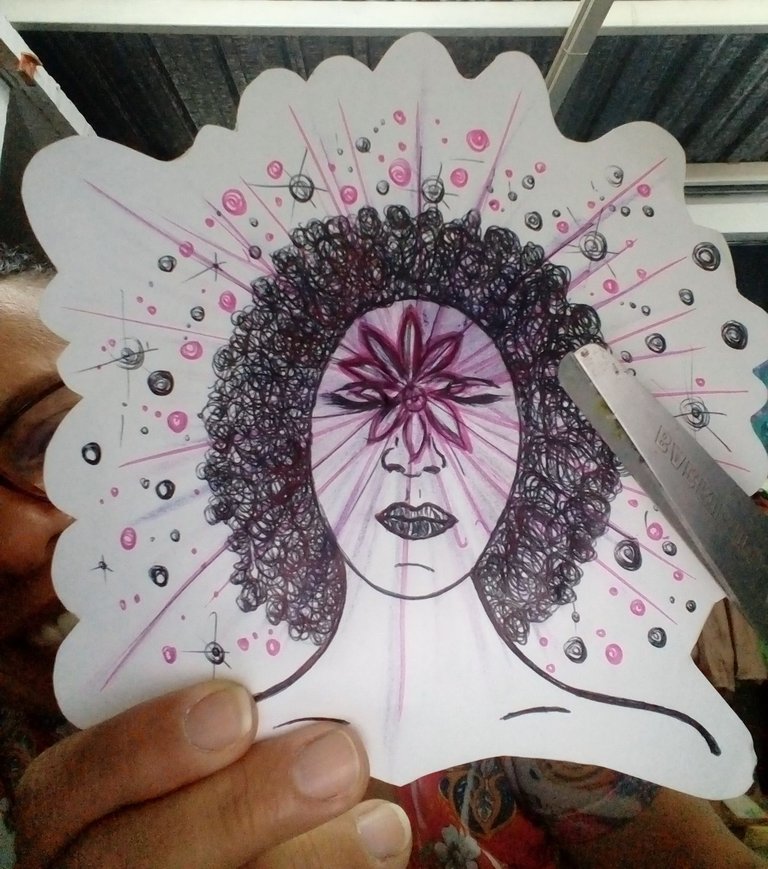
Ya con la imagen lista delinié la silueta para luego cortar lo que sería la etiqueta, eliminando así espacio en blanco.
Once the image was ready, I outlined the silhouette and then cut out the label, thus eliminating white space.
Paso - Step 4:
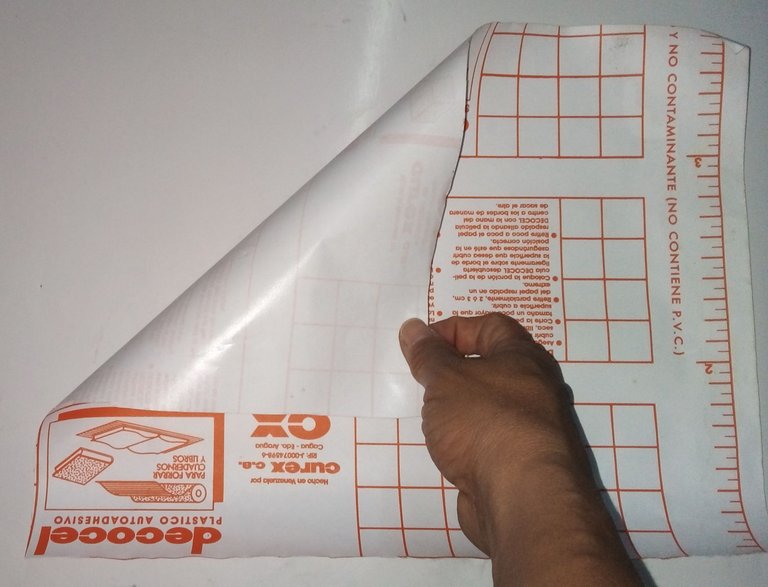
Entre mis ideas pensé, como no tengo papel encerado voy a utilizar lo que queda de la parte de atrás de un trozo de papel contac, ese con los que forramos los cuadernos o tapizamos algún material para su cuidado. Este material hace tiempo lo utilicé y lo guardé teniendo la idea que esto podría servir en algún momento, ¡Y Eureka ya llegó ese momento!
Among my ideas I thought, since I don't have wax paper I'm going to use what's left of the back of a piece of contac paper, the kind we use to cover our notebooks or upholster some material for its care. I used this material some time ago and I kept it with the idea that this could be useful at some point, and Eureka that time has come!
Paso - Step 5:
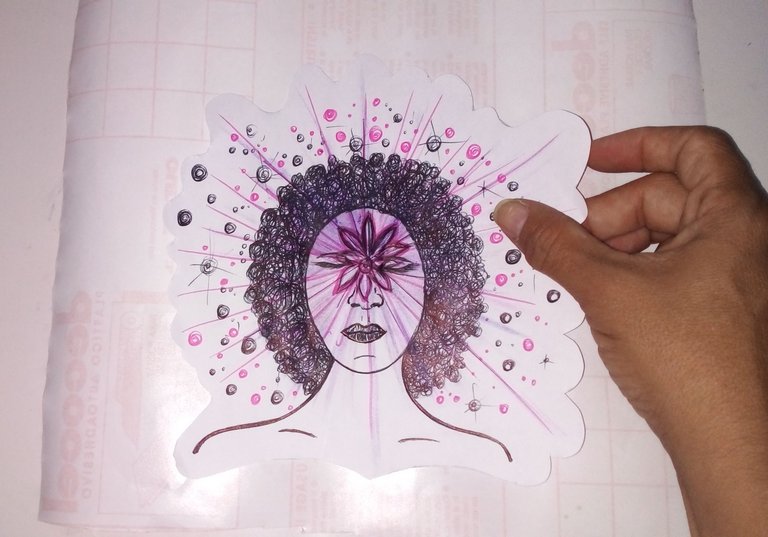
Entonces con esta idea seguí las instrucciones, colocando el dibujo sobre el papel encerado y ver que tanto debía usar, y tambien así saber cuánto usaría de tirro.
So with this idea in mind I followed the instructions, placing the drawing on the wax paper and seeing how much I should use, and also how much of it I would use.
Paso - Step 6:
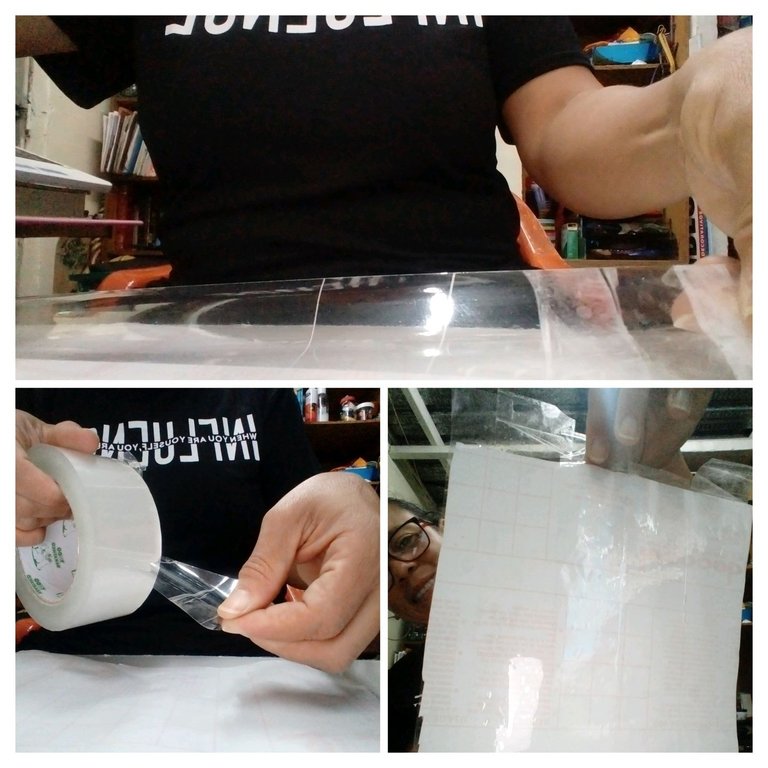
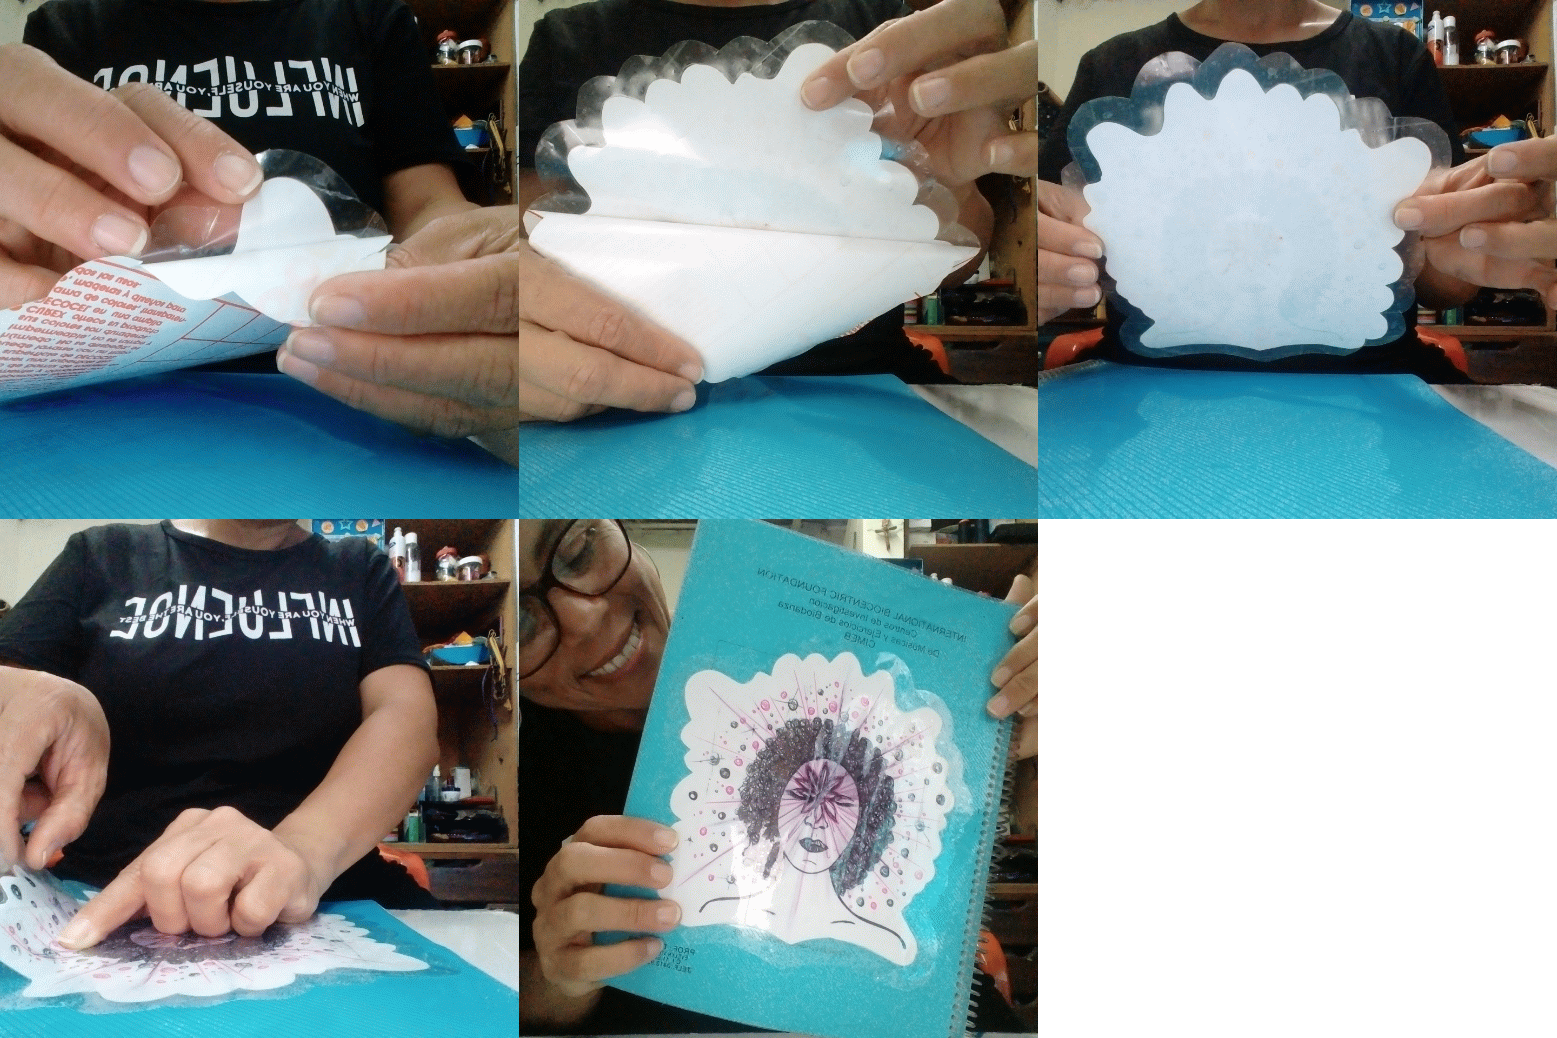
En este paso coloqué la pegatina del tirro transparente sobre la parte lisa de lo que me quedó del papel contac, que la verdad tiene la misma consistencia del papel encerado, de esta manera sellé todo el formato.
In this step I placed the sticker of the transparent strip on the smooth part of what I had left of the contac paper, which actually has the same consistency of waxed paper, thus sealing the whole format.
Paso - Step 7:
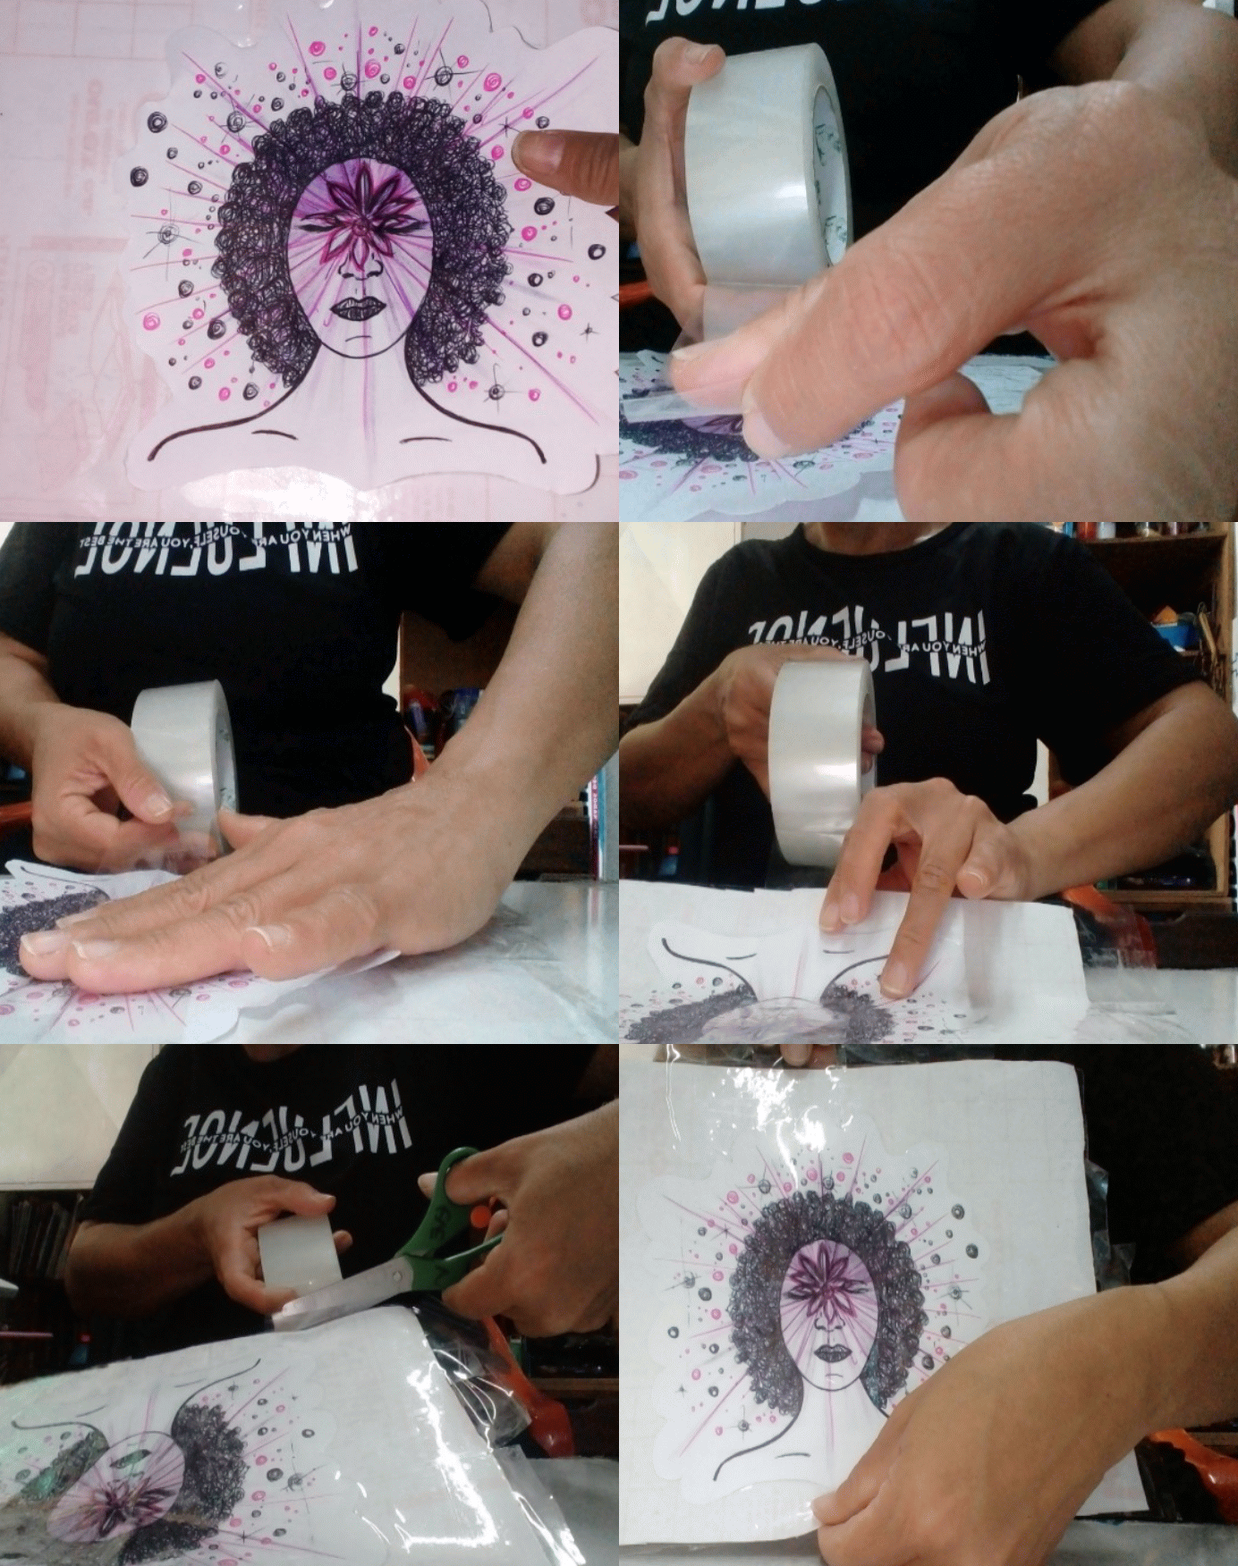
Sobre el papel ya plastificado coloque el dibujo, cubriéndolo cuidadosamente con tirro transparente, evitando mover el dibujo sin dejarle burbujas de aire. Realmente es un procedimiento cuidadoso, pero que da muy bonito resultados, en este paso me di cuenta que por ser el tirro de un grosor único es posible tener que aplicar varias líneas de tirro según el tamaño de la imagen.
On the already laminated paper I placed the drawing, covering it carefully with transparent paper, avoiding to move the drawing without leaving air bubbles. It really is a careful procedure, but it gives very nice results, in this step I realized that because the paper is of a single thickness it is possible to have to apply several lines of thinner paper depending on the size of the image.
Paso - Step 8:
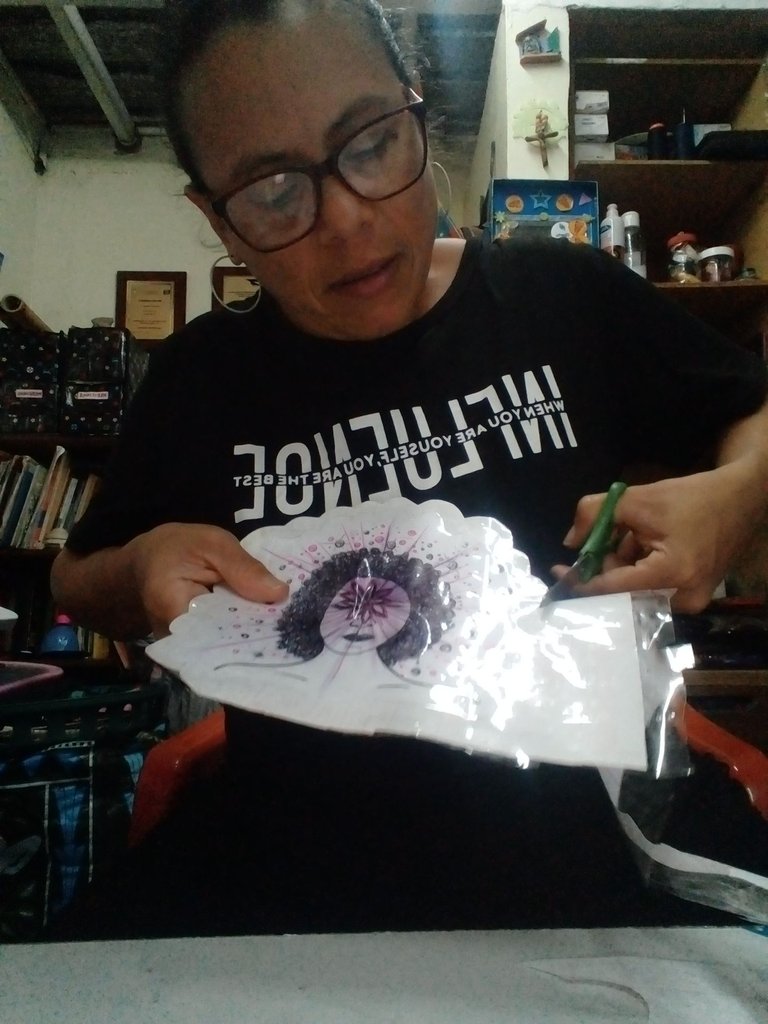
En este siguiente paso me dispuse a cortar la silueta 5ml más por fuera de la figura, extrayendo así lo que sería la etiqueta o stikers.
In this next step I cut the silhouette 5ml more on the outside of the figure, thus extracting what would be the label or stikers.
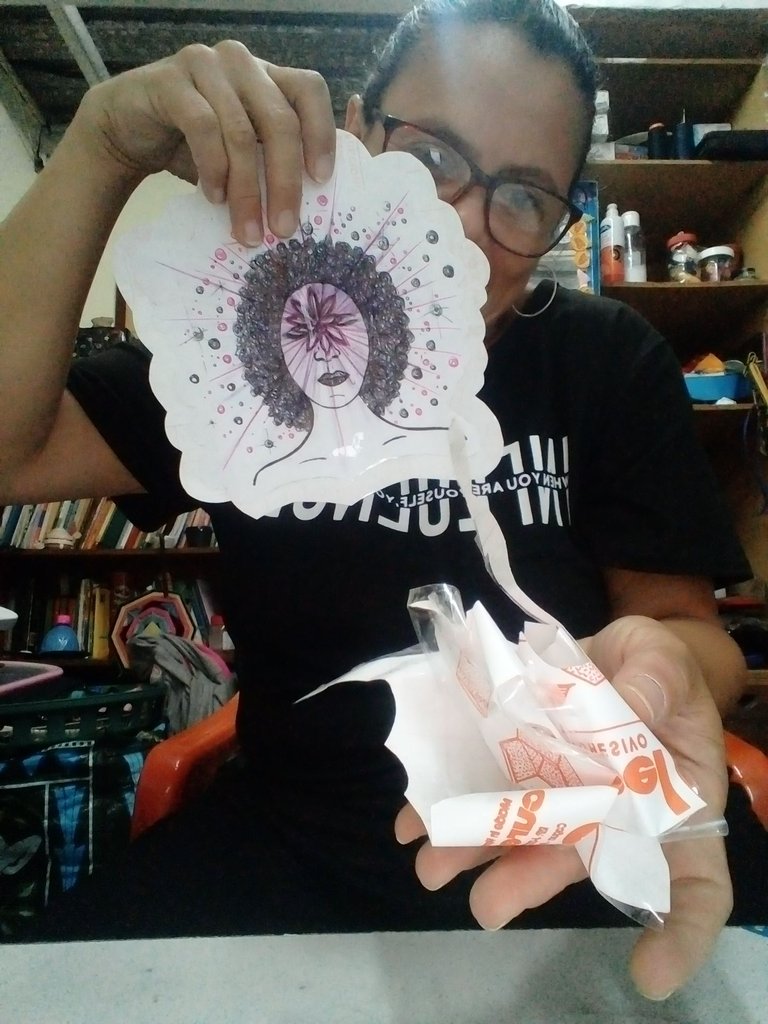
Paso - Step 9:
Ya habiendo cortado la forma del dibujo, le retiré la lámina encerada, saliendo así mi bello stikers, disponible para ser colocado sobre algún soporte, que en este caso ubiqué sobre una importante guía de estudio que me acompaña todos los días.
Once I had cut the shape of the drawing, I removed the waxed foil, resulting in my beautiful stikers, available to be placed on some support, which in this case I placed on an important study guide that accompanies me every day.
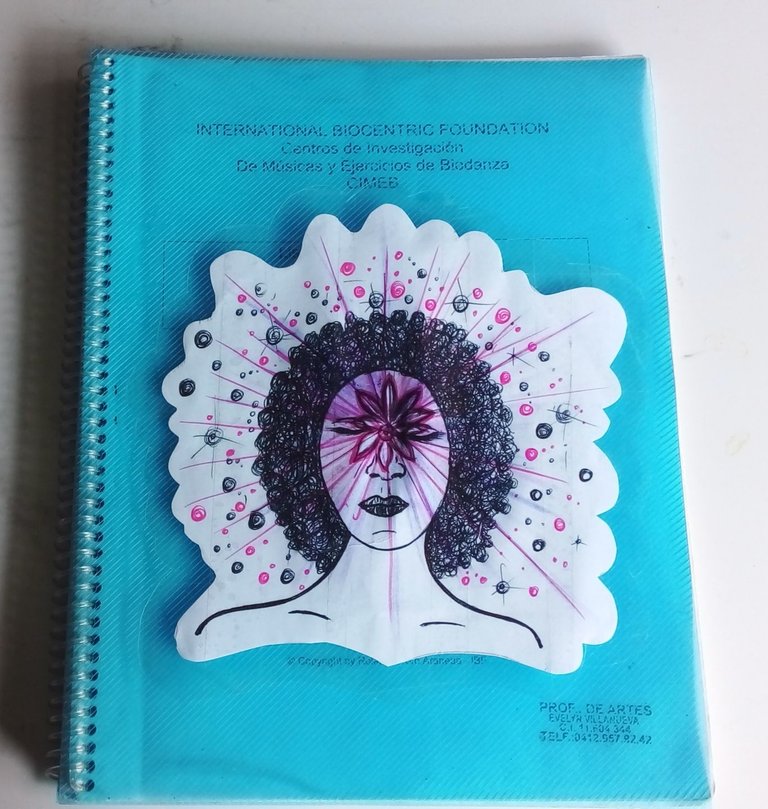
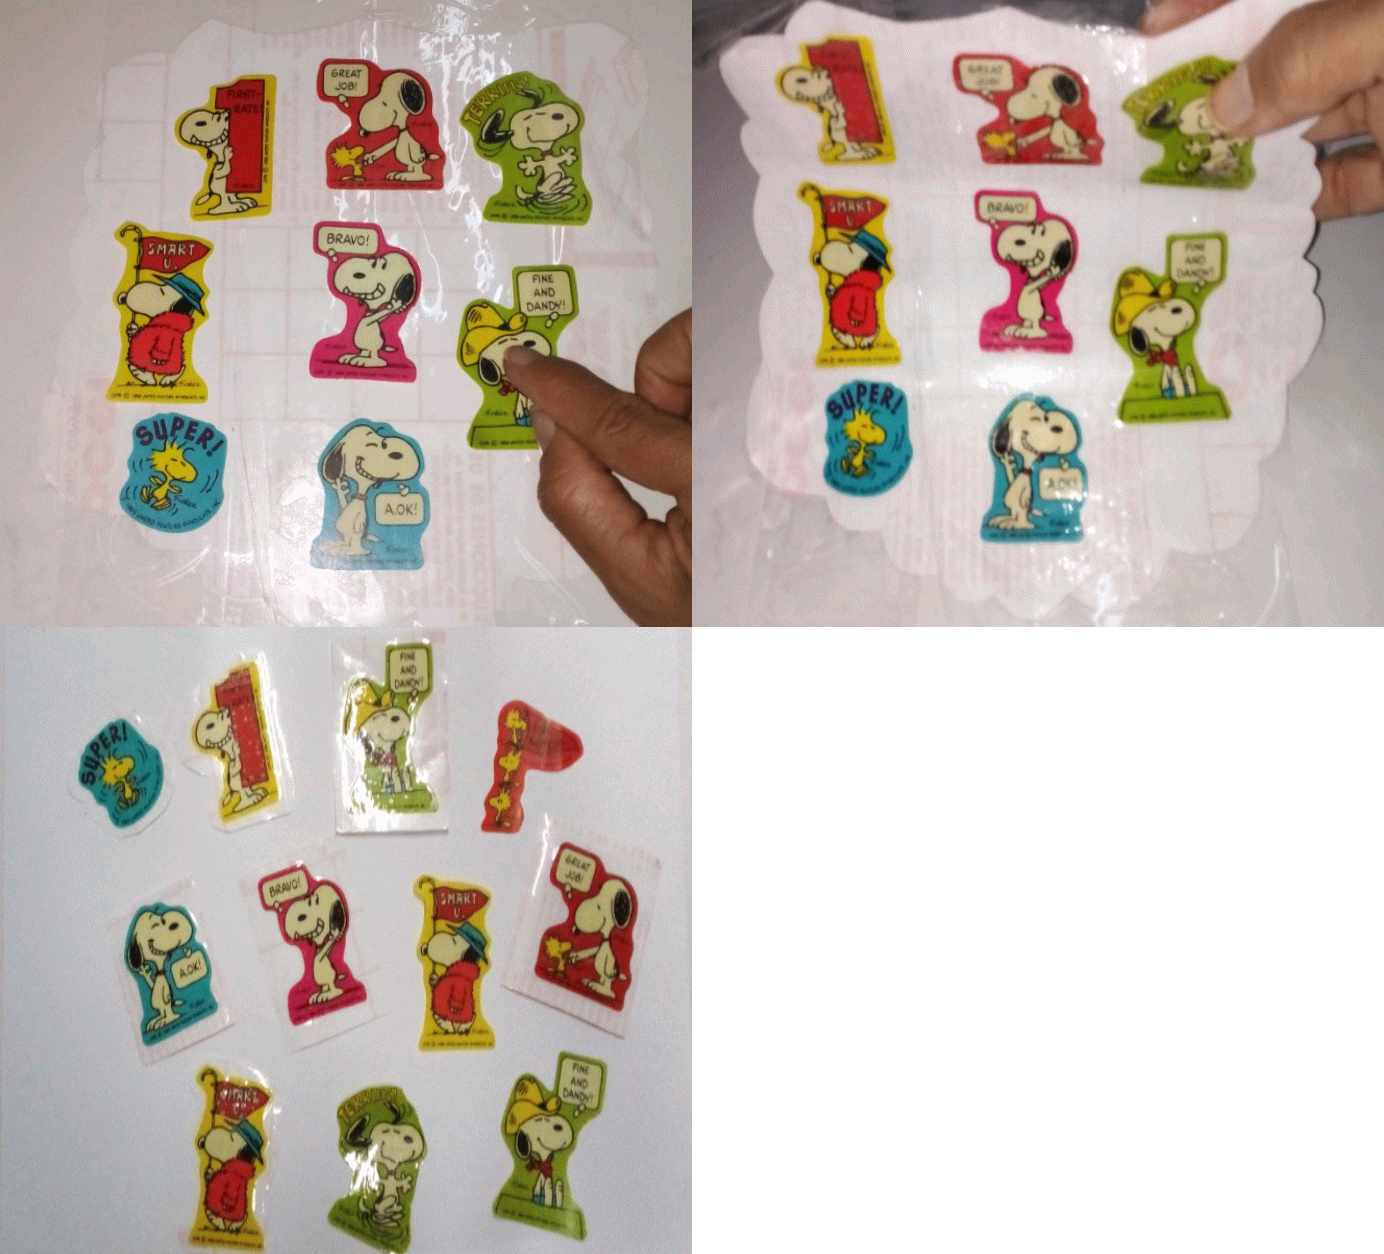
Con esta técnica tan sencilla logré replicar y poner a la vista uno de mis amados dibujos sin necesidad de intervenir la imagen original, pesando en poder luego hacerle fotocopia reducirlos y asi convertirlos en stickets mas pequeños, como unos que tenía guados ya que habian perdido la pegatina, y que ahora logre recuperar.
With this simple technique I managed to replicate and display one of my beloved drawings without the need to intervene the original image, hoping to be able to photocopy them later and reduce them to smaller stickers, like the ones I had saved because they had lost the sticker, and now I managed to recover them.

Congratulations @evev! You have completed the following achievement on the Hive blockchain And have been rewarded with New badge(s)
Your next target is to reach 31000 upvotes.
You can view your badges on your board and compare yourself to others in the Ranking
If you no longer want to receive notifications, reply to this comment with the word
STOPCheck out our last posts: