Call To Action (CTA) post for details. To see my contribution in the previous Testnet Sprint, please refer to this post.@spknetwork's Final Testnet Sprint is finally live. Please refer to @spknetwork's
1. Introduction
There are a couple of tasks included in the CTA:
- SPK Drive (file-centric storage)
- Dlux.io (contract-centric storage)
- SPK DEX
- Storage Nodes
- Validators
- Governance
In this post, we'll be covering topic #2 - Creating Storage Contracts Using Dlux.io Frontend. However, due to the number of tasks included, we'll be splitting this in multiple posts. Let's get started.
2. Browsing Through the Tasks
In the current version of the post, there are 8 steps that we need to do:
- Register your account on the SPK Network
- Get some SPK
- Power up SPK to get BROCA
- Create a Paid Contract using BROCA
- Upload Files to Your New Contract
- Create a Free Contract
- Extend a Contract Expiration Date
- Encrypt a File
For this post, we'll be covering up to Step 4. We'll go through each step and provide feedback for issues encountered or our overall experience at the end of each step.
Step 1. Register your account on the SPK Network
Step 1.1. Action
To do this, we need to access the following link: https://www.dlux.io/me?#files
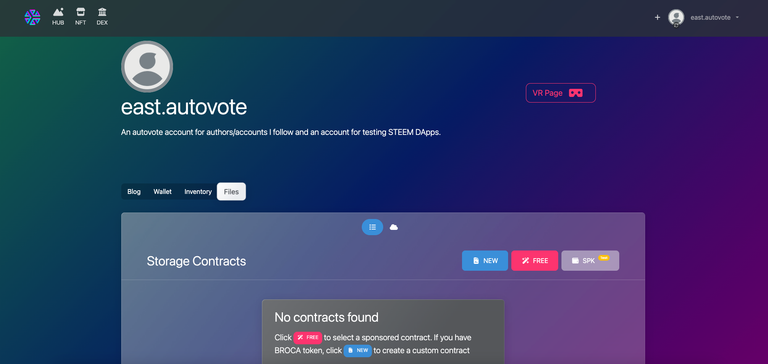
If you don't have a Hive account please use your favorite search engine, AI, or chatbot to find topics related to "how to register for a hive account and use keychain to login."
Once we've logged in to dlux.io, we'll proceed to the next step.
Step 1.2. Feedback
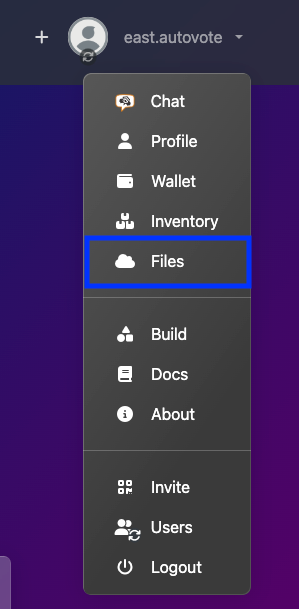
For this step, if you already have an existing Hive account, you shouldn't have any problem. If you don't like clicking links and decided to go to Dlux's home page, you can access the files or storage page using the site's right navigation bar and click on "Files".
Step 2. Get some SPK
Step 2.1. Action
There are a couple of options provided in the guide:
- Use existing Testnet account
- Buying SPK using Hive
Since we're prioritizing testing to cover ground, we'll go with the quickest route available to us which is "Using an existing Testnet account".
Written on the guide:
If you delegated LARYNX to an active SPK Claim Chain node, you should already have some SPK in your wallet.
To check if we already have SPK tokens, we just have to click on the "SPK" button on the files page.
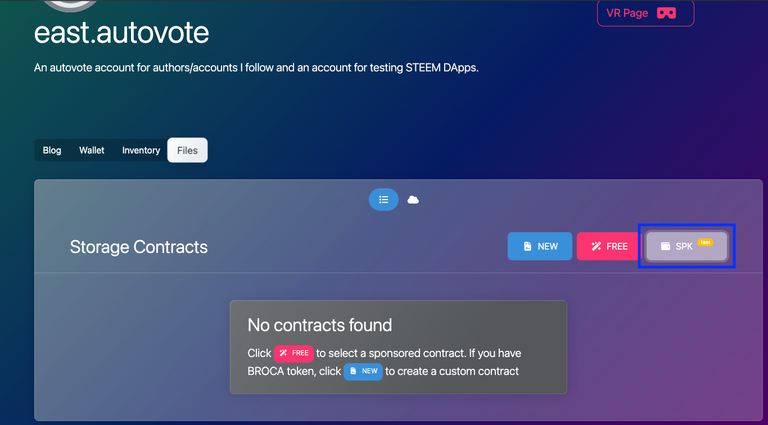
This will bring up the SPK Testnet wallet modal.
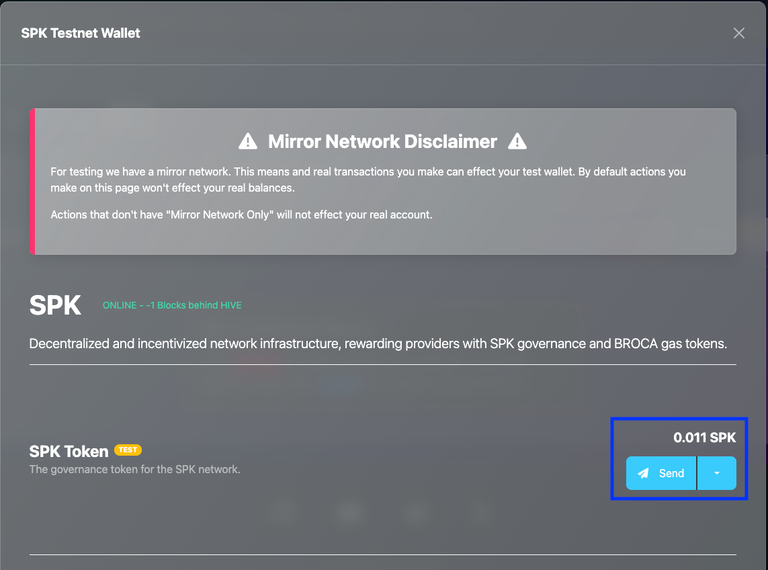
This confirms that we already have SPK on our wallet. We can proceed to the next step.
Step 2.2. Feedback
I think one of the issues I encountered here was trying to buy SPK tokens. If you try to navigate to SPK DEX using dlux's page navigation, you won't find SPK in the DEX.
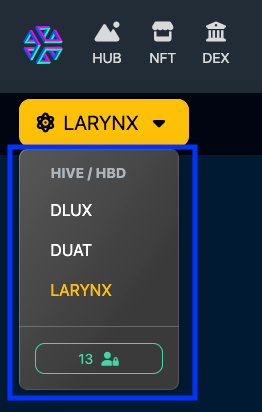
As indicated in the guide, SPK tokens can only be bought using the following link:
https://dlux.io/dex/?api=https://spktest.dlux.io/spk#spk
Step 3. Power up SPK to get BROCA
Step 3.1. Action
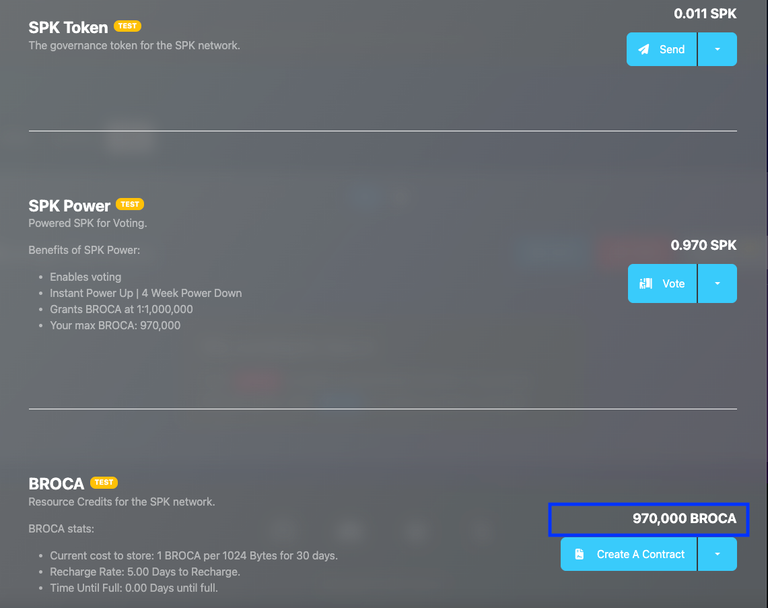
Let's power up our SPK tokens to get BROCA.
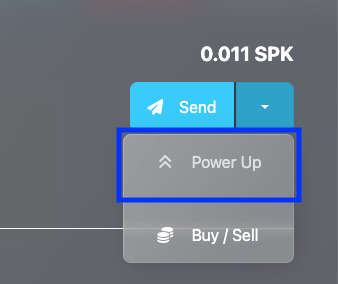
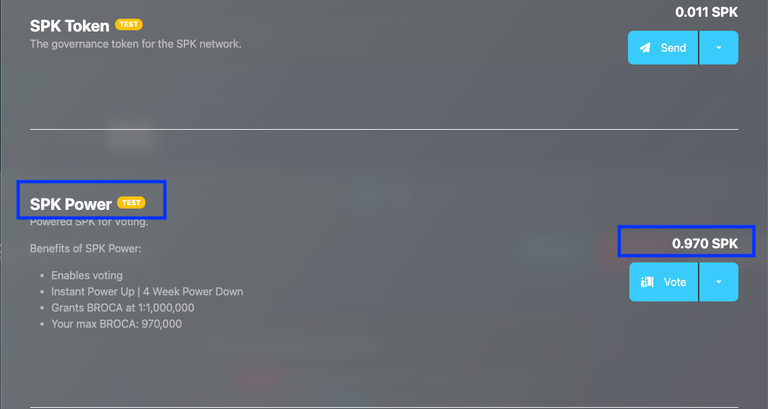
Once we've done that, we should be able to get some BROCA.
Step 3.2. Feedback
Before doing this task, one of the topics that I haven't been able to fully grasp was how to get BROCA. As I understood in doing this, BROCA is similar to how Resource Credits (RC) work on Hive - we get BROCA when we power up SPK.
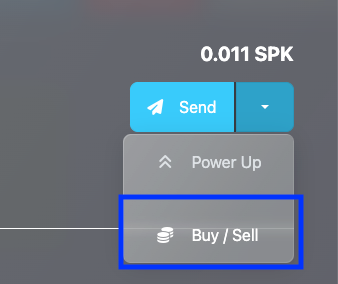
On another note, I think I encountered an issue/problem that the SPK button didn't display because I didn't have any SPK token in my main account. I think it would be better if the SPK button will be displayed by default even if user doesn't have any SPK token for him or her to have access to the SPK Buy/Sell dropdown.
This will make it easier for the user to access the SPK market/DEX.
Step 4. Create a Paid Contract using BROCA
Step 4.1. Action
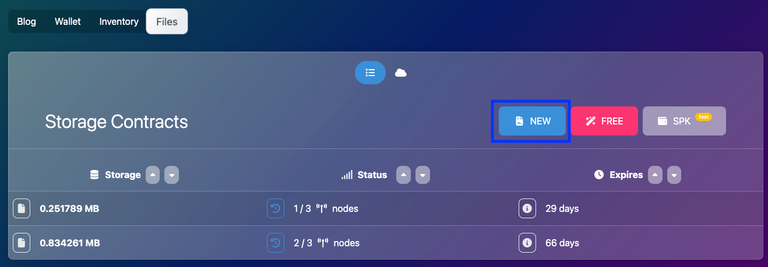
There are a couple of ways for us to create Paid Contracts. And one of them is by clicking the "New" button in the Files page.
The Create Contract modal displays. For this step, we just need to change two items:
- Amount
- IPFS Service Provider
The file size indicator automatically calculates for us the size of the file a user can upload when we use our contract?
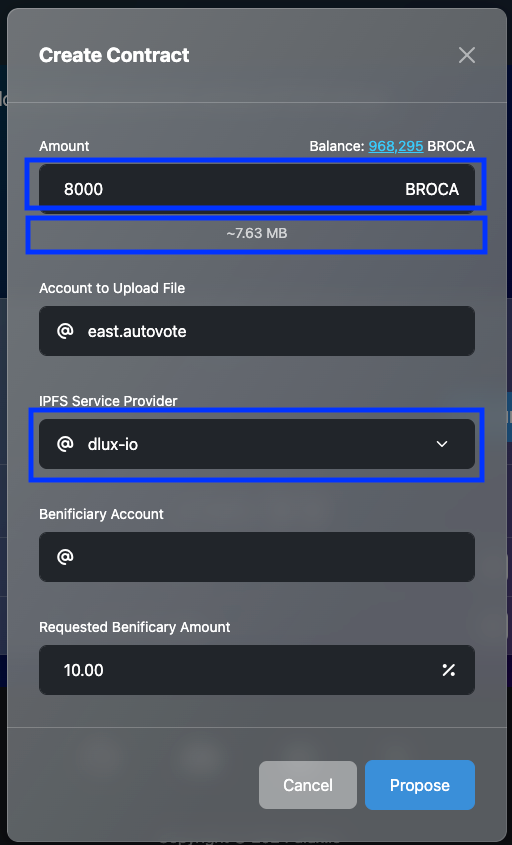
After clicking Propose and signing the transaction, we wait for the page to reload and display our newly created contract.
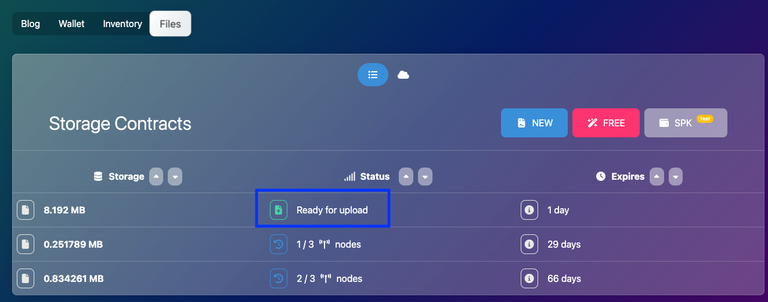
The default duration for us to upload to the contract is 1 day. But once that file is uploaded, the file will be stored for 30 days?
Step 4.2. Feedback
As for things new, I think it would be better if there were hints on how these fields work with each other, what creating this contract really means, and what it does.
We're creating a contract for SPK Network to store files up to a certain size for x number of days, and we're using BROCA for that contract?
3. Summary
In this post, we were able to cover some ground in Creating Storage Contracts on Dlux.io Frontend. We were able to login on dlux.io frontend, browse to the Files page to check if we have SPK, power up our SPK to get some Broca, and then finally create a paid contract using BROCA.
We were also able to learn that to get BROCA, we just need to power up SPK, similar to how Resource Credits work on Hive. We were also able to provide feedback on our overall experience for each step.
Overall, we can say that we were able to go through the steps without encountering any major issues.
We still have a lot of ground to cover on this CTA category. For the remaining steps, we'll cover them on our next post.
today we all need to do our own research carefully