Introduction, English Only
Greetings, friends!
Continuing the series of tutorials about the basics of Photography.
This is the fourth one and I'm going to write about Composition and give you some examples.
I hope you find them useful and easy to understand!
(I am only using my own visual content.)
Previous Lessons:
Предишни уроци:
Photography Basics — Exposure — En and Bg Translation
Photography Basics — Aperture — En and Bg Translation
Photography Basics — Shutter Speed — En and Bg Translation
Composition
It refers to the way we arrange things within our frame and it is key to the general perception of aesthetics that our work creates.
As beginners, we often think only about fitting as much as possible in the frame. Sometimes about getting close or getting a special angle. But as viewers, we are subconsciously influenced by many other factors, many of which the classical visual artists have already defined for us.
As digital photographers, we now compose thousands of photographs. Sometimes daily. It's normal to expect that most of them are not very well composed but that does not mean we can't strive for better results, having in mind all that we now know.
I am going to start with classic rules but if you stick to the end, I will also show you other principles that make lots of sense.
Композиция
Отнася се до начина, по който подреждаме нещата в кадъра си и е ключова за всеобщото усещане за естетика, което нашата творба носи.
Като начинаещи често мислим само за това как да поберем повече в кадъра. И понякога за това как да се приближим или как да намерим по-специален ъгъл. Но като възприемащи подсъзнателно се влияем от много други фактори, голяма част от които вече дефинирани от класическите художници.
Като цифрови фотографи, създаваме хиляди кадри и съответно, хиляди композиции. Понякога ежедневно.
Нормално е да очакваме повечето от тях да не са много добре композирани, но това не означава, че не можем да се стараем към по-добри резултати, докато имаме предвид и всичко, което вече знаем.
Ще започна с класическите принципи, но ако се задържите докрая, ще видите и други доста смислени принципи.
In general, we avoid putting our focus dead in the center of the frame. At least while editing the image. When you shoot a dynamic scene, putting your object in the very center helps with the speed and quality (sharpness mostly) of the focus itself.
But then, while editing, we tend to frame the main object a bit to one side or another, following some of the rules below.
По принцип избягваме да поставим фокуса точно в центъра на кадъра. Поне докато редактираме резултатите. Когато снимаме динамична сцена, фокусът е по-бърз и по-качествен (по-остър) в центъра.
Но при редакция, стараем се да кадрираме основните си обекти някъде встрани, следвайки някое от правилата по-долу.
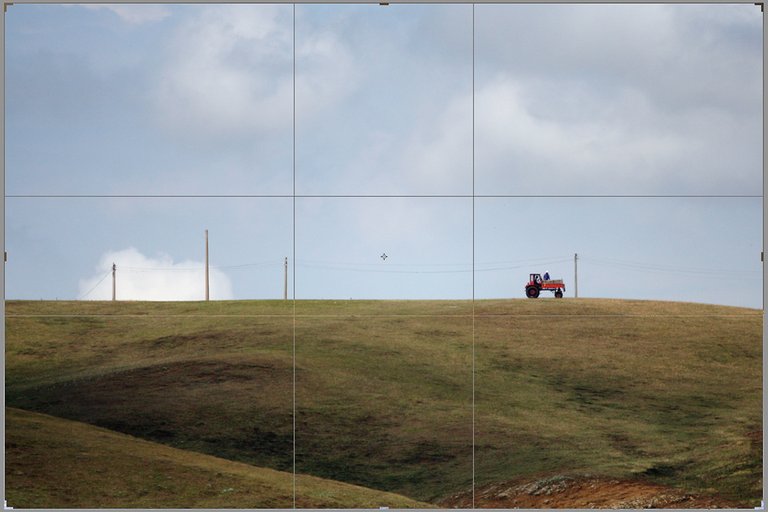
The Golden Ratio
is based on dividing the frame into five equal sections both horizontally and vertically. If we make lines for each of those sections and we take in mind only those lines that divide the frame 2 to 1 to 2, both horizontally and vertically again, we have the intersection from the image above.
When we use the Golden Ratio rule to compose, we try putting the main thing on focus at some of the inside intersections of those lines. My tractor is a bit off.
Златното сечение
се базира на разделянето на кадъра в пет равни част, както хоризонтално, така и вертикално. Ако прокараме линии между всички части и тогава вземем под внимание онези, които разделят кадъра в съотношение 2 към 1 към две часи, отново хоризонтално и вертикално, ще получим пресечни точки като в изображението горе.
Когато използваме Златното сечение за композиране, се опитваме да поставим основното нещо на фокус в някоя от тези пресечни точки. Тук тракторът ми е малко встрани от тях.
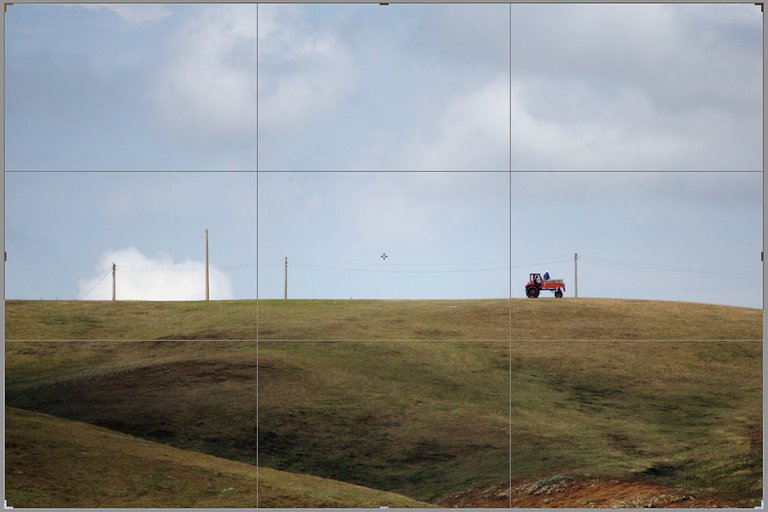
Rule Of Thirds
I find this one an easier version of the Golden Ratio rule. Only in this case, we divide the frame into three equal parts instead of using the ratio 2:1:2. Often used in landscape photography since it's easy to remember to put your horizon one third up from the bottom of the frame or one third down from its top.
Правилно на третините
Намирам това за опростен вариант на Златното сечение. Но в този случай, разделяме кадъра на три равни части, вместо в съотношение 2:1:2. Често се използва в пейзажната фотография, тъй като е лесно да запомним да поставим хоризонта си около една трета нагоре от дъното на кадъра или една трета надолу от върха му.
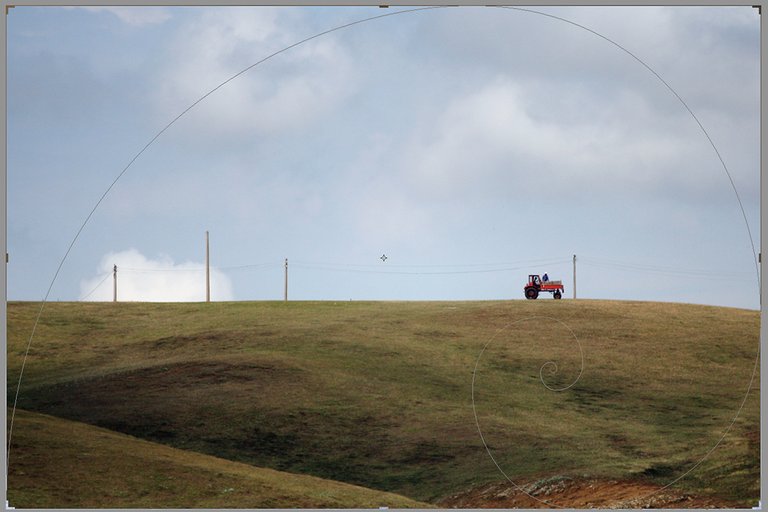
The Golden Spiral
Is something Maths enthusiasts like Leonardo da Vinci just love. It touches the lines defining the Golden Ration intersections and its ending fits into the Golden Ratio bottom right rectangle (in this case, since you can turn the spiral if you so wish.)
Then each turn touches a new imaginary line that splits, along with the following ones, the space into smaller and smaller rectangles in a special arithmetical sequence. A very close approximation was described by Fibonacci. Go check it out if you dare. I don't but it's interesting to know classical artists would sometimes paint their main accents around it.
Златната спирала
Е нещо, което ентусиазирани математици като Леонардо да Винчи просто обичат. Докосва линиите, определени от Златното сечение и краят ѝ се вписва долния десен правоъгълник, обособен от него (в този случай, тъй като при достатъчно желание бихте могли да обърнете спиралата във вашето въображение.)
Всеки завой докосва нова мислена линия, която заедно с всички следващи такива разделя кадъра на по-малки и по-малки правоъгълници, в специална аритметична последователност.. Много близко до нея е и спирала, описана от Фибоначи. Проверете за какво става въпрос, ако смеете. Аз не бих, но пък е интересно да знаем, че класическите художници понякога са рисували важните си акценти съобразено със спиралата.
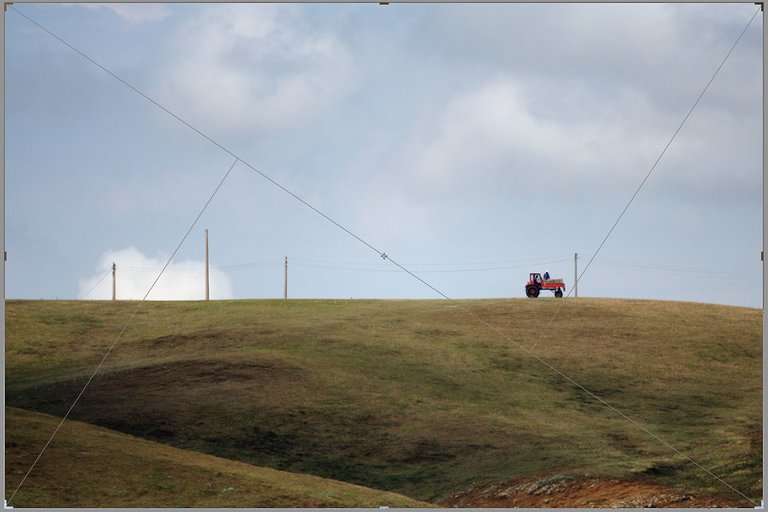
Triangles
In cultures where reading happens from left to right and top to bottom, an imaginary diagonal starts from the top left part of the frame and touches the bottom right. Perpendicular lines touch it, coming from the frame's other angles. These intersections can also serve as points around which you can build your focus.
Триъгълници
В култури, в които четенето е отляво надясно и отгоре надолу, мислен диагонал започва от горния ляв край на кадъра и допира долния десен. Перпендикулярни линии се спускат към него от другите ъгли на кадъра. Тези пресечни точки също биха могли да служат за изграждане на фокус около тях.
Moving on to other useful principles
Продължаваме към други полезни принципи
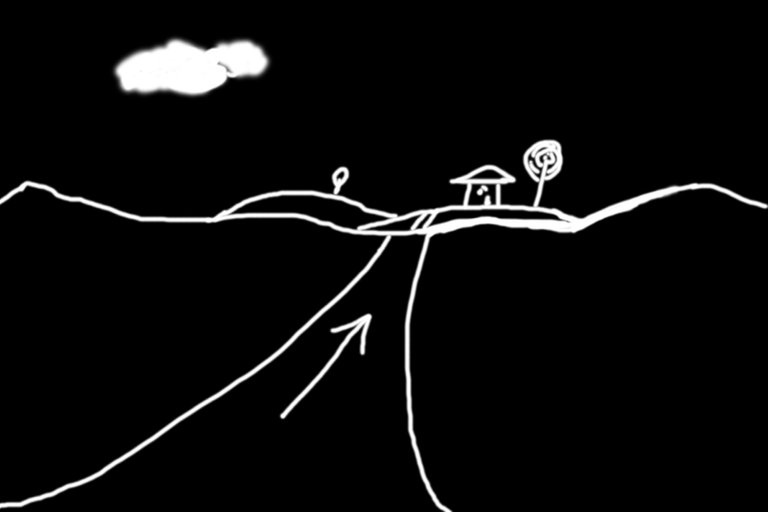
Leading lines.
Lines or patterns that seem to follow some direction are often used to lead our glance to a certain point. Or out of the frame if neglected.
These can be roads, staircases, cracks in the ground, etc., going from the foreground or some other point of origin to a special space or enough open space to balance things out. (See Balance below.)
Водещи линии
Линии или мотиви, които изглежда сякаш следват някаква посока, често се използват, за да отведат погледа ни към определена точка. Или извън кадъра, ако са пренебрегнати.
Това може да бъдат пътища, стълбища, пукнатини в земята и т.н., които водят от предния план или друга изходна точка, към специално пространство или към достатъчно празно място, за да бъдат балансирани нещата. (Вижте Баланс по-долу.)
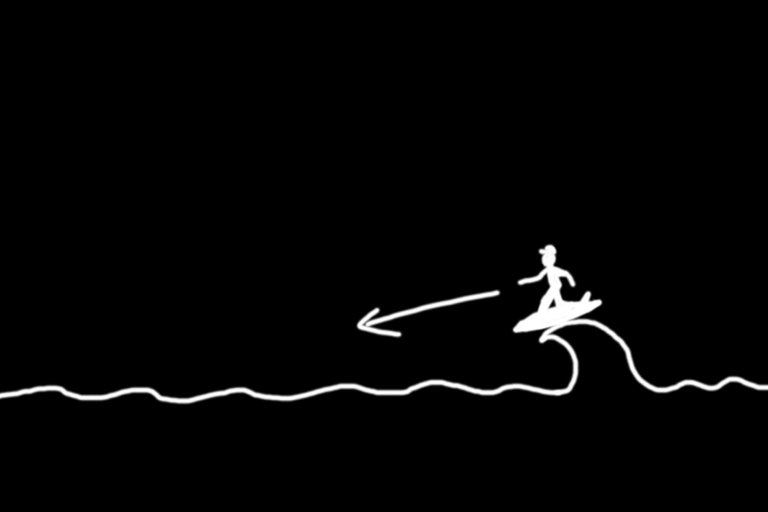
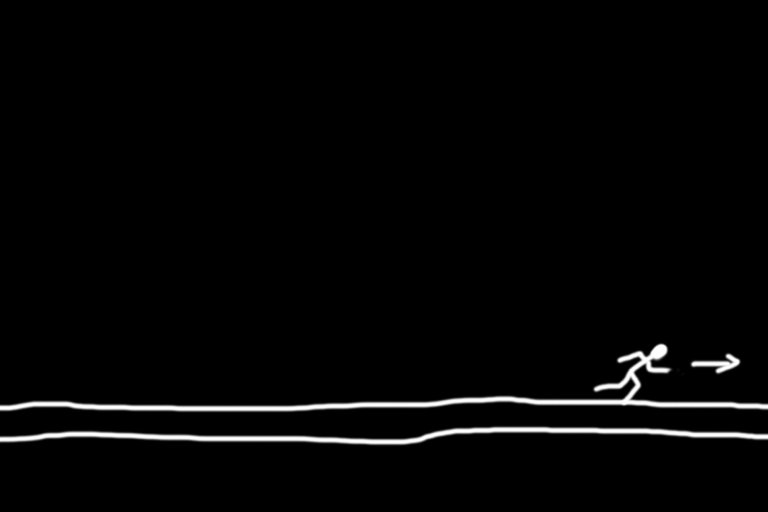
The direction in which objects or characters move is also important. The imaginary line they follow better lead us to enough open space instead of taking us out of the frame or to another line that stops our glance abruptly.
Посоката, в която обекти и персонажи се движат, също е важна. Въображаемата линия, която следват, по-добре да и насочва към достатъчно празно пространство, вместо да ни извежда извън кадъра или да ни води до друга линия, която спира погледа ни рязко.
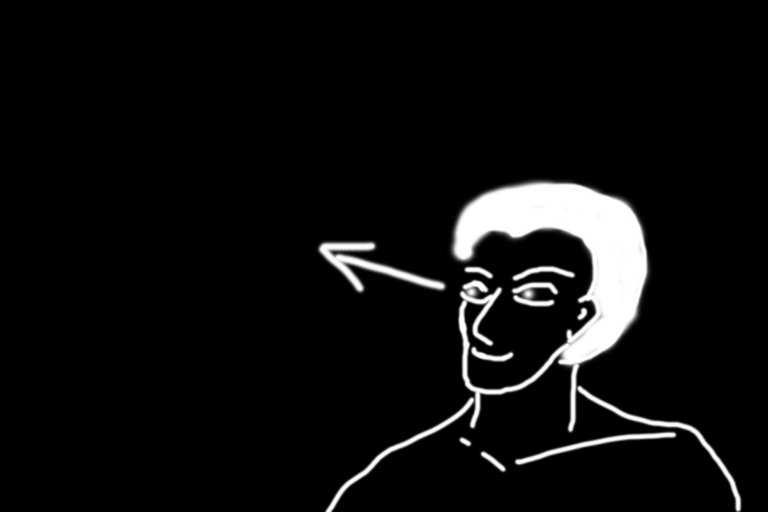
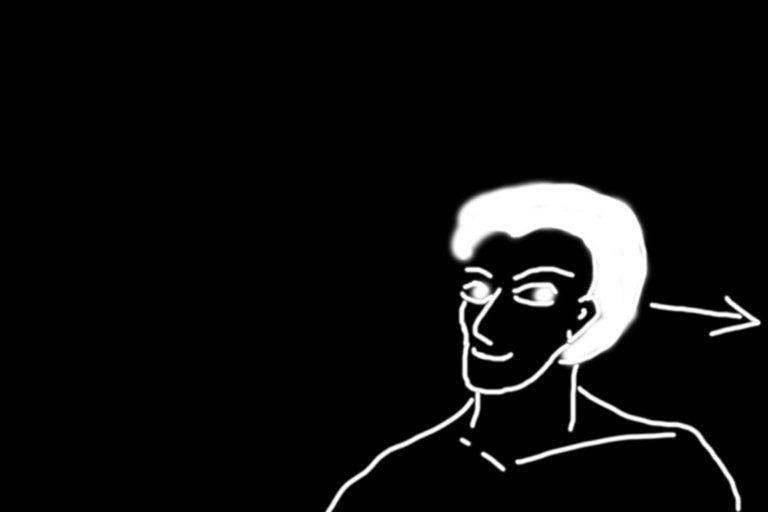
The eyes of the model and their direction also create a strong imaginary leading line. It can point us inwards...or out of the frame again, which is rarely what we want.
Очите на модела и тяхната посока също създават силна въображаема линия. Тя може да ни насочва навътре...или пък навън от кадъра, което по-рядко бихме пожелали.
Balance
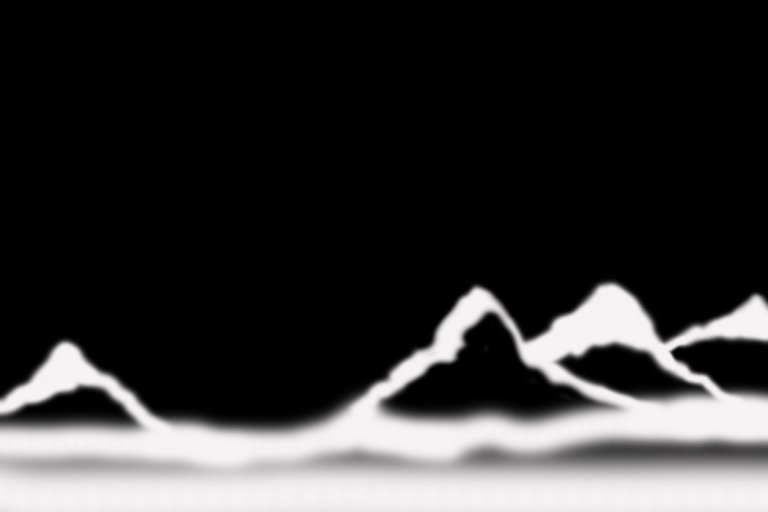
is also an important concept and it refers to the imaginary weight that we ascribe to an object or even to open space in our frames. It's a good thing to have something small but similar to objects that dominate one part of the picture as a counterweight in the other part of it. It can be similar in shape, function, material, even color.
Балансът
също е важна концепция и се отнася за въображаемото тегло, което приписваме на обекти или дори на празно пространство в кадъра. ДОбре е нещо малко, но подобно, да балансира онези обекти, които доминират другата част на кадъра. Подобията може да са по форма, функция, структура или дори цвят.
And speaking of Space
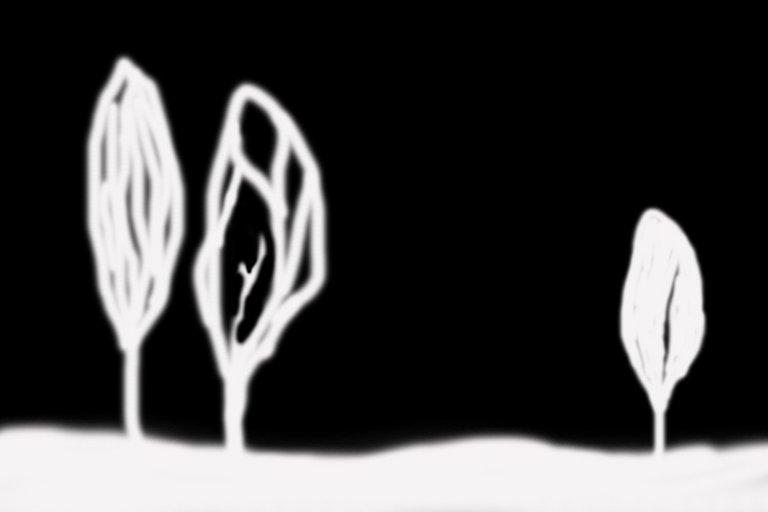
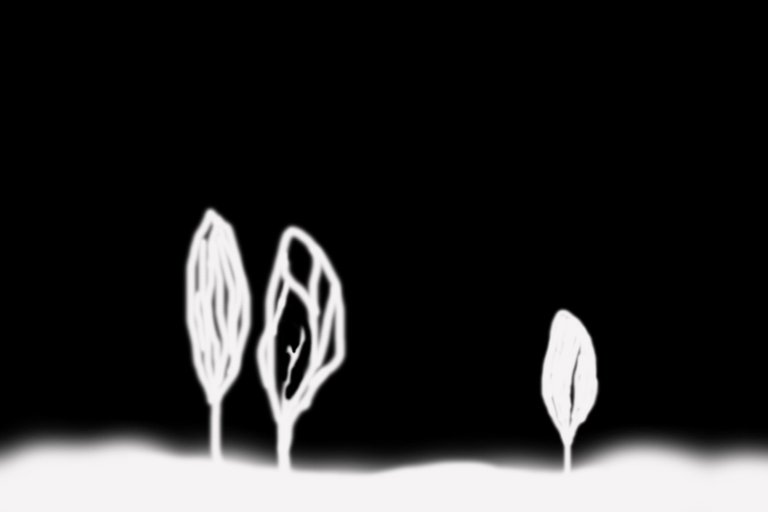
it can be also important to let the elements in your picture some air to "breathe" more easily. Compare the image below to the one above.
И като говорим за пространство
Може да е доста важно да оставите на елементите в кадъра си достатъчно въздух, за да "дишат". Сравнете изображението горе с това долу.
Rhythm
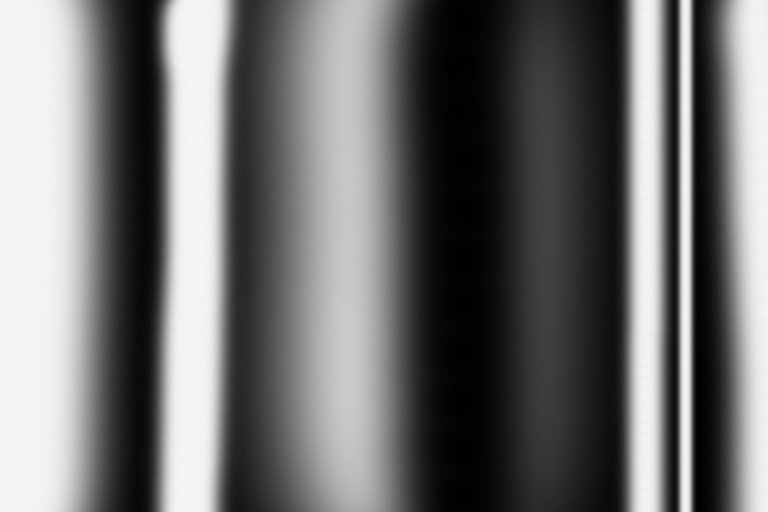
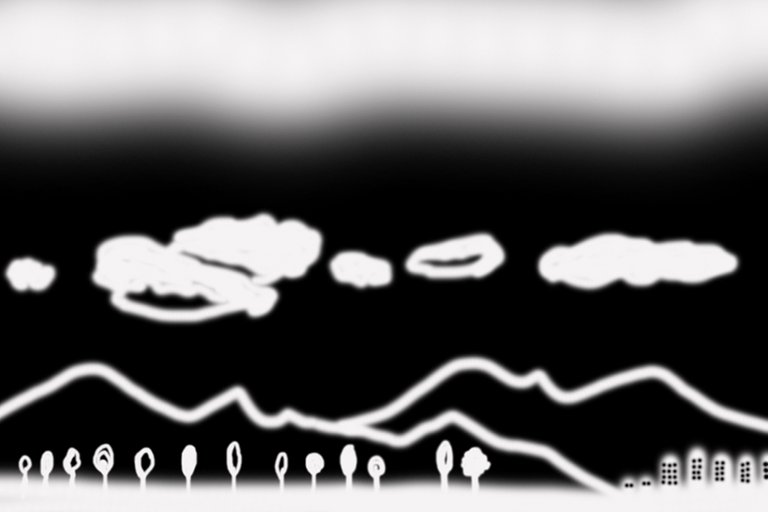
Now we're in the deep. But if you can manage alternating light and dark areas within the same image, that can create a pretty nice feel about your piece. That can go horizontally or vertically. The vertical example below is quite abstract. The horizontal rhythm includes more natural layers and it also has some vertical rhythm in it.
Ритъм
Тук вече сме надълбоко. Но ако успявате да редувате светли и тъмни зони в рамките на едно изображението, това ще донесе доста приятно усещане за произведението ви. Това може да става хоризонтално или вертикално. Вертикалният пример отдолу е доста абстрактен. Хоризонталният включва повече естествени пластове и освен това в негодонякъде има и вертикален ритъм.
Contrast
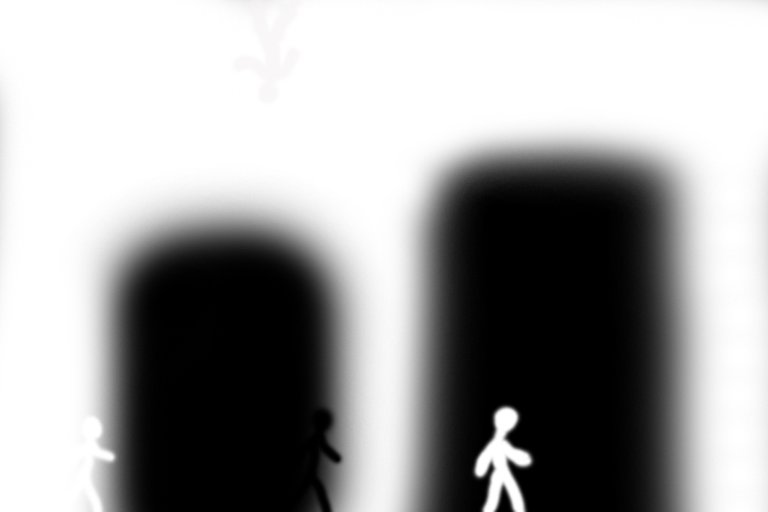
The way to make important things stand out often depends on placing well-lit things on darker background or dark things on a well-lit background. Otherwise, dark shapes tend to disappear in the dark areas behind and vice versa.
Also, be careful about other objects sticking out from behind what you focus on.
Контраст
Начинът да помогнете на важните неща да изпъкнат често зависи от това да поставите добре осветените на тъмен фон или тъмните на добре осветен фон. Иначе тъмните фигури се губят в тъмните участици и обратно.
Също така внимавайте за други обекти, коит стърчат иззад това, върху което се фокусирате.
You don't have to have it all in one frame. But bearing in mind these principles, you will be able to identify the opportunities to use one or another to great effect.
Thank you! If you have any questions, please comment below!
Не е необходимо да постигате всичко това в един кадър. Но имайки предвид тези принципи, ще можете да разпознавате възможности за тяхното приложение, което да доведе до чудесни резултати.
Благодаря! Ако имате въпроси, моля, коментирайте отдолу!
Yours,
Manol


My Twitter #posh link here:
Excellent information and very well explained for a photographer dummy like me to understand!
Cool, thanks! Glad to know it works ;)
GREAT POST!!!
Thank you for publishing it to our community feed!
Compliments of the PHC founder @jaynie...
We have tweeted, upvoted and reblogged it for you.
❤ MWAH!!! ❤
JOIN OUR DISCORD COMMUNITY
SUBSCRIBE TO OUR COMMUNITY FEED
FOLLOW US ON TWITTER
Well explained. I have added a couple of this tricks to my list.
Thank you for sharing.
Glad to help. Time and practice are on our side ;)
Absolutely
lets shoot
Very informative! Thanks!
I never realized that I do that but you are correct. The object is in the center in the pick but not in the edit. Great info. 👍
Yup, in general, if you can leave enough space around your object, better focus in properly in the center and then reframe in post work. If you can afford to lose some pixels, which is usually the case.
Wow! What a great tutorial. Just stunning.
I'm an enthusiastic amateur, and have been for a long time. In film days I'd shoot multiple frames to try to get what I saw. Now I do a lot of 'creative editing' rather than taking 10 shots.
This is really excellent. Thank you!
Thank you. I hope there's something for all kinds of people there. It covers, albeit briefly, various levels of understanding and experience. I did learn most of it from others, too.
Very well written explaining Manol, appreciate time spent sharing your knowledge.
!tip
🎁 Hi @manoldonchev! You have received 0.1 HIVE tip from @joanstewart!
@joanstewart wrote lately about: Obviously Oh So Outdoors Or Otherwise Feel free to follow @joanstewart if you like it :)
Sending tips with @tipU - how to guide.
The Golden Ratio and the Rule of Thirds are so similar they almost fall into the category of "the rules work until they don't." Is the photo following the Rule of Thirds, or has it broken it and used the Golden Ratio, etc?
Of course, being able to meet multiples (leading lines and the rule of thirds with good repetition, for example) are always fantastic ways to structure pictures. I suck at it, but I enjoy it when I see it!
Well, in general, I use those as "Fling it a bit to the side, would ya?", and in combination with the notions for Leading lines and Balance. I still have to work on leaving enough Space ;)
Once again some great photography tips!
I learned a few things that I will be incorporating into my photography!
Thank-you for sharing!