Hello Hive! I hope you had a good weekend.
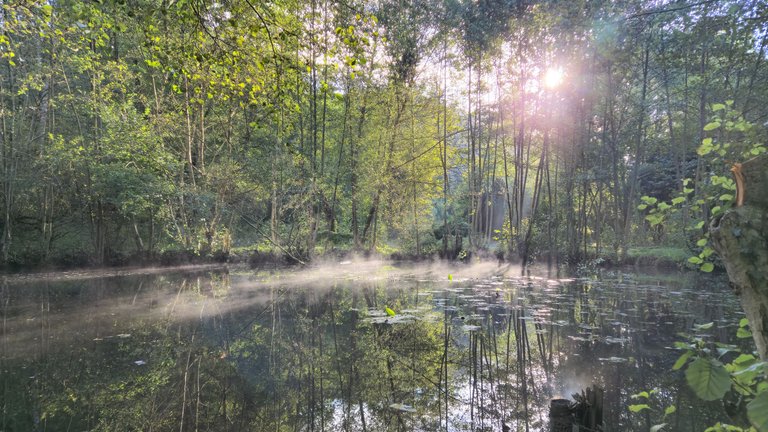
Here, in our cabin, it was a bit less fun: 5°C when waking up. Let me tell you, getting out of bed was painful.
My aunt, who lives 200m away, challenged me to warm up by splitting her woodpile.
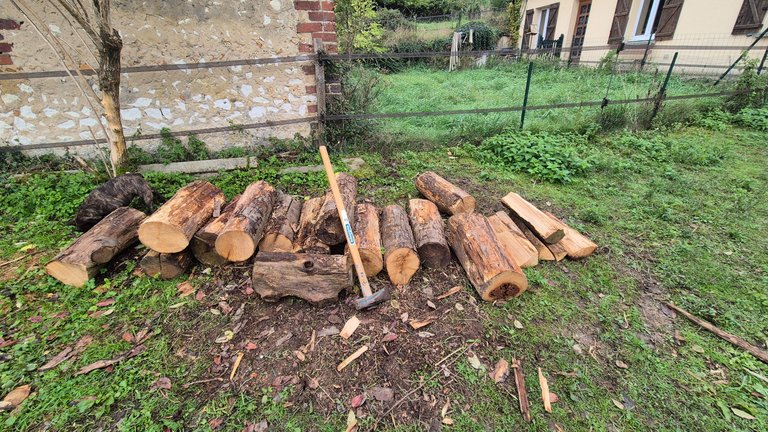
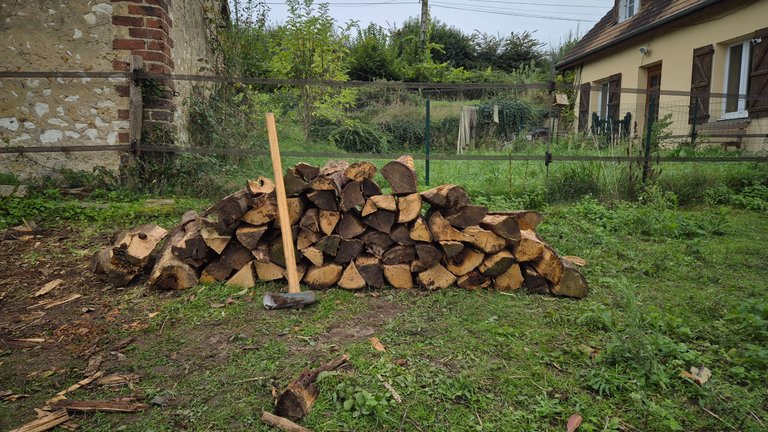
Even though she said it jokingly, with a mallet in hand, I attacked her small stockpile, while @altheana stayed cozy under the duvet.
@altheana preferred to stay under the duvet.
But I went to get her at noon because my aunt had invited us for lunch: free-range chicken and potatoes from a local farm. We couldn't say no!
Afterwards, we rested in our little tiny house to digest. In any case, we paused our work for the moment, as there is too much humidity, and we don't want everything to rot.
We're mainly waiting for our wood stove to dry out the indoor air.
When we woke up from the nap, we were really cold. Then a thought crossed my mind: "Why not start building the wood shelter?" The wood stacked under the fir trees wasn't well protected, and with winter approaching, we needed to act quickly.
It was too late to go buy wooden posts from a DIY store. So we worked with the wood we had on hand to start a rough draft of a wood shelter.
This shelter will be temporary, maybe for this year at least. Or maybe even less, we'll see. But the most important thing is to protect my wood as best as I can.
My land sits on a water table, so to prevent the posts from rotting too quickly, I covered them with a protective coating.
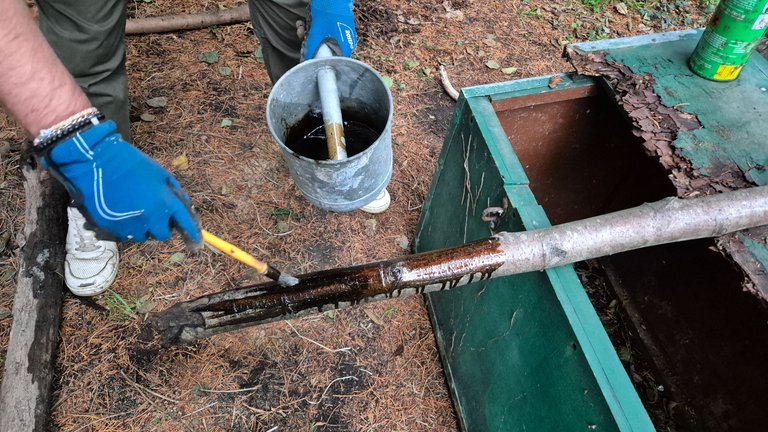
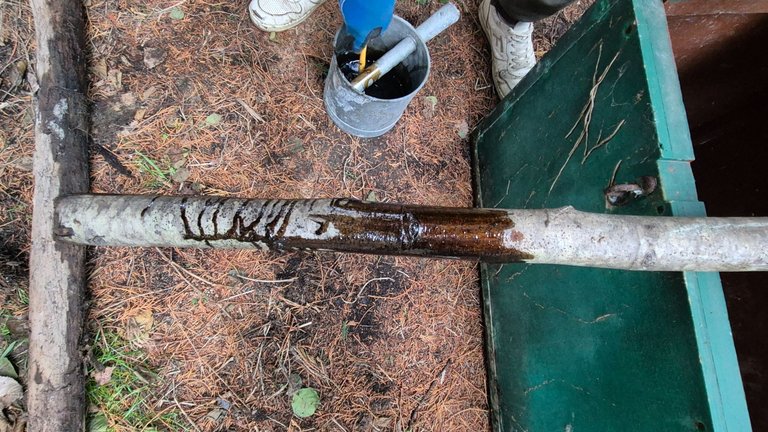
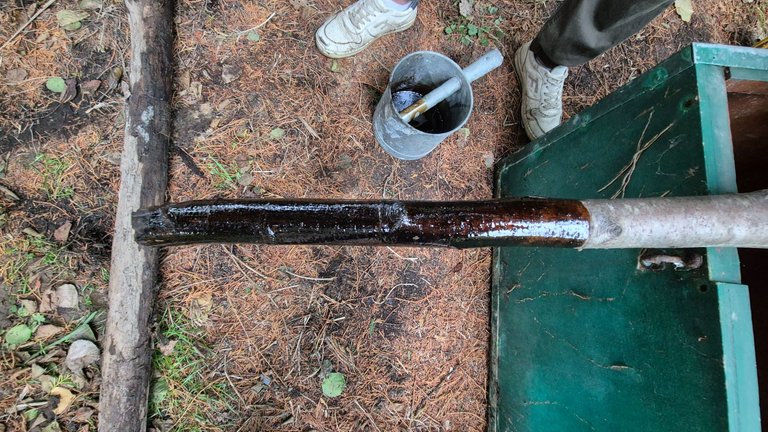
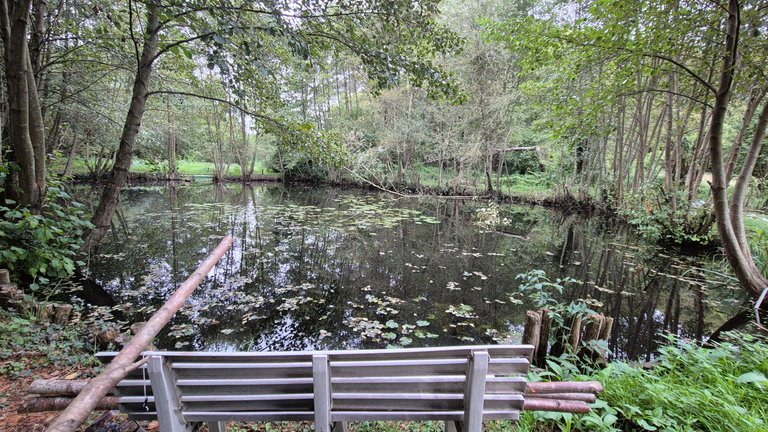
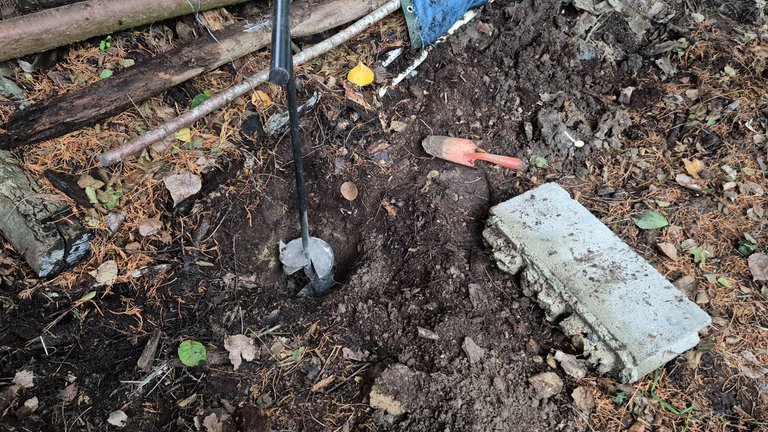
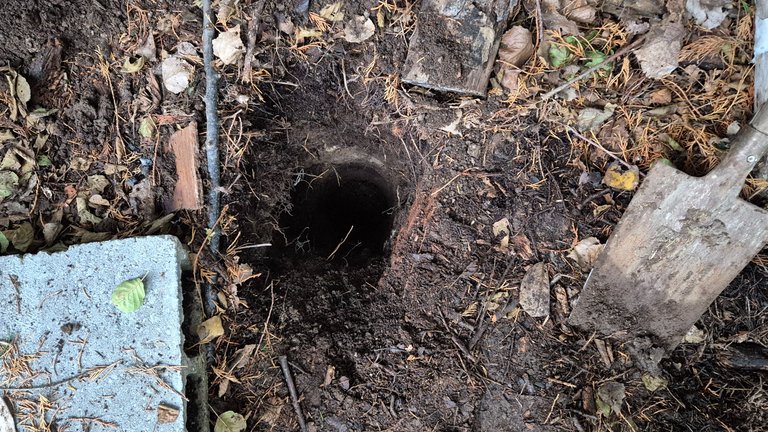
Then, we started digging the holes. A good rule of thumb is to dig a hole that is one-third the height of the posts. For us, that meant digging holes 75 cm deep.
The problem was that at 50 cm deep, we were already hitting water.
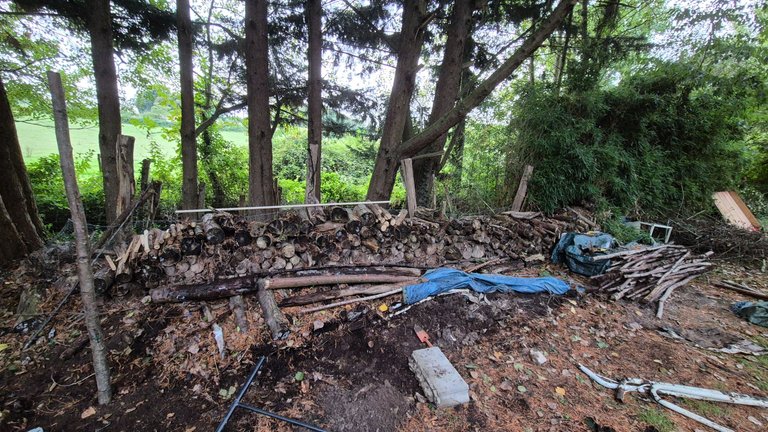
The woodpile isn't very well stacked at the moment. However, I'm not worried, as the stove we are going to buy for our small space can only accommodate 20 cm logs. So we'll have to cut ours down and stack them later.
Since we started our work at 5:30 pm, it was getting too dark to plant all the posts. We only managed to plant two.
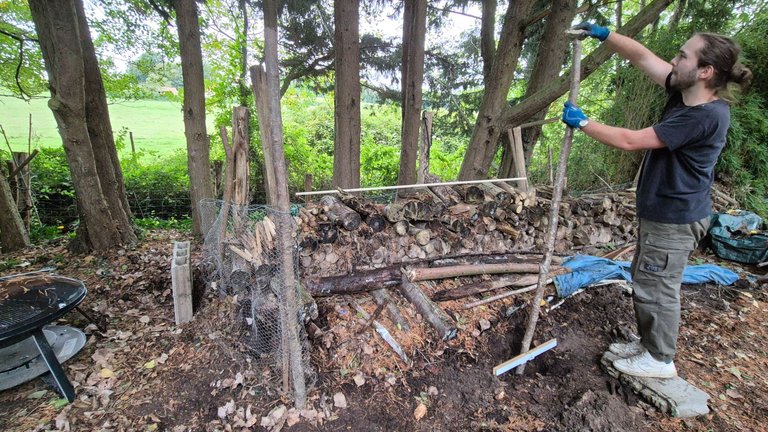
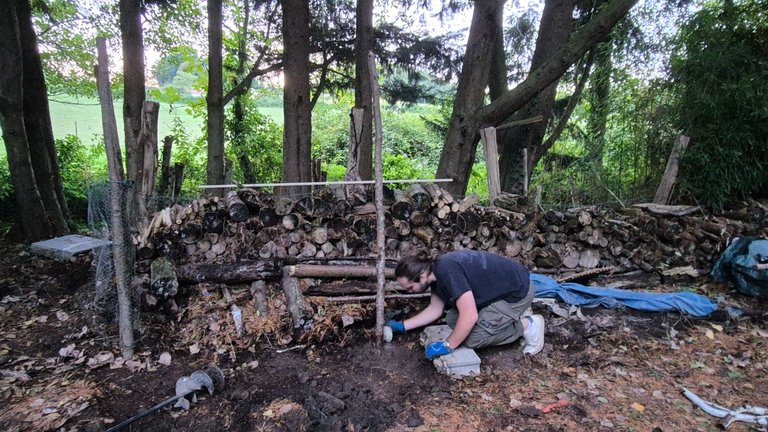
Lacking more time, we stretched a tarp as a temporary roof, hoping it will suffice for now.
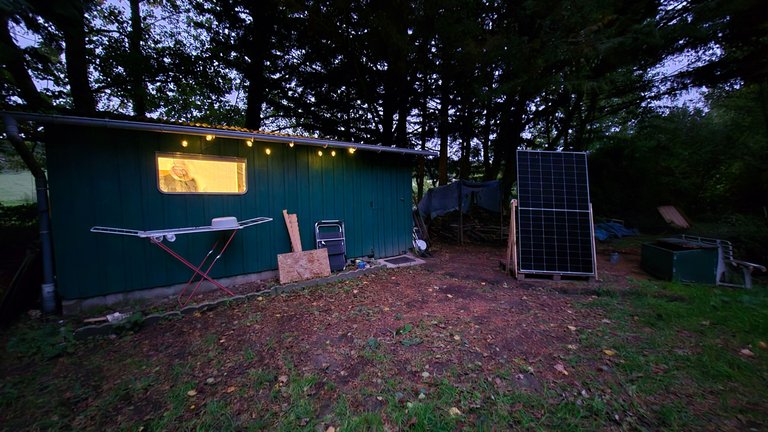
I forgot to take a picture at that moment, but in the next photo, even though it was already dark, you can see the tarp installed between the solar panel and the cabin:
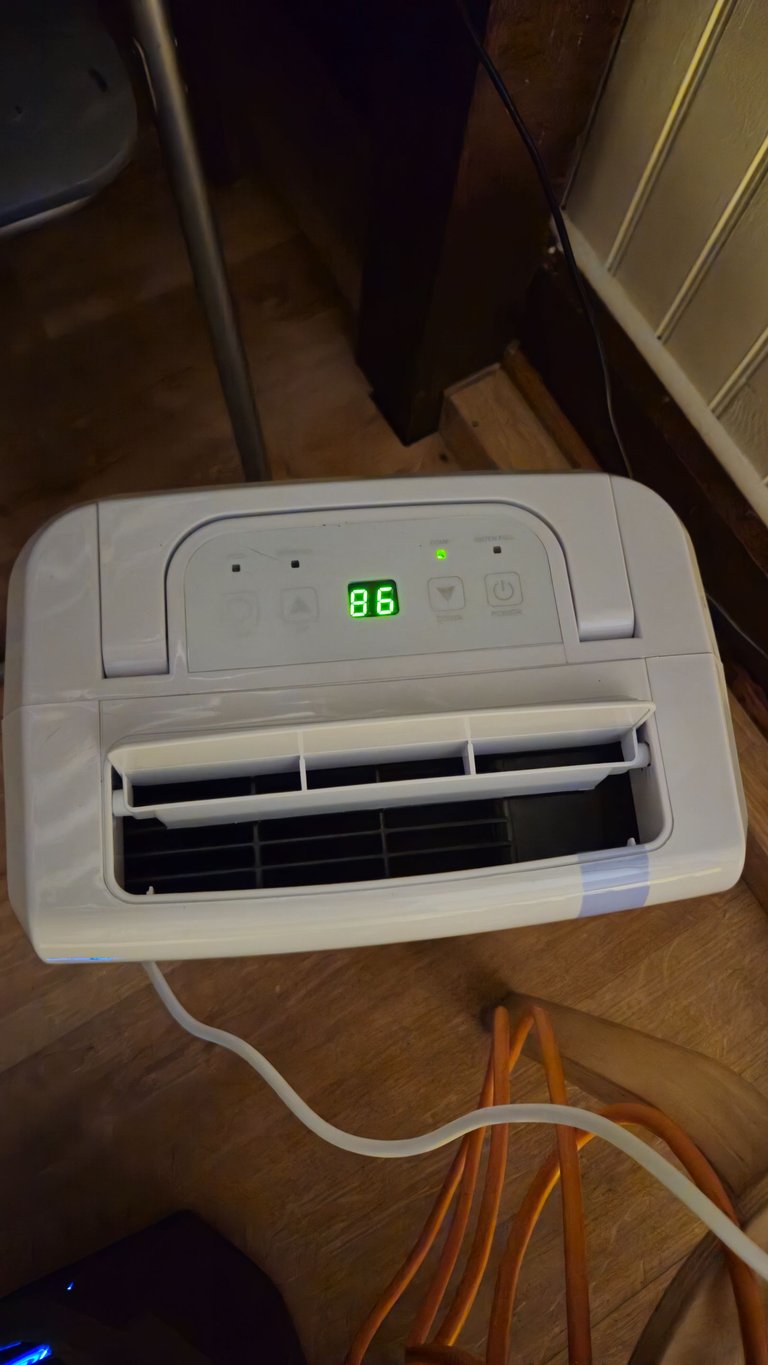
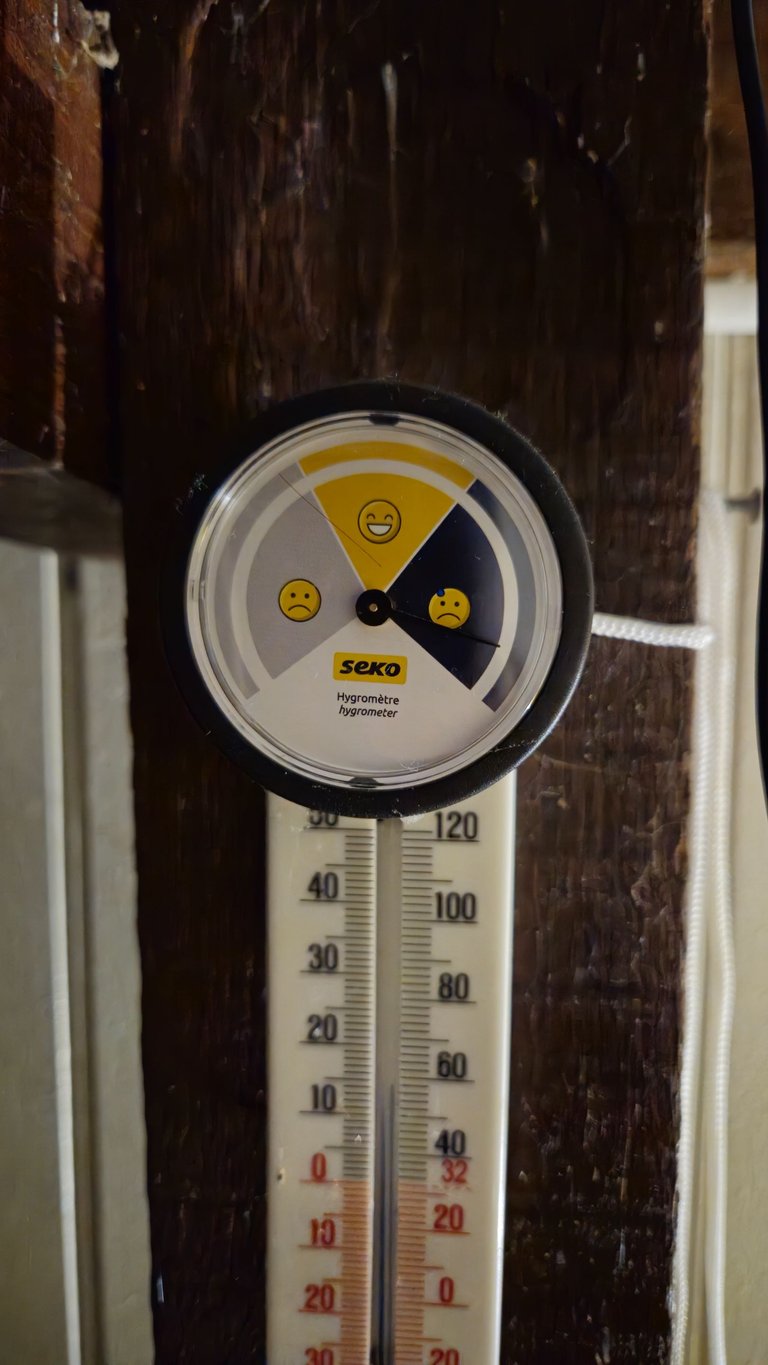
When we got back inside, I turned on the dehumidifier we bought on Saturday. It showed 86% humidity. A healthy home should have between 40% and 60% humidity. That's why we have a lot of work to do to lower that rate and avoid mold as much as possible.
Version Française
Salut la Hive ! J'espère que vous avez passé un bon week-end.
Ici, dans notre cabane, c’était un peu moins fun : 5°C au réveil. Autant vous dire que sortir du lit était douloureux.

Ma tante, qui habite à 200m, m'a lancé un défi pour me réchauffer : fendre son tas de bois.
Même si elle disait ça sur le ton de l'humour, merlin en main, je me suis attaqué à son petit stock, pendant qu’@altheana, elle, restait bien au chaud sous la couette.


@altheana, elle, a préféré rester sous la couette.
Mais je suis allé la chercher à midi, car ma tante nous avait invités à manger du poulet fermier et des pommes de terre d'une petite ferme locale. Nous ne pouvions pas refuser !
Ensuite, nous nous sommes reposés dans notre petite tiny house pour digérer. De toute manière, nous avons mis nos travaux en pause pour le moment, car nous avons trop d'humidité et nous n'avons pas envie que tout pourrisse.
On attend surtout notre poêle à bois afin de pouvoir assécher l'air intérieur.
En nous réveillons de la sieste, nous avions vraiment froid. Alors une idée m'a traversé l'esprit : "Pourquoi ne pas commencer à construire cet abri pour le bois ?". Le bois entassé sous les sapins n'était pas vraiment protégé, et avec l’hiver qui approche, il fallait agir vite.
Il était trop tard pour aller acheter des poteaux de bois dans un magasin de bricolage. Nous avons fait avec du bois que nous avions à disposition pour commencer une ébauche d'abris à bois.
C'est un abris qui sera temporaire, peut-être pour cette année au moins. Peut-être un peu moins, cela dépendre. Mais le plus important est de protéger mon bois du mieux que je peux.
Mon terrain est sur une nappe phréatique, pour éviter que les poteaux ne pourrissent trop rapidement, je les ai recouverts d'un enduit protecteur.


Ensuite, nous avons commencé à creuser les trous. Une bonne pratique consiste à creuser un trou représentant un tiers de la hauteur des poteaux. Pour nous, cela signifiait creuser des trous de 75 cm de profondeur.
Le problème, c'est qu'à 50 cm de profondeur, nous commencions déjà à voir de l'eau.


Le tas de bois n'est vraiment pas bien rangé pour le moment. Cependant, cela ne m'inquiète pas, car de toute façon, le poêle que nous allons acheter pour notre petit espace ne peut accueillir que des bûches de 20 cm. Nous devrons donc recouper les nôtres et les ranger par la suite.
Comme nous avons commencé nos travaux à 17h30, il commençait à faire trop sombre pour planter tous les piquets. Nous avons donc réussi à en planter seulement deux.


À défaut de plus, nous avons tendu une bâche en guise de toiture temporaire, en espérant que cela suffise pour le moment.
J'ai oublié de prendre en photo ce moment, mais sur la photo suivante, même s'il faisait déjà noir, entre le panneau solaire et la cabane, on peut voir la bâche installée :

En rentrant, j'ai allumé le déshumidificateur que nous avons acheté samedi. Il indiquait un taux d'humidité de 86 %. Une maison saine devrait avoir entre 40 % et 60 % d'humidité. C'est pourquoi nous avons un gros travail à faire pour réduire ce taux et éviter au maximum les moisissures.


All photos were taken with my smartphone. The English translation is done with DeepL.
!PIZZA
Your post has been manually reviewed for curation by the Principality of Bastion.
Principality of Bastion - Our Leit Motiv? Let's Grow Together.
Principality's site | Minava NFT Market | Discord | Our Twitch Channel
You may TRAIL this account if you like the curation we do, or join our discord to know more about what we do.

$PIZZA slices delivered:
(4/10) @itharagaian tipped @genesisledger