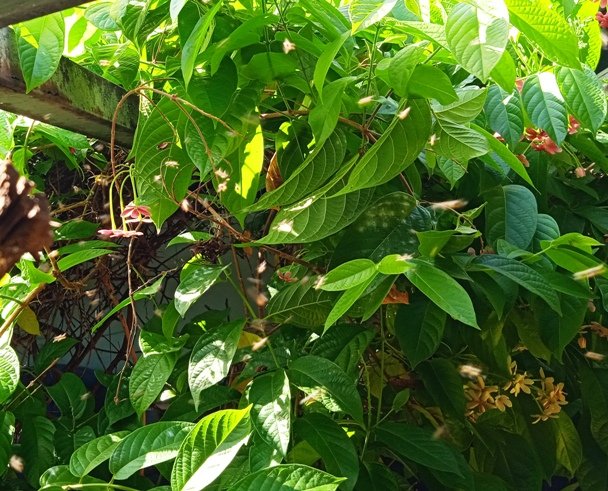
I recently saw again that in the Trillolit (Combretum indicum) plant, which is in the center of my house, in the internal garden, bees colloquially called “aricas” or “angelitas” were making nests, being their scientific name Tetragonisca angustula Illiger. On several occasions I have seen that welcome dance to the queen bee, which indicates a new hive is being formed, however, I have seen that in the place where they try to nest, the conditions are not given, since there is no wall or trunk in which to make its hive, there are metal tubes; from there I deduce that insects are quickly killed by heat. Seeing this circumstance, I decided to make them a house, a beehive.
To make the houses or beehives, I was inspired by the meliponarios that exist throughout Central America and in Mexico. The meliponarios are roofed structures, where shelves are placed, whether made of wood, stone or metal, in which hives of melipona bees are deposited, made with two clay pots joined together with mud and straw. Since I had already collected red earth and sand from the backyard, I decided to make these beehives.
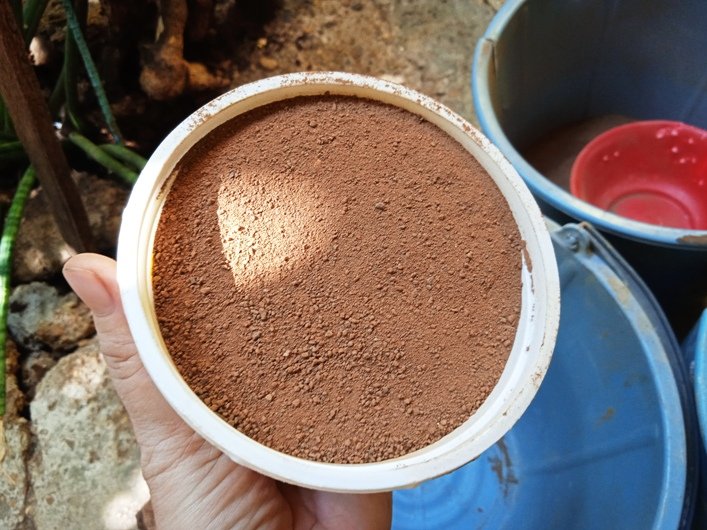
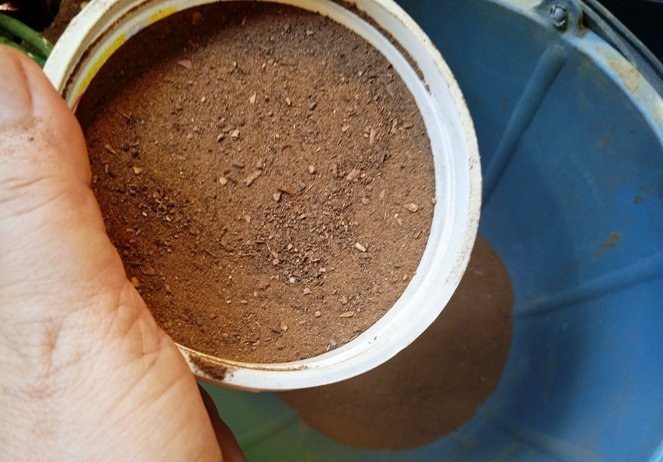
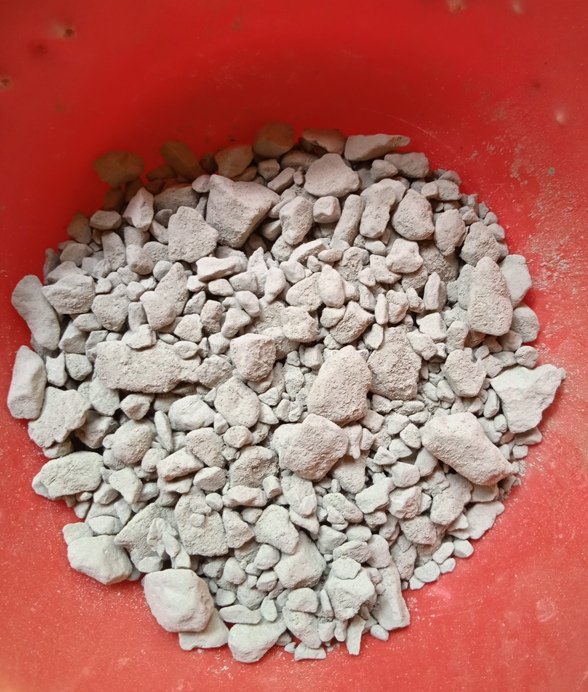
I thought it would be a good idea to replicate the mix I used in Repairing a mud wall (Part 1), so I put the materials in order: red earth, sifted fine sand, water and the molds. Initially I did not include the cement in this formula, however I had to include it later.
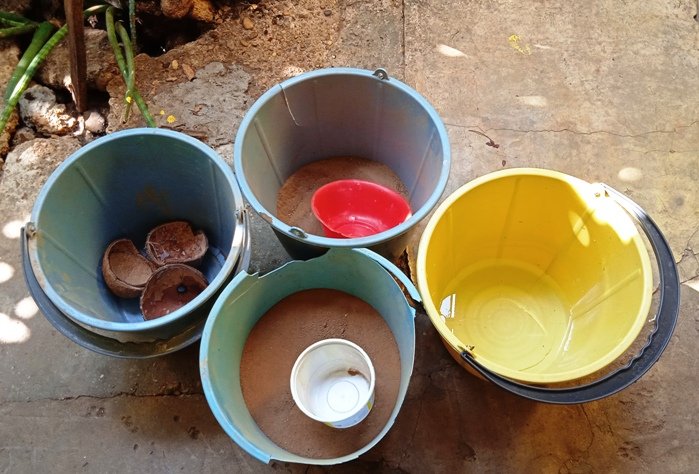

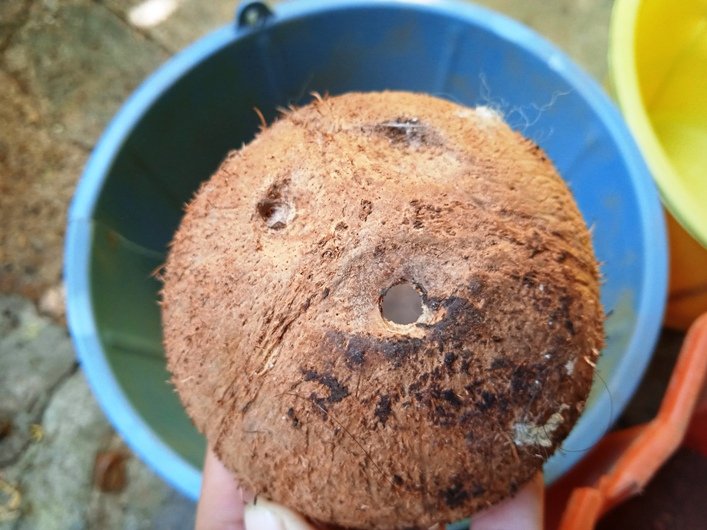
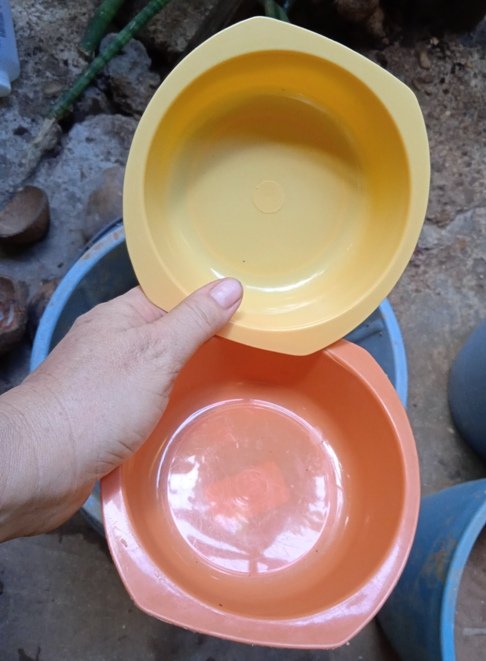
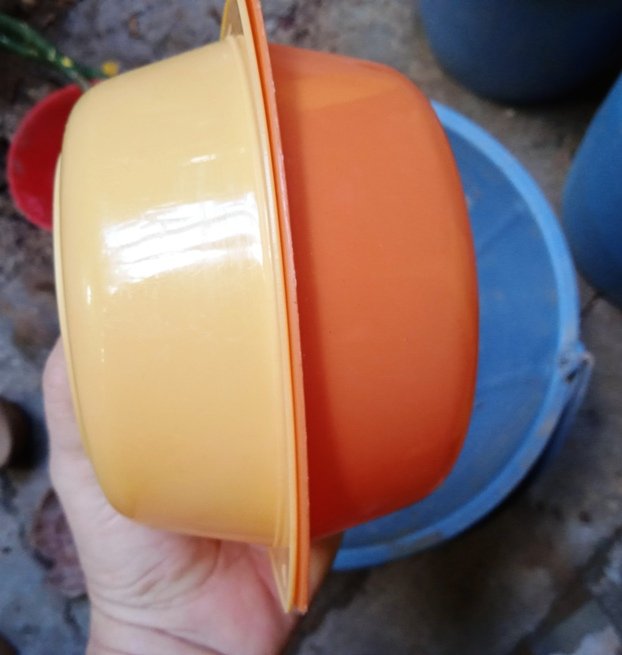
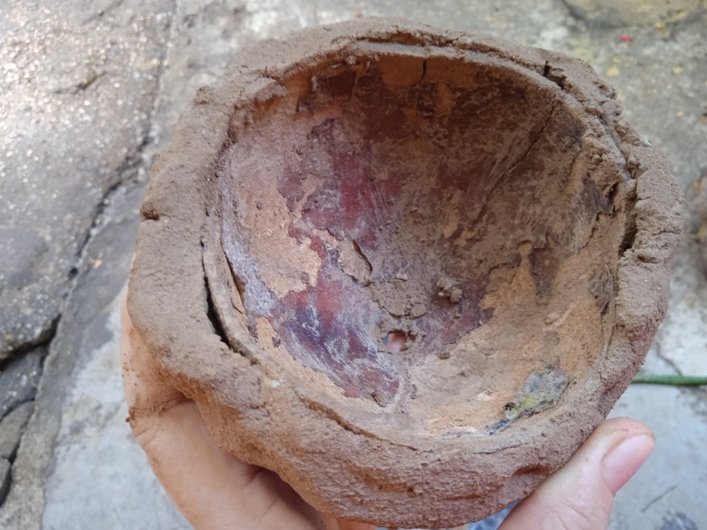
The molds I selected were empty coconut shells, left over from the recipes I usually make, and two plastic bowls of identical shape and size. I soak the coconut shells, so that the mixture adheres better to them.
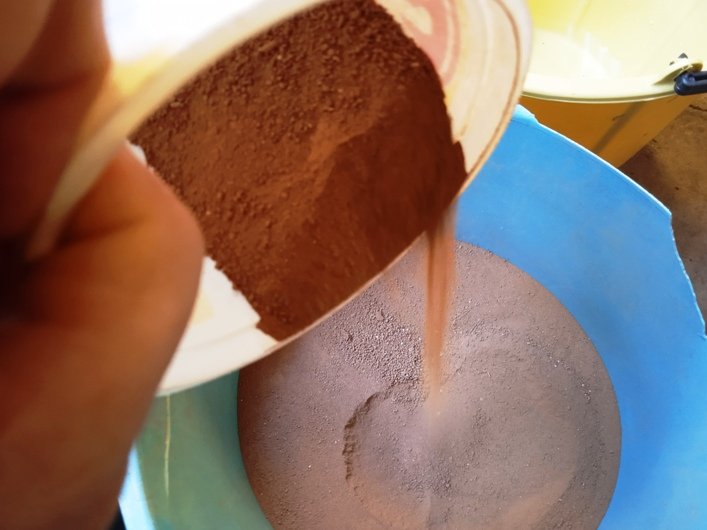
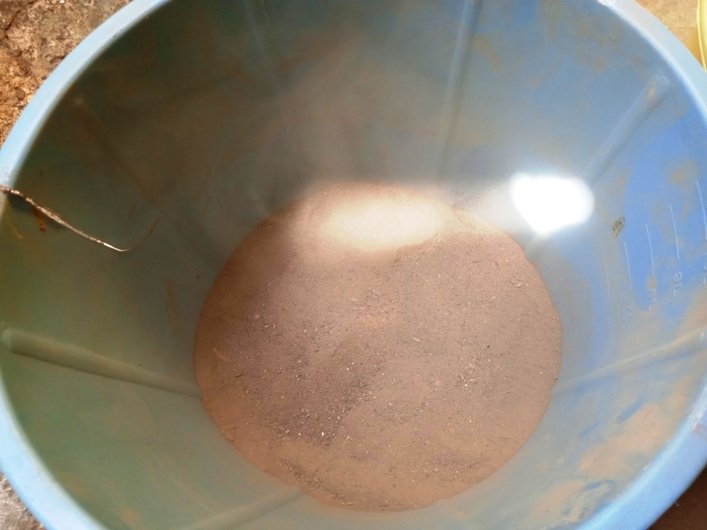
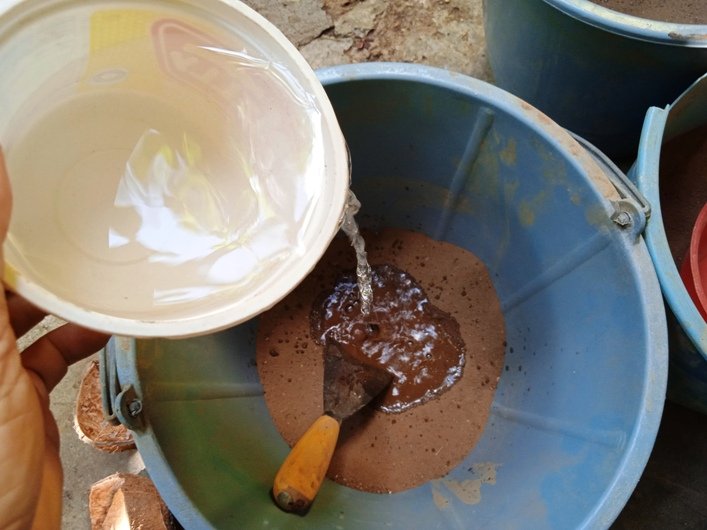
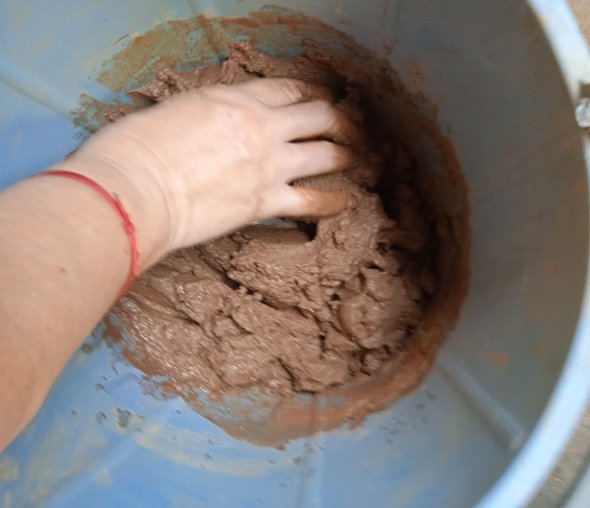
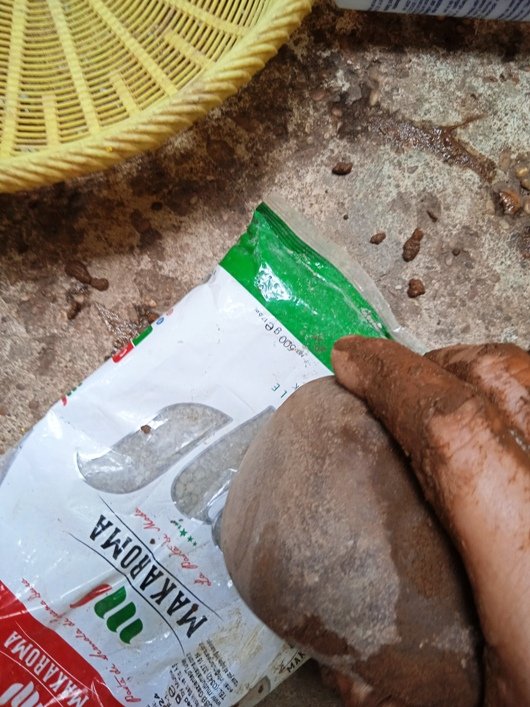
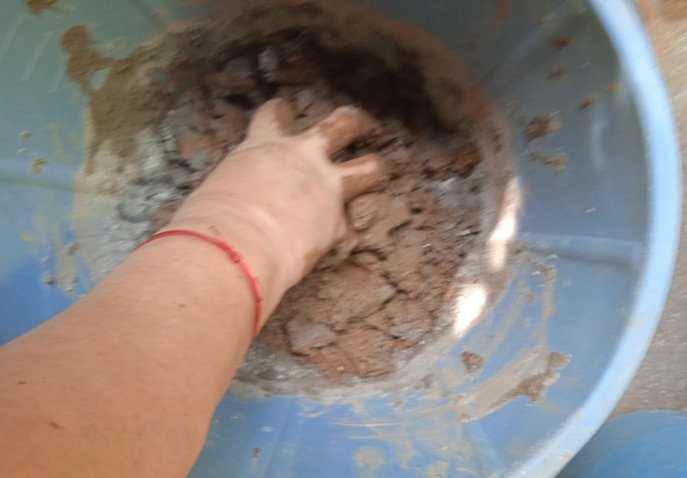
Next I place a measure of red clay, a measure of sand and half a measure of water. I mix well with my hands, kneading so that its components are well amalgamated, however I do not obtain the desired texture, which is an elastic and manageable texture, I see that it lacks consistency.
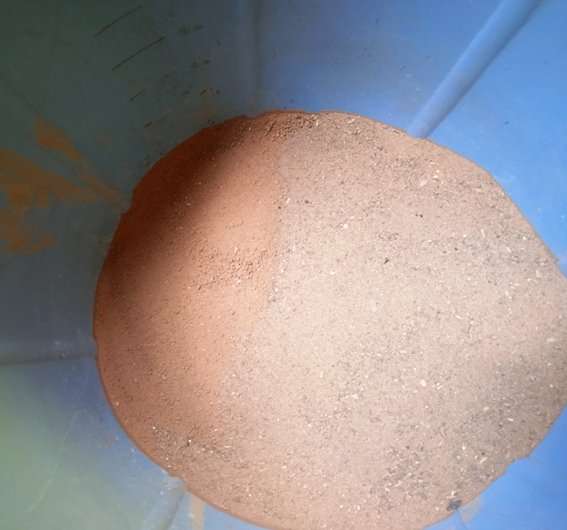
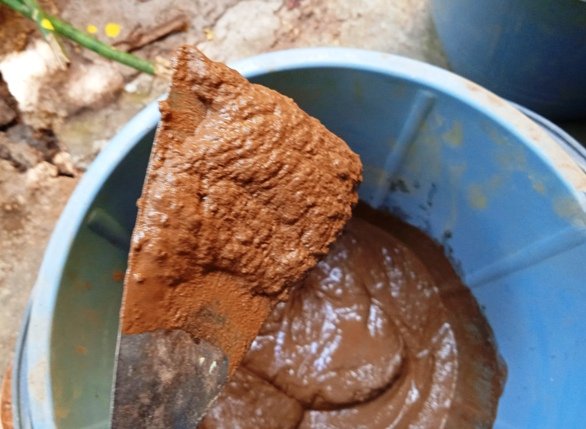
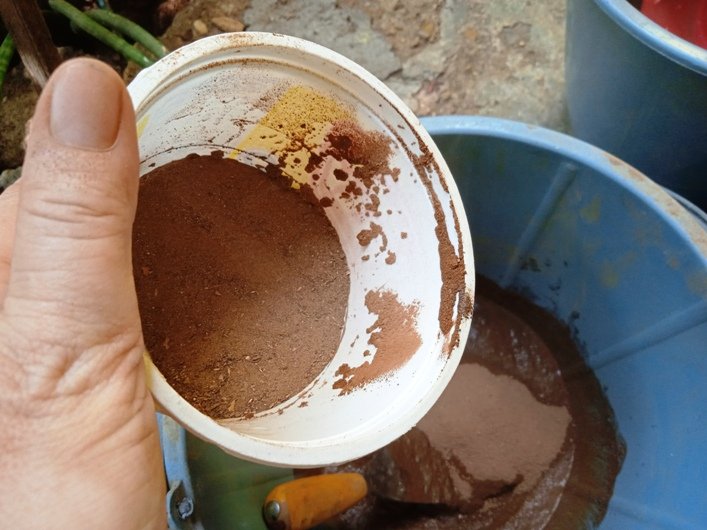
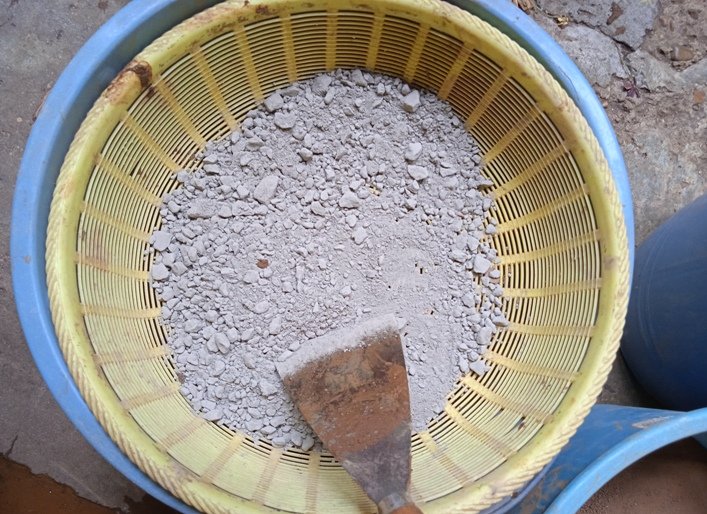
I thought it was a good idea to add cement, to give the mix more firmness, so I proceeded to grind and sift the dry cement I have, adding half a measure to the mix.
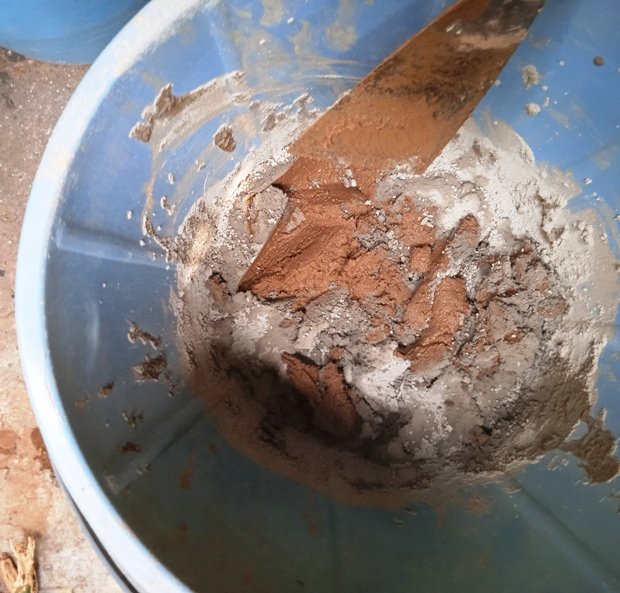
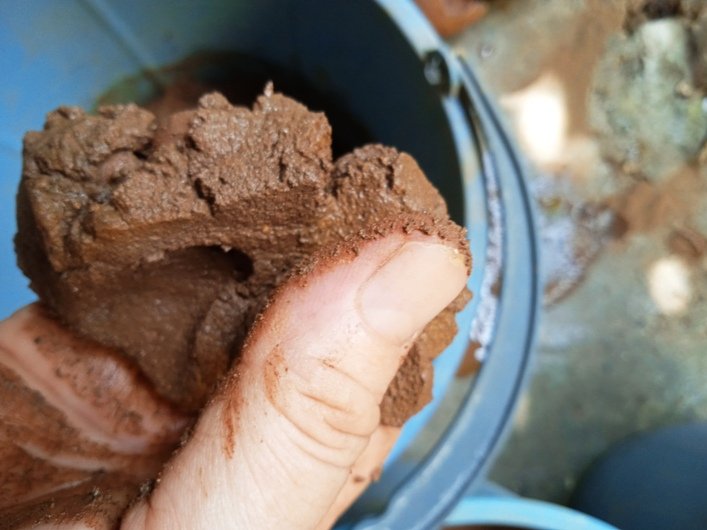
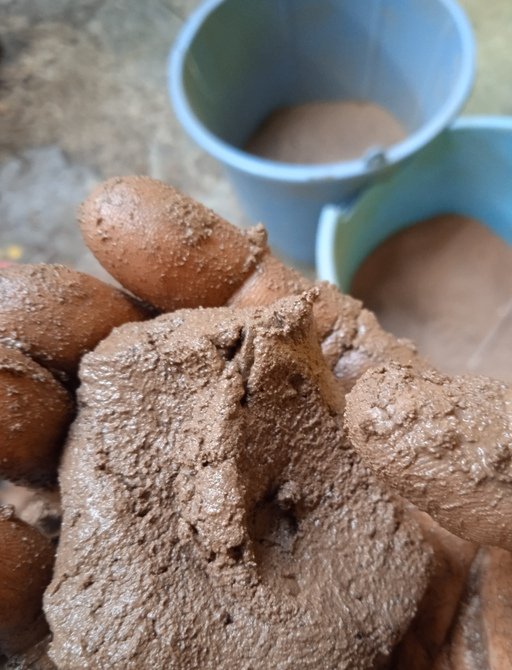
I proceed to knead well, and I achieve the desired consistency, which, although it is not exactly like the clay with which decorative and utilitarian pieces are made, is quite manageable.
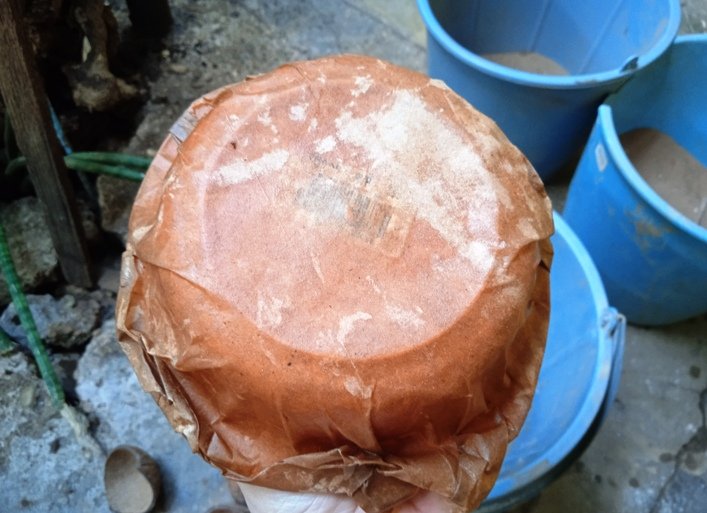
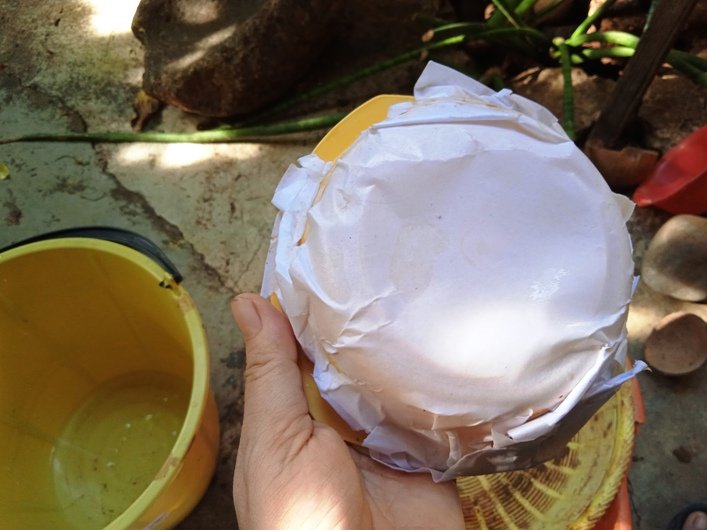
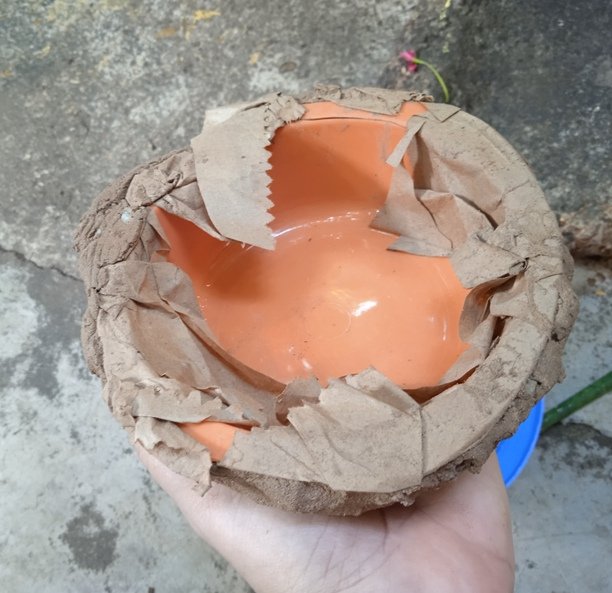
Next I take a brown paper bag and a white sheet paper, which I moisten and proceed to line each plastic bowl with them. I do this to be able to detach the piece easily from the mold. While my intention was for the mixture to stick to the coconut shells, it doesn't with these bowls. The coconut can be used to give the hive more firmness, but the plastic bowls cannot keep the piece, since I am going to bake them.

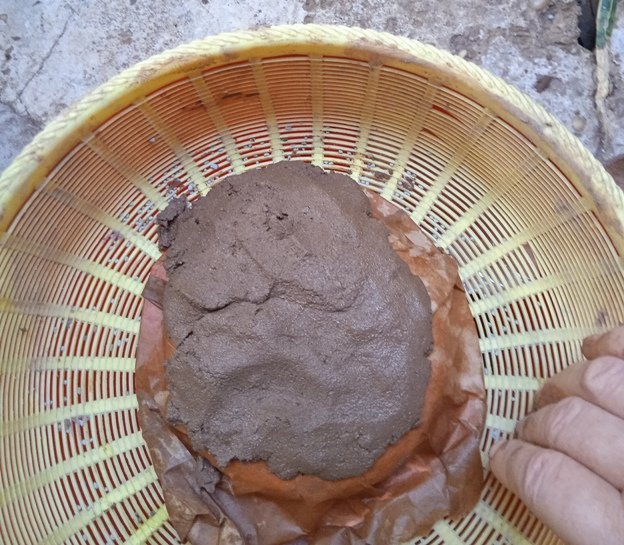
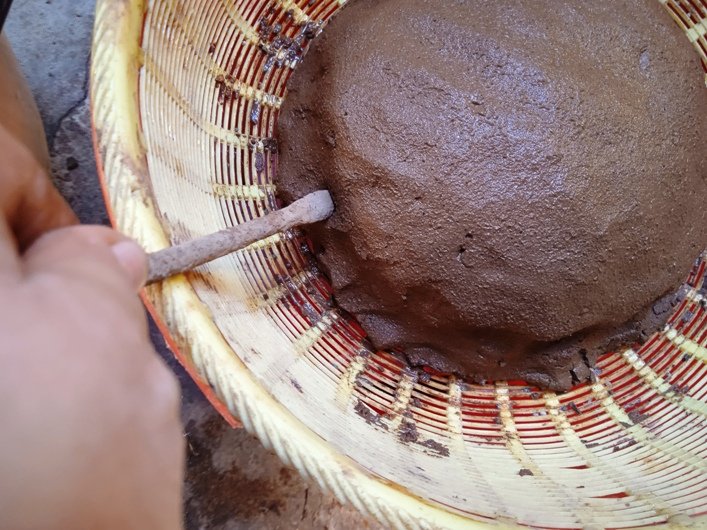
I begin to assemble the hives, because I decided to make two, for a total of four pieces. To do this, I am placing portions of the mixture on top of each mold, pressing so that they are consistent with each other, and so that there are no cracks. I do this very calmly.
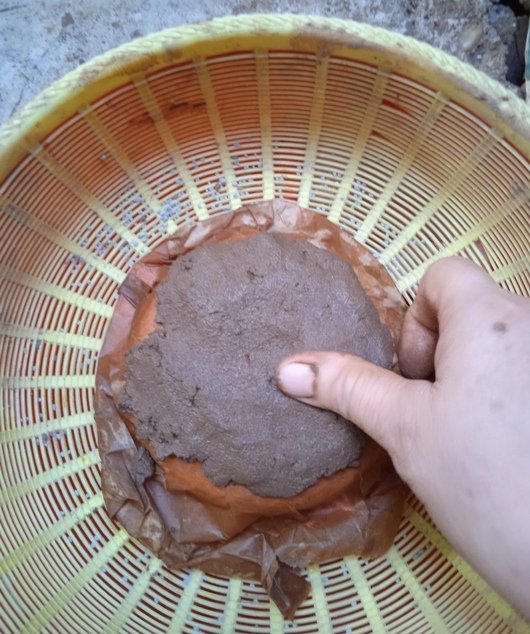
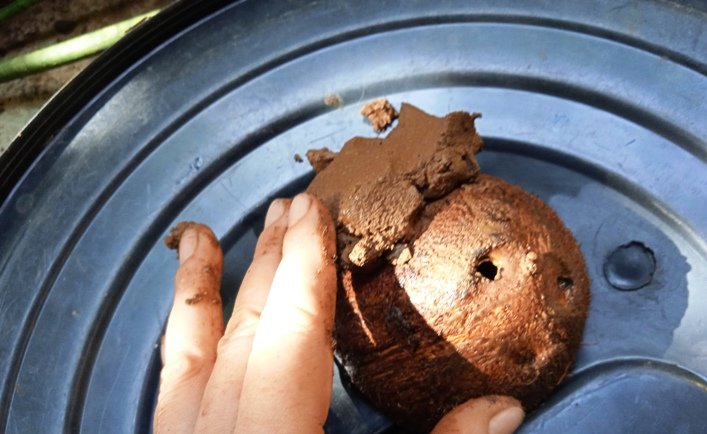
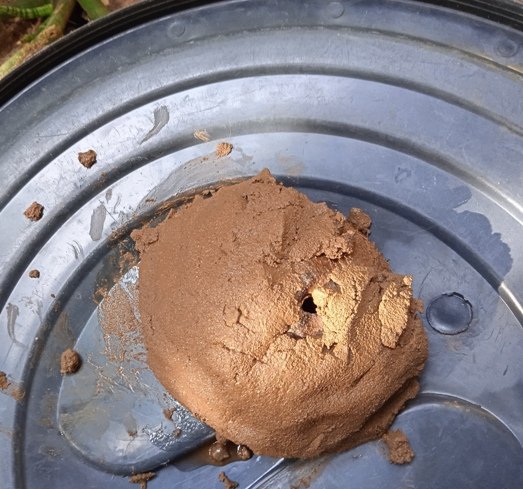
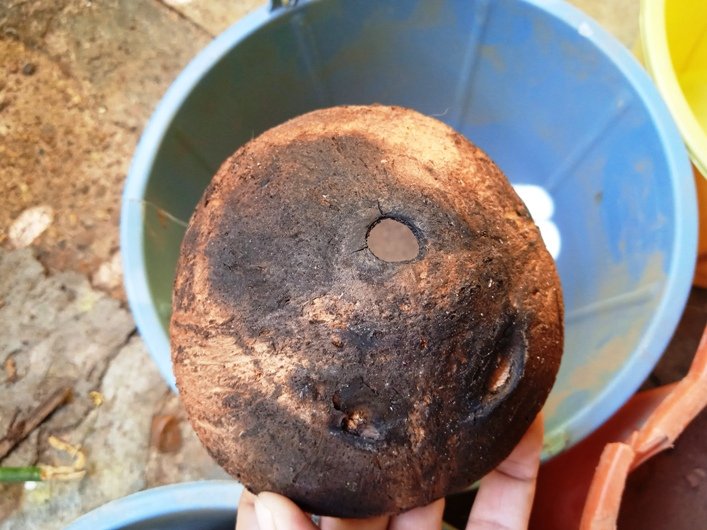
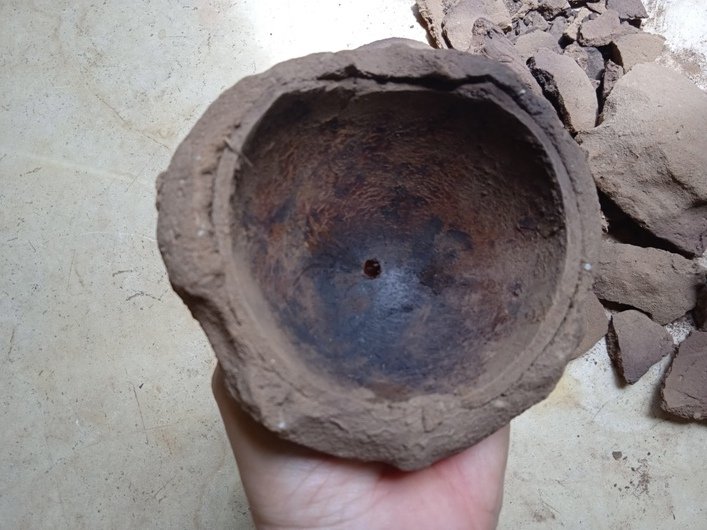
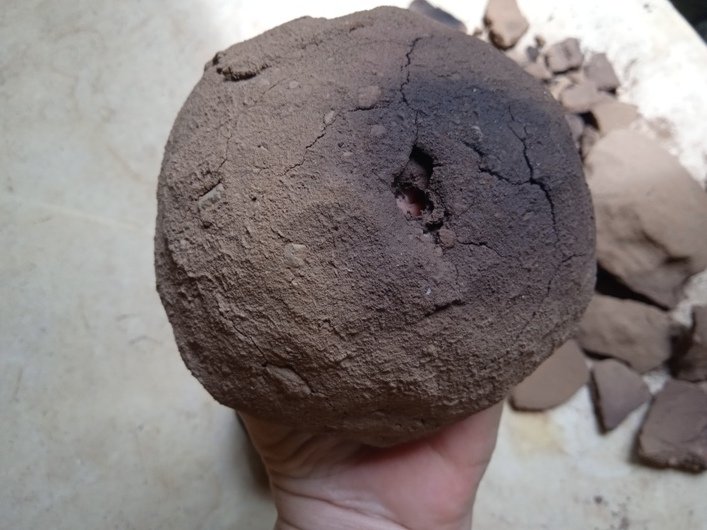
In two of the pieces, I proceed to open a hole, so that it is the entrance door to each hive. The hole should not be very large, since these insects are small, and they build a kind of tube to enter and at the same time protect the interior of the hive. They close this tube every sunset and open it at dawn.
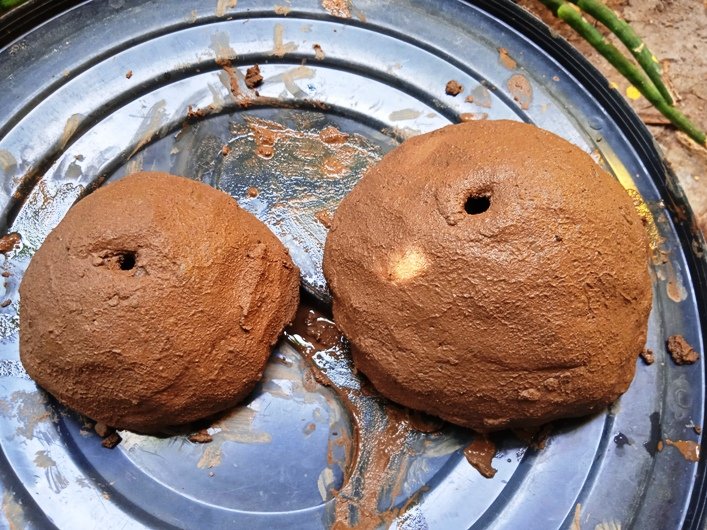
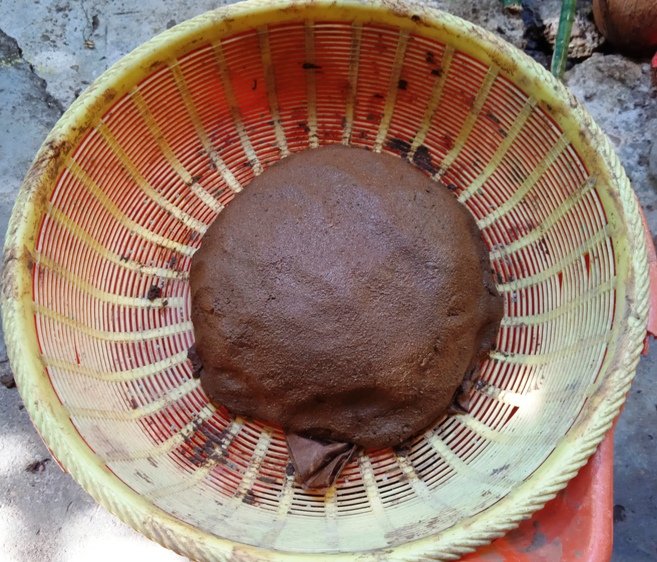
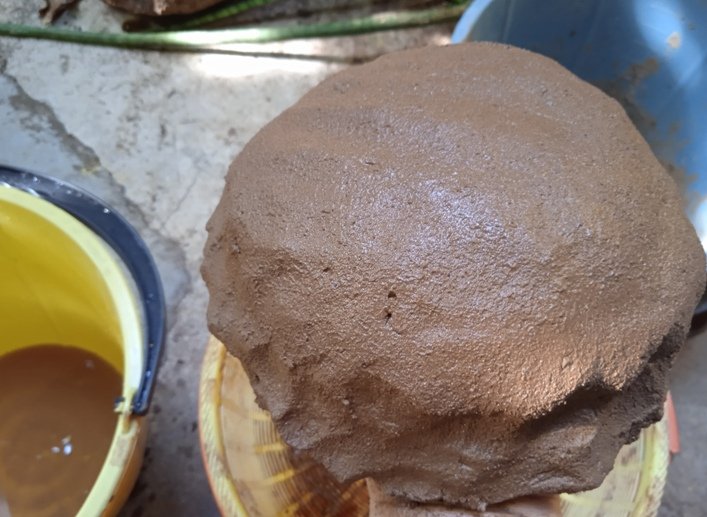
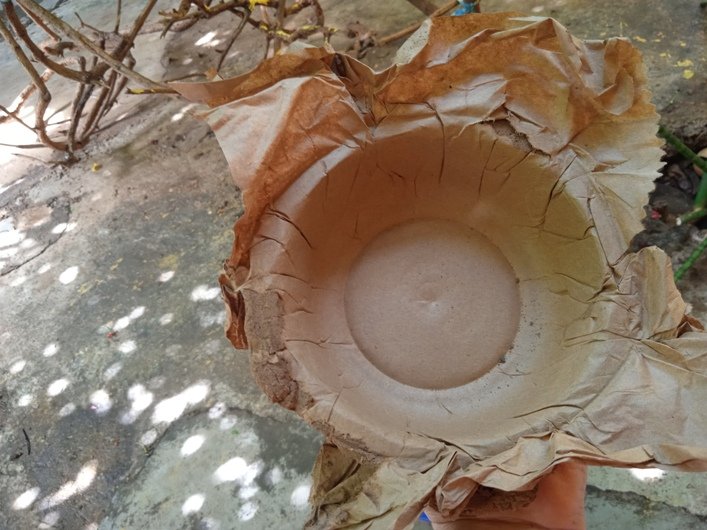
Once the pieces are finished, I take them to the shade, so that they can dry in the air and do not crack due to the incidence of sunlight.
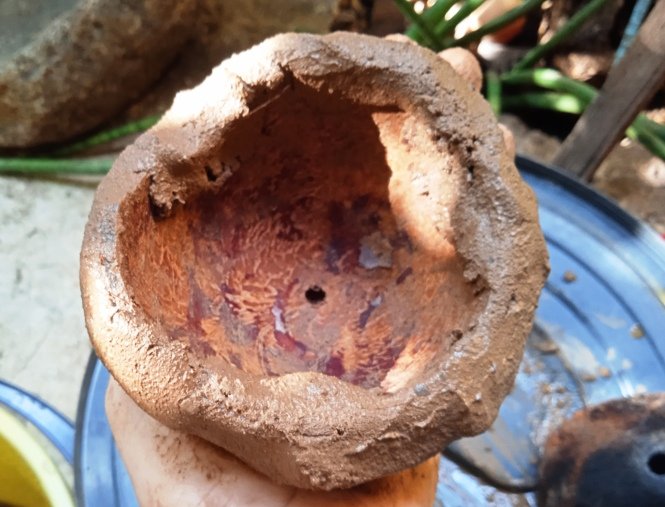
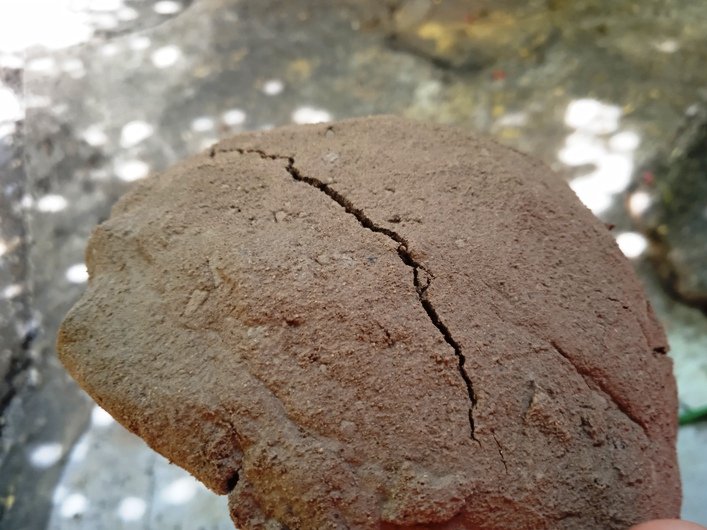
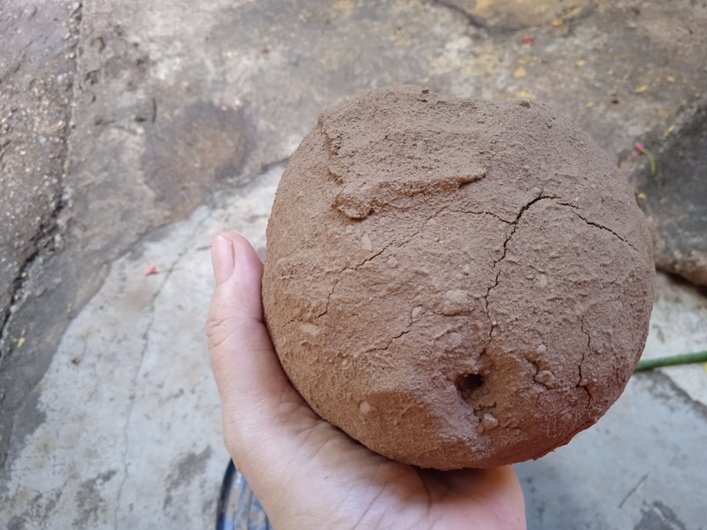
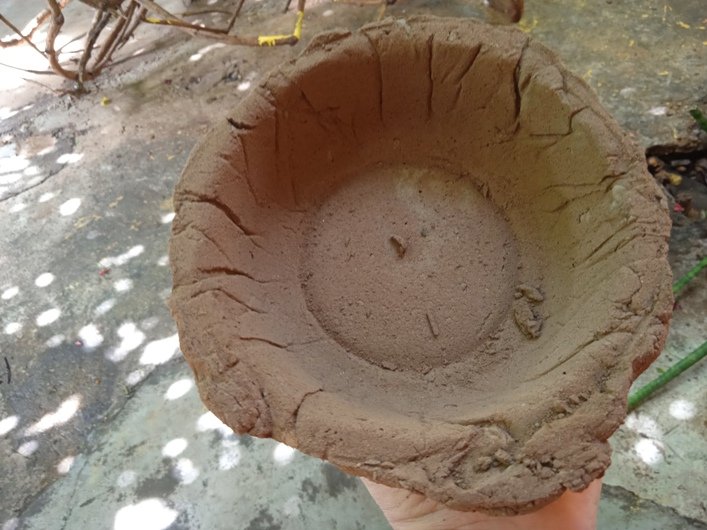
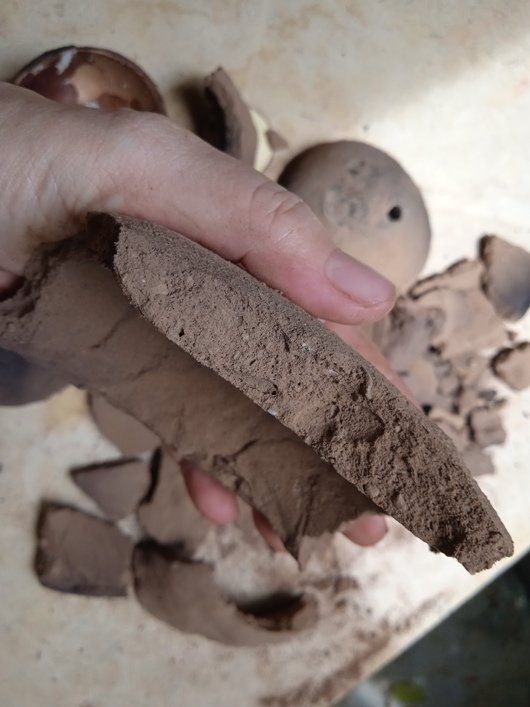
After a week, and once the pieces are dry, I proceed to unmold them to bake them. Unfortunately I saw that the pieces made on top of the coconut shells were cracked, the other two were not. I proceeded to remove the plastic bowls and the paper.
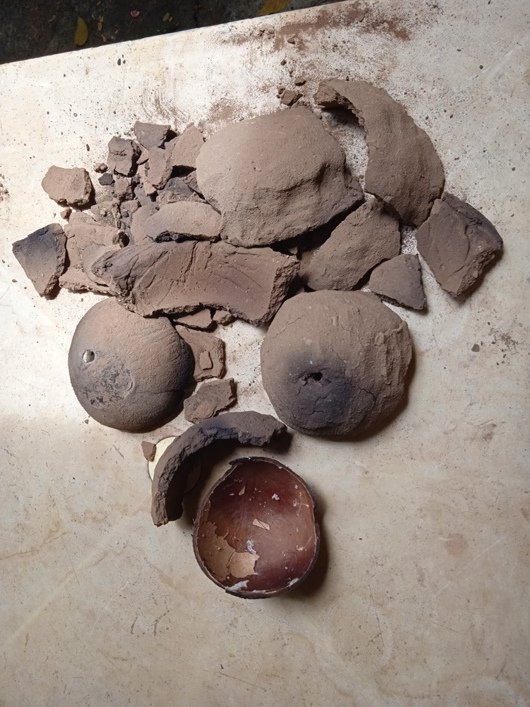
Although I have an electric oven for clay pieces, I haven't used it for a long time due to the constant problems with the electricity supply. On the other hand, it has rained and I don't have dry wood, so I decided to bake the pieces in my kitchen oven, the same one I use to bake cookies, cakes and breads. I introduced the dry pieces on the oven plate, and I was baking them for 65 minutes at 220 ºC. Once this time had elapsed, I turned off the oven and let the pieces rest until the next day; however, I was terribly disappointed, as all the pieces disintegrated except one, which I made from coconut shells; but I can't use this piece for a hive, since it gives off a very strong smell, I suppose that the coconut shell produces it and the bees wouldn't like this, so I left it to sow a little plant. The next thing I did was collect all these remains and save them, they can be useful to repair a hole in the walls of my home.
And here ends my post today, in which I share this first failed attempt. I will redo the hives, but I will vary the composition of the mixture and bake accordingly. See you soon! This will continue.

 Delegations welcome!
Find our community here
Curation Trail
Delegations welcome!
Find our community here
Curation Trail

Find our community here Delegations welcome! / Curation Trail
Bienvenidas delegaciones / Delegations welcome
Encuentra nuestra comunidad aquí / Find our community here
Trail de Curación / Curation Trail
Has sido curado por @visualblock / You've been curated by @visualblock
Congratulations @sirenahippie! You have completed the following achievement on the Hive blockchain And have been rewarded with New badge(s)
You can view your badges on your board and compare yourself to others in the Ranking
If you no longer want to receive notifications, reply to this comment with the word
STOPCheck out our last posts:
Yay! 🤗
Your content has been boosted with Ecency Points
Use Ecency daily to boost your growth on platform!
Support Ecency
Vote for new Proposal
Delegate HP and earn more, by @sirenahippie.