Hi friends!
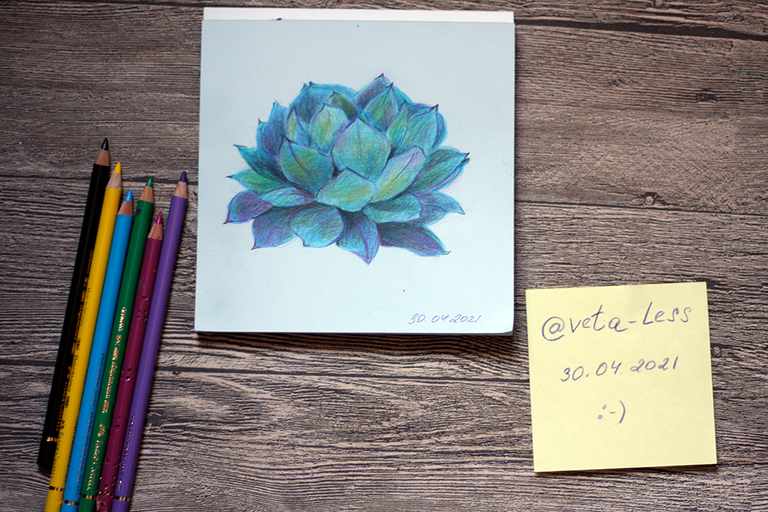
I never stop learning to paint, participating in workshops and other drawing activities. Recently I took a master class on drawing a succulent with colored pencils. And I want to share the knowledge I have gained with you using my drawing as an example.
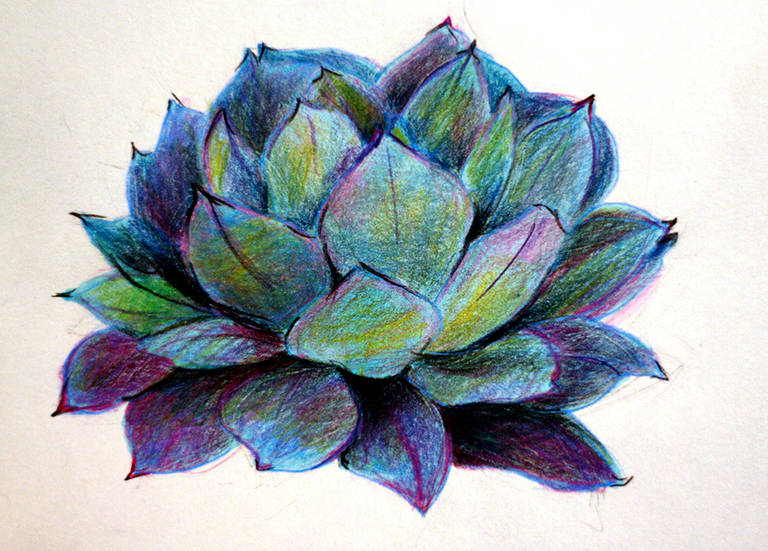
Materials:
graphic paper
simple pencil and eraser
colored pencils - blue, lilac, violet, pink, blue, black, crimson, green, yellow
blue felt-tip pen
Reference

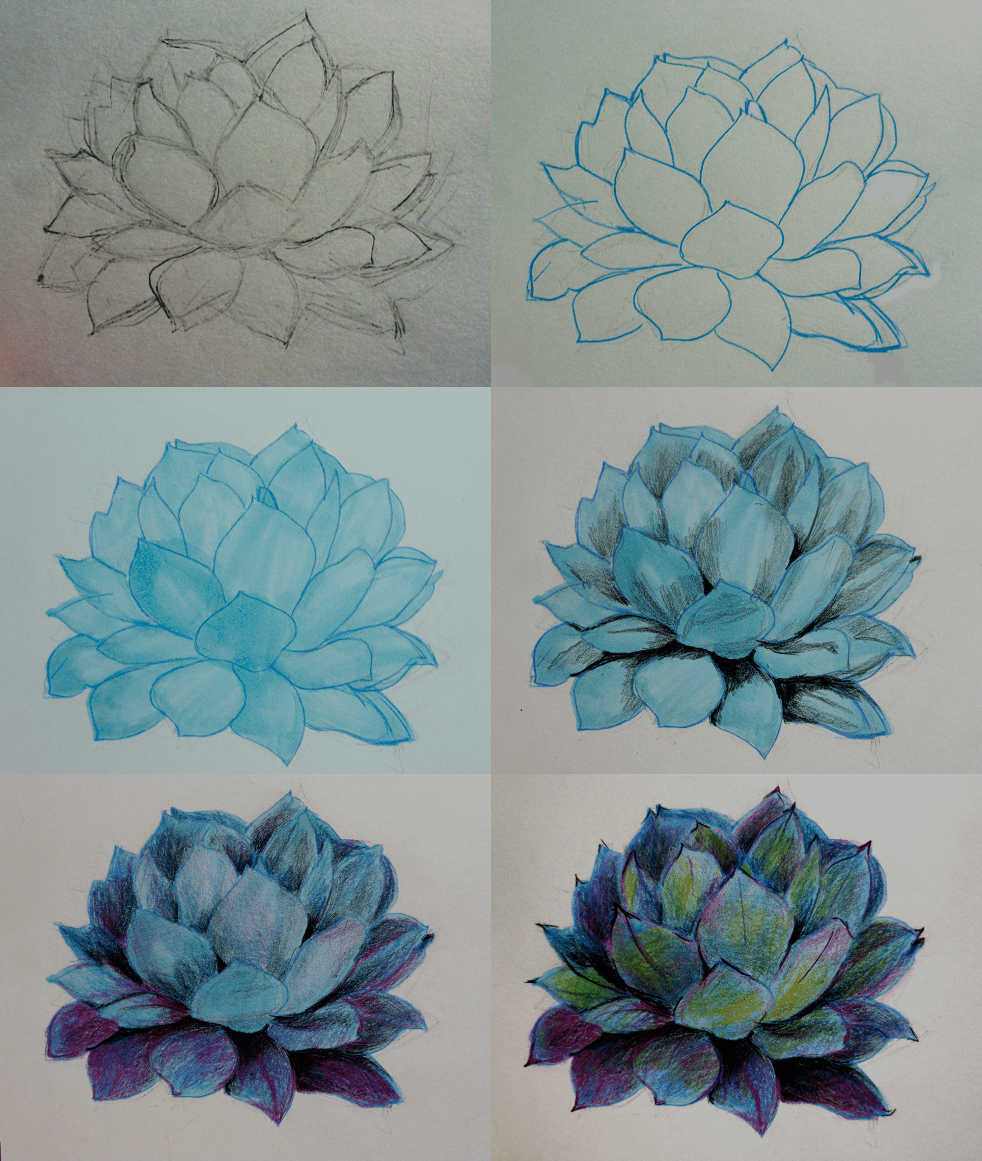
First you need to outline the corners and general contours of the drawing and the general outline of the flower.
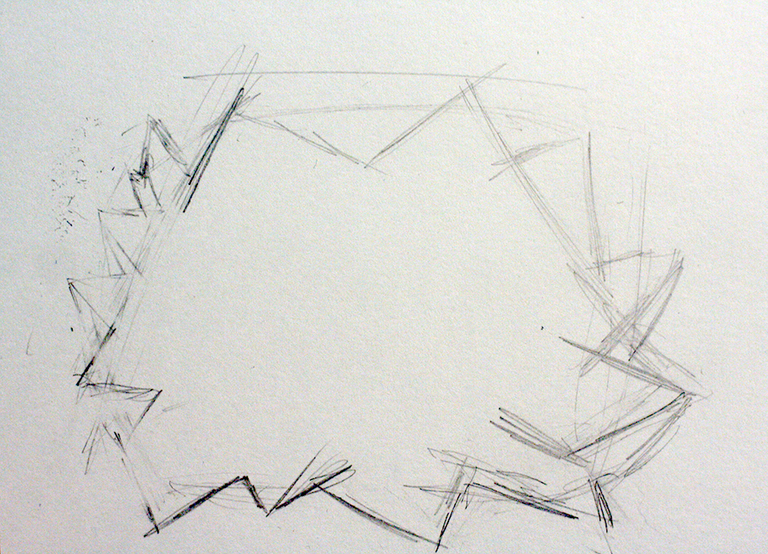
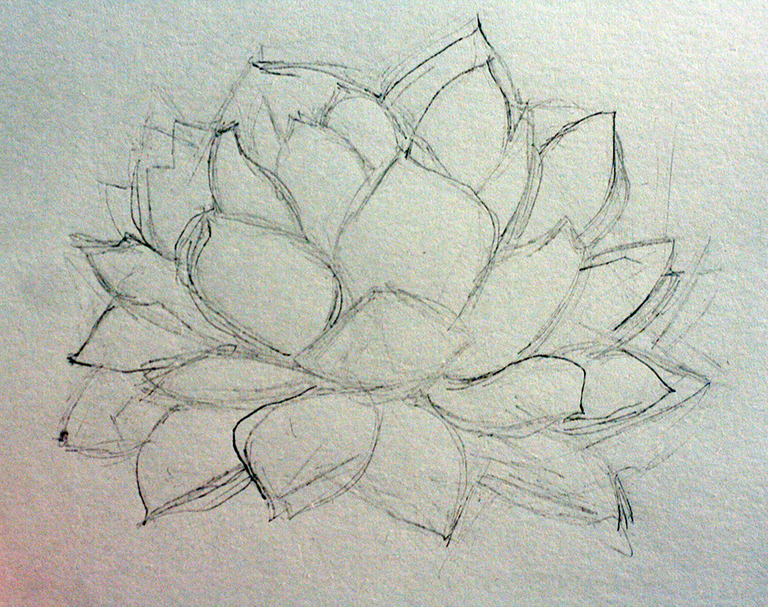
Further, contacting in the corners, we draw succulent leaves. When the outline of the leaves is outlined, we take it and erase it with an eraser. We leave a light trace of the pencil.
Next, we take a colored blue kardash and outline the contours of the leaves.
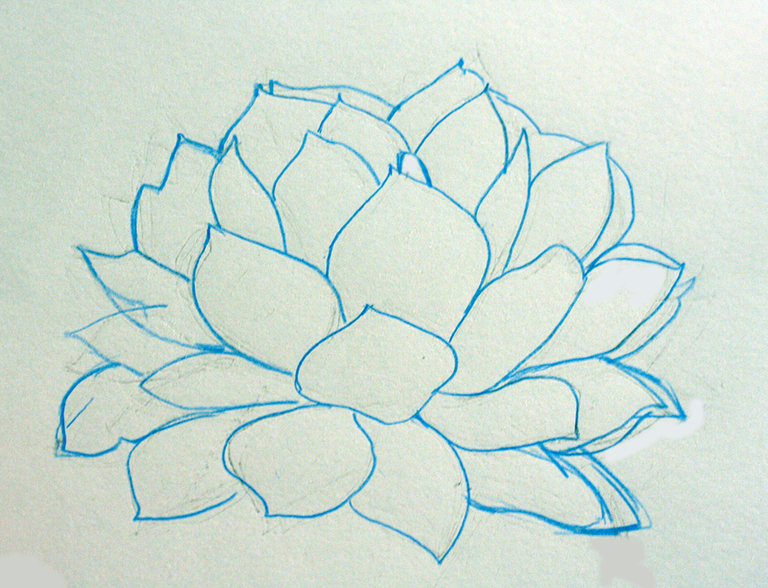
Draw a background under the colored pencils. We draw it with a blue felt-tip pen.
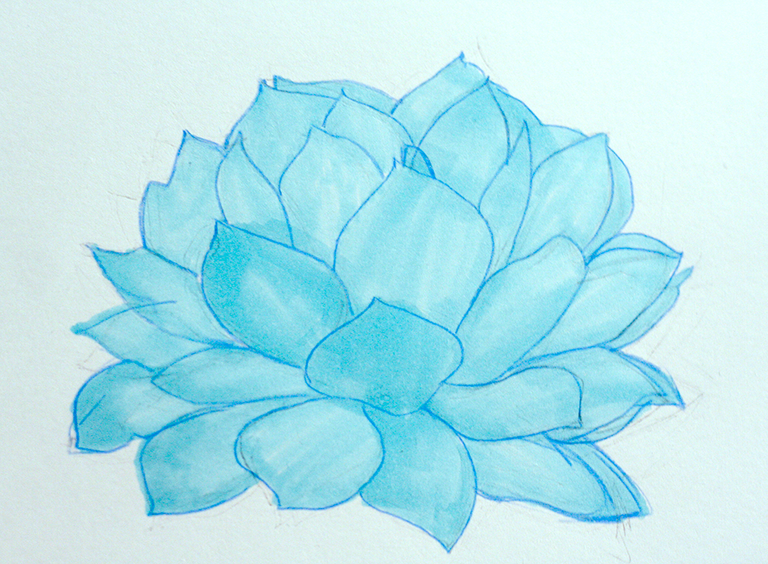
Next, we take a black pencil and apply the darkest shadows in the depths of the leaves, and on the leaves themselves, not so much hatching. Try to blend it neatly from dark to lighter.
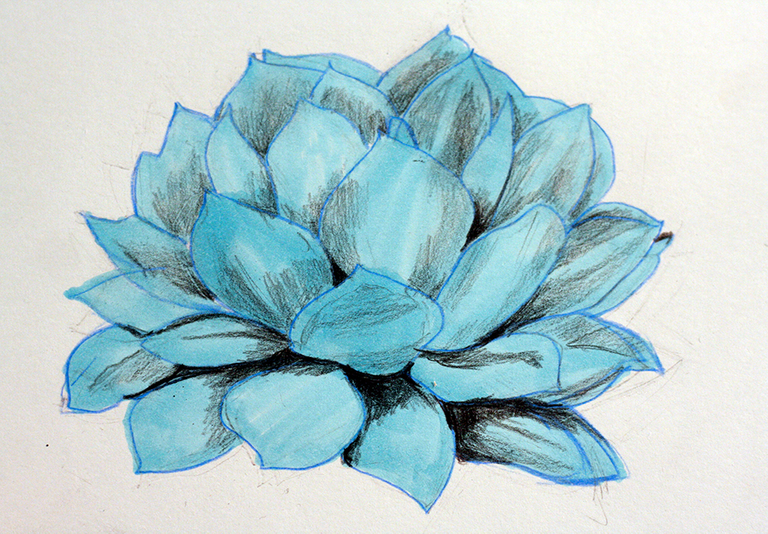
If the feathering doesn't work out, it's okay - after all, we will still be applying several layers of color. We take a blue pencil and once again shade the leaves with it. Next, take blue and add it to the darkest shadows and lightly on the leaves. Please note that we have selected and least of all hatched the rosette in the center to make it look more voluminous. Next we take crimson and pink pencils and add red, purple, and crimson shades to the leaves. In pink, we outline the contours of the leaves in some places.
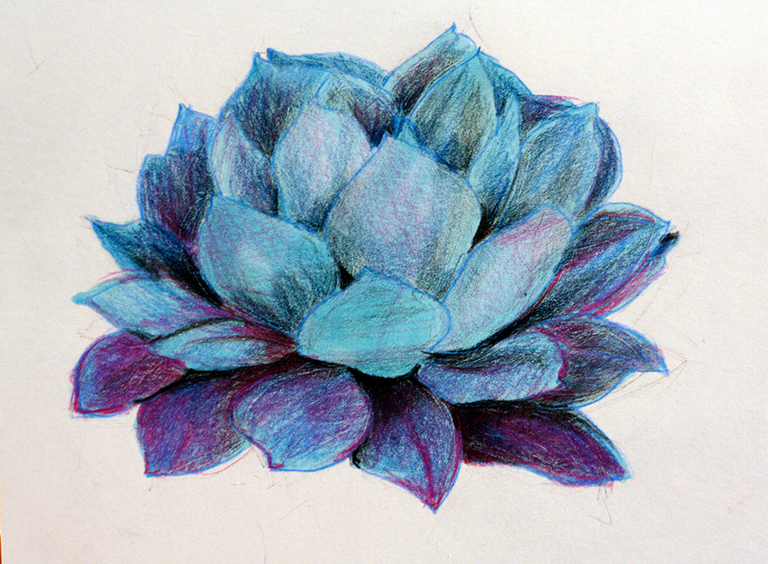
In the last step, we add greenish and yellowish tints to the right places on the sheets. And also with raspberry cracker we make sharper tips of the leaves.

Our drawing is complete.
Here you can see the dynamics
Cheers
Veta

Your content has been voted as a part of Encouragement program. Keep up the good work!
Use Ecency daily to boost your growth on platform!
Support Ecency
Vote for Proposal
Delegate HP and earn more