In this tutorial I will show you how to make classic, “high-end” salt dough ornaments. This is an activity the whole family will love!

Every day this week I will be posting a new traditional Christmas decor idea. I almost didn’t add salt dough ornaments to the docket. They always seem to look so…kindergarden. No doubt, your little ones will love to squish their hands in the dough and shape their own ornaments, then goop their primary coloured paints all over them. The results are so charming and deserve a special spot on the Christmas tree.
I also wanted to see if I could make salt dough ornaments that looked more “high-end”. I believe I succeeded, which is why Salt Dough Ornaments made it to the blog this week!
The trick is to not let your children help you. Separate projects people. They make theirs, you make yours. We’re going for fancy.
How to Make (High-End) Salt Dough Ornaments
The Steps
- Make the Dough
- Shape the Ornaments
- Bake
- Paint and Decorate

Make the Dough:
Add 2 cups of all purpose flour, 1/2 cup of table salt, and 3/4 cups of water to a bowl. Mix well with your hands until a dough forms. Add a little flour if it’s too wet, or a little water if it’s too dry.
Shape the Ornaments:
Roll the dough out on a clean smooth surface (or onto parchment paper), until it is about 1/4 inch thick. Use a round cookie cutter (or any shape) to create as many ornaments as you can.
Once you have your basic ornament shapes, you can add personal touches. A child’s handprint is always a good choice. Branches, leaves or patterns from woven baskets make excellent stamps, too.
I wanted to make plaid patterns. To do this I used the back of a butterknife to gently press lines into the dough, being careful to not cut too deep.
When you’re satisfied with your personal touches, carefully move the salt dough ornaments to a parchment paper lined baking sheet. Use a spatula or bench scraper to get your ornaments off the counter if they are sticking.
The next, very important step, is to make a hole for your string. A toothpick, straw, knitting needle, or chopstick will do the job. Keep in mind the size of ribbon, string, or thread you will be using to hang your ornaments.
Bake:
Preheat your oven to 250F, then bake the ornaments until they are dry. Smaller ornaments will take about 90 minutes. Thicker ornaments could take 3+ hours.
Paint and Decorate:
When the ornaments are completely dry, it’s time to paint! To make the ornaments look more “high-end”, I spray painted them on both sides with a metallic copper color (this is the paint I used). Then I used antiquing wax (like this one) to create an aged look. The wax is applied just like a stain. First it is painted on, then the excess is wiped off. The darker color stays in the cracks which made my plaid patterns pop.
You might also like to add glitter, or hot glue beads, bows or bells to your ornaments. Attach a string to hang the ornament.
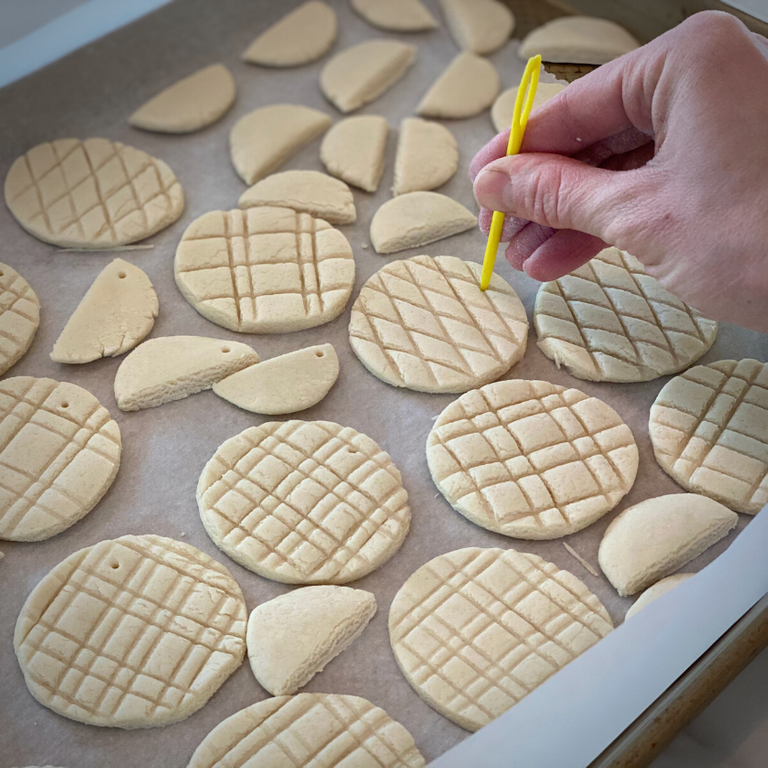
Poke holes before baking.
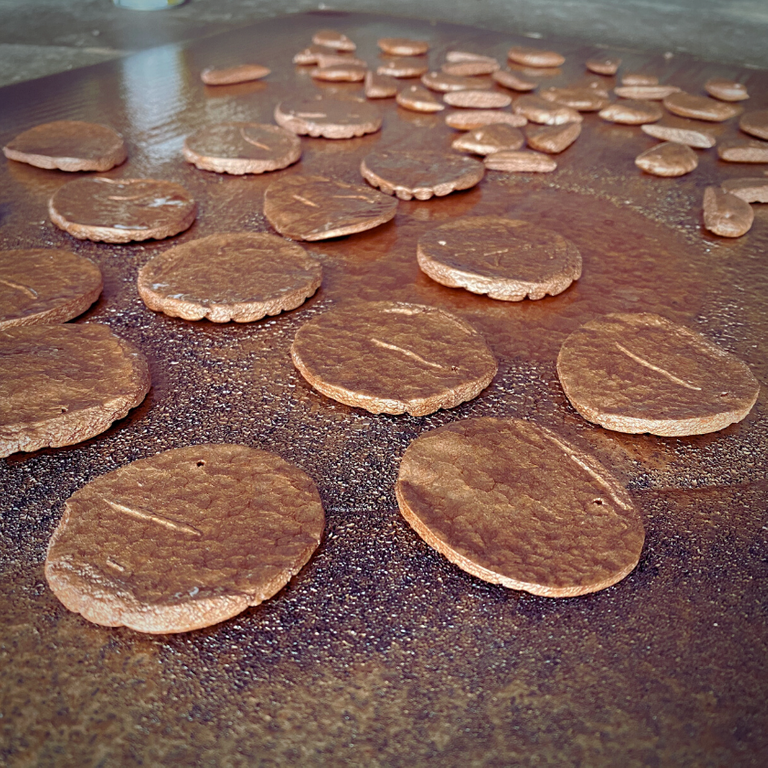
Paint both sides with metallic copper spray paint.
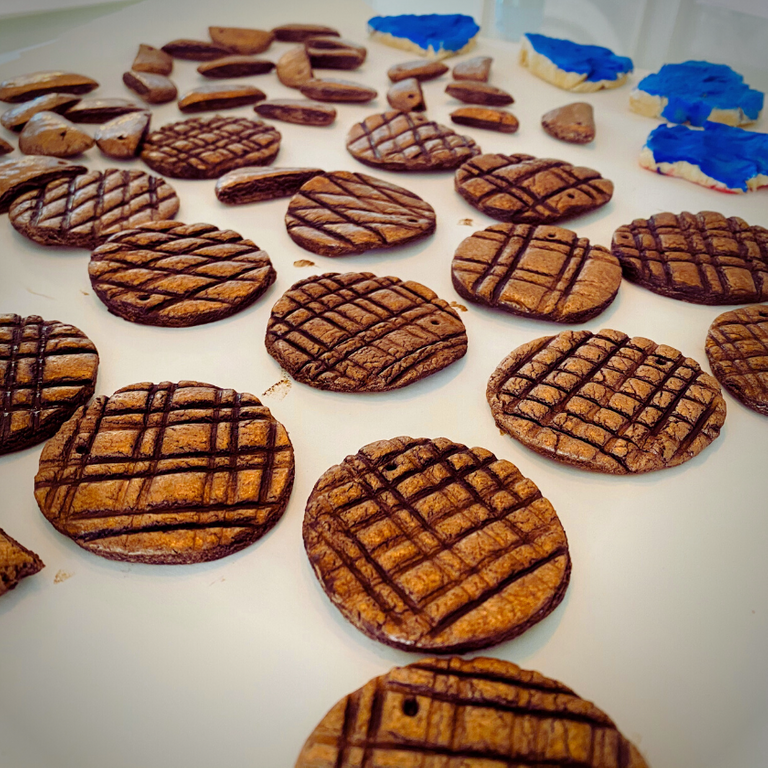
Apply antiquing wax.
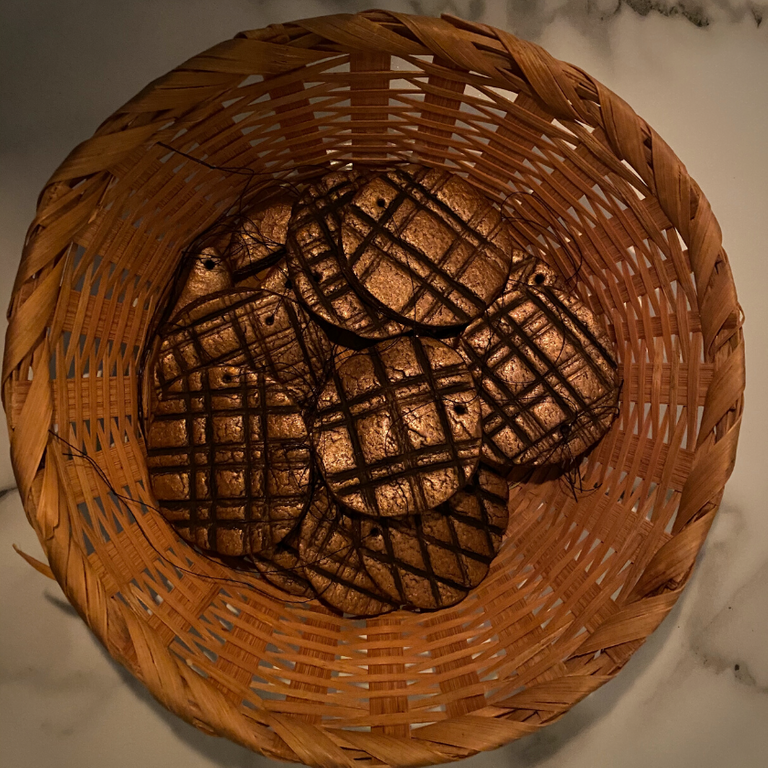
My husband informed me that my “high-end” ornaments look like grilled steaks. I’m ok with that and still consider it a success.
Notes:
Salt dough ornaments can be made into so many shapes and sizes. I was attempting to make little coin shaped ornaments and then my son started cutting them all in half. I kind of liked it so I poked the holes, baked them, painted and waxed them, and strung them into a garland. The creative possibilities are endless! Have fun!

Happy Holidays Everyone!
Check back every day this week for another #classicchristmas idea.
If you enjoyed this tutorial, you might also like these:
How to Make Orange and Clove Pomanders | Traditional Homemade Christmas Decor
How to Make (Real) VANILLA Extract
How to Make Homemade Spiced RUM
Follow us: @alexanderfarm on Hive and Odysee