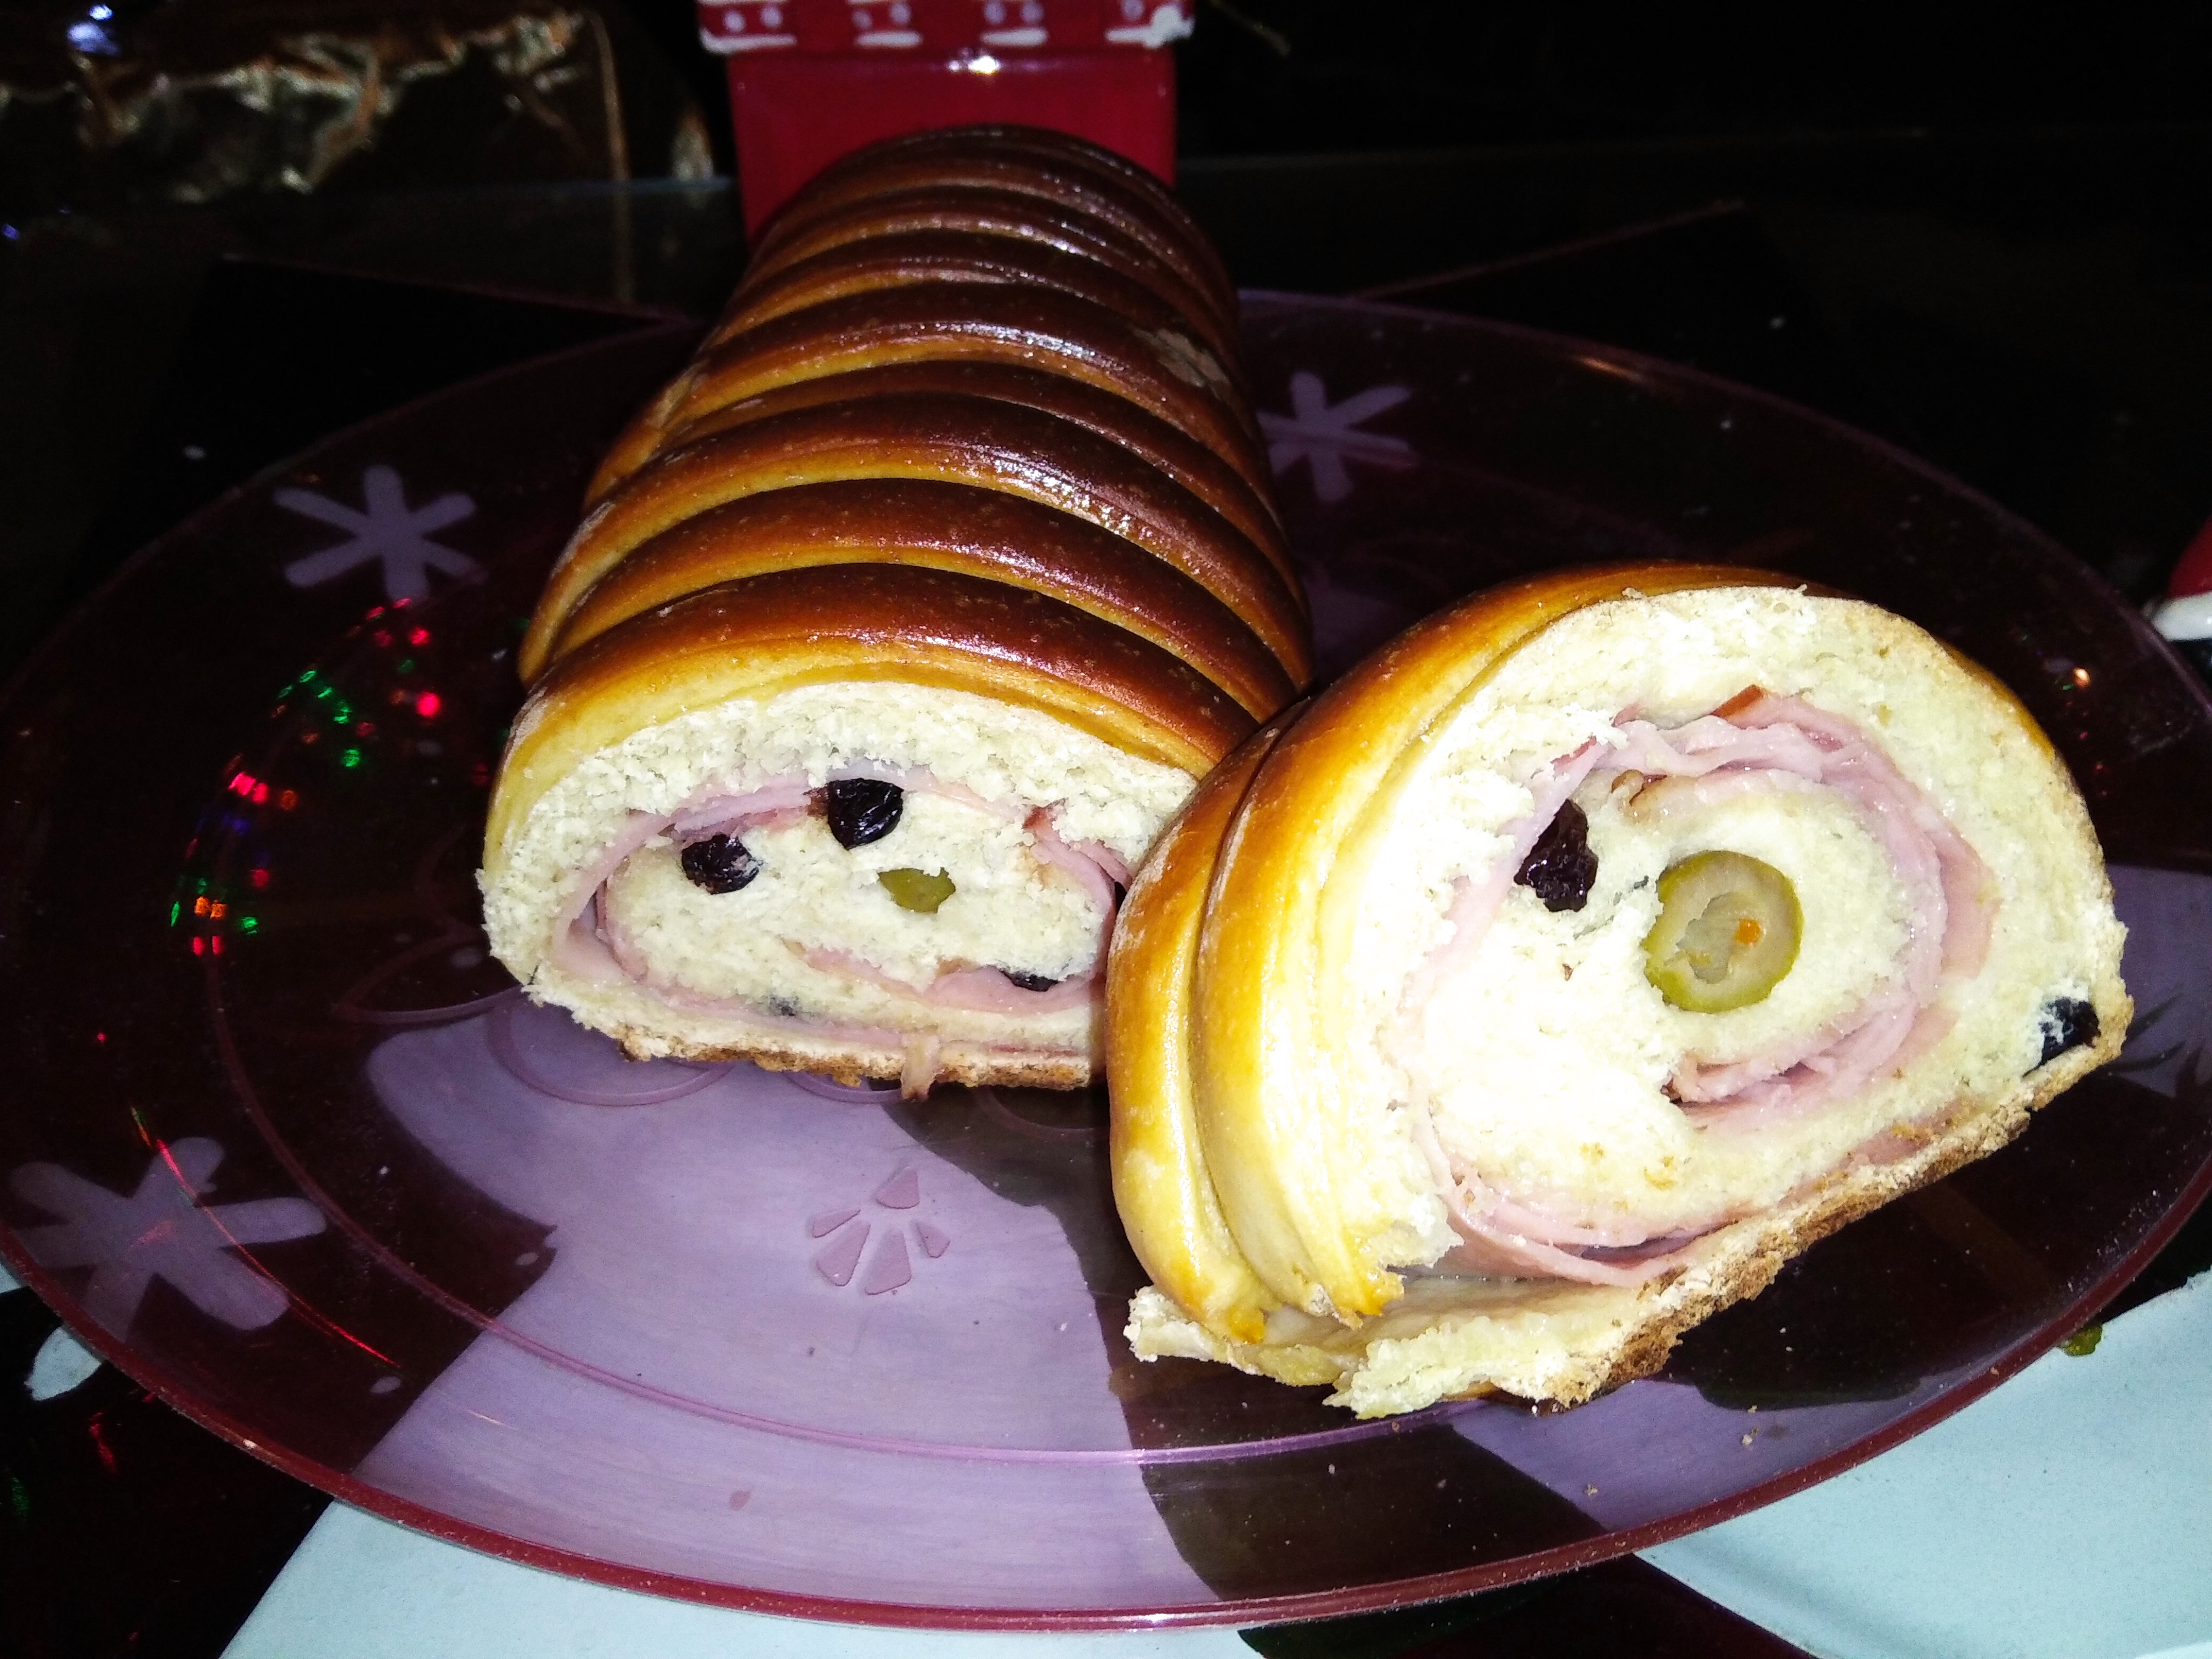
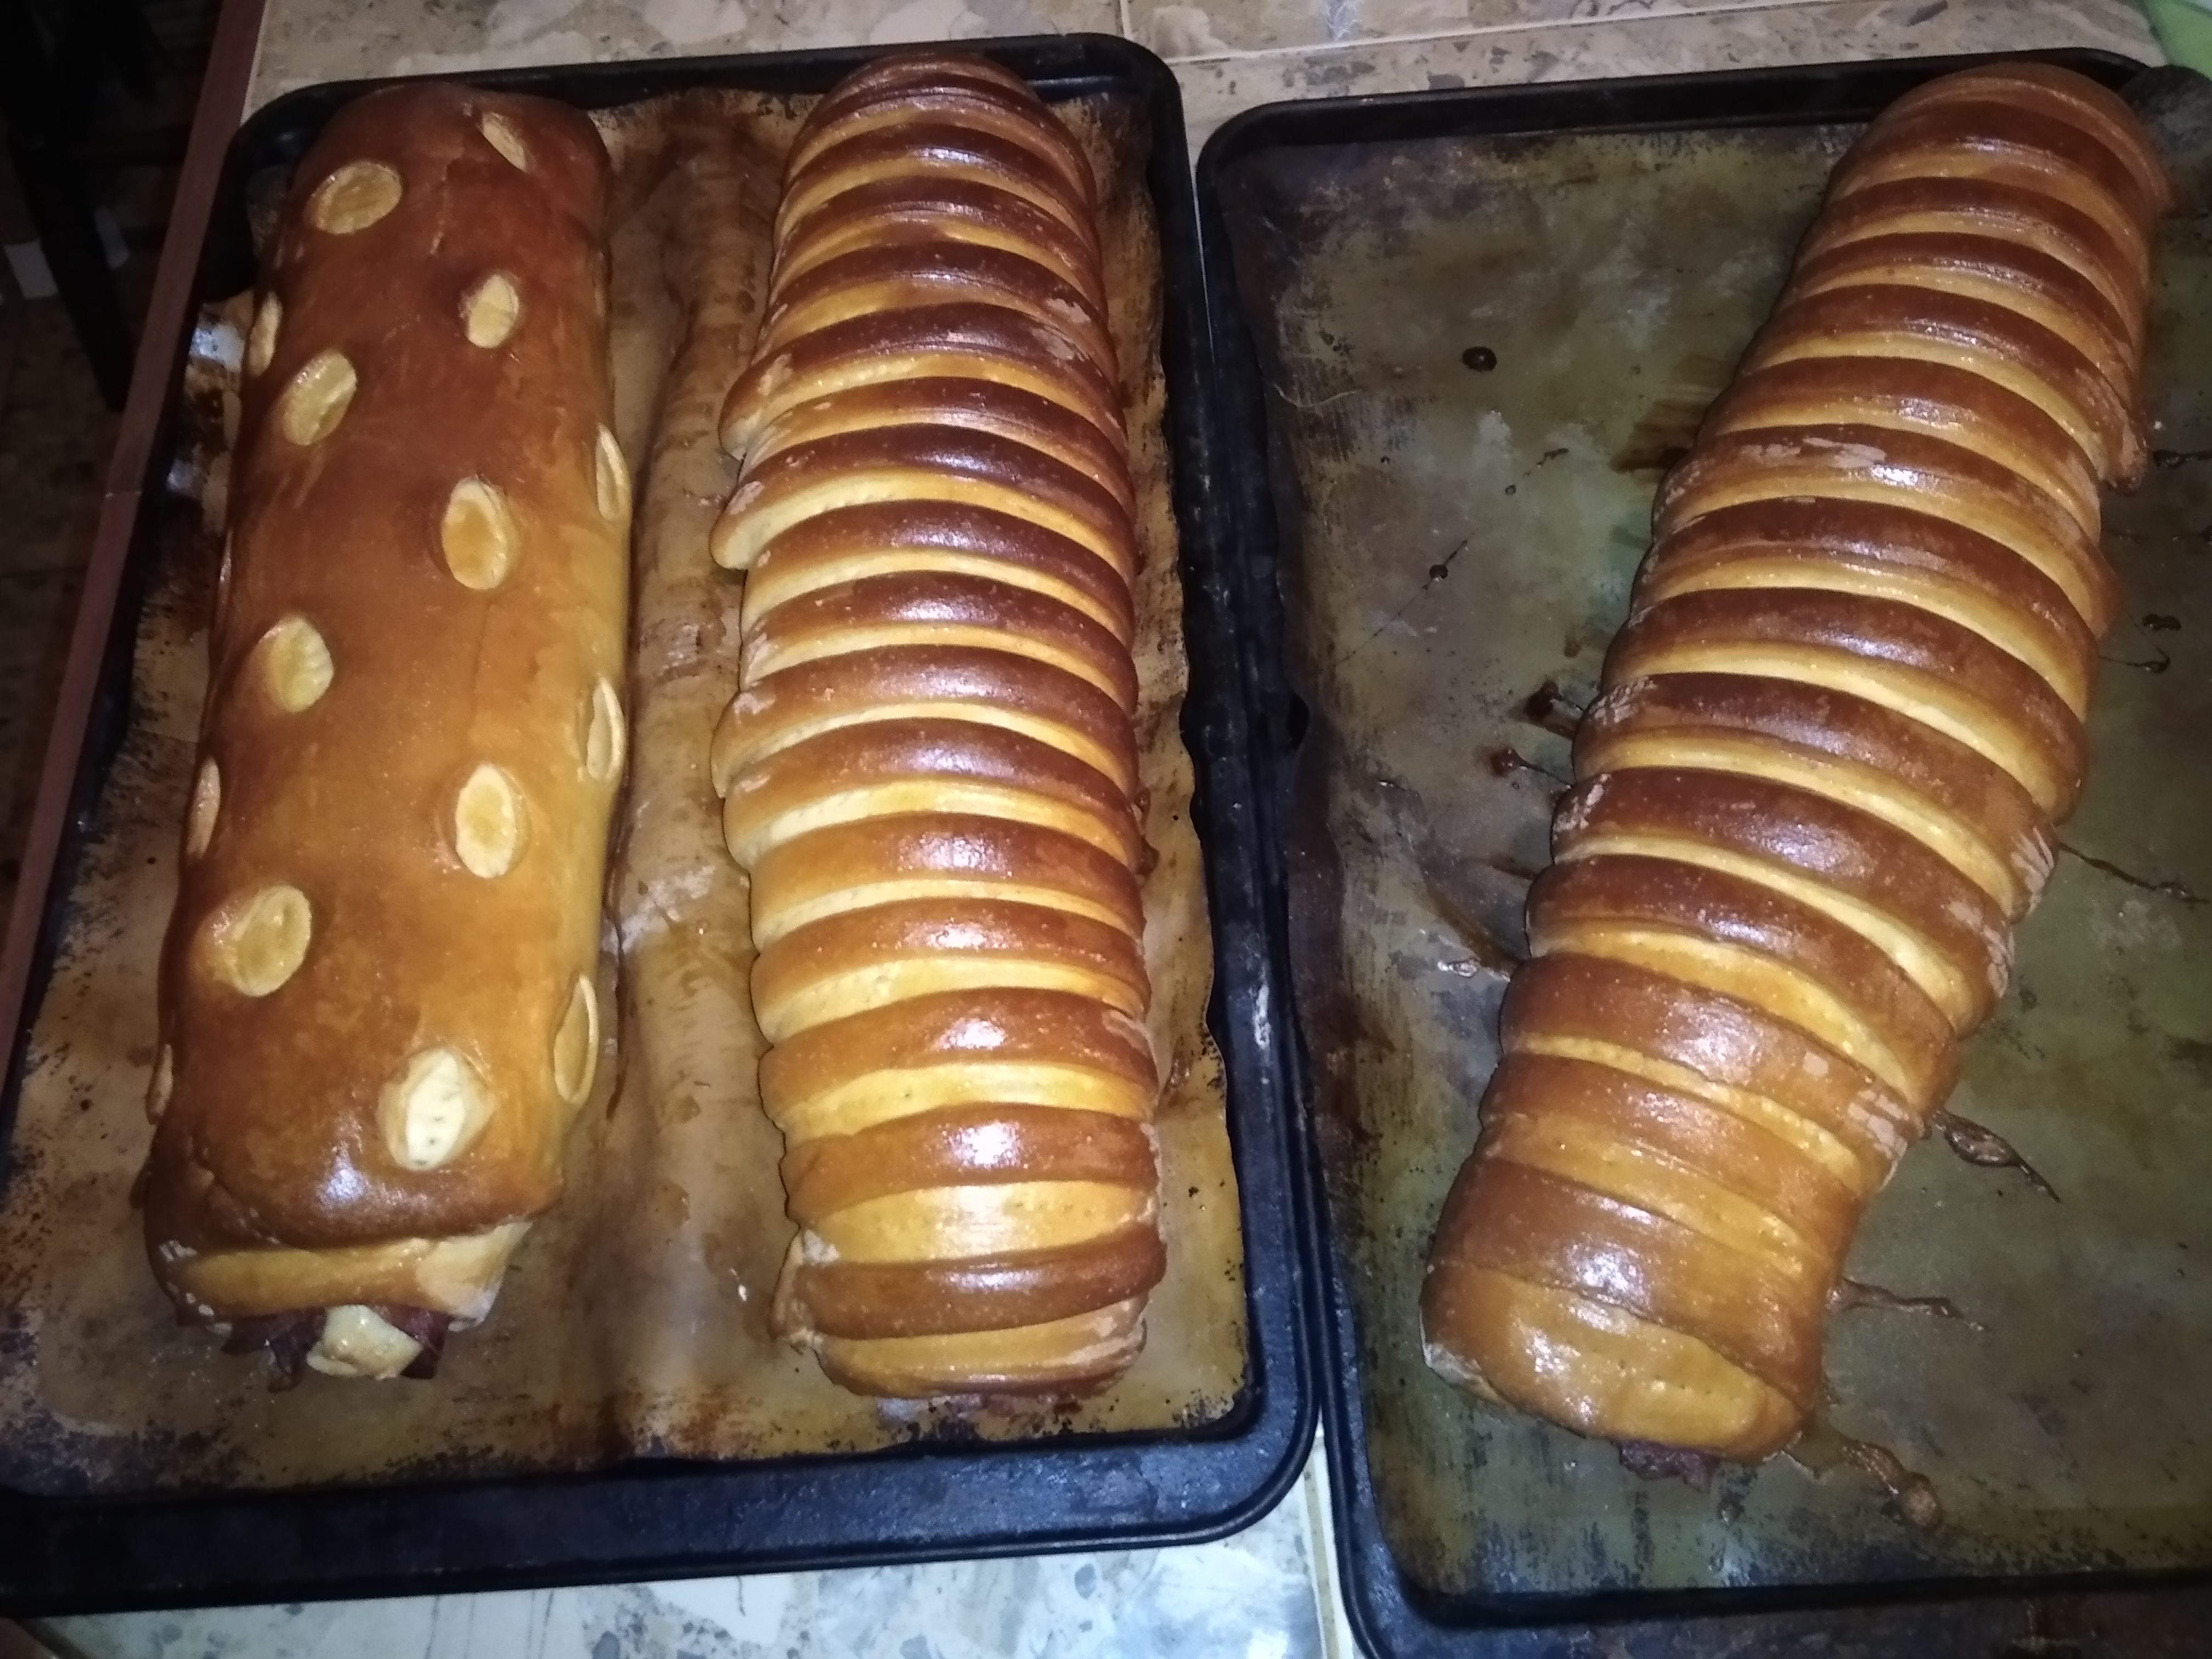
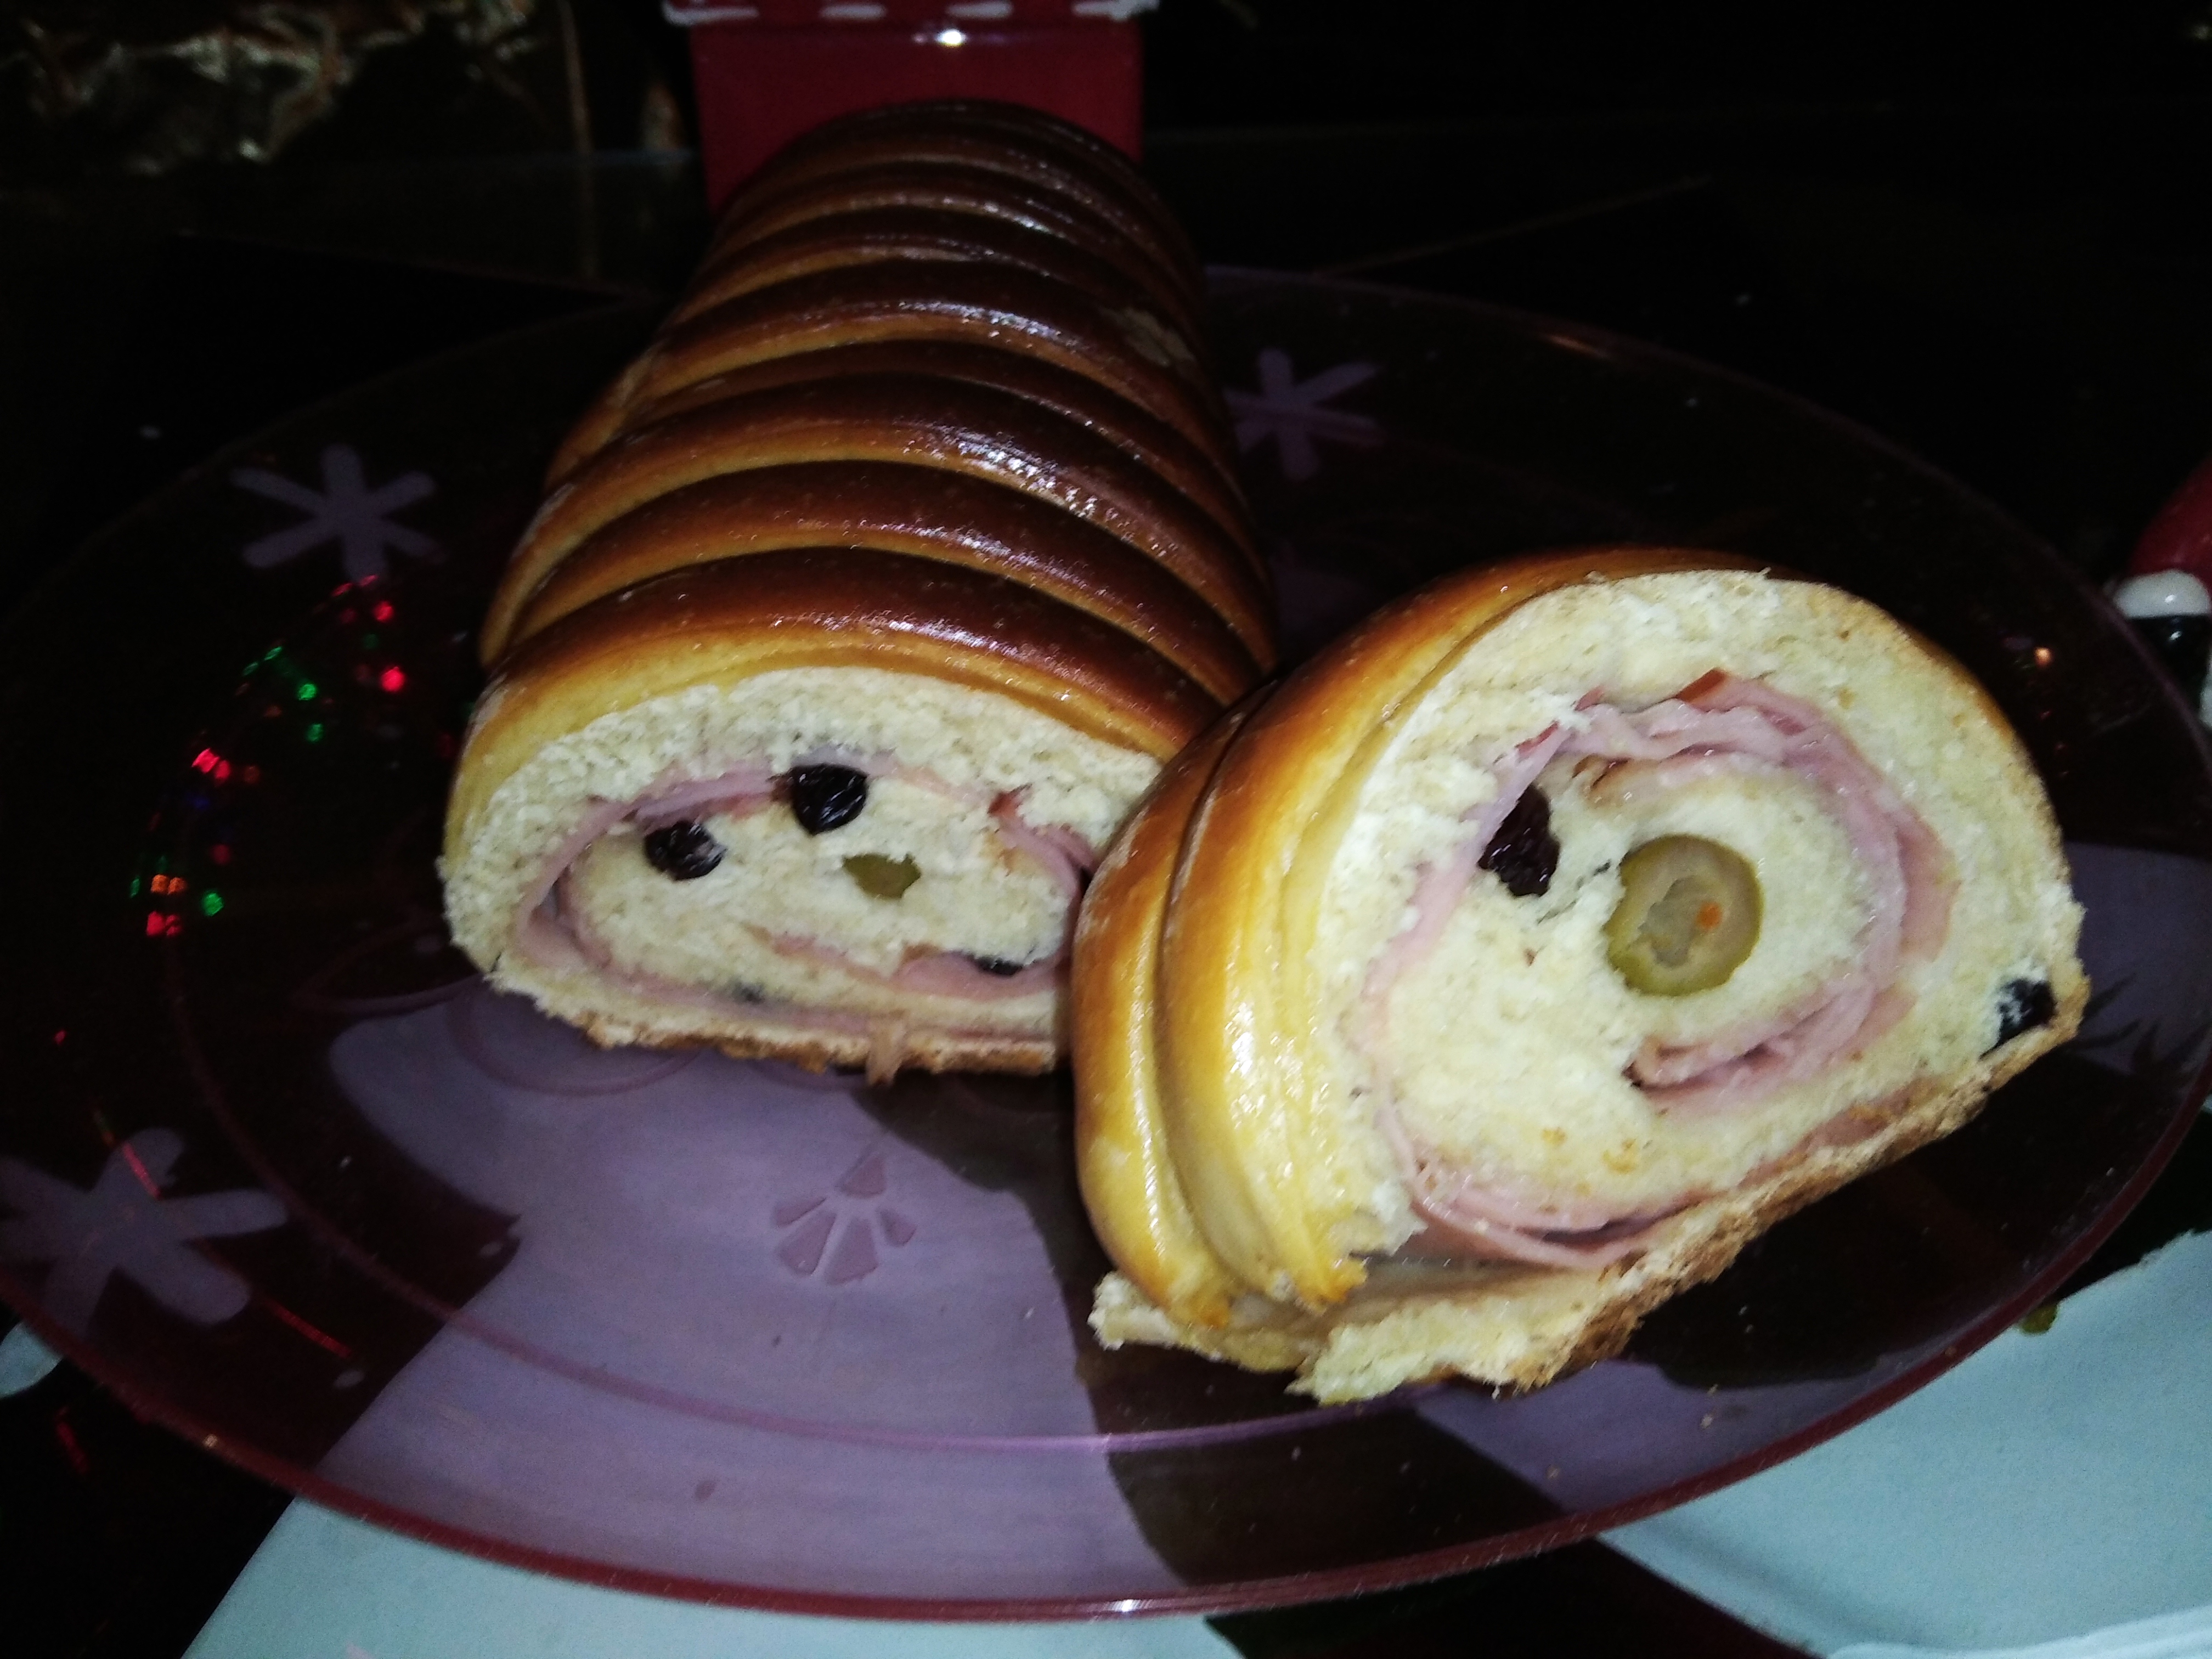
Un afectuoso saludo a toda la comunidad de Foodies Bee Hive. En una publicación previa les mostré la receta de pan de jamón que seguimos en la casa, pero en esta ocasión, para variar un poco, decidí adaptar la receta del pan de brioche a la de pan de jamón, y el resultado fue mejor de lo que esperaba, aquí se los muestro.
A warm greeting to all the Foodies Bee Hive community. In a previous post I showed you the ham bread recipe that we follow in the house, but this time, for a change, I decided to adapt the brioche bread recipe to the ham bread recipe, and the result was better than I expected, here I show you.

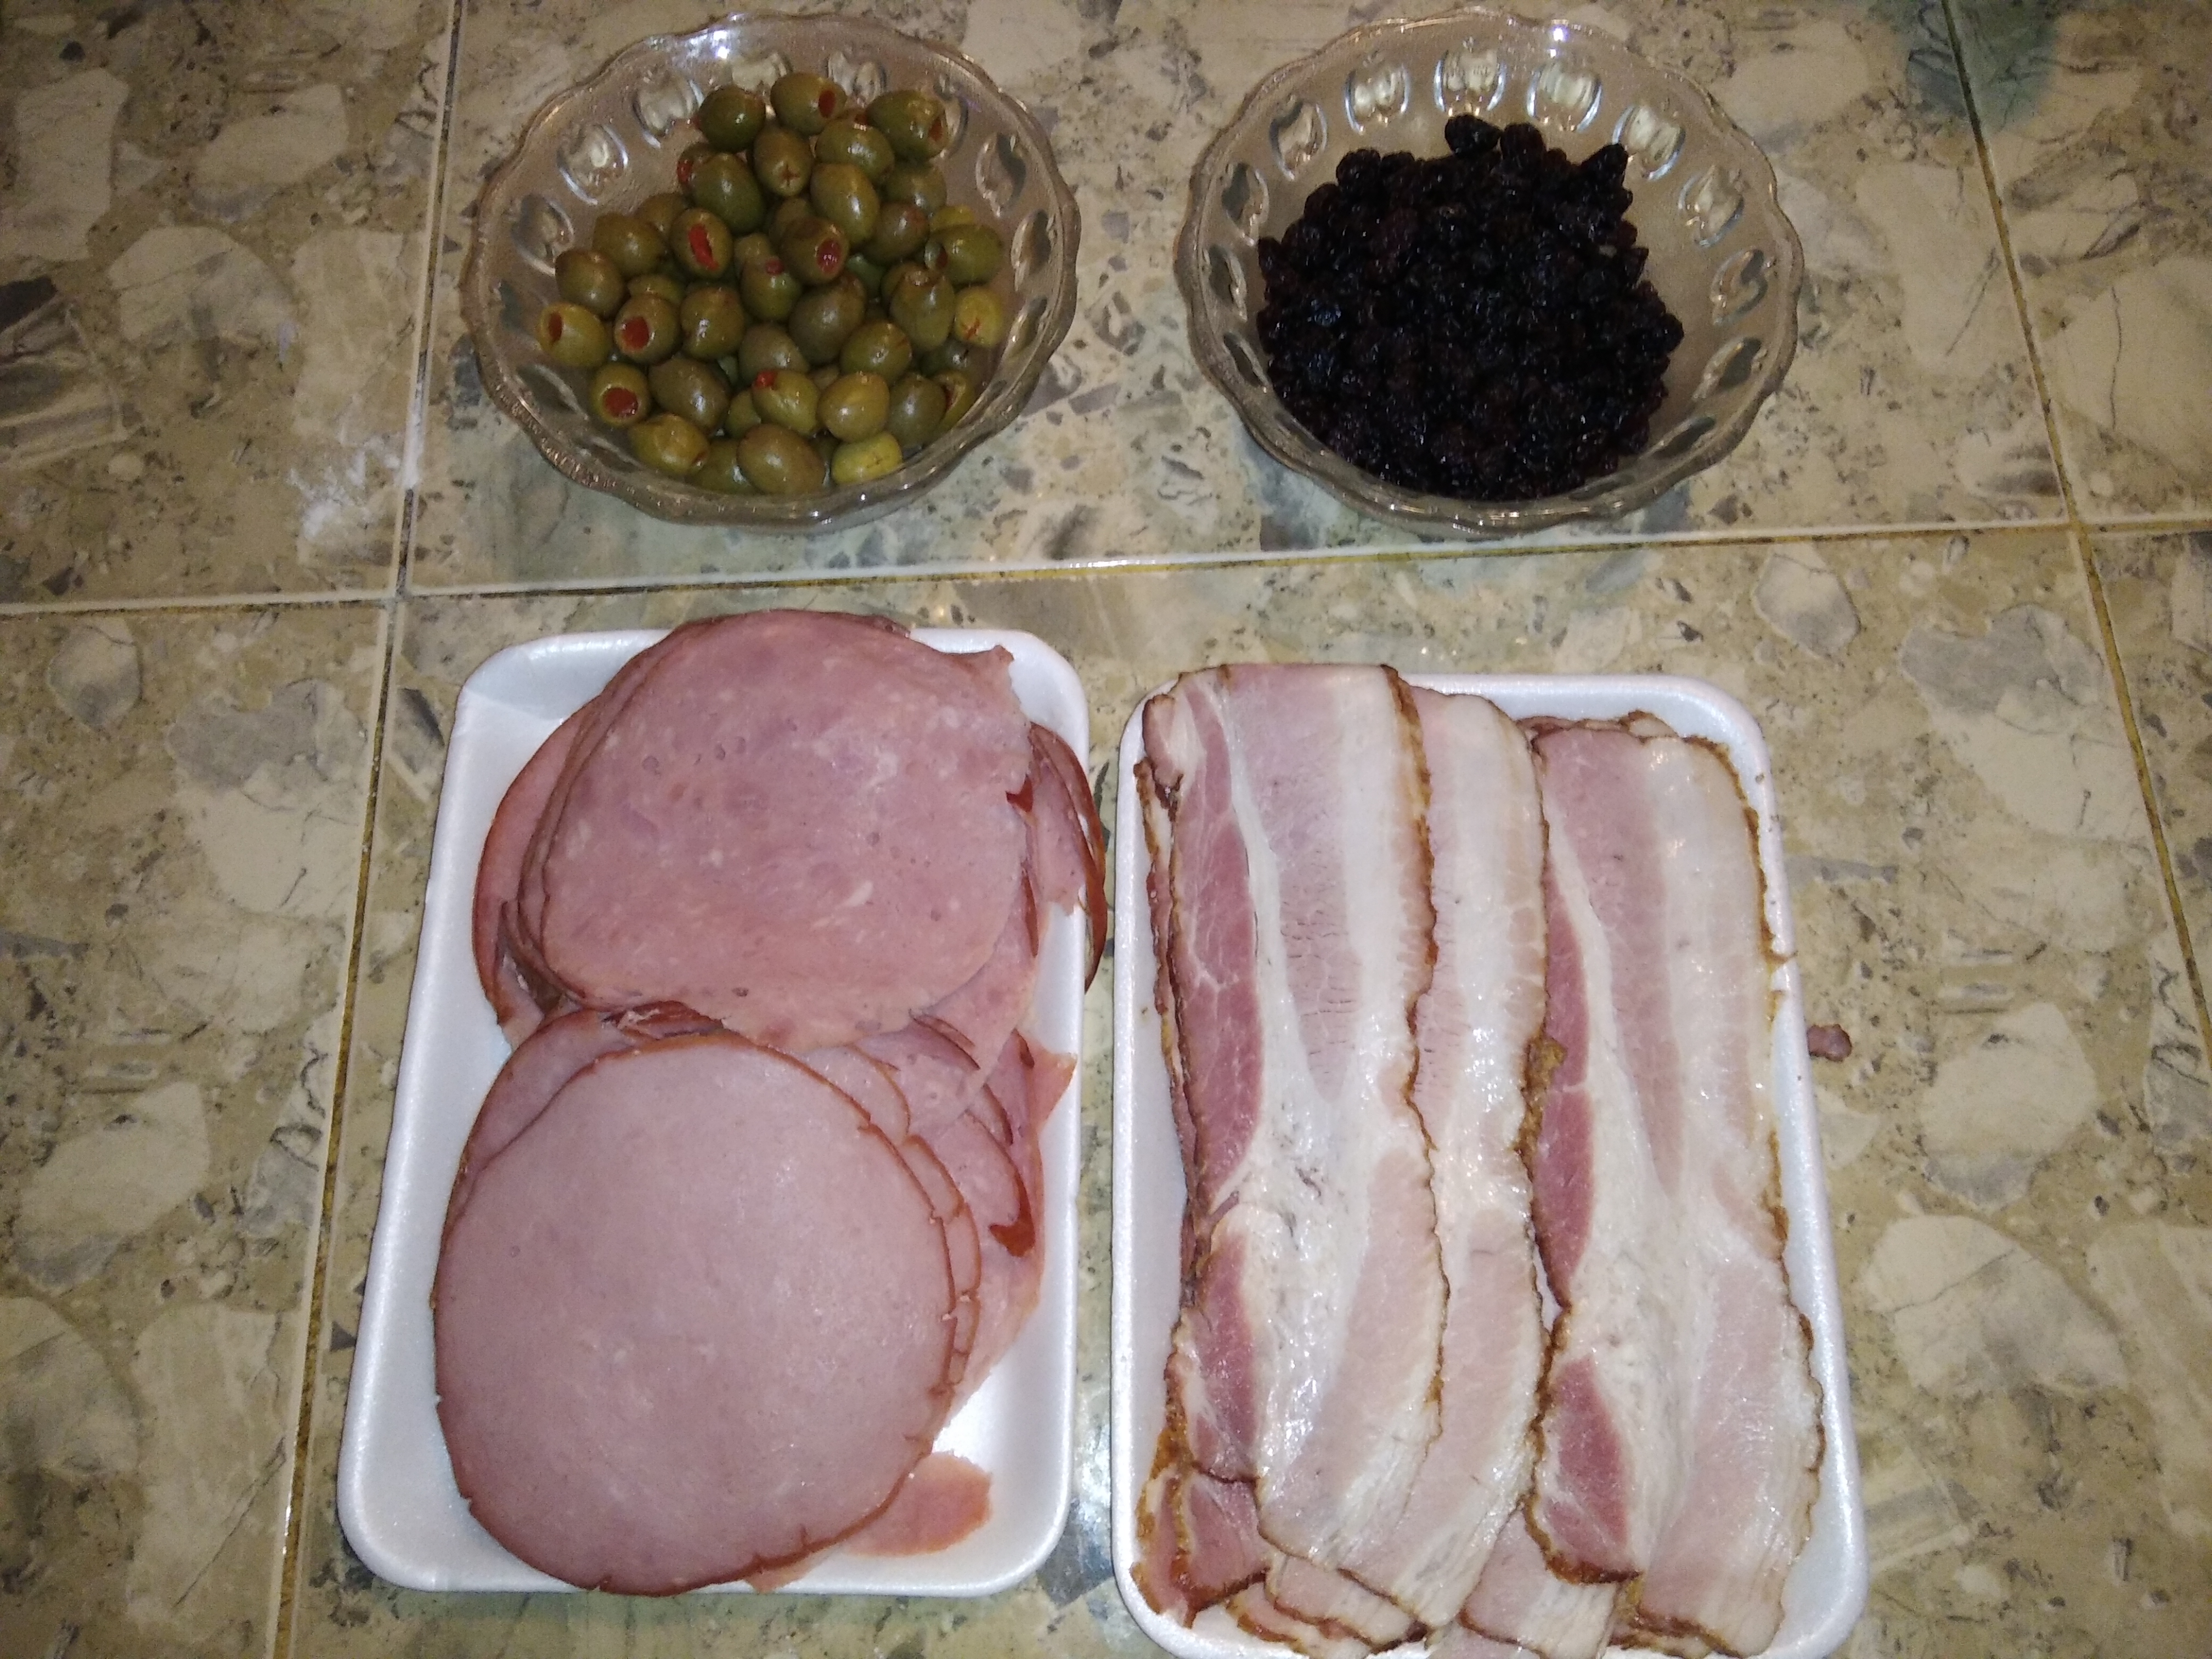
Ingredientes
Para la masa:
- 700 gr de harina todo uso.
- 100 gr de azúcar
- 250 ml de leche
- 2 huevos
- 3 cucharadas de levadura de panadería granulada
- 1 cucharadita de sal
- 100 gr de margarina
Para el relleno:
- 1 kg de jamón ahumado
- 1/2 kg de tocineta ahumada
- 1 taza de pasas de uva
- 1 taza de aceitunas rellenas
Para el glaseado:
- 1 huevo
- 1 cucharada de azúcar
Ingredients
For the dough:
- 700 gr all-purpose flour.
- 100 gr of sugar
- 250 ml milk
- 2 eggs
- 3 tablespoons of granulated baker's yeast
- 1 teaspoon of salt
- 100 gr margarine
For the filling
- 1 kg smoked ham
- 1/2 kg smoked bacon
- 1 cup of raisins
- 1 cup of stuffed olives
For the glaze:
- 1 egg
- 1 tablespoon sugar



Paso 1
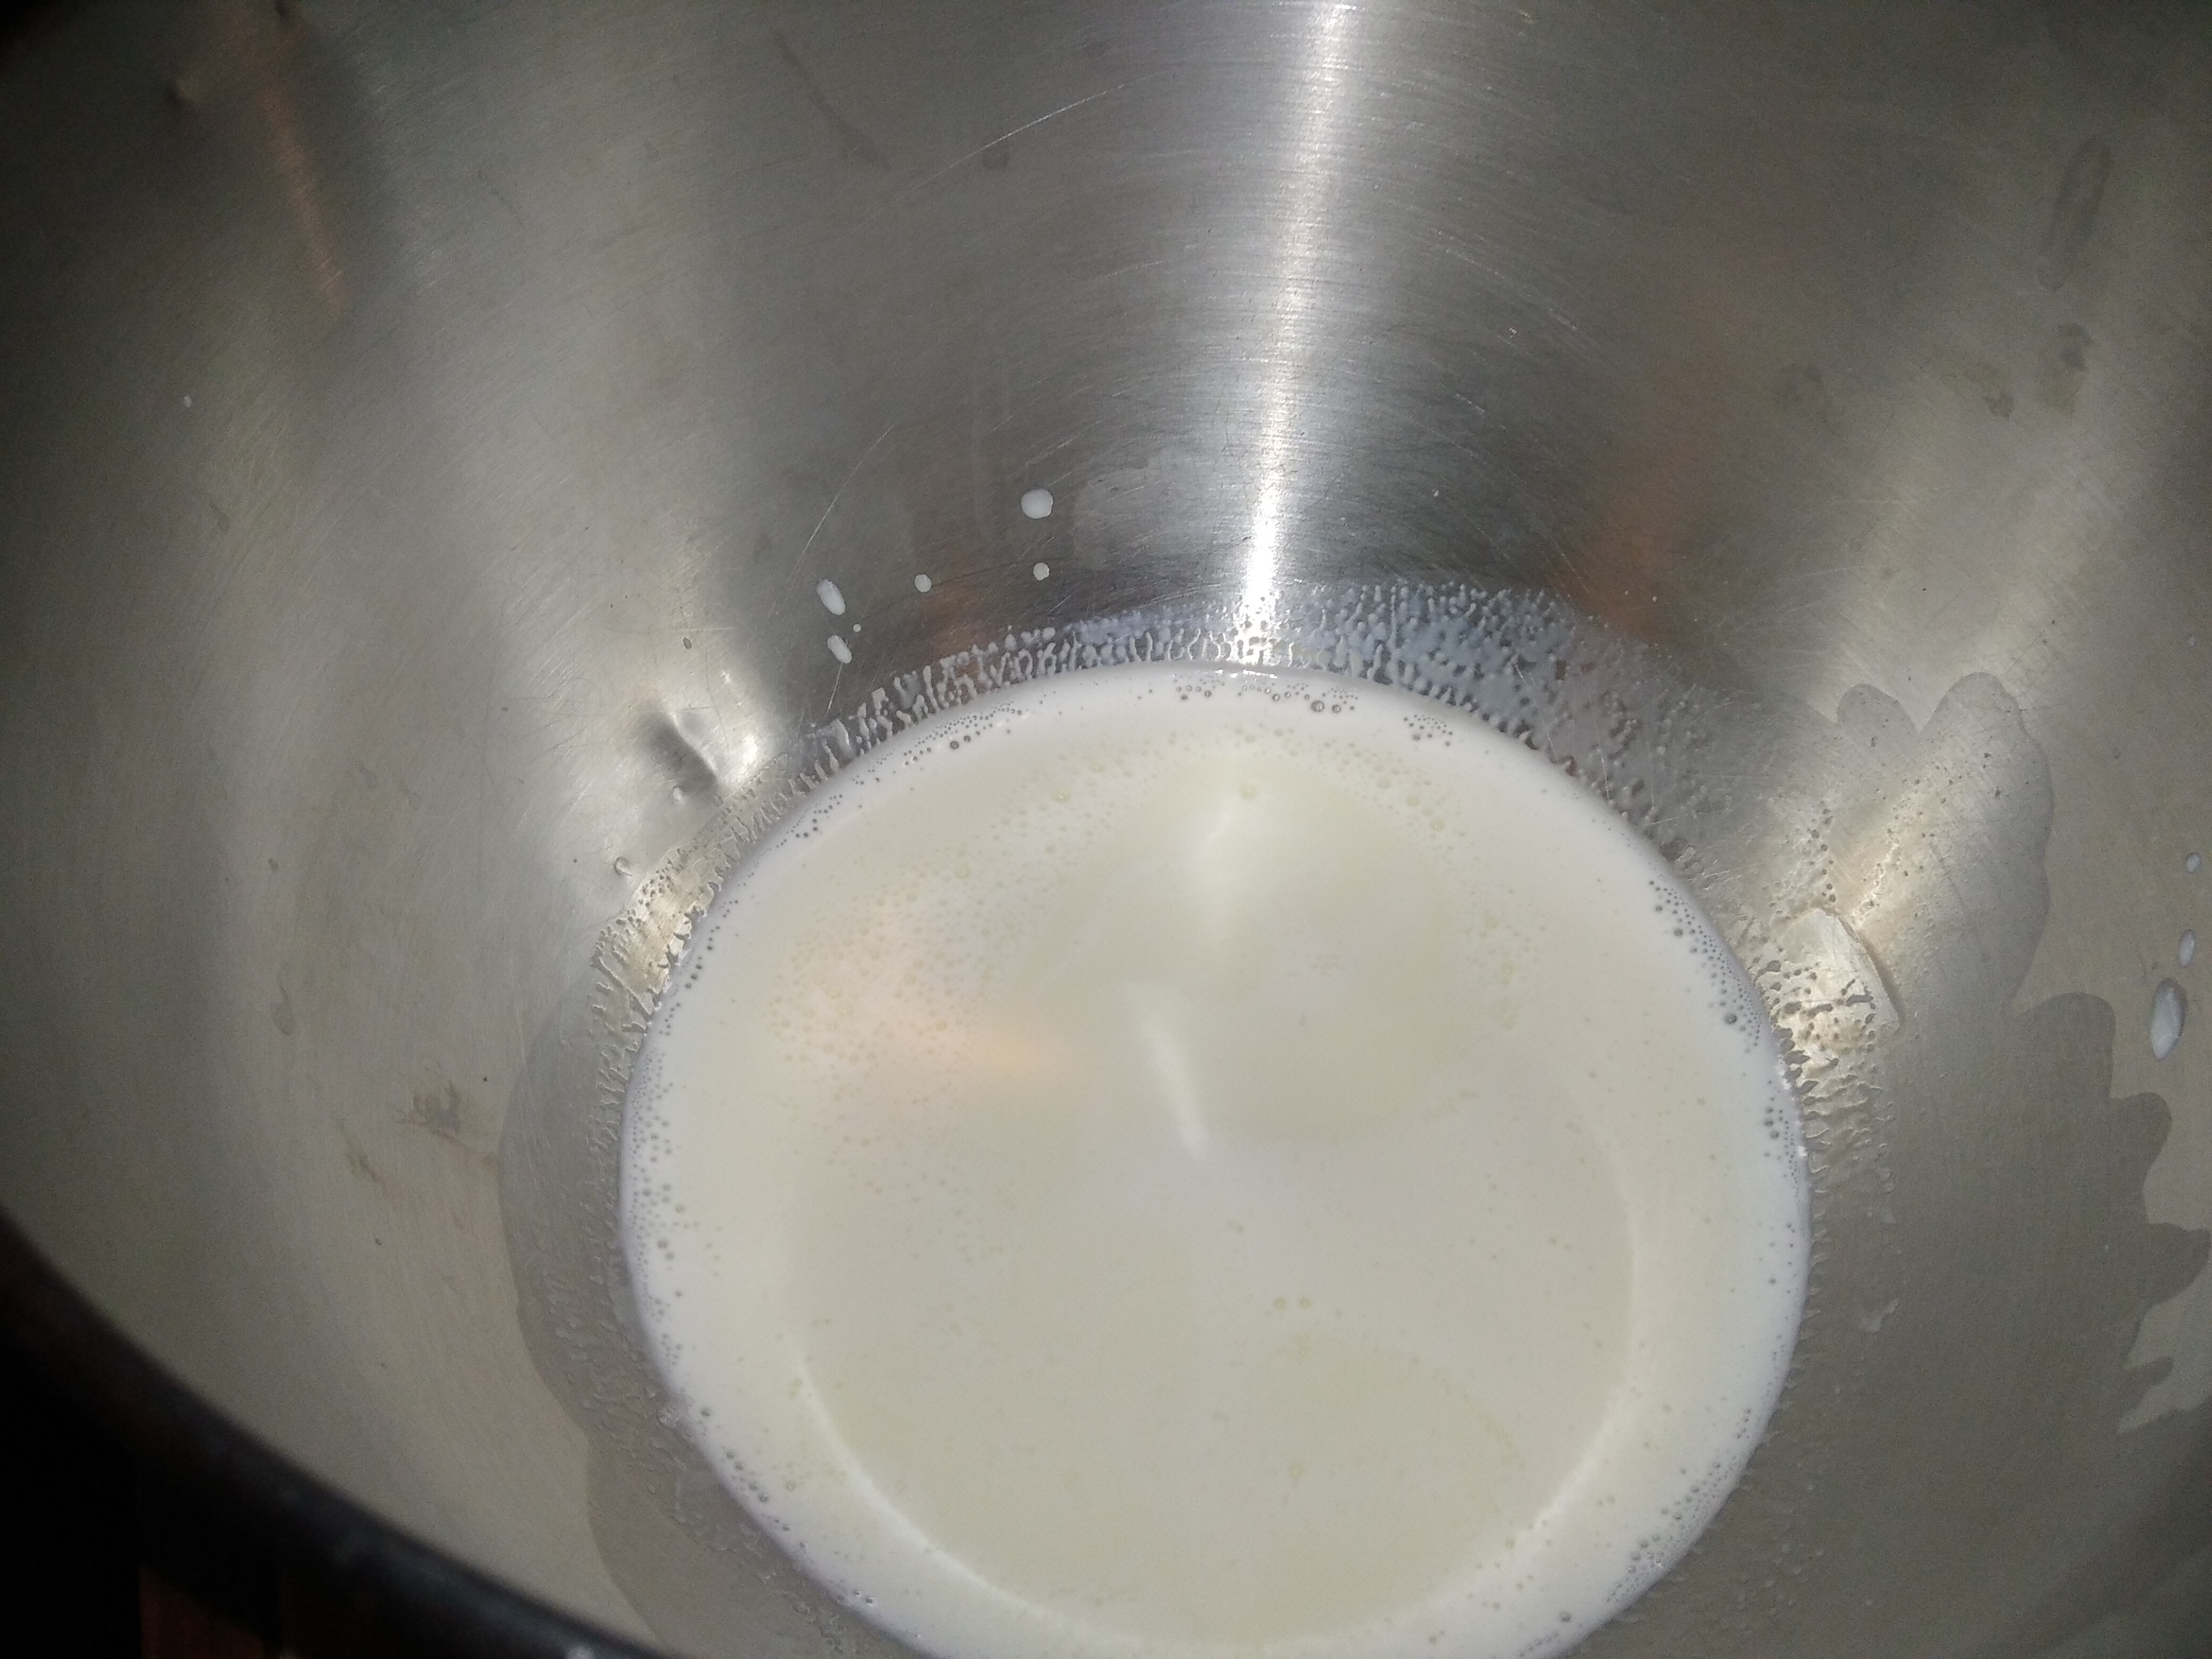
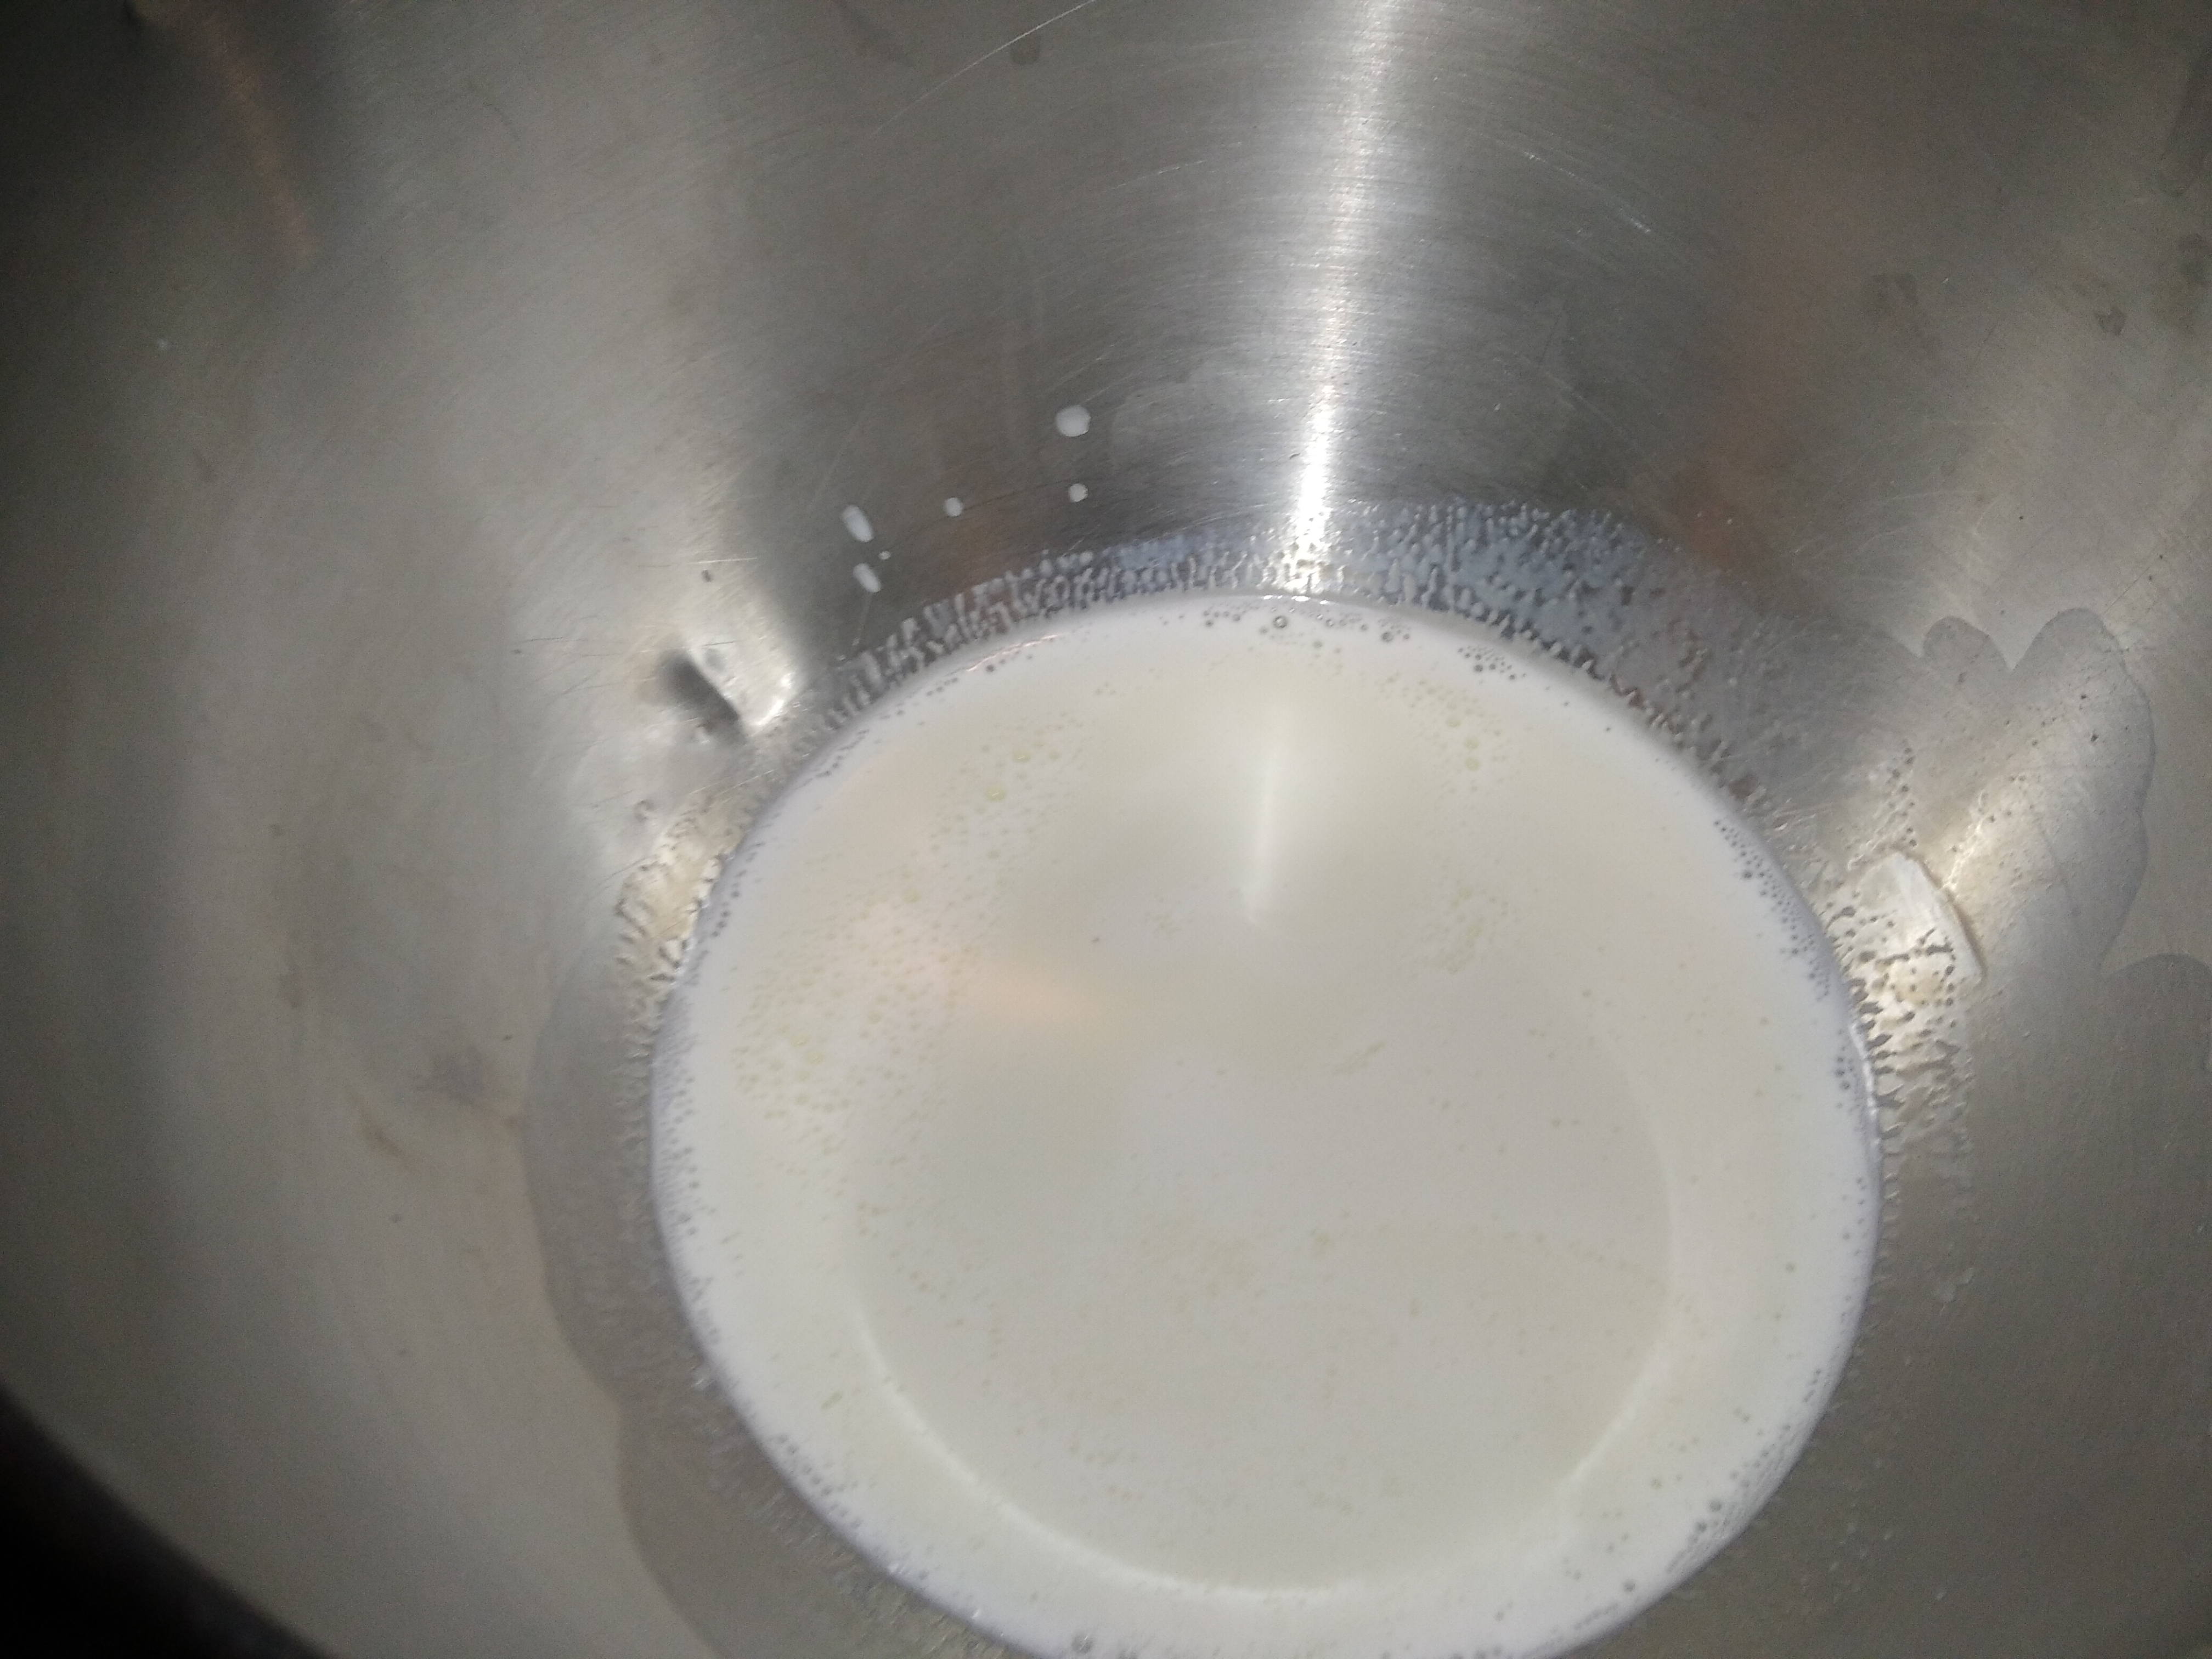
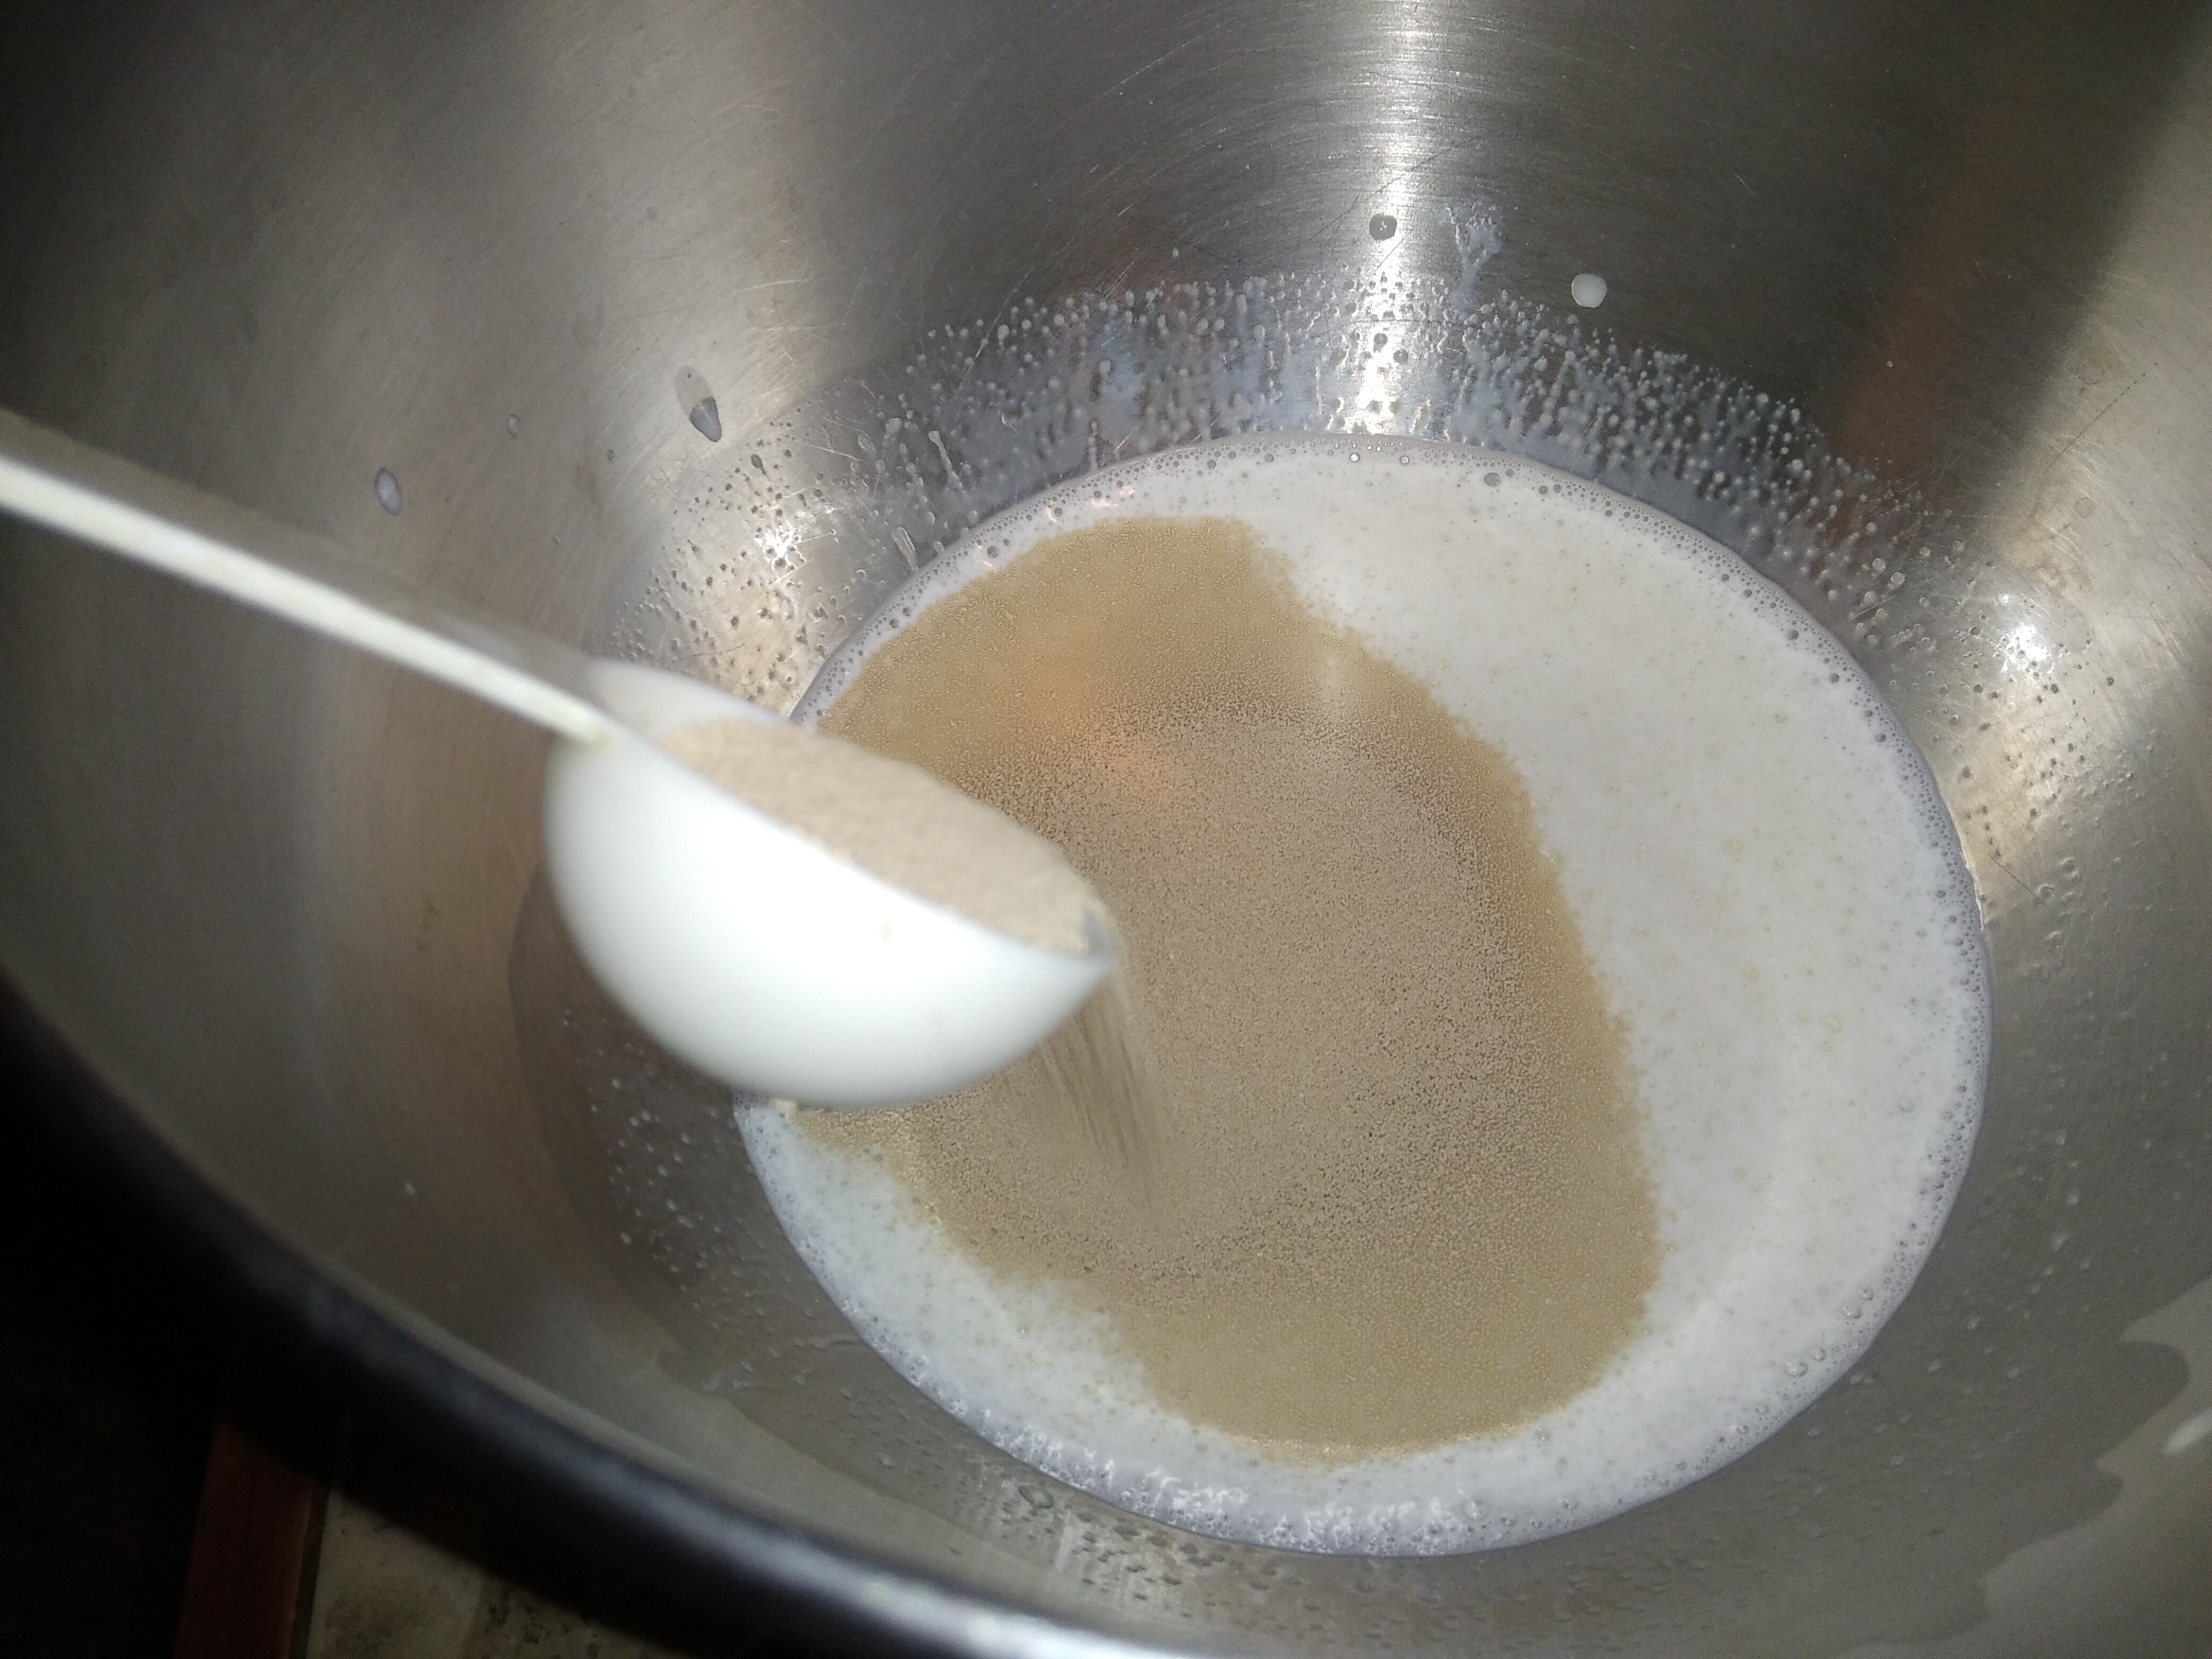
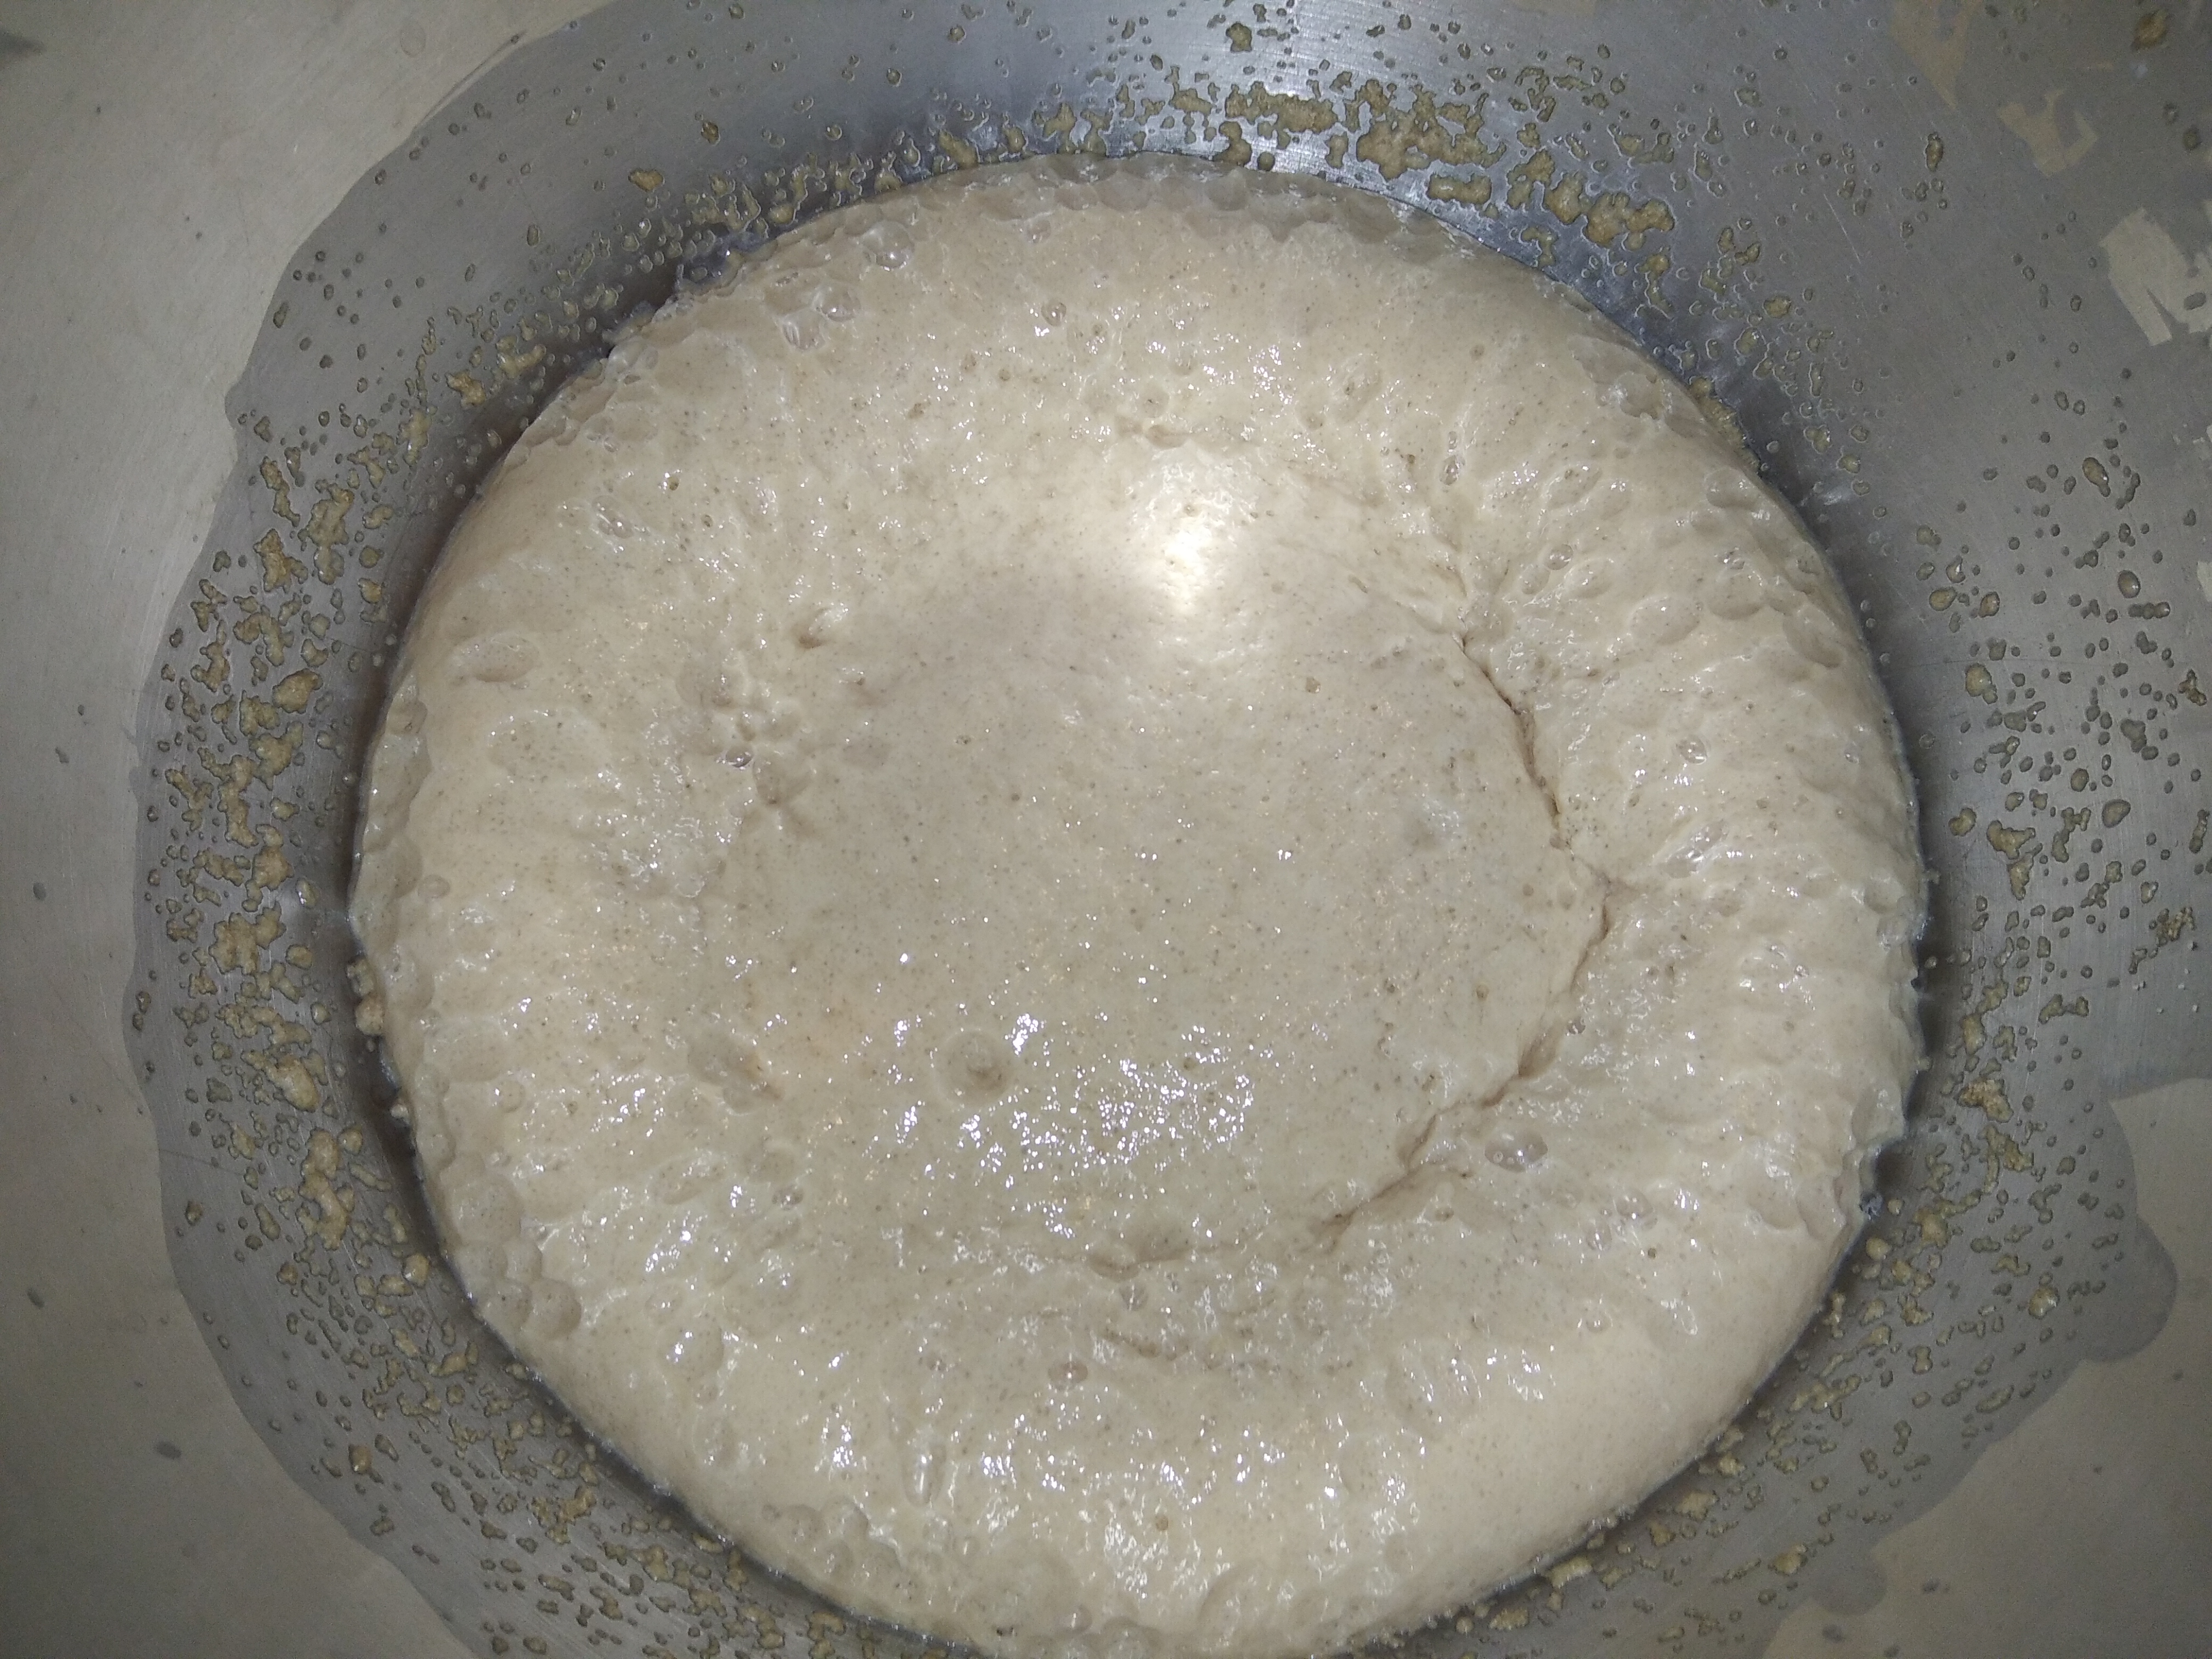
Para empezar, colocaremos la mitad del azúcar, la leche templada y la levadura en un bol, batiremos y dejaremos reposar por algunos minutos, para dar tiempo a que la levadura se active. Después de un tiempo, si la levadura está en buen estado, notaremos que se forma espuma en la superficie.
Step 1
To begin, place half of the sugar, the warm milk and the yeast in a bowl, whisk and let stand for a few minutes, to give the yeast time to activate. After a while, if the yeast is in good condition, you will notice that foam forms on the surface.



Paso 2
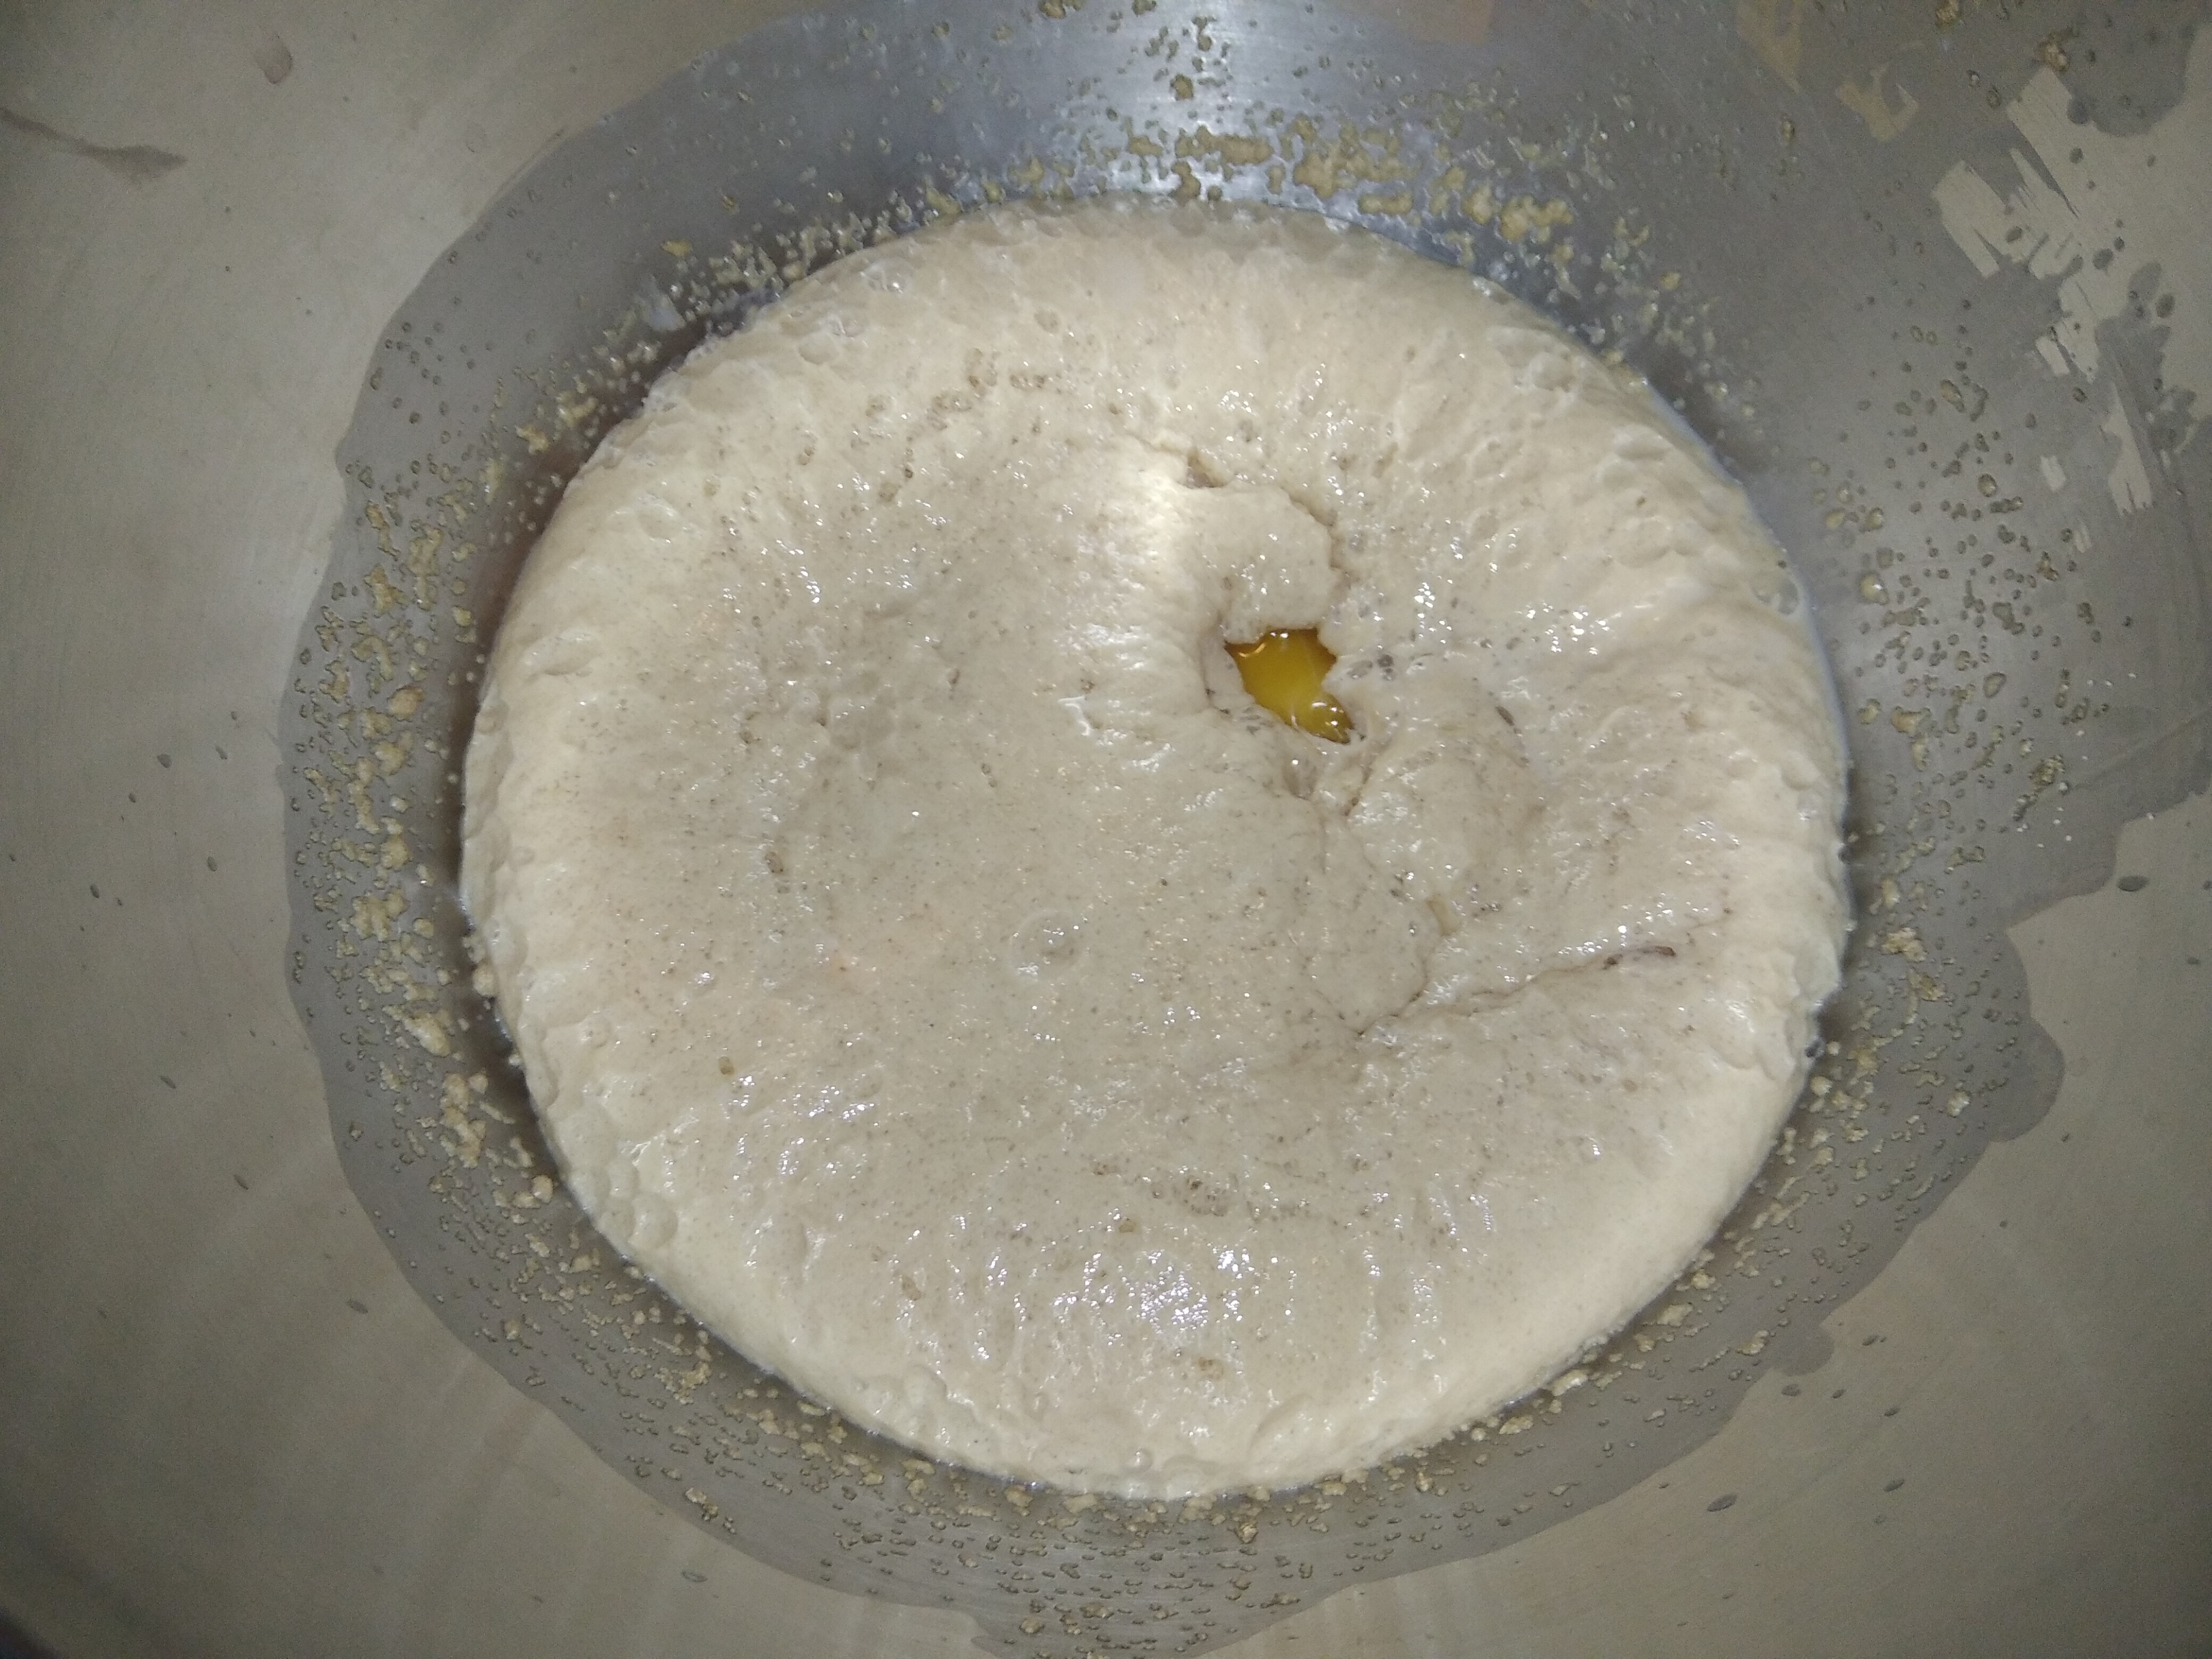
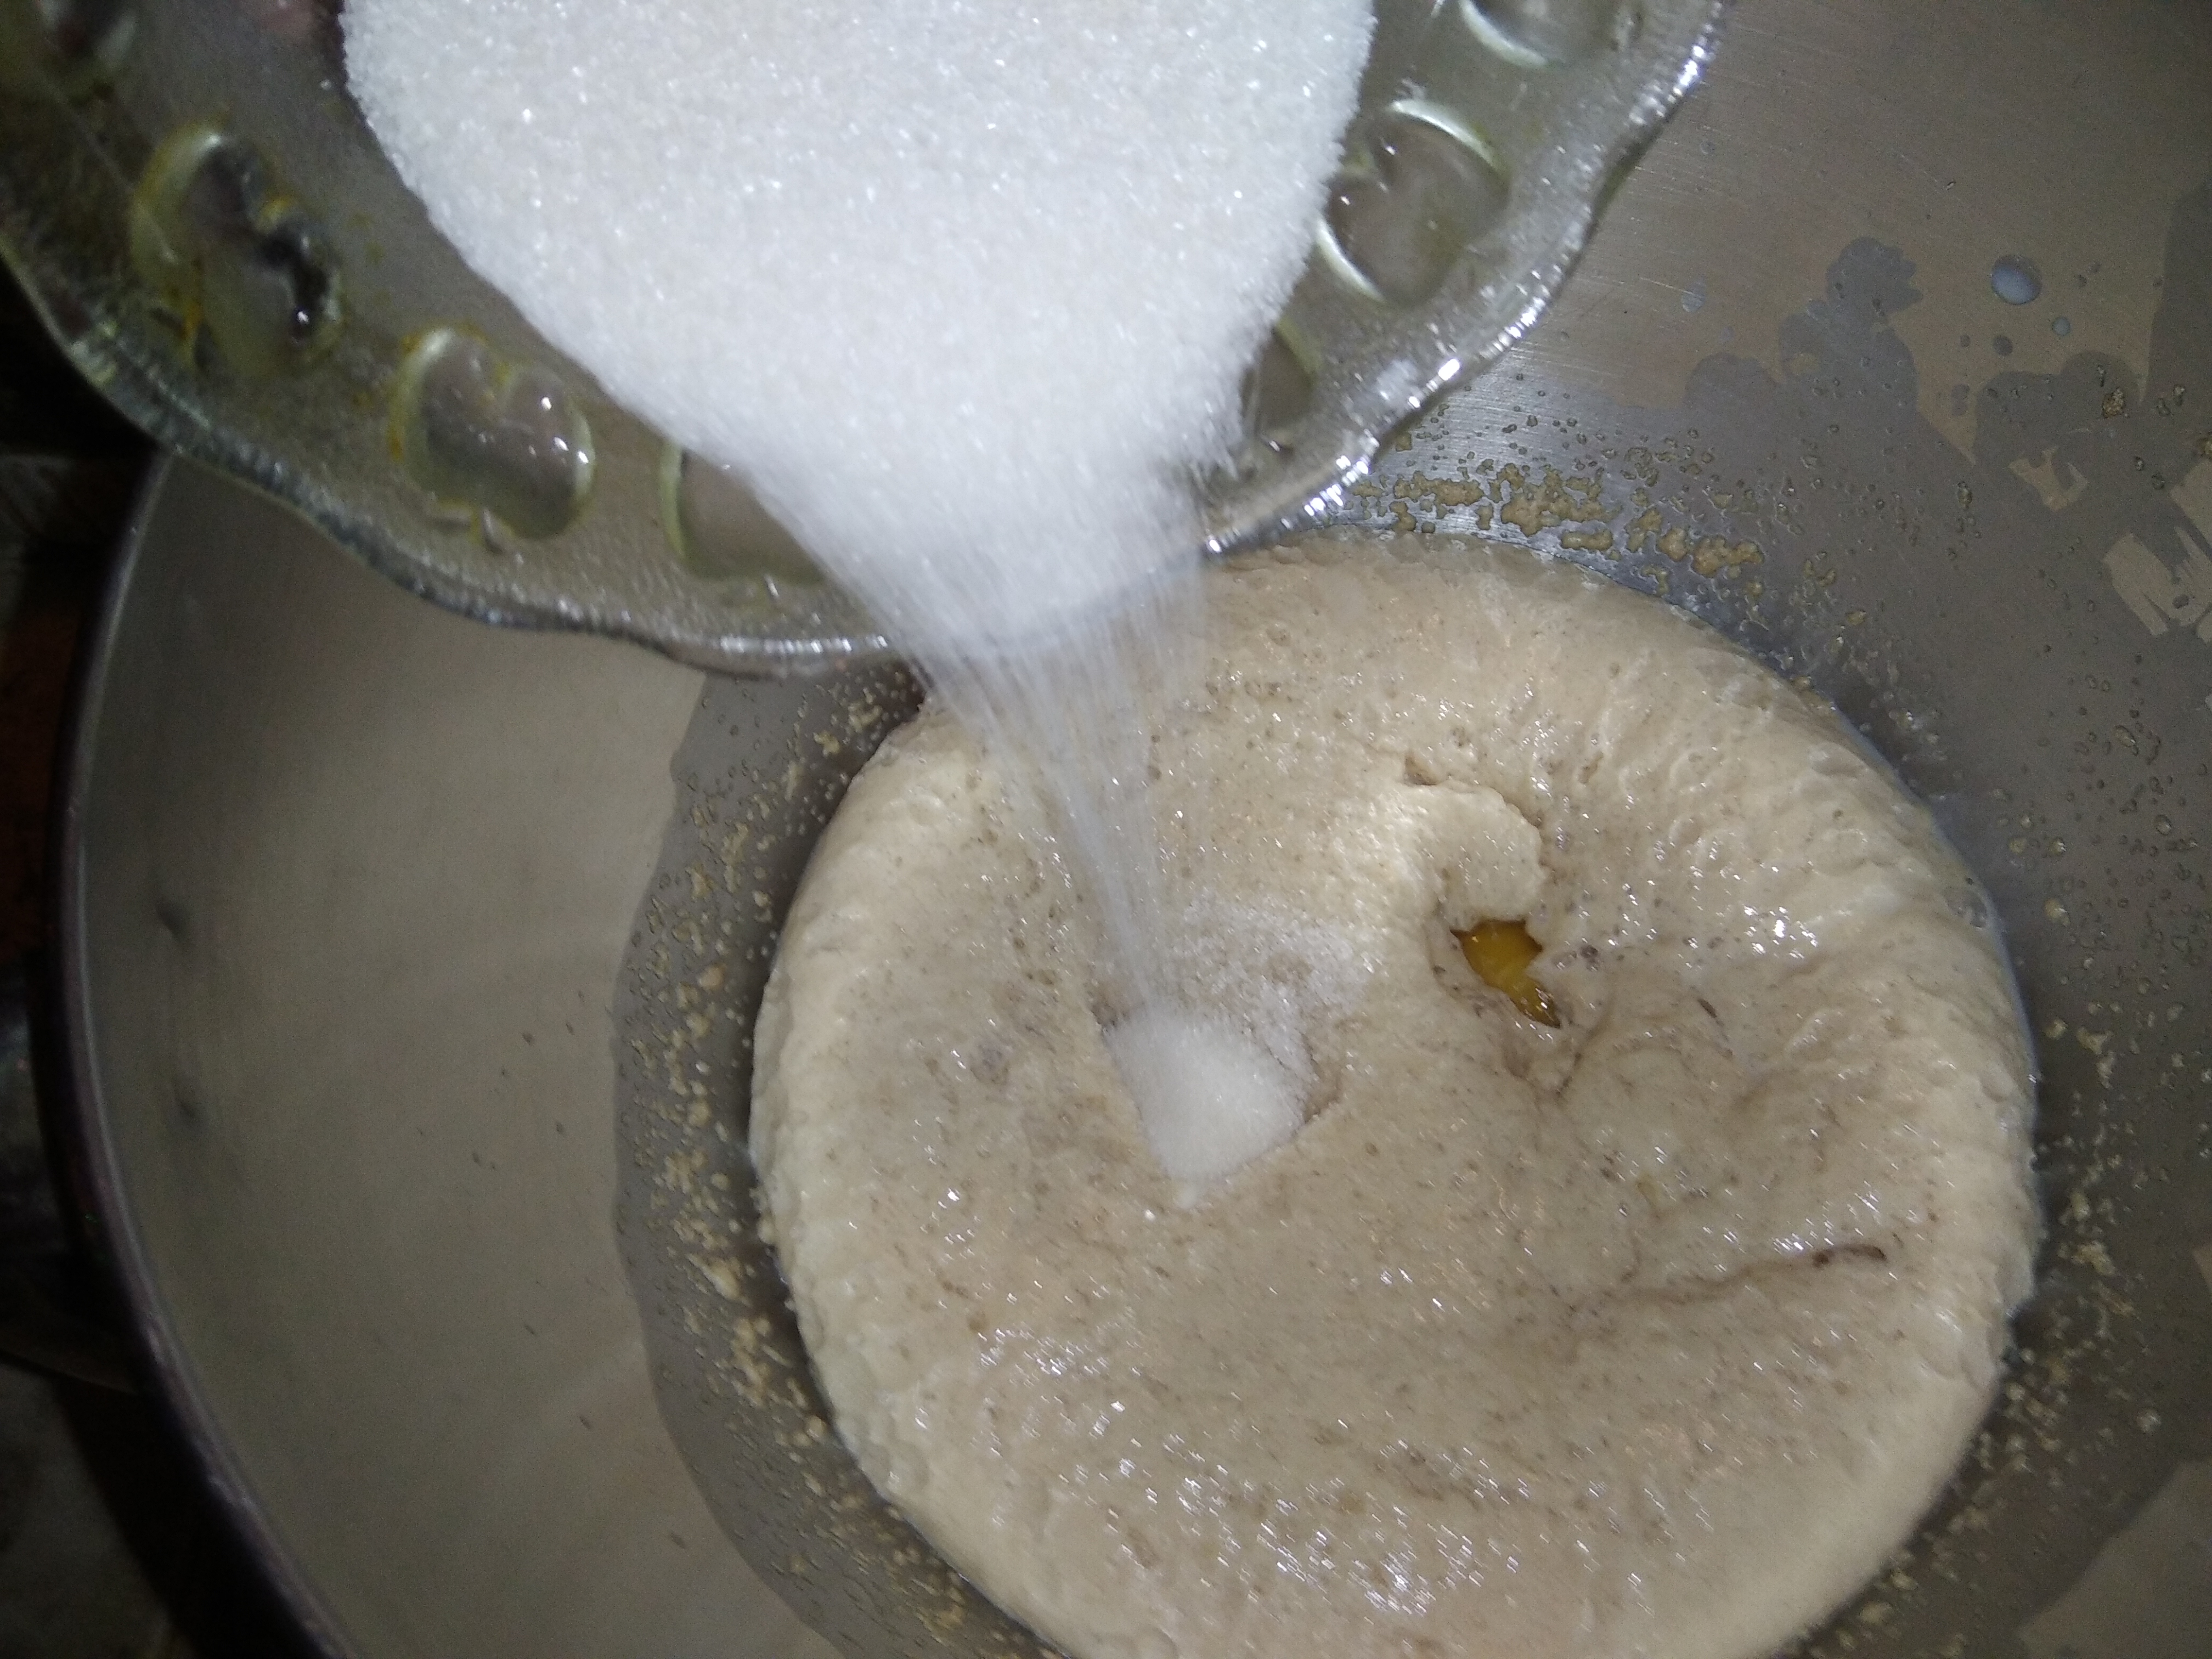
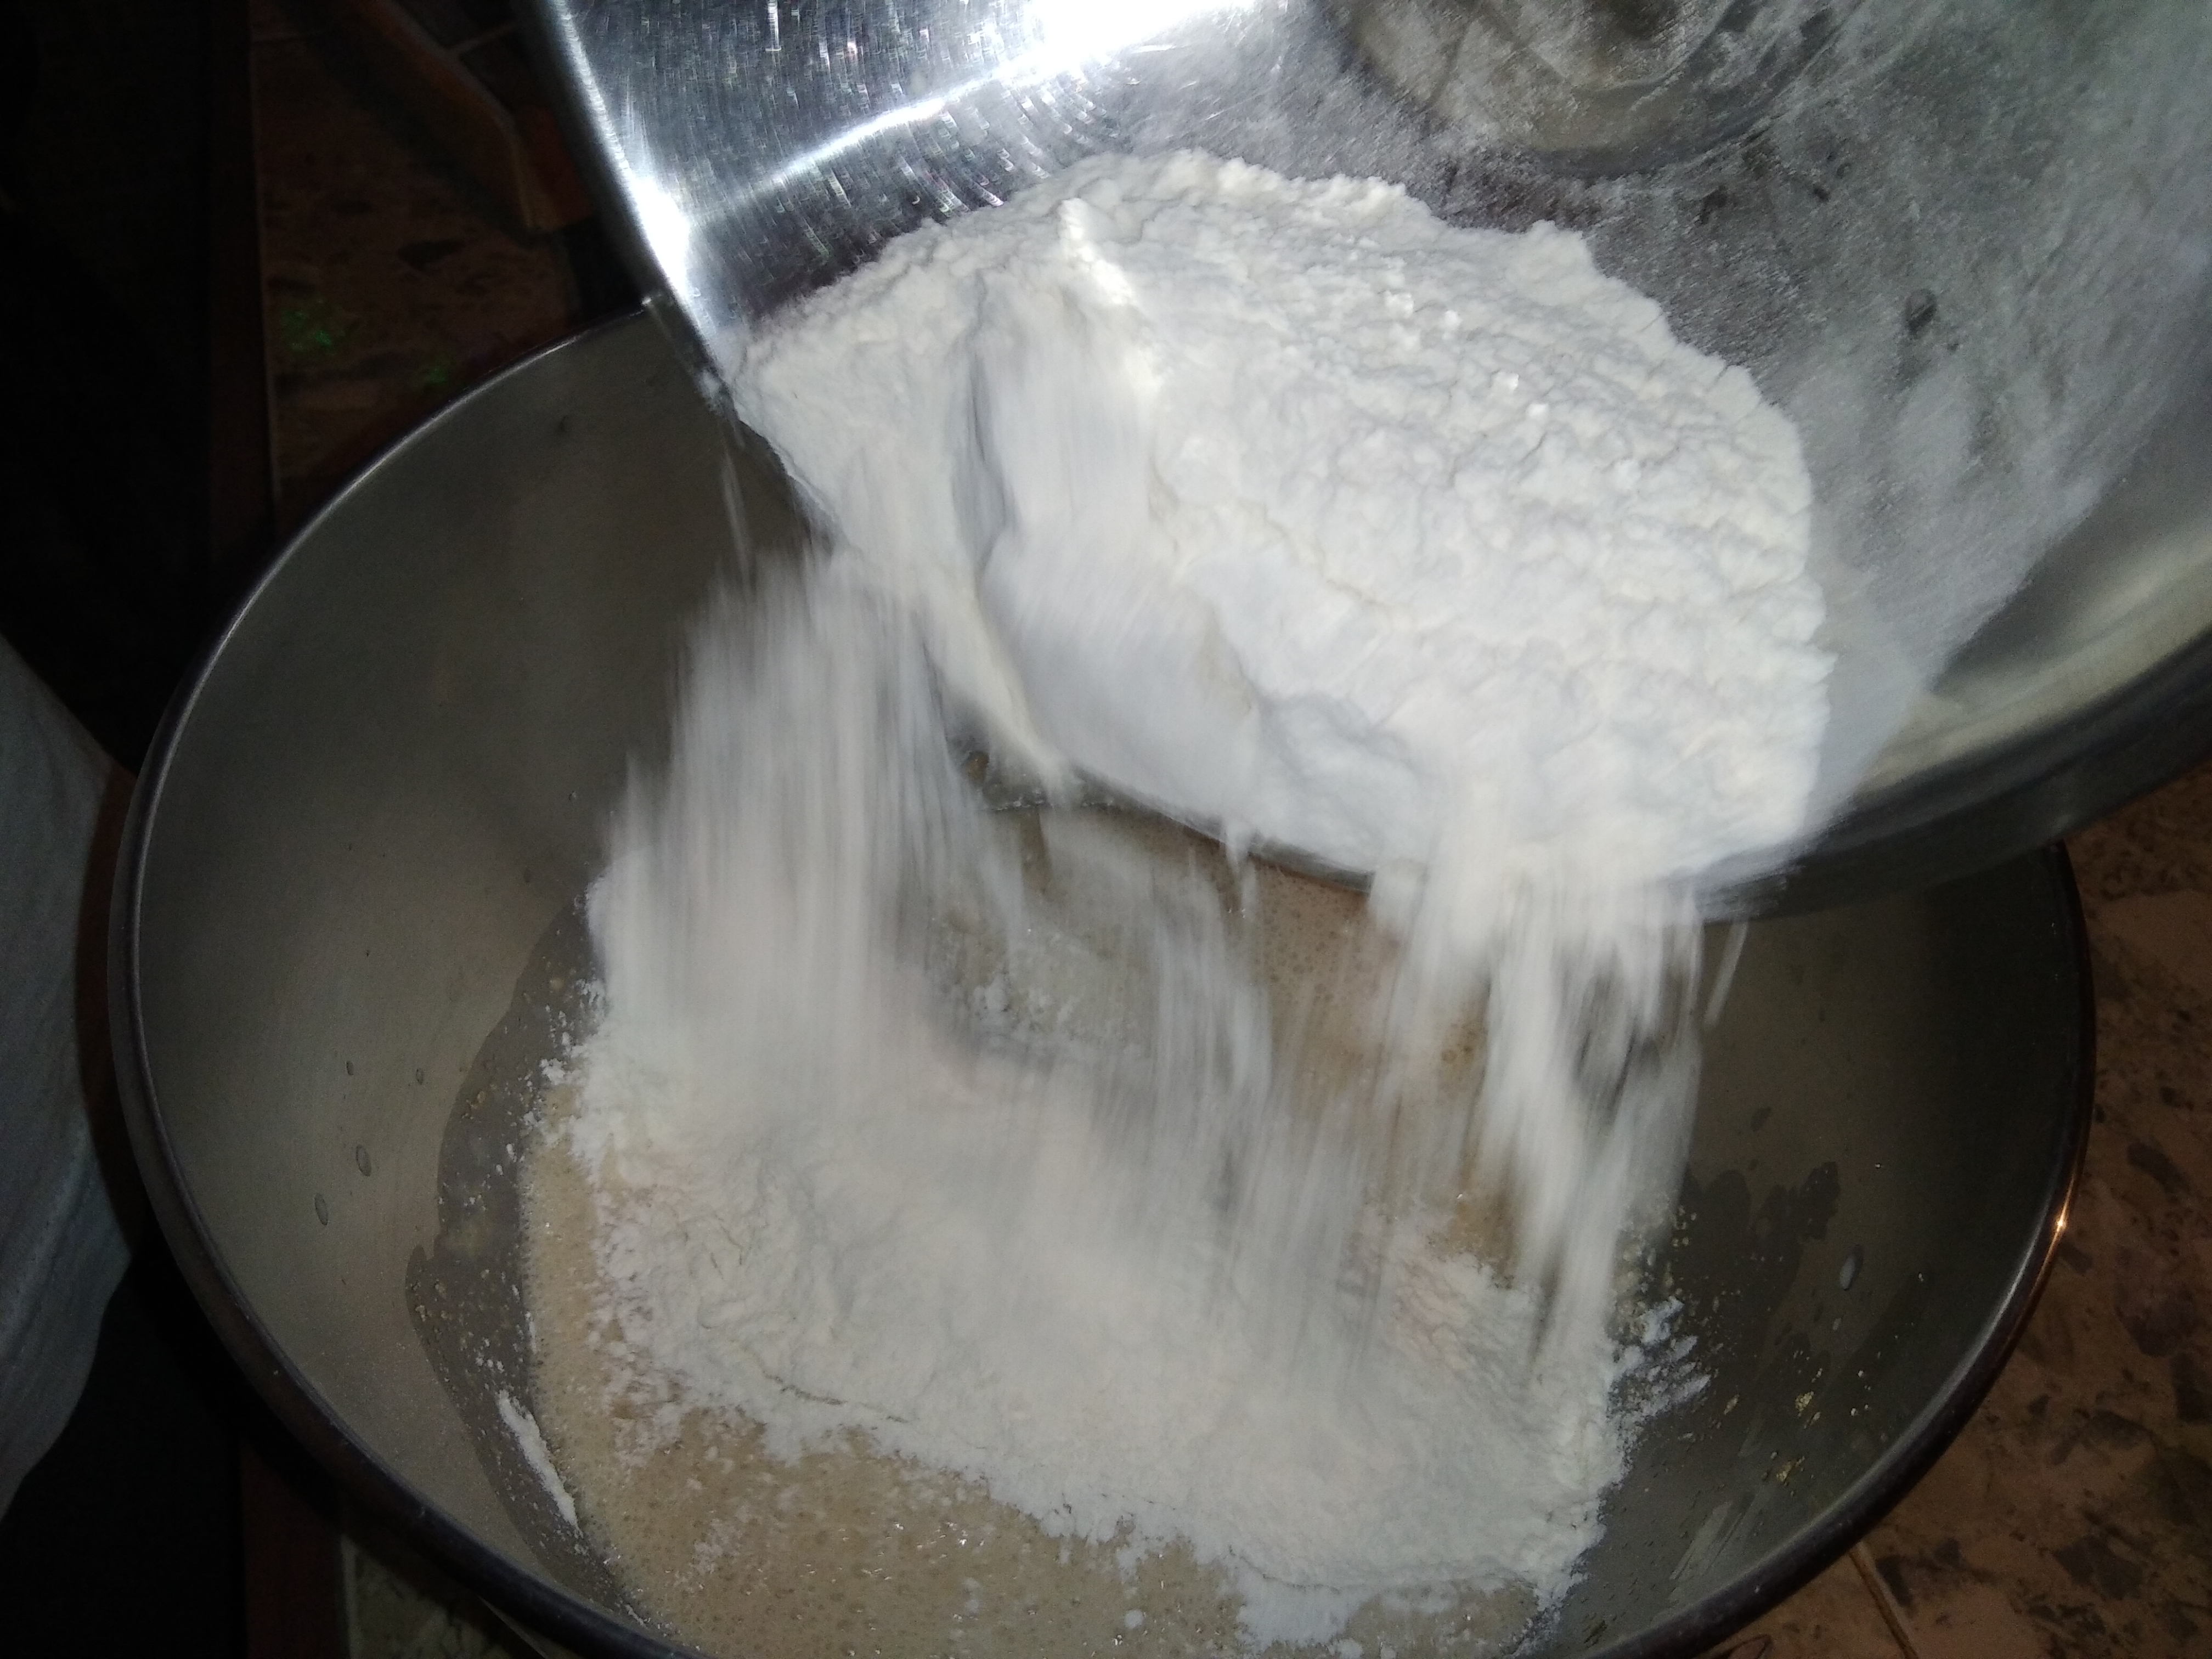
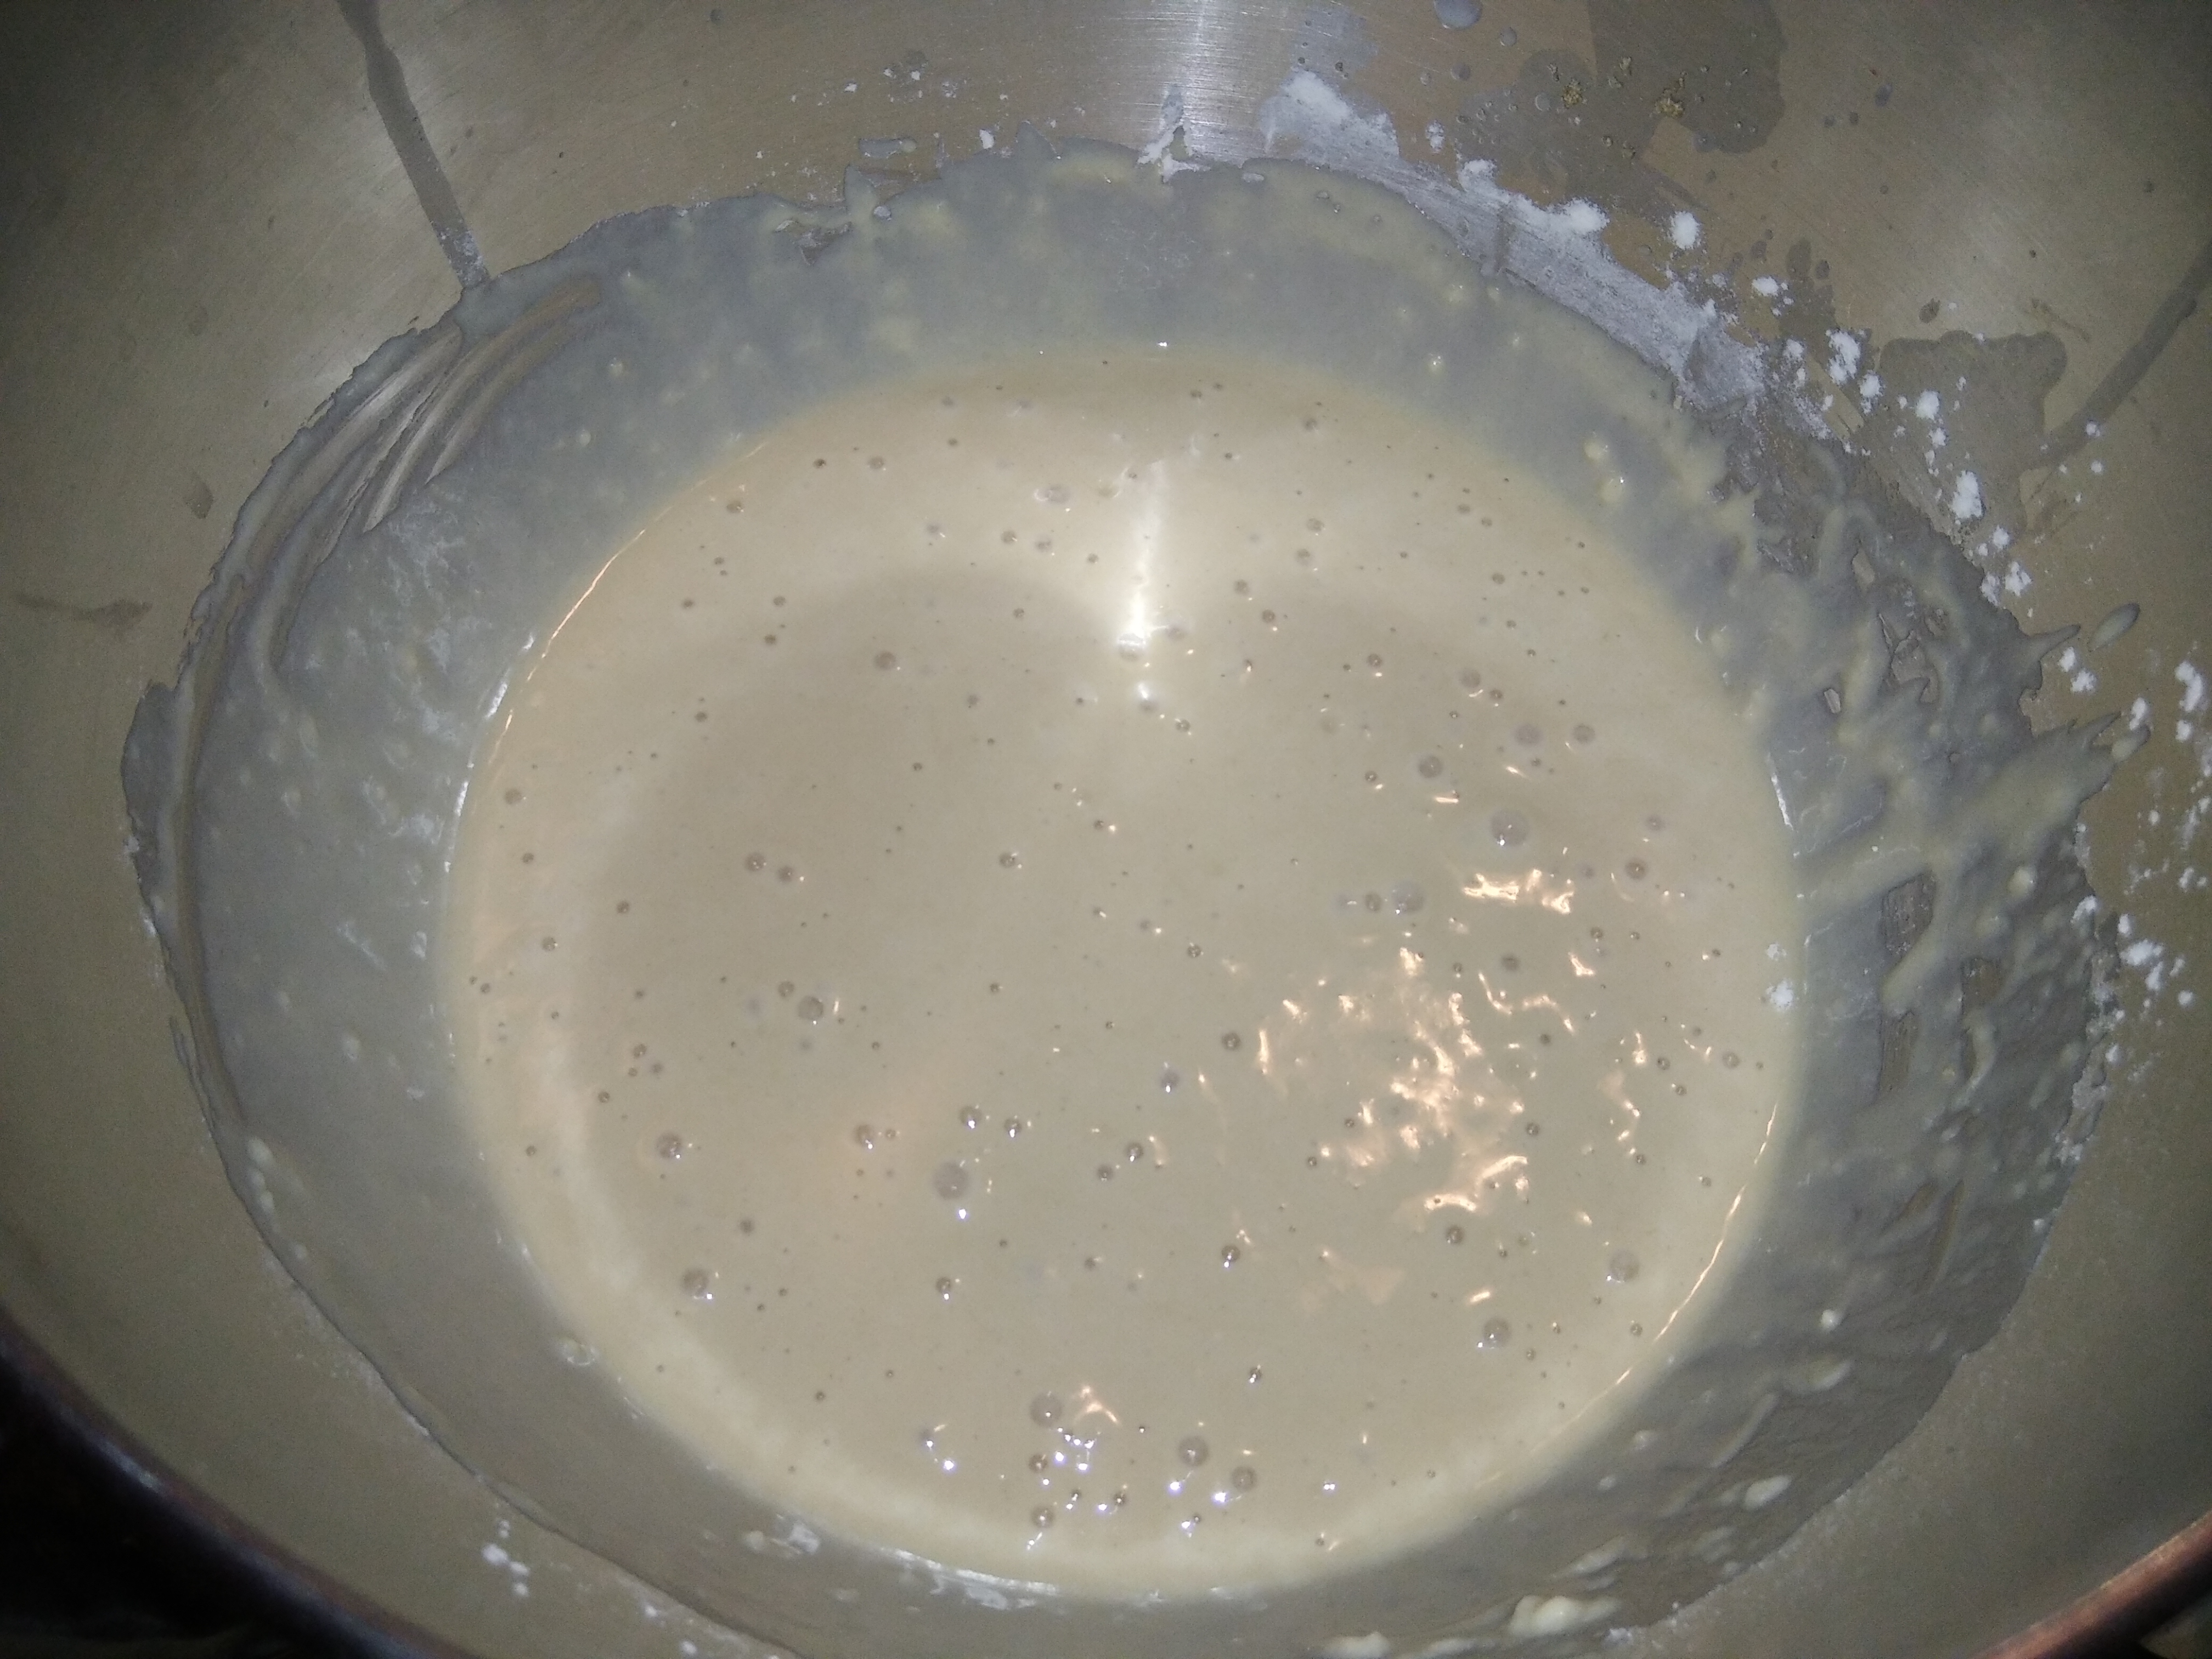
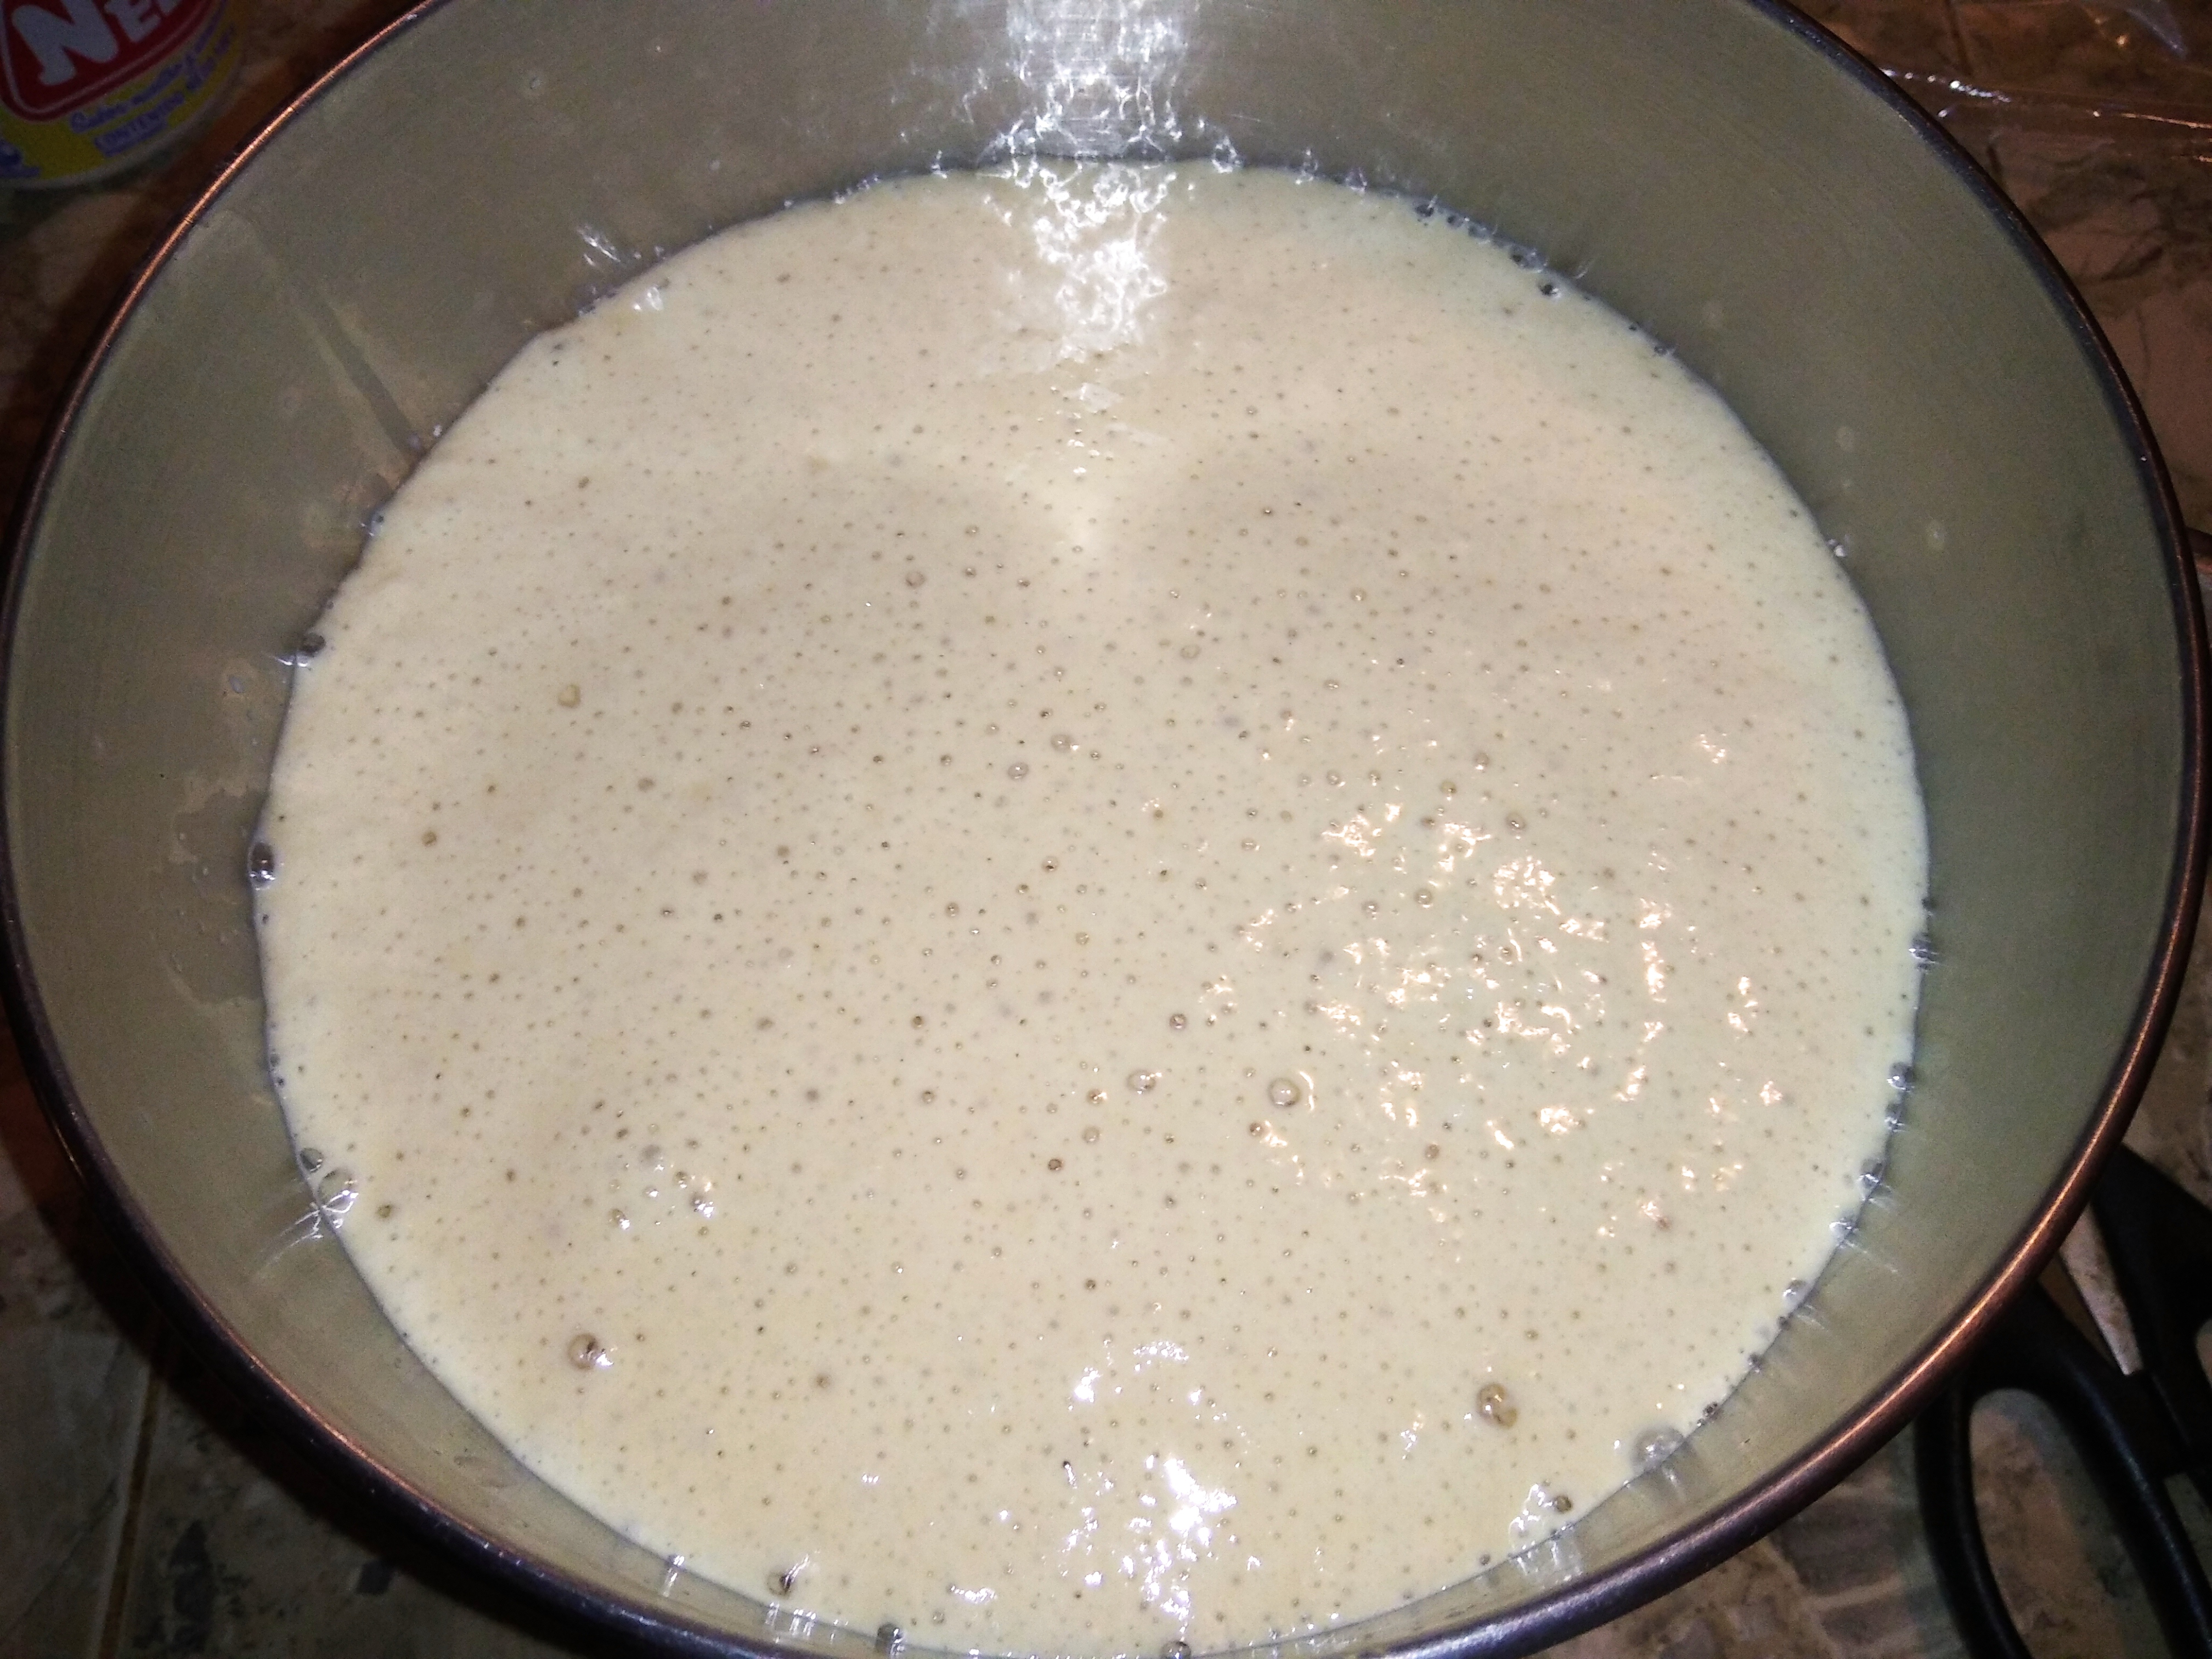
Cuando se forme la espuma, agregaremos al bol los huevos, el azúcar restante y de 150 a 200 gramos de harina, batiremos para que se integre todo y cubriremos el bol con un fil transparente o una bolsa plástica, y dejaremos levar por media hora.
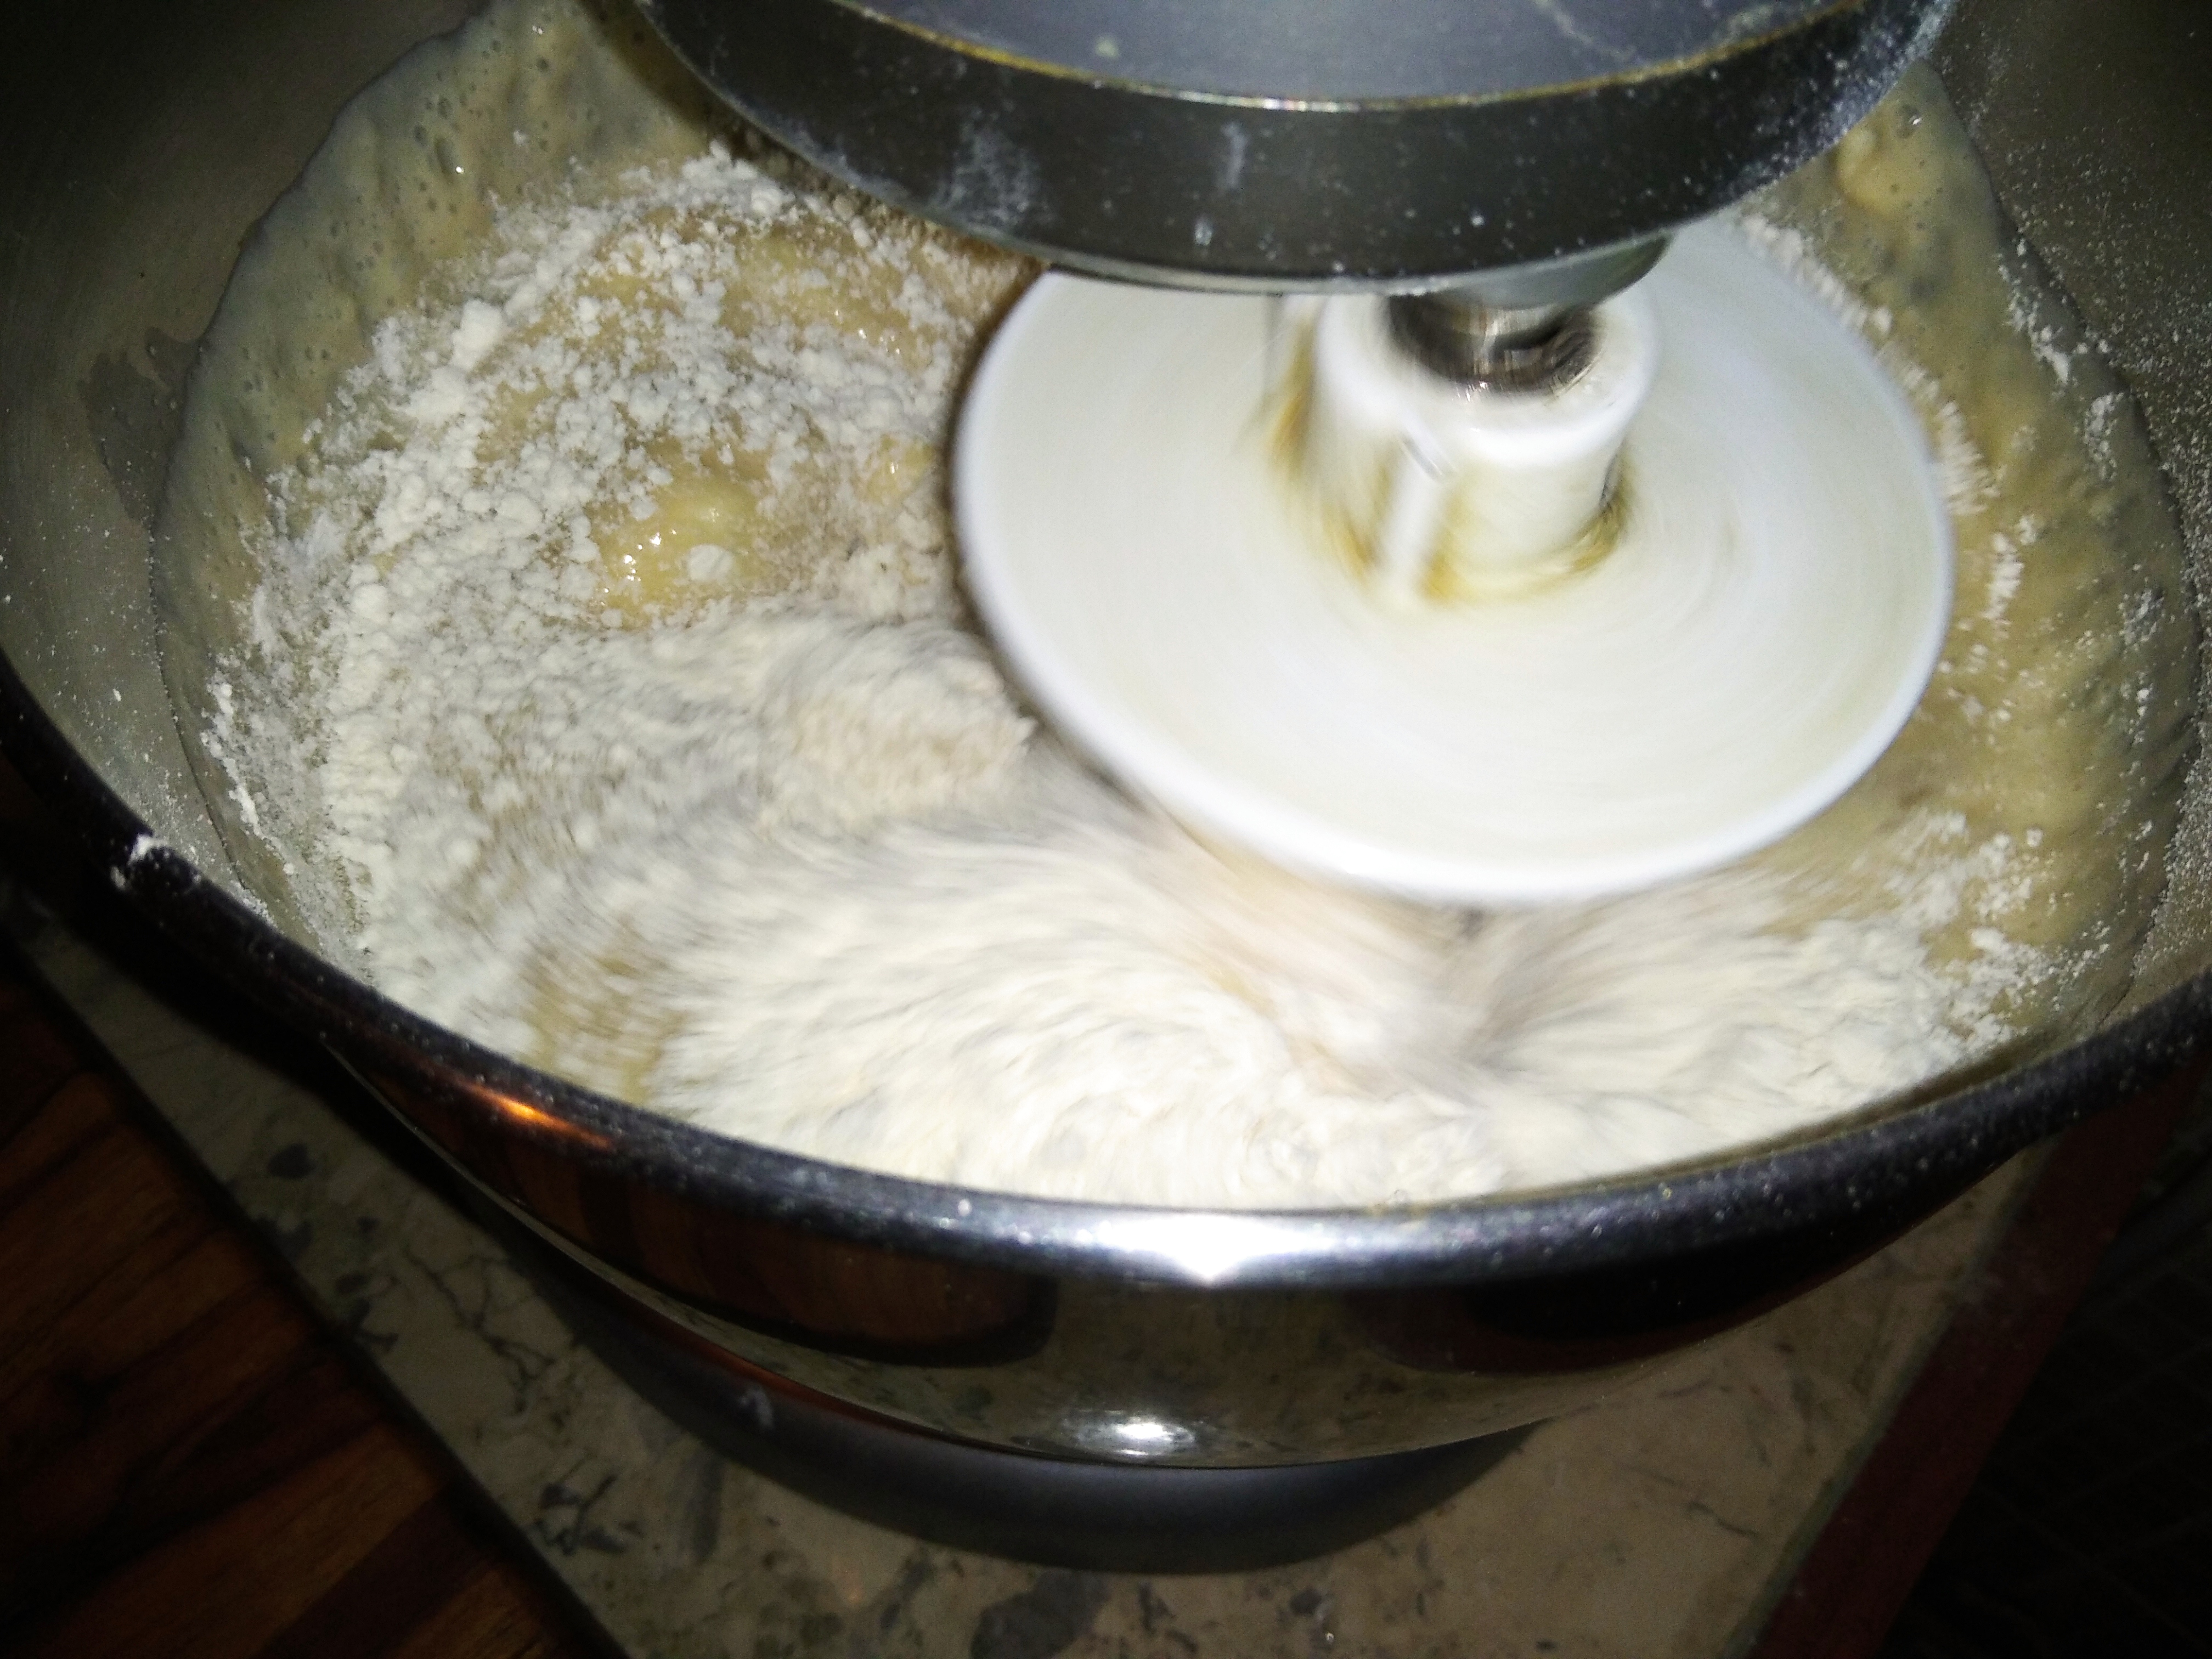
Trascurrido el tiempo, agregaremos el resto de la harina y mezclaremos hasta que se forme una bola de masa más o menos uniforme, nuevamente cubriremos con fil transparente y dejaremos reposar por otros treinta minutos, para permitir que la harina absorba adecuadamente los líquidos.
Step 2
When the foam is formed, add to the bowl the eggs, the remaining sugar and 150 to 200 grams of flour, beat to integrate everything and cover the bowl with a transparent film or a plastic bag, and let rise for half an hour.
After this time, add the rest of the flour and mix until a more or less uniform dough ball is formed, cover it again with a transparent film and let it rest for another thirty minutes, to allow the flour to absorb the liquids properly.




Paso 3
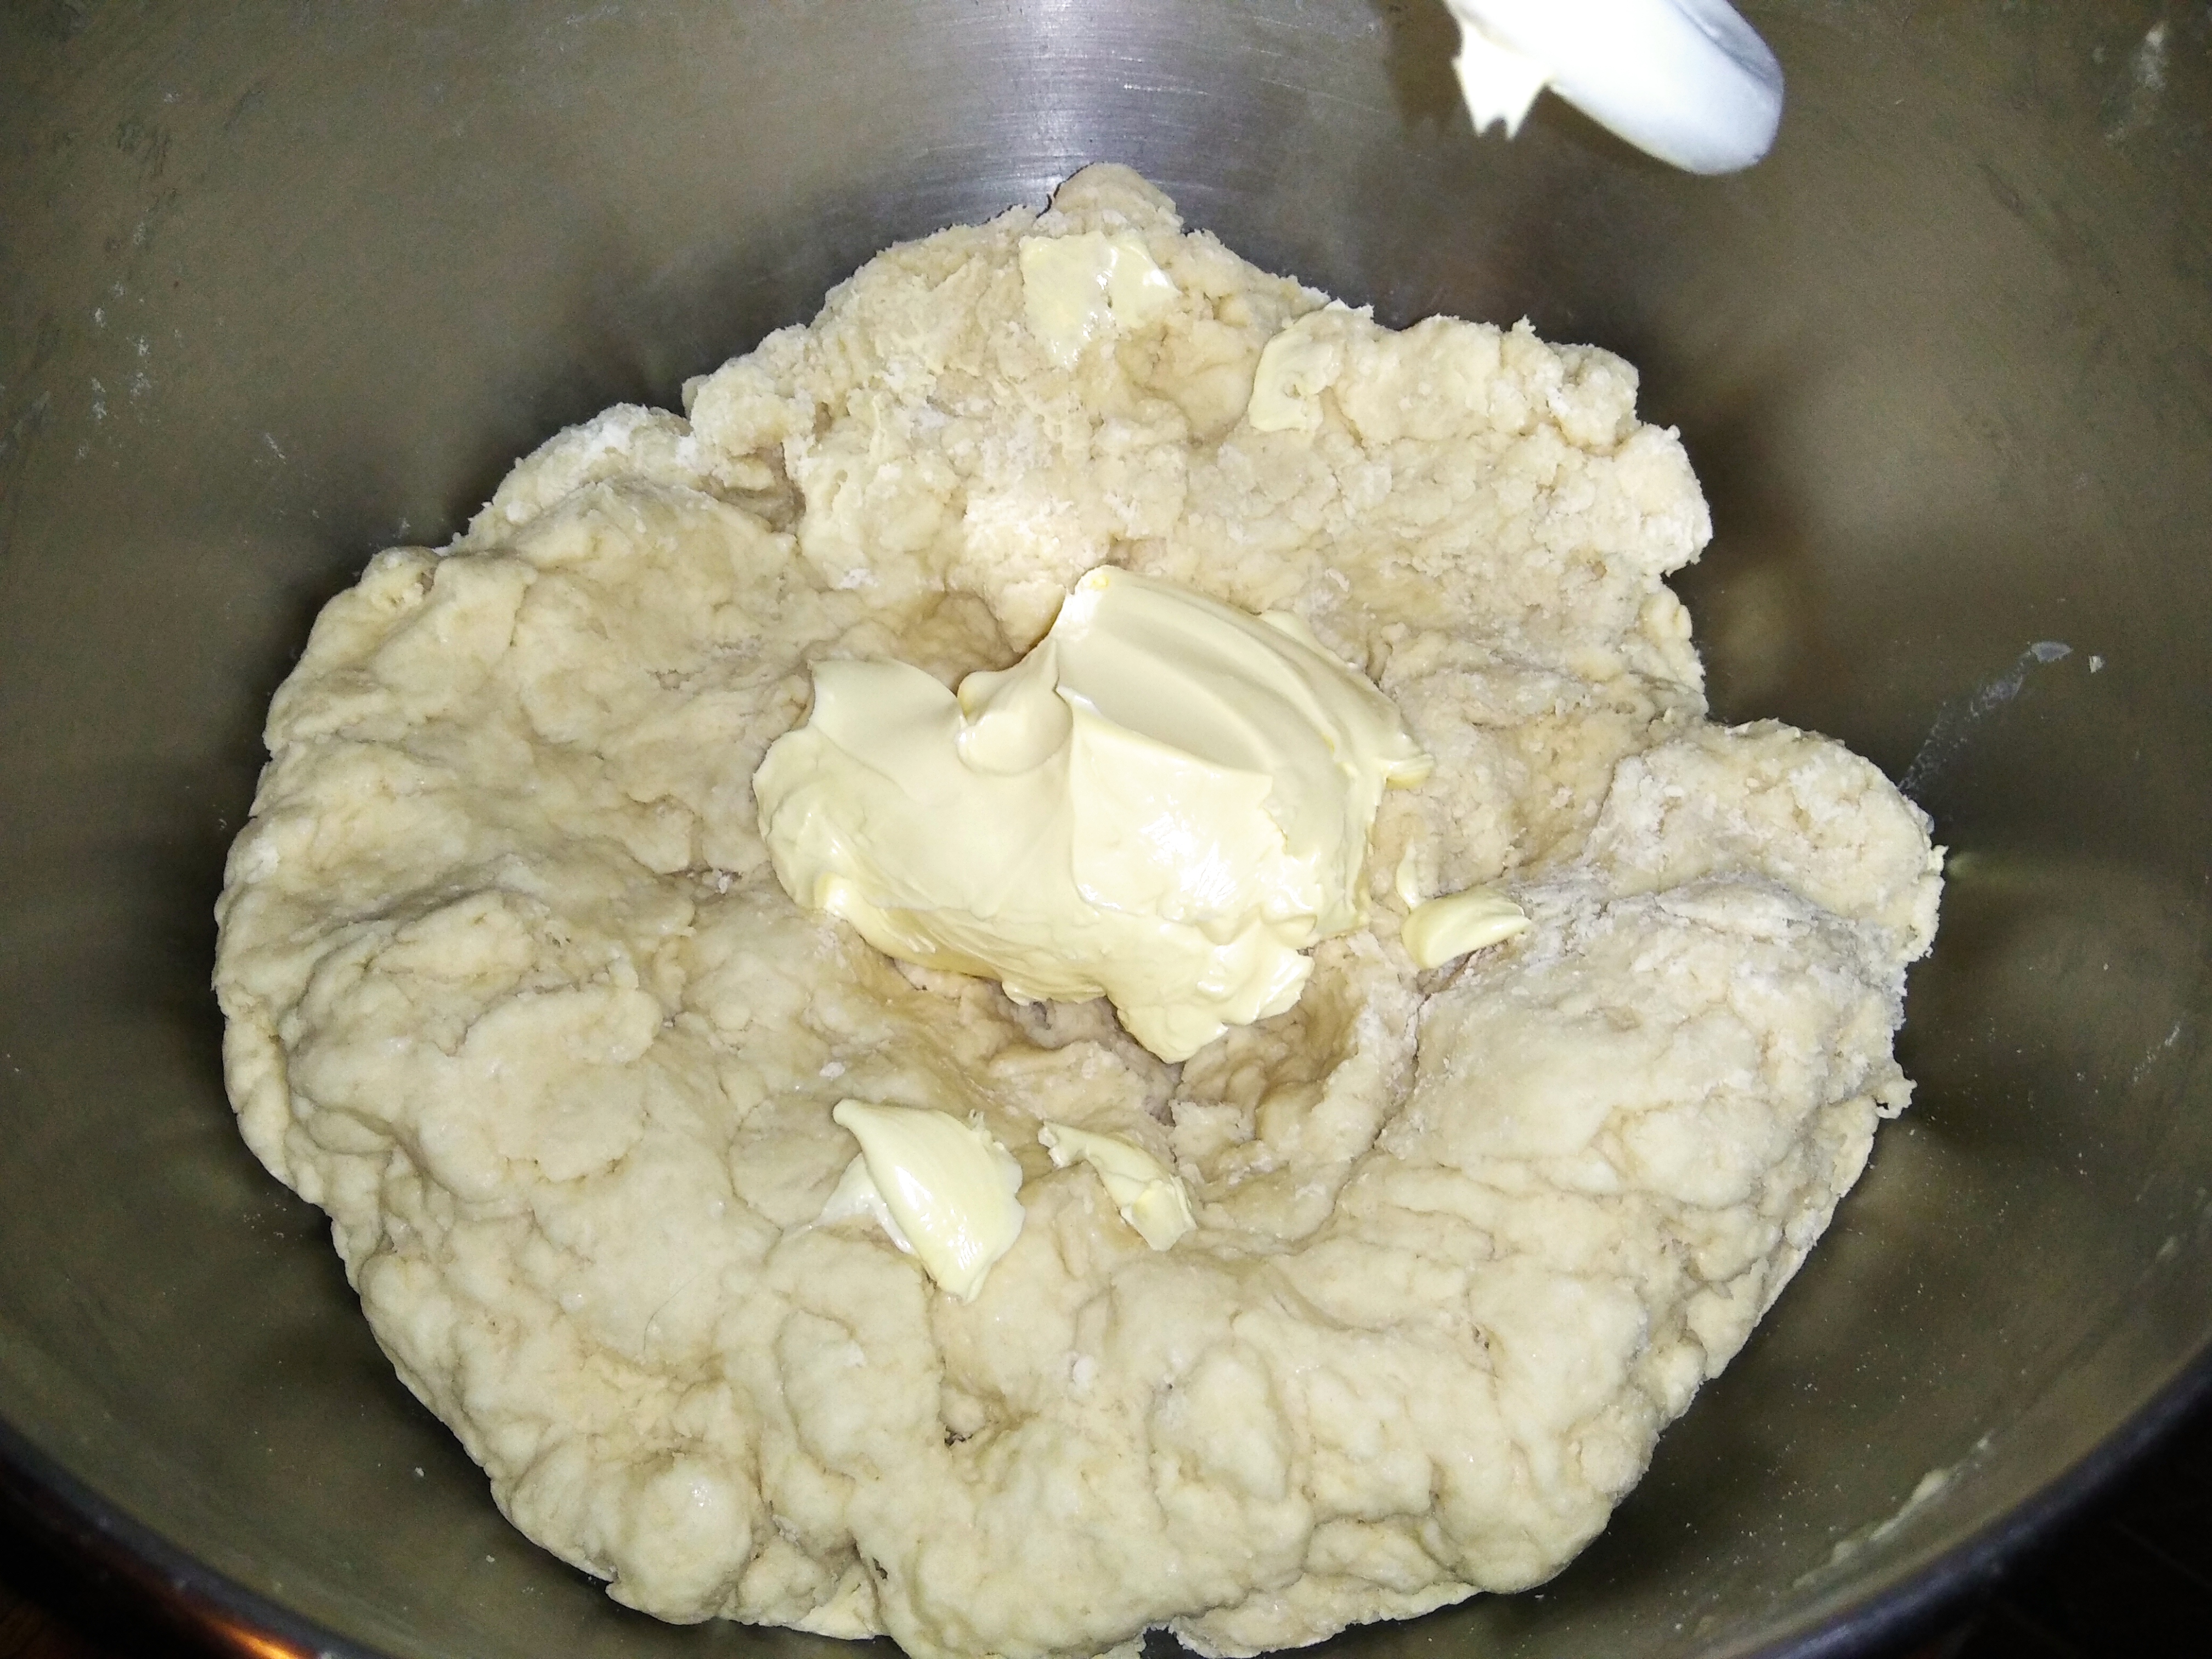
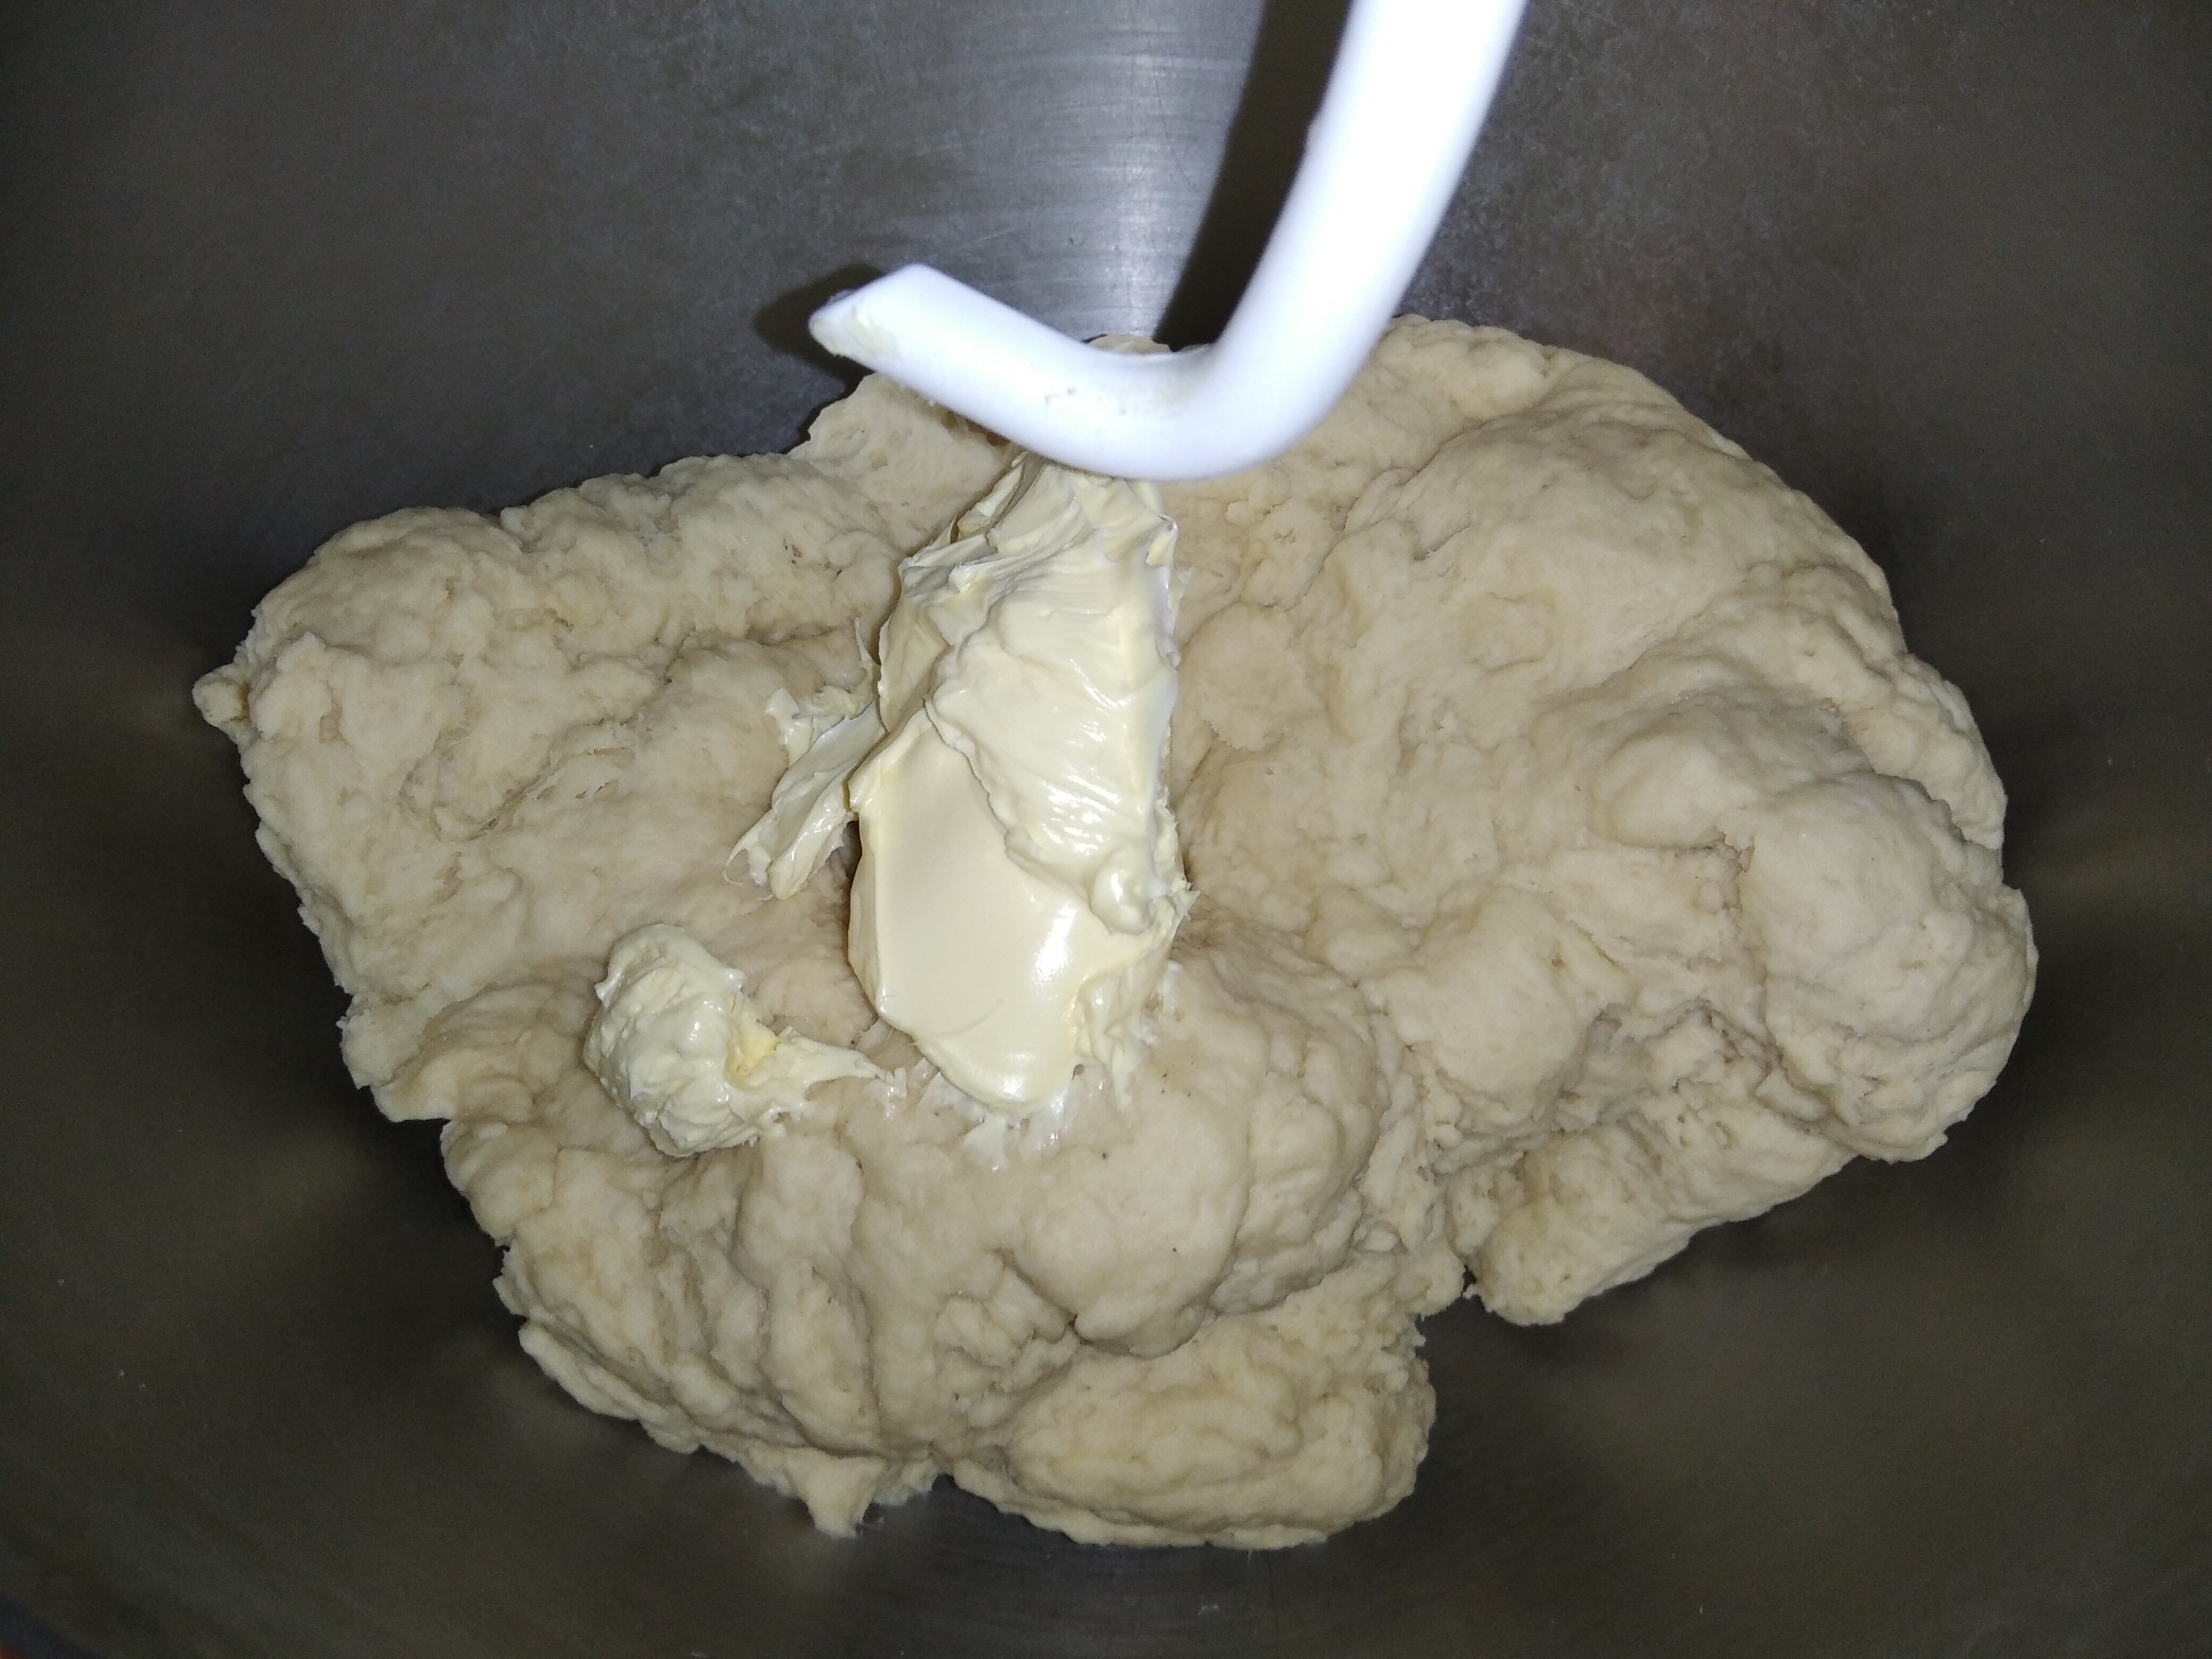
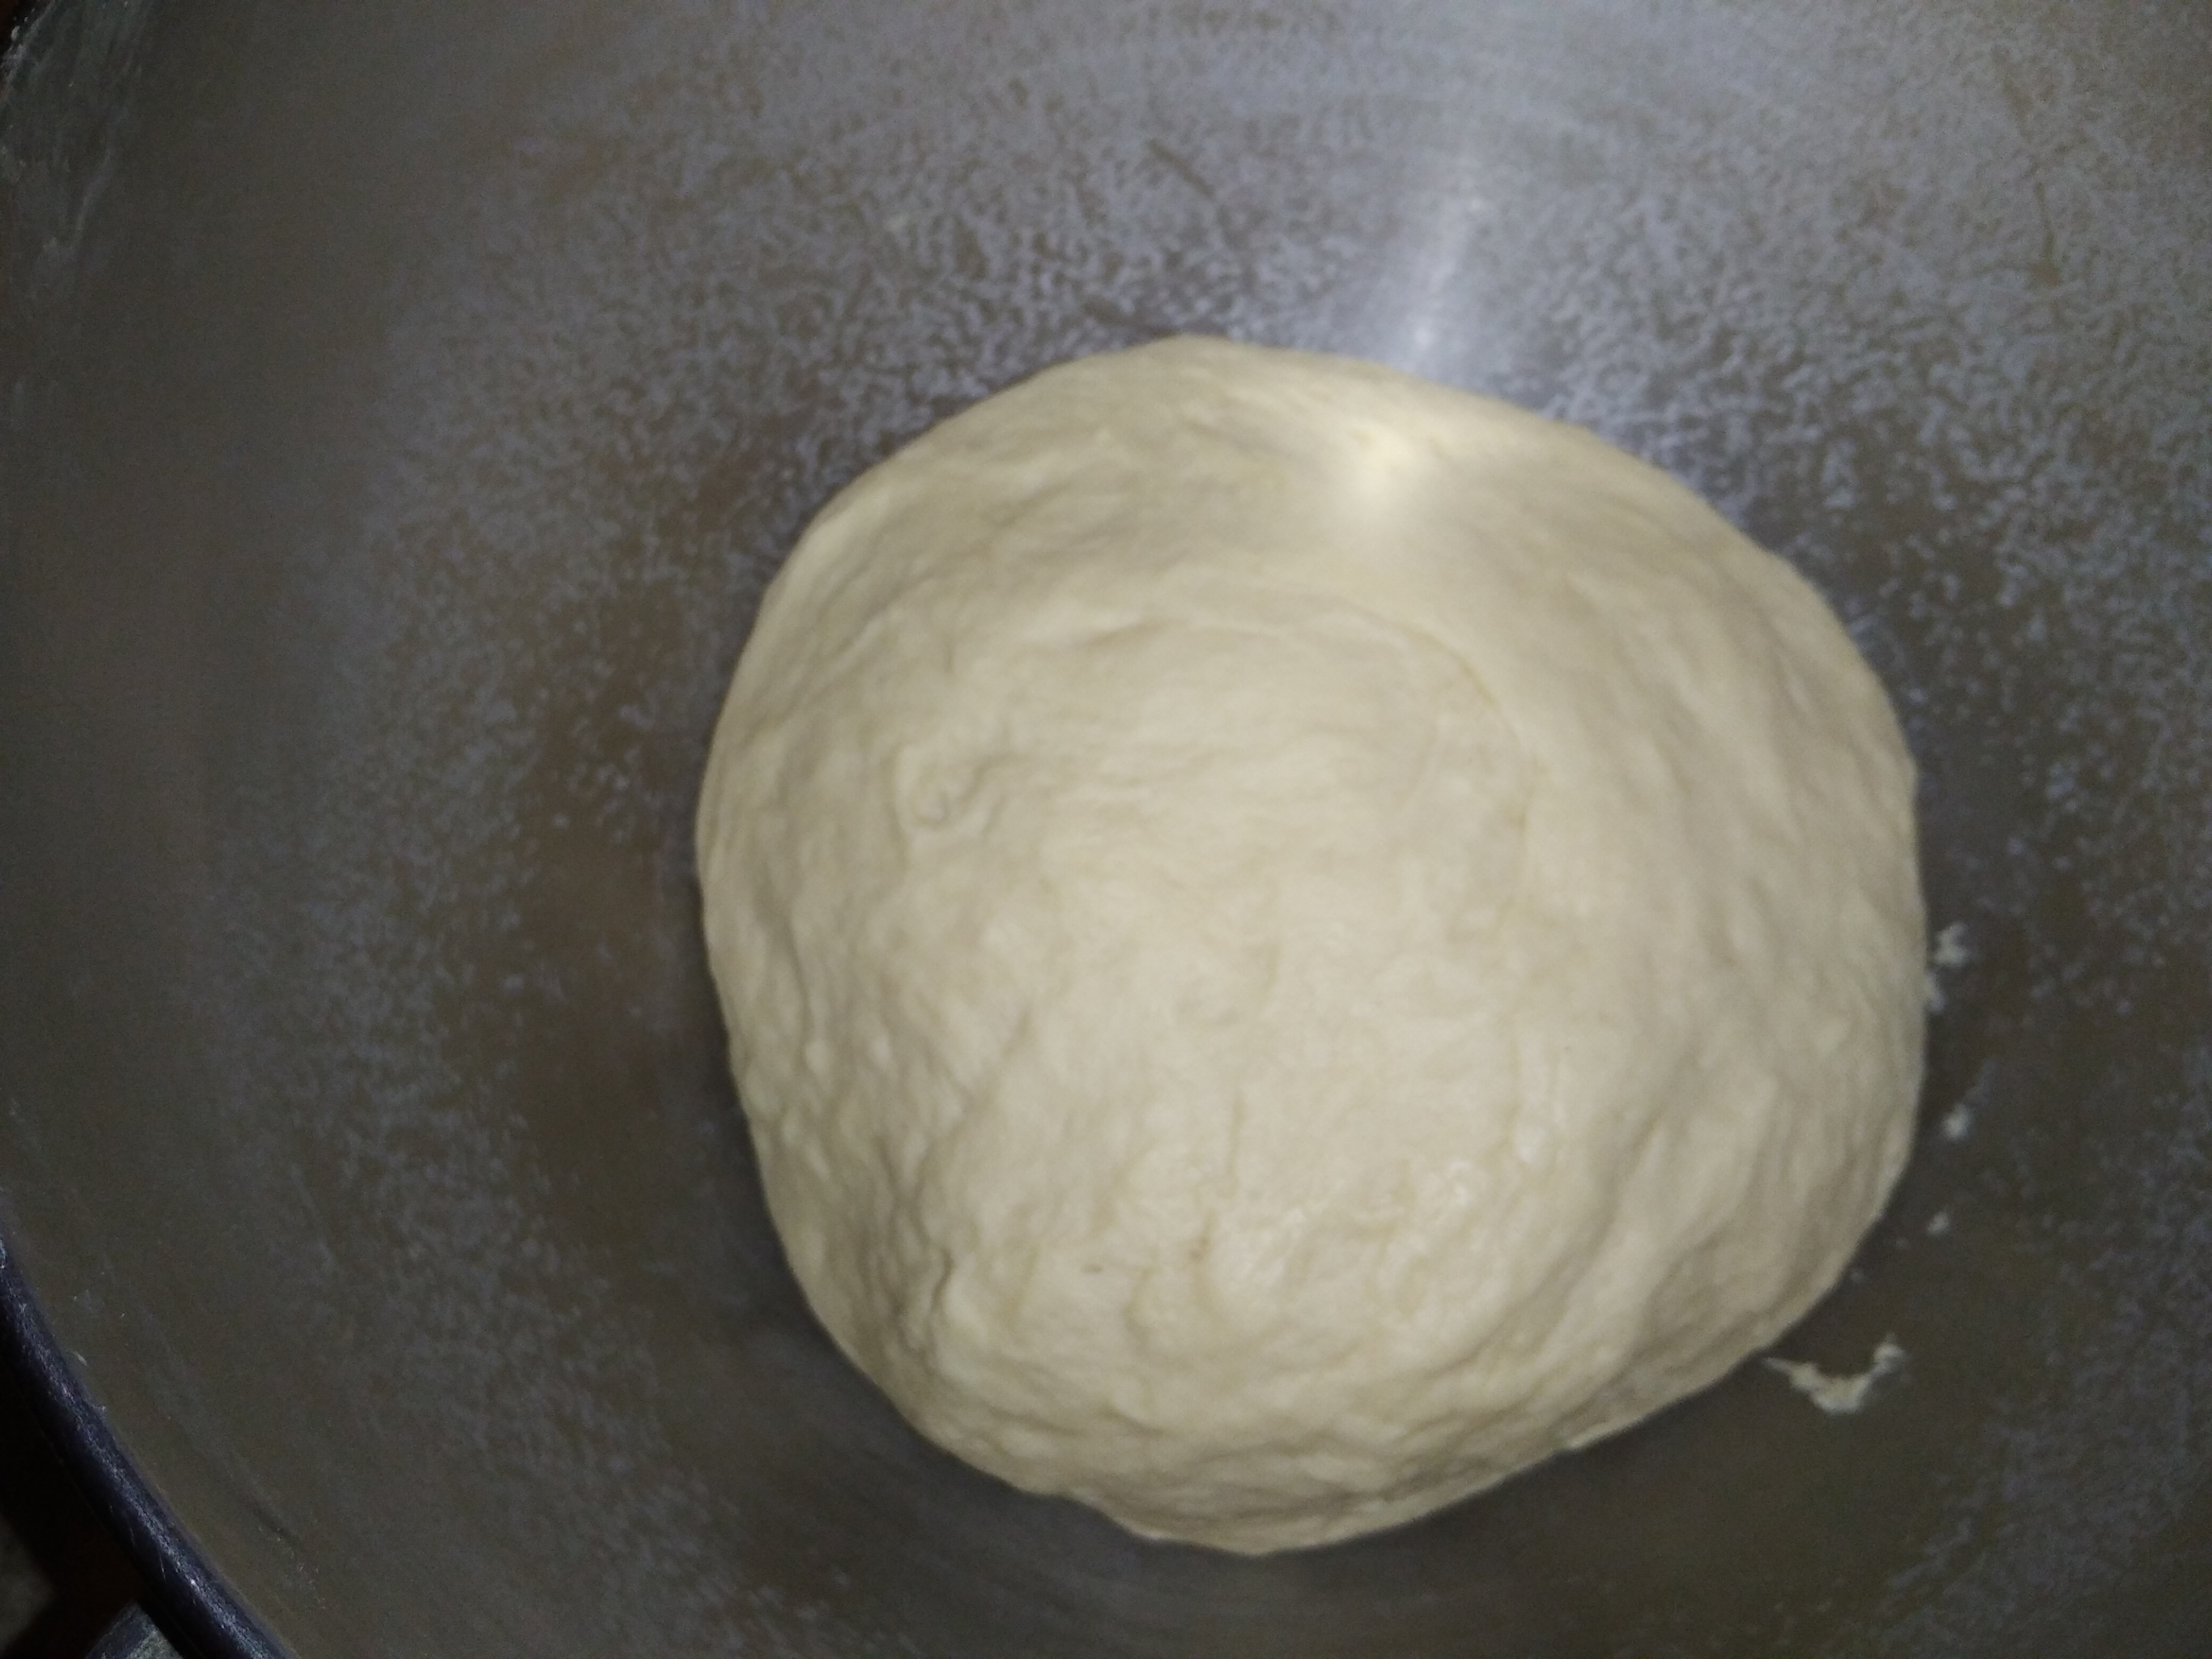
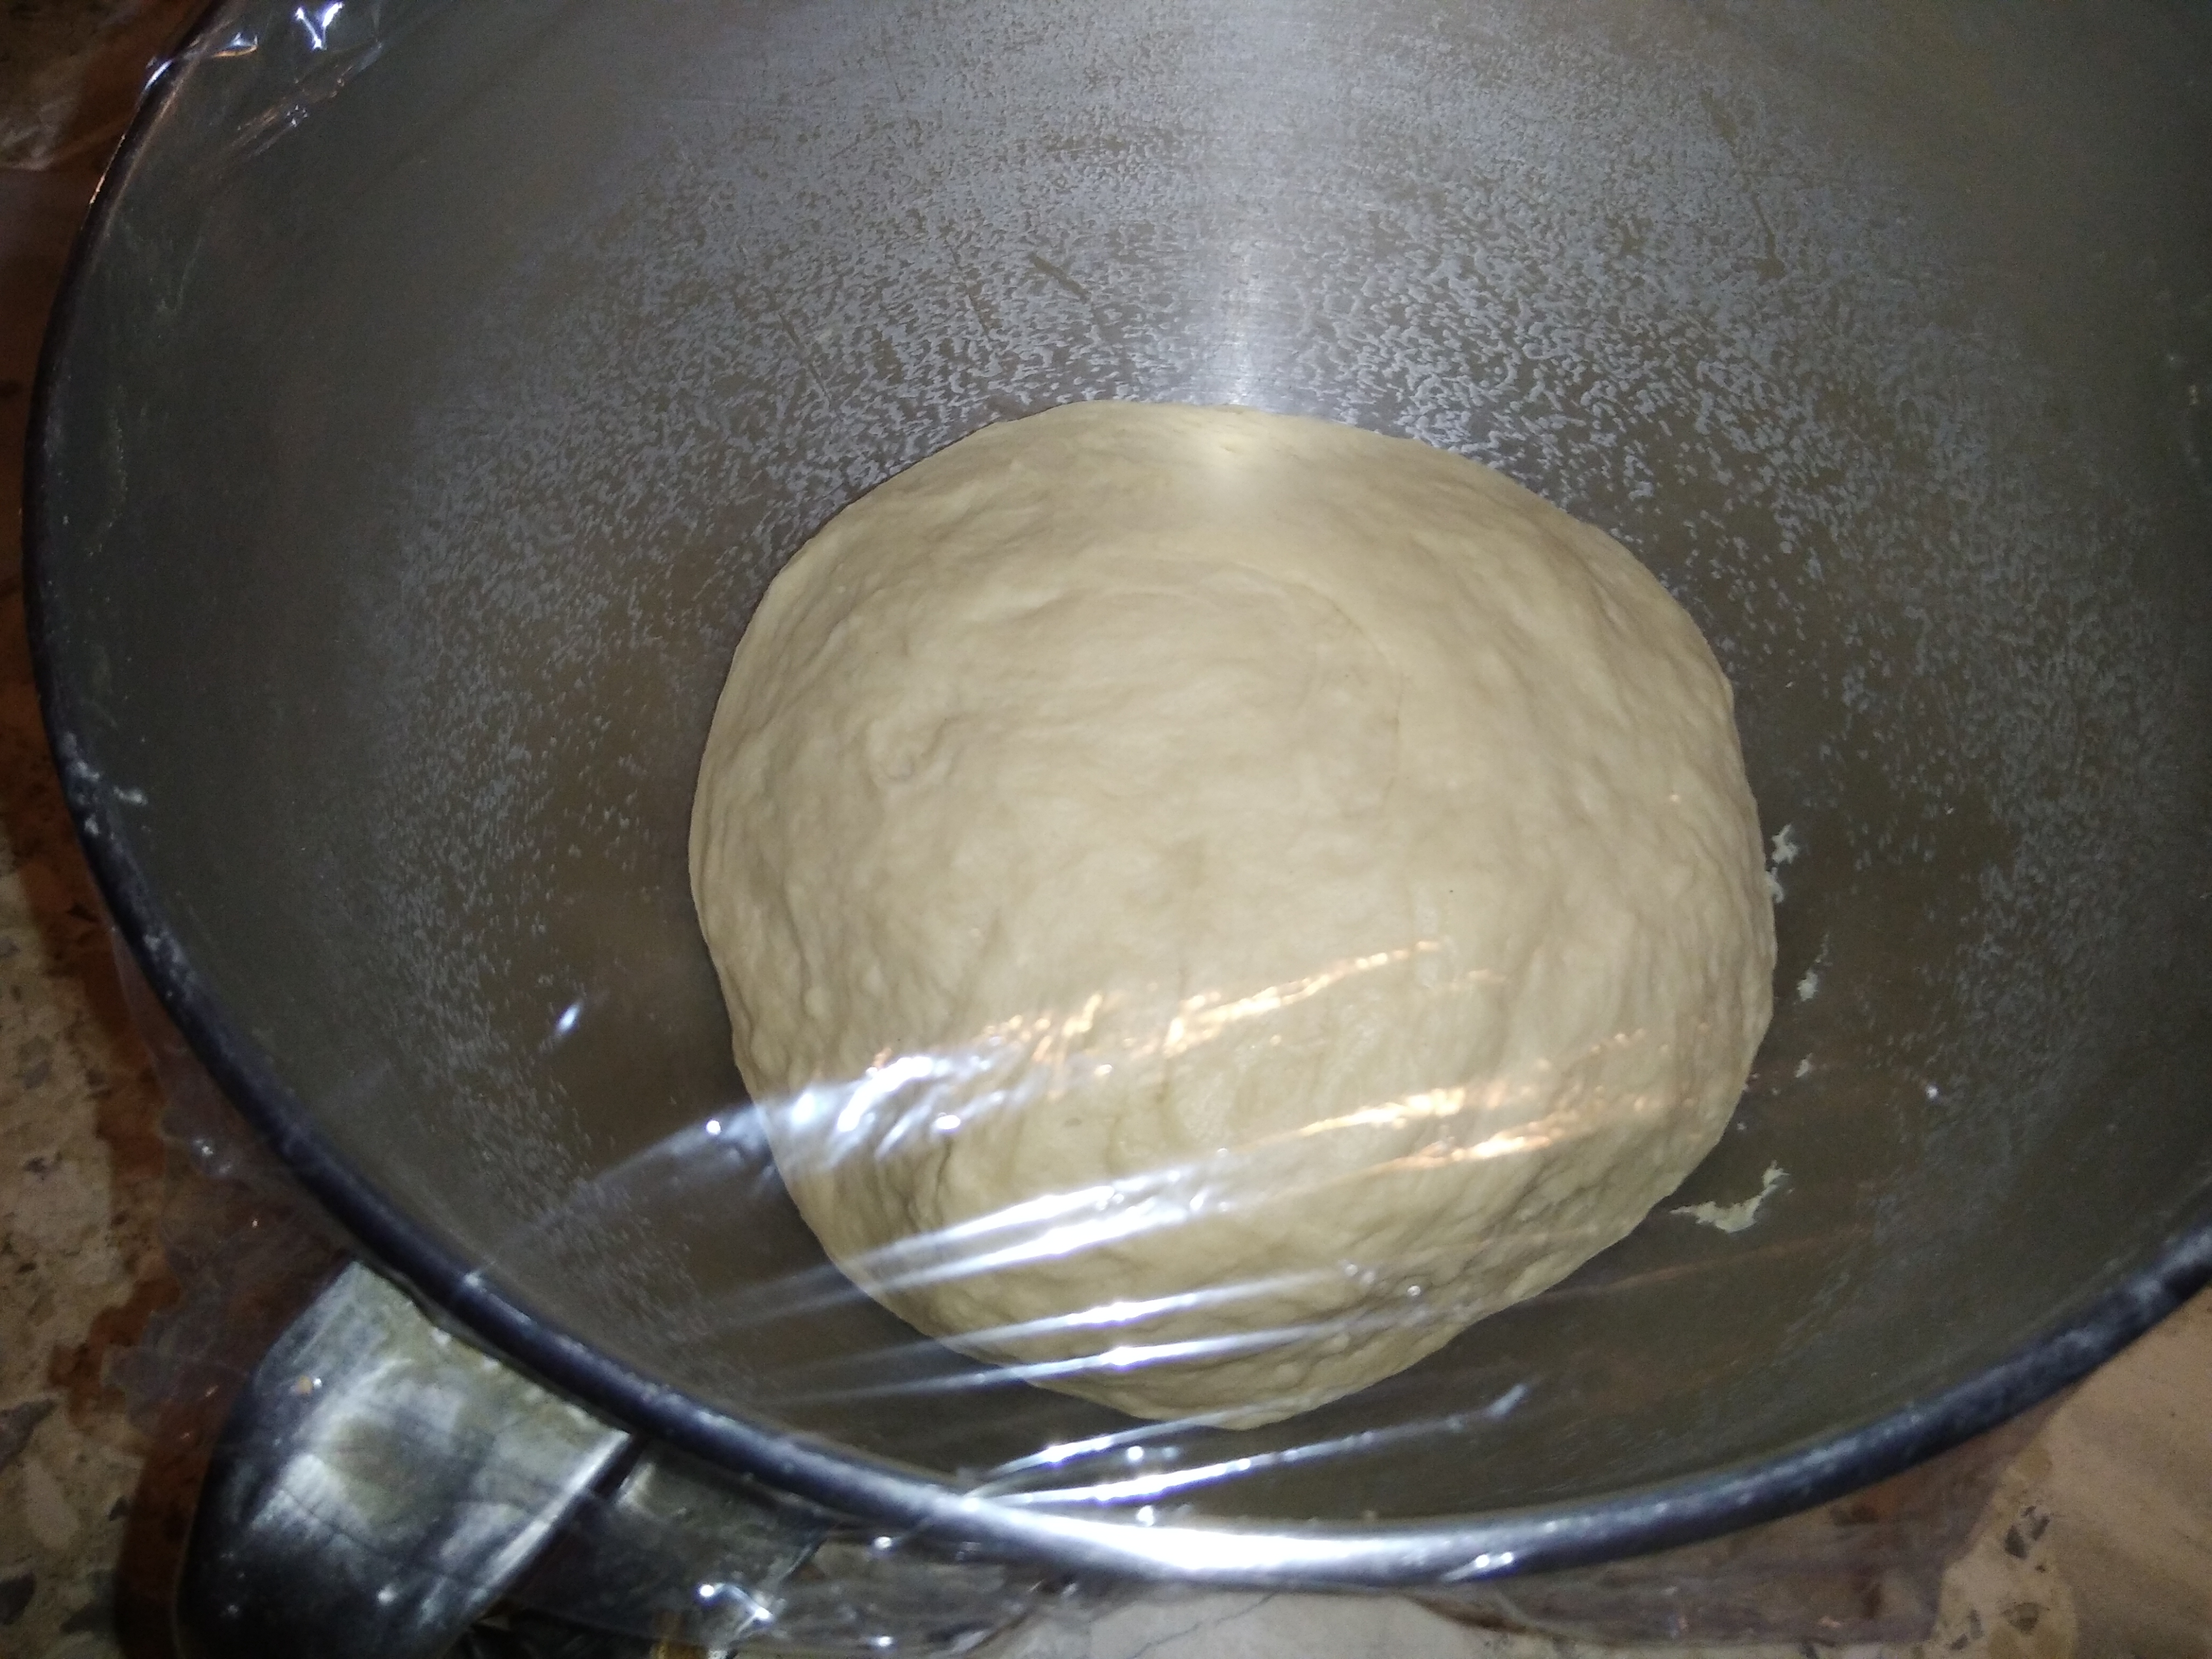
Durante la espera la masa habrá aumentado su volumen, la oprimiremos para desgasificarla y le agregaremos la mitad de la mantequilla y la sal, y continuaremos amasando hasta que la mantequilla se haya integrado por completo a la masa, notaremos que la masa se hace más suave a medida que esto pasa, cuando lo hayamos logrado, agregaremos el resto de la mantequilla y continuaremos amasando hasta lograr integrar la mantequilla restante. Después de esto dejaremos levar la masa cubierta por un plástico, por una hora o hasta que haya doblado su volumen.
Step 3
While waiting the dough will have increased its volume, we will press it to degas it and we will add half of the butter and salt, and we will continue kneading until the butter is completely integrated to the dough, we will notice that the dough becomes softer as this happens, when we have achieved this, we will add the rest of the butter and we will continue kneading until we integrate the remaining butter. After this we will let the dough rise covered with plastic wrap for one hour or until it has doubled its volume.


Paso 4
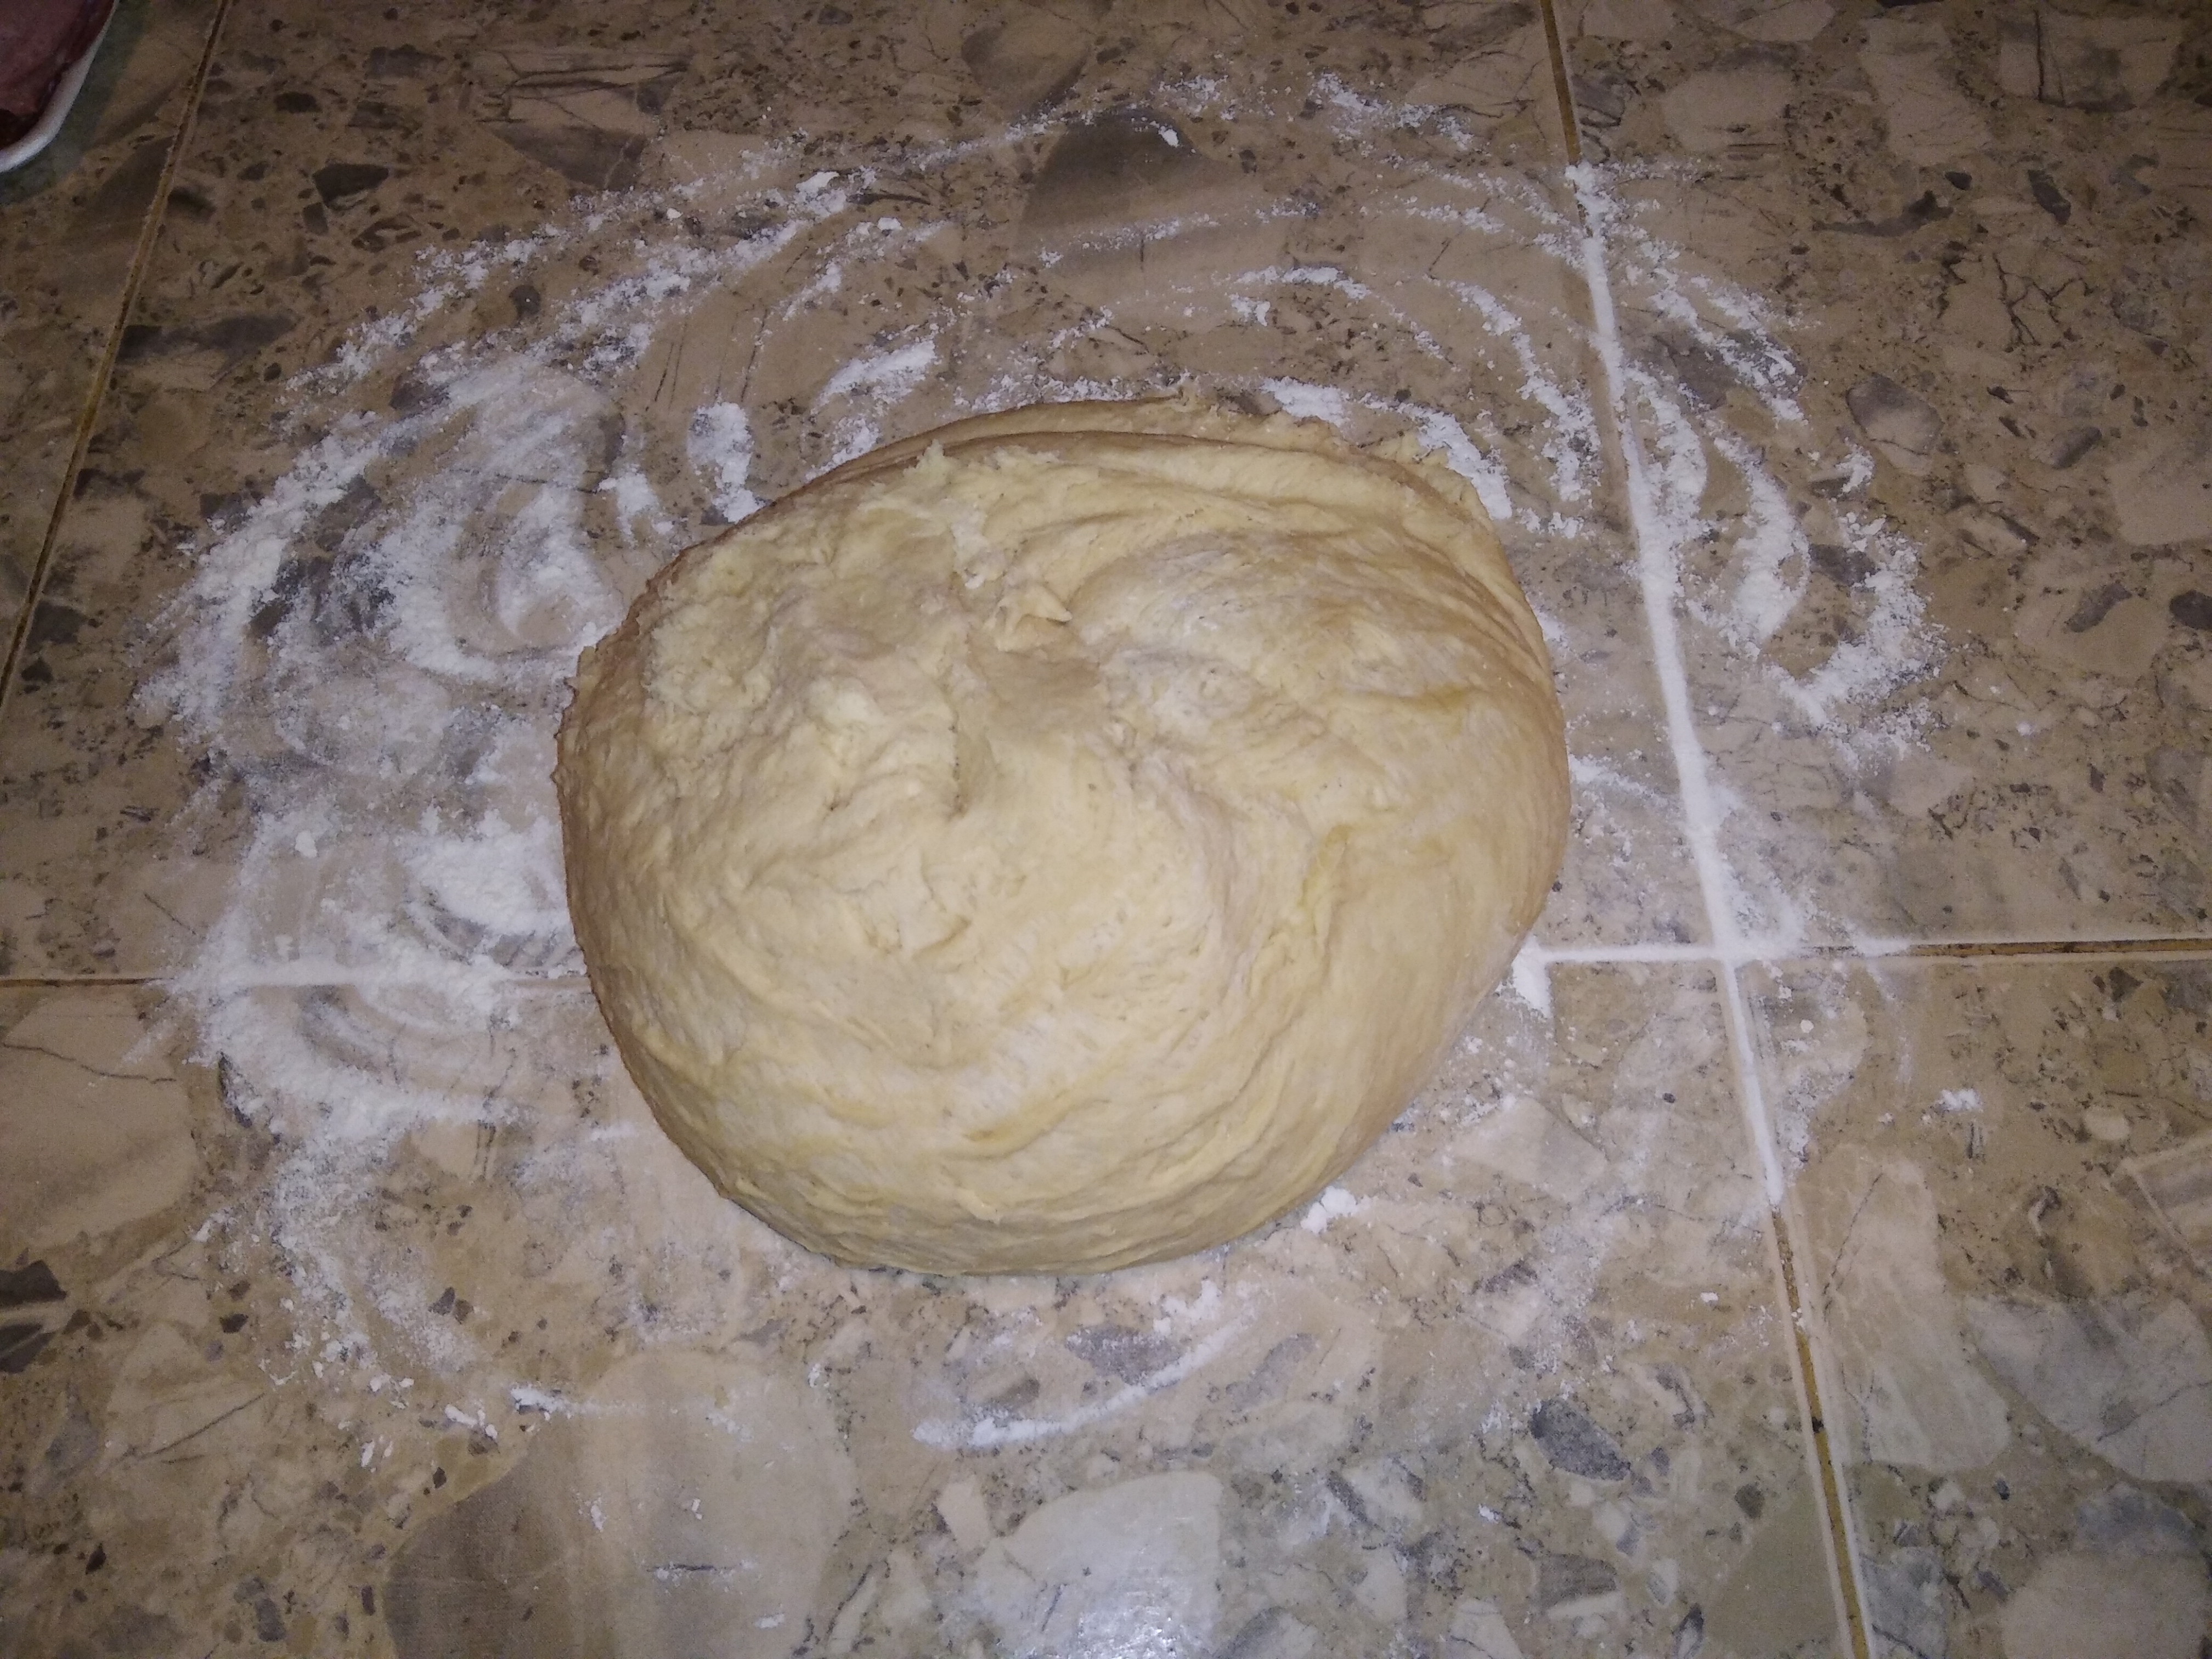
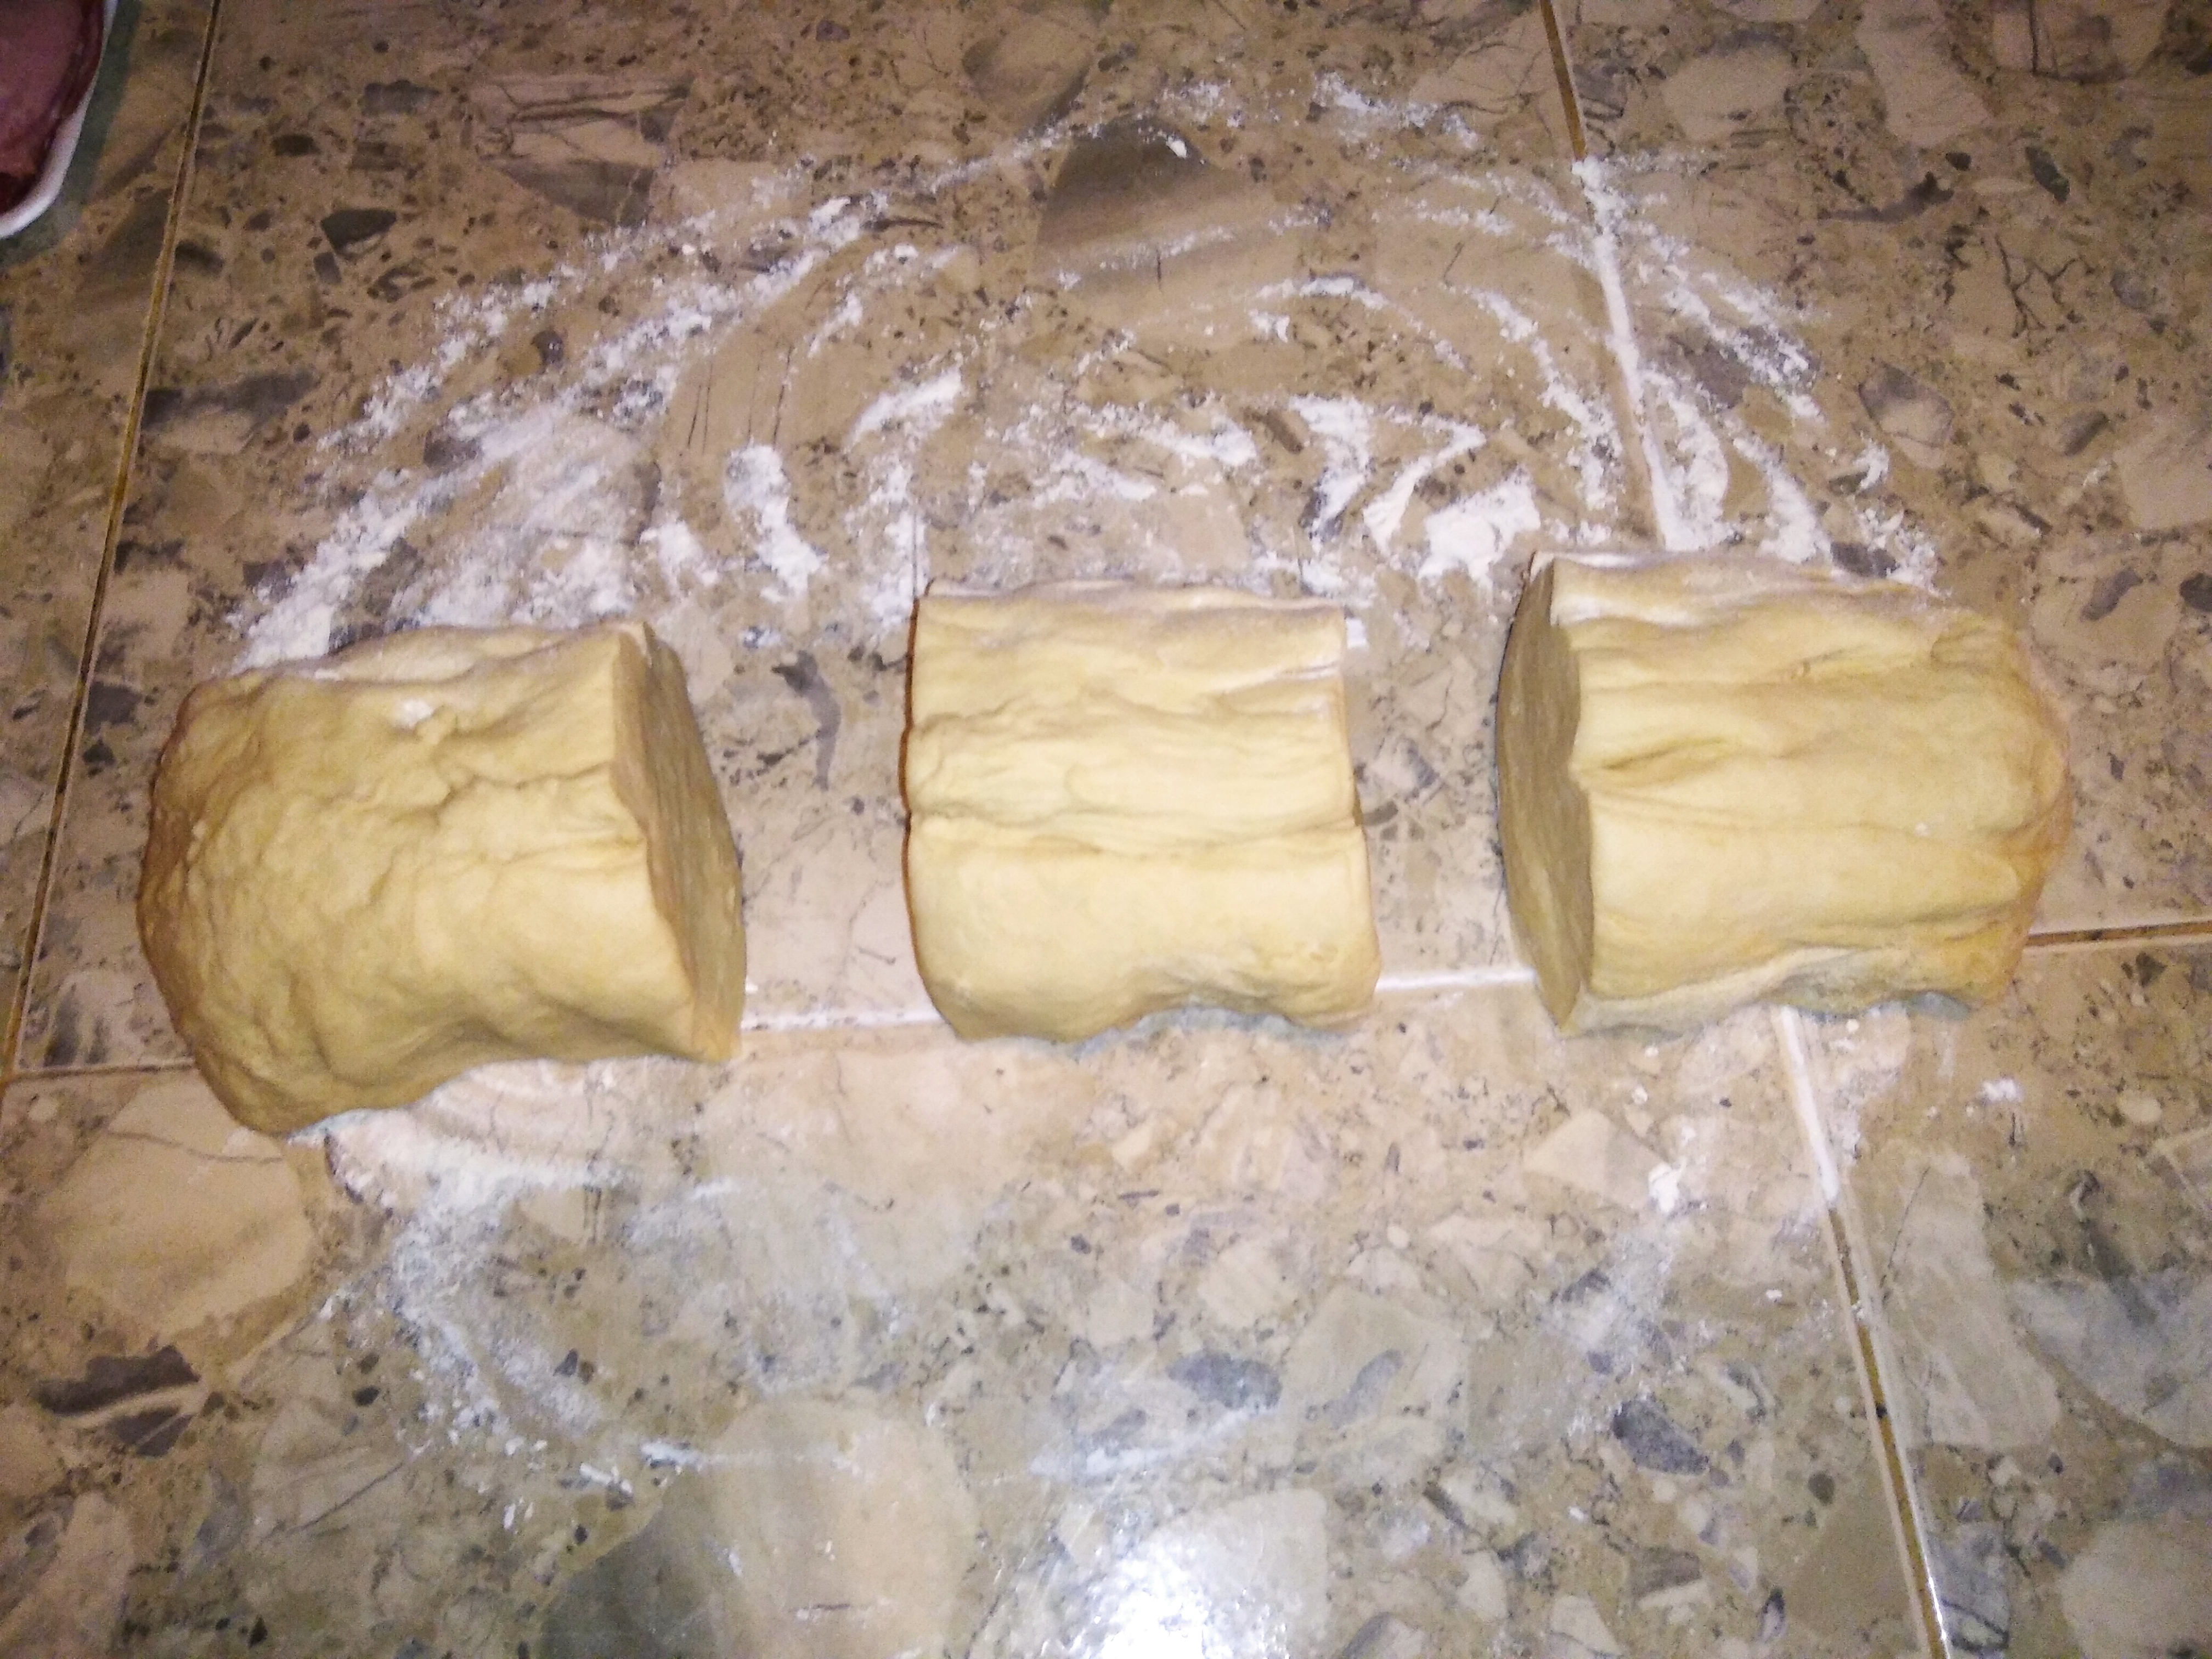
El resto del procedimiento no difiere mucho del usado en la anterior receta, con esta cantidad de masa se pueden elaborar 3 panes medianos o 2 grandes, nosotros, optamos por la primera opción, así que dividimos la masa en tres partes iguales.
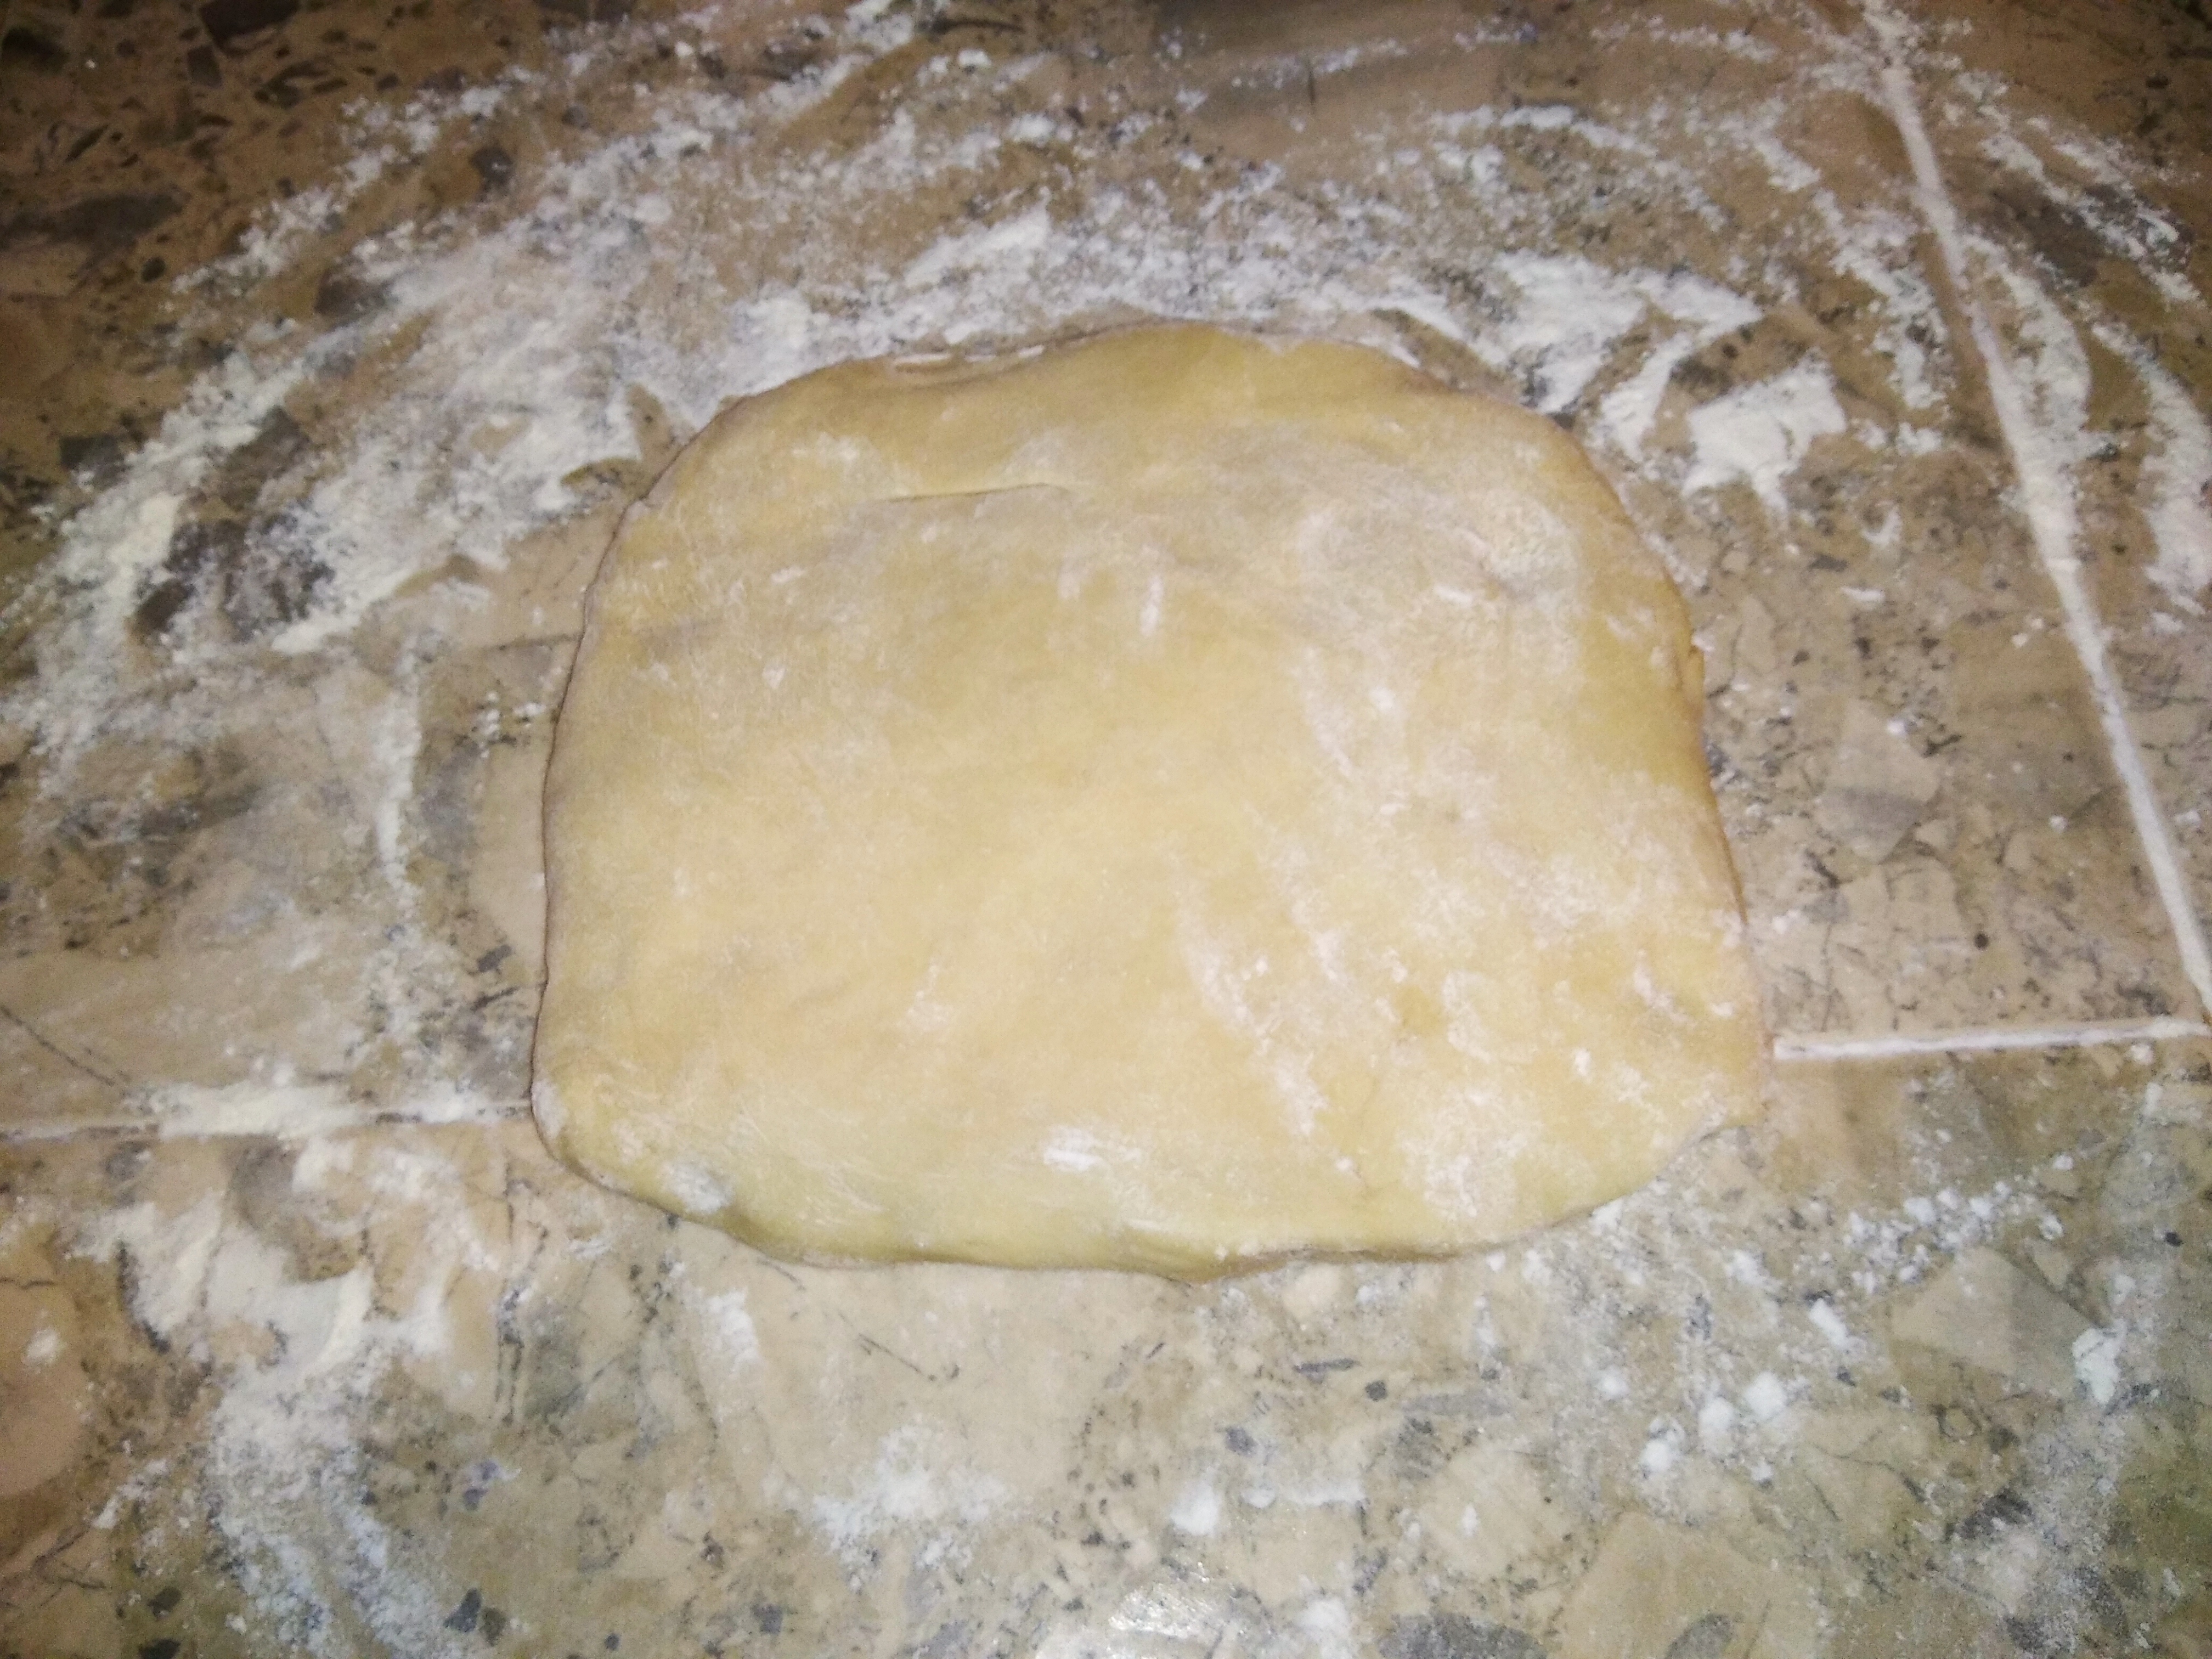
Para continuar, tomamos una parte de la masa y la extenderemos hasta formar un rectángulo de unos 30 por 40 cm y unos cuatro o cinco milímetros de grosor, en uno de los lados más estrechos haremos una fila de aceitunas separada de unos dos centímetros del borde de la masa y luego la cubriremos con esa solapa de dos centímetros, usando lo dedos para cerrar la masa alrededor de las aceitunas.
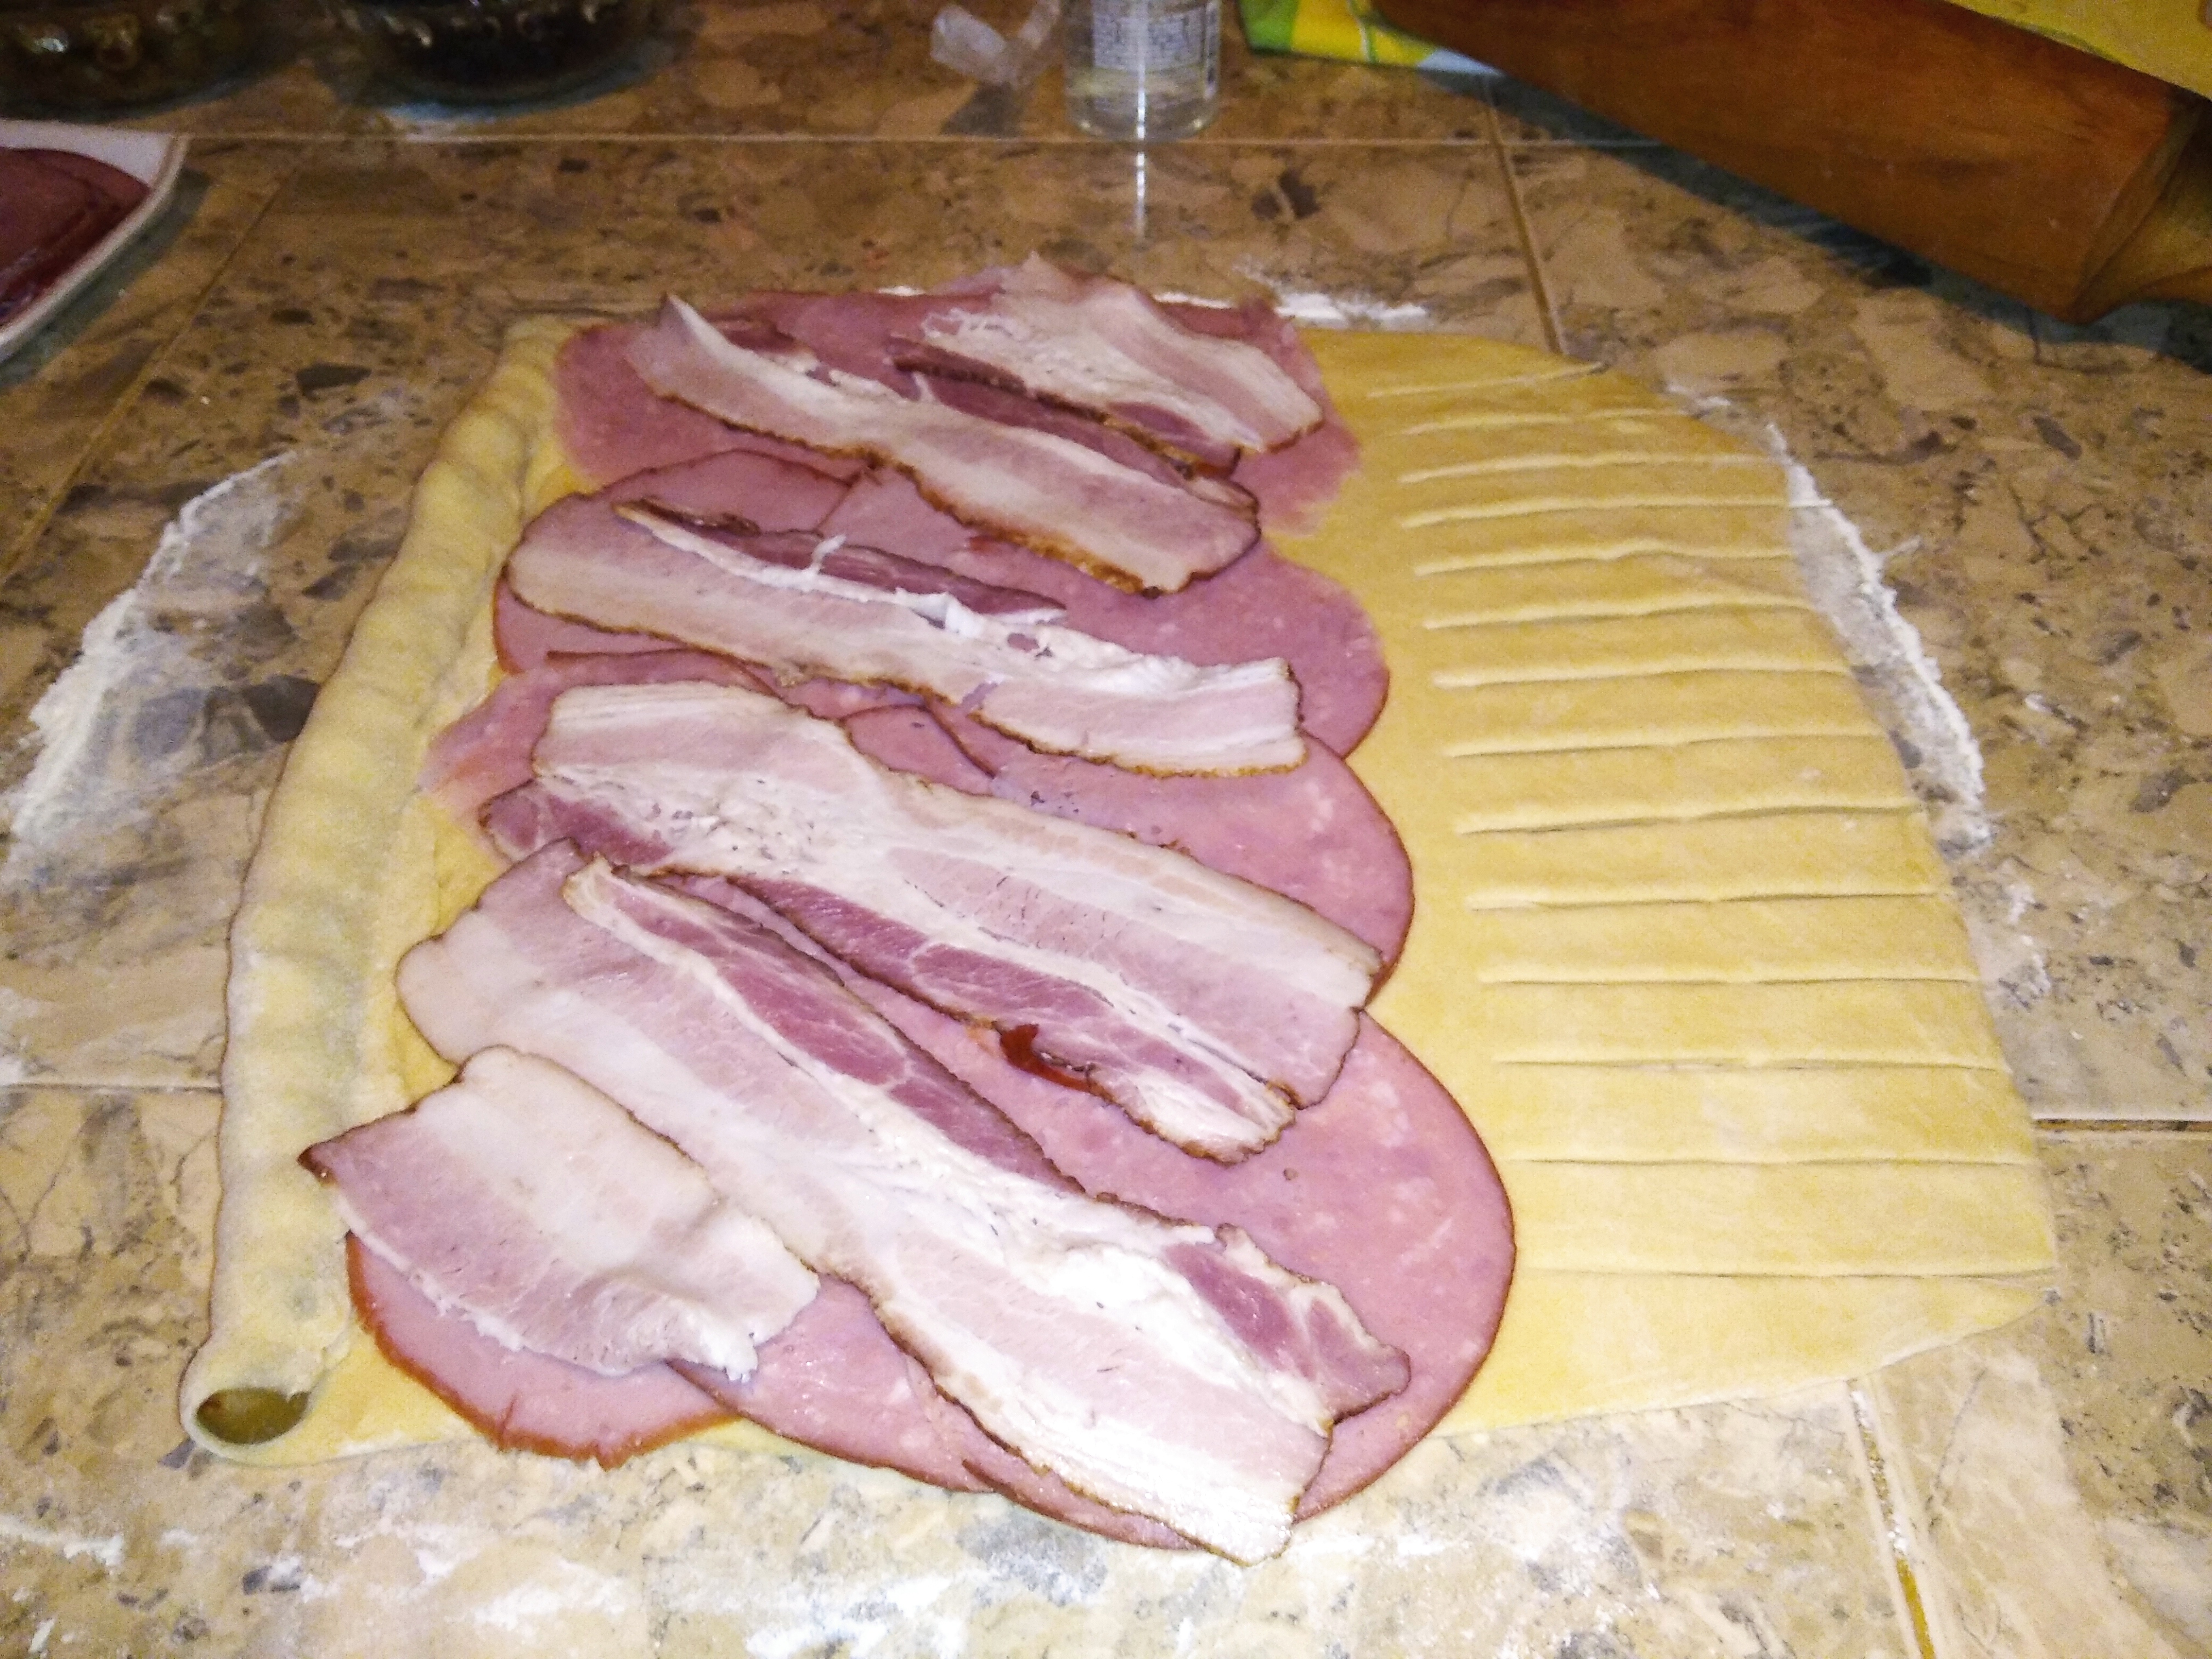
Luego en dos tercios de la extensión restante de la masa cubriremos con suficiente jamón y tocineta, para finalmente regar pasas a nuestro gusto, y si lo deseamos también podemos regar algunas ruedas de aceitunas.
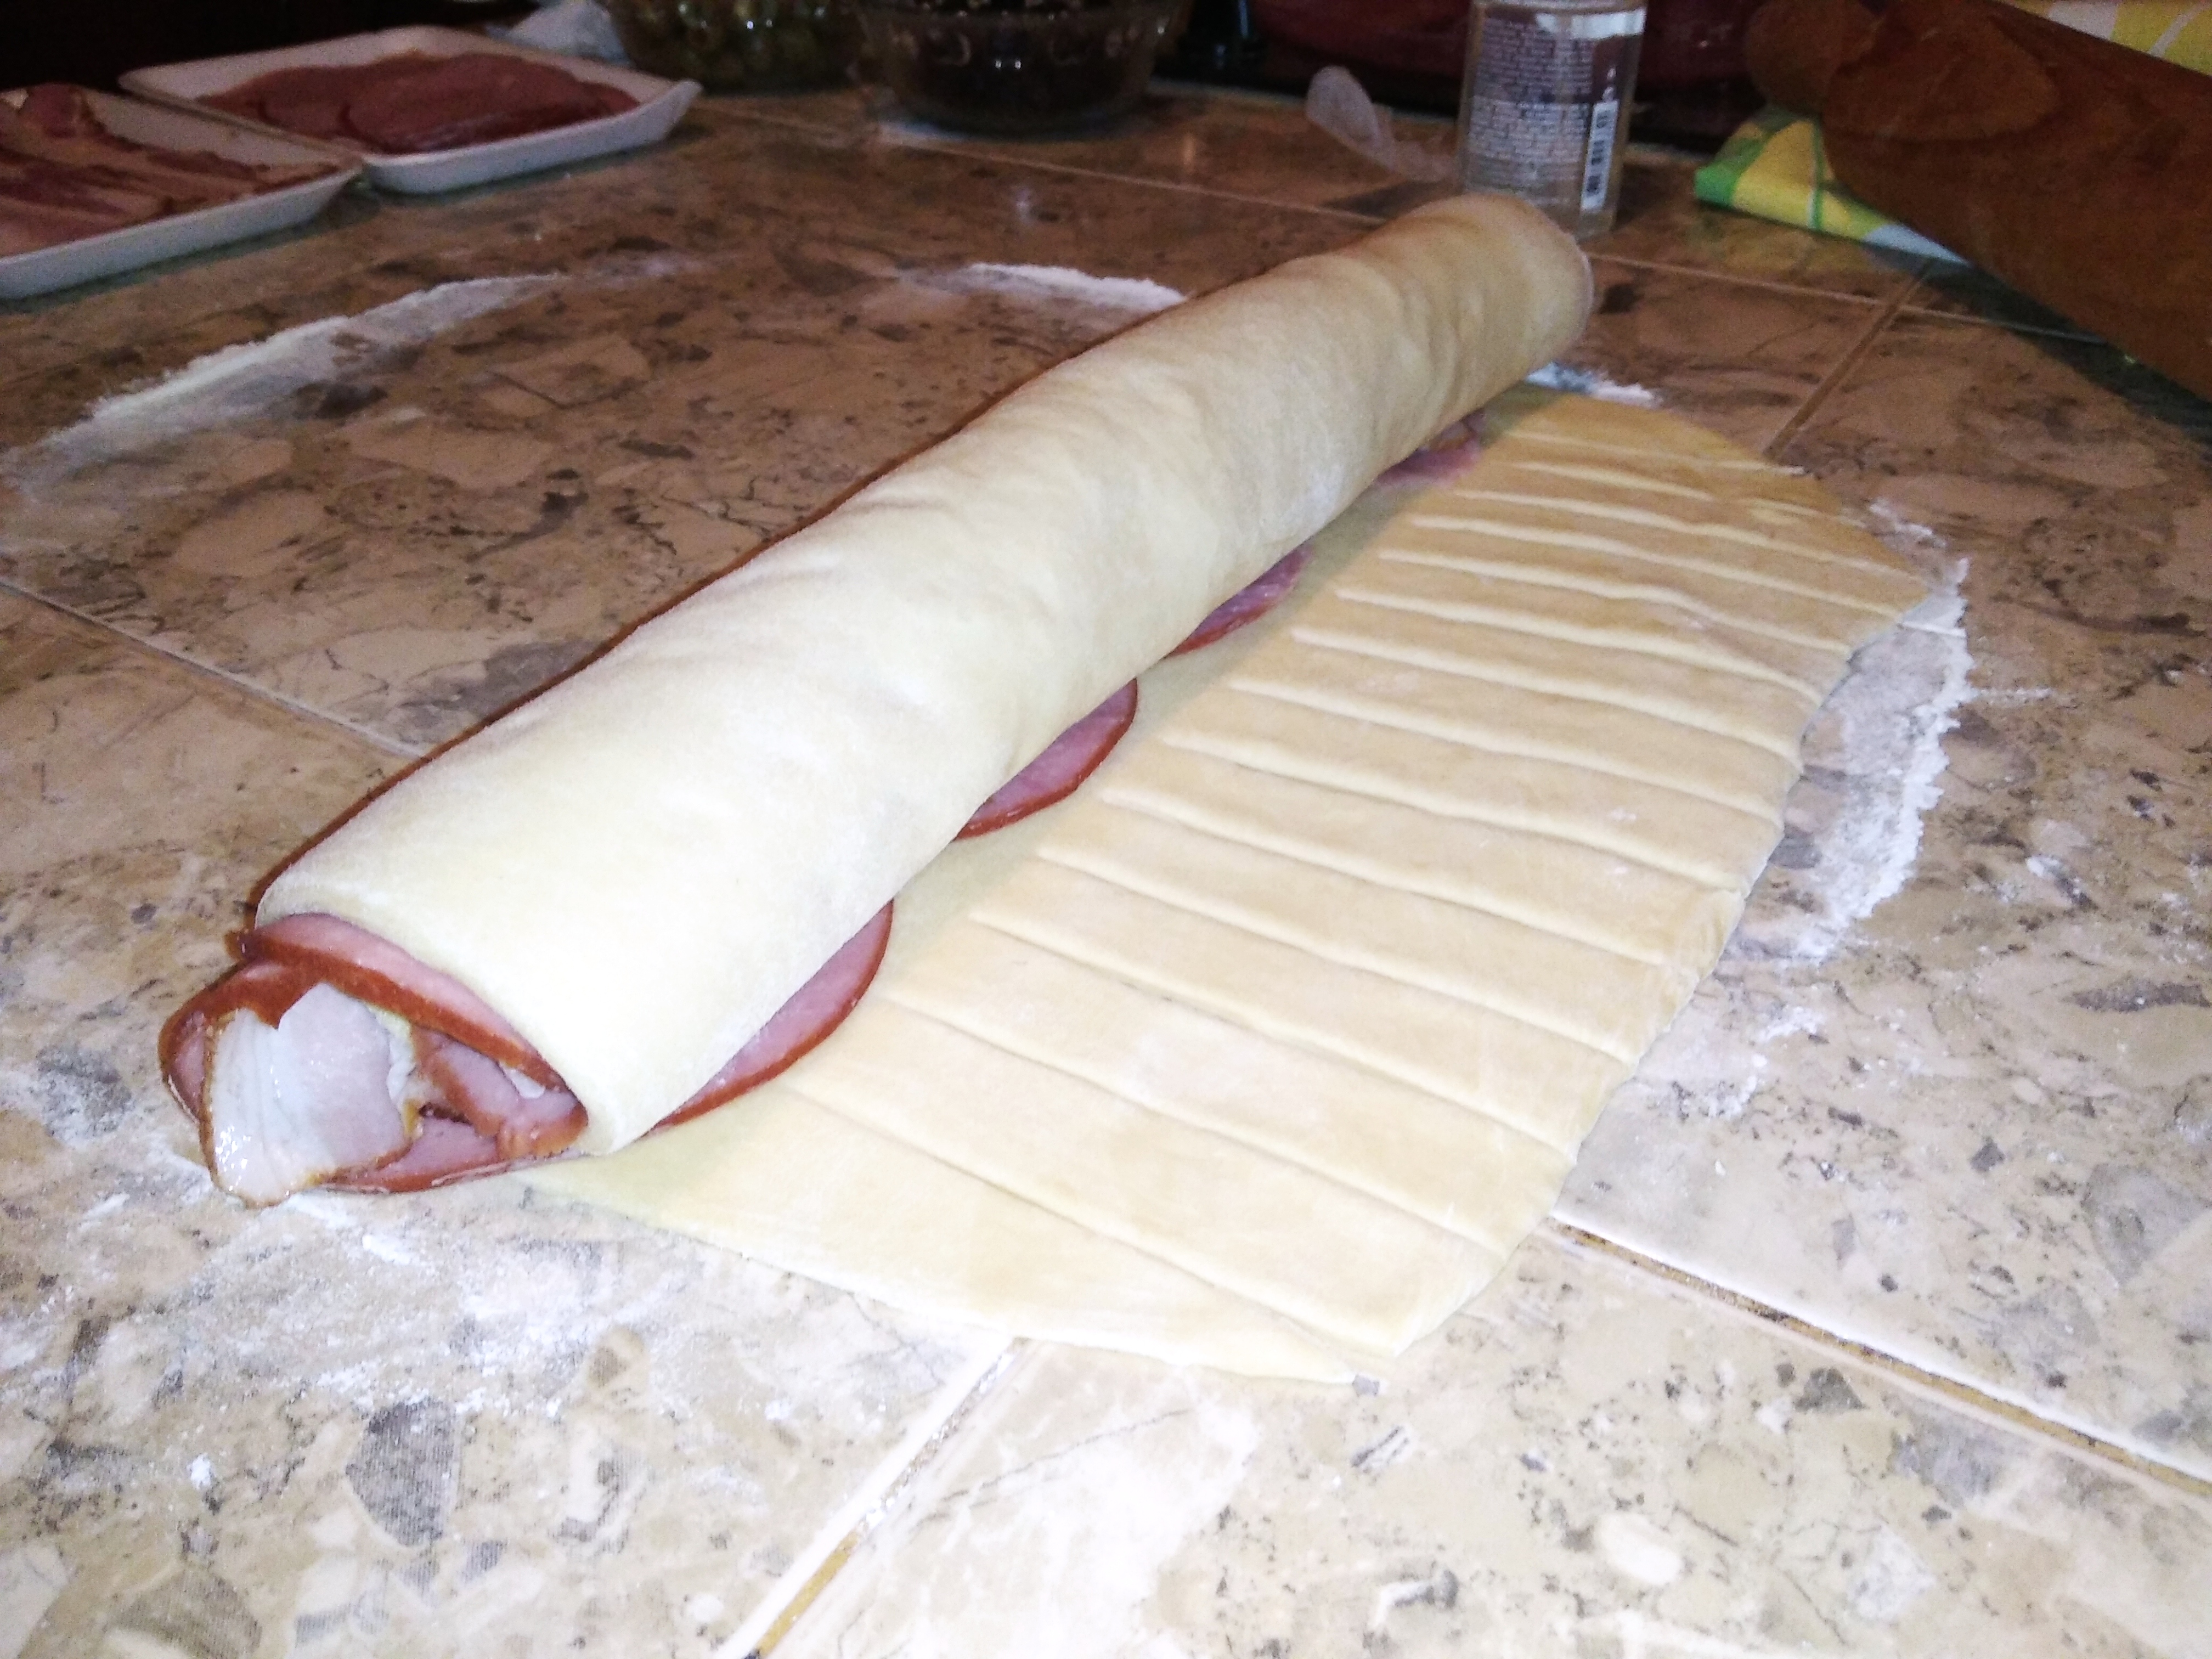
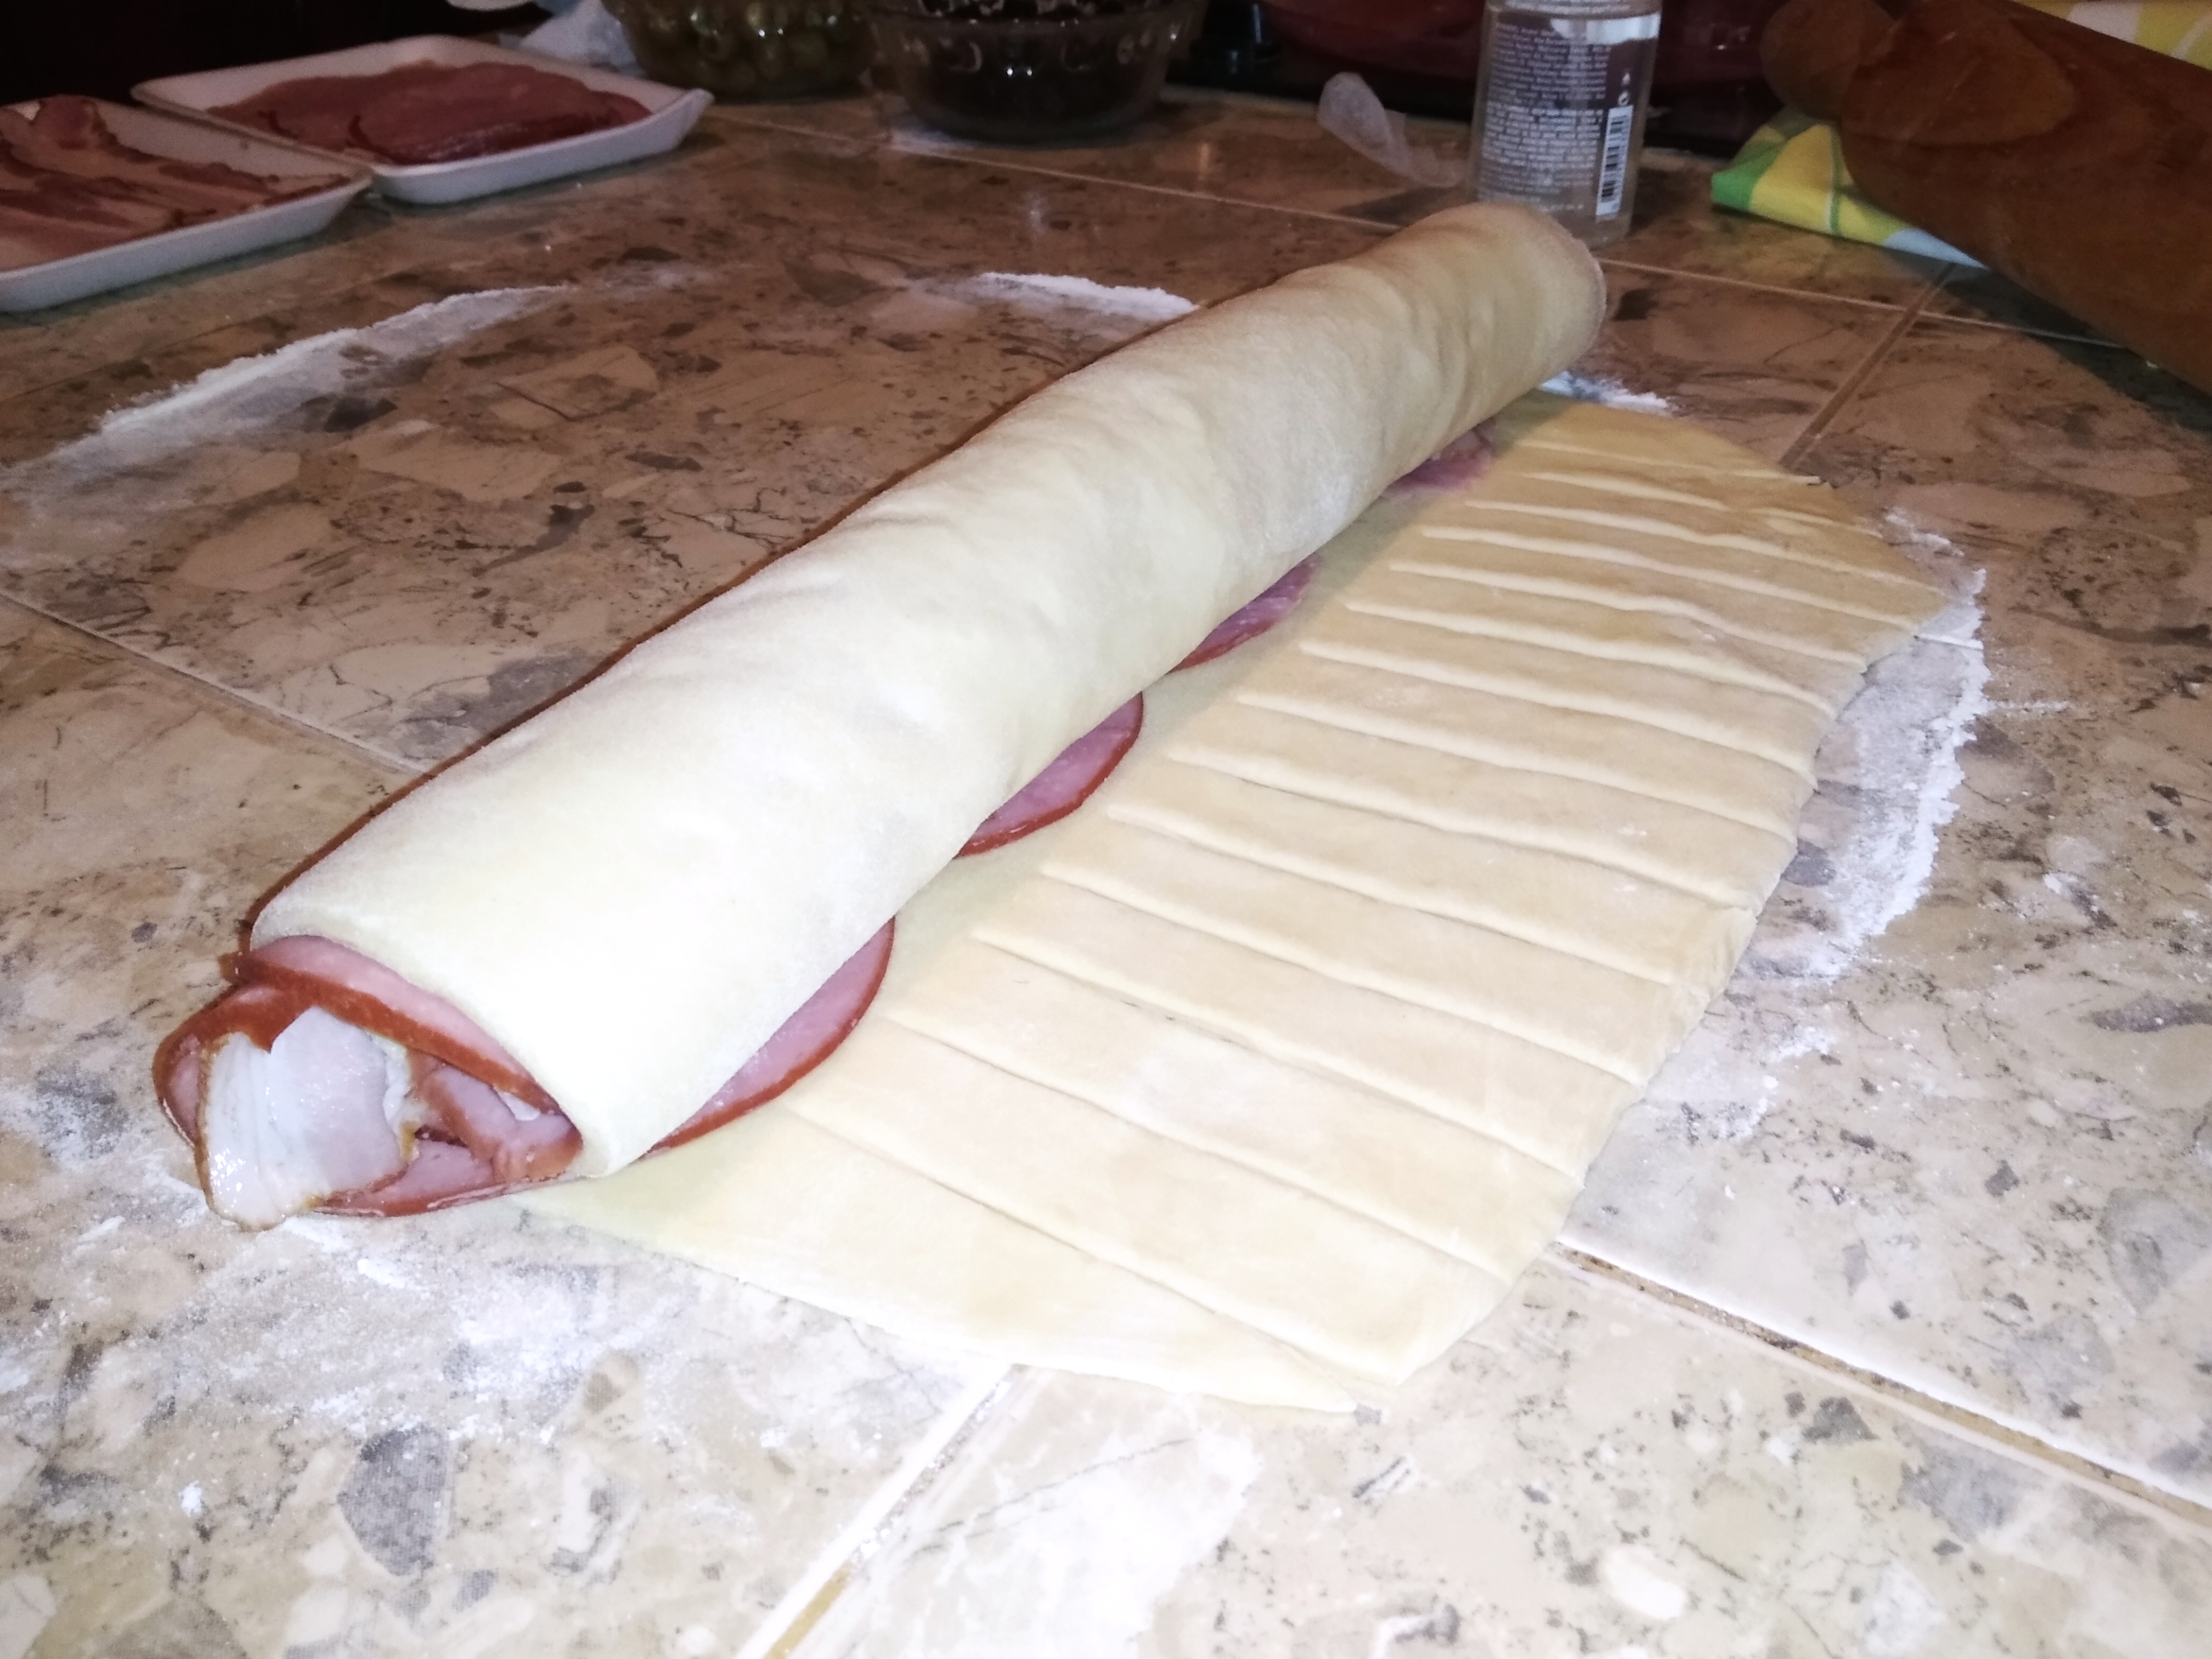
Enrollaremos nuestra masa, sin apretarla mucho, para darle espacio para que leve, iniciando desde la fila de aceitunas, sobre el relleno y dejaremos sin enrollar el último tercio de la masa, que habíamos dejado sin relleno.
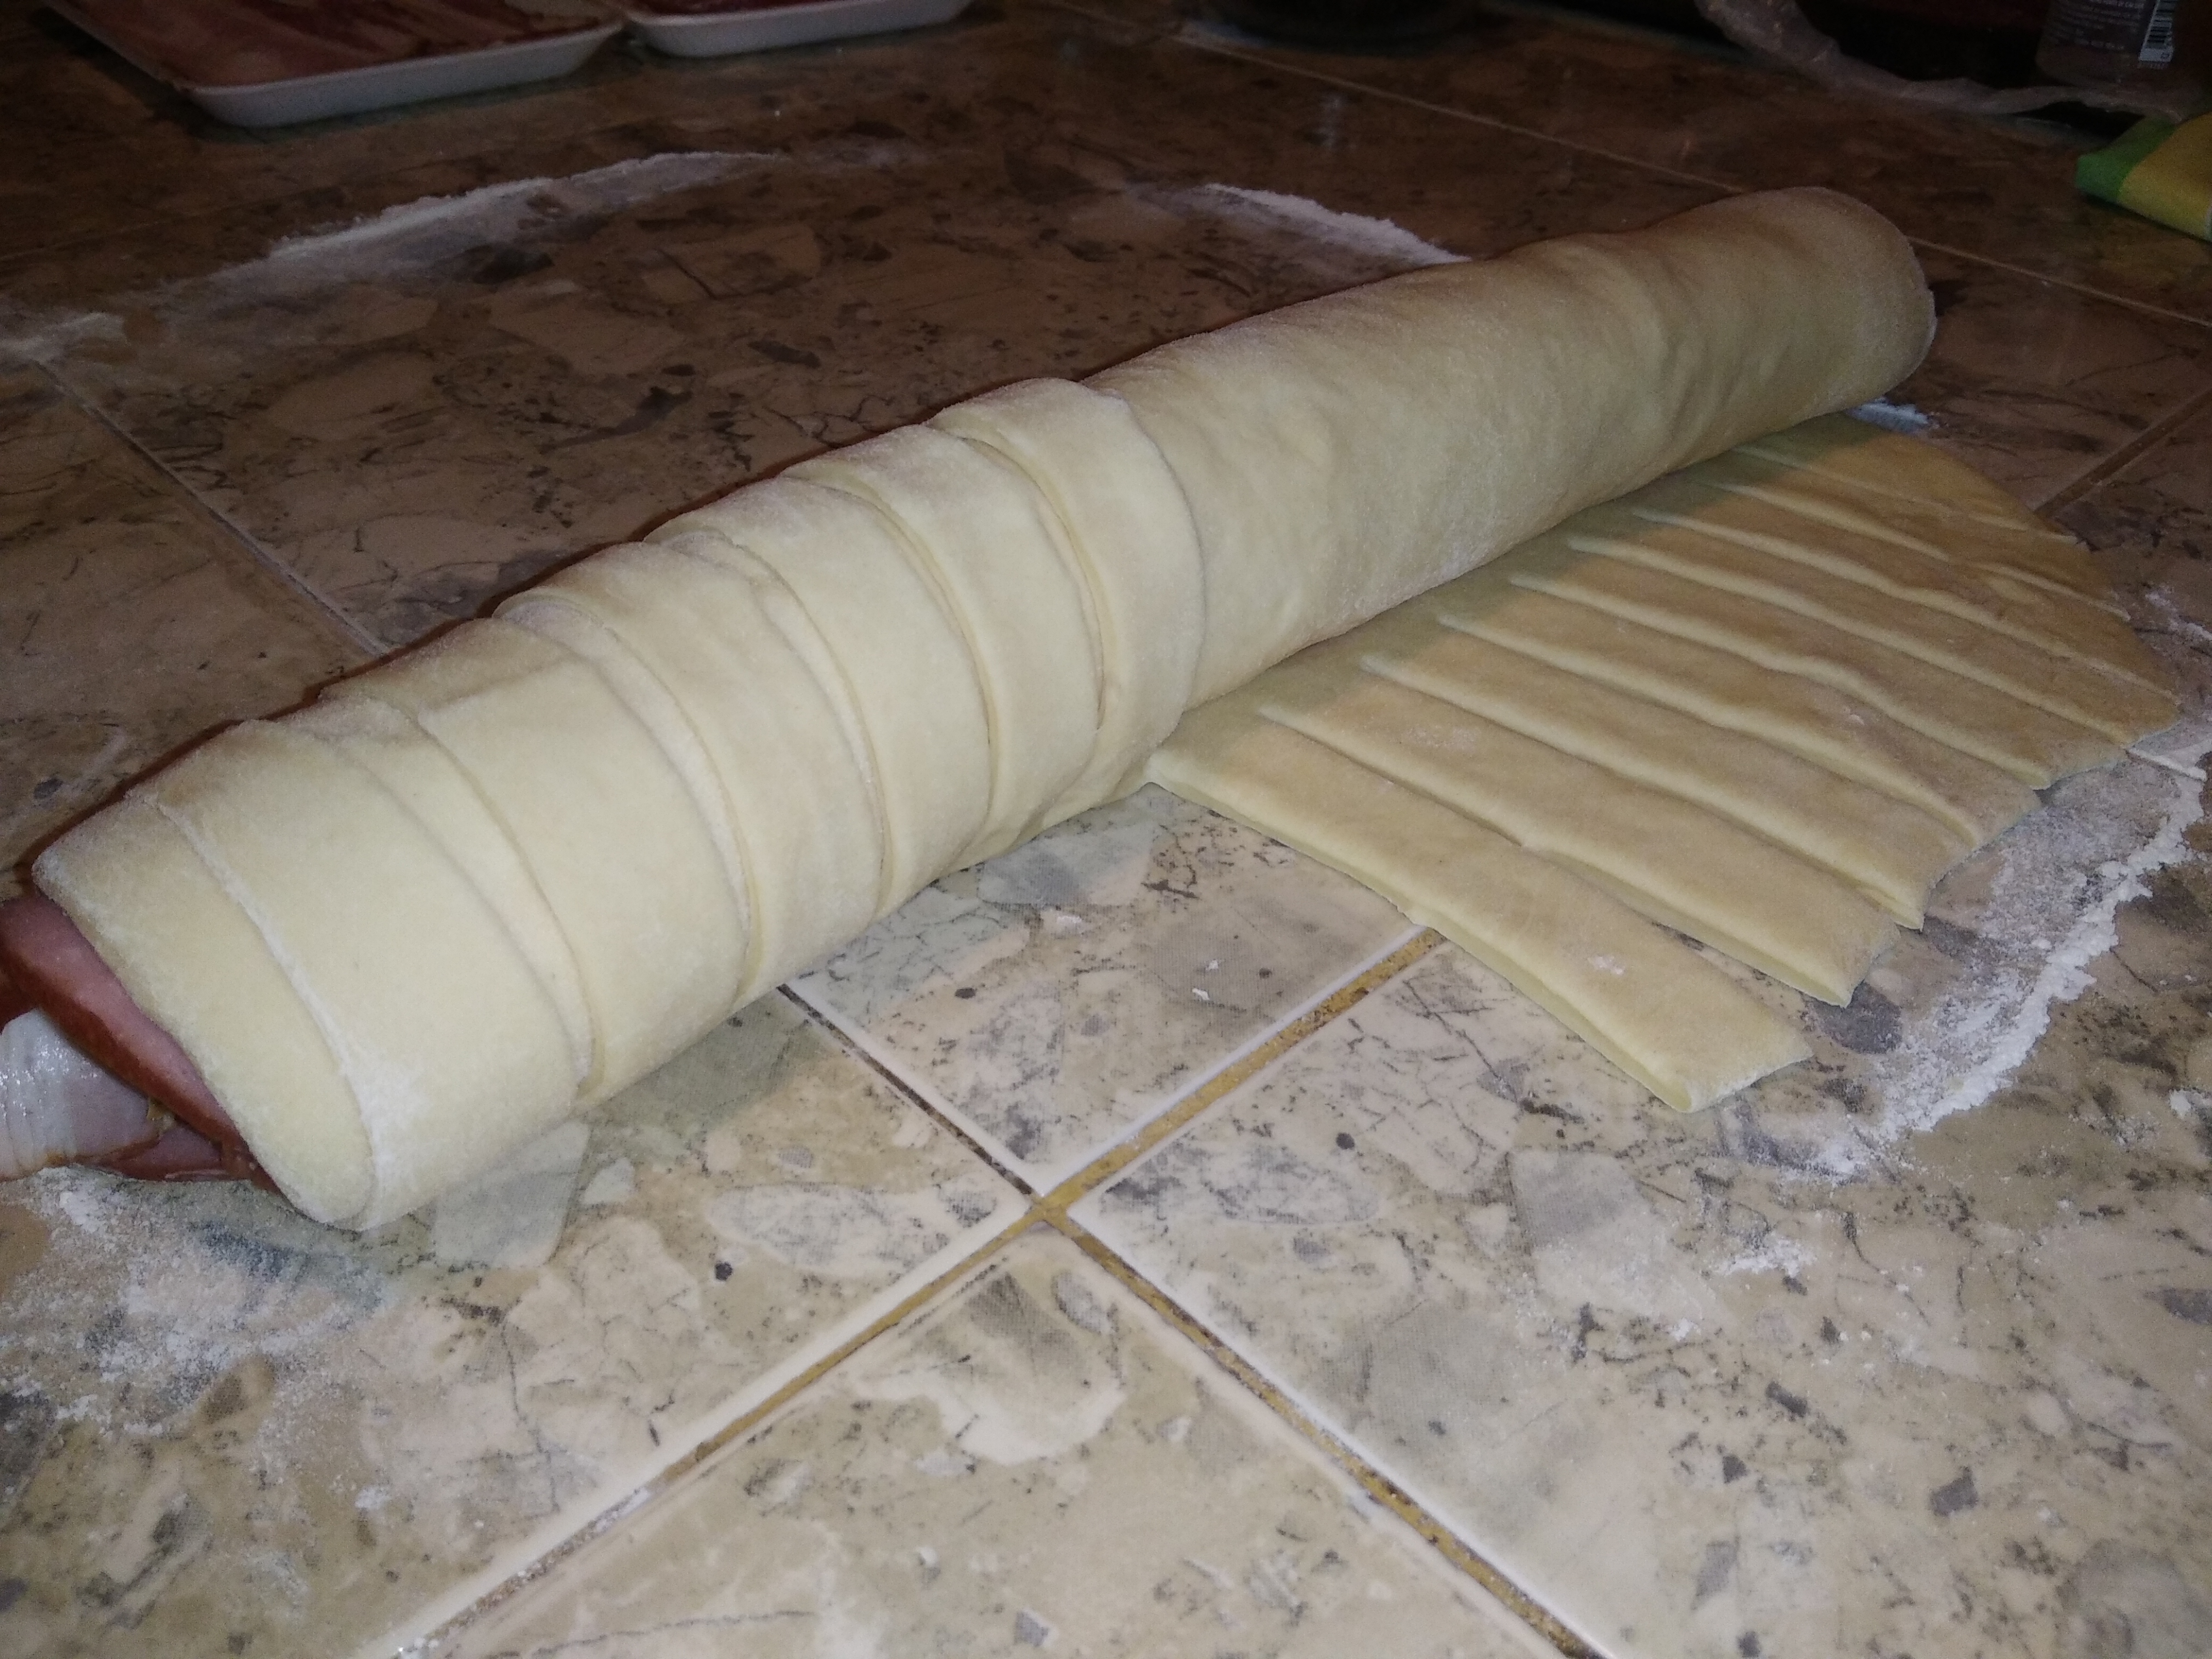
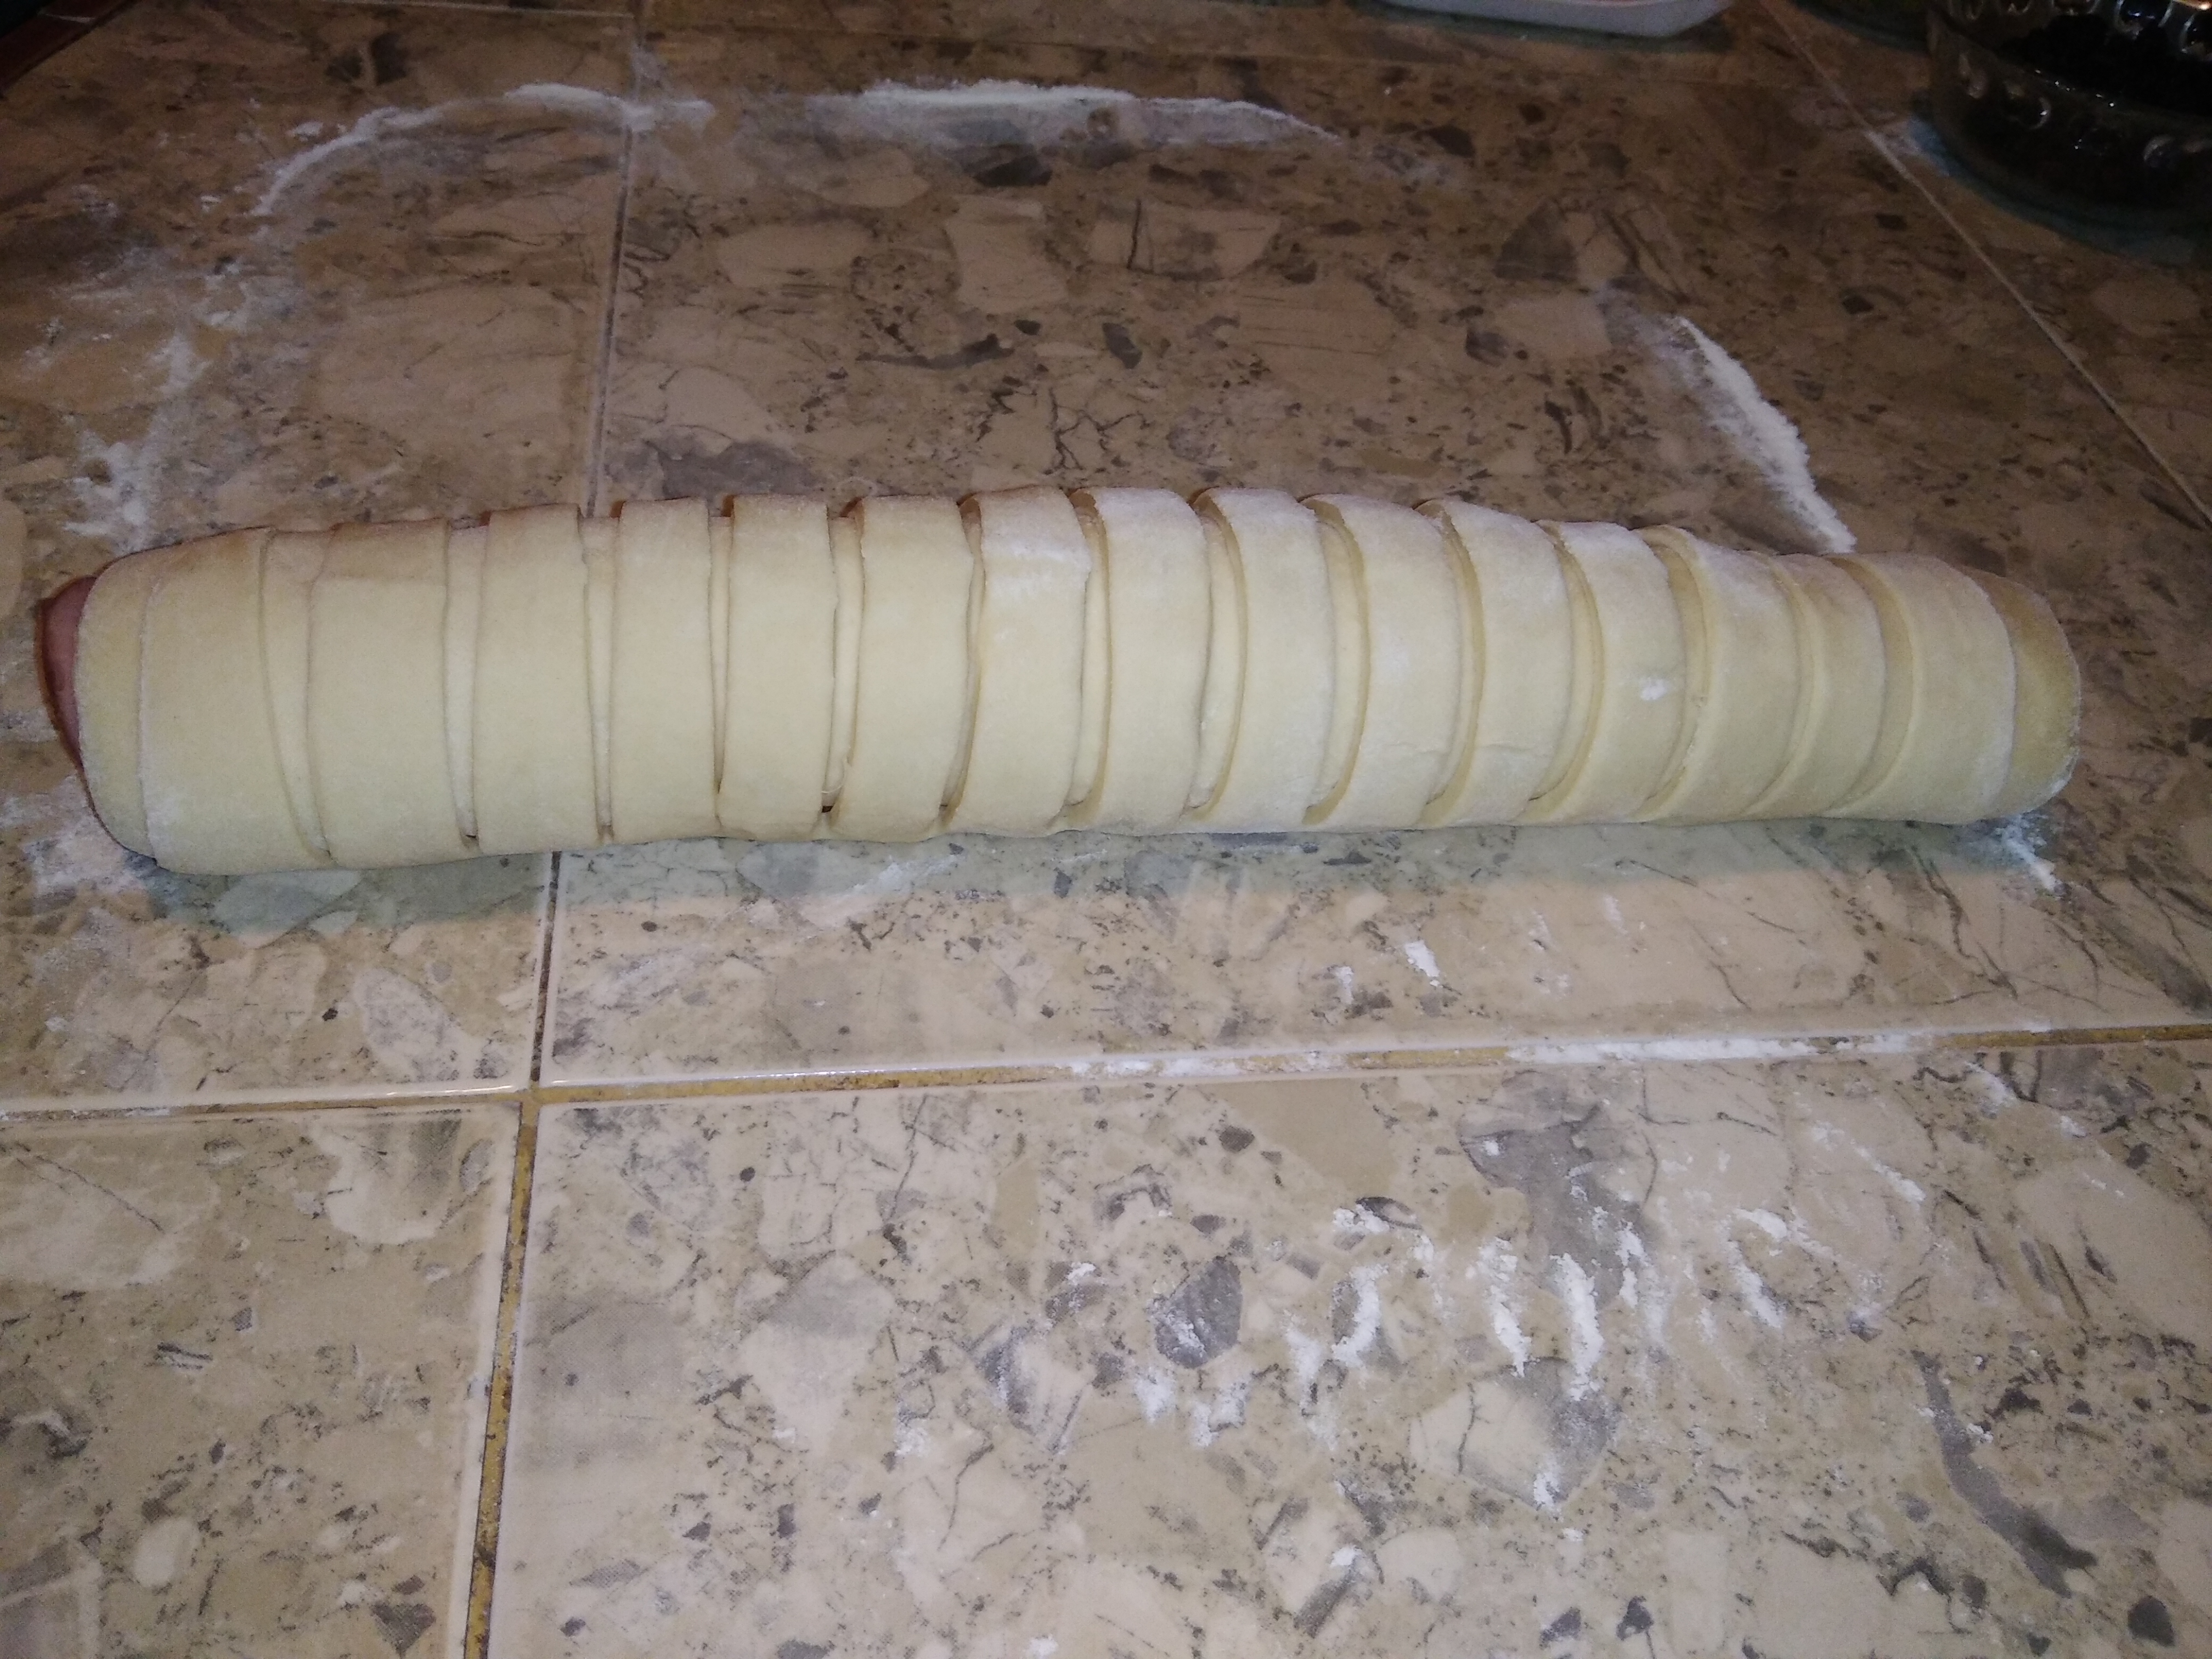
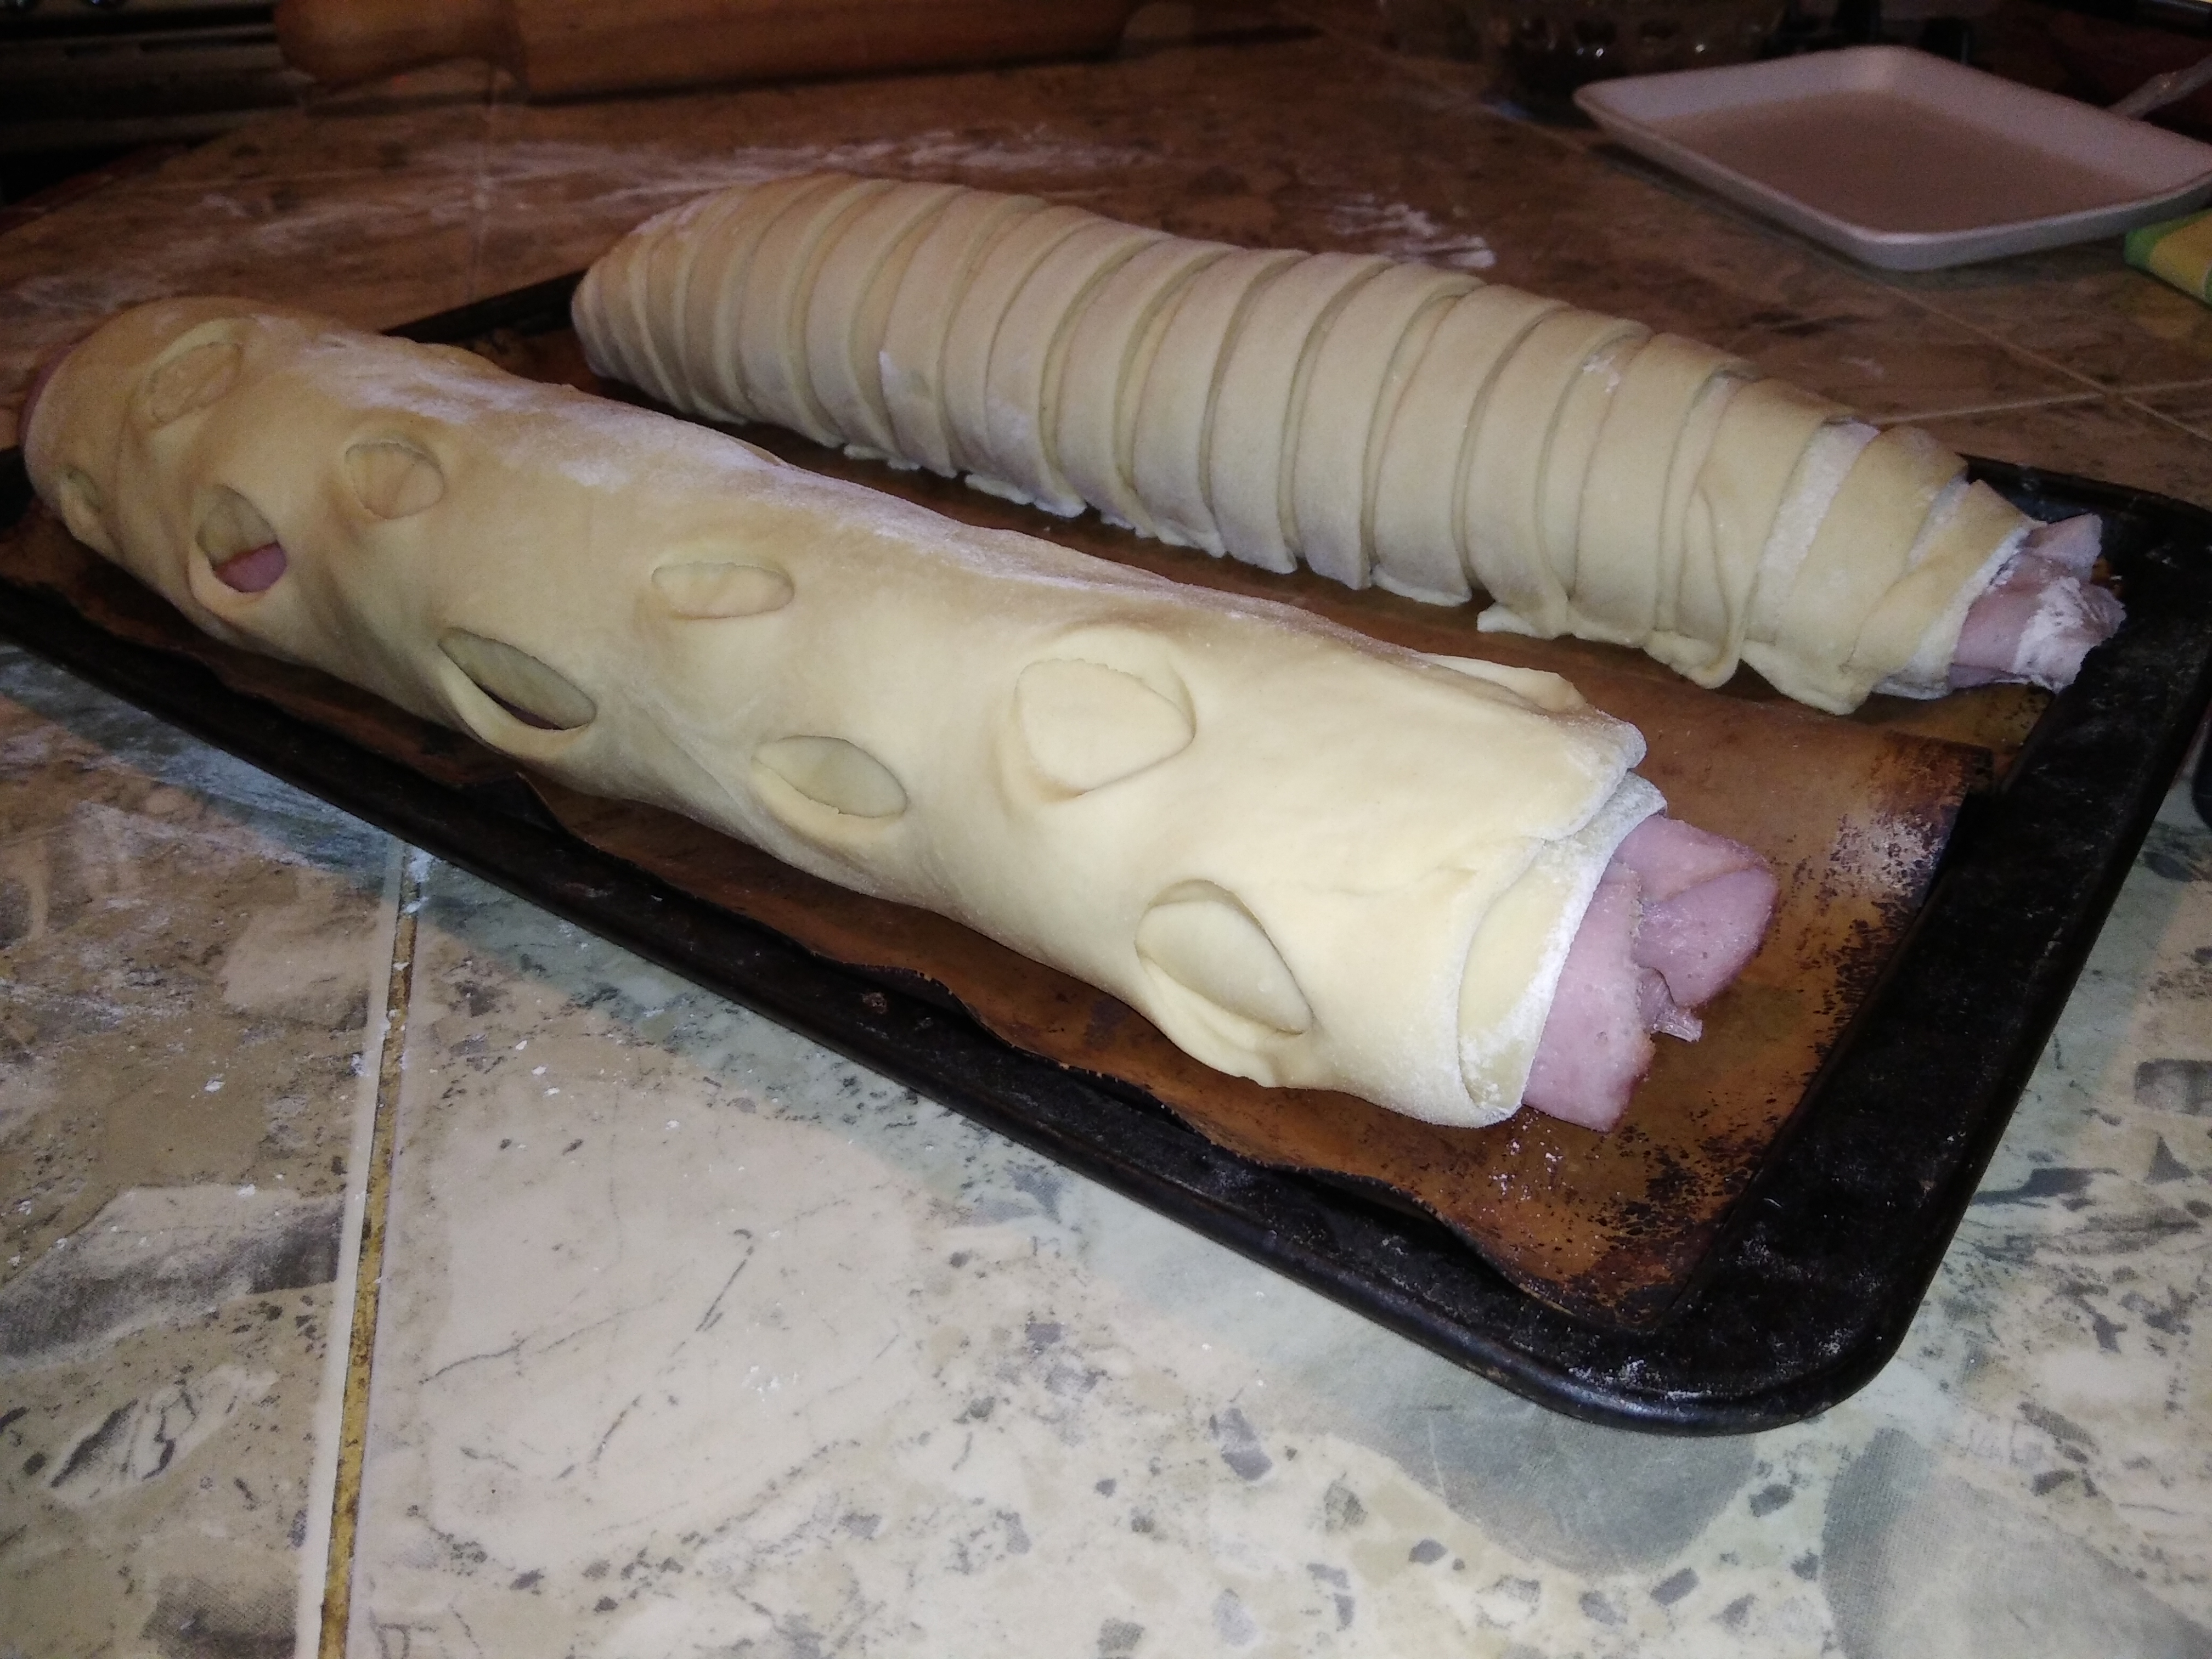
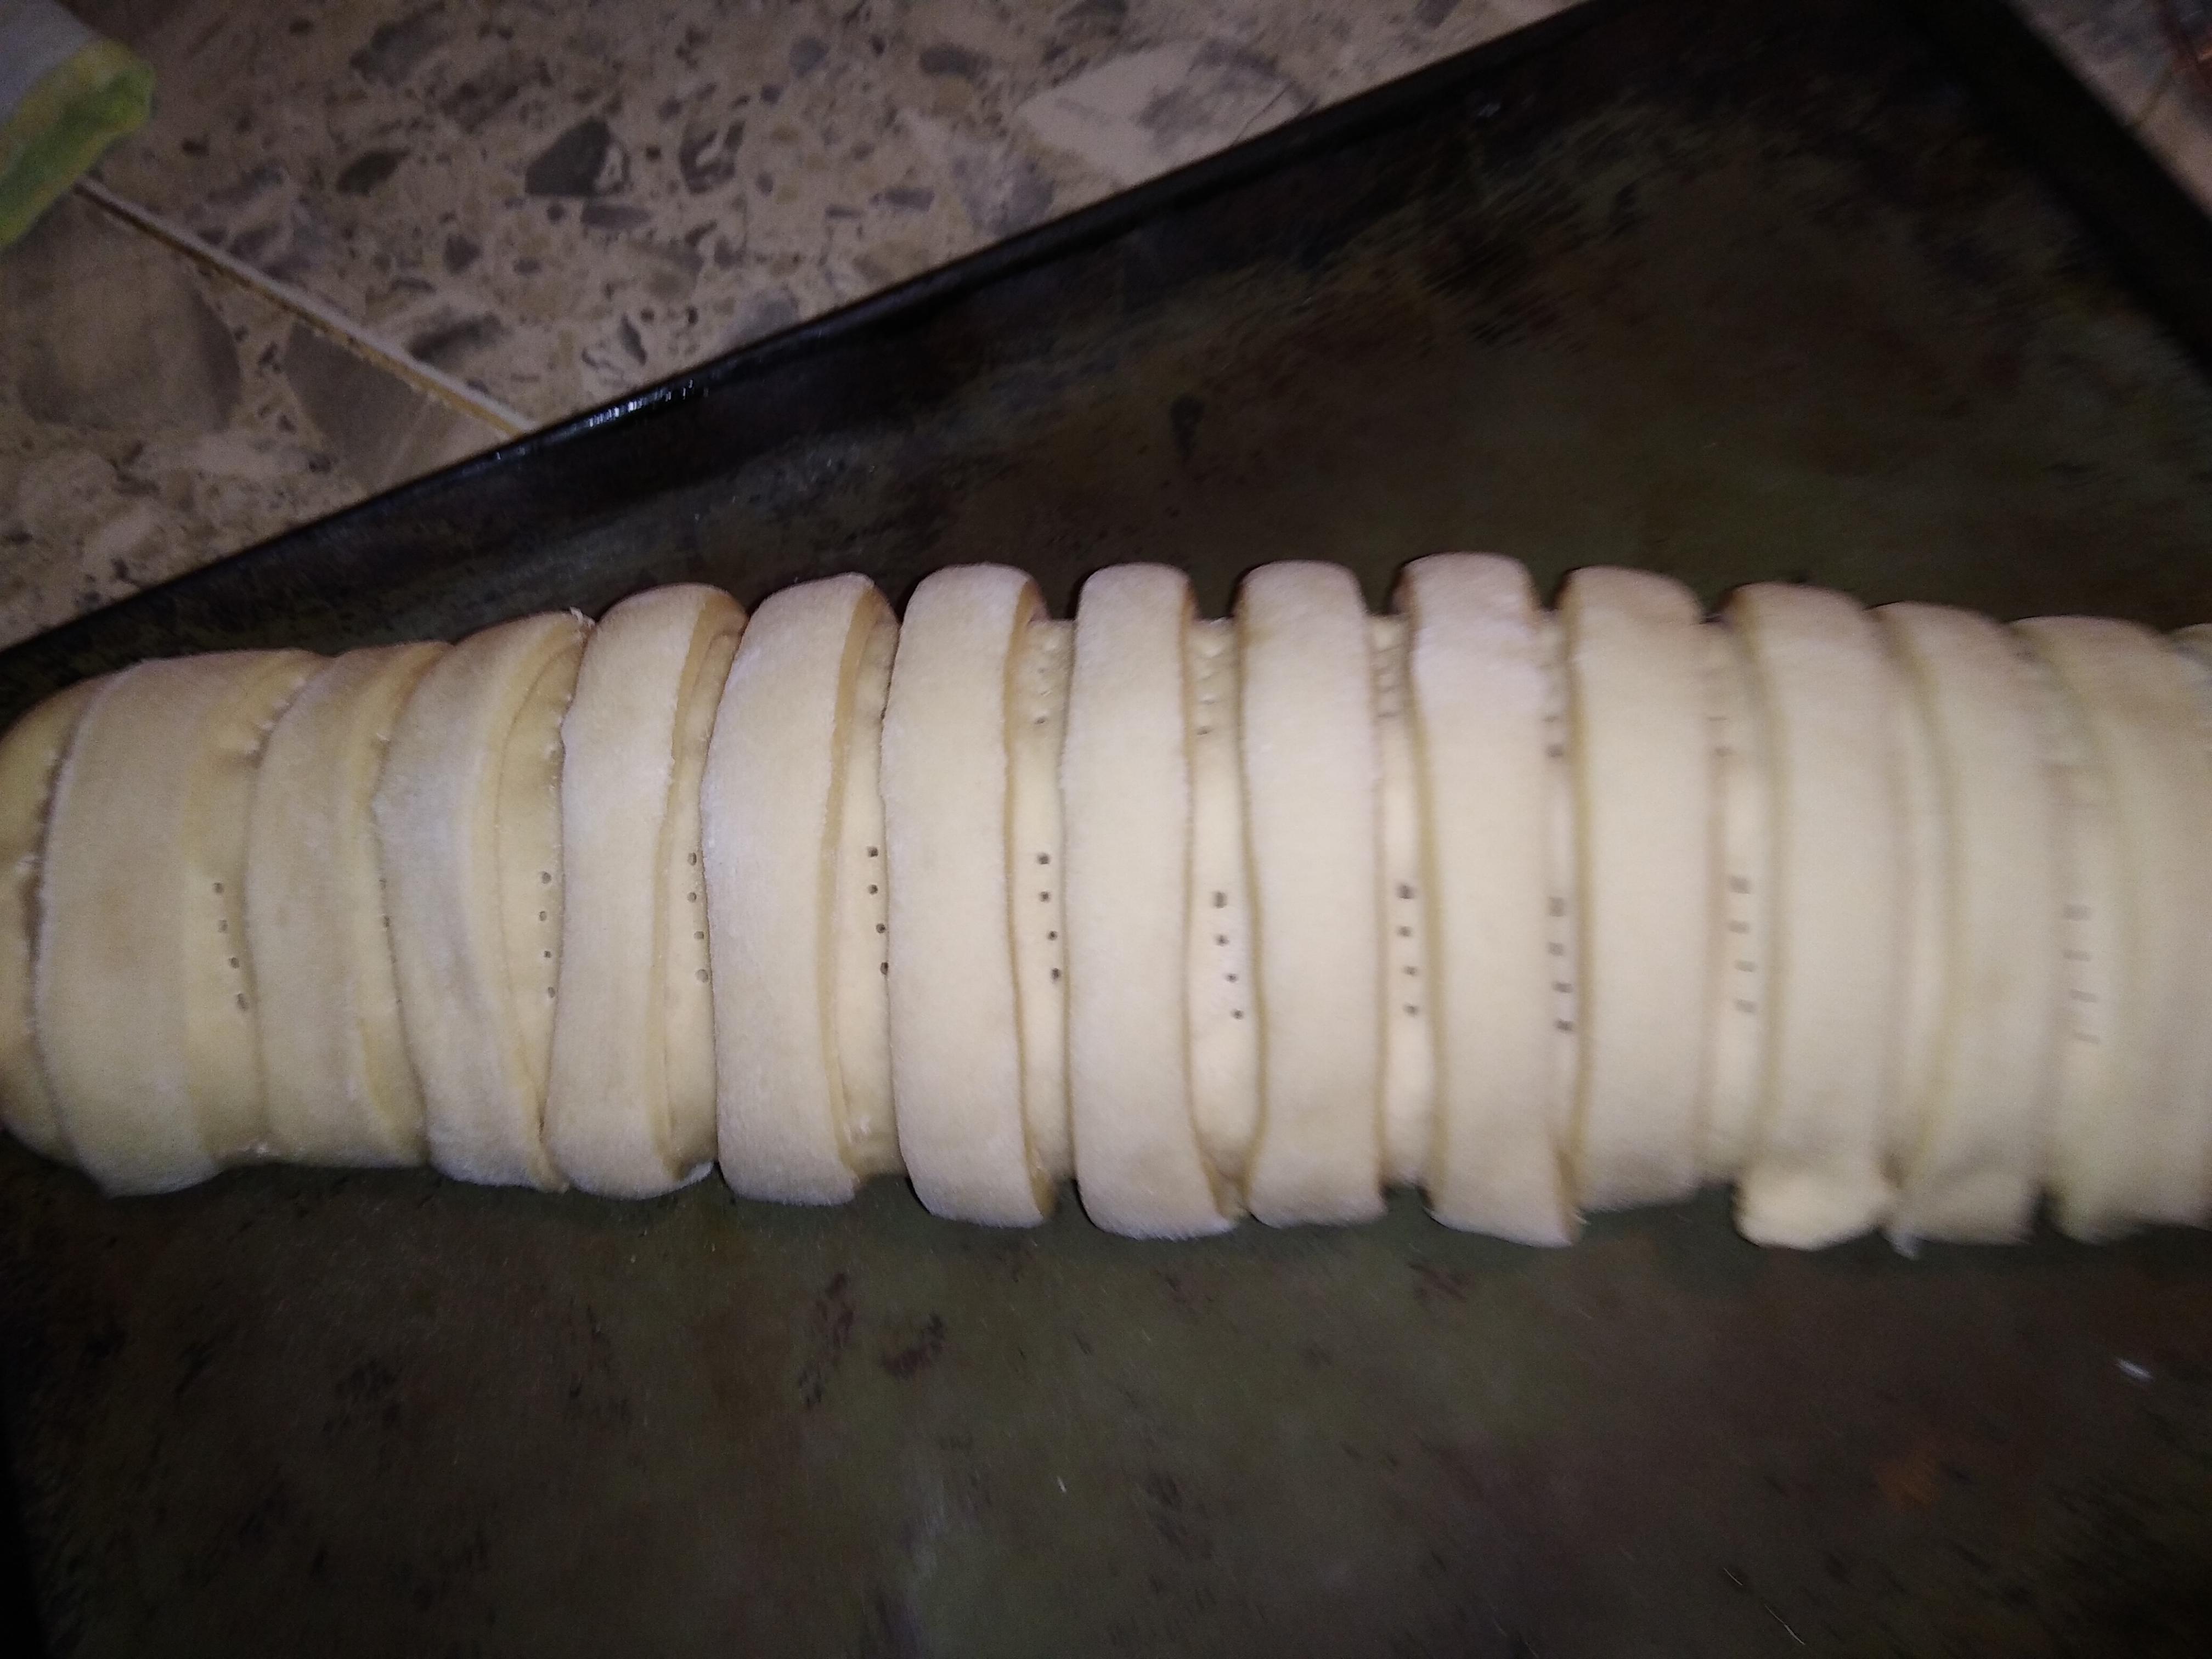
Este paso es opcional, si lo desean pueden colocar relleno a toda la masa, dejando sólo una solapa de unos 2 cm al final, para cerrar. Pero en nuestro caso, hemos dejado el último tercio sin relleno para hacer una decoración al pan, para lo cual cortaremos, en ese último tercio, con la punta de un cuchillo filoso, flecos perpendiculares a la dirección en que enrollamos la masa, y luego los estiraremos de uno en uno, paralelamente, sobre el resto del pan adhiriéndolos por el borde inferior opuesto del pan, el cual podemos humedecer ligeramente con el dedo o una brocha, para facilitar que se peguen.
Otra decoración posible es hacer cortes alternados en la solapa de masa, paralelos a la dirección de enrollado del pan, y luego la extenderemos sobre éste, cerrando por la parte inferior opuesta, como hicimos con los flecos, así obtendremos algunos agujeros que se sobre pondrán a la cubierta del pan, formando una especie de malla sobre ella.
Después de armado y decorado, pincharemos algunos huecos con un tenedor y dejaremos levar de media a una hora, cubiertos por un trapo ligero.
Step 4
The rest of the procedure does not differ much from that used in the previous recipe, with this amount of dough you can make 3 medium or 2 large loaves, we opted for the first option, so we divide the dough into three equal parts.
To continue, we take a part of the dough and extend it to form a rectangle of about 30 by 40 cm and about four or five millimeters thick, in one of the narrower sides we will make a row of olives separated about two centimeters from the edge of the dough and then cover it with that flap of two centimeters, using our fingers to close the dough around the olives.
Then in two thirds of the remaining extension of the dough we will cover with enough ham and bacon, to finally sprinkle raisins to our liking, and if we wish we can also sprinkle some olive wheels.
We will roll our dough, without pressing it too much, to give it space to rise, starting from the row of olives, over the filling and we will leave the last third of the dough, which we had left without filling, without rolling it.
This step is optional, if you wish you can put filling on the whole dough, leaving only a flap of about 2 cm at the end, to close. But in our case, we have left the last third without filling to make a decoration to the bread, for which we will cut, in that last third, with the tip of a sharp knife, bangs perpendicular to the direction in which we rolled the dough, and then we will stretch them one by one, parallel, on the rest of the bread adhering them by the opposite lower edge of the bread, which we can moisten slightly with the finger or a brush, to facilitate sticking.
Another possible decoration is to make alternate cuts in the dough flap, parallel to the direction of rolling of the bread, and then we will extend it over the bread, closing the opposite bottom, as we did with the bangs, so we will get some holes that will overlap the bread cover, forming a kind of mesh on it.
After assembled and decorated, we will prick some holes with a fork and let it rise for half an hour to an hour, covered with a light cloth.






Paso 5
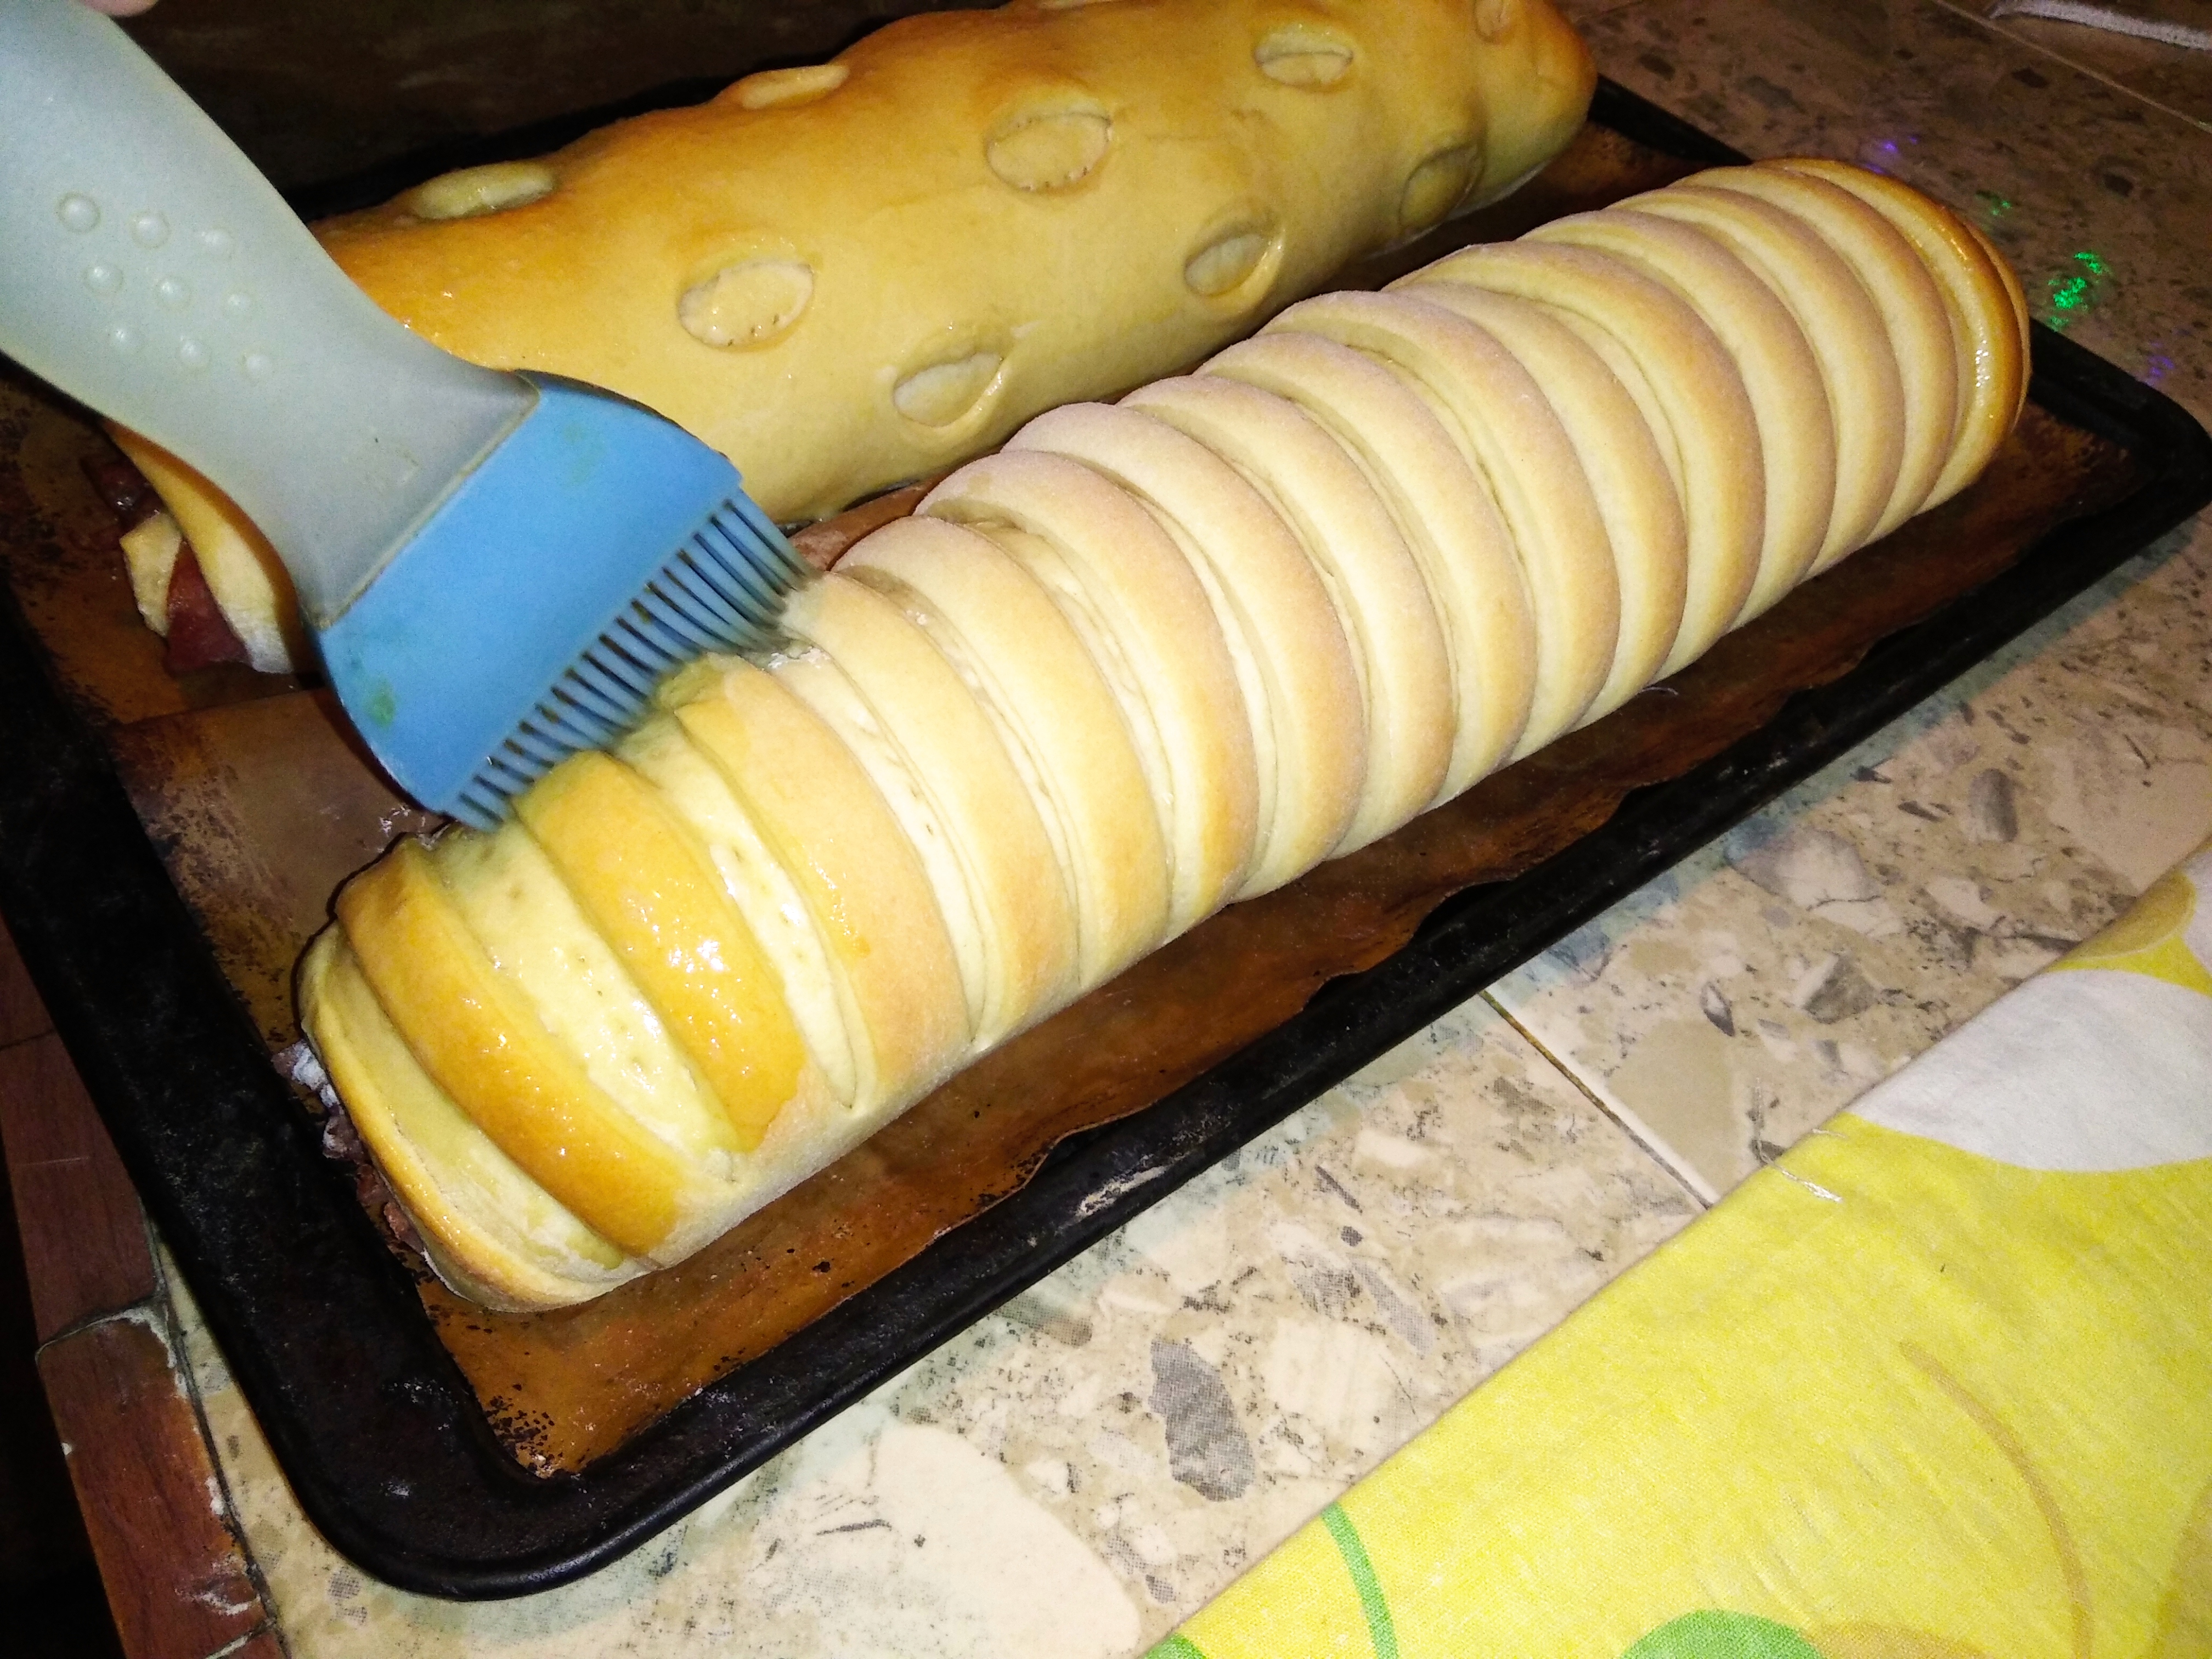
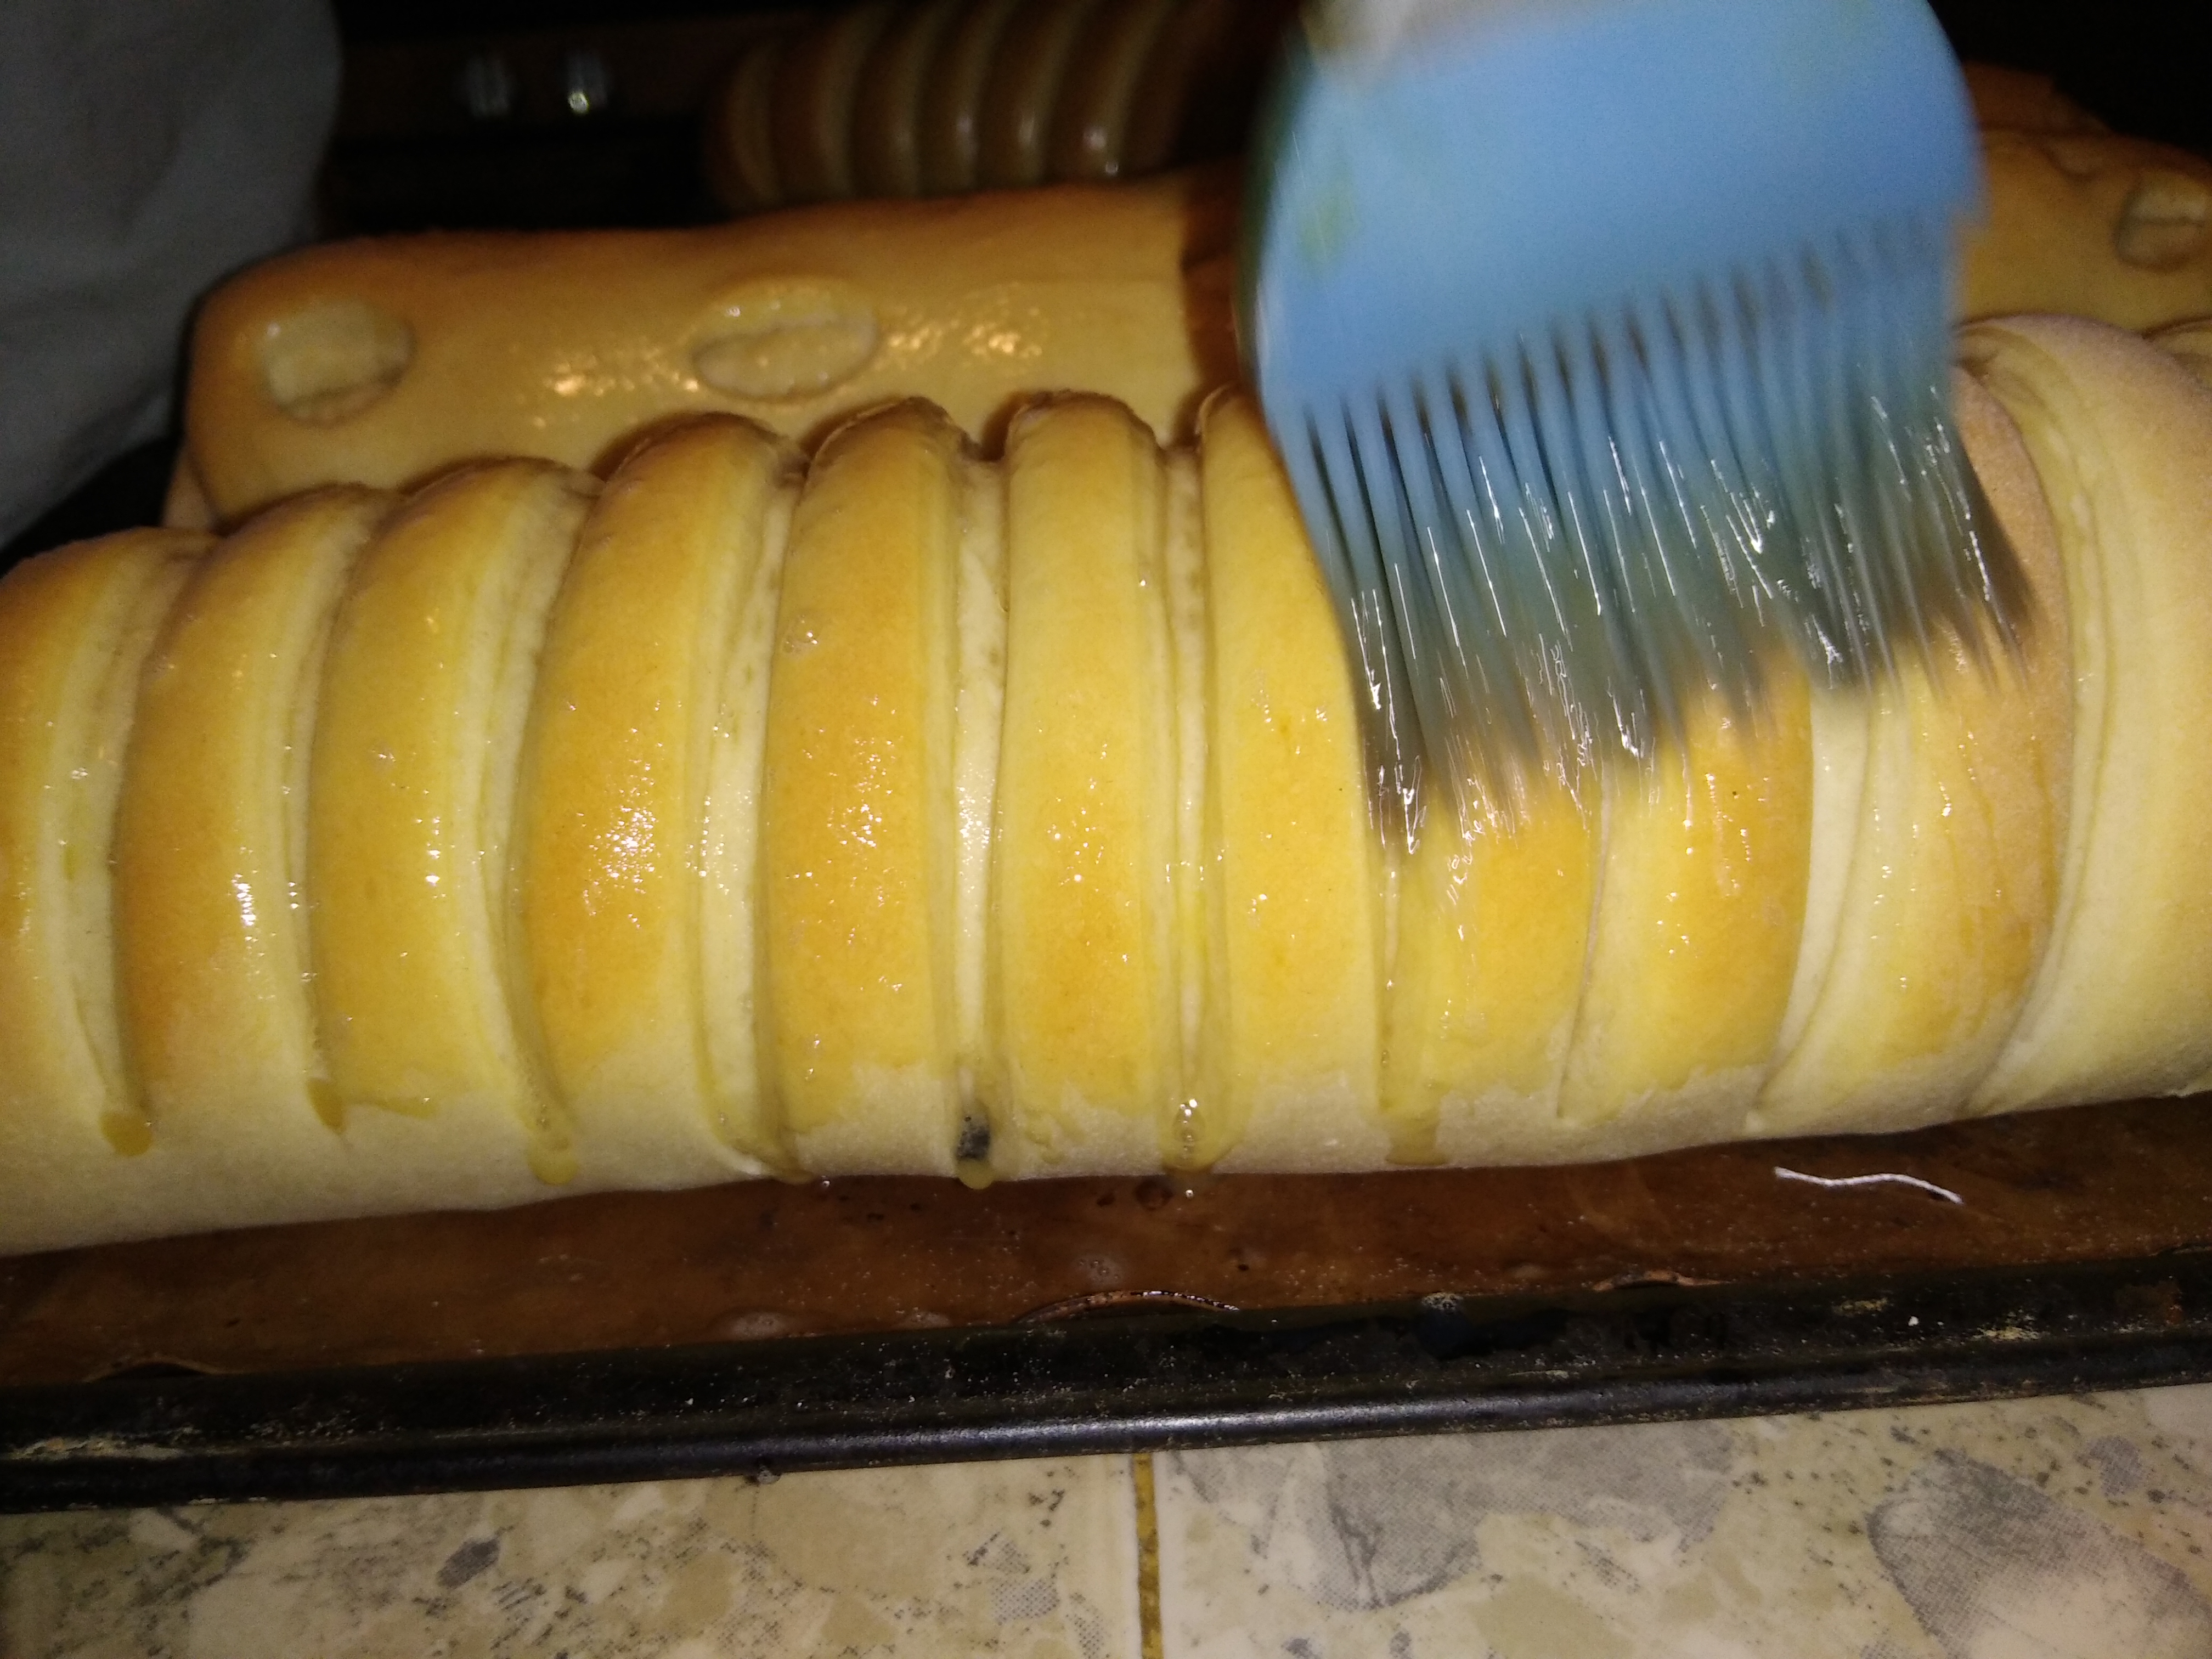
Después de dejar levar, llevaremos los panes al horno precalentado a 155 °C, durante treinta minutos, sacaremos y barnizaremos con un huevo mezclado con dos cucharadas de azúcar, luego dejaremos hornear por otros diez a quince minutos.
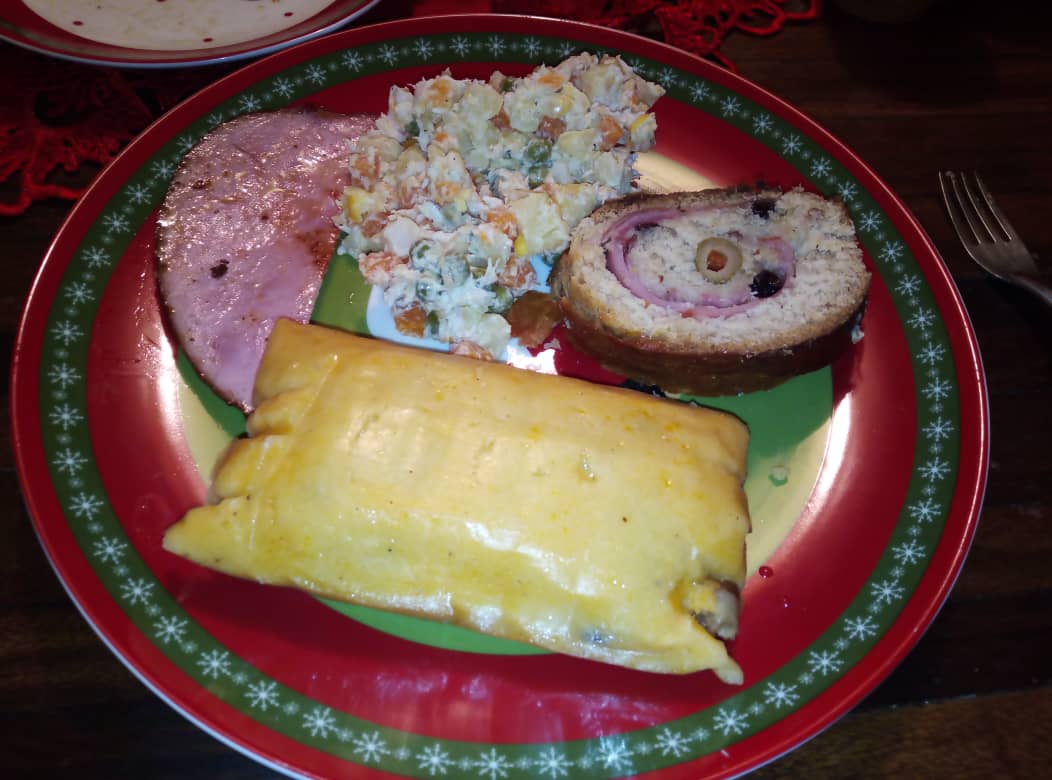
Como ya había explicado antes, el pan de jamón es una parte fundamental de la navidad en mi país, tan tradicional como las hallacas, la ensalada de gallina y el dulce de lechosa, y junto ellos forma parte del plato típico de la cena de noche buena.
Step 5
After leaving to rise, we will take the breads to the preheated oven at 155 °C, for thirty minutes, remove and glaze with an egg mixed with two tablespoons of sugar, then let bake for another ten to fifteen minutes.
As I have already explained before, ham bread is a fundamental part of Christmas in my country, as traditional as hallacas, chicken salad and dulce de lechosa, and together they are part of the typical dish of the Christmas Eve dinner.



Espero que la receta les haya gustado, puedan prepararla y la disfruten, hasta la próxima.
I hope you liked the recipe, that you can prepare it and enjoy it, until next time.

Todas las fotografías fueron tomadas con un movil Redmi 8A
FoodiesUnite.net Yum! You have been curated @sirenahippie on behalf of on #Hive. Thanks for using the #foodie tag. We are a tribe for the Foodie community with a unique approach to content and community and we are here on #Hive.
Join the foodie fun! We've given you a FOODIE boost. Come check it out at @foodiesunite for the latest community updates. Spread your gastronomic delights on and claim your tokens.
Join and Post through the Community and you can earn a FOODIE reward.
Your content has been voted as a part of Encouragement program. Keep up the good work!
Use Ecency daily to boost your growth on platform!
Support Ecency
Vote for new Proposal
Delegate HP and earn more
se ve genial amigo, nunca lo he comido con tocineta