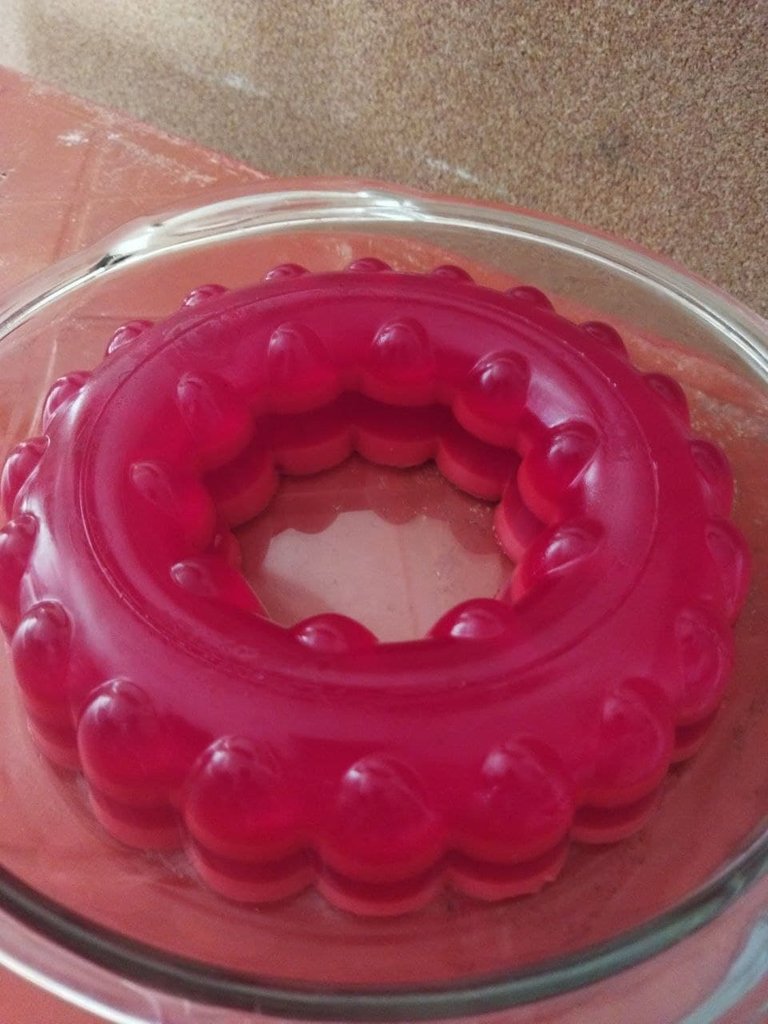

👋 Welcome 👋
Hello dear bee, how are you, I hope you are well because today I bring you a recipe that I made with my mom to make a delicious colorful jelly, without further ado, let's start:
📜 Ingredients 📜
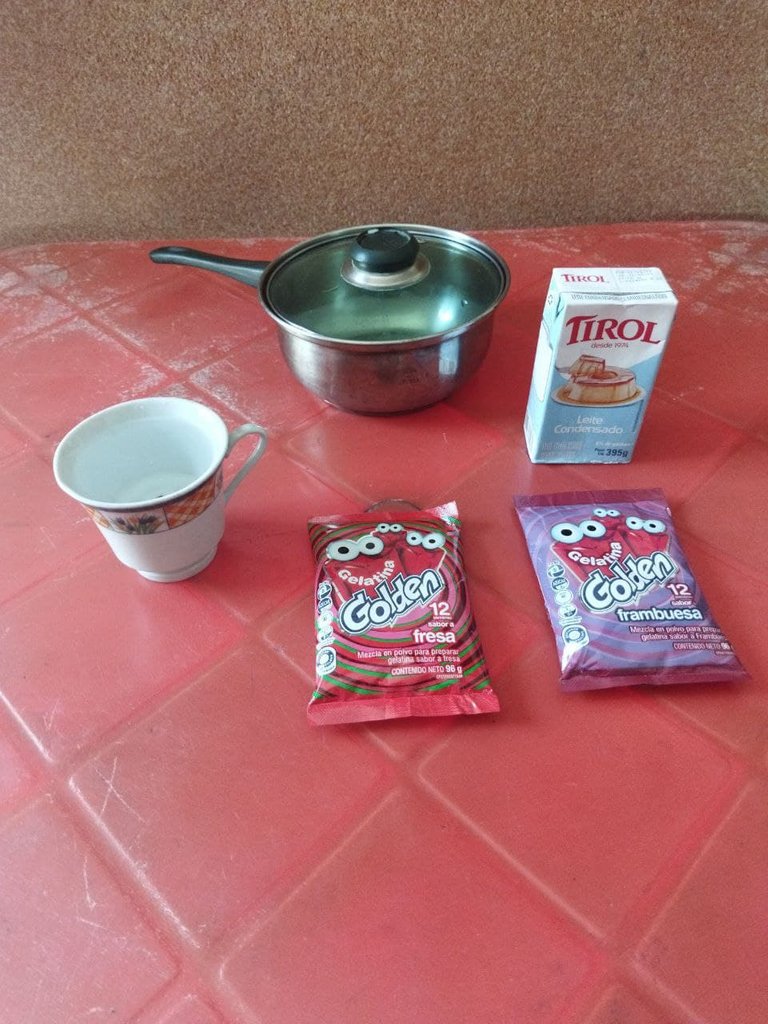
* 1 strawberry jelly.
* 1 raspberry jelly.
* 1 can of condensed milk.
* Water.
If you want to have more colors in the jelly just buy other flavors.
📖 Preparation 📖
1. First we are going to boil 2 cups and 1/4 of water in a saucepan.
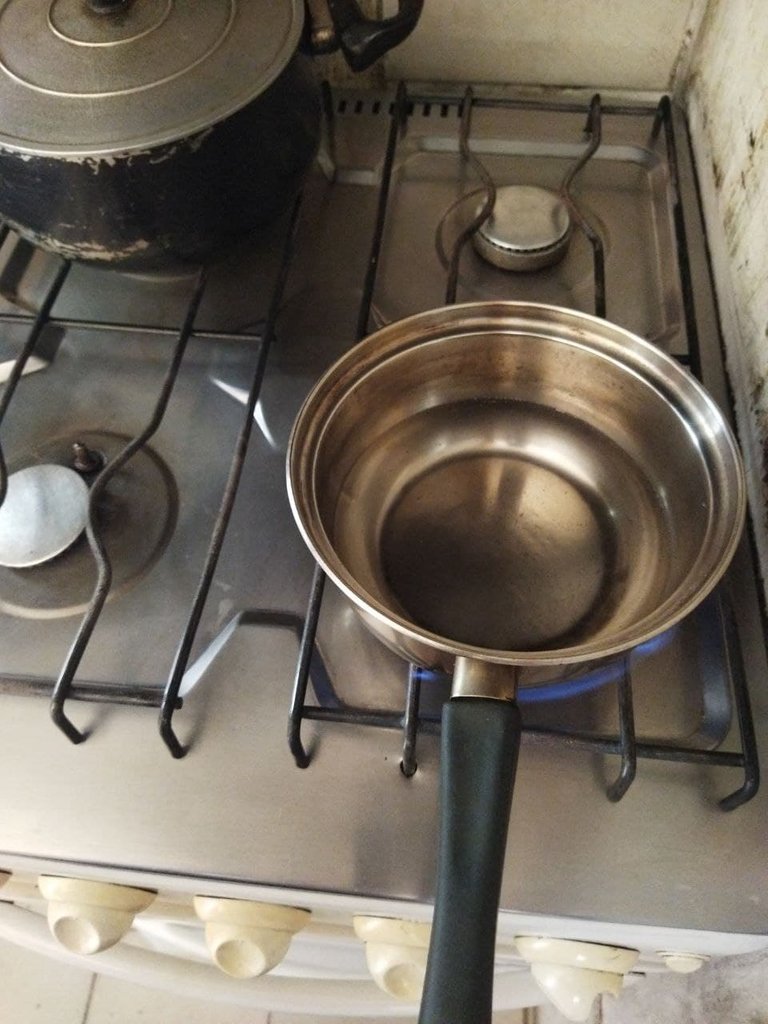
2. When the water is boiling, remove it from the heat and add the strawberry gelatin, stirring it.
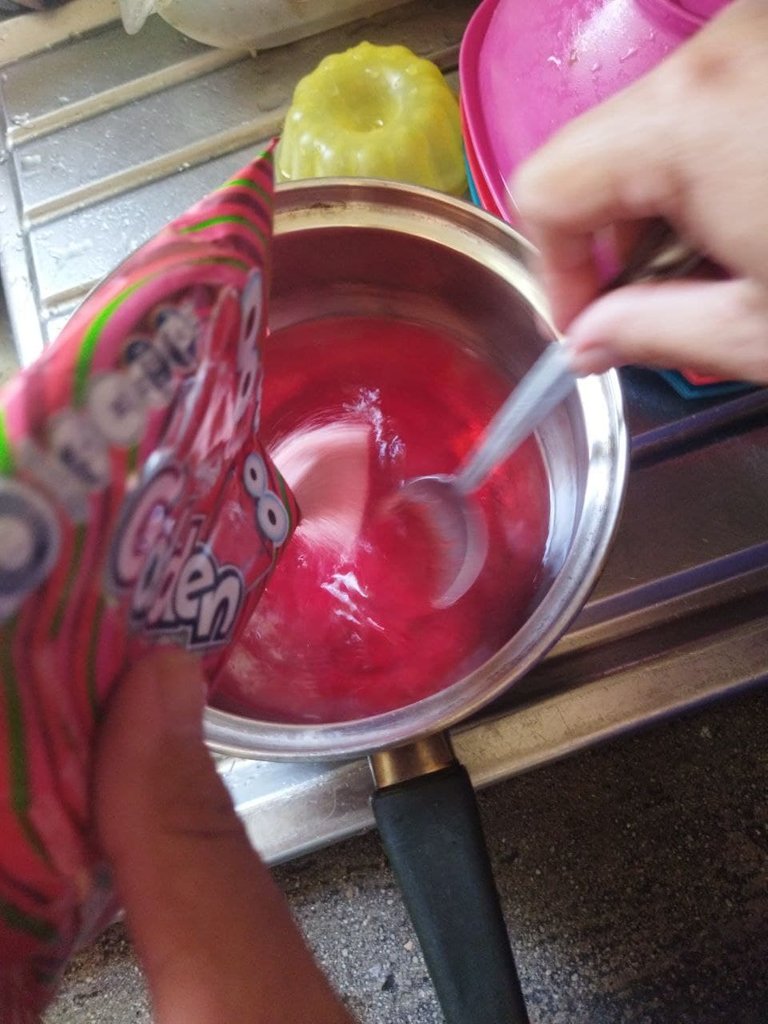
3. While it cools we are going to grease the jelly mold with a little bit of oil, it does not have to be a lot of oil since it is only so that the jelly does not stick.

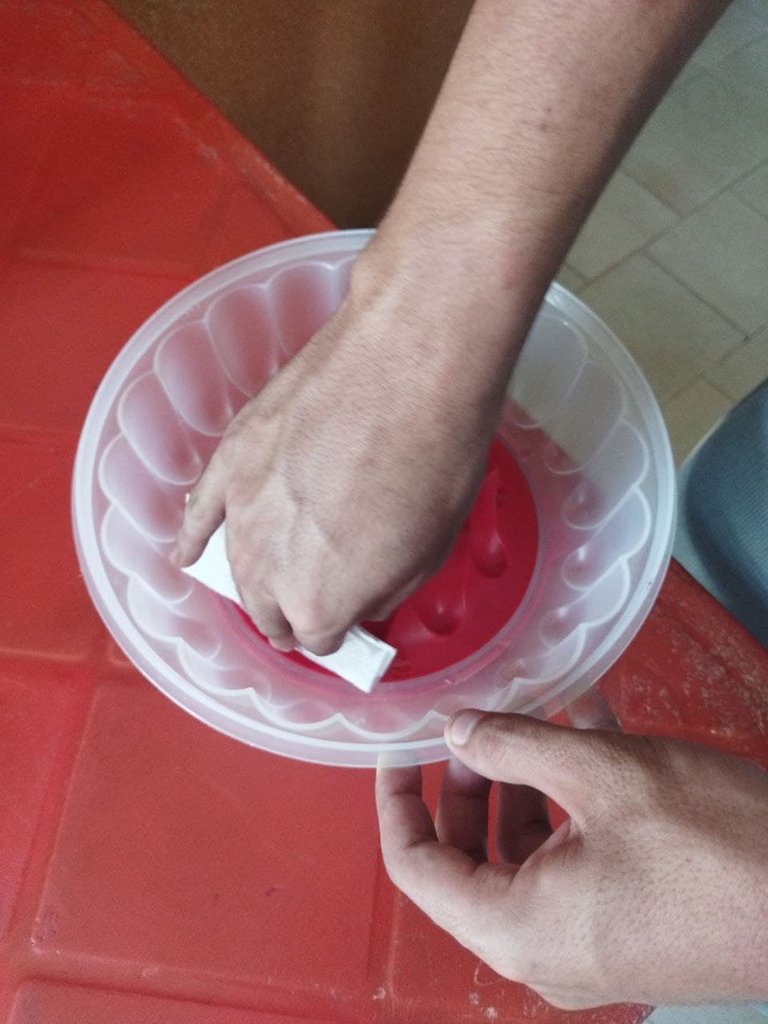
4. When the strawberry gelatin is cold, separate a little of the gelatin in another container.
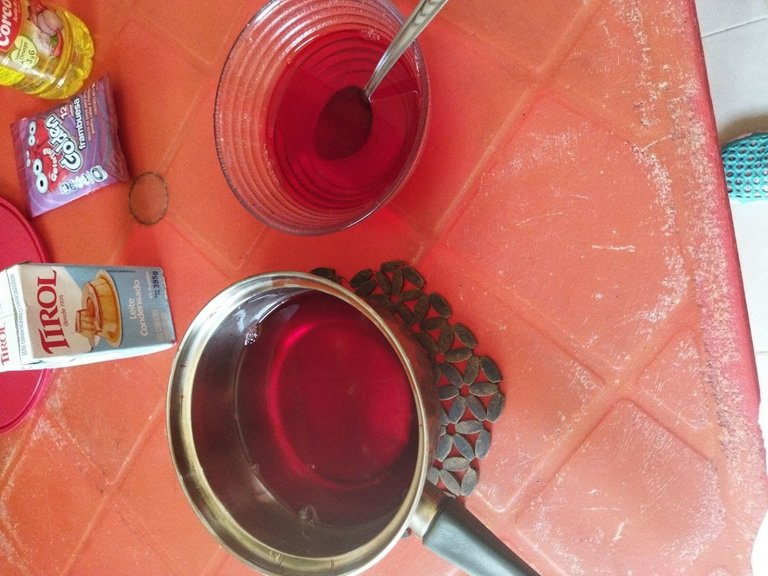
5. We place the gelatin that is in the pot in the mold and then we take it to the freezer for 20 minutes so that it cools down.
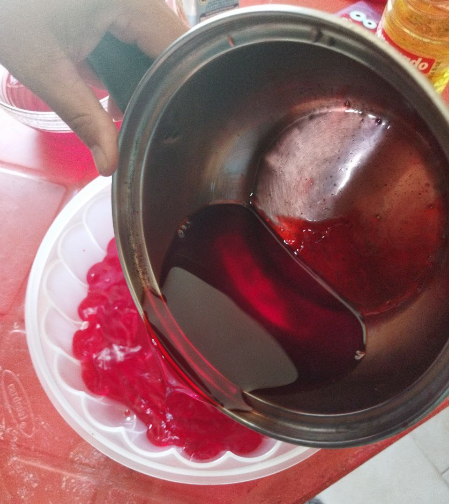
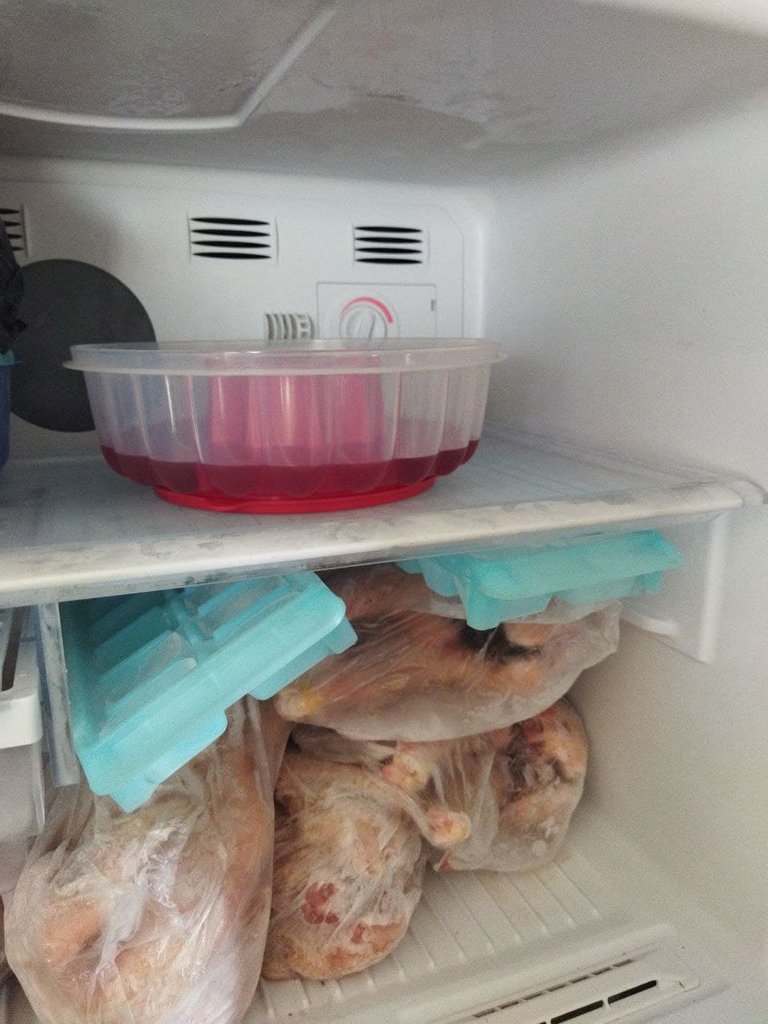
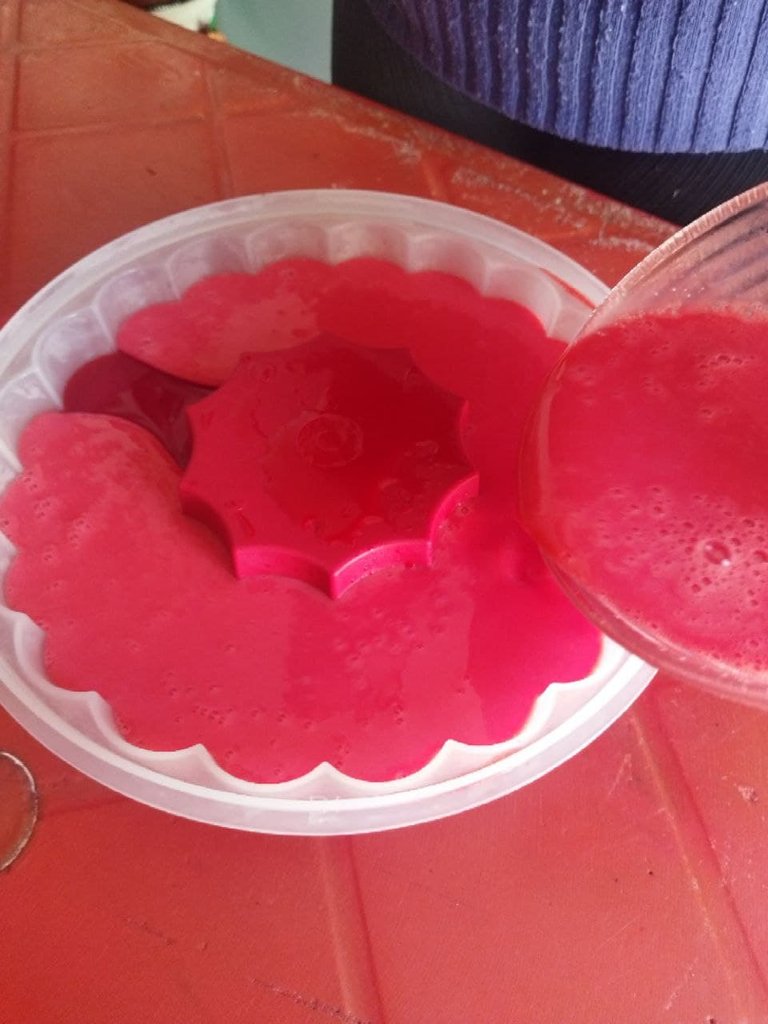
6. While the first layer cools we will prepare the second layer with the mixture we left in the other container, to prepare the second layer we will add condensed milk, about 2 or 3 tablespoons will be enough and stir.
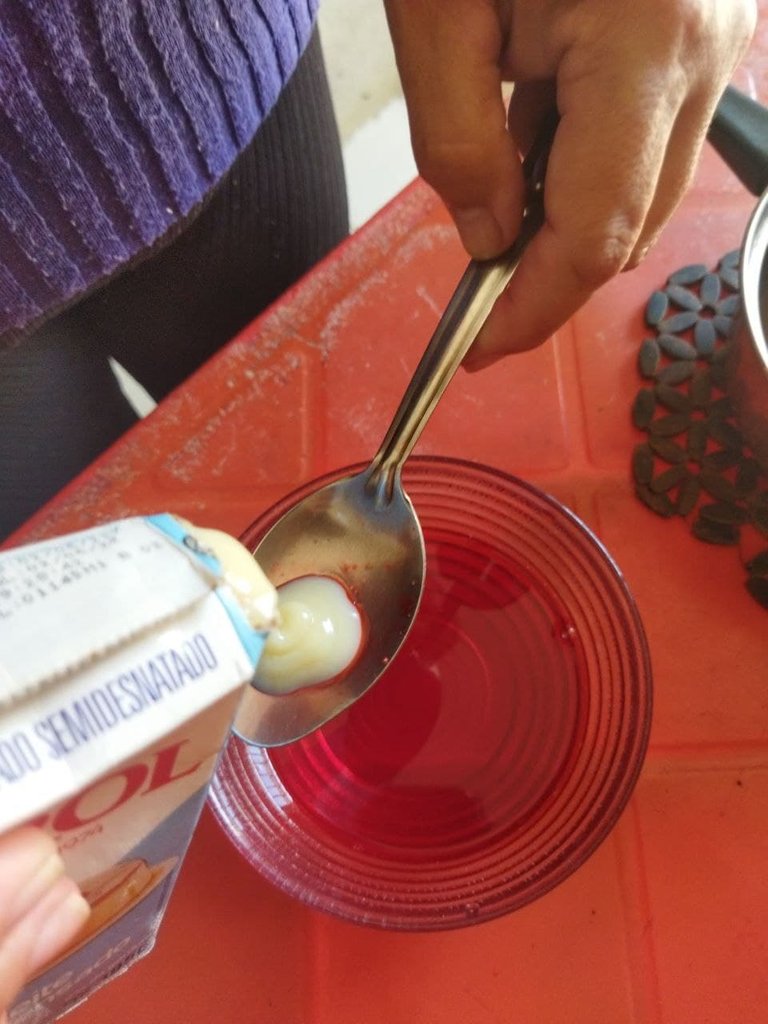
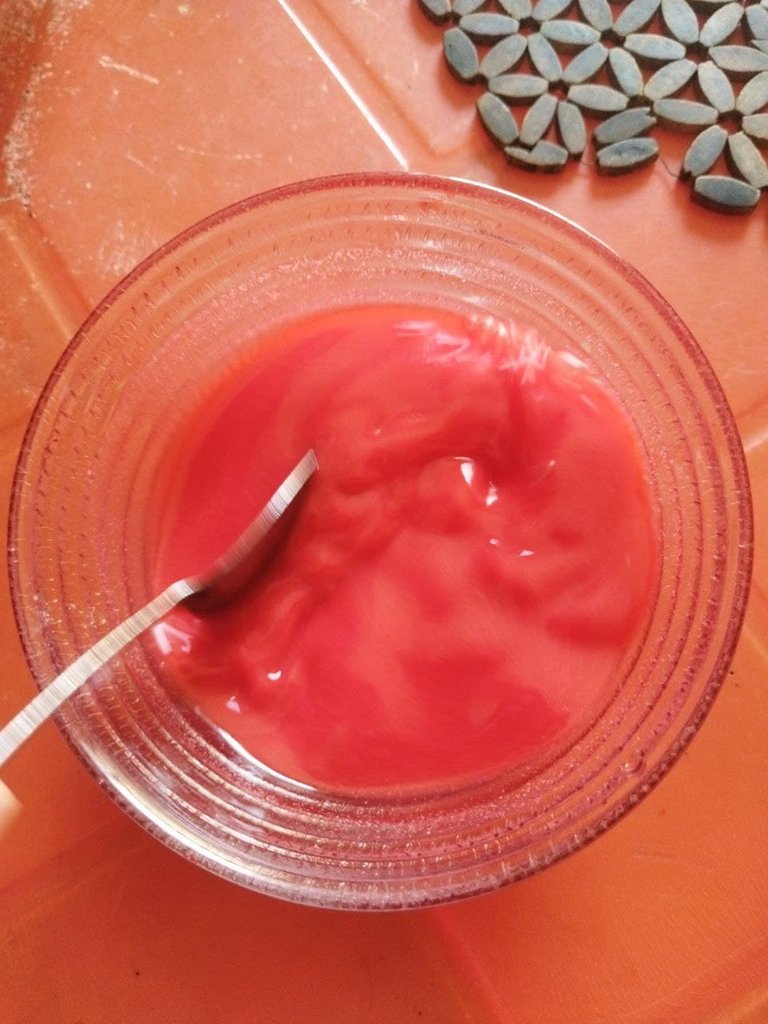
7. After 20 minutes we take the mold with the first layer out of the freezer, then we will add the second layer that we prepared with condensed milk and we will take it 20 more to the freezer.
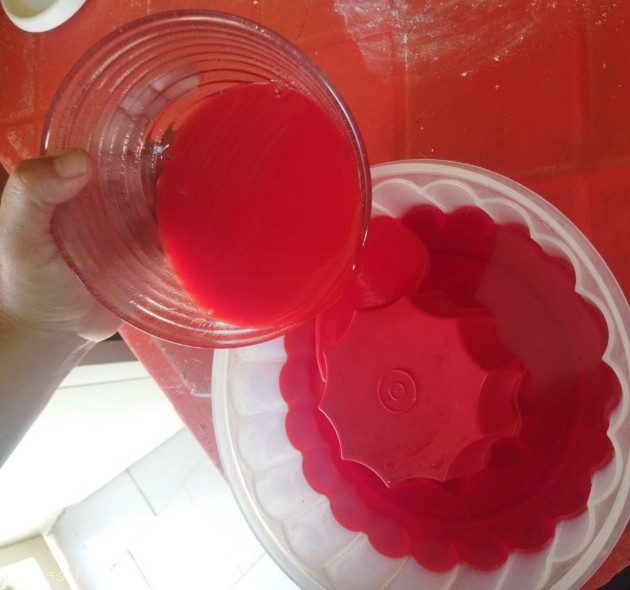
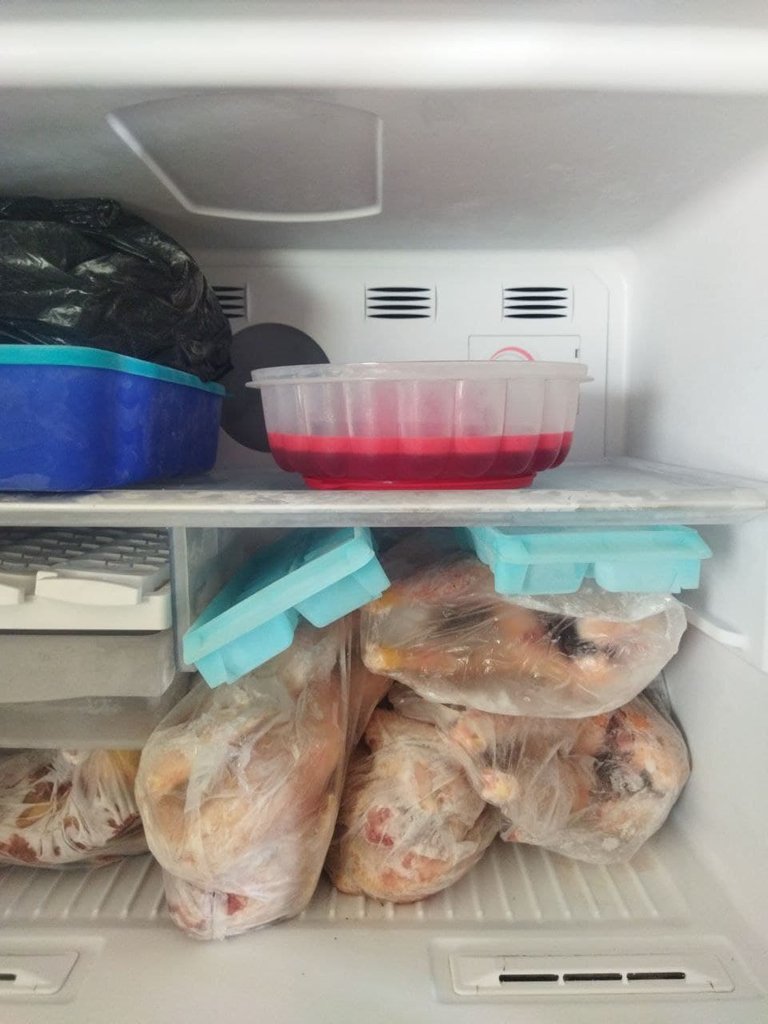
8. While the second layer cools, prepare the raspberry jelly that will be used for layers 3 and 4 of our colored jelly.
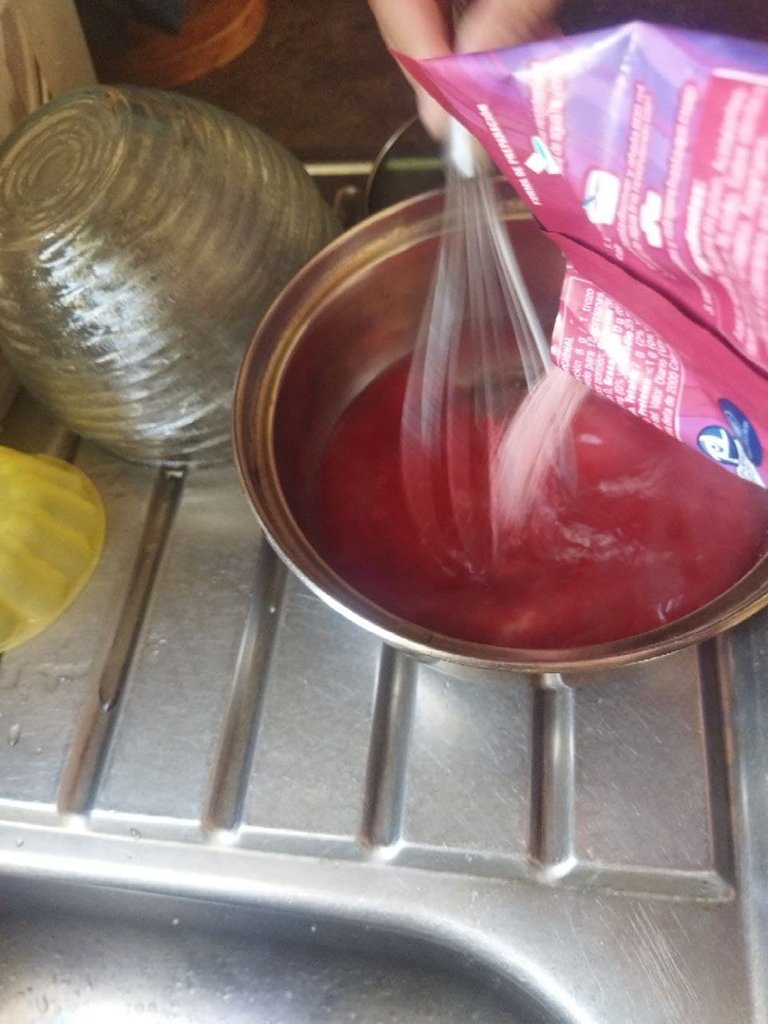
9. Once ready we will do the same as the first one, we will separate half of the mixture in another container.
10. Take one of the raspberry mixtures and add 2 or 3 tablespoons of condensed milk and stir.

11. Take the mold with the first 2 layers out of the refrigerator and proceed to add the 3rd layer which is the raspberry layer that does not have condensed milk and put it in the freezer for 20 minutes more.
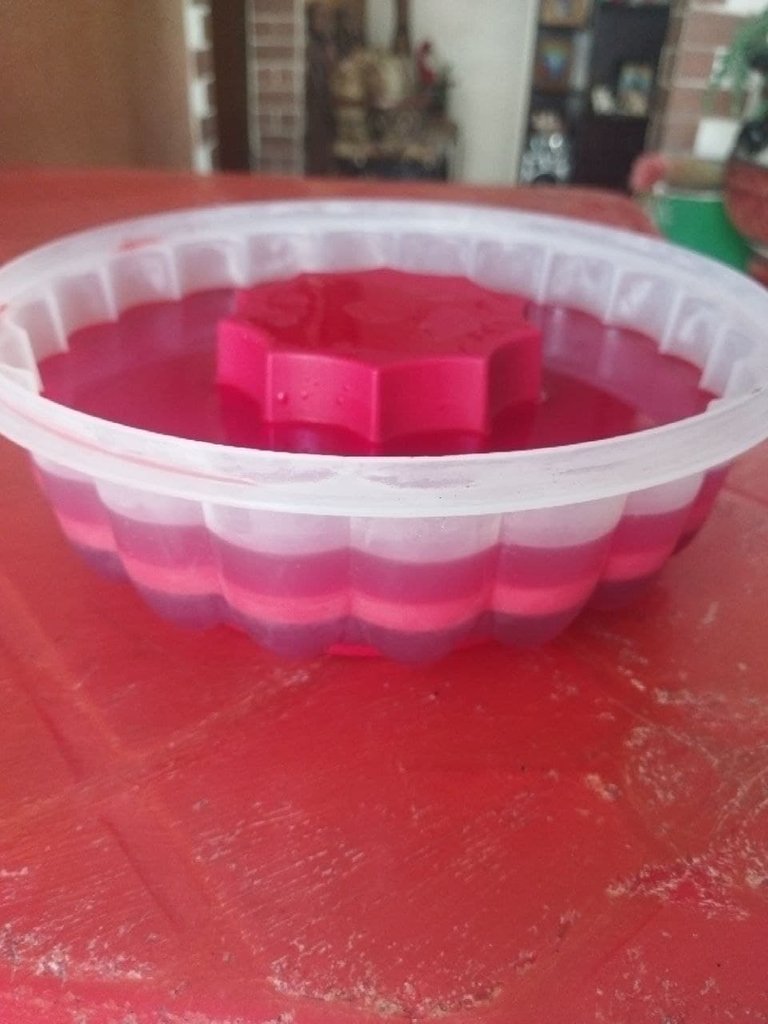
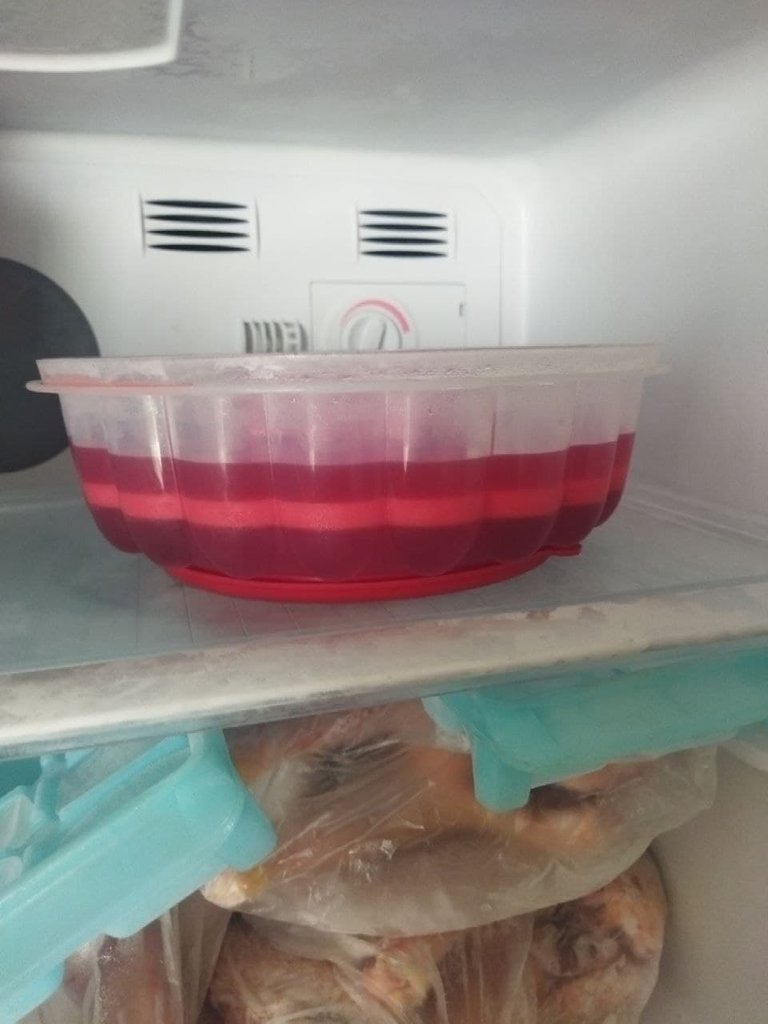
12. Once the 20 minutes have elapsed, repeat the same process with the 4th and last layer, which is the raspberry layer with condensed milk, place the mixture in the mold and freeze for 20 more minutes.
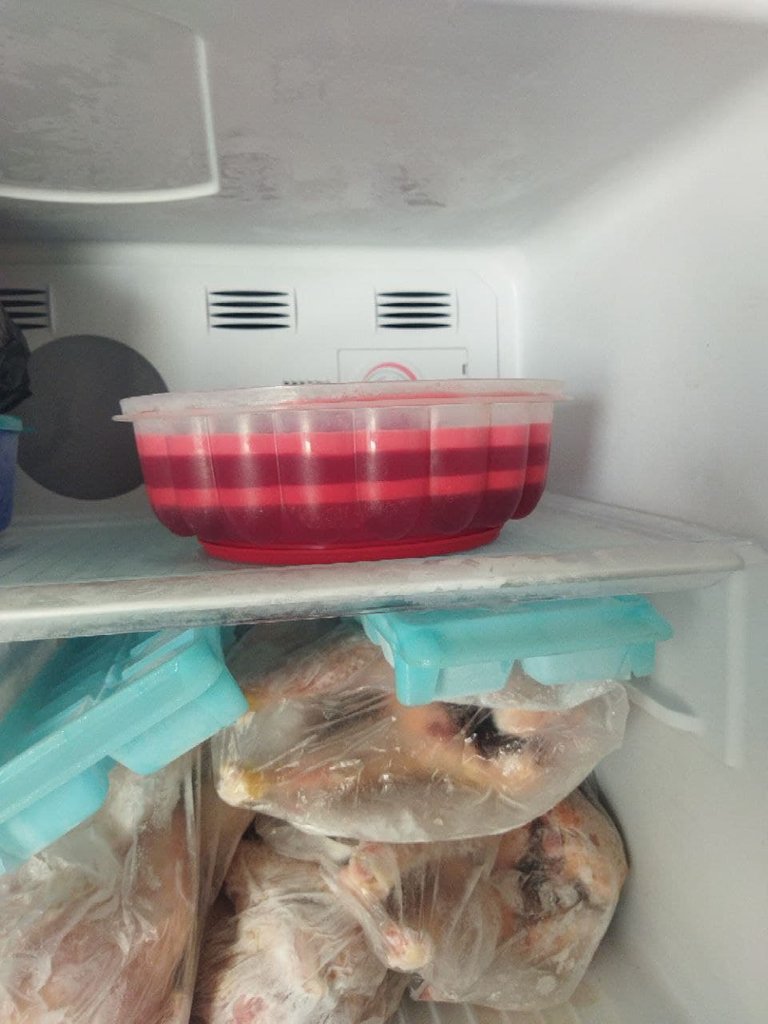
After these 20 minutes, we only need to take the mold out of the freezer and we will have our colorful jelly ready to enjoy with the family.
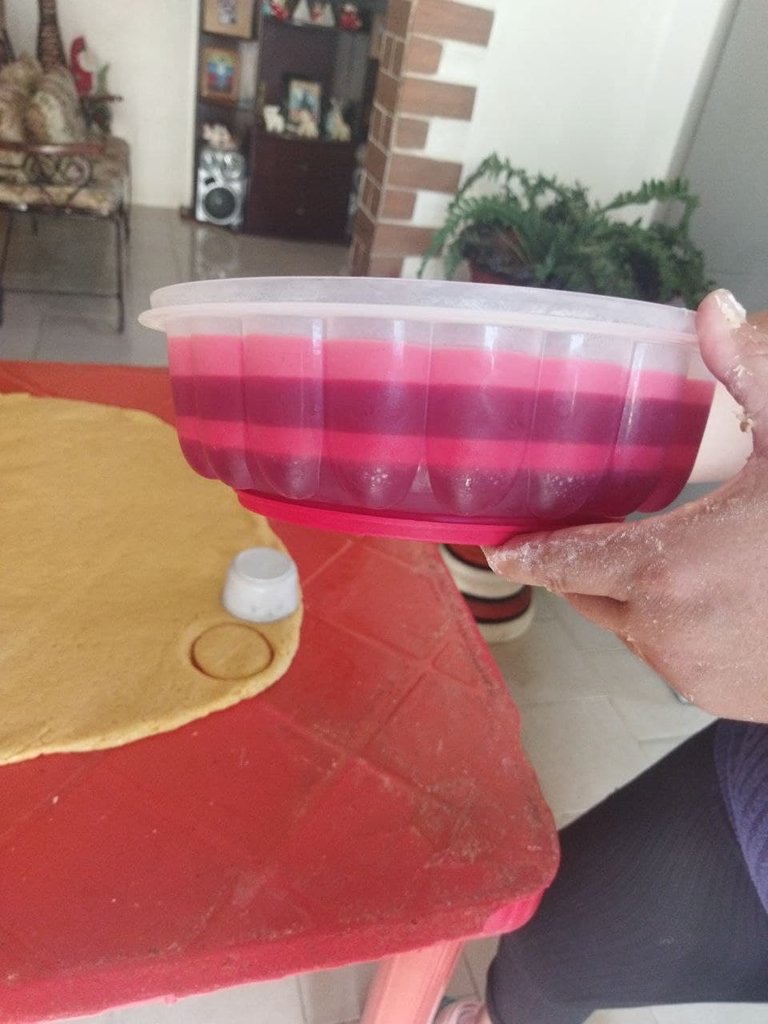
More information:
* Photos taken with Xiaomi POCO M3 phone.
* Own photos.
* Follow me on Twitter.

If you liked this recipe share it so that it reaches more people, greetings and see you in another recipe.


👋 Bienvenid@ 👋
¡Hola querida abeja!, ¿cómo estás?, espero que bien por que el día de hoy te traigo un receta que hice junto con mi mamá para hacer una deliciosa gelatina de colores, sin más que decir comencemos:
📜 Ingredientes 📜

* 1 gelatina de fresa.
* 1 gelatina de frambuesa.
* 1 lata de leche condensada.
* Agua.
Si quieres tener más colores en la gelatina solo debes comprar otros sabores.
📖 Preparación 📖
1. Primero vamos a hervir 2 tazas y 1/4 de agua en una olla.

2. Cuando esta esté hirviendo vamos a retirarla del fuego y a echarle la gelatina de fresa, hay que ir revolviendo.

3. Mientras se enfría vamos a engrasar el molde de la gelatina con un poquito de aceite, no tiene que ser mucho aceite ya que es solo para que no se vaya a pegar la gelatina.


4. Cuando la gelatina de fresa esté fría separamos un poco de la gelatina en otro recipiente.

5. Colocamos la gelatina que está en la olla en el molde y luego la llevamos al congelador durante 20 minutos para que se enfríe.


6. Mientras se enfría la primera capa vamos a preparar la segunda capa con la mezcla que dejamos en el otro recipiente, para preparar la segunda capa le agregaremos leche condensada, unas 2 o 3 cucharadas bastarán y revolvemos.


7. Pasado los 20 minutos sacamos el molde con la primera capa del congelador, posteriormente agregaremos la segunda capa que preparamos con leche condensada y la llevaremos 20 minutos más al congelador.


8. Mientras se enfría la segunda capa prepararemos la gelatina de frambuesa que nos servirá para las capas 3 y 4 de nuestra gelatina de colores.

9. una vez listo haremos lo mismo que la primera, separaremos la mitad de la mezcla en otro recipiente.
10. Agarramos una de las mezclas de frambuesa y le agregaremos 2 o 3 cucharadas de leche condensada y revolvemos.

11. Sacamos el molde con las 2 primeras capas de la nevera y procedemos a agregarle la 3era capa que es la de frambuesa que no tiene leche condensada y la ponemos en el congelador 20 minutos más.


12. Ya transcurridos los 20 minutos repetimos el mismo proceso con la 4ta y última capa que es la de frambuesa que tiene leche condensada, colocamos la mezcla en el molde y al congelador 20 minutos más.


Ya pasado esos 20 minutos solo nos queda sacar el molde del congelador y tendremos nuestra gelatina de colores lista para disfrutar en familia.

Más información:
* Fotos tomadas con teléfono Xiaomi POCO M3.
* Fotos propias.
* Sígueme en Twitter.

Si te ha gustado esta receta comparte para que llegue a más personas, saludos y nos vemos en otra receta.

Deliciosa receta
Me alegra que te gustara saludos :D.
Guardame un poco mano jajaja saludos y feliz navidad amigo mio !ESPIZZA
$PIZZA¡@beast855! Te he enviado un trozo de de parte de @zonadigital21.
Más información sobre la ficha de $PIZZA at hive.pizza (1/6)
Heyyy manooo qlq, feliz navidad espero que disfrutes mucho bro, ajajaja por supuesto ajaja y ahora es que falta por publicar recetas ajaja no te pierdas ninguna, saludos y gracias pro comentar.
PIZZA Holders sent $PIZZA tips in this post's comments:
(2/6) @zonadigital21 tipped @beast855 (x1)
Please vote for pizza.witness!
Te quedó genial! Me encanta la gelatina de colores. Gracias por compartir tu receta. Saludos navideños 🎄🎁
Me alegra que te gustara, deberías prepararla jeje, saludos navideños para ti también.
Gracias beast855 por acompañarnos en PROMUEVE TU PUBLICACIÓN , estamos para apoyarte y te esperamos el próximo miércoles a las 9:15 en nuestro Canal de Discord
Amo la gelatina, me hiciste recordar cuando mi mamá la preparaba junto con un flan de leche súper rico. Me pareció curiosa la firma que le diste gracias al molde, se ve que te quedó muy bien!
Ohhhh el flan de leche es súper delicioso mi papá prepara uno ufff y le agrega concha de limón, me alegra poder recordarte eso, espero te animes a hacer esta receta, gracias por comentar saludos.
Seems delicious. I will try it out, hopefully won't mess up the layers.
It is very delicious and if you add condensed milk on top then you will give another touch of flavor, follow the recipe and you will see that it is very simple, greetings.
Hey hey! This is my wife's favorite. She could finish one container all by herself. You have a lot of meat in your freezer. Are those chicken?
lol your wife then loves it hahaha, yes that's chickens, we raised chickens and killed them a few days ago, greetings and thanks for your valuable comment.
FoodiesUnite.net Yum! You have been curated @sirenahippie on behalf of on #Hive. Thanks for using the #foodie tag. We are a tribe for the Foodie community with a unique approach to content and community and we are here on #Hive.
Join the foodie fun! We've given you a FOODIE boost. Come check it out at @foodiesunite for the latest community updates. Spread your gastronomic delights on and claim your tokens.
Join and Post through the Community and you can earn a FOODIE reward.
Your content has been voted as a part of Encouragement program. Keep up the good work!
Use Ecency daily to boost your growth on platform!
Support Ecency
Vote for new Proposal
Delegate HP and earn more
Que linduraaaa quedo super cuchi esa gelatina creo que isabelita se va animar a prepararla conmigo! Excelente post amigo.
Me alegra que te gustara la receta :D, espero que se anime Isabelita a prepararla, me gustaría ver como les queda a ustedes, saludos y gracias por tu valioso comentario.
Se ve deliciosa y me encanta ese molde. Feliz Navidad.
😃Unos de mis postres favoritos...
que tengas felices fiestas
Seems delicious!
I should give it a try.
me encanto felicidades...