Español:
¡Saludos a todos! Queridos lectores. Mi nombre es Marley y es la primera vez que público acá, así que si cometo algún error haganmelo saber.
El año pasado en mi casa se dañó el horno, estuvo un buen tiempo así,era algo frustrante ya que quería preparar recetas que veía en internet y la falta de horno era una limitación. Más tarde aprendí que se pueden preparar tortas, brownies, panes e incluso galletas en un sartén, esto para mi fue un gran descubrimiento, ya que no sólo podría preparar ciertos postres aún teniendo el horno descompuesto, si no que aunque lo repararan, podría evitar usarlo ya que he de admitir que me da un poco de miedo jajaja.
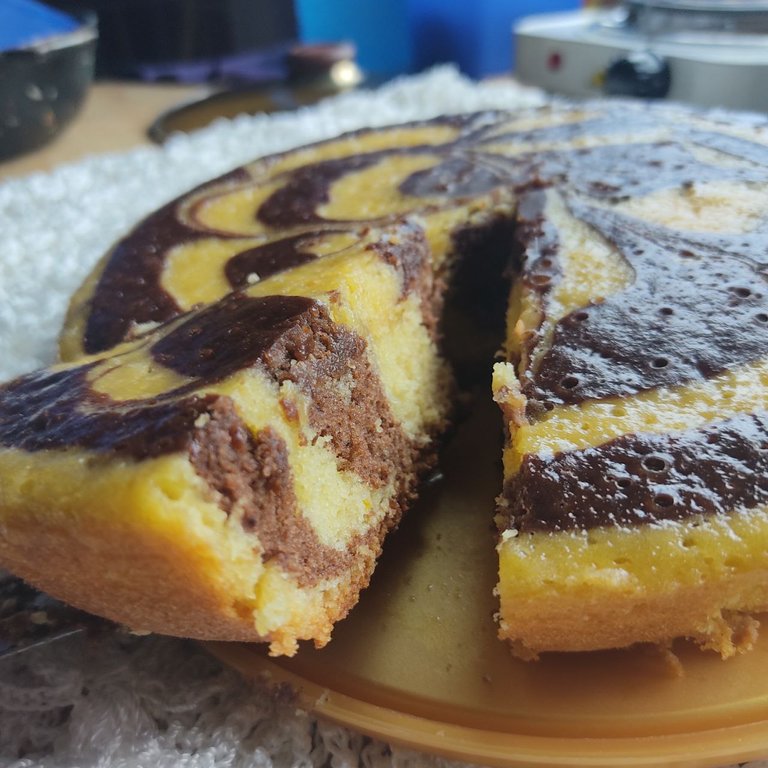
No soy repostera, ni soy experta en el tema, sólo soy una persona que le gusta muchísimo comer merienda y quiere compartir la receta que con el tiempo ha adaptado a su gusto. Se trata de una rica torta marmoleada sin leche, que se prepara fácil y es ideal para merendar en las tardes o matar un antojito por algo dulce ♥
English:
Greetings to all! Dear readers. My name is Marley and this is my first time posting here, so if I make any mistakes let me know.
Last year in my house the oven was damaged, it stayed like that for a long time, so it was frustrating because I wanted to prepare recipes that I saw on the internet and the lack of oven was a limitation. Later I learned that you can prepare cakes, brownies, breads and even cookies in a pan, this was a great discovery for me, not only because could I prepare certain desserts whitout a oven, but even if it was repaired, I could avoid using it because I must admit that it scares me a little hahaha.
I am not a pastry chef, nor am I an expert on the subject, I am just a person who loves to eat snacks and wants to share the recipe that over time has adapted to her taste. It is a rich marbled cake without milk, which is easy to prepare and is ideal for afternoon snacks or to kill a craving for something sweet ♥
¡Empecemos!
~¿Qué necesitas?~
(Dejo varias formas de medida en caso de que no tengas tazas medidoras o un peso para medir)
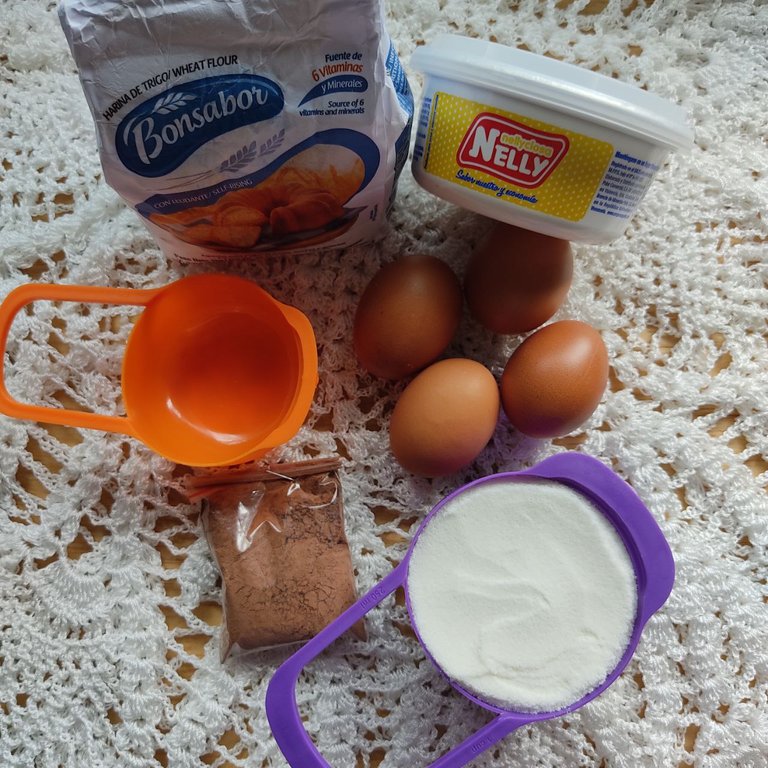
200 gramos de trigo harina leudante ( o 1 taza 1/2).
125 gramos de margarina (o 5 cucharas), algo que puedes hacer para medir la margarina, es comprar un paquete de 250 gramos y sólo usar la mitad.
4 huevos.
250 gramos de azúcar ( o una taza y dos cucharillas, también pueden ser 20 cucharas de azúcar).
15 gramos de cacao ( o 3 cucharas). El sobre que ves en la foto trae 25, es obvio que no lo usaré todo.
Esencia de vainilla (Una cuchara)
Let's get started!
~What do you need?~
(I leave several ways to measure in case you don't have measuring cups or a weight to measure).
200 grams of self raising wheat flour (or 1 1/2 cups).
125 grams of margarine (or 5 tablespoons), something you can do to measure the margarine, is to buy a 250 gram package and only use half of it.
4 eggs.
250 grams of sugar (or one cup and two teaspoons, it can also be 20 spoons of sugar).
15 grams of cocoa (or 3 spoons). The sachet you see in the picture has 25, it is obvious that I will not use it all.
Vanilla essence (one tablespoon).
~1er Paso~
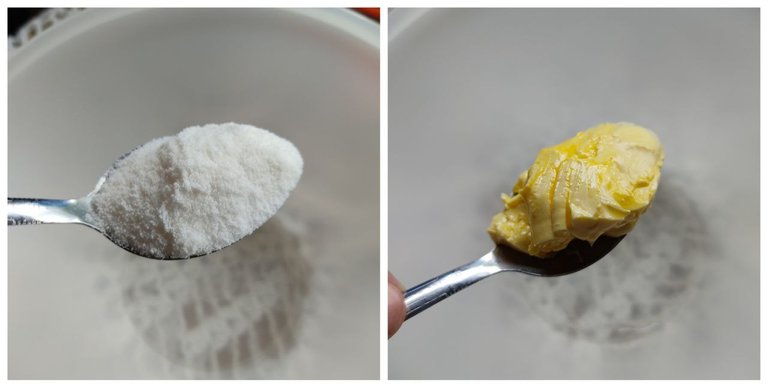
Lo primero que hay que hacer es en un tazón mezclar la mantequilla con la mitad del azúcar, esto hay que mezclarlo bien hasta que no se vean grumos de azúcar o hasta que se sienta como una crema suave.~1st Step~
The first thing to do is in a bowl mix the butter with half of the sugar, this must be mixed well until there are no lumps of sugar or until it feels like a smooth cream.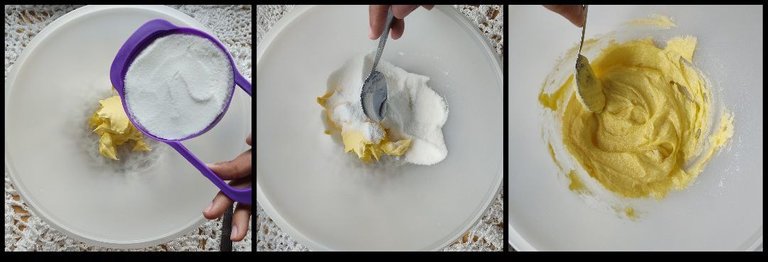
~Paso 2~
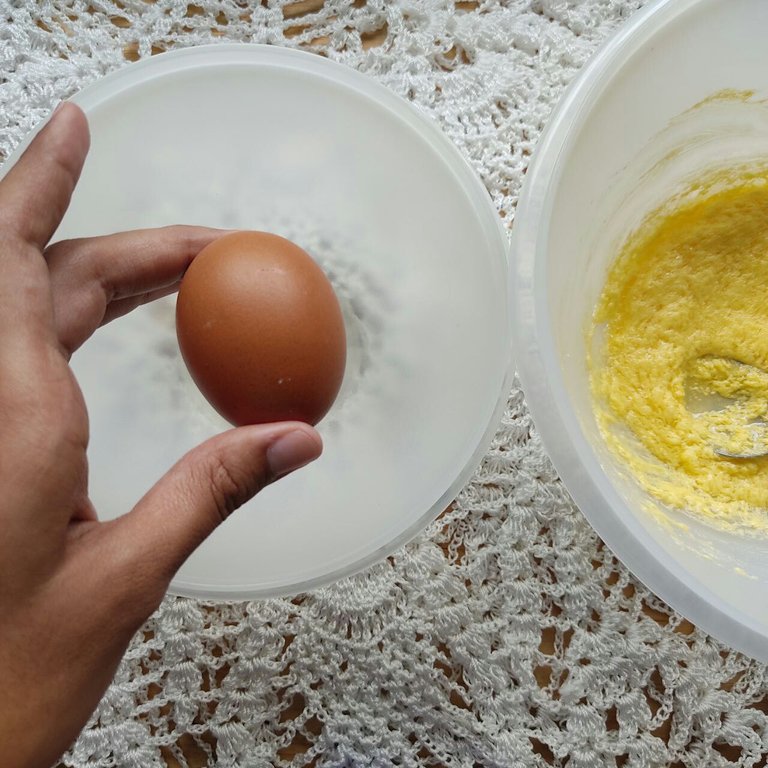
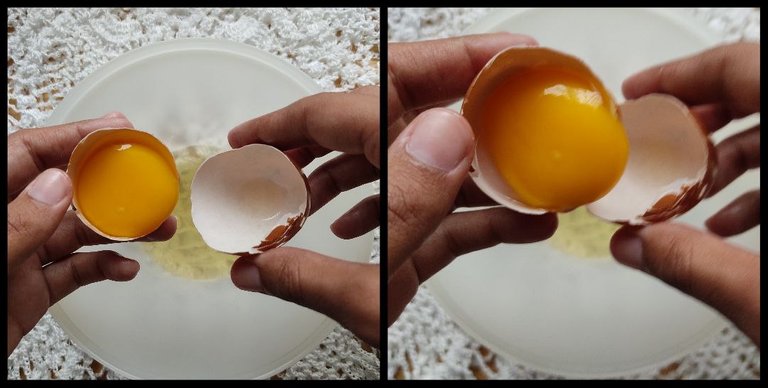
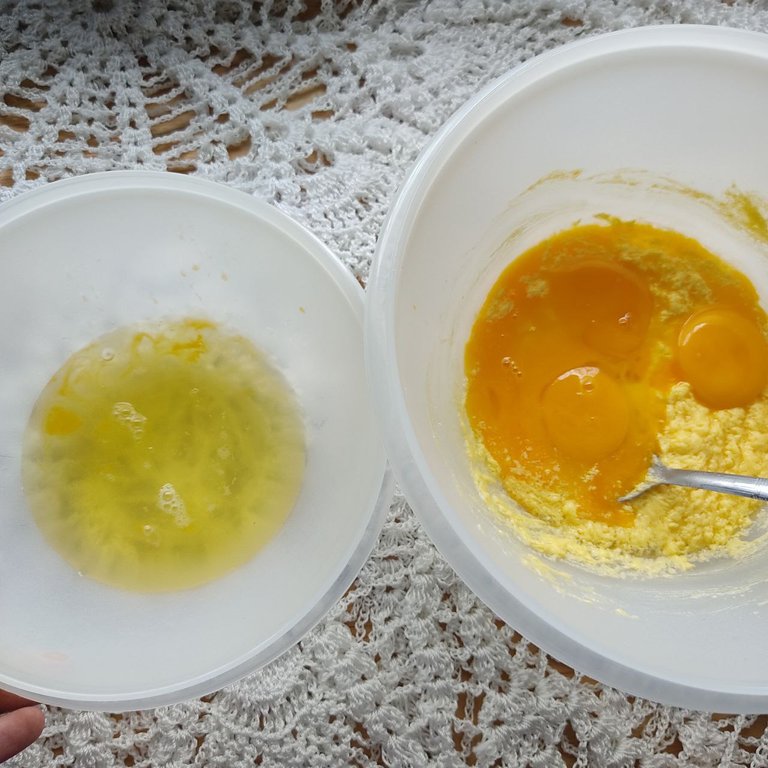
Ahora es tiempo de separar las yemas de las claras, en el segundo tazón se ponen las claras, y el el primer tazón que usamos se ponen las yemas.
~Step 2~
Now it is time to separate the egg yolks from the egg whites, in the second bowl put the egg whites, and in the first bowl we use put the egg yolks.
~Paso 3~
Ahora que están separadas las claras de las yemas,es hora de batir las claras.
~Step 3~
Now that the egg whites are separated from the yolks,it is time to whip the egg whites.
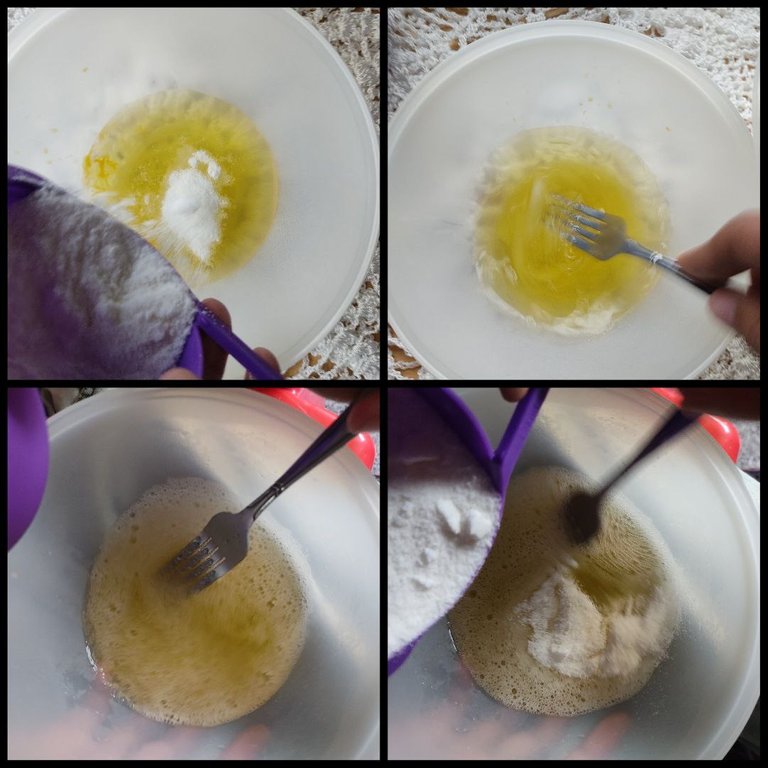
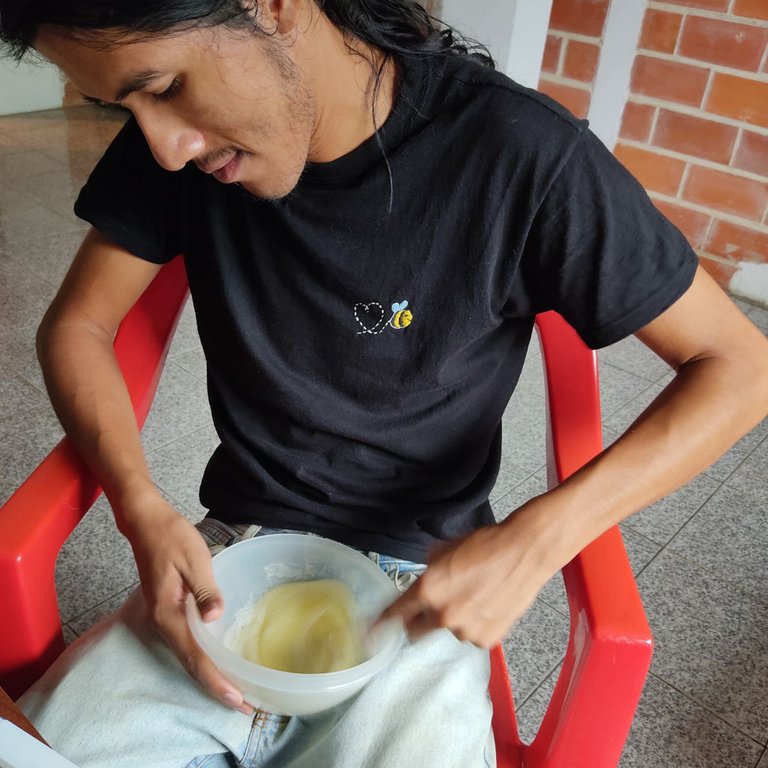
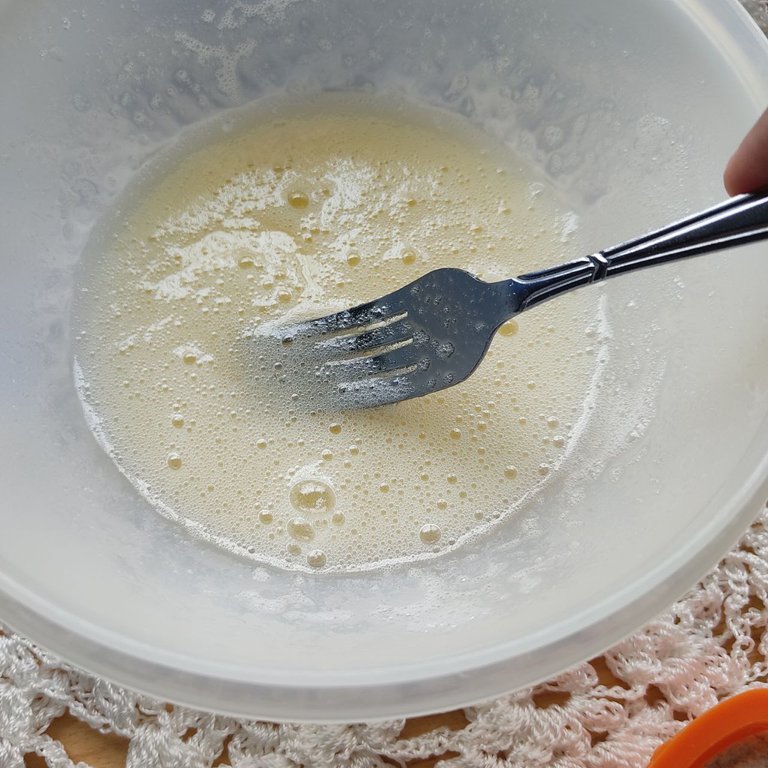
~Paso 4~
Batir las yemas con la mantequilla. En este punto es donde debes agregar la vainilla.
~Step 4~
Beat the egg yolks with the butter. At this point is where you should add the vanilla.
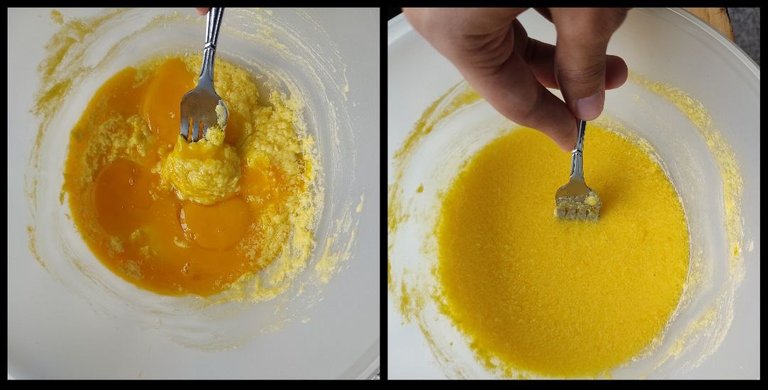
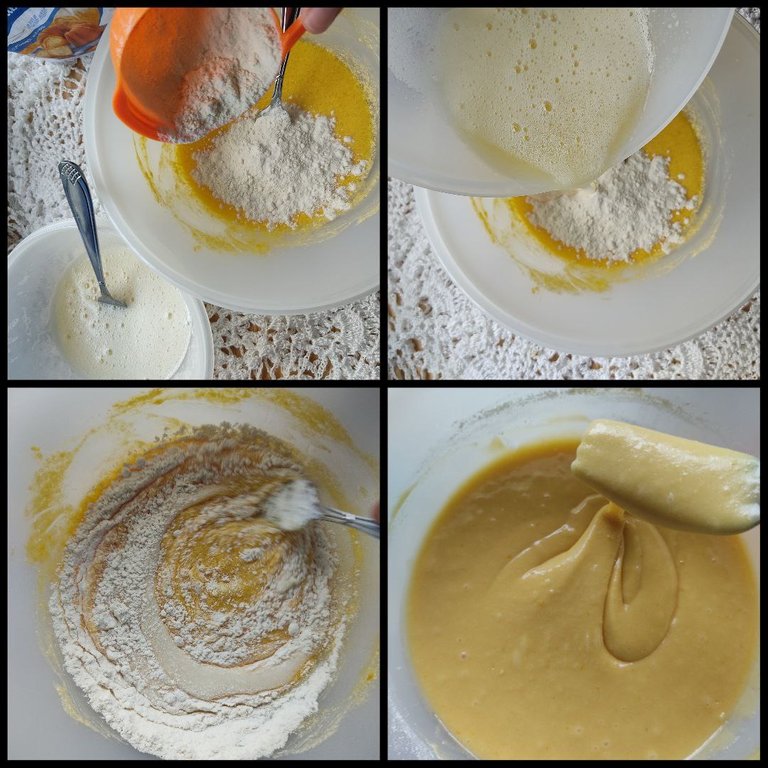
Una vez hecho esto, lo siguiente por hacer es incorporar a esta mezcla las claras de huevo en conjunto con la harina. Primero agrega una parte de mezcla de claras y luego una parte de la harina, así sucesivamente hasta que hayas echado toda la mezcla de claras y la harina.
Once this is done, the next thing to do is to add to this mixture the egg whites together with the flour. First add a part of the egg white mixture and then a part of the flour, and so on until you have added all the egg white mixture and the flour.
~Paso 5~
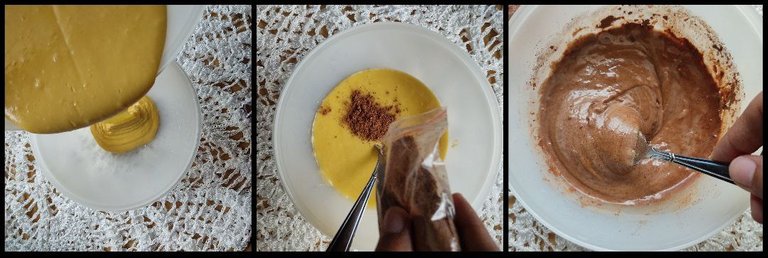
Ya que la mezcla está lista, lava el tazón donde tenías las claras para usarlo nuevamente, está vez será para pasar la mitad de la mezcla a este tazón. Una vez la mezcla esté dividida, pon en uno de los tazones el cacao y batelo bien.
Para esta parte puedes agregar una cucharada o dos de agua a la masa, ya que el cacao espesa mucho la mezcla y la idea es que tanto la mezcla de vainilla y la de chocolate tengan la misma consistencia.
~Step 5~
Once the mixture is ready, wash the bowl where you had the egg whites to use it again, this time it will be to transfer half of the mixture to this bowl. Once the mixture is divided, put in one of the bowls the cocoa and beat it well.
For this part you can add a tablespoon or two of water to the batter, since the cocoa thickens the mixture a lot and the idea is that both the vanilla and the chocolate mixture have the same consistency.
~Paso 6~
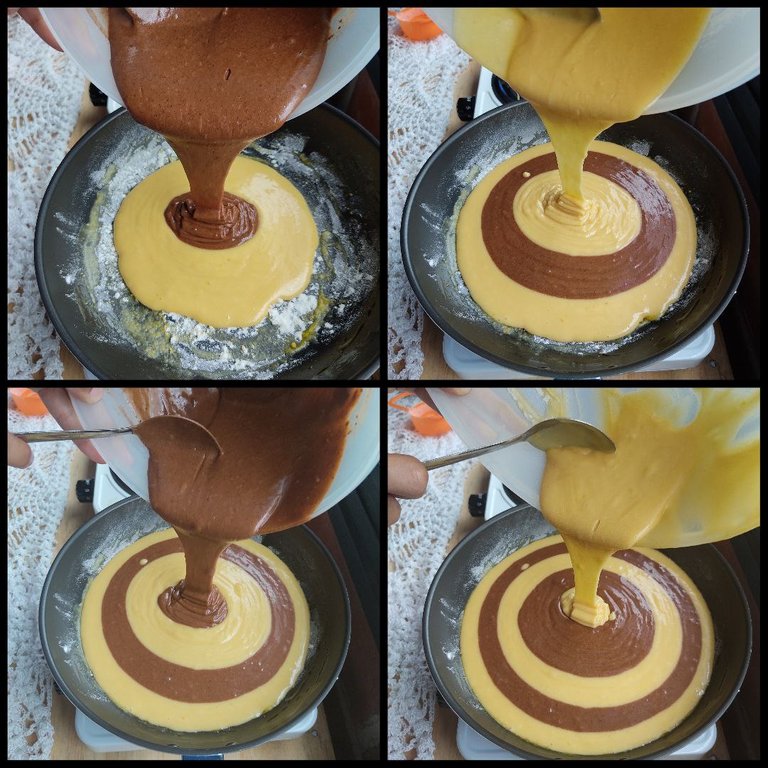
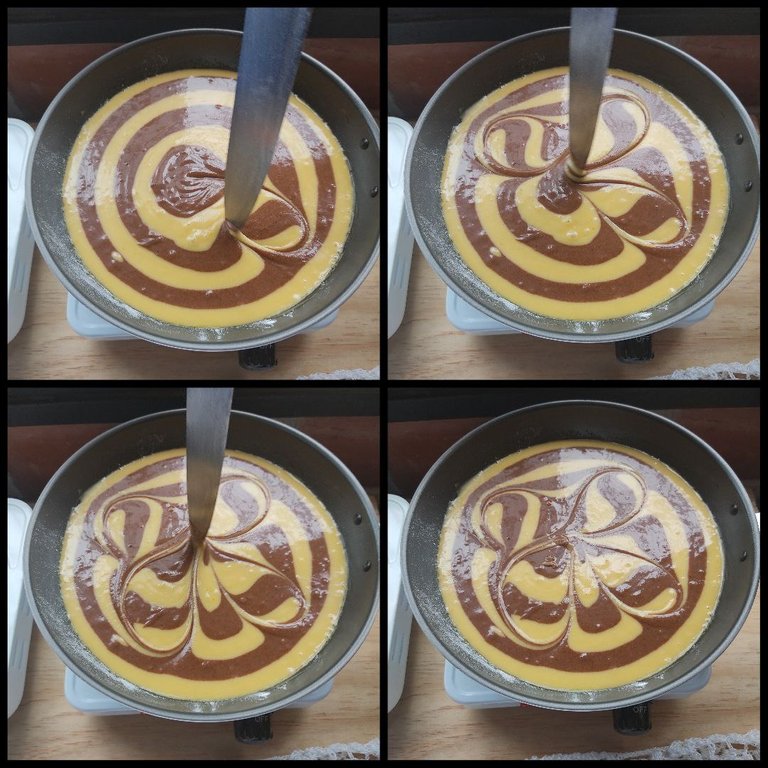
¡Llegó mi parte favorita! Es hora de ir vertiendo las dos mezclas en el sartén.
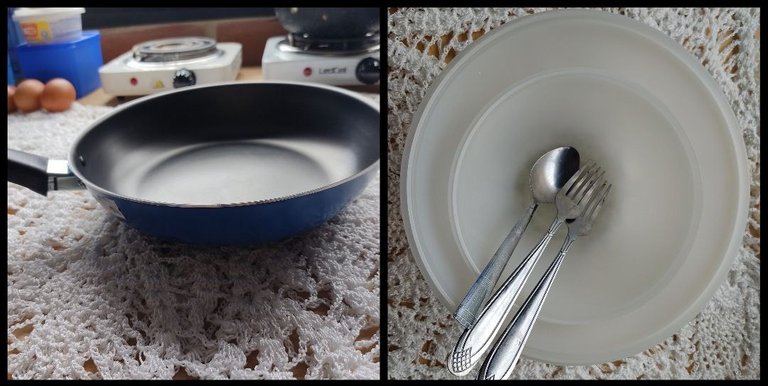
Se supone que mi sartén es antiadherente y hasta ahora no me ha fallado, pero como soy desconfiada igual le puse mantequilla y harina para evitar que la torta se pegue.
~Step 6~
Here comes my favorite part! It's time to pour the two mixtures into the pan.
My pan is supposed to be non-stick and so far it hasn't failed me, but since I'm wary I still put butter and flour in it to keep the cake from sticking.
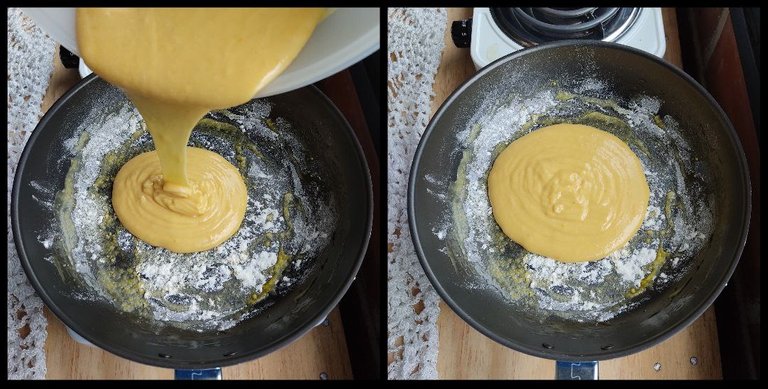
La manera de vertir la mezcla en el sartén es como si fueras a hacer una panqueca (panqueque o tortita), se vierte un poco de mezcla de vainilla y un poco de mezcla de chocolate, así hasta acabar las dos mezclas.
~Paso 7: ¡A cocinar!~
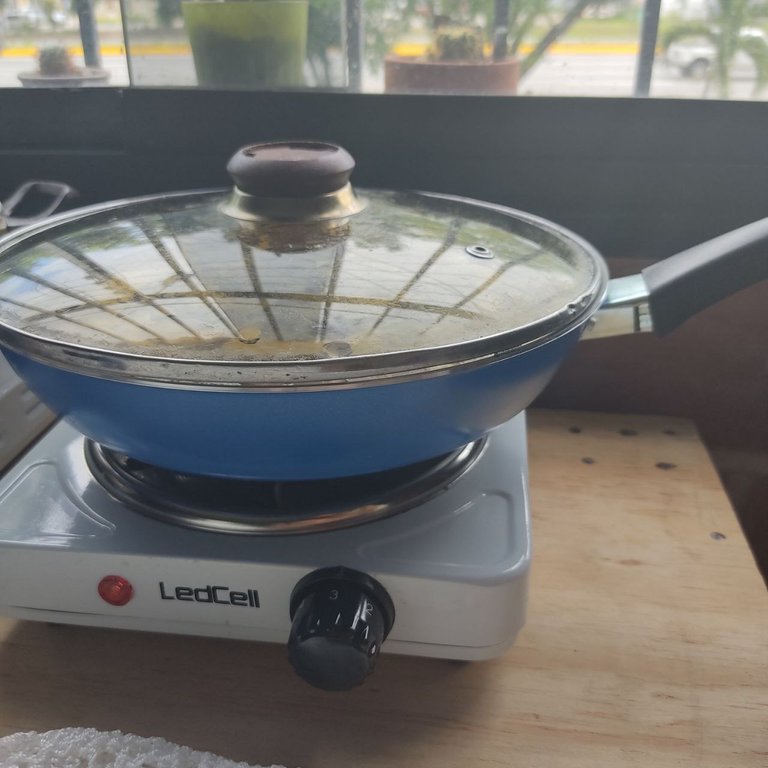
¡Ahora sólo queda cocinar la deliciosa torta! Usualmente prefiero hacerlo con una cocina eléctrica ya que con el tiempo me he dado cuenta que se cocina mejor, pero puedes hacerlo en la estufa de gas sin problema.
La idea es que se cocine con el calor más bajo posible, así que si tienes una estufa que calienta menos que las otras, ponla allí y bajale a la llama lo más que puedas. En la cocina eléctrica simplemente la pongo en el nivel 3 y luego. Si veo que tarda en cocinarse en la parte de arriba, la bajo al nivel dos para que no se queme abajo.
Antes de ponerla a cocinar, ponle una tapa que cierre bien. Usualmente el tiempo de cocción tarda entre 45 y 60 min. Una manera sencilla para saber si está lista es pincharla en el medio con un palillo, si el palillo sale limpio, significa que está lista.
~Step 7: Let's cook!
Now all that's left to do is cook the delicious cake! I usually prefer to do this on an electric stove as I've found over time it cooks better, but you can do it on the gas stove with no problem.
The idea is to cook it with the lowest heat possible, so if you have a stove that heats less than the others, put it there and lower the flame as much as you can. On the electric stove I just put it on level 3 and then. If I see that it takes a while to cook on the top, I turn it down to level two so it doesn't burn at the bottom.
Before you put it on to cook, put a tight fitting lid on it. Usually the cooking time takes between 45 and 60 min. A simple way to know if it is ready is to poke it in the middle with a toothpick, if the toothpick comes out clean, it means it is ready.
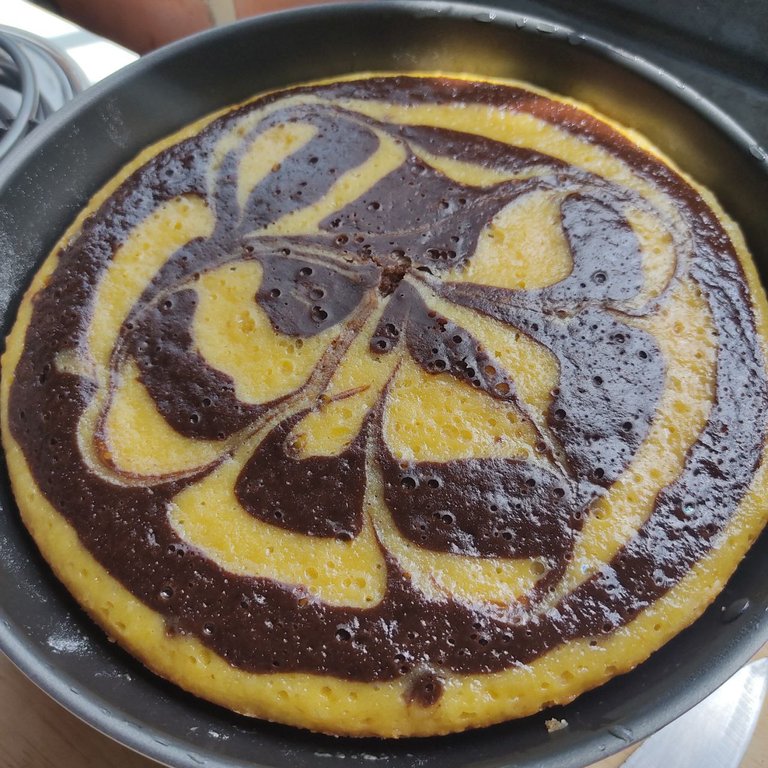
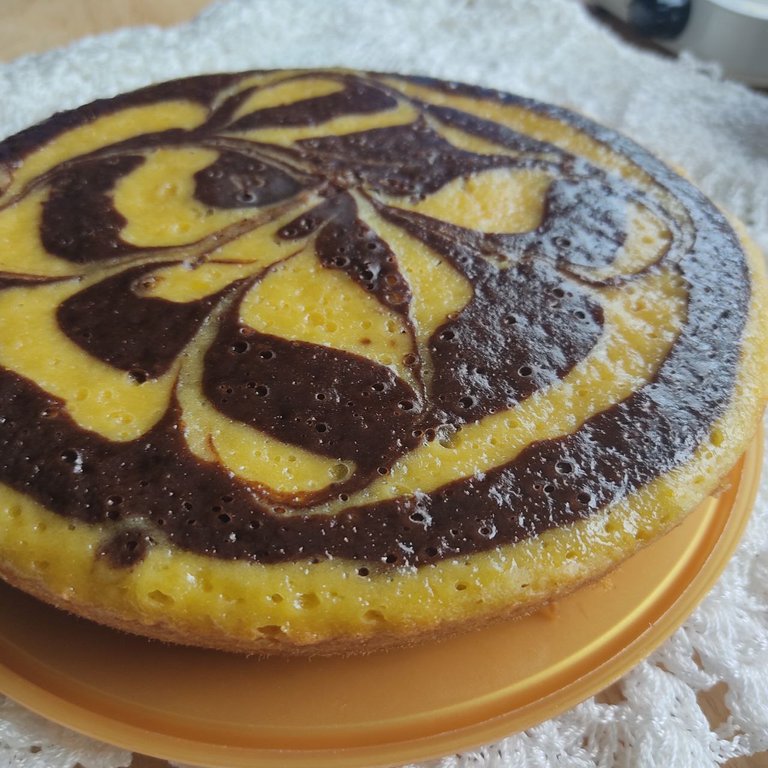
¡Listo! A disfrutar
Ready! Let's enjoy

🌼Muchisimas gracias por leer🌼
Todas las fotografías fueron tomadas por mi y me pertenecen.
l texto fue traducido del español al Inglés usando el traductor de Deepl
🌼Thank you very much for reading 🌼
All photographs were taken by me and belong to me.
the text was translated from Spanish to English using the Deepl translator.
Que divinoooooo 🪄🙌 Buen trabajo 👍 esa torta quedo espectacular 👌
Gracias, bella ♥
FoodiesUnite.net Yum! You have been curated @taco.cat on behalf of on #Hive. Thanks for using the #foodie tag. We are a tribe for the Foodie community with a unique approach to content and community and we are here on #Hive.
Join the foodie fun! We've given you a FOODIE boost. Come check it out at @foodiesunite for the latest community updates. Spread your gastronomic delights on and claim your tokens.
Join and Post through the Community and you can earn a FOODIE reward.
Muy buen post has hecho, muy prolijo. Es muy importante que toda receta, independientemente de lo simple o compleja que ésta sea, se presente de manera secuencial, bien explicada, con fotos ilustrativas del proceso. Excelente alternativa cuando no disponemos de gas doméstico o de horno. Saludos.
Muchisimas gracias ♥
Increíble, es una excelente opción para los que tienen horno, se ve muy rica.
¡Gracias!