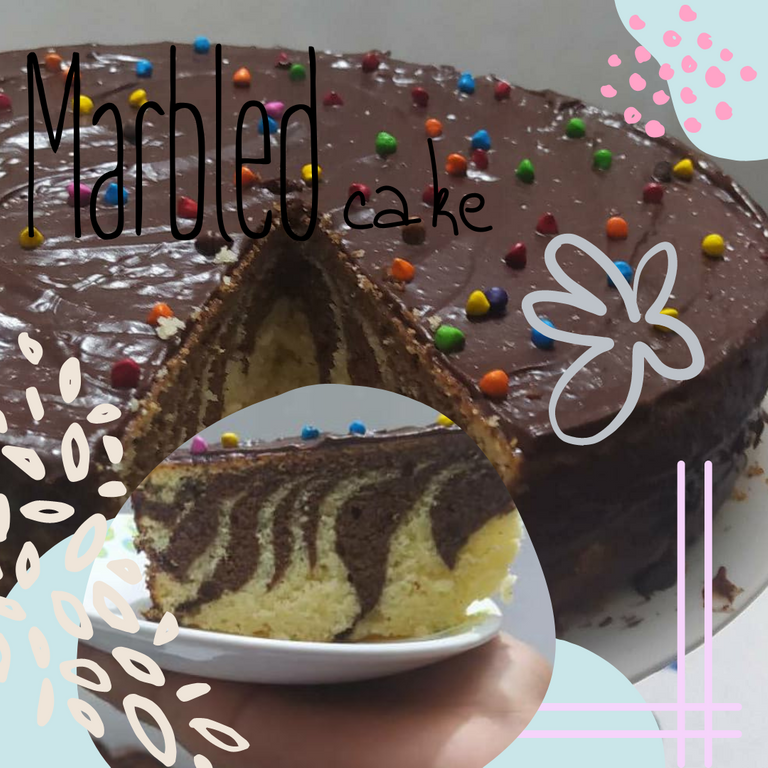
Good afternoon dear Hivers, it is a pleasure to greet everyone in this beautiful community of Foodies, today I want to share my recipe for marbled cake I prepared it this Sunday to share on this special day with the little ones and not so little ones of the house 😋 😜..
I hope you like the recipe, it is really simple and the result is quite pleasing to the eye and delicious to the taste, without further ado, this is what we will need.
Buenas tardes queridos Hivers, es un placer saludarles a todos en esta hermosa comunidad de Foodies, hoy quiero compartirles mi receta de ponqué marmoleado lo preparé este domingo para compartir en este día especial con los pequeñines y no tan pequeñines de la casa 😋 😜.
Espero que les guste la receta es realmente sencilla y el resultado es bastante agradable a la vista y delicioso al gusto, sin más que decir esto es lo que necesitaremos.
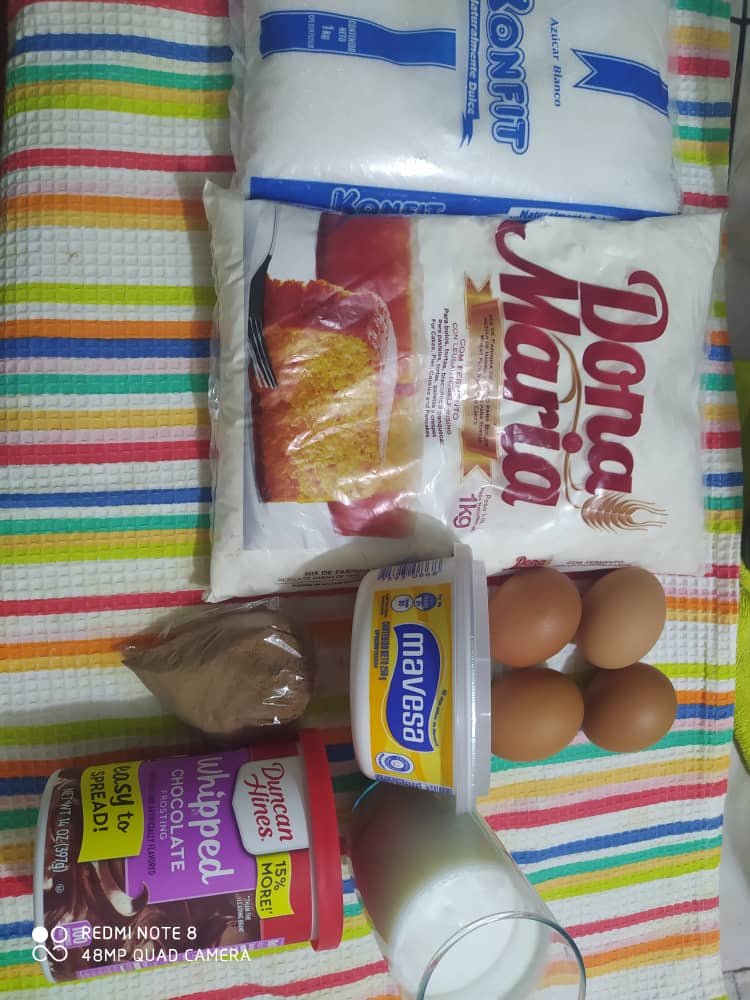
Ingredients:
1 ½ cup sugar
3 cups self-rising wheat flour
4 eggs
300 ml of milk
3 tablespoons of margarine
100 grams of cocoa powder
Optional:
150 grams of Chocolate cream (to decorate)
50 grams of rain of colors (to decorate)
Ingredientes:
1 ½ taza de azúcar
3 tazas de harina de trigo leudante
4 huevos
300 ml de leche
3 cucharadas de margarina
100 gramos de cacao en polvo
Opcional:
150 gramos de Chocolate en crema (para decorar)
50 gramos de Lluvia de colores (para decorar)
Step 1
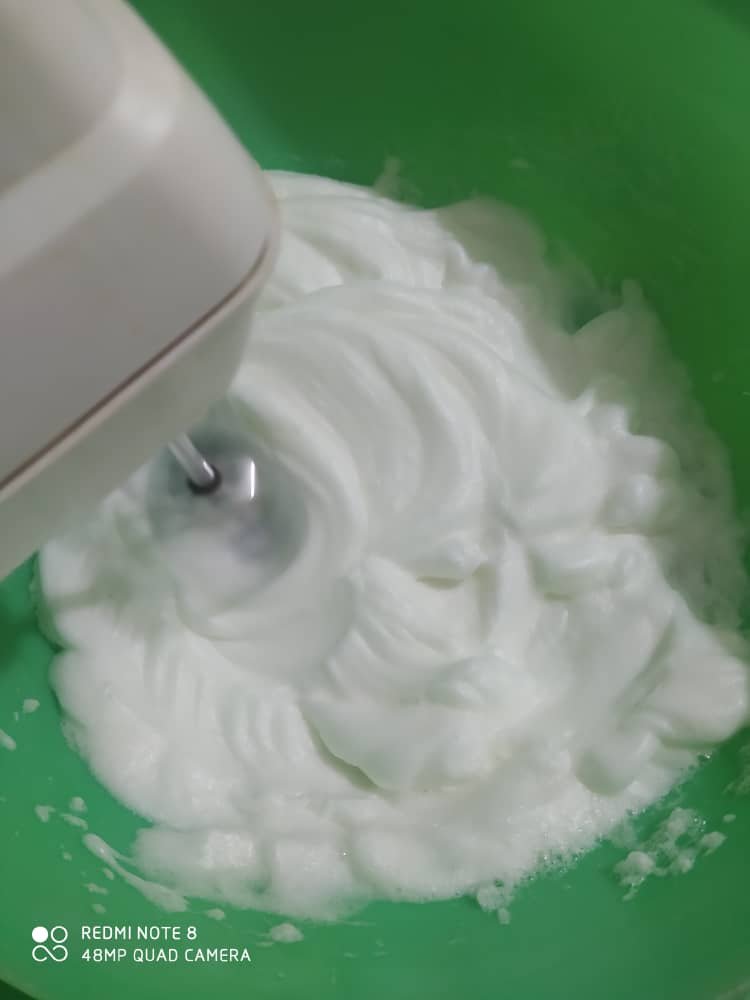
To start our preparation, we separate the whites from the egg yolks, place the whites in a large bowl and beat with the hand mixer at high speed until stiff as we say in Venezuela, this step will take about three minutes. about. Once our snow is obtained, we will reserve it.
Paso 1
Para iniciar nuestra preparación separamos las claras de las yemas de los huevos, colocamos las claras en un bowl grande y vamos a batir con la batidora de mano a velocidad alta hasta tome punto de nieve como decimos en Venezuela, este paso nos tomará unos tres minutos aproximadamente. Una vez obtenida nuestra nieve la vamos a reservar.
Step 2
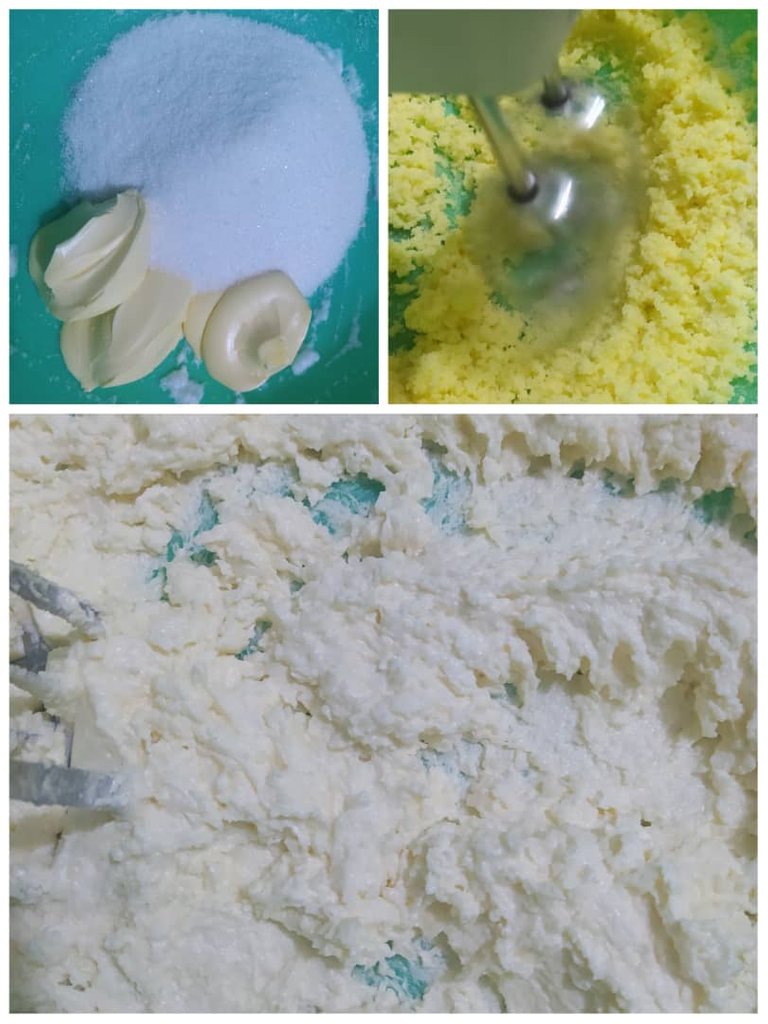
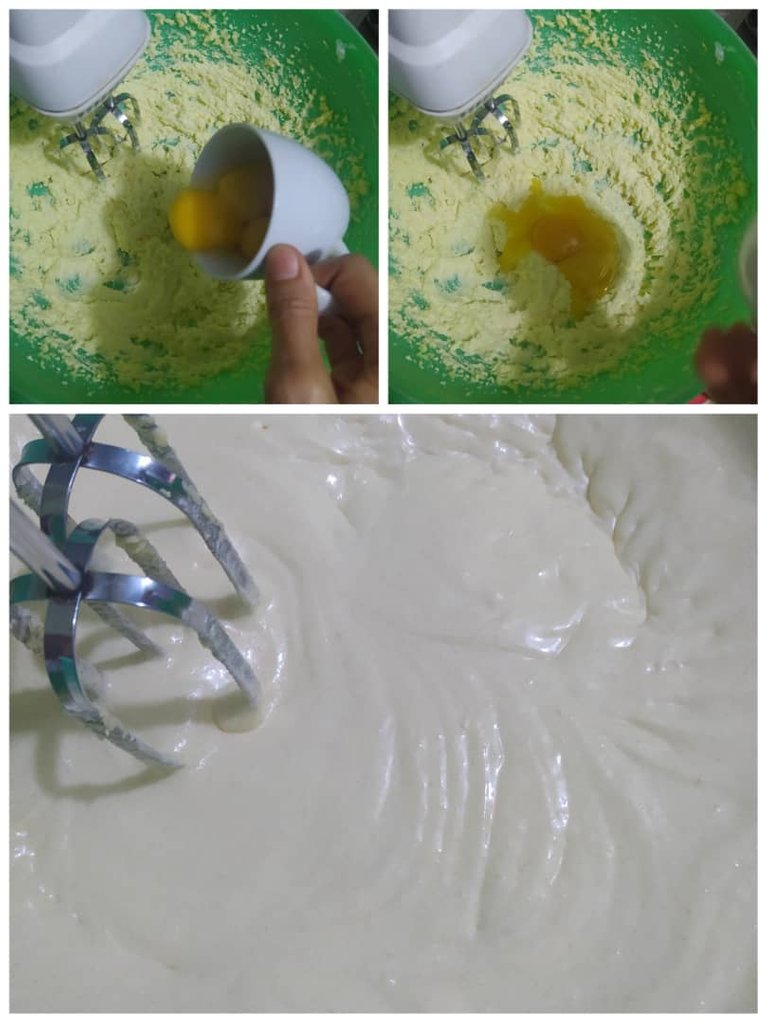
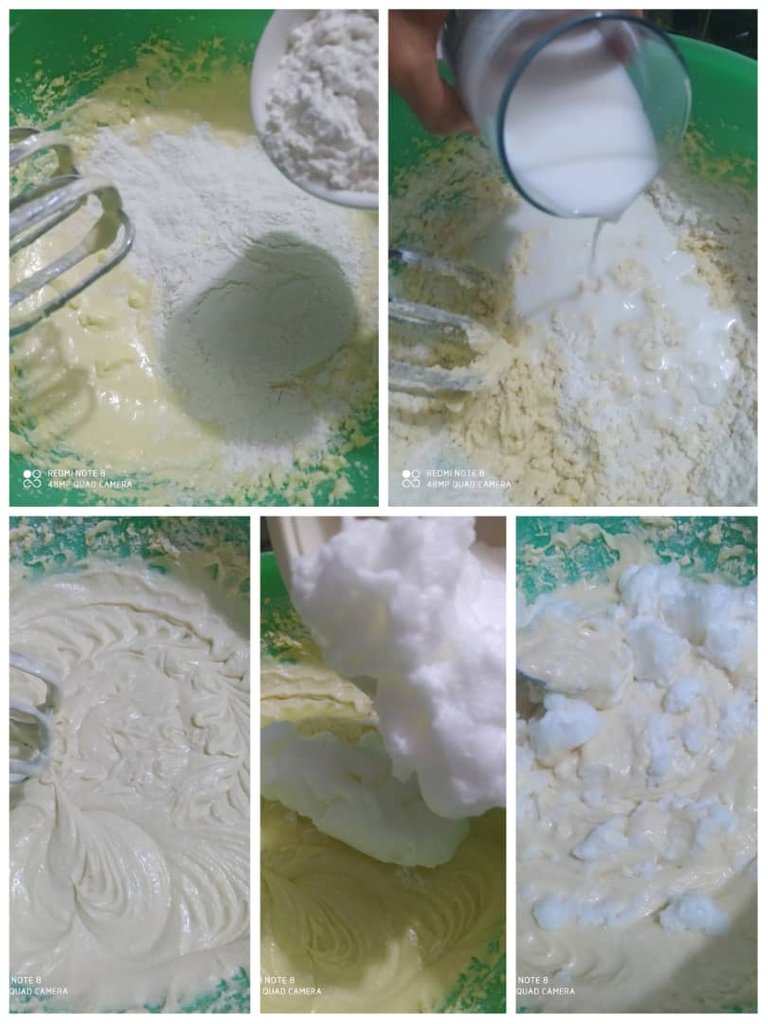
In a large bowl, place the sugar and margarine together at room temperature and, with the help of the hand mixer, beat vigorously until they form a uniform white cream. This step is the one that requires the most time and will take approximately four minutes, then add the egg yolks and integrate with the blender, now is the time to start adding the wheat flour and milk, this process does not require much beating, just enough for the flour and milk to integrate to the rest of the ingredients.
Paso 2
En un bowl grande colocamos juntos el azúcar y la margarina a temperatura ambiente y con la ayuda de la batidora de mano batimos enérgicamente hasta formar con ellas una crema uniforme de color blanco, este paso es el que requiere más tiempo y nos tomará aproximadamente cuatro minutos, luego añadimos las yemas de los huevos e integramos con la batidora, ahora es el momento de comenzar a añadir la harina de trigo y la leche, este proceso no requiere de mucho batido, solo el necesario para que la harina y la leche se integren al resto de los ingredientes.
Step 3
To complete our mixture, we add the egg whites that we have reserved to the point of snow to the cream, we must integrate them with soft and enveloping movements with a palette or spoon, in this way our cake will be super fluffy.
Paso 3
Para culminar nuestra mezcla añadimos a la crema las claras que tenemos reservadas a punto de nieve, debemos integrarlas con movimientos suaves y envolventes con una paleta o cuchara, de esta manera nuestro ponqué quedará súper esponjoso.
Step 4
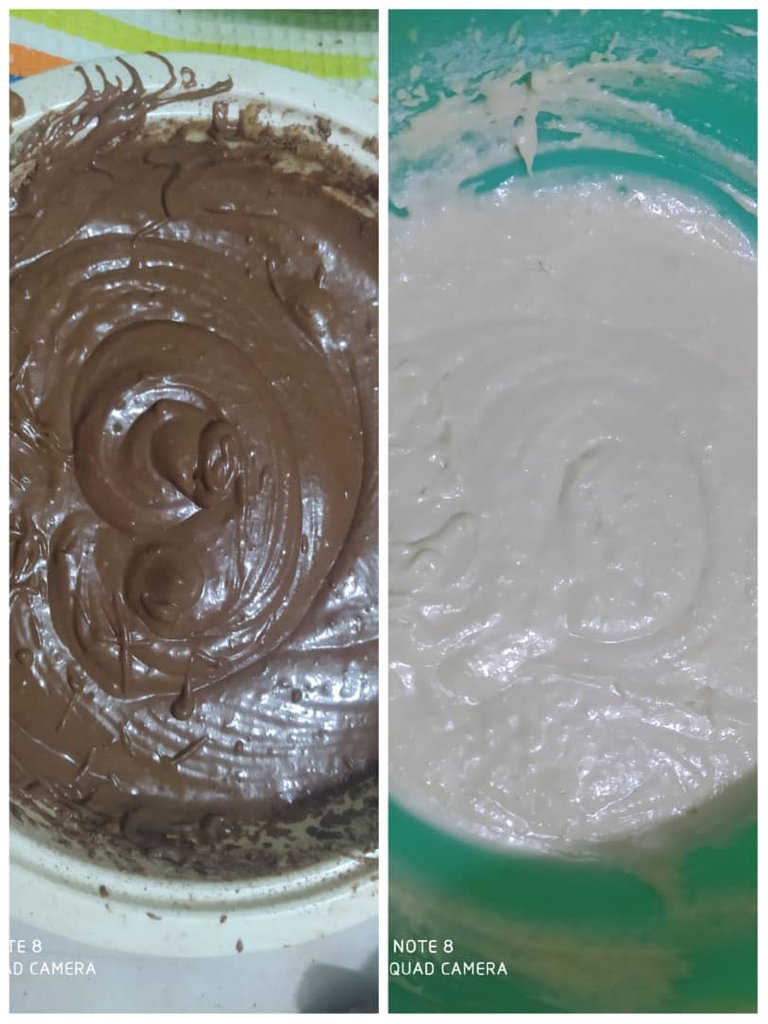
It is time to share the mixture that we prepared in two equal parts and to one of them we will add the cocoa powder and mix it until it turns uniformly brown. So we have two equal portions, one white and one chocolate.
Paso 4
Es momento de compartir en dos partes iguales la mezcla que preparamos y a una de ellas le añadiremos el cacao en polvo y la mezclamos hasta que se torne uniformemente de color marón. Así tenemos dos porciones iguales una blanca y una de chocolate.
Step 5
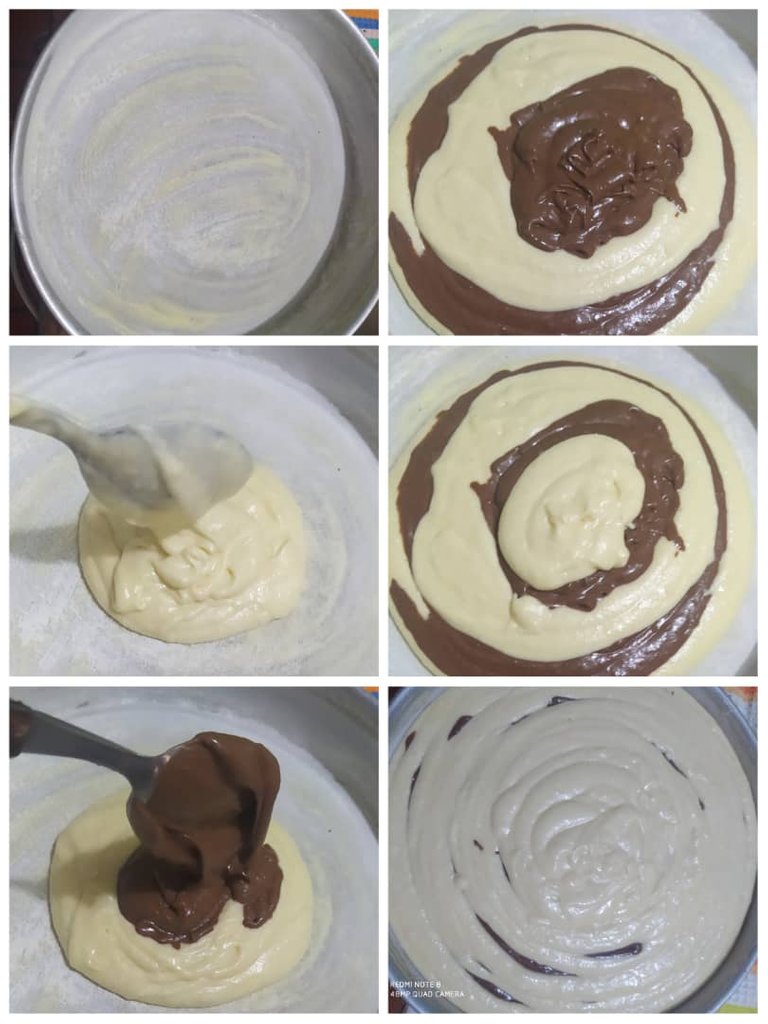
We place the oven to preheat to 180 degrees while we prepare, spreading with margarine and flour a round mold of 25 cm in diameter, the mold must be well prepared so that when the cake is cooked it is easy to unmold.
With the help of a spoon we will begin to add the mixtures in the center of the mold, we will do it alternating a spoonful of white mixture, a spoonful of chocolate mixture, so on we repeat the operation until we finish with the two mixtures.
As our oven has already preheated, we take the mold with the mixture to cook for approximately 45 minutes. After this time we check by inserting a stick or thin knife in the center of the cake, if it comes out clean and our cake is ready. Remove it from the oven and allow it to cool to room temperature before unmolding it.
We unmold the ponqué and if it is to our liking, we spread it with a little chocolate cream on top and sprinkle it with rain of colors. Then when you cut it you can see a beautiful marbled effect inside.
Paso 5
Colocamos a precalentar el horno a 180 grados mientras preparamos untando con margarina y harina un molde redondo de 25 cm de diámetro, el molde debe quedar bien preparado para q ue cuando el ponqué esté cocido sea fácil de desmoldar.
Con la ayuda de una cuchara comenzaremos a añadir las mezclas en el centro del molde, lo haremos alternando una cucharada de mezcla blanca, una cucharada de mezcla de chocolate, así sucesivamente repetimos la operación hasta terminar con las dos mezclas.
Como nuestro horno ya se ha precalentado, llevamos el molde con la mezcla a cocinar durante 45 minutos aproximadamente. Transcurrido este tiempo revisamos introduciendo un palito o cuchillo delgado en el centro del ponqué, si este sale limpiecito ya nuestro ponqué está listo. Lo retiramos del horno y dejamos enfriar a temperatura ambiente para poder desmoldarlo.
Desmoldamos el ponqué y si es de nuestro agrado lo untamos con un poco de crema de chocolate en la parte superior y lo rociamos con lluvia de colores. Luego al cortarlo se puede apreciar un hermoso efecto marmoleado en el interior.
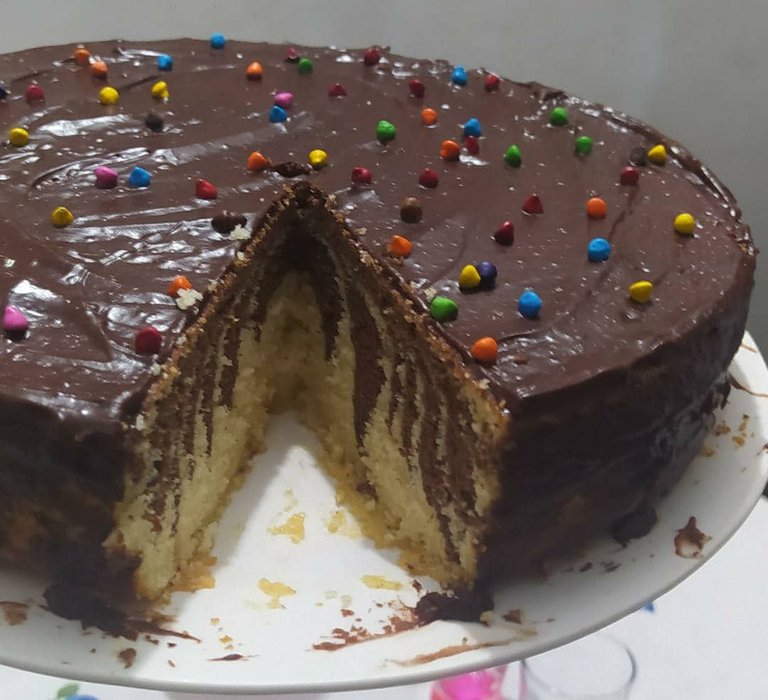
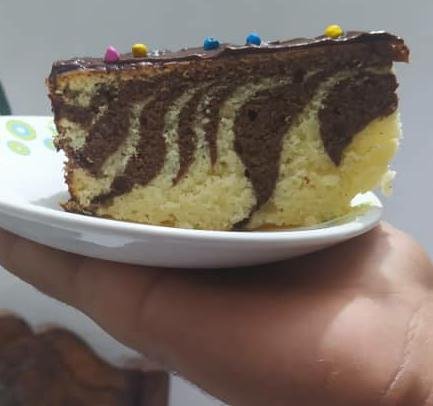
Thank you for joining me in this publication, I hope you like my recipe and are encouraged to prepare it. Infinite blessings.
Gracias por acompañarme en esta publicación, espero que les guste mi receta y se animen a prepararla. Infinitas bendiciones.
The photos in this post are my own and were taken with my cell phone a Redmi Note 8.
The cover image was edited by me in Canva.
Las fotos de este post son de mi autoría y las tomé con mi teléfono celular un Redmi Note 8.
La imagen de portada fue editada por mi en Canva.
Congratulations @colladolisbeth! You have completed the following achievement on the Hive blockchain and have been rewarded with new badge(s):
Your next target is to reach 8000 upvotes.
You can view your badges on your board and compare yourself to others in the Ranking
If you no longer want to receive notifications, reply to this comment with the word
STOPSupport the HiveBuzz project. Vote for our proposal!
The rewards earned on this comment will go directly to the people( @lindoro ) sharing the post on Twitter as long as they are registered with @poshtoken. Sign up at https://hiveposh.com.
Oh, how beautiful and undoubtedly delicious!
Thank you @niznov for your appreciation and comment 😃
This cake remind me some cake of my childhood especially b day cakes, so yummy and good and such good memories