English
EnglishCooking turns passion, patience, creativity, and enthusiasm into a bite that fills the person who consumes it with love!
Today I want to show you step by step how to make cookies for Valentine's Day and surprise that special someone.

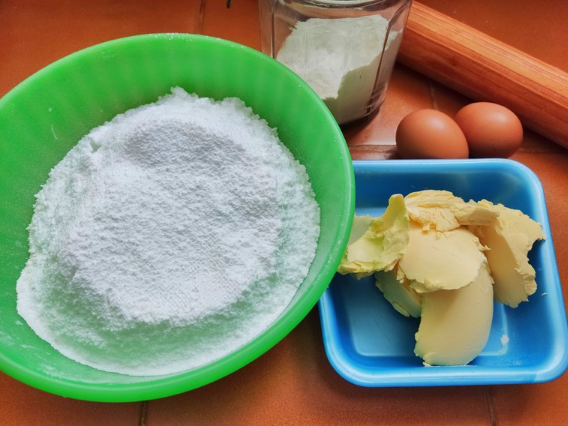
The first thing we are going to make is the cookies.The recipe is simple, and you only need:
- 2 cups of wheat flour
- 1 cup of powdered sugar
- 1 cup unsalted butter
- 2 eggs
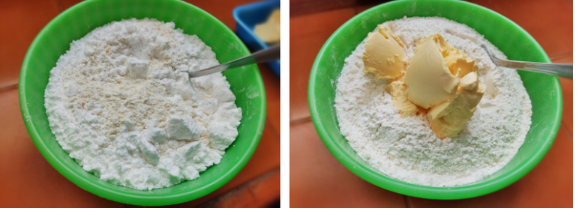
In a bowl, mix the flour with the sugar and then add the butter. Mix with a fork until you get a sandy mixture.
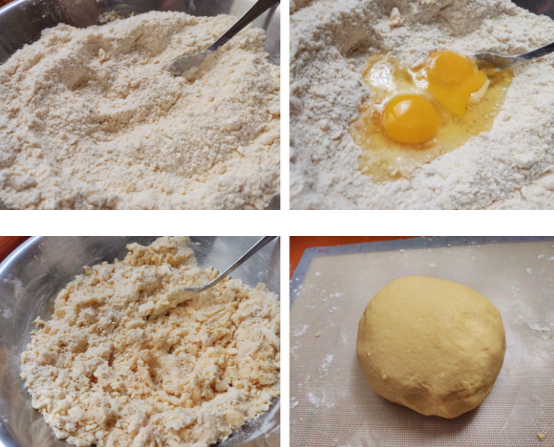
Add the eggs, mix the ingredients well and knead until you obtain a homogeneous dough.
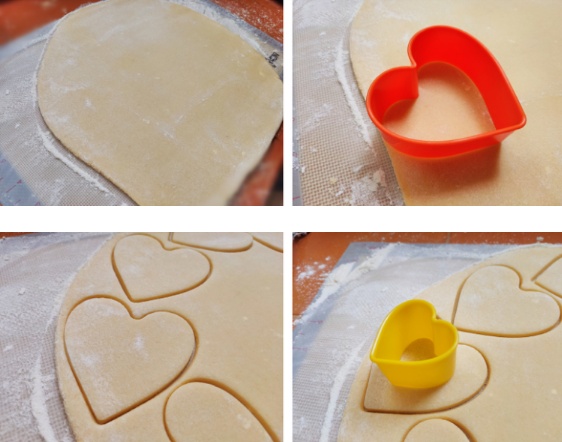
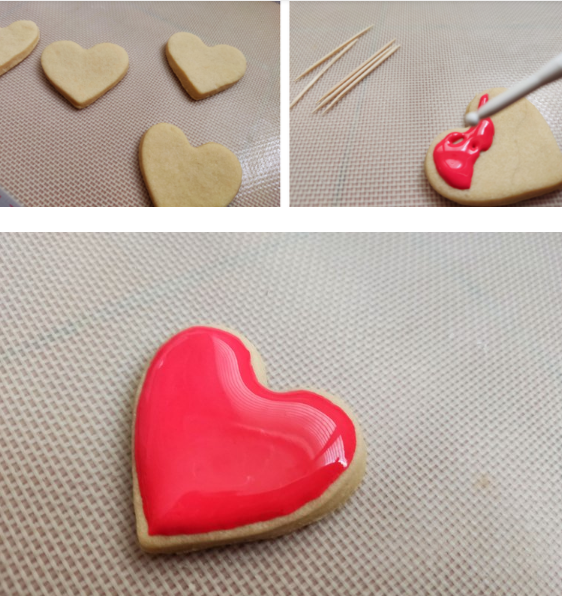
Stretch the dough to a thickness of half a centimeter and with a heart-shaped cutter, proceed to cut the dough. You can make several designs, as shown in the pictures.
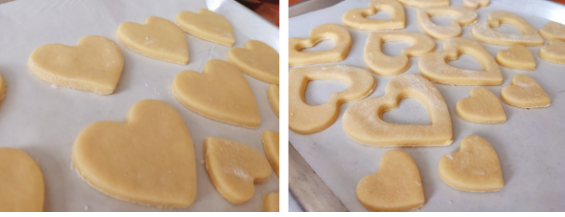
Place the heart-shaped dough on a tray with waxed paper. Bake for 25 minutes at 180 ºC.
Place 2 egg whites in a bowl and beat until stiff. Lower the speed and gradually add 2 cups of powdered sugar. A trick I use to make the glaze stable and shiny is to add 1 tablespoon of vinegar while I am beating it.
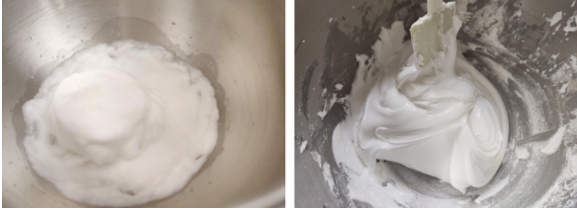
Portion the icing and color it with the shades you like. Fill the piping bags, and let's start decorating.
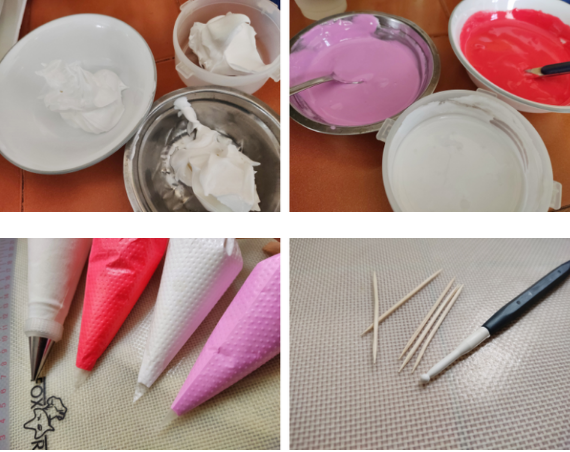
Today, I didn't want to make a single design. I will show you many options. You only need pastry bags, a fondant tool, and thin wooden chopsticks.
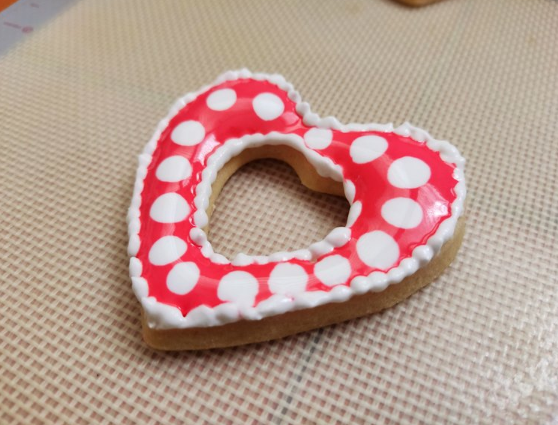
It is a simple design. Edge the cookie with the icing from the red piping bag and then carefully spread the icing evenly with the help of the pastry tool. You can add white dots.
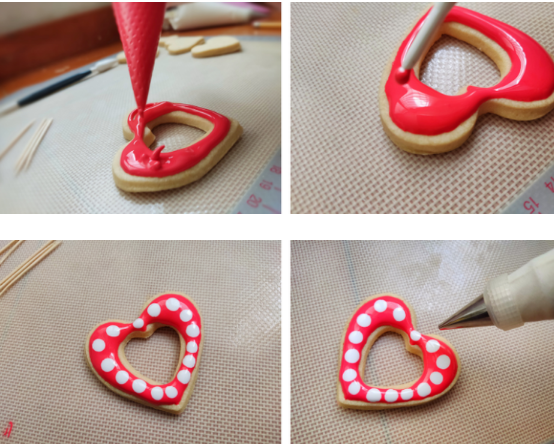
You can also make a border with more textured icing, and it looks very nice.
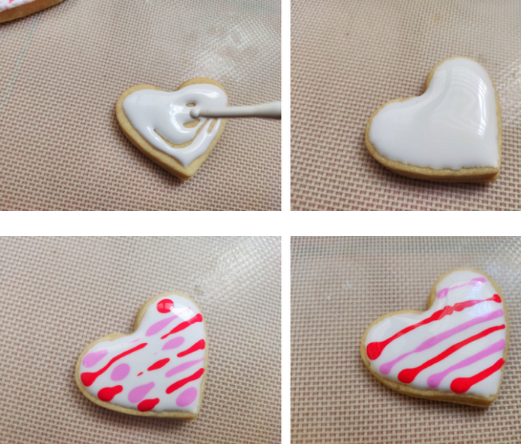
Cover a cookie with white icing, and you can make cross lines of red and pink. You can also use a thin wooden stick and make strokes from top to bottom on the icing, and it will form a very nice drawing on the cookie.

You can do the same with red icing as a background and white and pink lines.
Now, if you make some white dots in the center of the cookie and make strokes with the wooden toothpicks from the center of the cookie outwards, you will have a different drawing.
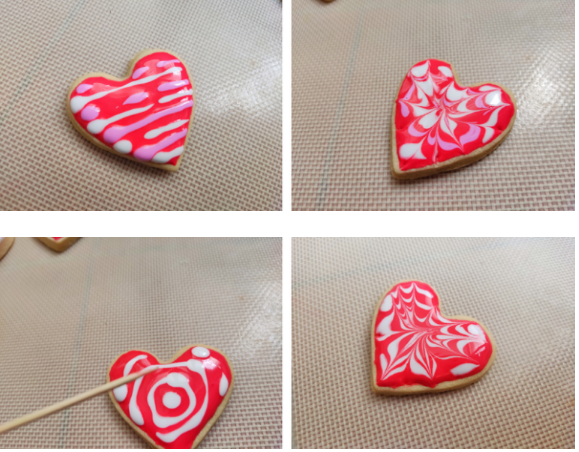
I love this design so much. Cover the cookie with pink icing and place consecutive white dots. With the help of a wooden toothpick, draw a line over the dots and form the hearts. Always do it starting with the top dot and drag carefully.
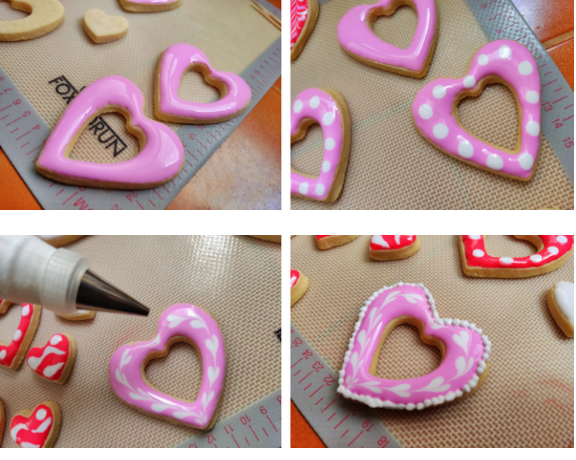
You can make as many designs as your creativity allows. Leave you a sample of other designs for you to tell me which one is your favorite 😃💕.

Thanks for reading. See you in a future post!
All images are property of the author.
Español
EspañolLa cocina convierte la pasión, la paciencia, la creatividad y el entusiasmo en un bocado que llena de amor a la persona que lo consume.
Hoy quiero enseñarte paso a paso cómo hacer galletas para San Valentín y sorprender a esa persona tan especial.

Lo primero que vamos a hacer son las galletas.La receta es sencilla, y sólo necesitas:
- 2 tazas de harina de trigo
- 1 taza de azúcar en polvo
- 1 taza de mantequilla sin sal
- 2 huevos

En un bol, mezclar la harina con el azúcar y luego añadir la mantequilla. Mezclar con un tenedor hasta obtener una mezcla arenosa.

Añadir los huevos, mezclar bien los ingredientes y amasar hasta obtener una masa homogénea.

Estira la masa hasta un grosor de medio centímetro y con un cortador en forma de corazón, procede a cortar la masa. Puedes hacer varios diseños, como se muestra en las imágenes.


Coloca la masa en forma de corazón en una bandeja con papel encerado. Hornear durante 25 minutos a 180 ºC.
Poner 2 claras de huevo en un bol y batirlas a punto de nieve. Bajar la velocidad y añadir poco a poco 2 tazas de azúcar en polvo. Un truco que utilizo para que el glaseado quede estable y brillante es añadir 1 cucharada de vinagre mientras lo estoy batiendo.
( )
)
Porcionar el glaseado y colorearlo con los tonos que te gusten. Rellena las mangas pasteleras y empecemos a decorar.

Hoy no he querido hacer un solo diseño. Os voy a enseñar muchas opciones. Sólo necesitas mangas pasteleras, un utensilio de fondant y unos palillos finos de madera.
Es un diseño sencillo. Borda la galleta con el glaseado de la manga pastelera roja y luego extiende con cuidado el glaseado de manera uniforme con la ayuda del utensilio de repostería. Puedes añadir puntos blancos.
( )
)
También puedes hacer un borde con glaseado más texturizado, y queda muy bien.

Cubre una galleta con glaseado blanco, y puedes hacer líneas cruzadas de rojo y rosa. También puedes utilizar un palo de madera fino y hacer trazos de arriba a abajo en el glaseado, y se formará un dibujo muy bonito en la galleta.


Puedes hacer lo mismo con glaseado rojo como fondo y líneas blancas y rosas.

Ahora, si haces unos puntos blancos en el centro de la galleta y haces trazos con los palillos de madera desde el centro de la galleta hacia fuera, tendrás un dibujo diferente.

Me gusta mucho este diseño. Cubre la galleta con glaseado rosa y coloca puntos blancos consecutivos. Con la ayuda de un palillo de madera, dibuja una línea sobre los puntos y forma los corazones. Hazlo siempre empezando por el punto superior y arrastrando con cuidado.

Puedes hacer tantos diseños como tu creatividad te permita. Te dejo una muestra de otros diseños para que me digas cuál es tu favorito 😃💕.

Gracias por leer. ¡Nos vemos en un próximo post!
Todas las imágenes son propiedad del autor.
These cookies are super cuteeee
Thank you. I tried to hard to make these
Hola, hemos elegido esta entrada para ser curada por la comunidad MIDI Cuida(Hive). Te invitamos a unirte a nuestra comunidad que estudia las palabras de Dios.
Congratulations @fabiana.barreto! You have completed the following achievement on the Hive blockchain and have been rewarded with new badge(s):
Your next target is to reach 1250 upvotes.
You can view your badges on your board and compare yourself to others in the Ranking
If you no longer want to receive notifications, reply to this comment with the word
STOPCheck out the last post from @hivebuzz:
Support the HiveBuzz project. Vote for our proposal!
WOW! They are extremely cute! I love your decoration skills! 💗
Thank you so much