
✨Hola a todos mis queridos amigos de Hive, espero todos ustedes se encuentren súper bien y tengan un bendecido día✨. Hoy les traigo nuevamente una receta salada pero muy deliciosa, creo que todos los que hemos probado el Cordon Bleu de pollo, sabemos que es la gloria en cada mordisco, además de ser una receta sencilla de hacer, si tienen pequeños en casa este cambio en el menú les encantará. Así que hoy, como será mi almuerzo, aprovecho la oportunidad para compartirles la receta. Sigan leyendo y aprendan a hacerlo súper rápido y fácil conmigo💖.
✨Hi to all my dear friends from Hive, I hope all of you are super well and have a blessed day✨. Today I bring you again a salty but very delicious recipe, I think all of us who have tried chicken Cordon Bleu know that it is the glory in each bite, in addition to being a simple recipe to make, if you have little ones at home this change in They will love the menu. So today, as my lunch will be, I take the opportunity to share the recipe with you. Keep reading and learn how to do it super fast and easy with me💖.

Para realizar este delicioso Cordon Bleu vamos a necesitar los siguientes ingredientes:
To make these delicious Cordon Bleu we will need the following ingredients:
- Harina de trigo.
- Pechuga de pollo.
- Sal.
- Adobo.
- Hilo o palillos.
- Queso.
- Jamón.
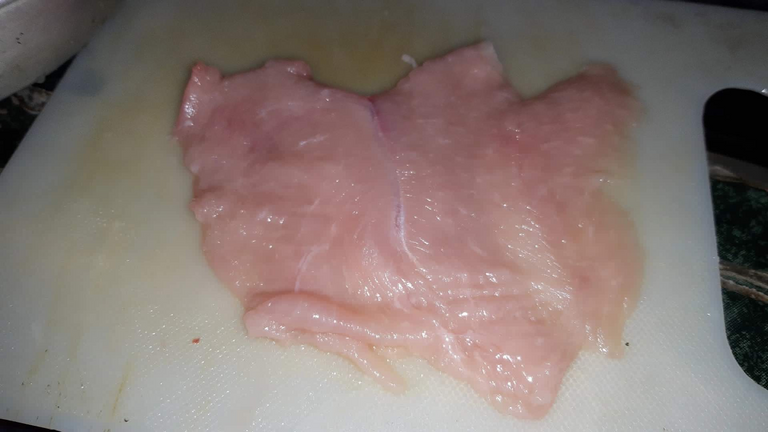
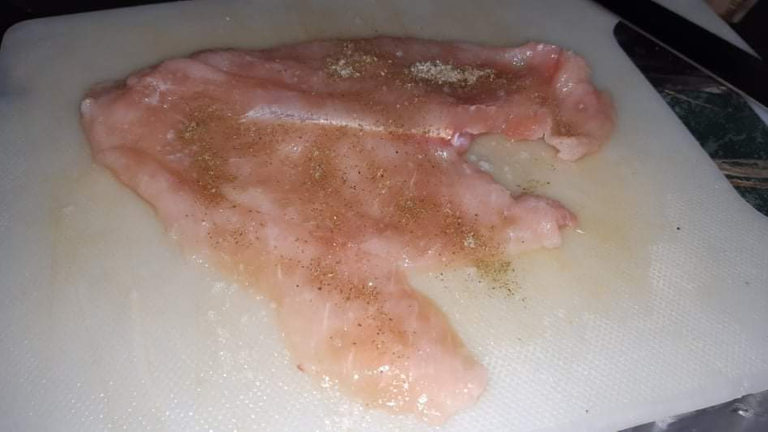
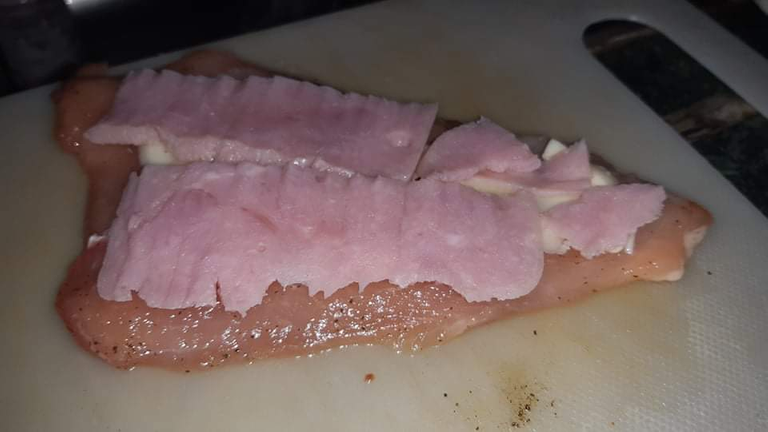
- Wheat flour.- Chicken breast.- Sal.- Marinade.- Thread or chopsticks.- Cheese.- Ham.PASO 1: Lo primero que haremos será tomar nuestra pechuga de pollo y picarla en capas, no muy gruesas porque corremos el riesgo de que no se cocine bien y no muy delgadas porque se romperían y entonces se saldría el relleno. Así que picamos a un grosor moderado nuestras capas de pechuga, y cuidamos que su tamaño nos permita enrollarlo sin problemas. Luego de haber picado nuestra pechuga, procedemos a condimentar y dejamos reposar, esto para que la pechuga absorba muy bien el condimento.STEP 1: The first thing we will do is take our chicken breast and chop it in layers, not very thick because we run the risk that it will not cook well and not very thin because they would break and then the filling would come out. So we chop our breast layers at a moderate thickness, and we take care that its size allows us to roll it up without problems. After having minced our breast, we proceed to season and let it rest, this so that the breast absorbs the seasoning very well.
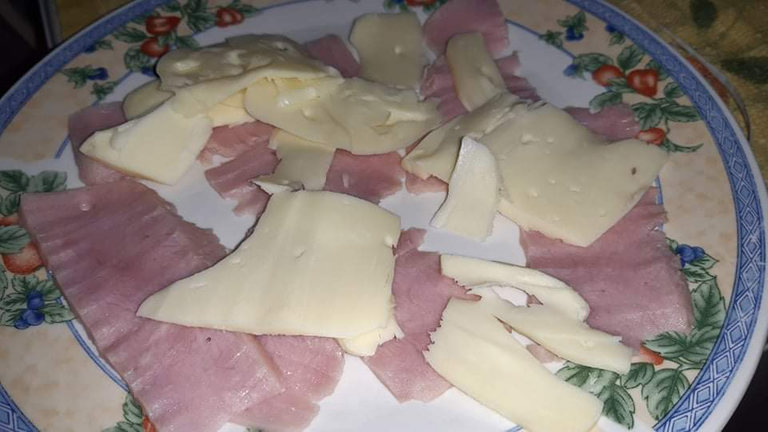
PASO 2: Ahora, tomamos nuestro queso y jamón previamente picado en trozos para mayor facilidad al momento de rellenar nuestra pechuga y lo colocamos en capas delgadas, recomiendo que dependiendo del sabor que más les guste, ocupen 2 capas de queso y 1 de jamón, o en mi caso, utilicé una capa de cada uno, pero si son amantes del queso, pueden hacer la primer opción y sabrá a gloria.STEP 2: Now, we take our cheese and ham previously chopped into pieces for greater ease when filling our breast and place it in thin layers, I recommend that depending on the flavor you like the most, they occupy 2 layers of cheese and 1 of ham, or in my In any case, I used a layer of each, but if you are a cheese lover, you can make the first option and it will taste like glory.
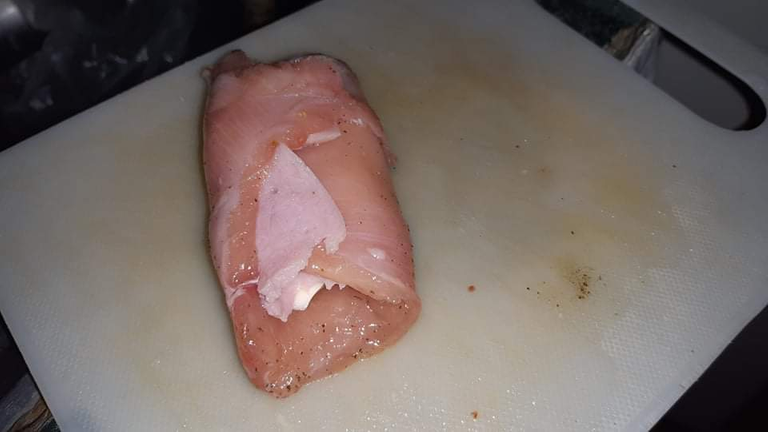
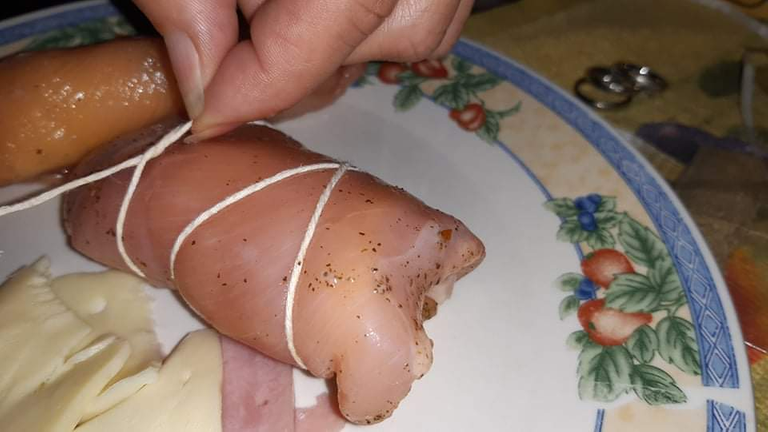
PASO 3: Ya que tenemos nuestra pechuga rellena, procedemos a tomar el hilo y amarrar nuestro pollo, yo decido hacerlo con hilo porque siento que los palillos, aunque son buena opción, si planean hacerle esta receta a niños se corre el riesgo de que estos se rompan o dejen astillas y no es lo que queremos, así que les recomiendo que utilicen hilo en lugar de palillos, les dará un mejor amarre y al finalizar solo quitan el hilo sin problemas.STEP 3: Since we have our breast stuffed, we proceed to take the thread and tie our chicken, I decide to do it with thread because I feel that the chopsticks, although they are a good option, if they plan to make this recipe for children there is a risk that they will break or leave splinters and it is not what we want, so I recommend that you use thread instead of toothpicks, it will give them a better tie and at the end they just remove the thread without problems.
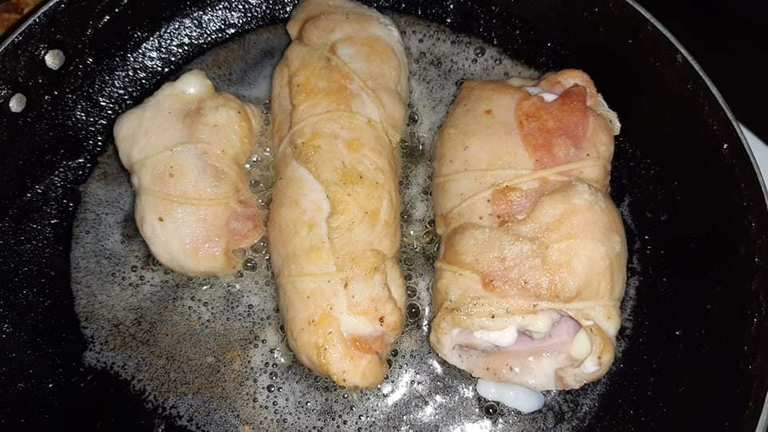
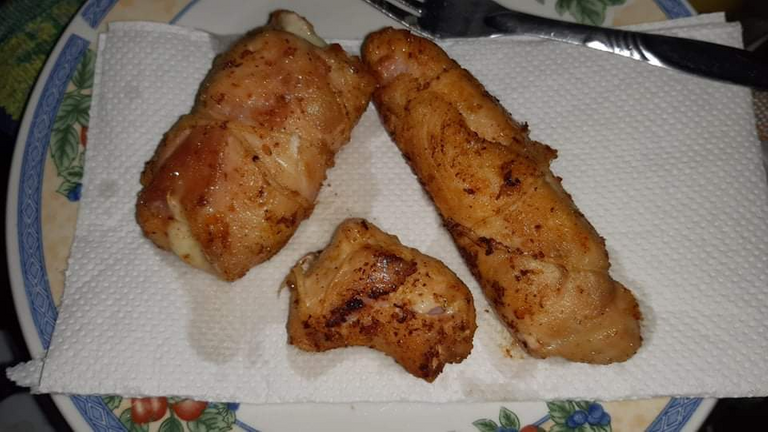
PASO 4: Para terminar, tomamos nuestro Cordon Bleu y lo pasamos por harina de trigo, este paso es opcional, de hecho, llevándolo al aceite directamente sabrá muy bien, pero en esta oportunidad quise probar pasándolo por harina de trigo y luego ponerlos a freír hasta que luzcan doraditos y crujientes.STEP 4: To finish, we take our Cordon Bleu and pass it through wheat flour, this step is optional, in fact, taking it directly to the oil will taste very good, but this time I wanted to try passing it through wheat flour and then frying them until they look golden brown and crispy.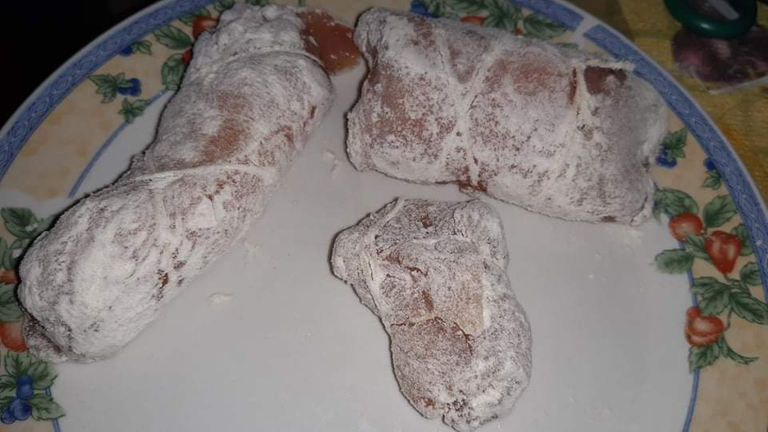
Todas las imágenes son de mi propiedad, tomadas con mi Samsung A30🤍.All images are my property, taken with my Samsung A30🤍.

Guaoo.. Que delicia me fascina el pollo así, felicidades amiga gracias por compartir.
Gracias por comentar amiga, sí el pollo así es lo máximo 🤩❤
Simplemente delicioso y sencillo. Gracias por compartir. Me encantó.
Así es, algo muy rico para variar la comida. Muchas gracias por comentar 💖.
The rewards earned on this comment will go directly to the person sharing the post on Twitter as long as they are registered with @poshtoken. Sign up at https://hiveposh.com.
Congratulations @juvi19! You have completed the following achievement on the Hive blockchain and have been rewarded with new badge(s):
Your next target is to reach 3000 upvotes.
You can view your badges on your board and compare yourself to others in the Ranking
If you no longer want to receive notifications, reply to this comment with the word
STOPCheck out the last post from @hivebuzz: