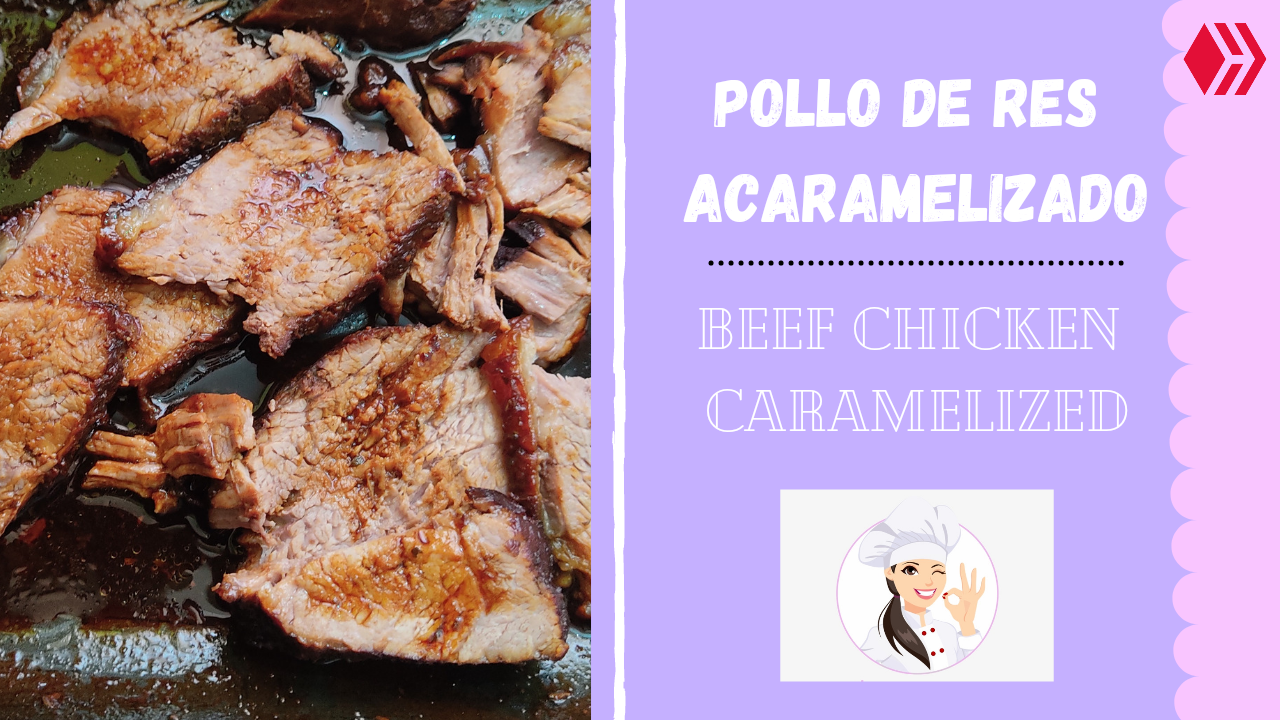
Holaa chicos y chicas de Hive, espero se encuentren muy genial hoy, están preparados para aprender otra de mis recetas? Les aseguro que les va a encantar un montón, no se arrepentirán si lo intentan, no es tan complicada de hacer y se necesitan pocos ingredientes! ☺️❤️.
Hello Hive guys and girls, I hope you are feeling great today, are you ready to learn another one of my recipes? I assure you that you are going to love it a lot, you won't regret if you try it, it's not that complicated to make and you need few ingredients!!! ☺️❤️.

¡EMPECEMOS! 🍽️
WE EXCEED! 🍽️

• Carne (Pollo de res o punta trasera)
• Pimentón dulce
• Salsa de soya
• Sal
• Comino
• Orégano
• Azúcar
• Aceite
• Meat (Beef chicken or rear end)
• Sweet paprika
• Soy sauce
• Salt
• Cumin
• Oregano
• Sugar
• Oil

Paso 1. En éste caso, estoy utilizando un pieza de pollo de res, la colocamos en una tabla y la pinchamos con un cuchillo para que los condimentos que le agregaremos, penetren bien.
Step 1. In this case, I am using a piece of beef chicken, we place it on a board and prick it with a knife so that the seasonings that we will add penetrate well.
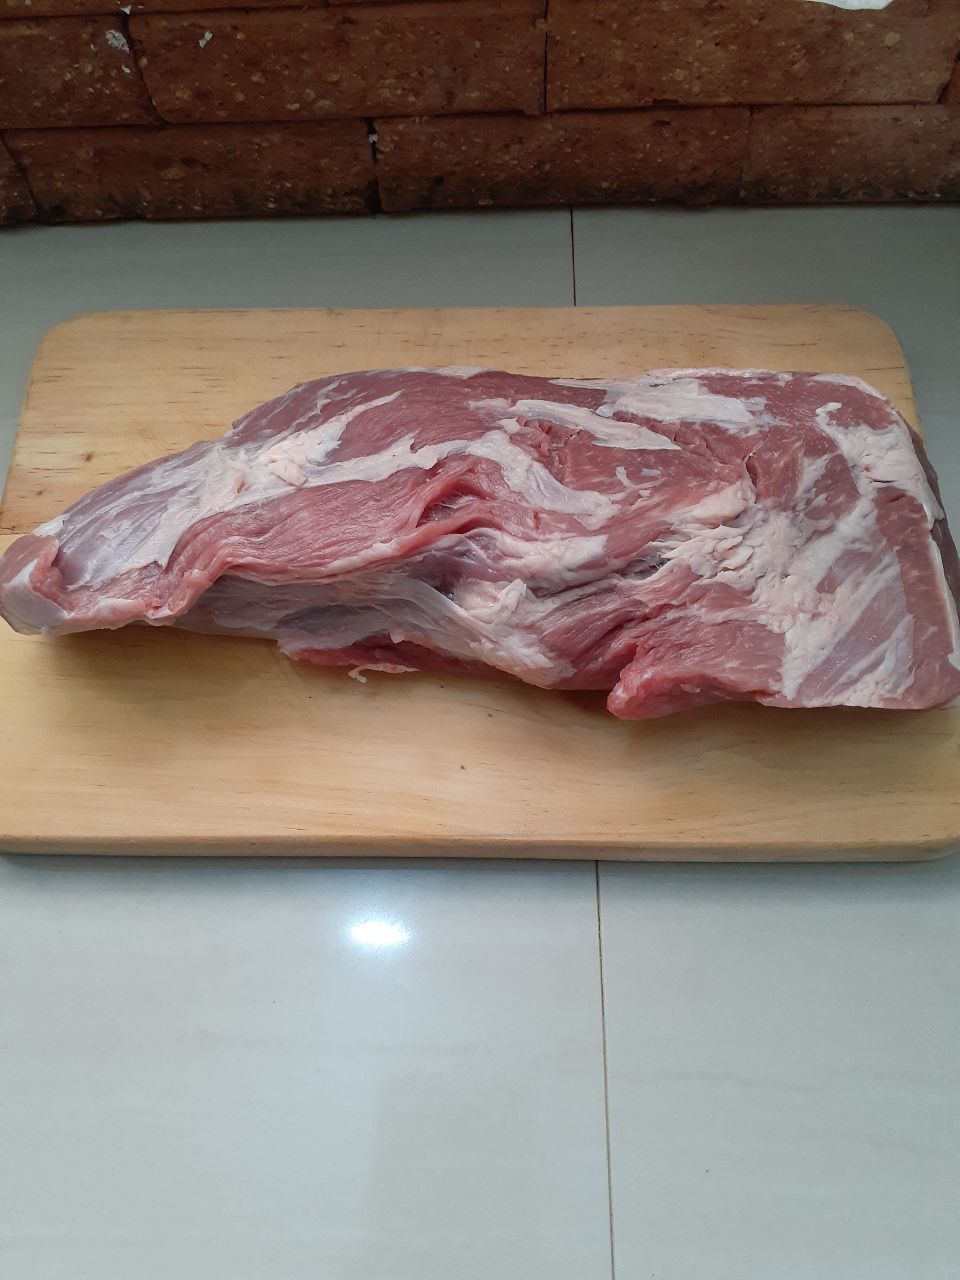
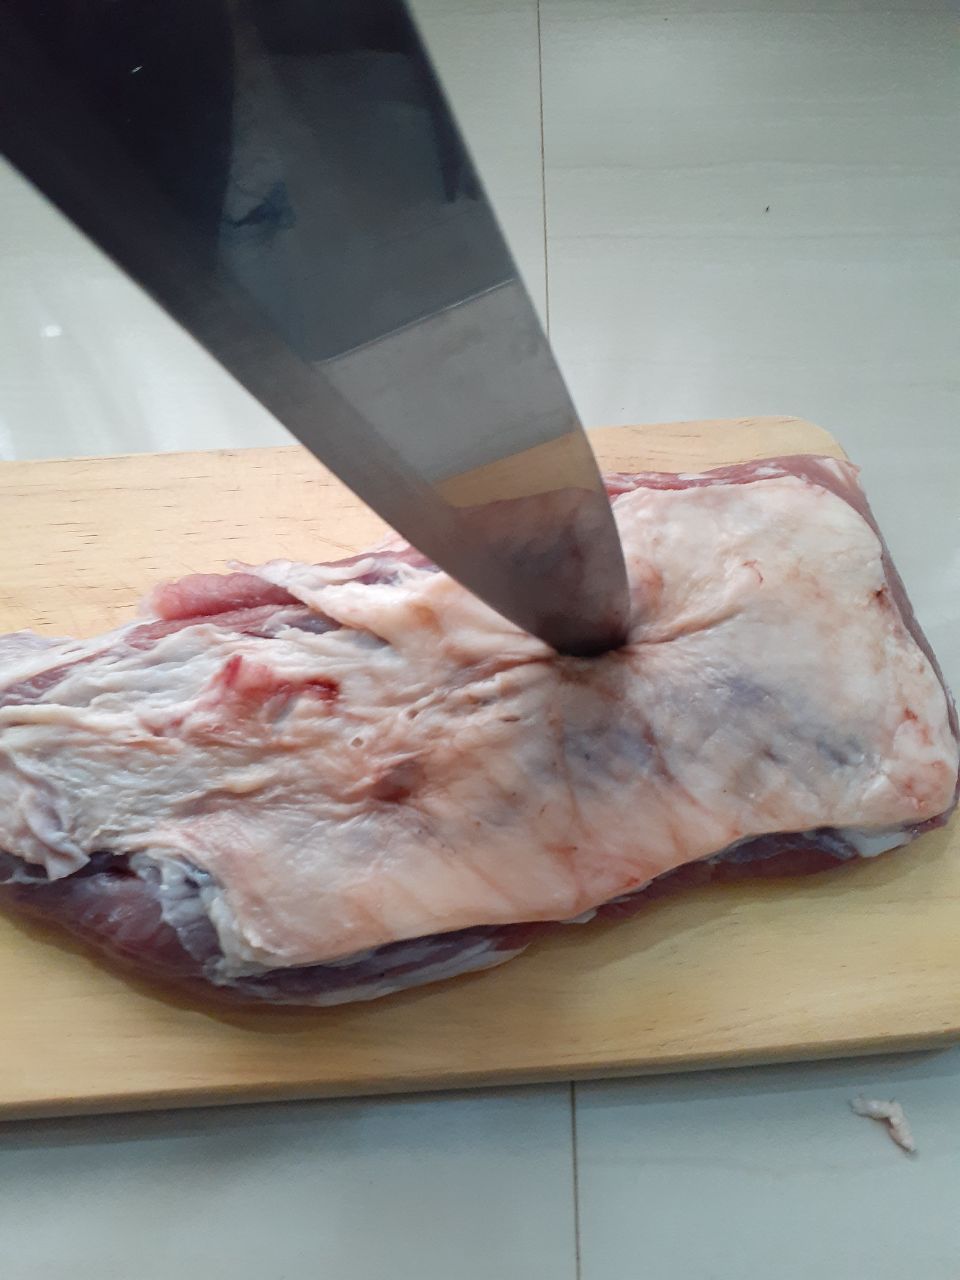
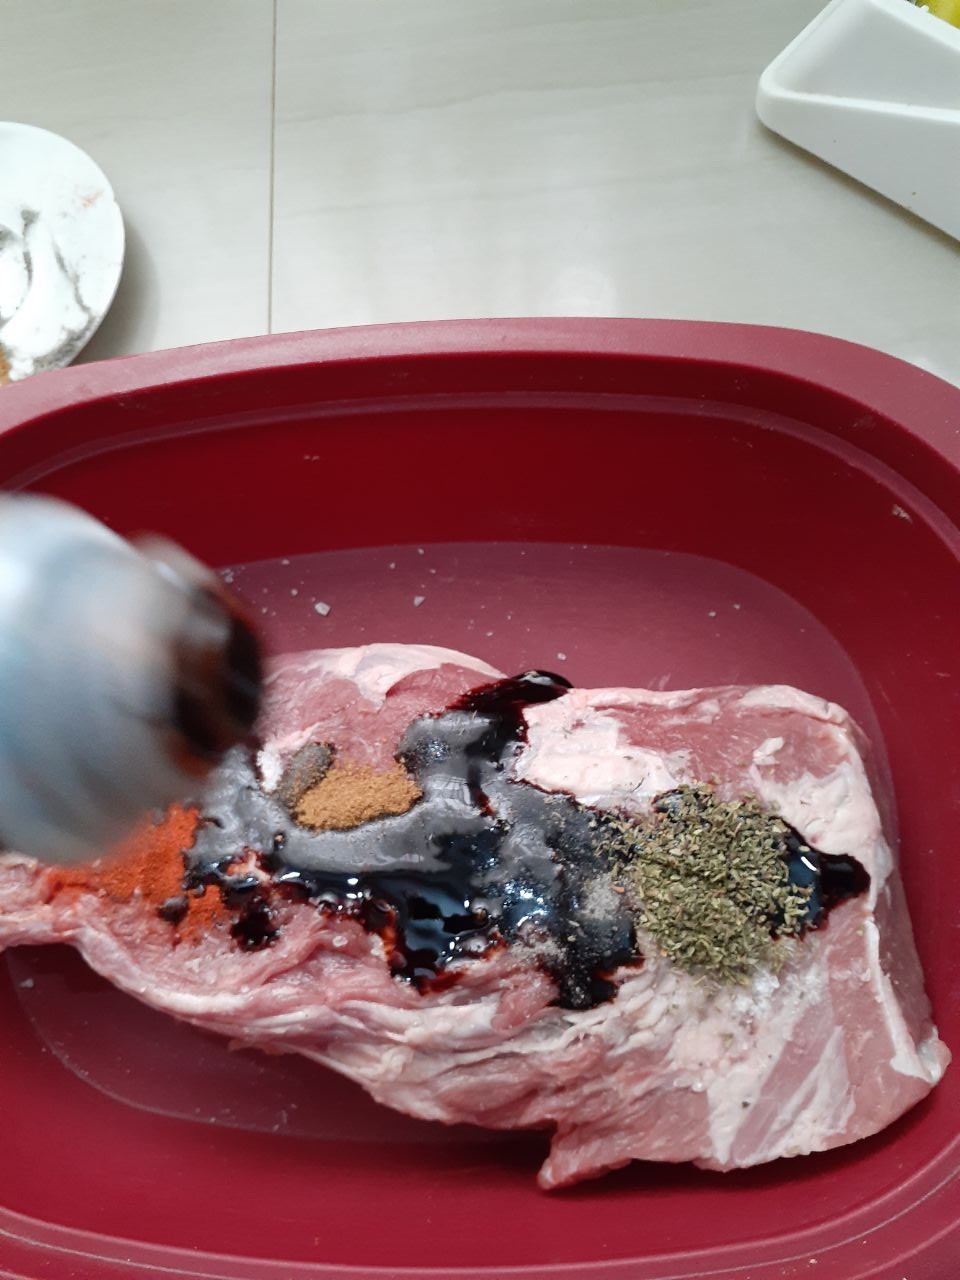
Paso 2. Luego lo pasamos a un recipiente para agregarle todos los condimentos, la sal, la salsa de soya, el comino y el orégano, realmente todo eso es al gusto, no hay una cantidad exacta. Y lo dejaremos marinar durante 20 minutos aproximadamente dentro de la nevera.
Step 2. Then we transfer it to a bowl to add all the seasonings, salt, soy sauce, cumin and oregano, really all that is to taste, there is no exact amount. And let it marinate for about 20 minutes in the refrigerator.
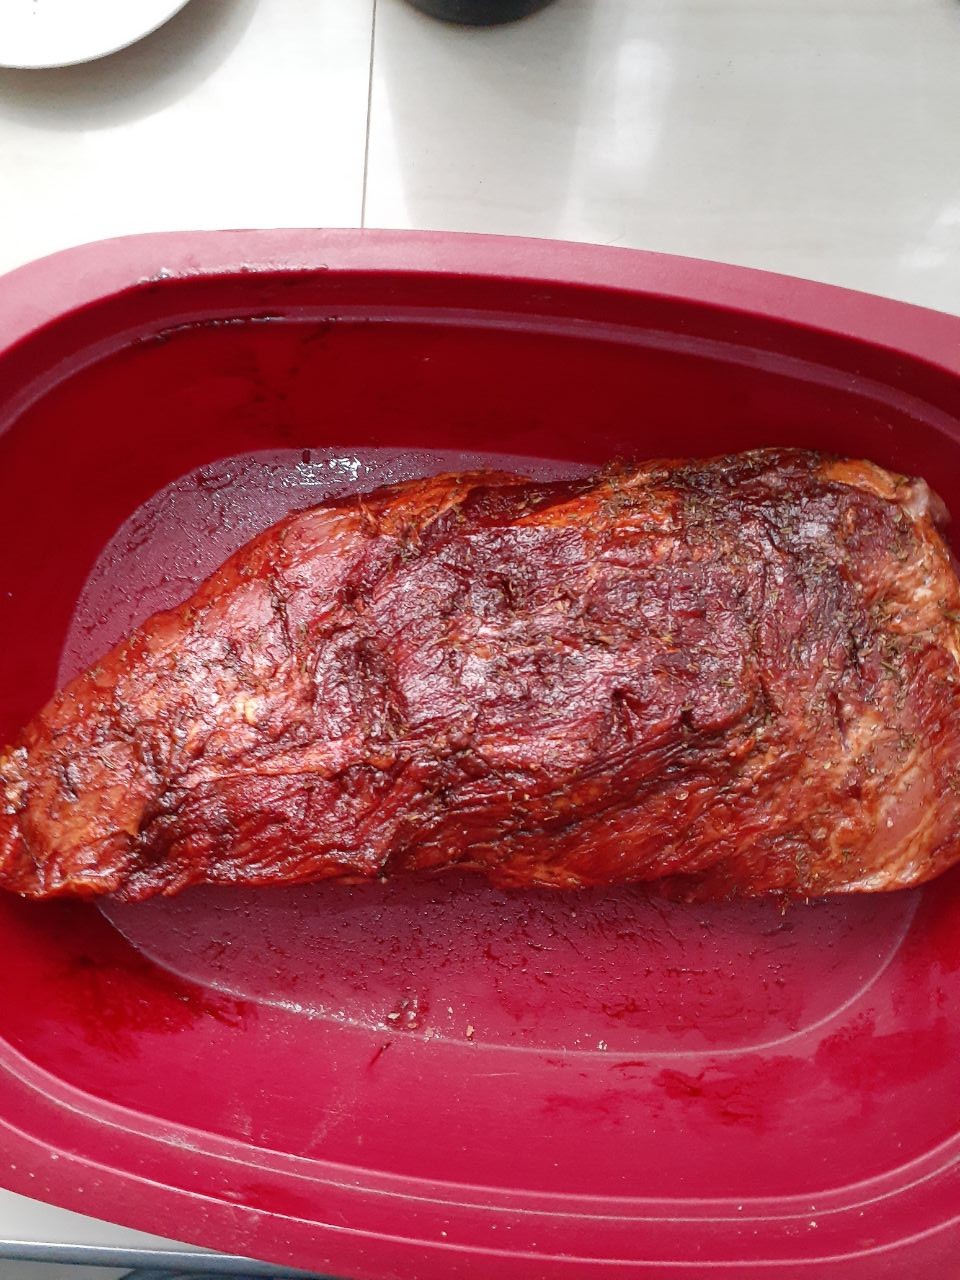
Paso 3. Pasado el tiempo, lo sacamos de la nevera y reservamos. Mientras, procedemos a agarrar un sartén y a fuego bajo le vamos agregando azúcar y aceite, la cantidad necesaria para la carne que tenemos, iremos removiendo poco a poco hasta lograr el caramelo color ámbar. Nota; tenemos que estar muy pendientes que nuestro caramelo no se queme porque si no, la carne quedará amarga.
Step 3. Once the time has elapsed, remove it from the refrigerator and set aside. Meanwhile, we proceed to take a frying pan and over low heat we will add sugar and oil, the necessary amount for the meat we have, we will stir little by little until we get the amber color caramel. Note; we have to be very careful that our caramel does not burn because if not, the meat will be bitter.
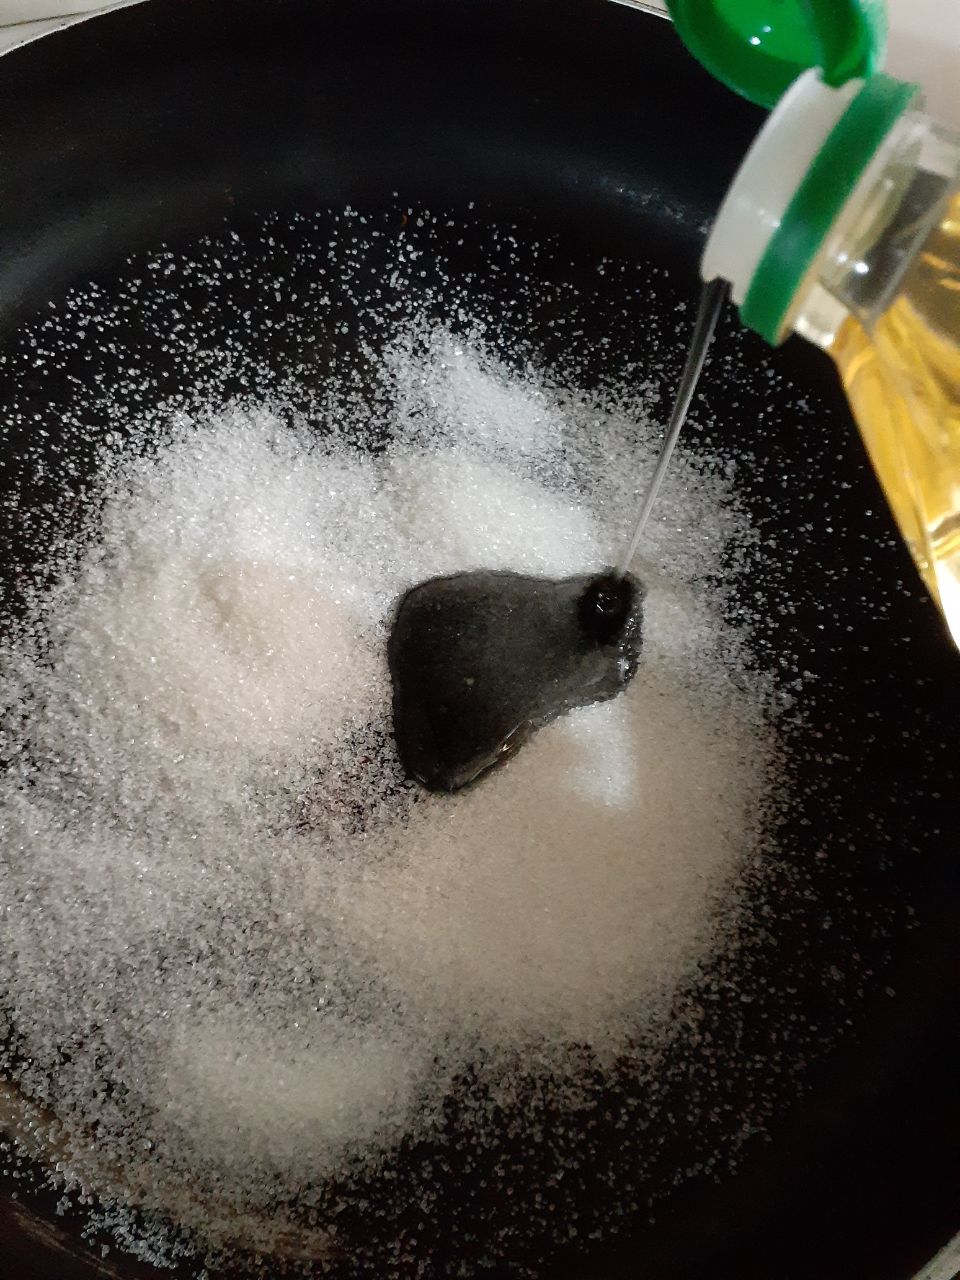
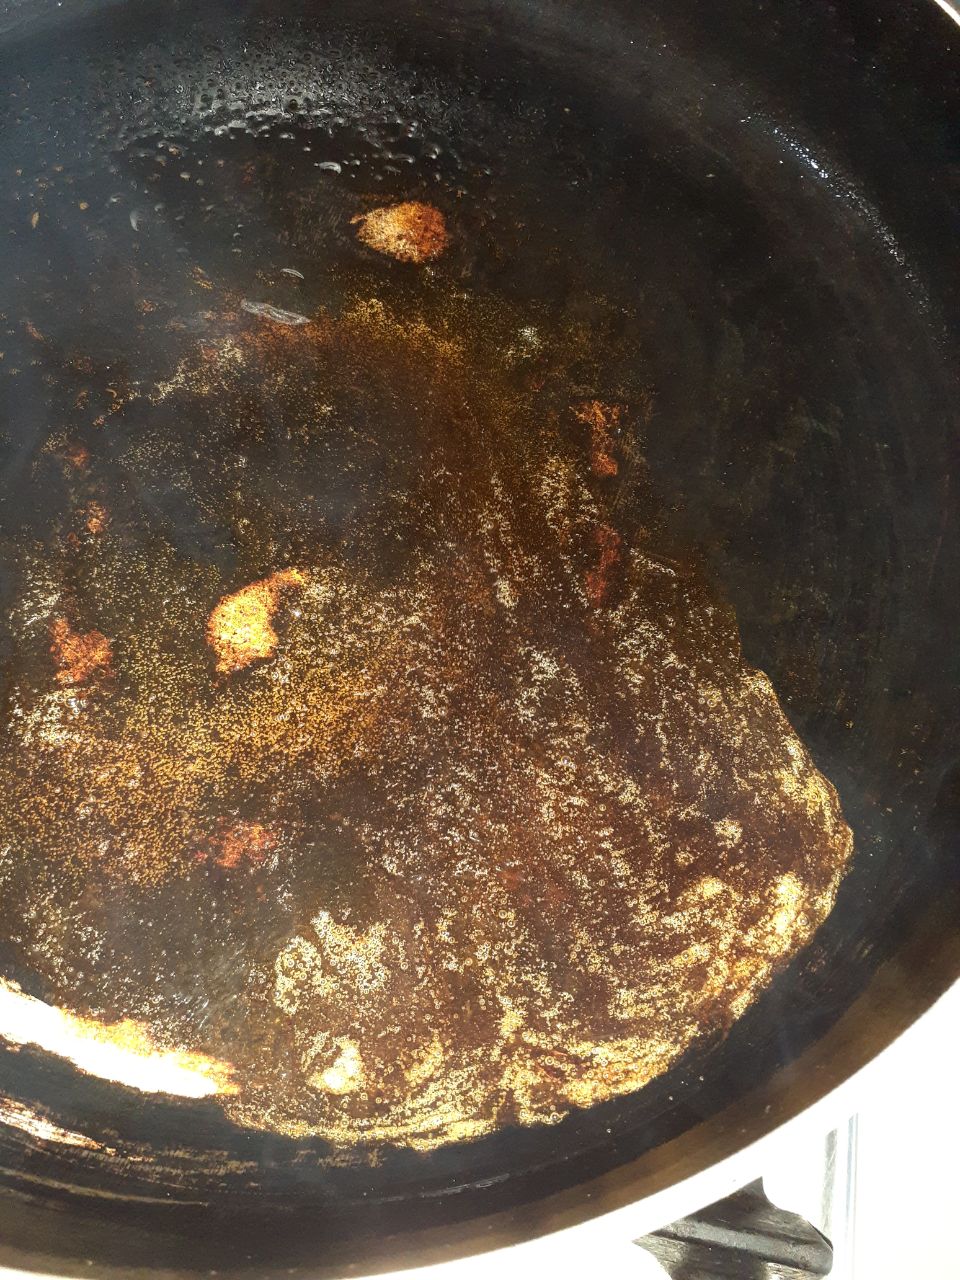
Paso 4. Una vez se allá formado nuestro caramelo, procedemos a colocar con mucho cuidado nuestra carne, para así sellarla y que tome ese color característico del caramelo. Lo sellamos durante 5 minutos, por cada lado.
Step 4. Once our caramel has been formed, we proceed to carefully place our meat, in order to seal it and give it that characteristic caramel color. We seal it for 5 minutes on each side.
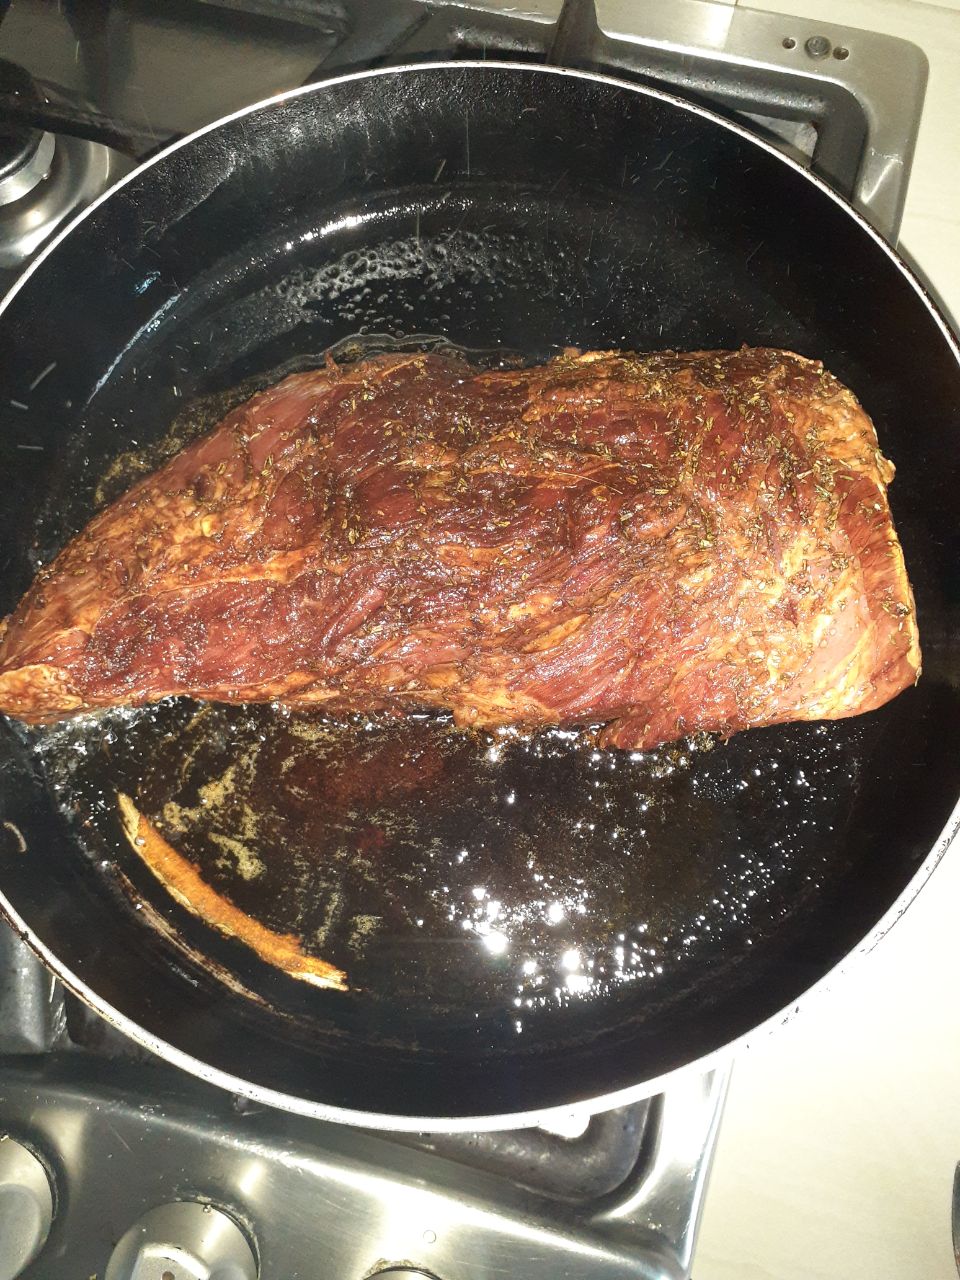
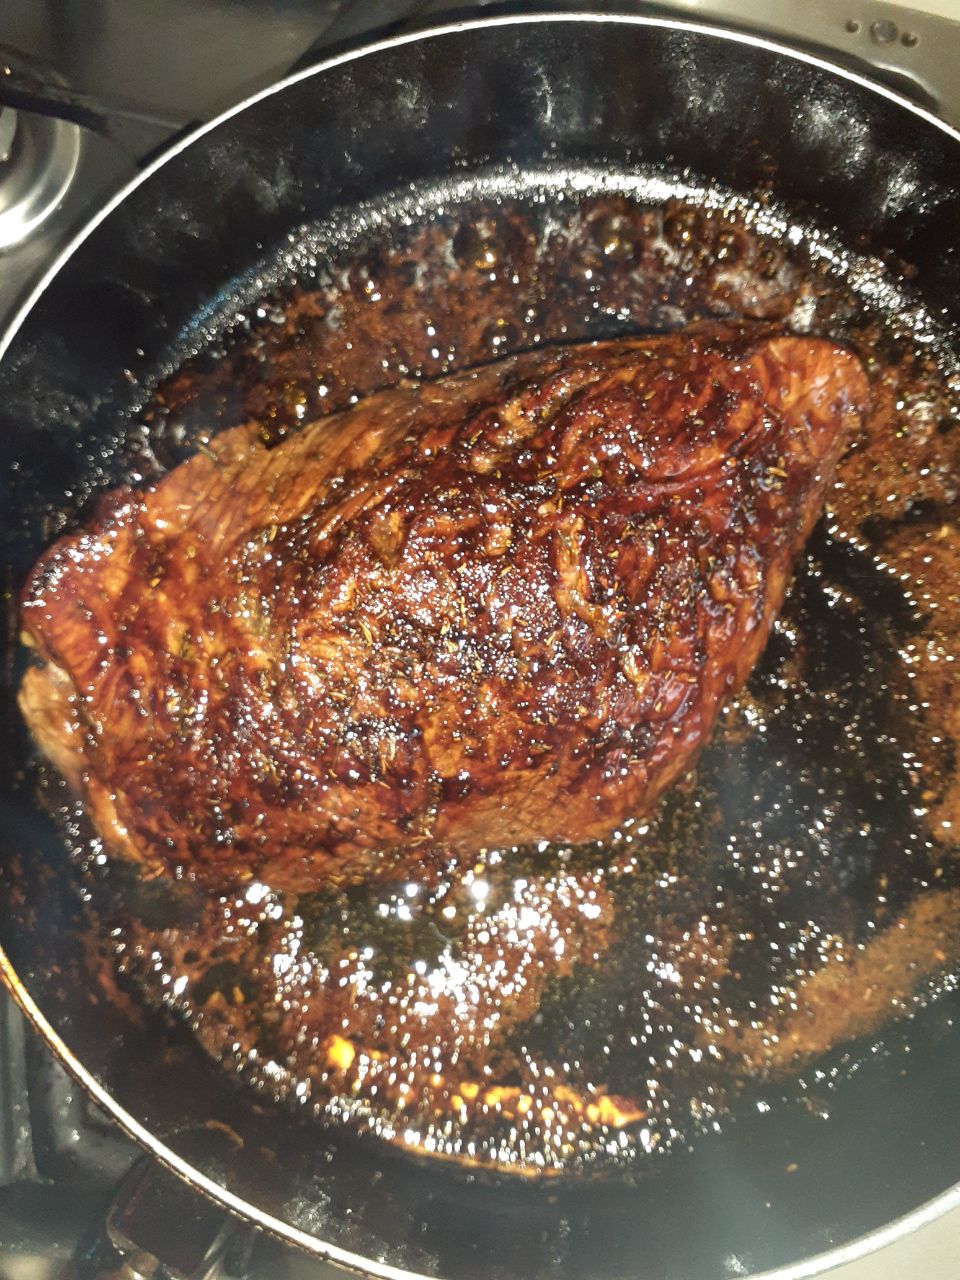
Paso 5. Luego de haber sellado nuestra carne la pondremos en una bandeja para llevarla a cocinar en el horno, a una temperatura de 190° por aproximadamente 1 hora y media o 2 horas, dependiendo del tamaño de la pieza de carne. Durante su cocción no se debe pinchar la pieza de carne porque se saldrán los jugos internos y nos puede quedar seca.
Step 5. After having sealed our meat we will put it in a tray to cook it in the oven, at a temperature of 190° for approximately 1 hour and a half or 2 hours, depending on the size of the piece of meat. During cooking do not prick the piece of meat because the internal juices will come out and it could be dry.
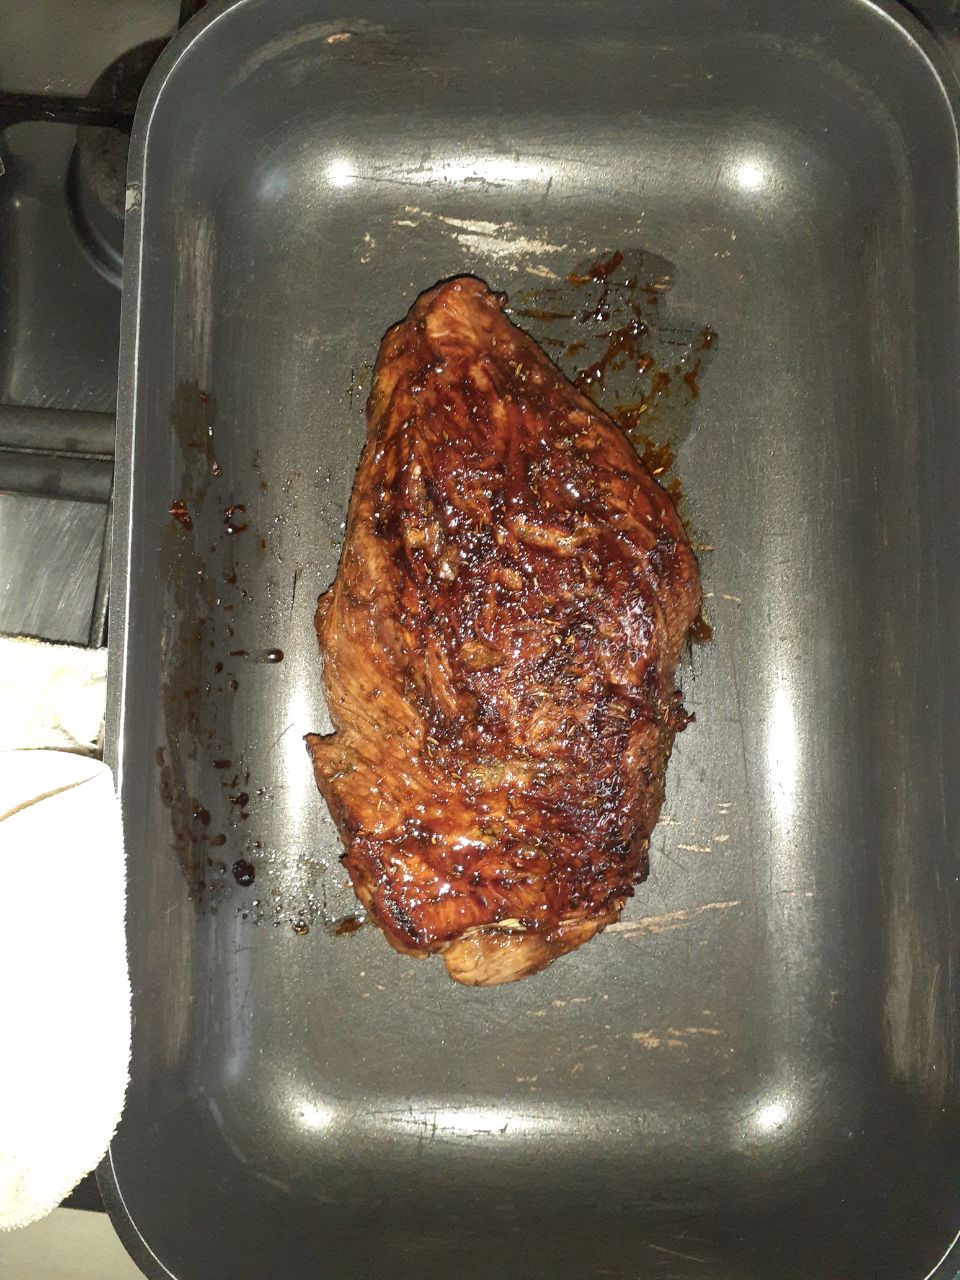
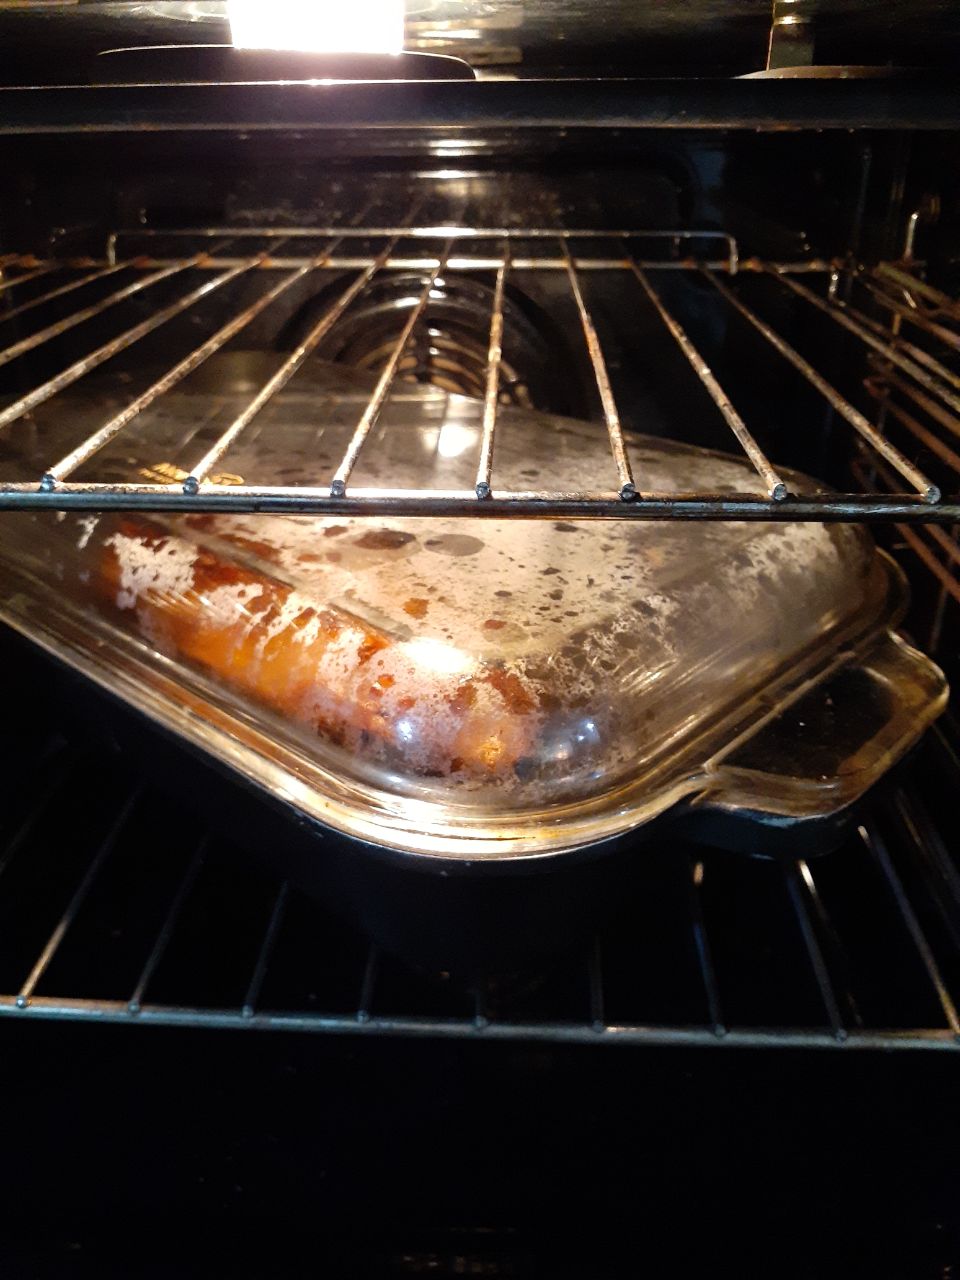
Ya pasado el tiempo, pinchamos nuestra carne para verificar si ésta ya está blandita y si es así la sacamos del horno.Si aún cree que le falta más tiempo de cocción pueden darle otros minutos más.
Once the time has elapsed, we prick our meat to verify if it is soft and if so, we take it out of the oven, if you still think it needs more cooking time, you can give it another few minutes more.
Paso 6. Al casarla del horno deje que su carne repose unos 10 minutos, para poderla picar en lonjas o en la forma de si preferencia. Nota : Si pica su carne de inmediato todos los jugos concentrados en su interior se saldrán y su carne se secará, por eso es recomendable dejarla reposar durante unos minutos.
Step 6. When you take it out of the oven let your meat rest for 10 minutes, so you can chop it in slices or in the form of your preference. Note: If you chop your meat immediately all the concentrated juices inside will come out and your meat will dry out, so it is advisable to let it rest for a few minutes.

Y LISTO! Podemos acompañarla con los contornos que deseemos, en mi caso, lo acompañé con arroz y ensalada de papa y repollo.
AND READY! We can accompany it with the contours that we want, in my case, I accompanied it with rice and potato and cabbage salad.


Cada banner y separador que se encuentra en éste Post son de mi propiedad, elaborados en la app Canvas
Las imágenes adjuntas son mías tomadas desde mi celular
Each banner and separator in this Post are my property, made in the Canvas app
The attached images are mine taken from my cell phone

@lemarysdr que delicia gracias por compartir.