Torta instantánea: un postre creativo.//Instant cake: a creative dessert. (Esp-Eng)

in Foodies Bee Hive2 days ago (edited)


DE CHEESECAKE_20250307_091938_0000.png

Hola, hola querida comunidad, hoy estoy muy emocionada de estar aquí con ustedes para compartir un delicioso proyecto de cocina. La repostería siempre ha sido una de mis pasiones, y me encanta experimentar con diferentes ingredientes para crear postres únicos. Recientemente, descubrí una harina instantánea que prometía facilitar el proceso de horneado, así que decidí ponerla a prueba y hacer una torta. La idea de usar harina instantánea me intrigó porque puede ahorrar tiempo y esfuerzo en la preparación. Además, es ideal para aquellos que quieren disfrutar de un postre casero sin complicaciones. Así que pensé, ¿por qué no hacer esta torta juntos? Quiero mostrarles cómo la preparé a mi modo, incorporando algunos de mis toques personales.A lo largo de esta presentación, compartiré no solo los ingredientes y pasos necesarios, sino también algunos consejos y trucos que he aprendido en el camino. Estoy segura de que al final, estarán tan emocionados como yo de probar esta deliciosa torta. Así que, ¡manos a la obra!

Hello, hello dear community, today I am very excited to be here with you to share a delicious cooking project. Baking has always been a passion of mine, and I love experimenting with different ingredients to create unique desserts. Recently, I discovered an instant flour that promised to make the baking process easier, so I decided to put it to the test and make a cake. The idea of ​​using instant flour intrigued me because it can save time and effort in preparation. Plus, it is ideal for those who want to enjoy a homemade dessert without any complications. So I thought, why not make this cake together? I want to show you how I prepared it my way, incorporating some of my personal touches. Throughout this presentation, I will share not only the ingredients and steps required, but also some tips and tricks I have learned along the way. I am sure that by the end, you will be as excited as I am to try this delicious cake. So, let's get to work!

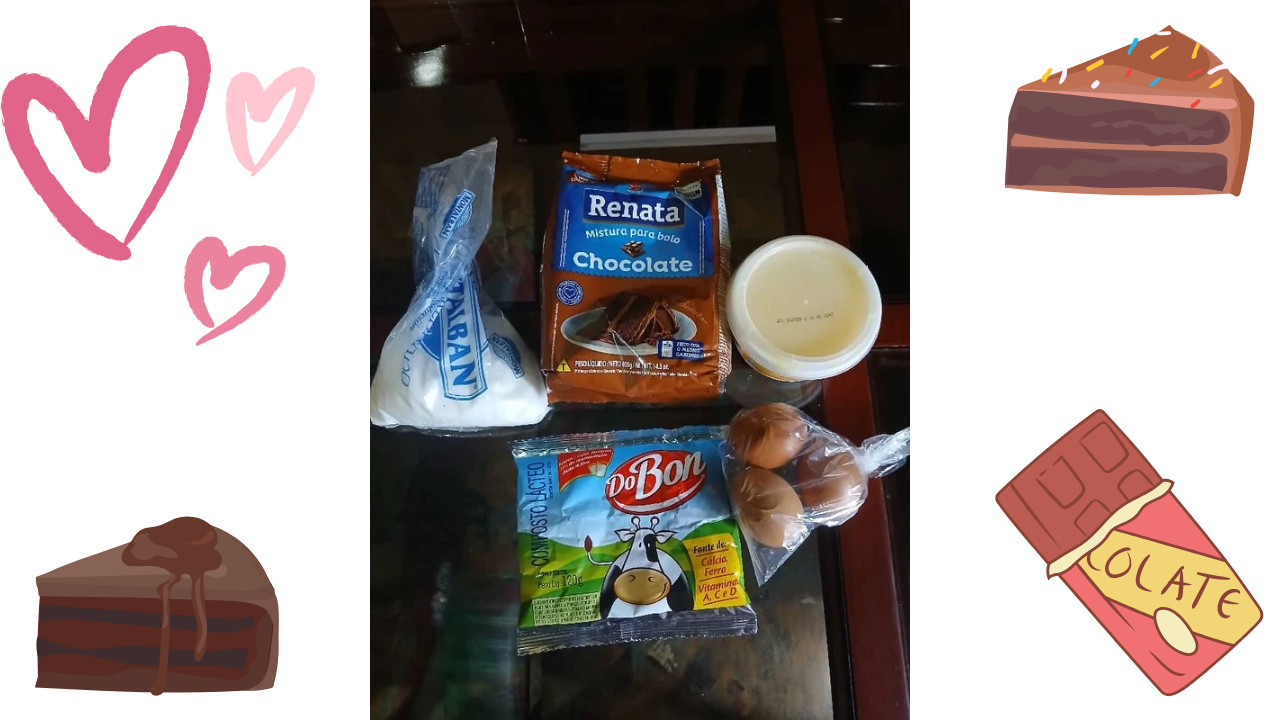
(Ingredientes)||(Ingredients)

  • 400 g de harina instantánea para tortas
  • 3 huevos
  • 60 o 80 g de mantequilla (3 cucharadas soperas)
  • 150 ml de leche
  • Azúcar
  • Esencia de vainilla (opcional)

  • 400 g instant cake flour
  • 3 eggs
  • 60 or 80 g butter (3 tablespoons)
  • 150 ml milk
  • Sugar
  • Vanilla essence (optional)


DE CHEESECAKE_20250307_091938_0001.png

(Procedimiento:)||(Procedure:)

  • Paso nro 1

Lo primero que hice fue encender el horno y ajuste la temperatura a 180 °C (350 °F). Esto es crucial para que la torta se cocine de manera uniforme. Dejamos que el horno se precaliente durante al menos 10-15 minutos antes de colocar la torta. Al realizar esto procedemos a tomar un molde para tortas y con un trozo de mantequilla o un poco de aceite en un papel toalla engrasamos toda la superficie interna del molde, asegurándote de cubrir los bordes. Espolvoreamos una pequeña cantidad de harina en el molde, moviéndolo para que la harina cubra la mantequilla. Esto ayudará a que la torta no se pegue. Luego, desecha el exceso de harina.
  • Paso nro 1

The first thing I did was turn on the oven and set the temperature to 180°C (350°F). This is crucial for the cake to cook evenly. Let the oven preheat for at least 10-15 minutes before placing the cake in it.
Once this is done, take a cake pan and with a piece of butter or a little oil on a paper towel, grease the entire inner surface of the pan, making sure to cover the edges. Sprinkle a small amount of flour into the pan, moving it around so that the flour covers the butter. This will help the cake not to stick. Then, discard the excess flour.
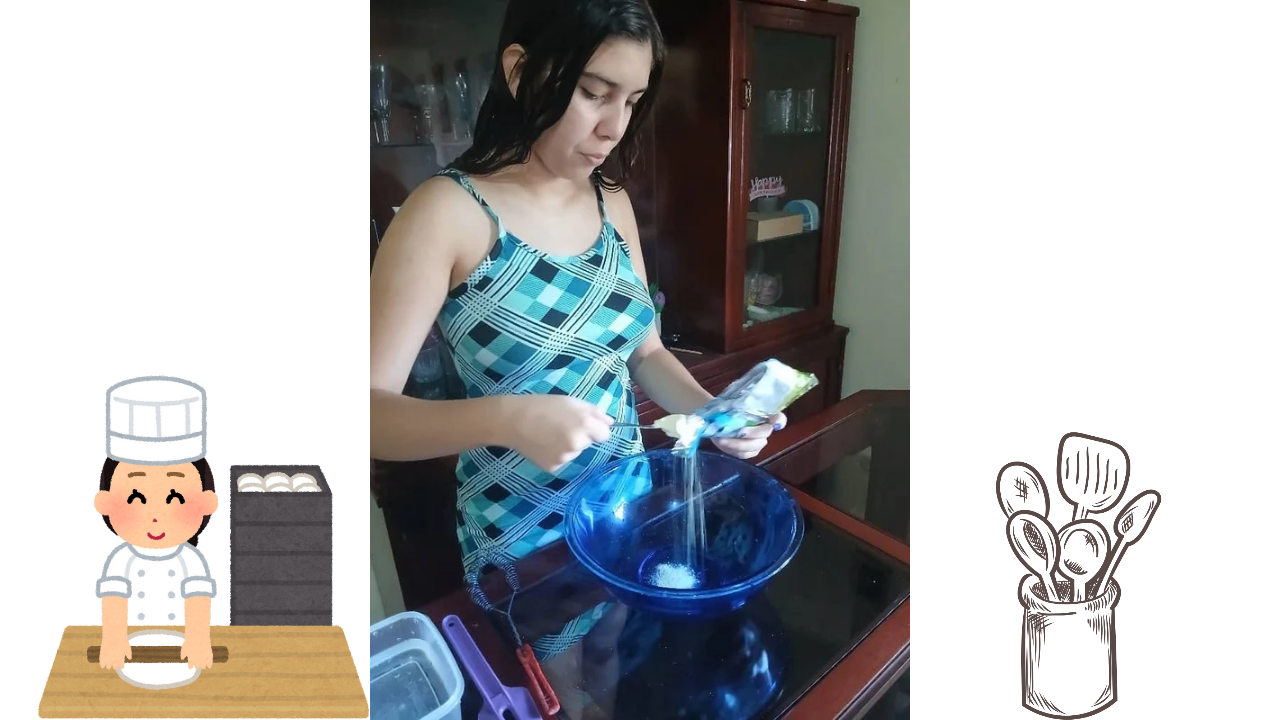
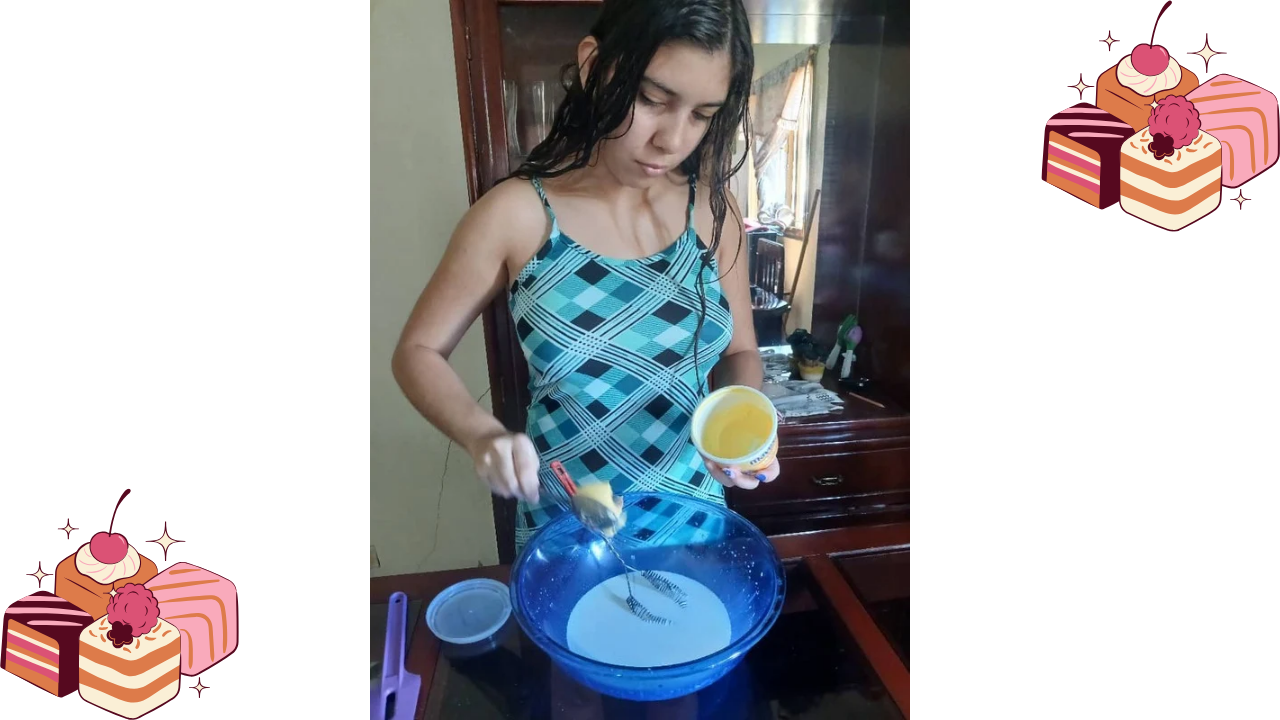
  • Paso nro 2

Luego de engrasar el molde comenzamos por preparar los ingredientes. En un envase grande, agrega 80 g de mantequilla, asegurándote de que esté a temperatura ambiente para que se mezcle fácilmente y luego añadi los 150 ml de leche. Utiliza un batidor eléctrico o manual para mezclar bien ambos ingredientes. Bate hasta que la mezcla sea completamente homogénea y no queden grumos visibles. Si deseas darle un toque especial, puedes añadir unas gotas de esencia de vainilla, lo que realzará el sabor de tu preparación.A continuación empezamos por añadir los huevos frescos. Batimos todo junto por varios minutos antes de agregarle la harina esto lo hacemos para asegurar que todos los ingredientes esten bien distribuidos
  • Paso nro 2

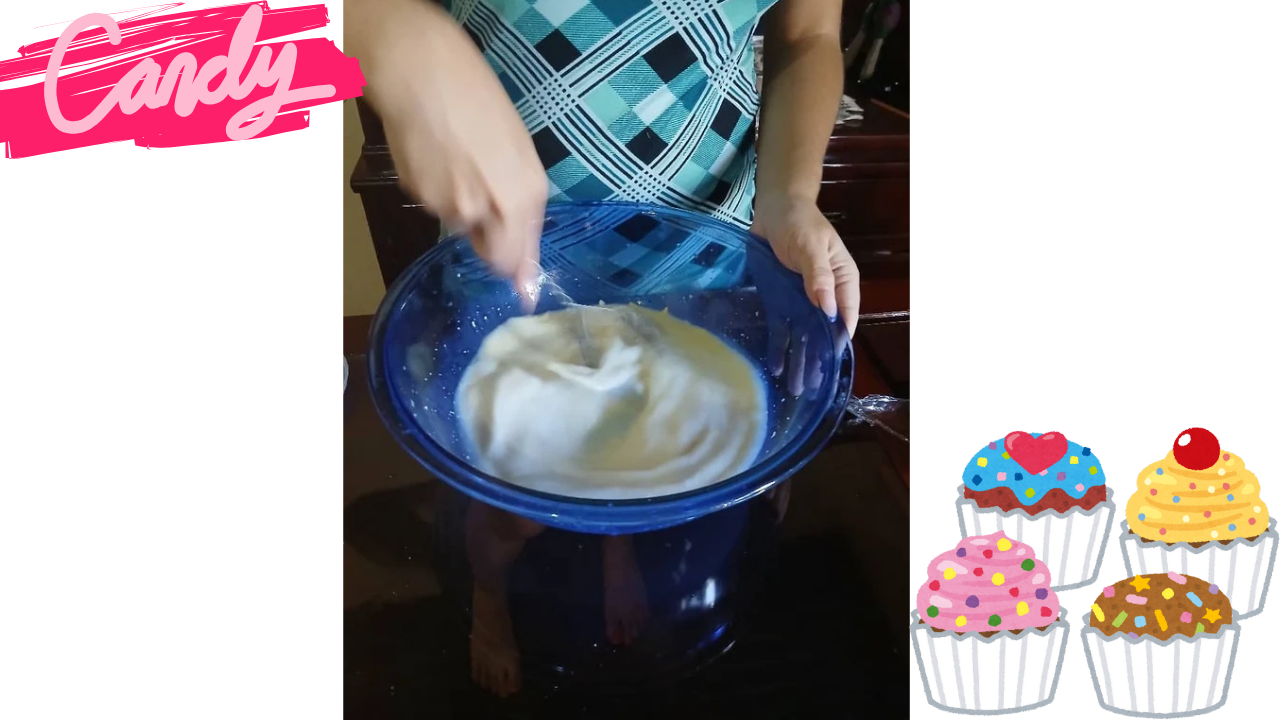
After greasing the mould, we begin by preparing the ingredients. In a large bowl, add 80 g of butter, making sure it is at room temperature so that it mixes easily, and then add the 150 ml of milk. Use an electric or manual whisk to mix both ingredients well. Beat until the mixture is completely homogeneous and there are no visible lumps. If you want to give it a special touch, you can add a few drops of vanilla essence, which will enhance the flavour of your preparation. Next, we begin by adding the fresh eggs. Beat everything together for several minutes before adding the flour; we do this to ensure that all the ingredients are well distributed.


DE CHEESECAKE_20250307_091938_0002.png

DE CHEESECAKE_20250307_091938_0003.png

DE CHEESECAKE_20250307_091938_0005.png

  • Paso nro 3

Ya teniendo los ingredientes líquidos listos, toca incorporar los ingredientes secos, en este paso, es fundamental asegurarse de que la mezcla tenga la textura adecuada para que tu torta quede esponjosa y deliciosa. Comienza agregando la harina a la mezcla húmeda, pero hazlo de manera gradual. Este proceso es crucial, ya que si añades la harina de una sola vez, podrías provocar la formación de grumos que afectarán la textura final de la torta. Con una espátula en mano, comienza a mezclar suavemente, utilizando movimientos envolventes. Este método no solo ayuda a integrar la harina de manera uniforme, sino que también evita que la mezcla se vuelva demasiado densa. Es importante que te tomes tu tiempo en esta etapa; no te apresures. La clave es mezclar lo suficiente para que todos los ingredientes secos se humedezcan, pero sin sobrebatir.Recuerda que mezclar en exceso puede desarrollar el gluten en la harina, lo que resultaría en una torta más dura en lugar de esponjosa. Por lo tanto, continúa mezclando hasta que ya no veas harina seca en la mezcla, pero detente tan pronto como la harina esté completamente integrada. Este cuidado en la mezcla no solo es esencial para la textura, sino que también contribuye al sabor y a la estructura de la torta. Luego de agregar la harina quise colocarle 2 cucharadas de azúcar extra para que mi postre se sintiera mas dulce, es opcional, ya que la harina trae su propio endulzante, ya que todos los ingredientes secos estén bien incorporados y la mezcla tenga un aspecto homogéneo la colocamos en el molde que engrasamos al principio .
  • Paso nro 3

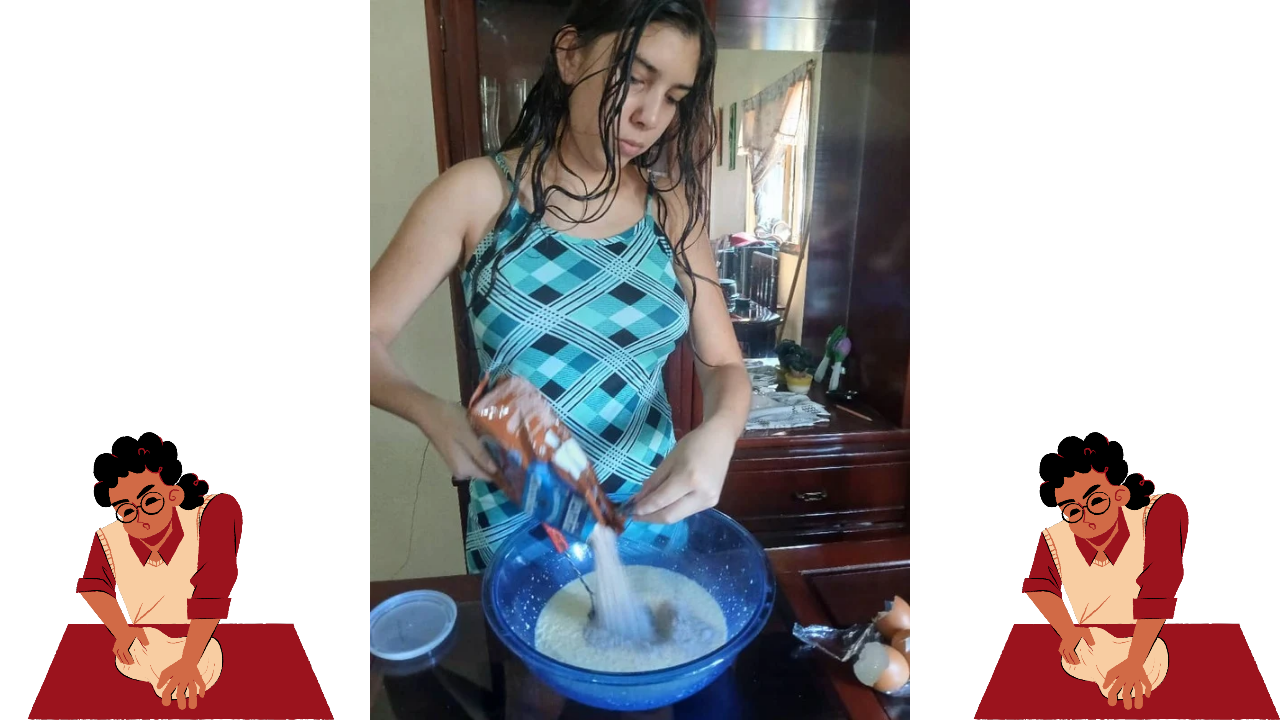
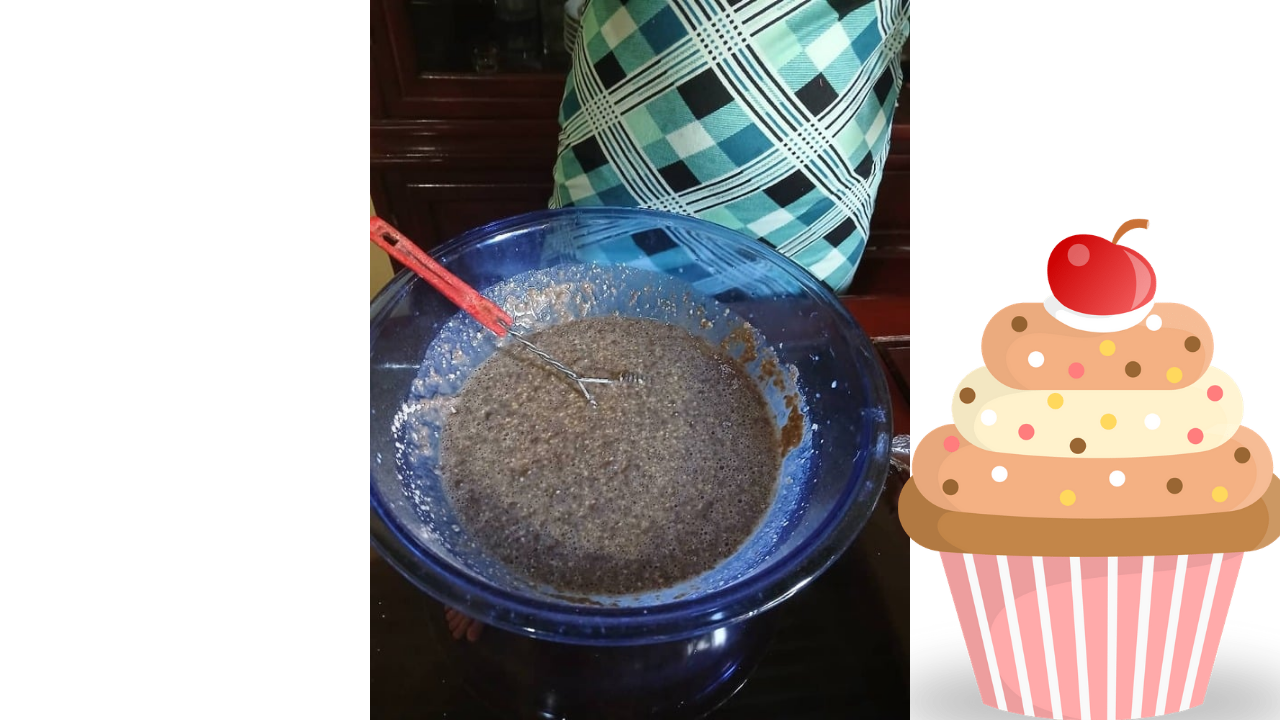
With the wet ingredients ready, it's time to add the dry ingredients. At this stage, it's crucial to make sure the mixture has the right texture to make your cake fluffy and delicious. Start by adding the flour to the wet mixture, but do it gradually. This process is crucial, as adding the flour all at once could cause lumps to form, which will affect the final texture of the cake. With a spatula in hand, begin to gently mix, using folding motions. This method not only helps to integrate the flour evenly, but also prevents the mixture from becoming too dense. It's important to take your time at this stage; don't rush it. The key is to mix just enough so that all the dry ingredients are moistened, but without over-mixing. Remember that over-mixing can develop gluten in the flour, resulting in a harder cake instead of a fluffy one. So, continue mixing until you no longer see dry flour in the mixture, but stop as soon as the flour is fully incorporated. This care in the mixture is not only essential for the texture, but also contributes to the flavor and structure of the cake. After adding the flour I wanted to add 2 tablespoons of extra sugar so that my dessert would feel sweeter, it is optional, since the flour has its own sweetener, once all the dry ingredients are well incorporated and the mixture has a homogeneous appearance, we place it in the mold that we greased at the beginning.


DE CHEESECAKE_20250307_091938_0006.png

DE CHEESECAKE_20250307_091939_0007.png

DE CHEESECAKE_20250307_091939_0008.png

  • Paso nro 4

Coloca la mezcla de la torta en el horno y hornea durante 30-35 minutos. Es importante no abrir la puerta del horno durante los primeros 20 minutos, ya que esto puede causar que la torta se hunda debido a los cambios de temperatura. Para determinar si la torta está lista, inserta un palillo en el centro de la misma si vemos que el sale limpio o con algunas migas húmedas, significa que la torta está perfectamente cocida, si al contrario vemos un resultado pegajoso es decir el palillo sale con masa pegajosa, necesitarás hornearla unos minutos más. Revisa la cocción cada 2-3 minutos hasta que obtengas el resultado deseado. Una vez que la torta esté horneada, retírala del horno con cuidado para evitar quemaduras y la dejamos en un lugar seguro durante 15 minutos para que se enfrie.
  • Paso nro 4

Place the cake mixture in the oven and bake for 30-35 minutes. It is important not to open the oven door for the first 20 minutes as this can cause the cake to sink due to temperature changes. To determine if the cake is ready, insert a toothpick into the center of the cake. If it comes out clean or with some moist crumbs, it means the cake is perfectly cooked. If, on the contrary, it looks sticky, you will need to bake it for a few more minutes. Check the doneness every 2-3 minutes until you get the desired result. Once the cake is baked, remove it from the oven carefully to avoid burns and leave it in a safe place for 15 minutes to cool.


DE CHEESECAKE_20250307_112502_0003.png


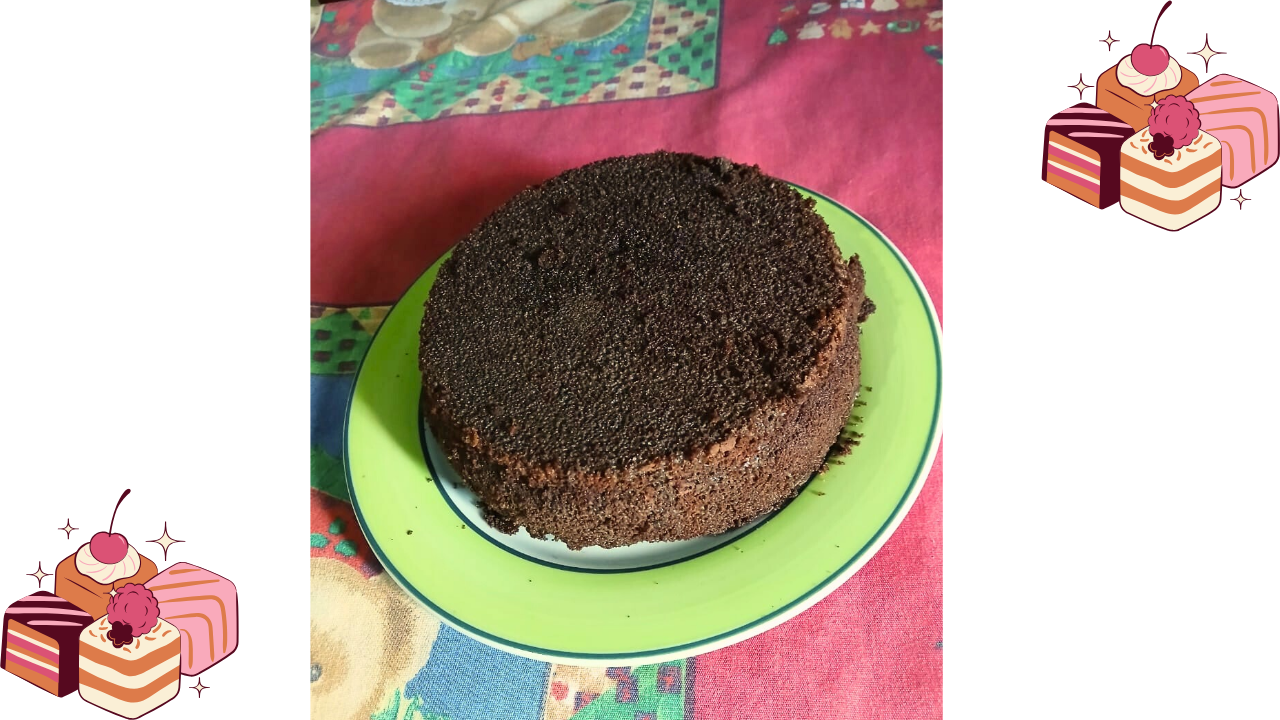
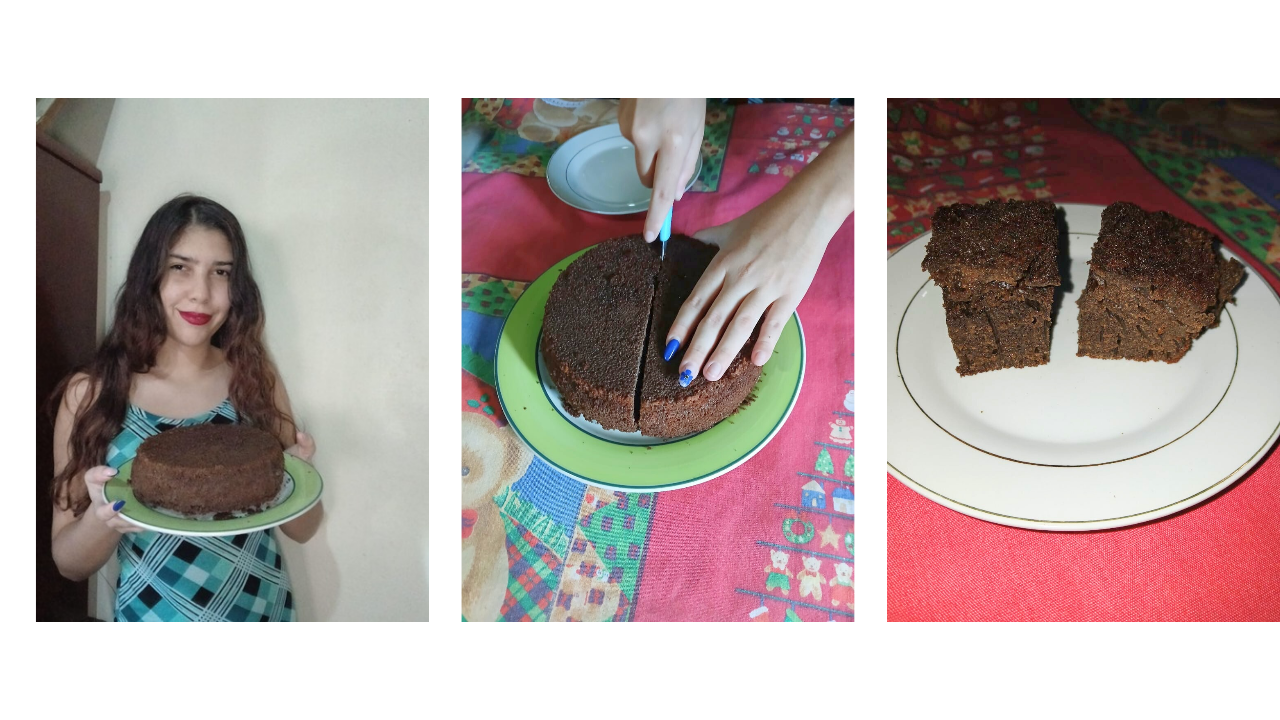
(Resultado final:)||(Bottom line:)

Una vez que la torta esté completamente fría, colócala sobre una superficie plana. Utiliza un cuchillo afilado para cortarla en porciones. Puedes optar por cortes en forma de cuadrados o triángulos, según tu preferencia. A mí me alcanzó para 6 porciones generosas, pero puedes ajustar el tamaño según tu gusto y el número de personas que vayan a disfrutarla. Coloca cada porción en un plato y, si lo deseas, acompaña con un poco de crema, frutas frescas o helado para realzar el sabor. Aprovecha y disfruta de tu deliciosa torta; es una manera práctica y deliciosa de hacer postres que seguramente encantará a todos. Hacer una torta de harina instantánea no solo es un acto de cocina, sino una oportunidad para crear momentos especiales. Cada porción compartida se convierte en una celebración de la creatividad y la simplicidad. Me encantó el proceso de hornear, y me di cuenta de que, a veces, las cosas más sencillas pueden traer la mayor felicidad. Así que, anímate a experimentar en la cocina y a disfrutar del proceso; cada receta es una nueva aventura esperando ser descubierta

Once the cake is completely cool, place it on a flat surface. Use a sharp knife to cut it into slices. You can choose square or triangle cuts, depending on your preference. I made 6 generous slices, but you can adjust the size to suit your taste and the number of people who will be enjoying it. Place each slice on a plate and, if you wish, serve it with a little cream, fresh fruit or ice cream to enhance the flavor. Enjoy your delicious cake; it's a practical and delicious way to make desserts that everyone is sure to love.
Making an instant flour cake is not only an act of cooking, but an opportunity to create special moments. Each shared slice becomes a celebration of creativity and simplicity. I loved the process of baking, and I realized that sometimes the simplest things can bring the greatest happiness. So, feel free to experiment in the kitchen and enjoy the process; each recipe is a new adventure waiting to be discovered.


DE CHEESECAKE_20250307_113001_0010.png

Las fotos de este blog son de mi propiedad|Las imágenes son editadas en canva|Fotografías tomadas en mi celular Samsung A15|El contenido está traducido en el traductor de Firefox.

The photos in this blog are my property | The images are edited in canva | Photographs taken on my Samsung A15 cell phone | The content is translated in the Firefox translator.

Sort:  

A menudo usaba pasteles instantáneos y mi madre también y algunos son realmente buenos.

La verdad nunca los habia probado, son una buena opción para comenzar en el mundo de la repostería

Amazing bake! The cake looks amazing and tasty!
I hope you had a nice time. Thanks for sharing!!

Thank you very much for that comment, I really enjoyed it.

Una verdadera delicia, me encantan las tortas 😋