Hasta el momento, la receta que les compartiré a continuación, ha sido una de mis favoritas por múltiples motivos. En primer lugar, se trata de una receta cuyo sabor principal es el de una de mis frutas predilectas: EL MANGO. Segundo, es súper fácil y rápida de elaborar. Tercero, las fotografías me han encantado, tanto así que me atrevo a decir (sin ánimos de sonar egocéntrica) que he mejorado enormemente en este asunto de fotografiar postres.
Algo chistoso es que esta receta fue el primer intento por realizar un vídeo para compartirlo en mi canal de 3speak, pero la realidad es que algunas tomas no quedaron muy lindas y con lo detallista que soy yo...bueno, ya se podrán imaginar el motivo por el cual no hay ningún vídeo y sólo terminé adjuntando algunos gifs.
Espero que disfruten de esta publicación, porque en verdad este ha sido uno de los postres en el cual más me he esmerado. También espero que se animen a probar esta receta, yo empleo algunos ingredientes en particular (como estevia y bebida vegetal) que no todo el mundo tiene a su alcance, pero que aún así son sustituibles por otros.
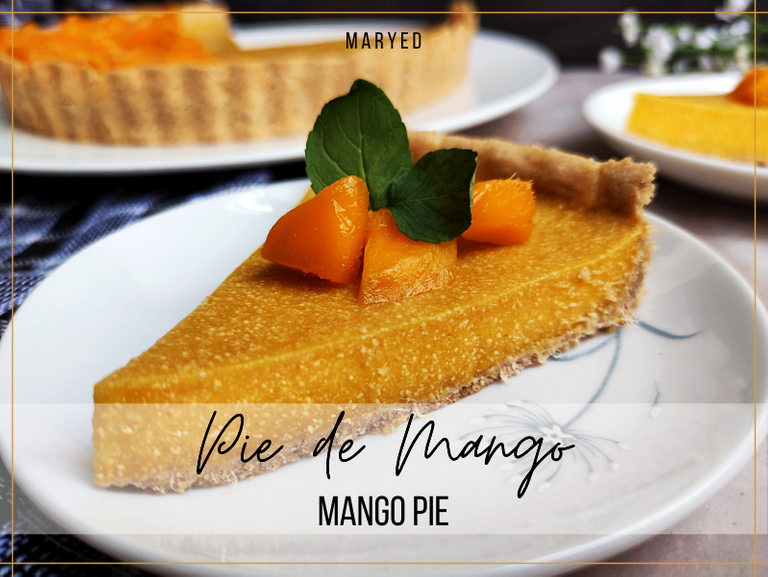
So far, the recipe I will share with you below has been one of my favourites for many reasons. First of all, it is a recipe whose main flavour is that of one of my favourite fruits: MANGO. Secondly, it's super easy and quick to make. Thirdly, I loved the pictures, so much so that I dare say (without wanting to sound egocentric) that I have improved enormously in this matter of photographing desserts.
A funny thing is that this recipe was the first attempt to make a video to share it on my 3speak channel, but the reality is that some of the shots were not very nice and with how detail oriented I am... well, you can imagine why there is no video and I only ended up attaching some gifs.
I hope you enjoy this post, because this has been one of the desserts I've worked the hardest on. I also hope you are encouraged to try this recipe, I use some particular ingredients (such as stevia and vegetable drink) that not everyone has at their fingertips, but that are still substitutable for others.

INGREDIENTES
INGREDIENTS
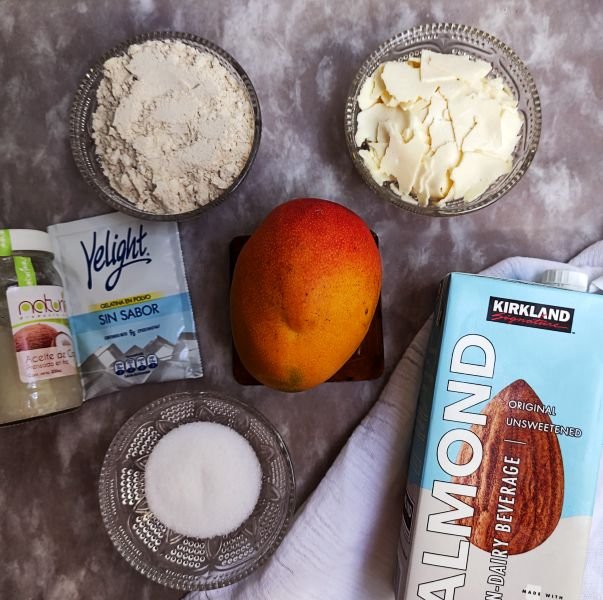
FOR THE COOKIE BASE
✔ 1 taza de la harina de tu preferencia (yo empleé mitad harina de avena y mitad harina de almendras, el resultó es mucho mejor)
✔ Una cucharada de aceite (puede ser de coco o de oliva suave o incluso puede emplearse mantequilla derretida)
✔ Endulzante al gusto (yo empleé 1 cucharada y media de extracto de estevia)
1 cup flour of your choice (I used half oat flour and half almond flour, the result is much better).
✔ 1 tablespoon of oil (you can use coconut oil or light olive oil or even melted butter)
✔ Sweetener to taste (I used 1 and a half tablespoons of stevia extract).
FOR THE FILLING
✔ 1 taza de queso bajo en grasas y en sal (yo empleé queso tipo paisa, podría emplearse también requesón o incluso mozzarella)
✔ ½ taza de leche de almendras (sustituible porque cualquier otro tipo de bebida vegetal o leche descremada)
✔ 1 taza de mango picado en cubitos
✔ Edulcorante al gusto
✔ Un sobre de gelatina sin sabor, 9 gramos aproximadamente
✔ 1 cup low-fat, low-salt cheese (I used paisa cheese, but you could also use cottage cheese or even mozzarella)
✔ ½ cup almond milk (can be substituted with any other type of vegetable drink or skimmed milk)
✔ 1 cup diced mango
✔ Sweetener to taste
✔ 1 sachet unflavoured gelatine, about 9 grams

PASO A PASO
STEP BY STEP
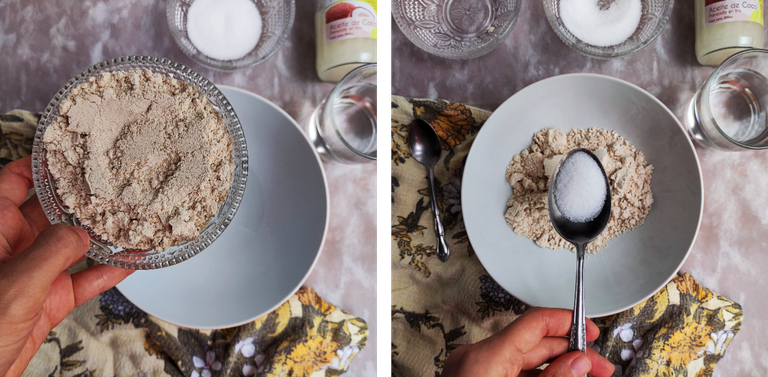
Comenzaremos preparando la base del pie, la cual consiste básicamente en una galleta. En un recipiente colocaremos la harina, el endulzante y la cucharada de aceite. Mezclaremos hasta integrar lo máximo posible.
We will begin by preparing the base of the pie, which basically consists of a biscuit. Place the flour, the sweetener and the tablespoon of oil in a bowl. Mix until it is as well blended as possible.
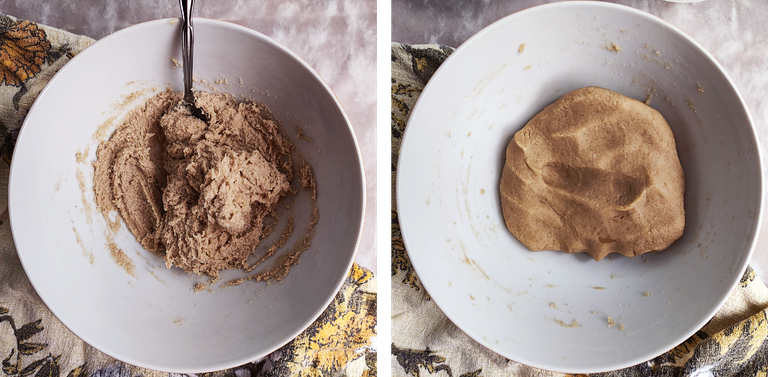
Luego, comenzaremos a añadir cucharadas de agua conforme vamos amasando. Amasaremos hasta que la mezcla deje de pegarse al recipiente y a nuestras manos. Si notas la masa sumamente seca y que al apretarla se agrieta, entonces añade una media cucharadita más de aceite y unas cucharadas más de agua hasta obtener una masa suave.
Then, start adding spoonfuls of water as you knead. Knead until the mixture stops sticking to the bowl and your hands. If you notice that the dough is extremely dry and cracks when you squeeze it, then add half a teaspoon more oil and a few more tablespoons of water until you obtain a smooth dough.
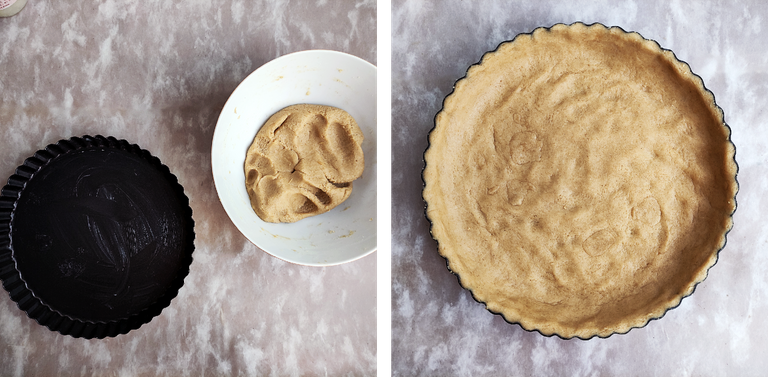
Extenderemos la masa en un molde para tartas o pie y hornearemos a una temperatura de 180 °C durante aproximadamente 15 minutos. Esta es una temperatura aproximada, pues hay que recordar que cada horno es un mundo, no todos poseen la misma potencia. Mientras nuestra base se hornea, procederemos a preparar el relleno.
Spread the dough in a pie dish and bake at a temperature of 180 °C for approximately 15 minutes. This is an approximate temperature, as each oven is different and not all of them have the same power. While our base is baking, we will proceed to prepare the filling.

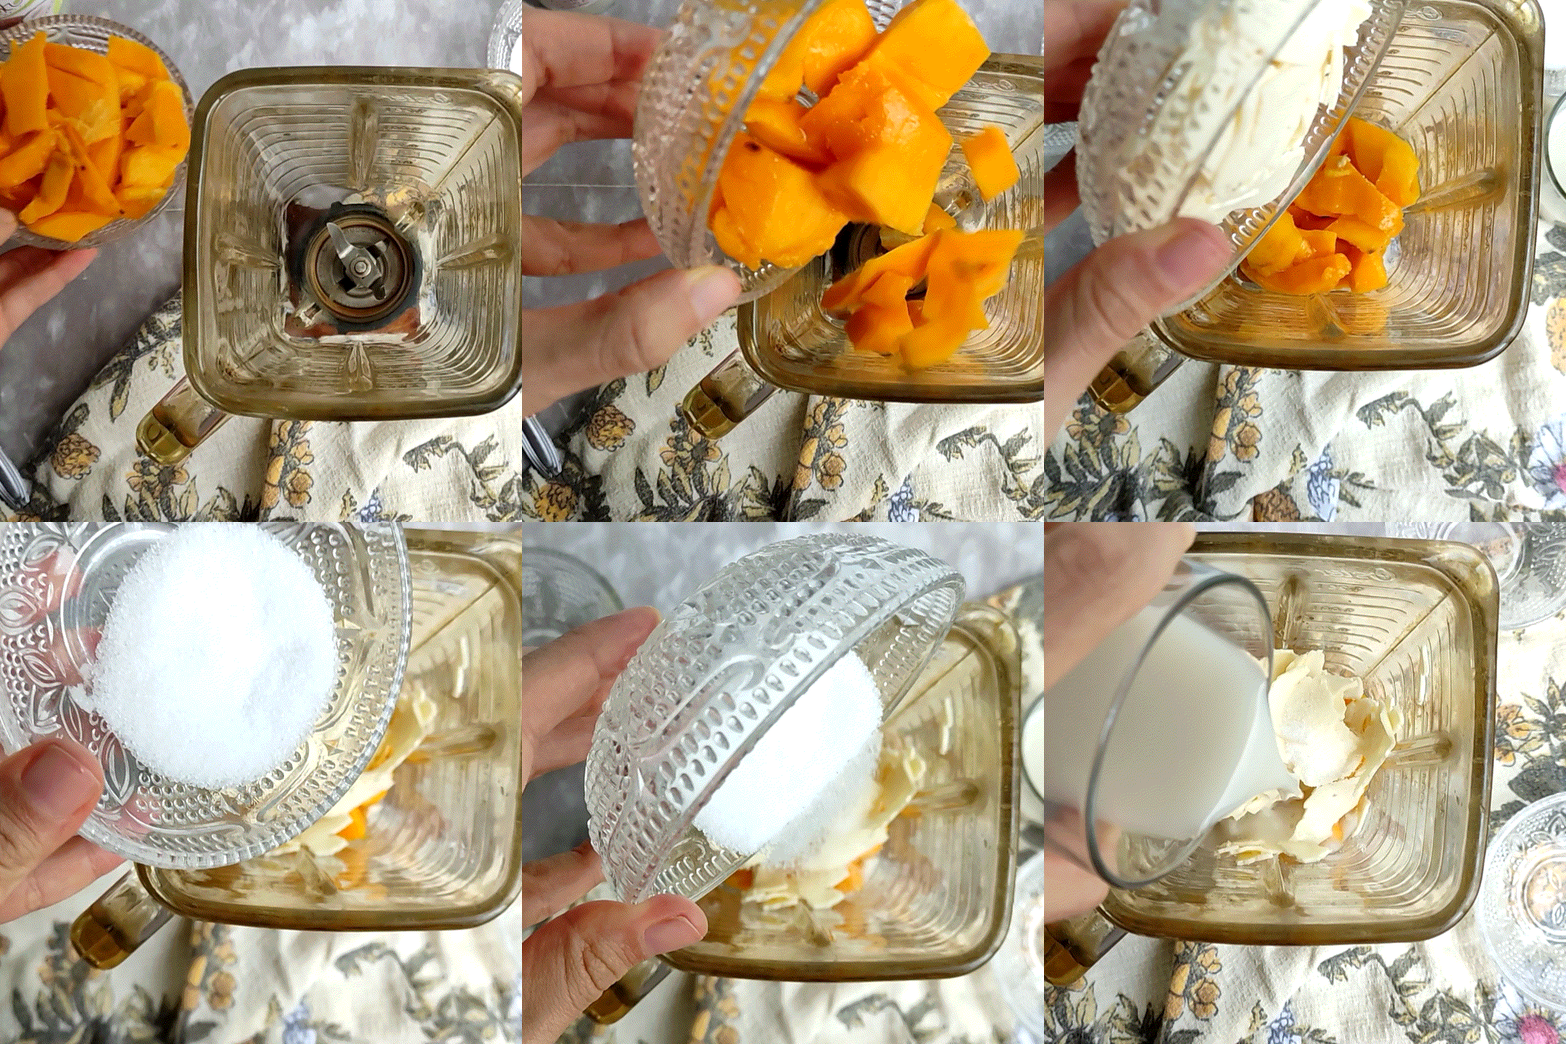
Para preparar el relleno sólo debemos colocar en el vaso de la licuadora: queso, mango, leche y el endulzante. Trituraremos hasta obtener una mezcla sin grumos. Colocaremos esta mezcla en un bowl y reservamos.
Por otra parte, procederemos a hidratar la gelatina y para ello disolveremos todo el contenido del sobre en ½ taza de agua a temperatura ambiente y dejaremos reposar de 5 a 10 minutos. Pasado este tiempo, llevaremos esta mezcla de agua y gelatina al microondas durante 10 segundos o también podemos colocar a baño de María hasta disolver por completo la gelatina. Una vez disuelta dejaremos reposar hasta que logré a estar a temperatura ambiente y, finalmente, la añadiremos al recipiente que contiene la preparación de mango. Es importante que ambas mezclas se encuentren casi a la misma temperatura, de esta manera evitaremos que se formen grumos.
Verteremos la mezcla final sobre el molde que contiene la base de la galleta y refrigeraremos como mínimo unas cuatro horas para que gelifique. Yo lo dejé en la nevera durante toda la noche y al día siguiente ya estaba perfectamente apto para consumir.
To prepare the filling, simply place the cheese, mango, milk and sweetener in the blender. Blend until you obtain a mixture without lumps. Place this mixture in a bowl and set aside.
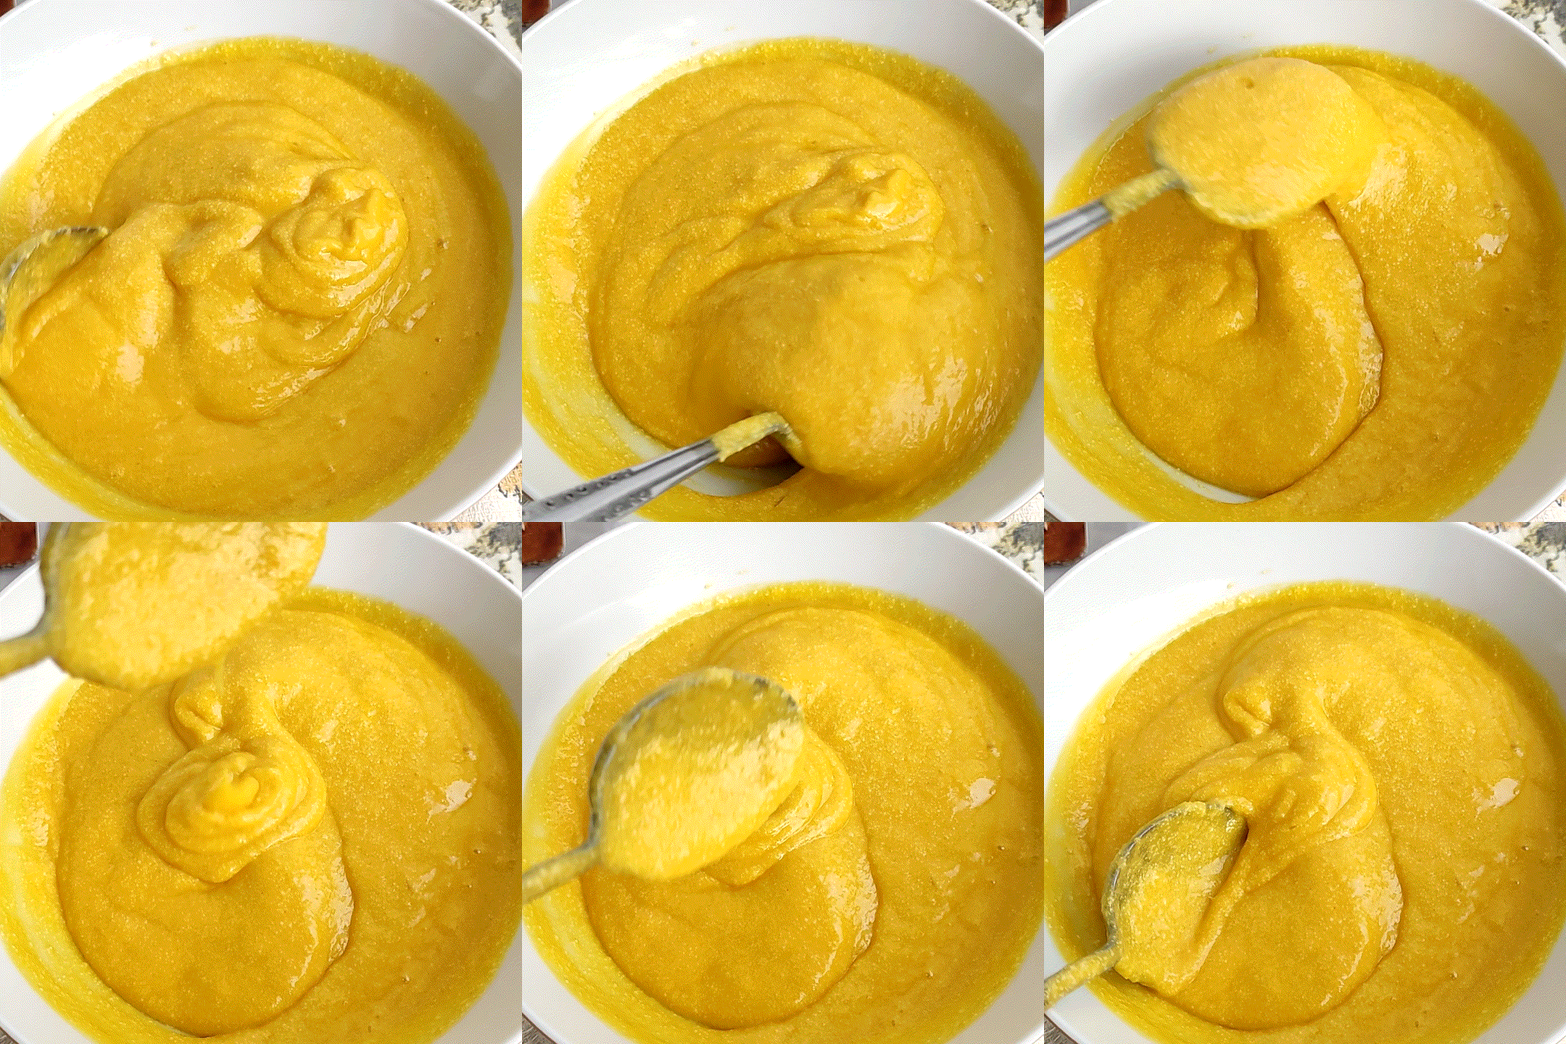
On the other hand, we will proceed to hydrate the gelatine and for this we will dissolve all the contents of the sachet in ½ cup of water at room temperature and let it stand for 5 to 10 minutes. After this time, we will take this mixture of water and gelatine to the microwave for 10 seconds or we can also place it in a bain-marie until the gelatine is completely dissolved. Once dissolved, leave to stand until it reaches room temperature and finally add it to the container containing the mango mixture. It is important that both mixtures are almost at the same temperature, in order to avoid the formation of lumps.
Pour the final mixture into the mould containing the biscuit base and refrigerate for at least four hours to allow it to gel. I left it in the fridge overnight and the next day it was perfectly ready to eat.

RESULTADOS
RESULTS
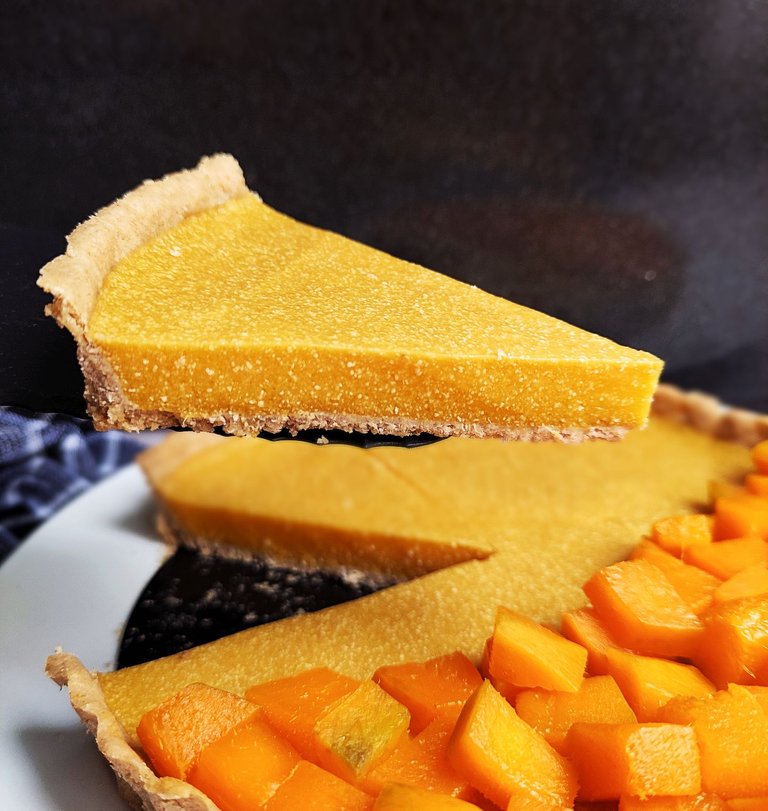
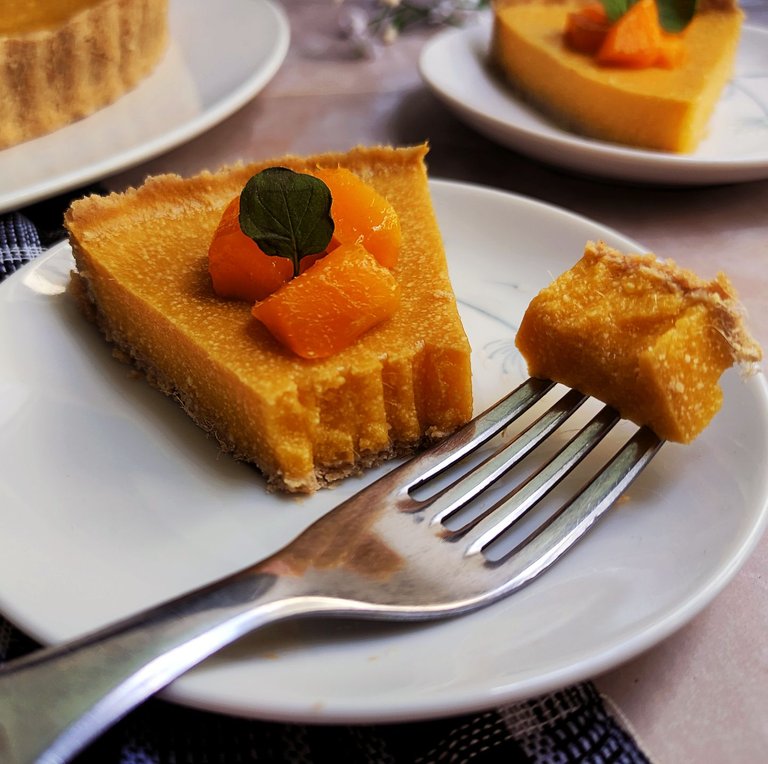
Y este es el maravilloso y colorido resultado final. Este fue uno de mis primeros intentos de mezclar dos harinas diferentes en una preparación de galleta y, debo decir, que el resultado es sumamente genial. Con la harina de avena la galleta no suele quedar tan crocante, efecto que la harina de almendras sí logra completamente. Por otra parte, el sabor del relleno es algo de otro mundo y si eres tan fanático del mango como yo, te aseguro que esta preparación te encantará, así que aprovechen de que todavía nos encontramos en plena temporada de mangos.
And this is the wonderful and colourful end result. This was one of my first attempts to mix two different flours in a biscuit preparation and, I must say, the result is extremely cool. With oat flour the biscuit is usually not so crunchy, an effect that almond flour completely achieves. On the other hand, the flavour of the filling is something out of this world and if you are as big a mango fan as I am, I assure you that you will love this preparation, so take advantage of the fact that we are still in the middle of mango season.
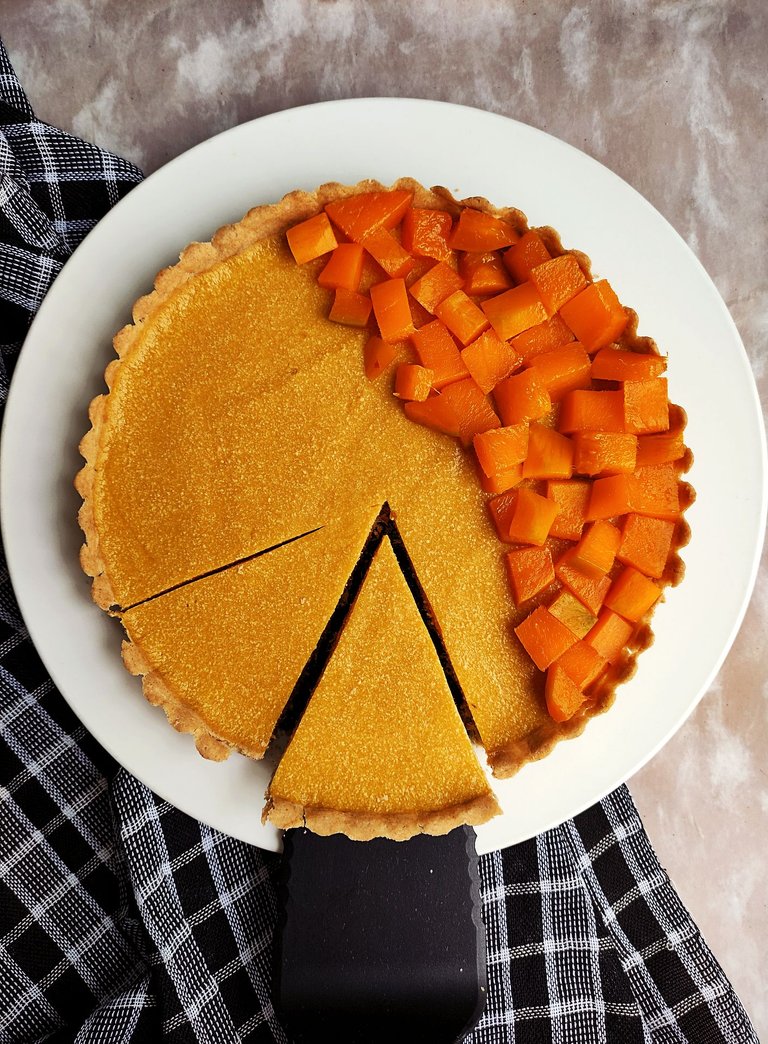
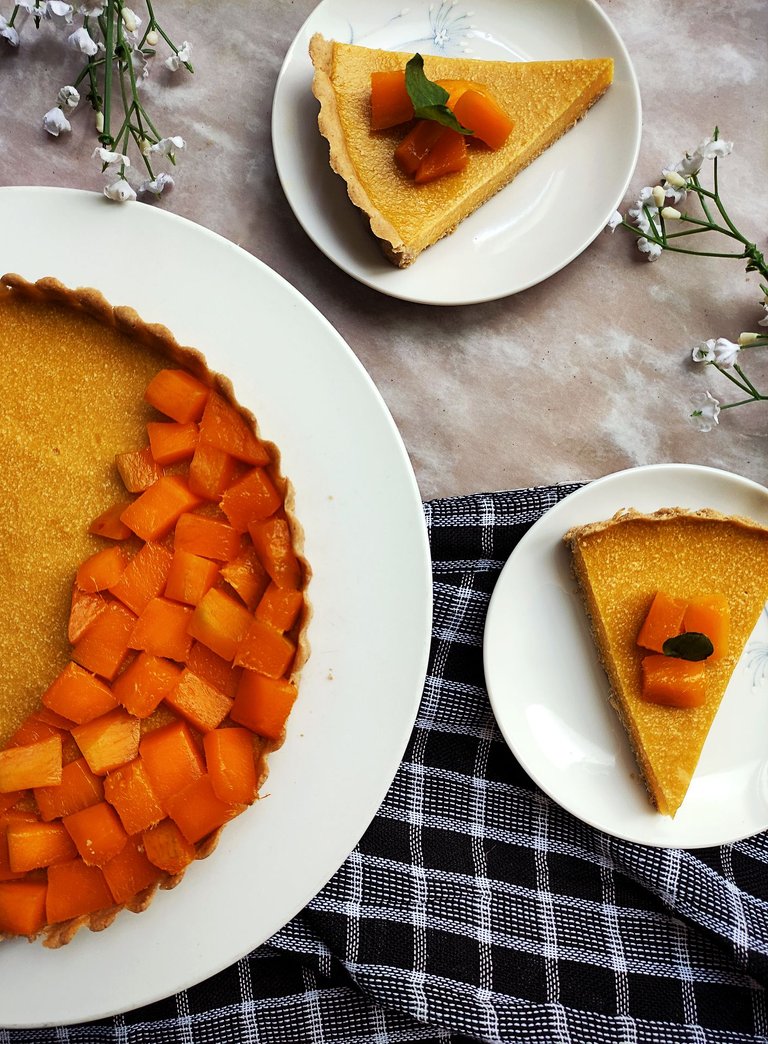
No quería que este Pie de Mango luciera tan simple, así que estuve durante un rato bastante largo pensando en cómo podía decorarlo un poco para darle ese toque final perfecto. Realmente a veces no necesitamos de demasiados elementos para lograr una decoración bonita, a veces es en la simplicidad donde reside la belleza y eso lo comprobé con este postre.
I didn't want this Mango Pie to look so simple, so I spent quite a long time thinking about how I could decorate it a bit to give it that perfect finishing touch. Sometimes we really don't need too many elements to achieve a beautiful decoration, sometimes it's in the simplicity where the beauty lies and I proved that with this dessert.
En serio, los animo a que preparen esta receta. Y si en verdad la llegan a preparar, compartan el resultado aquí en la plataforma y ya luego me cuentan qué tal les pareció.
Seriously, I encourage you to make this recipe. And if you do prepare it, share the result here on the platform and let me know how you like it.

Gracias por leer esta publicación. ¡Hasta la próxima!
Thanks for reading this post. See you next time!

✎ Edición por | Edition by:
✂ Separador | Separator: Separadores de texto para Blog
Translated with www.DeepL.com/Translator (free version)
@maryed, Xiaomi Poco X3. @maryed, Pixlr Photo Editor & Canva.com

Your content has been voted as a part of Encouragement program. Keep up the good work!
Use Ecency daily to boost your growth on platform!
Support Ecency
Vote for Proposal
Delegate HP and earn more
¡Felicidades! Esta publicación obtuvo upvote y fue compartido por @la-colmena, un proyecto de Curación Manual para la comunidad hispana de Hive que cuenta con el respaldo de @curie.
Si te gusta el trabajo que hacemos, te invitamos a darle tu voto a este comentario y a votar como testigo por Curie.
Si quieres saber más sobre nuestro proyecto, acompáñanos en Discord: La Colmena.
Que delicioso, voy a guardar la receta a ver si lo hago. Saludos.
¡Genial! 😍😍 De verdad es muy fácil y delicioso 💕, ¡te encantará!
Pero tus fotos son la tremenda gloria amiga, me pregunto ¿Cómo realizas los gifs?
¡Gracias, chama! 😍 Los hago en la aplicación Vllo. Grabo lo que hay que grabar y ya ahí en la app edito todo bonito y quedan geniales 💕
Wow wow wow !!! Con el mango existen mil.y un recetas y tú acabas de presentar una aquí súper deliciosa y apetitosa 👩🏻🍳 me ha encantado como todo lo que nos compartes siempre 🤗
Siiii, totalmente. El mango es de esas frutas perfectas para preparar mil y un postres sabrosos jajaja, así que ¡a aprovechar la temporada de mango antes de que termine!
wow! this looks like a melt-in-your-mouth delicious treat! 😍 thank you for sharing your recipe!

https://d.buzz
FoodiesUnite.net Yum! You have been curated @sirenahippie on behalf of on #Hive. Thanks for using the #foodie tag. We are a tribe for the Foodie community with a unique approach to content and community and we are here on #Hive.
Join the foodie fun! We've given you a FOODIE boost. Come check it out at @foodiesunite for the latest community updates. Spread your gastronomic delights on and claim your tokens.
Join and Post through the Community and you can earn a FOODIE reward.
Te felicito mejoraste mucho mucho la fotografía.
¡Gracias, amiga! Saludos 💛
Congratulations, your post has been upvoted by @dsc-r2cornell, which is the curating account for @R2cornell's Discord Community. Enhorabuena, su "post" ha sido "up-voted" por @dsc-r2cornell, que es la "cuenta curating" de la Comunidad de la Discordia de @R2cornell.
Simplemente delicioso amiga @maryed, que tengas feliz tarde, un abrazo
The rewards earned on this comment will go directly to the person sharing the post on Twitter as long as they are registered with @poshtoken.