Hey Hive!
Sorry it's been a while but we're back with more of our home cooking! If you're unfamiliar with this series, it's where I showcase some of the food we've been making at home since we've been cooking a lot nowadays! Both because it's cheaper and also healthier to cook for yourself compared to eating out. While I usually stick to the usual recipes I do like to try new ones once in a while and figured I'd share the new ones I've tried.
This was from a while ago when I came across another video from this youtube channel called Aaron and Claire, who do cooking tutorials mostly based around Korean recipes and ingredients as they're Korean-Americans.
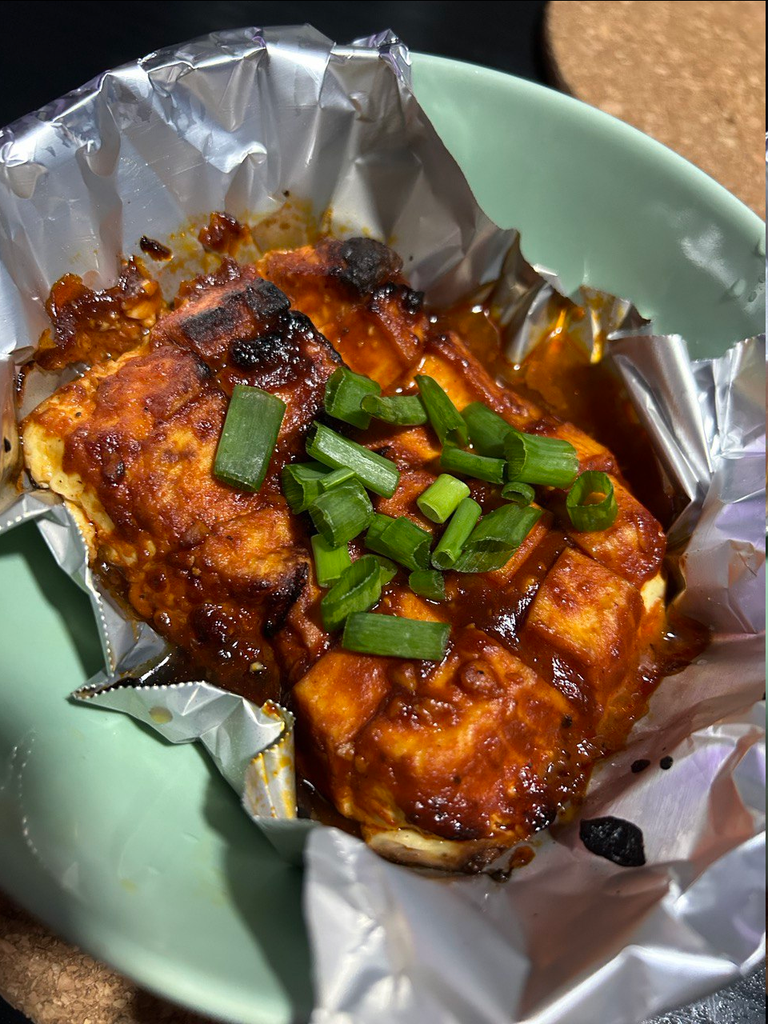
Anyway, I saw this recipe for a Gochujang Chicken Rice Bowl and it looked so good I had to give it a try myself! Their videos were actually what inspired me to buy and try gochujang recipes like this air fryer spicy tofu I made a while back:
If you're not familiar with gochujang, it is a fermented red chili paste that is a savory, sweet, and spicy that is popular in Korean cooking. It is made from gochu-garu (red chili powder), glutinous rice, meju (fermented soybean) powder, yeotgireum (barley malt powder), and salt. You can typically find it in Asian supermarkets and they come in tubs like this:
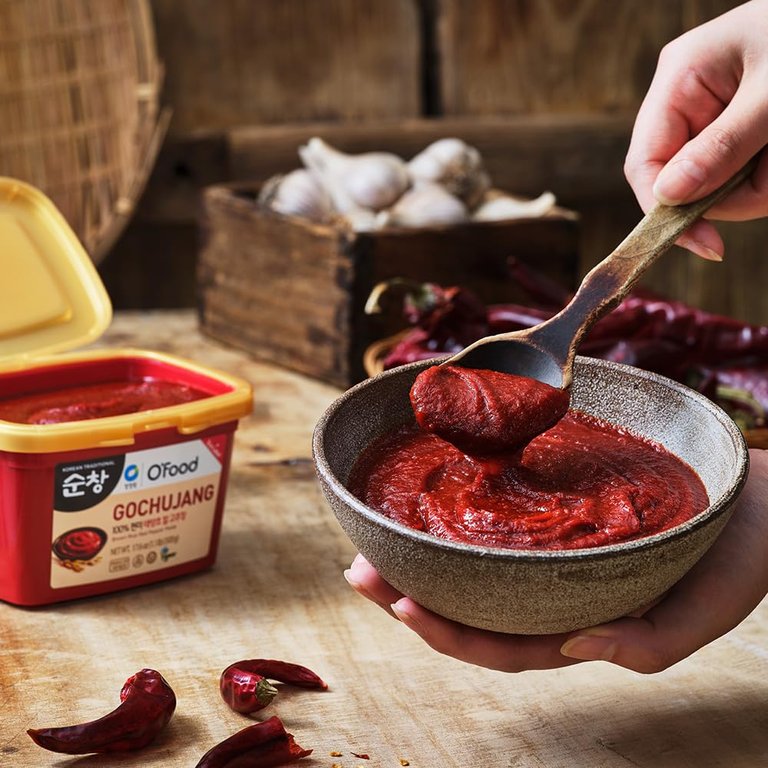
Source: Amazon
It's a really nice condiment to have and an easy seasoning to any meat dish. For example, this delicious looking Gochujang Chicken that we're about to make!
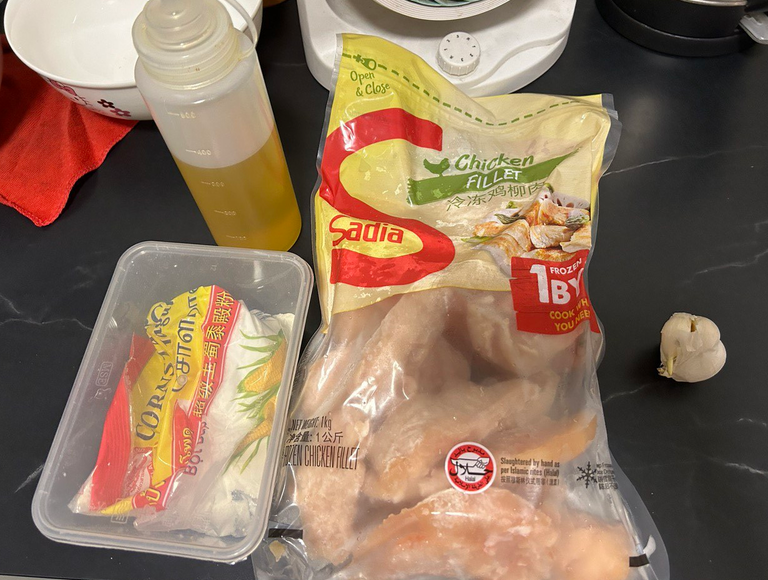
Here are the ingredients I used, which is slightly different than the recipe in the video:
- 5 cloves garlic
- 500g frozen chicken fillets
- corn starch
- 3 cups of rice
- frozen broccoli
- carrots
- mushrooms
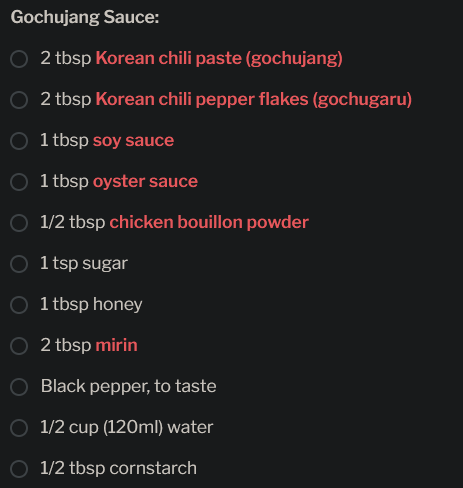
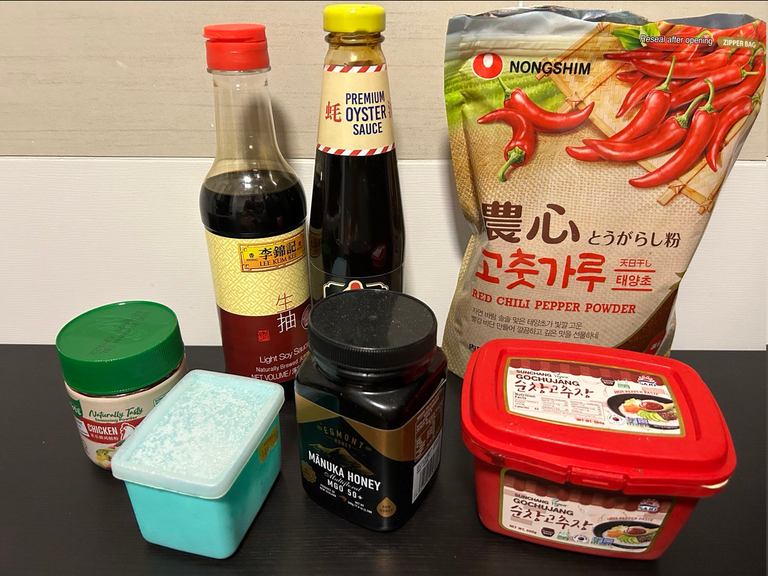
These are the ingredients for the sauce, and I stuck to the recipe for this one except that I didn't have mirin but I figured it's probably fine since most of the flavour is going to come from the gochujang anyway.
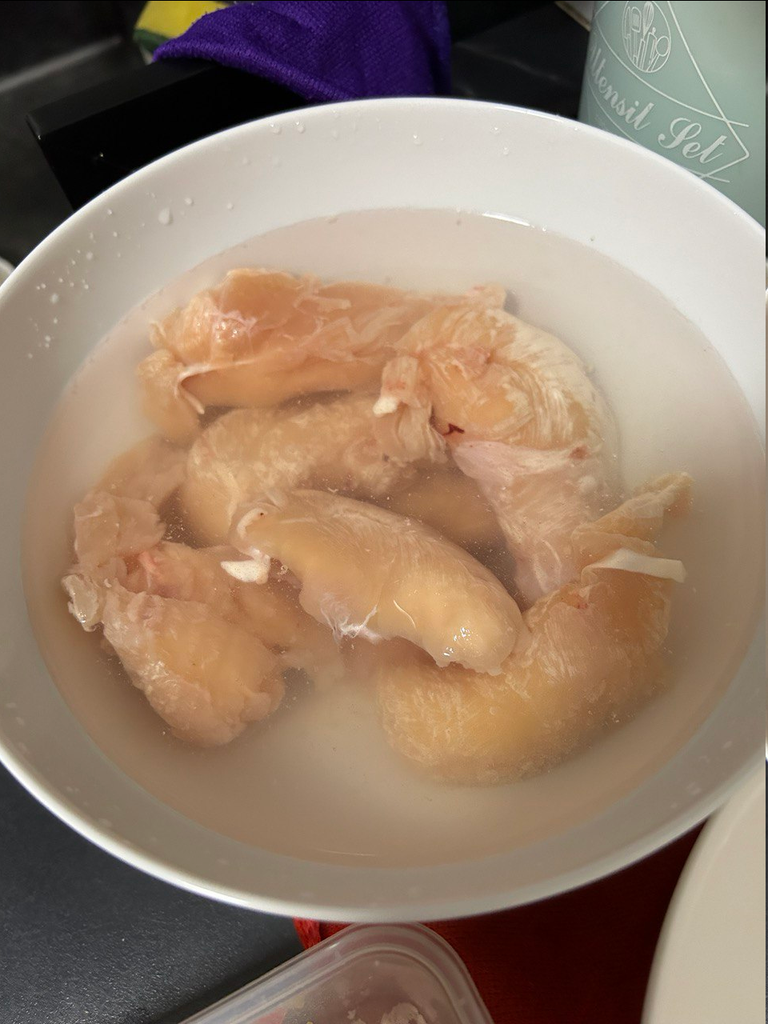
Step 1: If you're using frozen chicken like I am it would be to defrost the chicken by soaking them in water. I read that it's better to defrost them overnight in a covered bowl in the fridge but if you're like me and you didn't plan ahead, this works just fine.
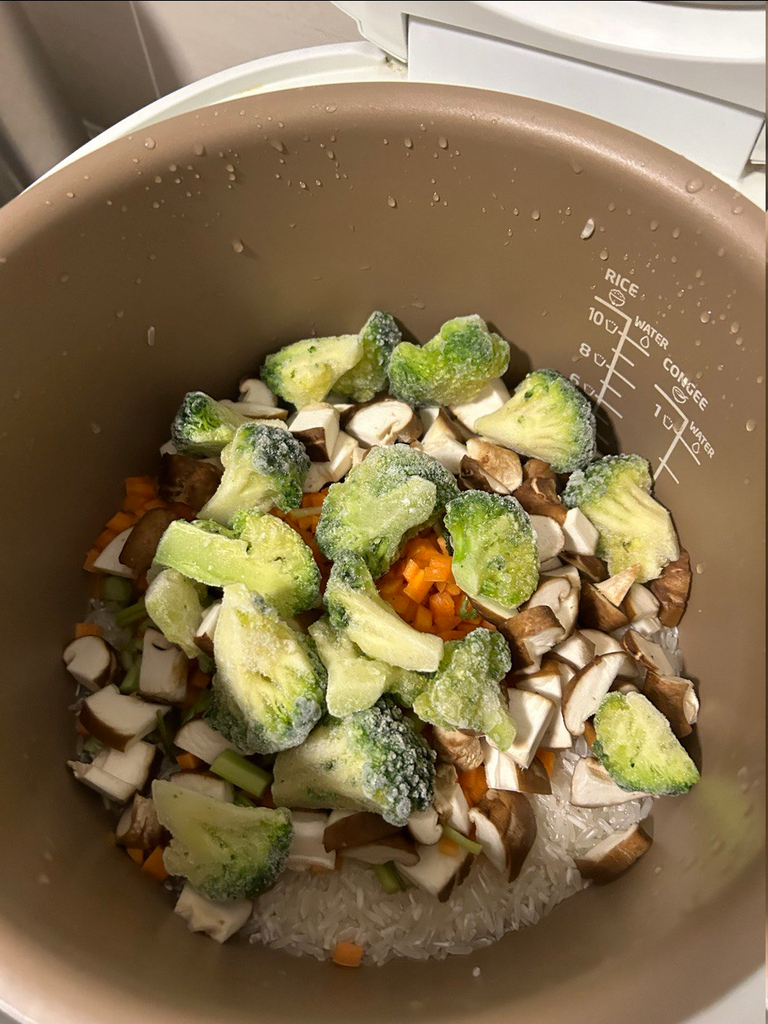
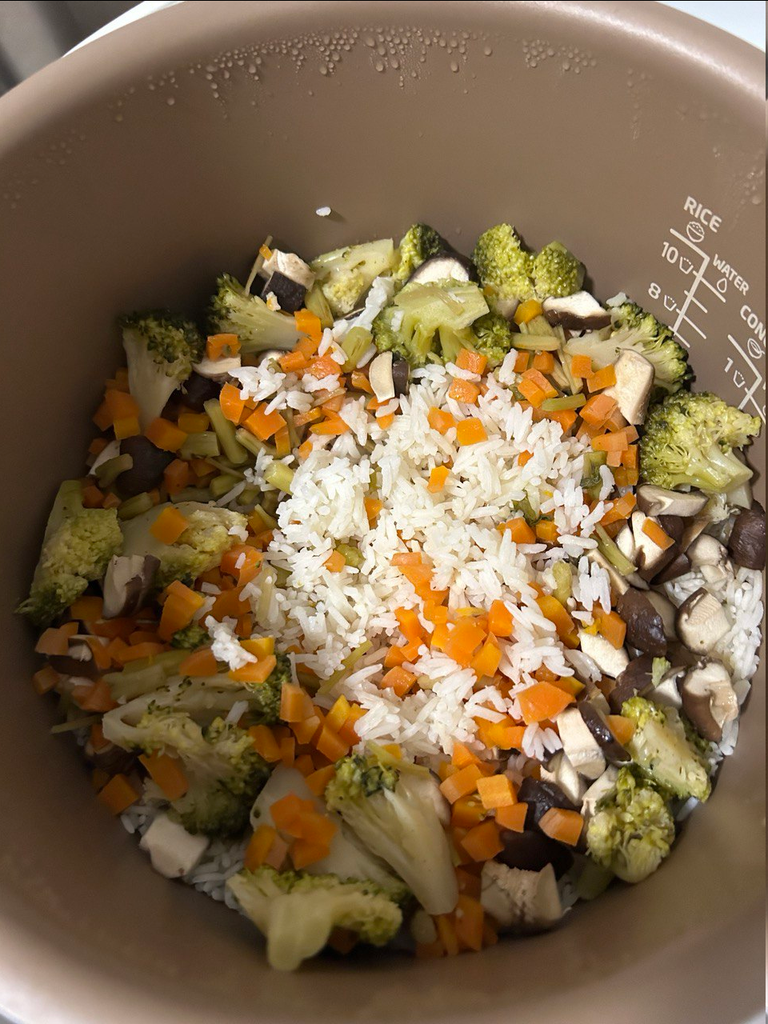
Step 2: While waiting for the chicken to defrost, we prepare the rice first. If you're using precooked rice you're good. But I cook my own rice and I like to make it a little healthier by adding some vegetables in there.
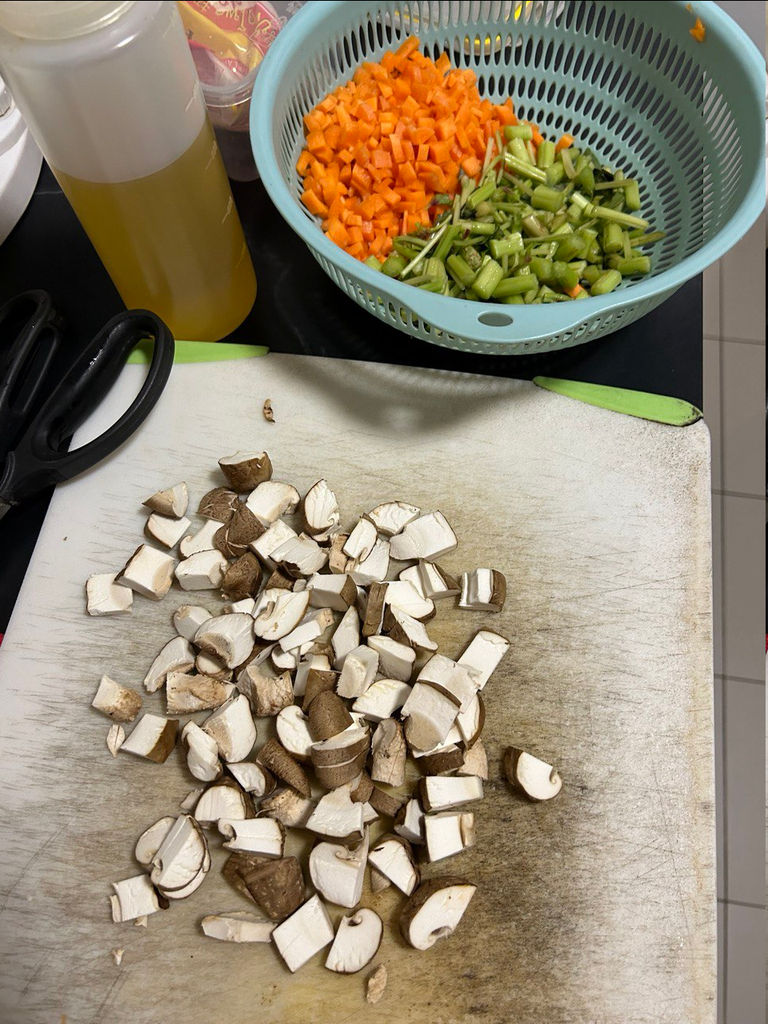
Dice the carrots and mushrooms and after washing the rice, just dump all the veggies in the pot with the rice and cook it in the rice cooker. It's an easy way to get extra nutrients without the hassle of cooking another dish.
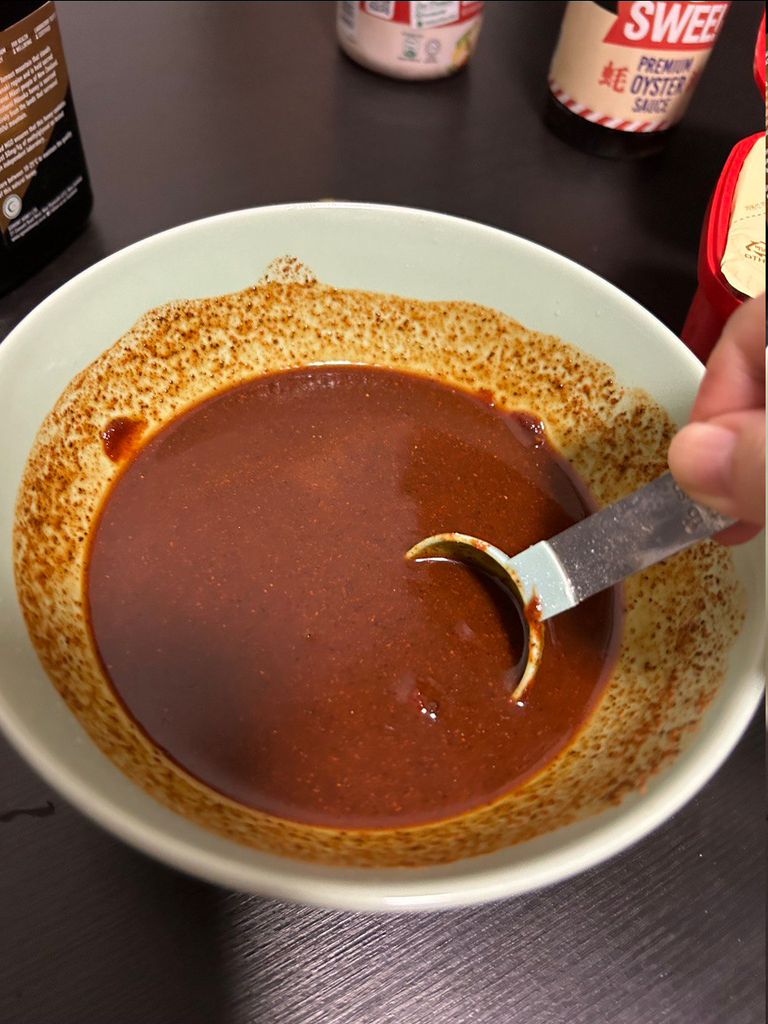
Step 3: Prepare the sauce by combining all the ingredients together in a bowl and mixing it thoroughly. You should get a pretty decent amount with a smooth texture.
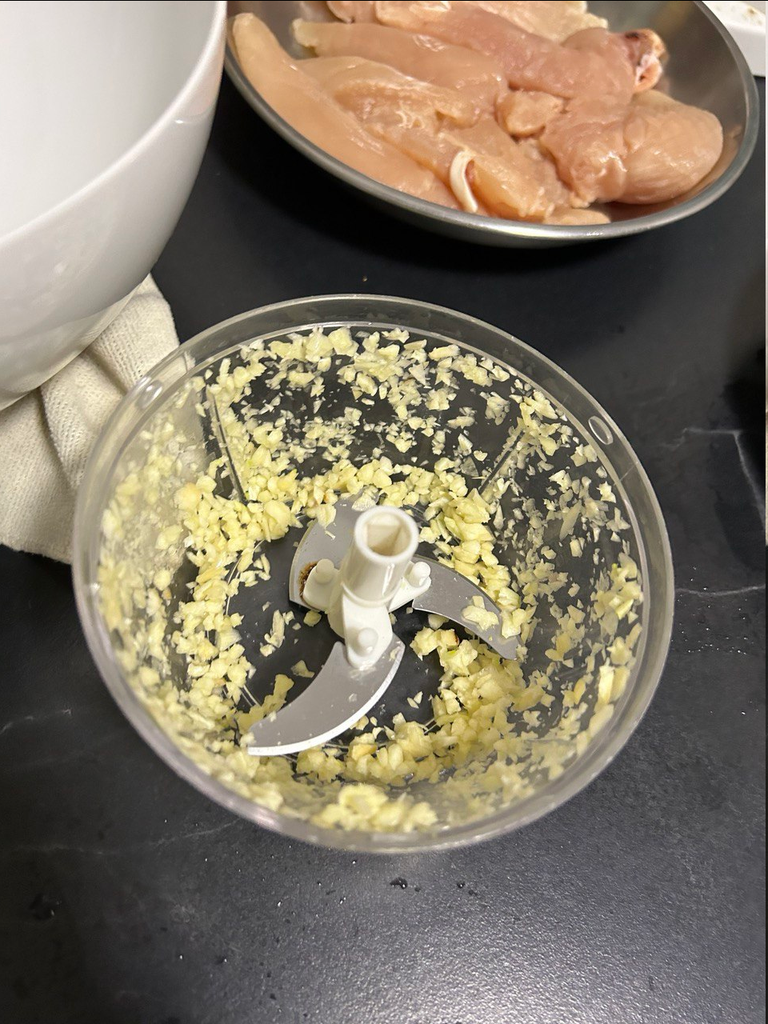
Step 4: Finely chop the garlic cloves.
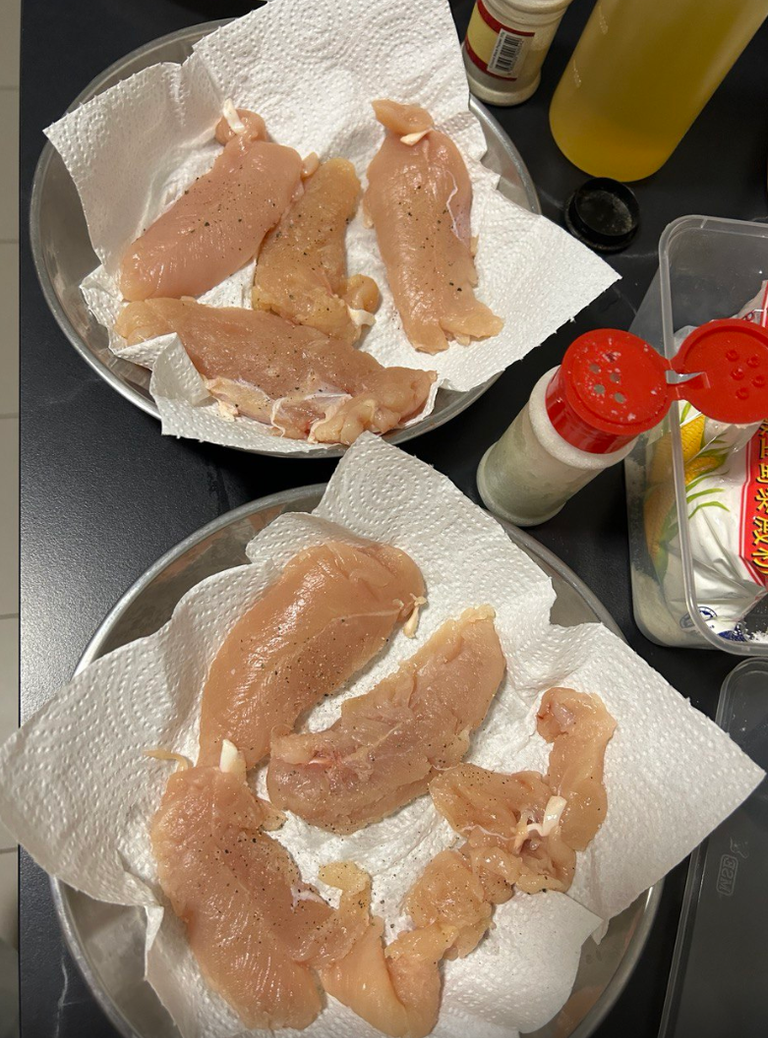
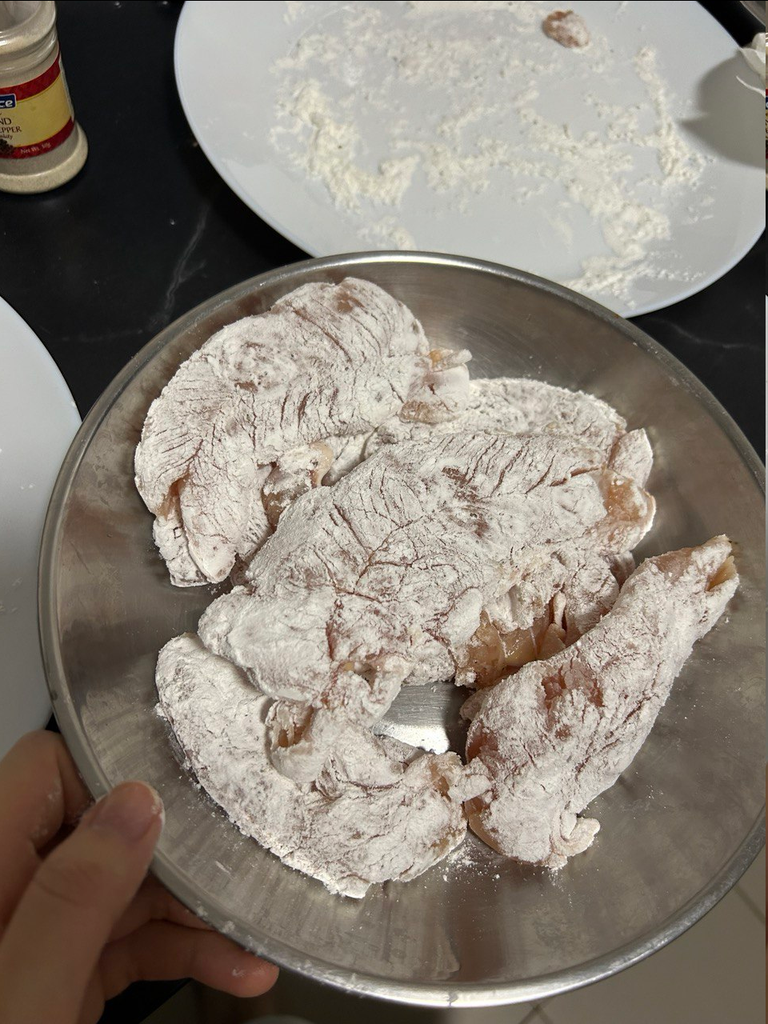
Step 5: Once the chicken has defrosted or if you're using fresh chicken, dry them on some paper towels and season all sides with some salt and pepper.
Step 6: Coat the chicken pieces in corn starch, making sure to cover them well and shake off the excess.
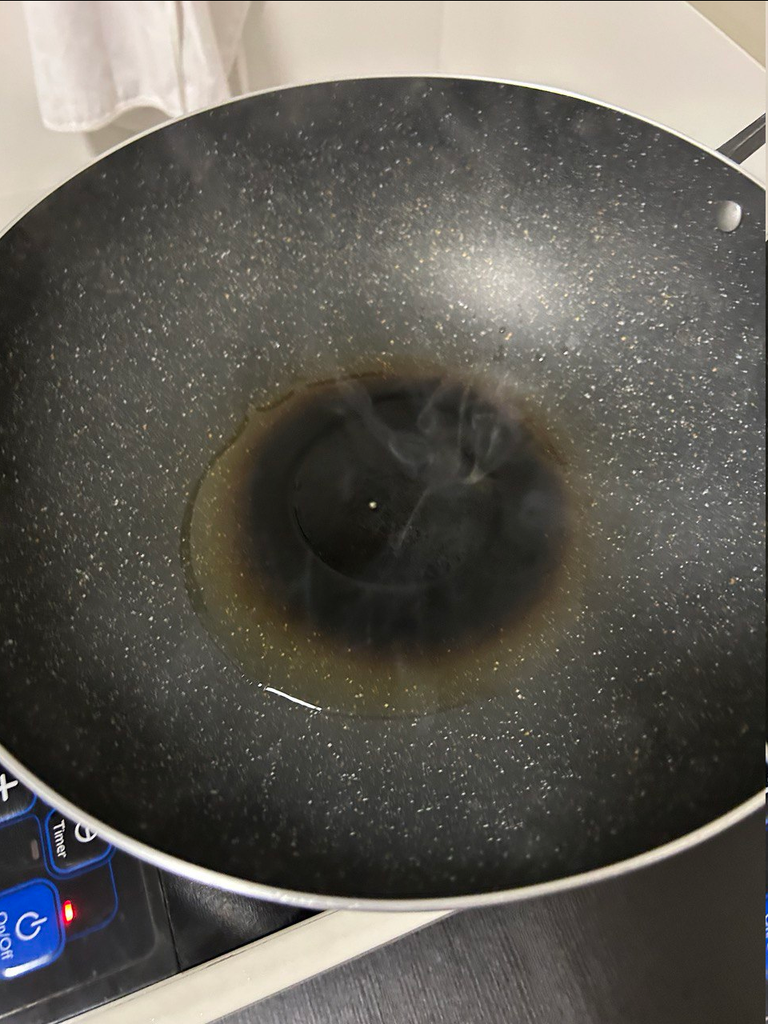
Step 7: In a wok or pan, heat up 2 tablespoons of oil on medium-high heat.
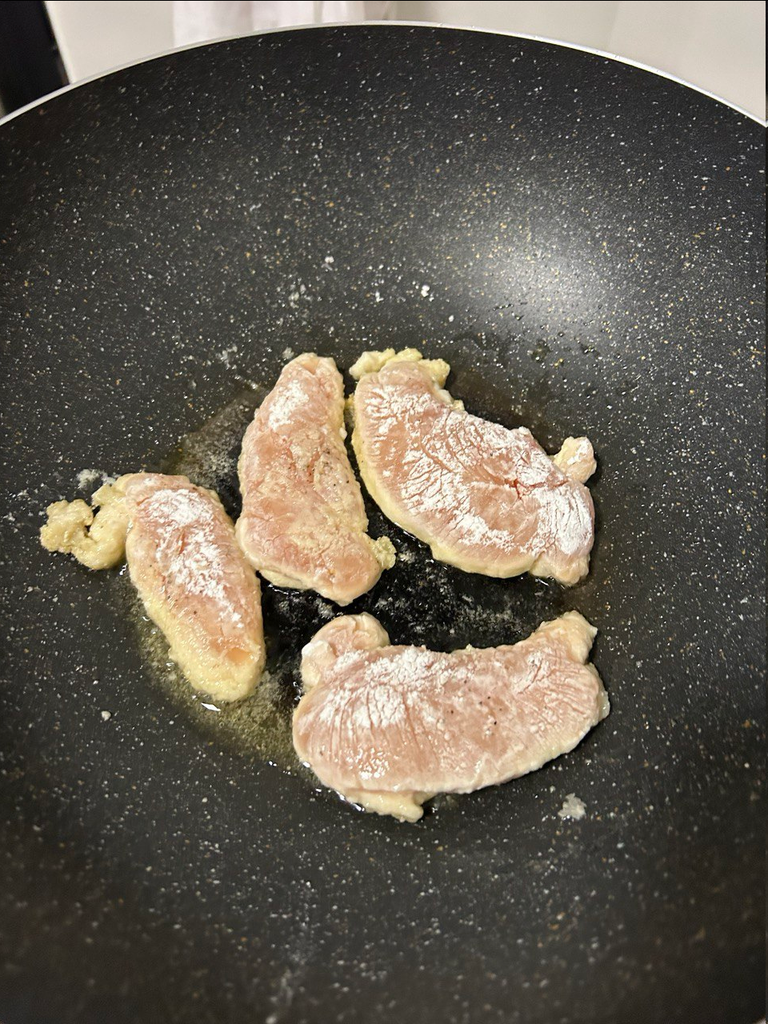
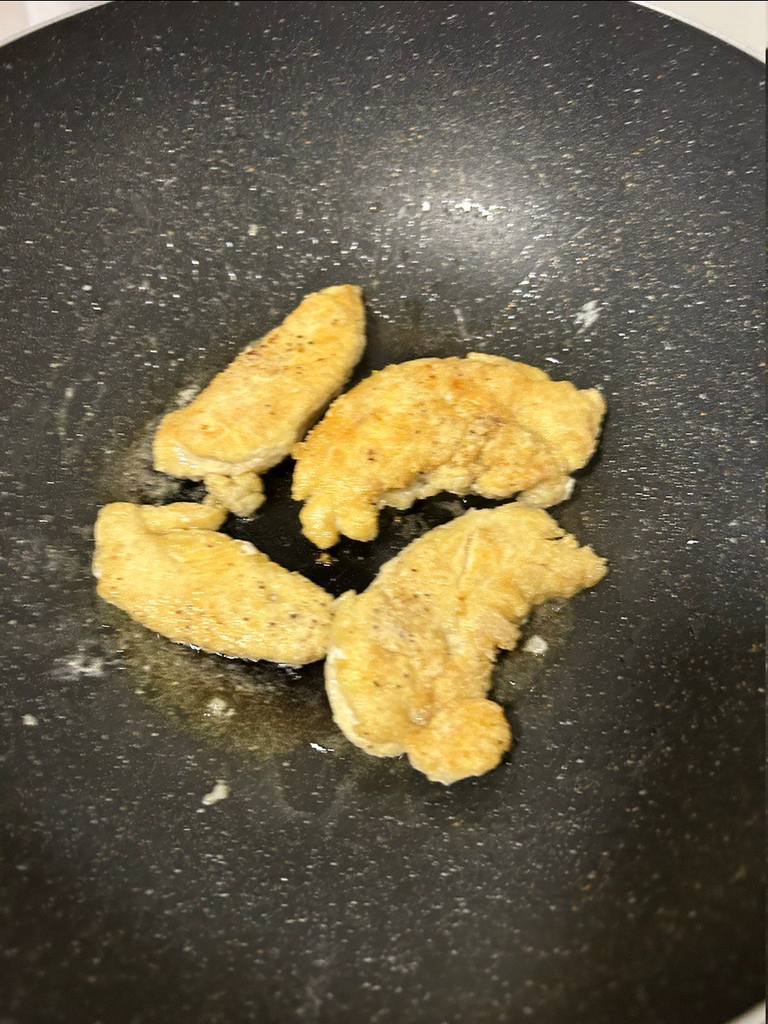
Step 8: Gently place the chicken pieces into the wok, skin-side down if yours has skin on.

Sear the chicken pieces until they're golden brown then flip and do the same on the other side.
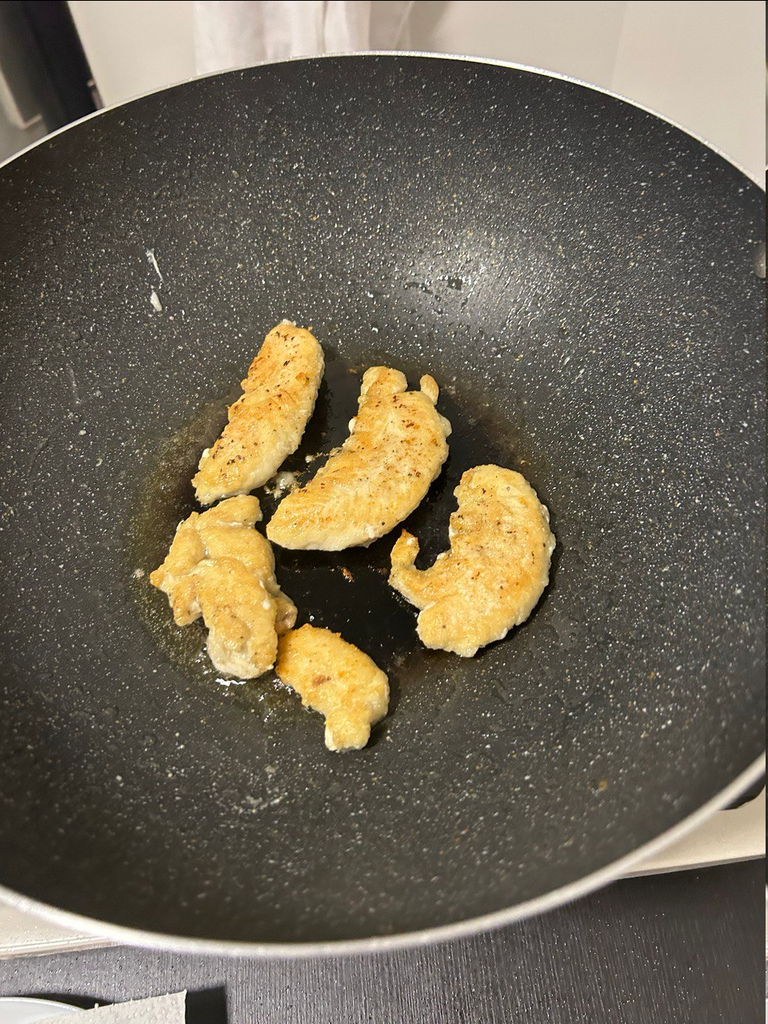
I had to work in two batches since my wok wasn't flat enough to have them all together.
Sorry for the quality on the last one.
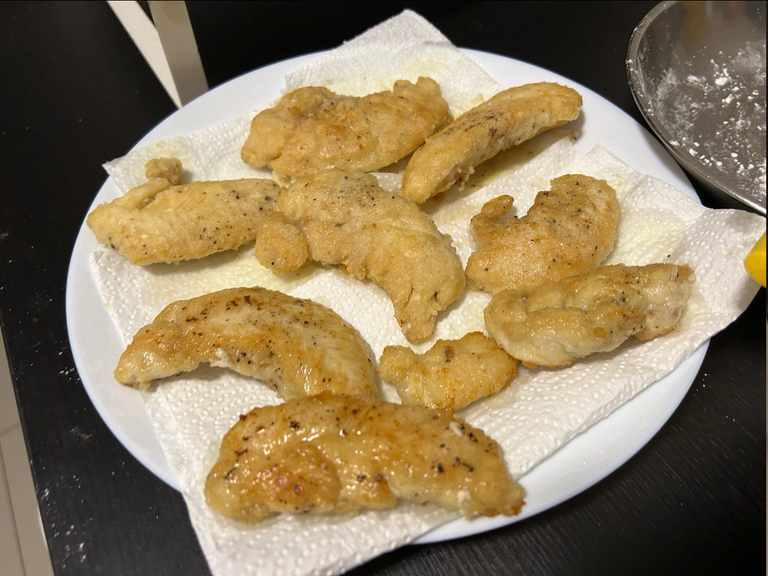
Step 9: Once the chicken is cooked, set it aside on a paper towel to drain the excess oil.
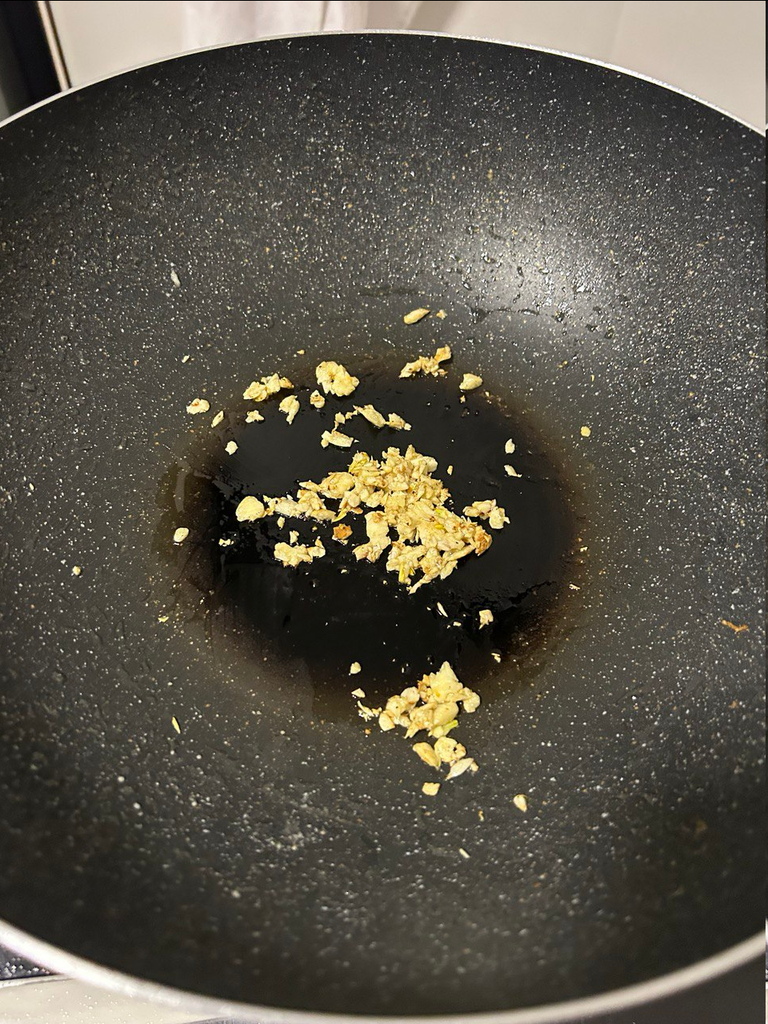
Step 10: Add one tablespoon of oil to the wok and stir fry the garlic until aromatic.
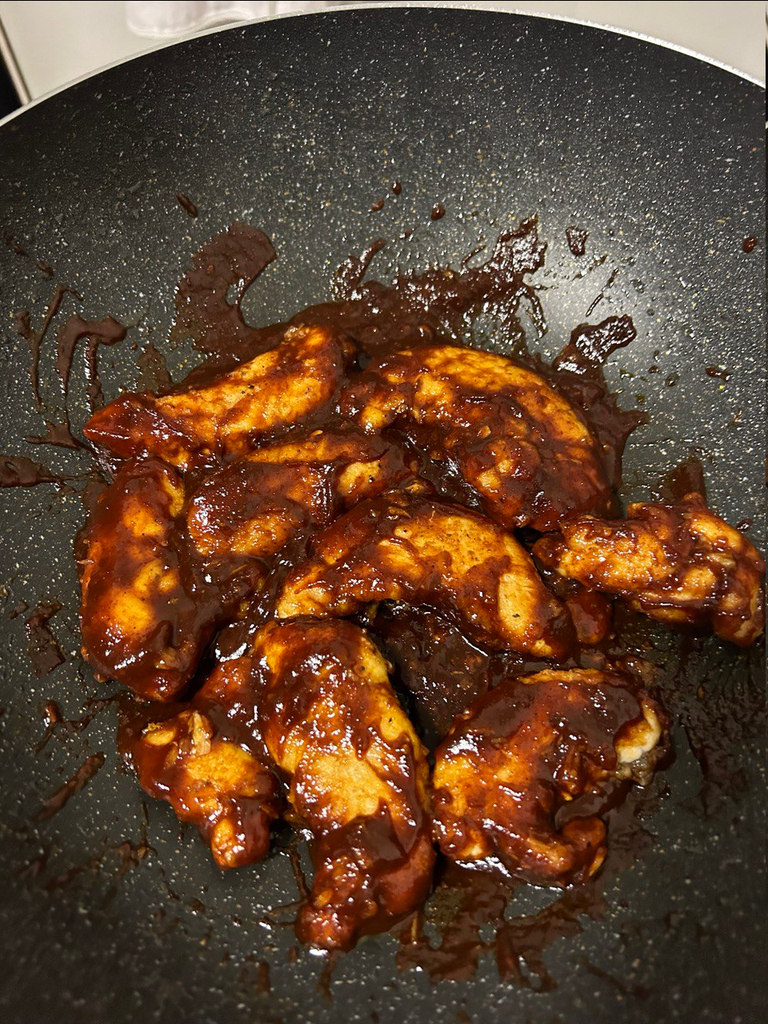
Step 11: Give the sauce a stir then add it to the wok. Bring to a slight boil then once it has thickened up bring the heat to low.

To be honest, my sauce wasn't as watery as the one in the video so I didn't have to boil it too much.
Step 12: Add the chicken pieces into the sauce.
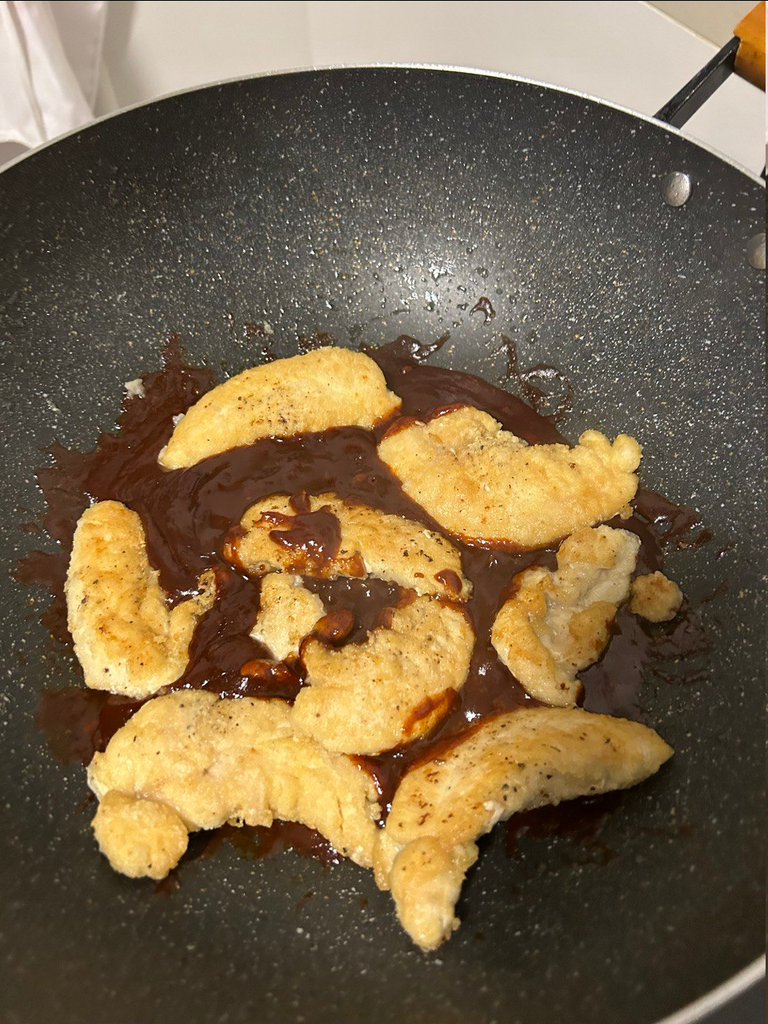
Flip the pieces continuously until well coated.
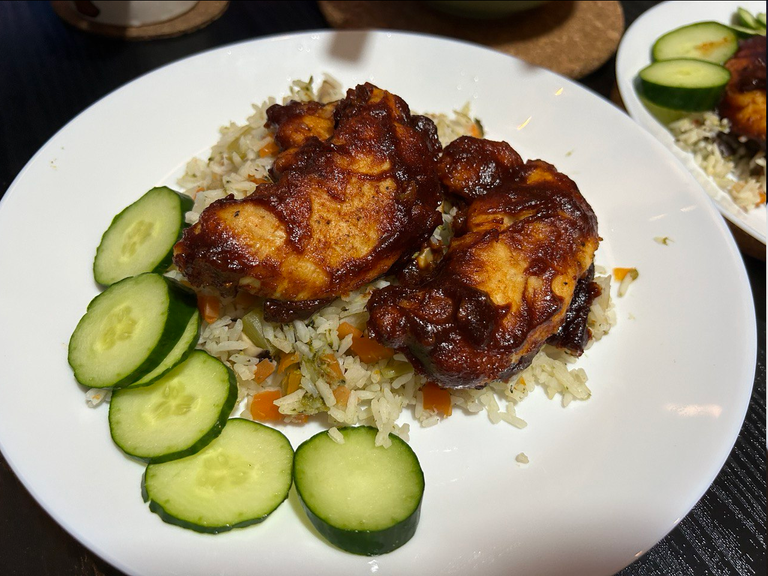
Once that's done, and the rice is cooked, it's ready to serve!
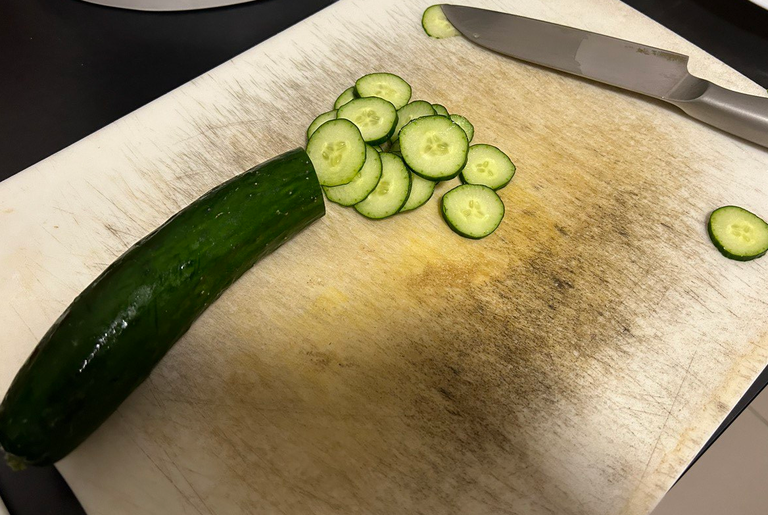
In the video, he used stir-fry asparagus to go with his chicken but I'm not a big fan of asparagus and we already had veggies in the rice so I just sliced up a cucumber for garnish.
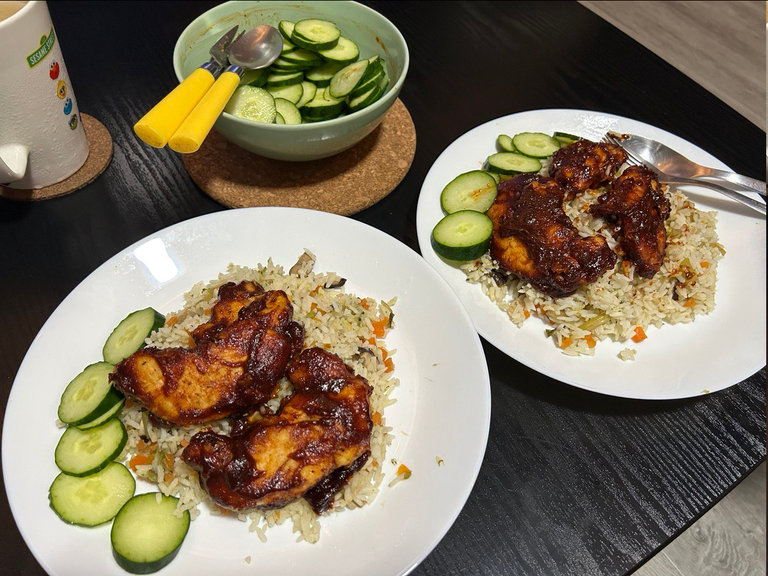
We prefer plates to rice bowls but I think the effect is the same. I don't know if mine looks as good as his in the video but I think it turned out pretty good and smelled yummy too!
The chicken was really tasty but I think it would've been better if I had used fresh chicken because frozen chicken tends to be a little drier. But I think the sauce really saved it. It was savoury with the right amount of spice. It also complemented the rice well and the cucumbers helped to cleanse the spiciness.

The chicken was not super crispy since I didn't deep fry it but I think a deep fried chicken with the sauce would be very delicious as well, just like Korean fried chicken.
Overall I think it was a pretty decent attempt and was delicious! Sean finished his plate in about 5 minutes! Frying chicken is not really my favourite cooking method since it takes quite a bit of work but I think this result was a nice balance between yummy and healthy, especially with all the veggies.
I'll definitely think of trying this recipe again but with deep fried chicken next time though. Because if I'm already doing all that work I might as well go all the way right?
Thanks so much for reading!

To find out more about me, check out my intro post here!
Discord Server.This post has been manually curated by @steemflow from Indiaunited community. Join us on our
Do you know that you can earn a passive income by delegating to @indiaunited. We share more than 100 % of the curation rewards with the delegators in the form of IUC tokens. HP delegators and IUC token holders also get upto 20% additional vote weight.
Here are some handy links for delegations: 100HP, 250HP, 500HP, 1000HP.
100% of the rewards from this comment goes to the curator for their manual curation efforts. Please encourage the curator @steemflow by upvoting this comment and support the community by voting the posts made by @indiaunited.
Join the foodie fun! We've given you a FOODIE boost. Come check it out at @foodiesunite for the latest community updates. Spread your gastronomic delights on and claim your tokens.
Yum! You have been curated by @sirenahippie on behalf of FoodiesUnite.net on #Hive. Thanks for using the #foodie tag. We are a tribe for the Foodie community with a unique approach to content and community and we are here on #Hive.Spicy chicken looks amazing 😍😍😍😍😍😍😍😍