✨¡Hola amigos amantes de la comida!✨ Espero estén pasando un gran día.
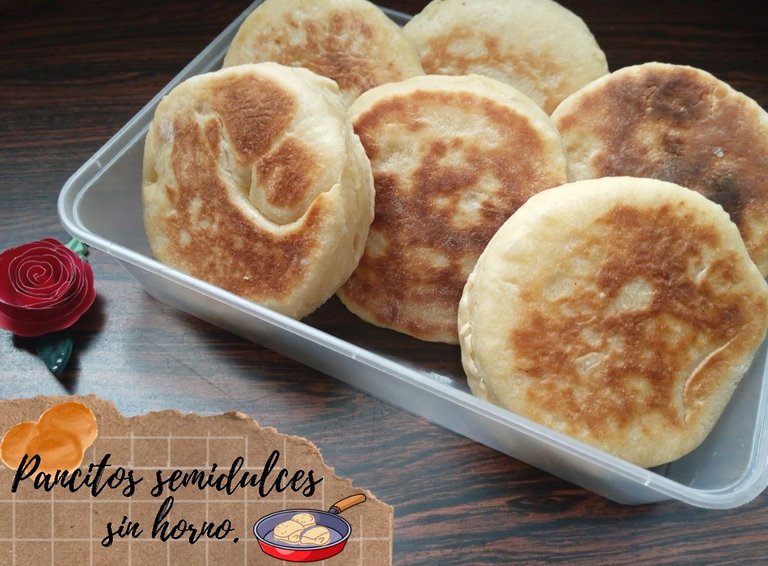
Espero todos hayan pasado una excelente semana y pasen un fin de semana bastante descansado. En esta ocasión les comparto una deliciosa receta de pancitos semidulces sin horno. Antojada de comer algo para la merienda y el desayuno de la mañana siguiente, decidí preparar unos ricos pancitos semidulces que vi hace un tiempo por las redes sociales, pero después de ver el resultado me di cuenta de que son muy parecidos a las arepas Andinas, pero no estoy segura si la preparación es similar. Sin embargo, estaban divinos y se los recomiendo para comer en el desayuno o la merienda de la tarde con los pequeños de la casa.
🔸A continuación, los dejo con el paso a paso:
✨¡Hello food loving friends!✨ I hope you are super well on this day.
I hope everyone had a great week and a restful weekend. This time I'm sharing with you a delicious recipe for semi-sweet bread rolls without an oven. Craving something to eat for a snack and breakfast the next morning, I decided to prepare some delicious semi-sweet bread rolls that I saw a while ago on social media, but after seeing the result I realized that they are very similar to Andean arepas, but I'm not sure if the preparation is similar. However, they were divine and I recommend them to eat for breakfast or an afternoon snack with the little ones in the house.
🔸Next, I leave you with the step by step:
♥️Espero les guste. ¡Comencemos!
♥️I hope you like it. Let's get started!

🍶 INGREDIENTES | 🍶 INGREDIENTS

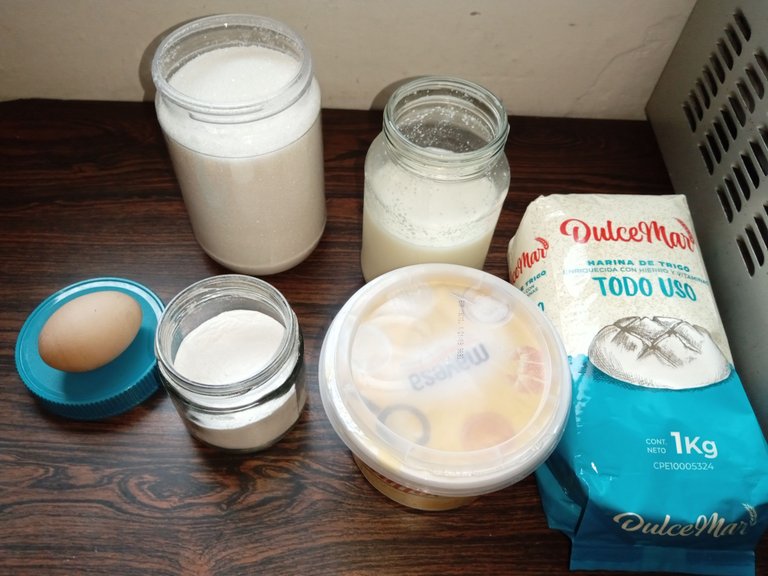
- 400 g de harina de trigo.
- 250 ml de leche.
- 40 g de azúcar.
- 60 g de mantequilla.
- 10 g de polvo de hornear.
- 1 huevo.
- Pizca de sal.
- 400 g of wheat flour.
- 250 ml of milk.
- 40 g of sugar.
- 60 g of butter.
- 10 g of baking powder.
- 1 egg.
- Pinch of salt.


PREPARACIÓN | PREPARATION

- PASO 1:
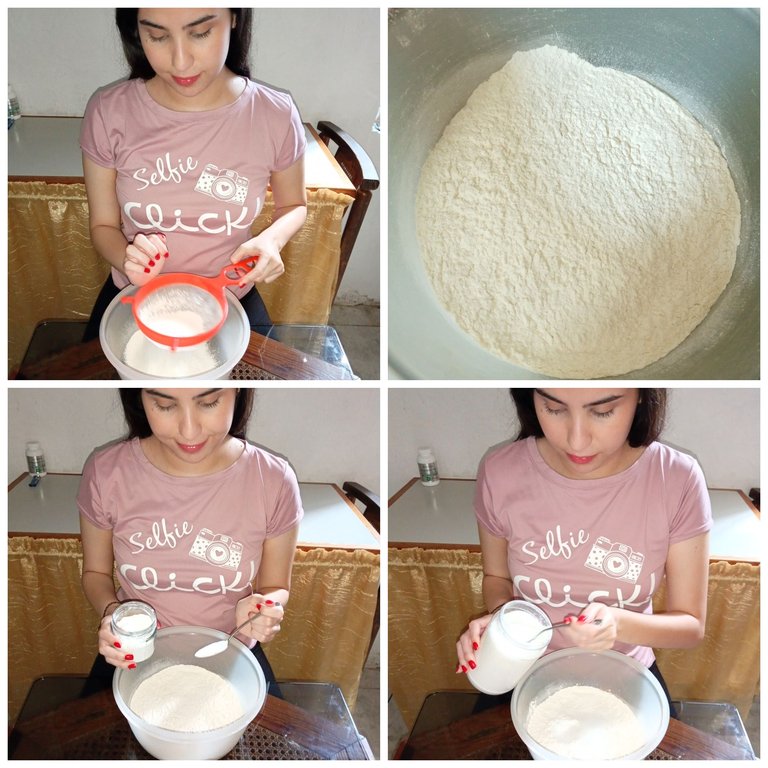
Lo primero que debemos hacer es agregar a un recipiente hondo los 400 g de harina de trigo, previamente tamizada, junto con los 10 g de polvo de hornear, 40 g de azúcar e incorporamos los ingredientes.
- 1 STEP:
The first thing we need to do is add the 400 g of previously sifted wheat flour to a deep bowl, along with the 10 g of baking powder and 40 g of sugar, and add the ingredients.


- PASO 2:
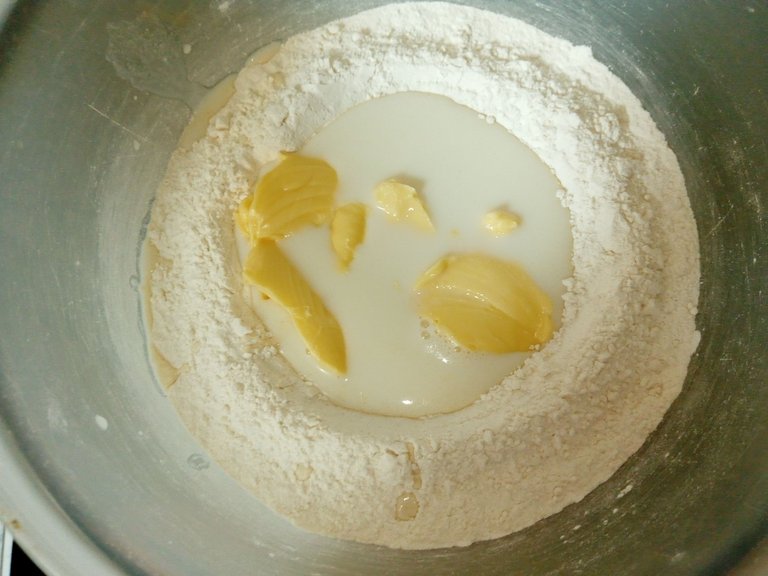
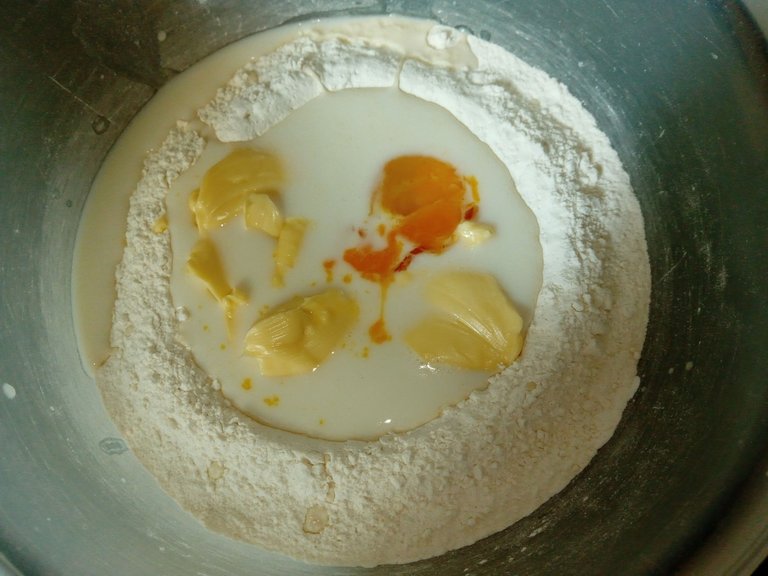
Hacemos espacio en medio de la harina para que sea más fácil de incorporar y agregamos ahí los 250 ml de leche tibia, 60 g de mantequilla, 1 huevo, la pizca de sal y comenzamos a incorporar todos los ingredientes con ayuda de una paleta o cuchara.
- 2 STEP:
We make space in the middle of the flour so that it is easier to incorporate and add the 250 ml of warm milk, 60 g of butter, 1 egg, a pinch of salt and begin to incorporate all the ingredients with the help of a spatula or spoon.


- PASO 3:
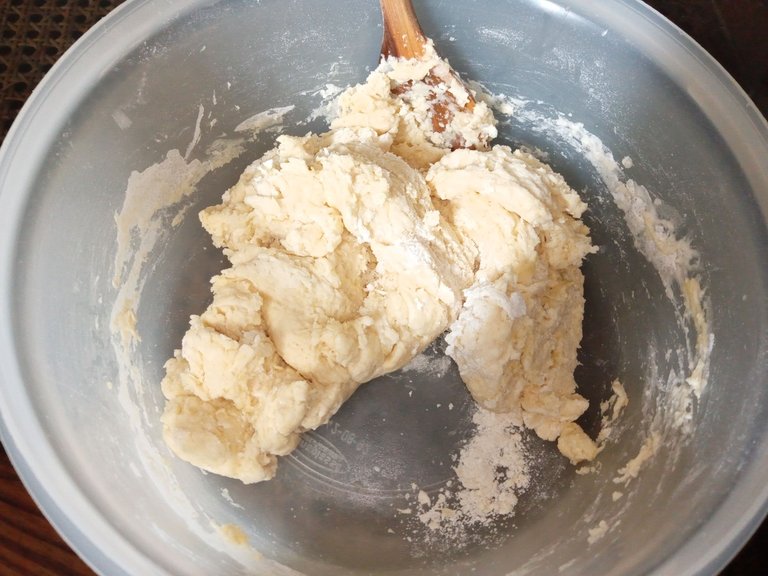
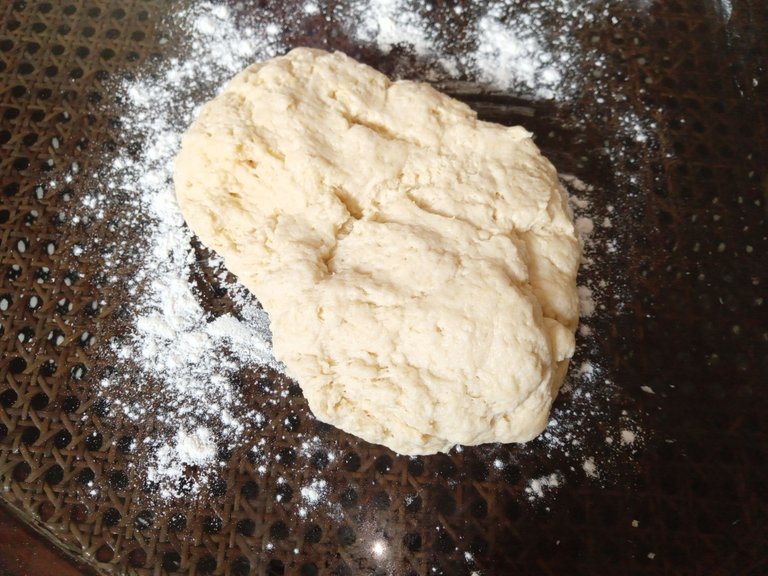
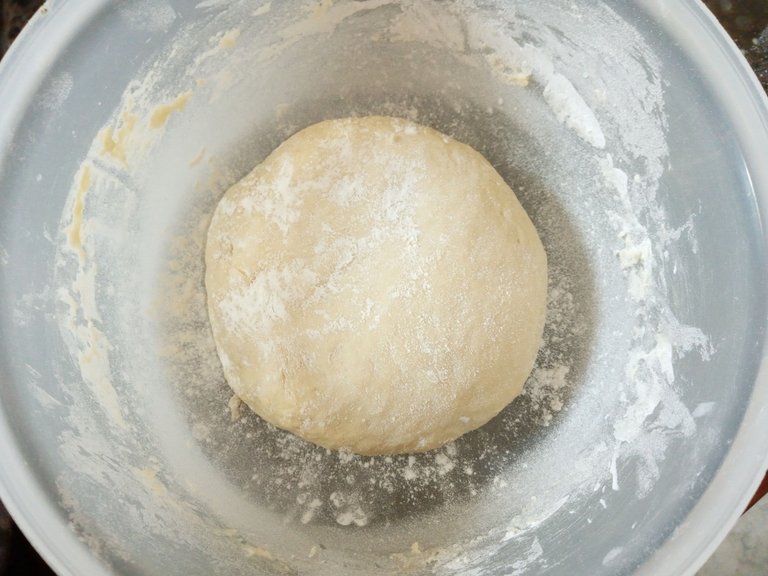
Llegados al punto de no poder mover más la masa, es momento de espolvorear un poco de harina sobre la mesa y amasamos hasta integrar del todo. Formamos una bola, enharinamos un poco el mismo recipiente y la dejamos reposar 20 min aproximadamente.
- 3 STEP:
When we reach the point where we can no longer move the dough, it is time to sprinkle a little flour on the table and knead until completely integrated. We form a ball, lightly flour the same bowl and let it rest for approximately 20 minutes.


- PASO 4:
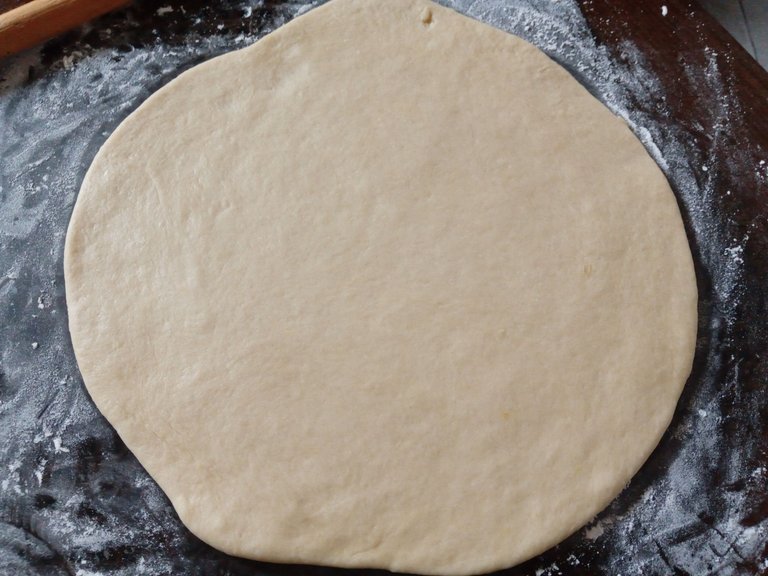
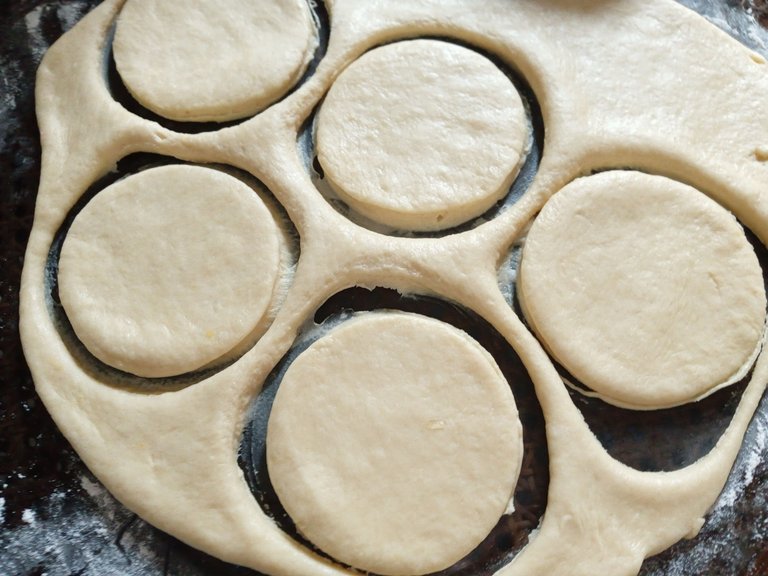
Pasado el tiempo, volvemos a espolvorear harina sobre la mesa para que al momento de estirar la masa no se pegue y al estar estirada con un grosor de aproximadamente 1 cm, cortamos círculos con ayuda de algún envase o cortador circular y repetimos el mismo proceso hasta terminar con la masa.
- 4 STEP:
After the time has passed, we sprinkle flour on the table again so that when we stretch the dough it does not stick and when it is stretched to a thickness of approximately 1 cm, we cut circles with the help of a container or circular cutter and repeat the same process until we finish the dough.


- PASO 5:
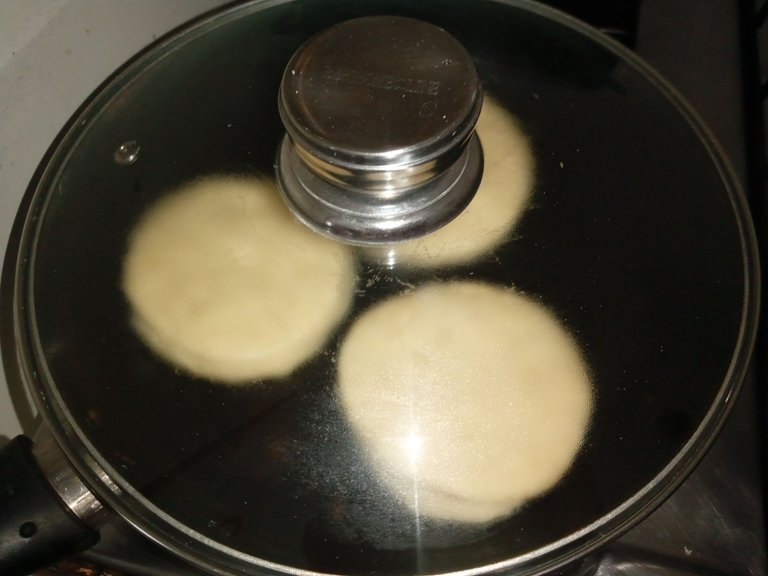
Llevamos un sartén a fuego bajo, previamente engrasado, colocamos los pancitos que quepan y tapamos. Debemos dejar cocinar unos 2 minutos cada lado unas 2 repeticiones, o hasta que los vean doraditos por cada lado. Retiramos del fuego, colocamos sobre papel absorbente y repetimos el mismo proceso con el resto de los pancitos.
- 5 STEP:
We put a previously greased pan on low heat, place the rolls that fit and cover. We must let it cook for about 2 minutes on each side, about 2 repetitions, or until they look golden on each side. We remove from the heat, place on absorbent paper and repeat the same process with the rest of the rolls.

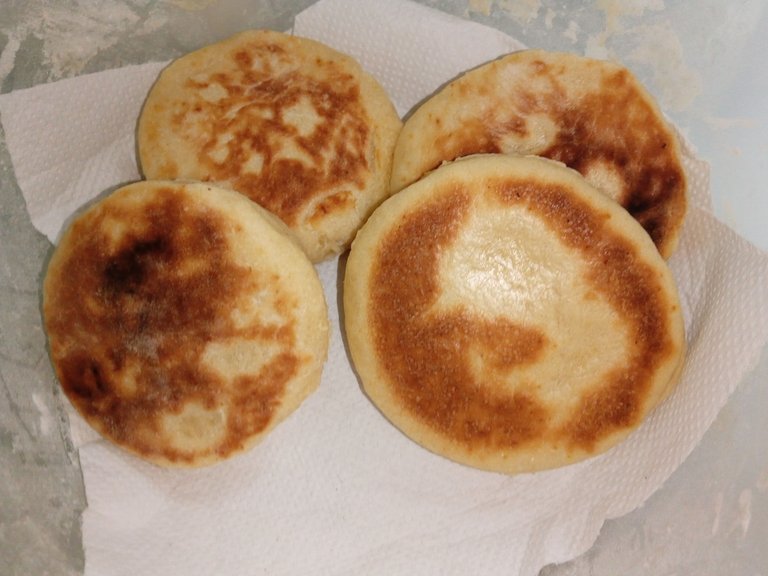

✨¡Y listo! Así es como preparé estos bonitos mini pancitos para comer en el desayuno o meriendas, acompañando con una tasa de café y pueden rellenar con lo que gusten o comerlas así. Espero les haya gustado la receta y se animen a preparar esta delicia.
❤️Hasta la próxima publicación.
✨¡And ready! This is how I prepared these beautiful mini rolls to eat for breakfast or snacks, accompanied by a cup of coffee and you can fill them with whatever you like or eat them like that. I hope you liked the recipe and are encouraged to prepare this delight.
❤️Until the next post.

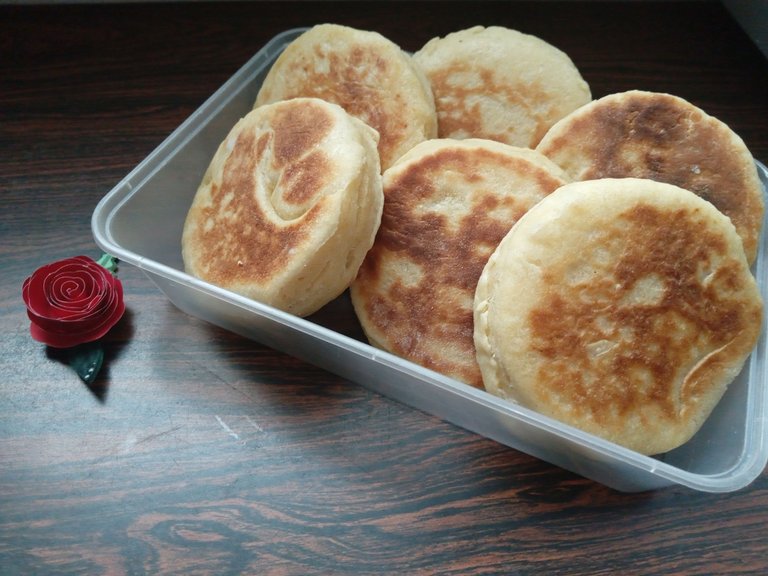
✨RESULTADO: | ✨RESULT:



Todas las fotografías son de mi propiedad.
Separador y Fotos editadas en Canva
All photographs are my property.
Photos edited in Canva
Discord Felicitaciones, su publicación ha sido votada por @ dsc-r2cornell. Puedes usar el tag #R2cornell. También, nos puedes encontrar en
Gracias por el apoyo amigos 💕
Join the foodie fun! We've given you a FOODIE boost. Come check it out at @foodiesunite for the latest community updates. Spread your gastronomic delights on and claim your tokens.
Yum! You have been curated by @sirenahippie on behalf of FoodiesUnite.net on #Hive. Thanks for using the #foodie tag. We are a tribe for the Foodie community with a unique approach to content and community and we are here on #Hive.Muchas gracias por el apoyo amigos 💕
Hola Amiga esas arepitas te quedaron bonitas y son deliciosas. Tú lo llamaste panecitos dulces. Pero son arepas andinas, yo las hago exactamente igual y son riquísima y se pueden comer solas o acompañadas.
Saludos y gracias por tu receta
Sí, luego de haberlas preparado me parecieron fue unas arepitas andinas por la forma que les di 🤭. Pero bueno, al menos quedaron deliciosas. Muchas gracias por comentar. Saludos ✨
Muchas gracias por el apoyo amigos 💕
Amiiii, que ricooooooo🤤
Lo más parecido que he hecho a estos panes son las arepitas de trigo y hmmmm todo divinish, imagino lo delicioso que estaban esos, porque se ven 🤤🤤🤤
Sí amiga, ya sabes que fue un error en el tamaño 🤭, pero de verdad que quedaron divinas. Gracias Ami bella 💕
Quiero hacer y comer, creo que estos pancitos si me atrevo!
Se ven fabulosos esos pancitos, son una excelente opción para el desayuno. La voy a anotar por aquí para prepararla en algún momento.
Totalmente, son perfectos para el desayuno y así ya tienes para varios días. Muchas gracias por pasarte y espero te animes a prepararlos💓
Son las arepitas andinas 😍
Me encantaaaan!
Siempre que pienso en ellas me provoca hacerlas 😅
Ay sí 🥺 ya me volví a antojar jaja. Gracias por comentar bella, saludos 💕
Acá en los andes le llamamos Arepas de trigo... son muy buenas y versátiles yo las hago y siempre le estoy agregando cosas distintas...
En serio? Cómo que otras cosas? La idea era hacer pancitos, pero como los hice pequeñitos quedaron como arepitas 🤭
Si... gracias a mi hija, he inventado mucho... esencias, frutas, cereales... etc...
Ah! y hasta ponquecitos he tenido que hacer... no soy muy amigo de la cocina, pero tengo doctorado en invenciones con mis dos hijos... saludos
Pero que rico se ven esos panes 🤤
But how tasty those breads look 🤤.
Muchas gracias bella! Me alegra que te haya gustado.✨
Se tan buenas como todo lo que haces amiga bella.
Muchas gracias amiga bella 💓. Tan linda🥺💕
Si se parecen bastante a las arepitas Andinas mi Valen, lucen súper ricos, me gustaría 2 para llevar por favor 😋
🤭 ay Ami, yo te las mando con gusto pues, ahí van en camino.💕
Ay que ricos se ven esos pancitos 😍😍 yo quierooo
Ay🤭 gracias mi Eve! Me alegra que te hayan gustado 💓