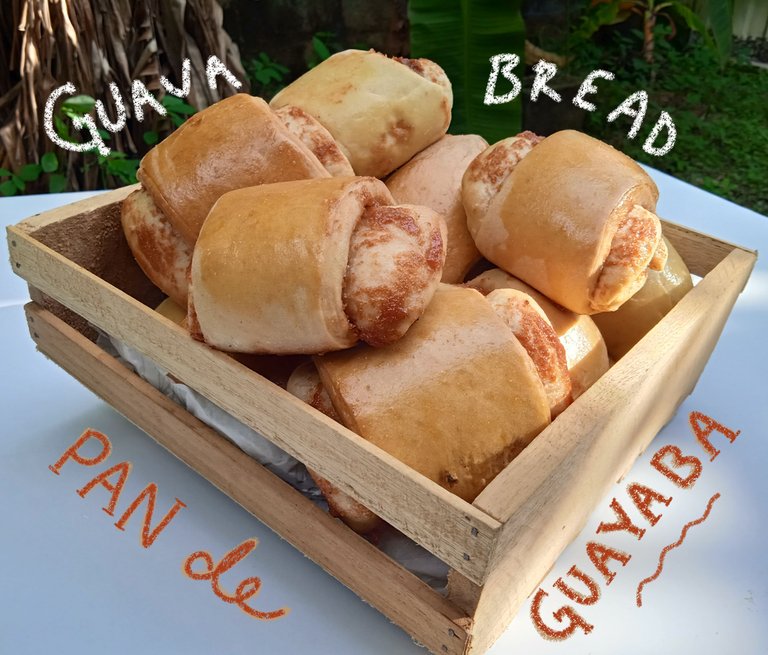
Hello foodie bees! Today is the perfect day to make guava bread, don't you think? 🤭
Actually you can make bread any day of the year, but for me today was the day because I finally got more guavas and I could make jam again, here's the recipe of my marmalade ☺️ if you follow this recipe, you just have to cook it an extra 15 minutes to make it thicker and easier to fill the bread.
This will be a very simple sweet bread, so don't panic, there are no ingredients that are impossible to find. The only thing you need to have is the desire to knead, that's the most important thing to activate the gluten and thus have a fluffy bread.
I recommend you to have a digital weight at hand so that all the ingredients are measured correctly, because then there is no margin for error. When it comes to bread; if you add a few millilitres more water you can alter the mixture and end up with a sticky dough to which you may need to add more flour, that's when the bread becomes hard, heavy and small.
That's the recommendation for first time bread makers. I haven't made a lot of bread either, but I do have a basic knowledge. I don't have digital weighing here at my mother's house, although I do have a measuring cup, some measuring spoons and a little bit of experience. 😅
Ingredients for 20 loaves:
- 800 gr all-purpose flour.
- 130 gr sugar.
- 2 tablespoons powdered milk (optional).
- 5 gr instant yeast.
- 30 gr margarine.
- 480 ml water.
- 2 eggs.
- 1 pinch of salt.
- 400 gr guava jam.
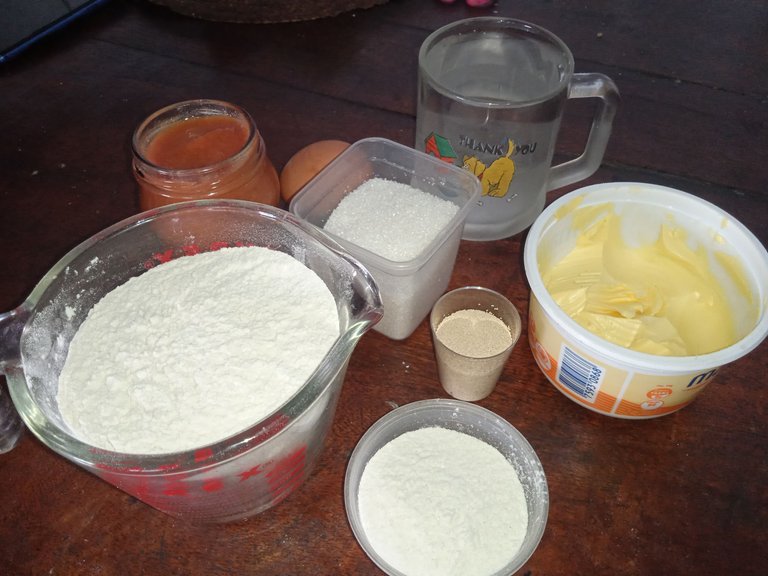
Note: Although it may seem strange, each brand of wheat flour is different and reacts differently to the amount of water added to it. There are some that ask for more water when kneading and there are others that do not.
That is why you should NOT add all the water at once, you should do it little by little, kneading and seeing how the mixture behaves.

Step 1:
To make sure our bread can rise, we need to see if the yeast is good. We check it in the following way: in a glass we add a little bit of warm water with a teaspoon of sugar and a teaspoon of flour. Add a teaspoon of yeast to this mixture, stir and leave to stand for 15 minutes. If the yeast is in good condition, the mixture will become foamy, otherwise it will have no effect on our bread.
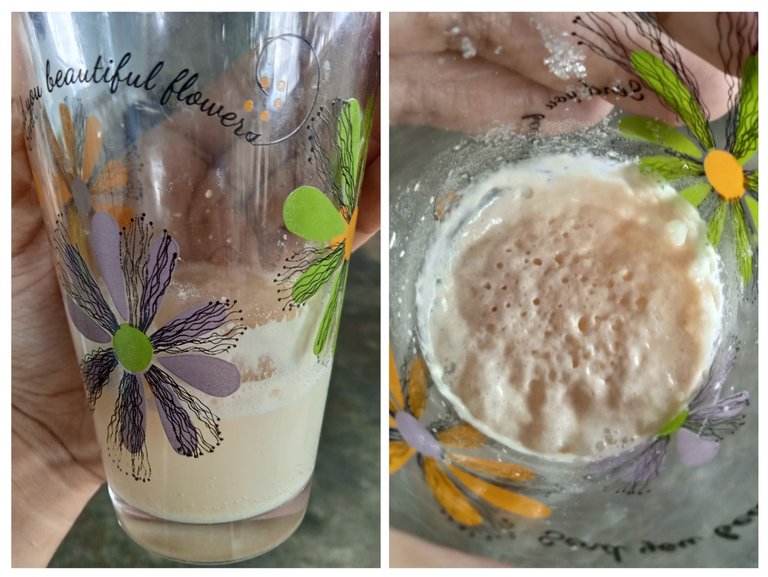
I checked this because I bought a small sachet of detailed yeast at the grocery store so I am more confident when using it.
This counts as step 1 because if we use out of date yeast, our bread simply won't rise and will be more like a bread for making rolls. So don't skip this step. ☝🏼

Step 2:
In the absence of a bowl, a pot is also useful. Here you can also improvise a bit.
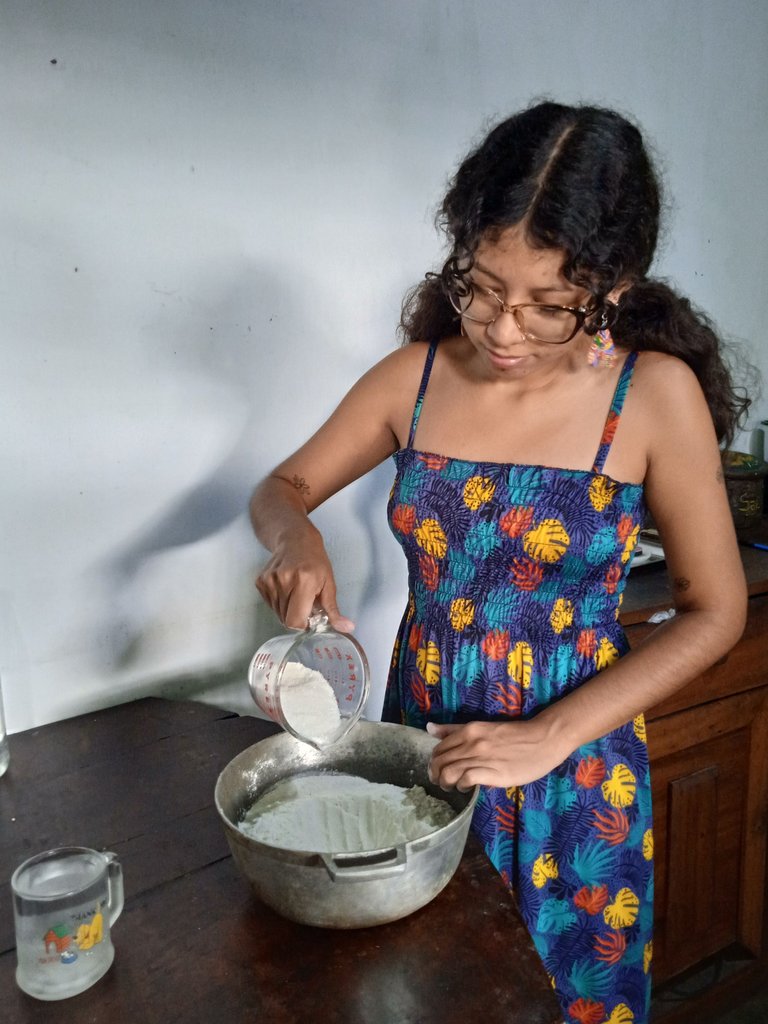
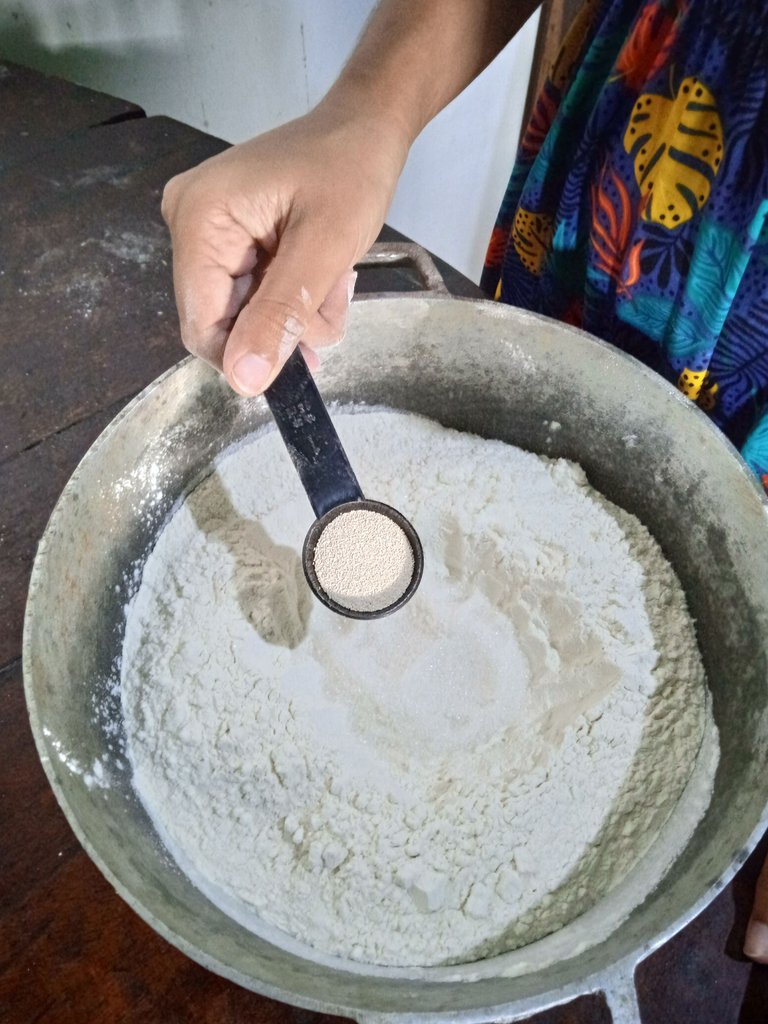
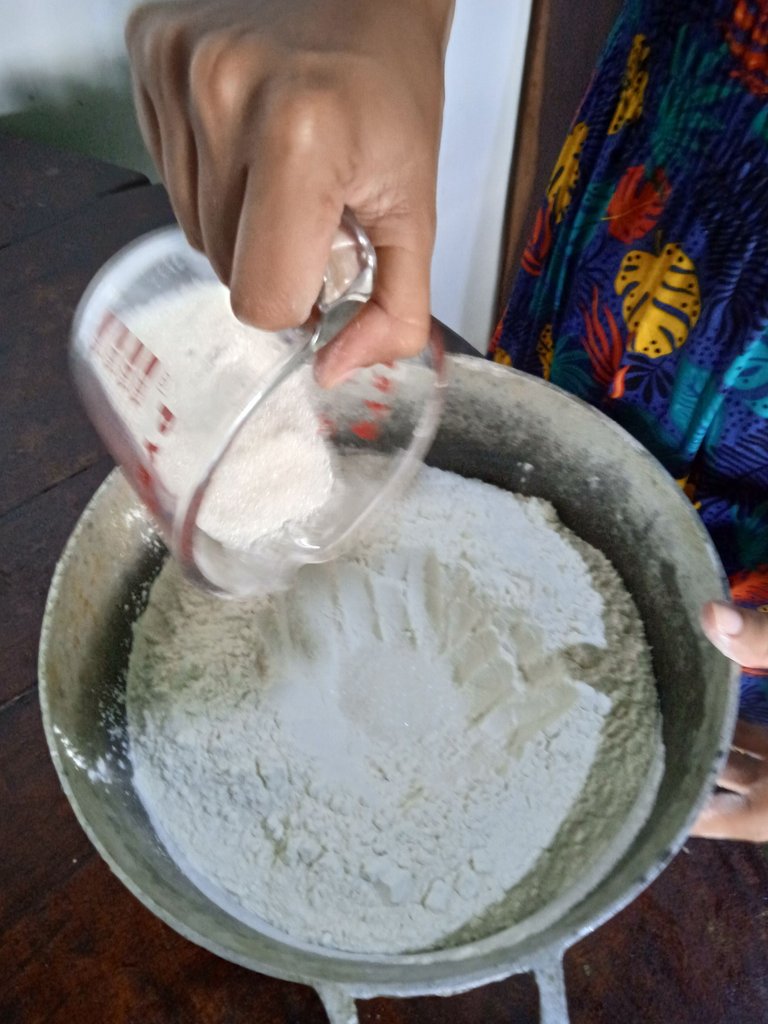
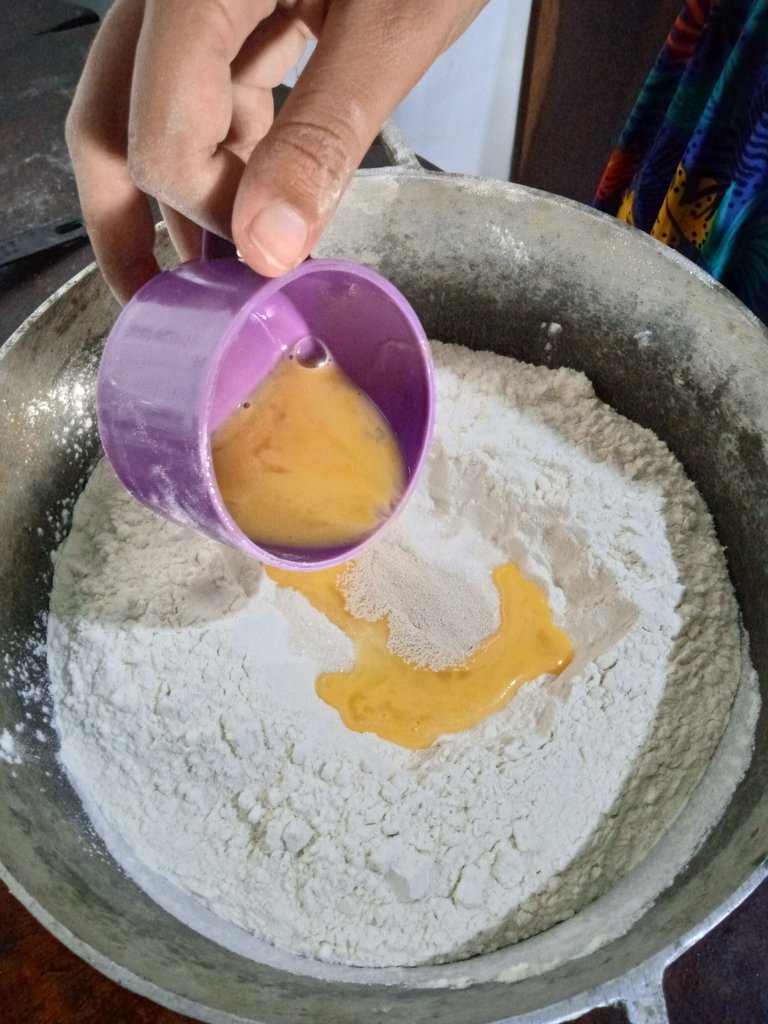
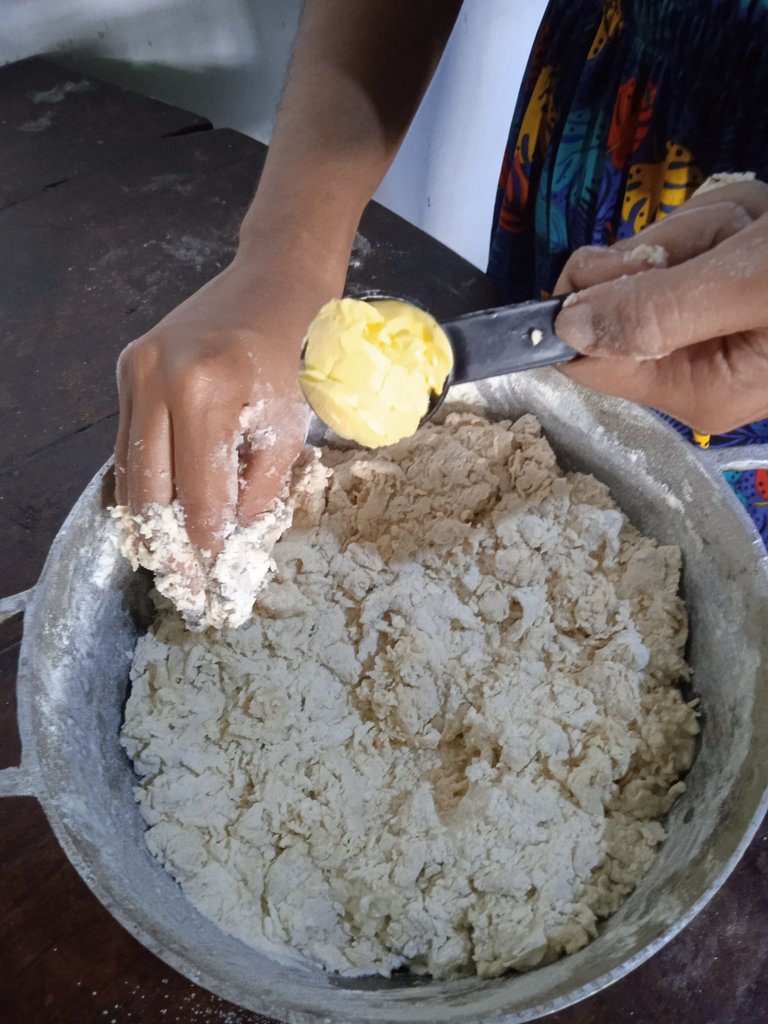
In our bowl we add the flour and in the centre we make a volcano with the sugar, the yeast, the two tablespoons of milk, part of the water and the egg. Stir it a little bit and then start to integrate everything. Don't forget the margarine 😅 I almost forgot it.
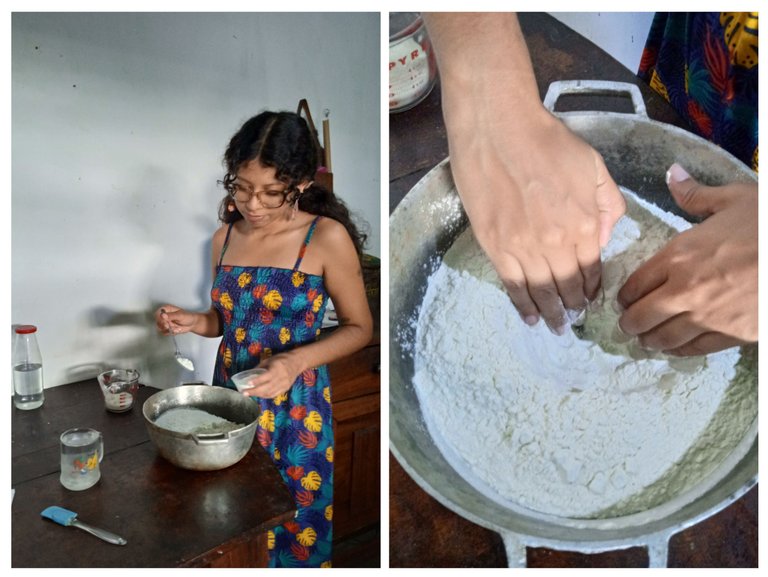
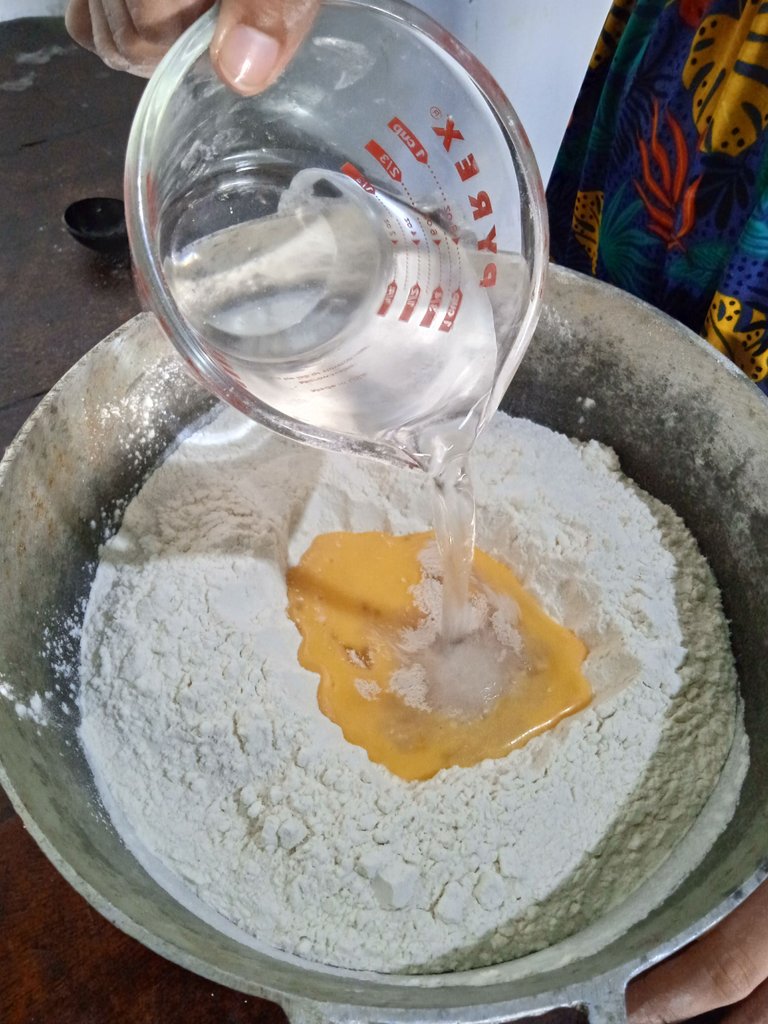
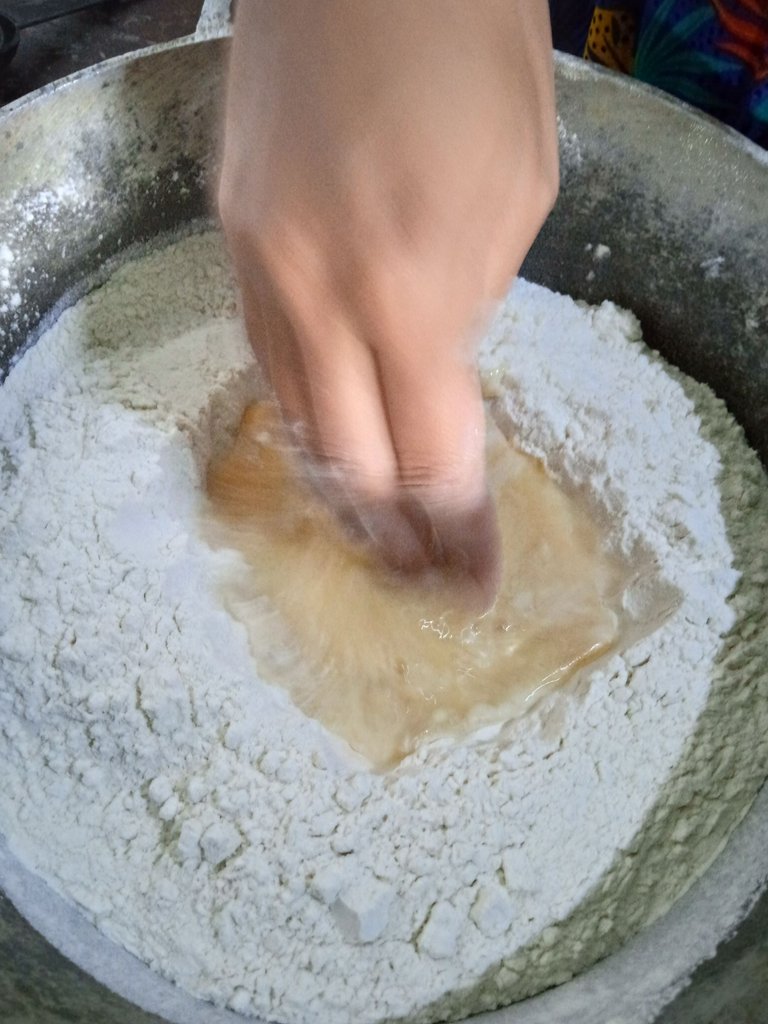
In the bowl, continue kneading until you see that there is no loose flour left. In this part it is normal that it sticks to your hands. Trust your dough.
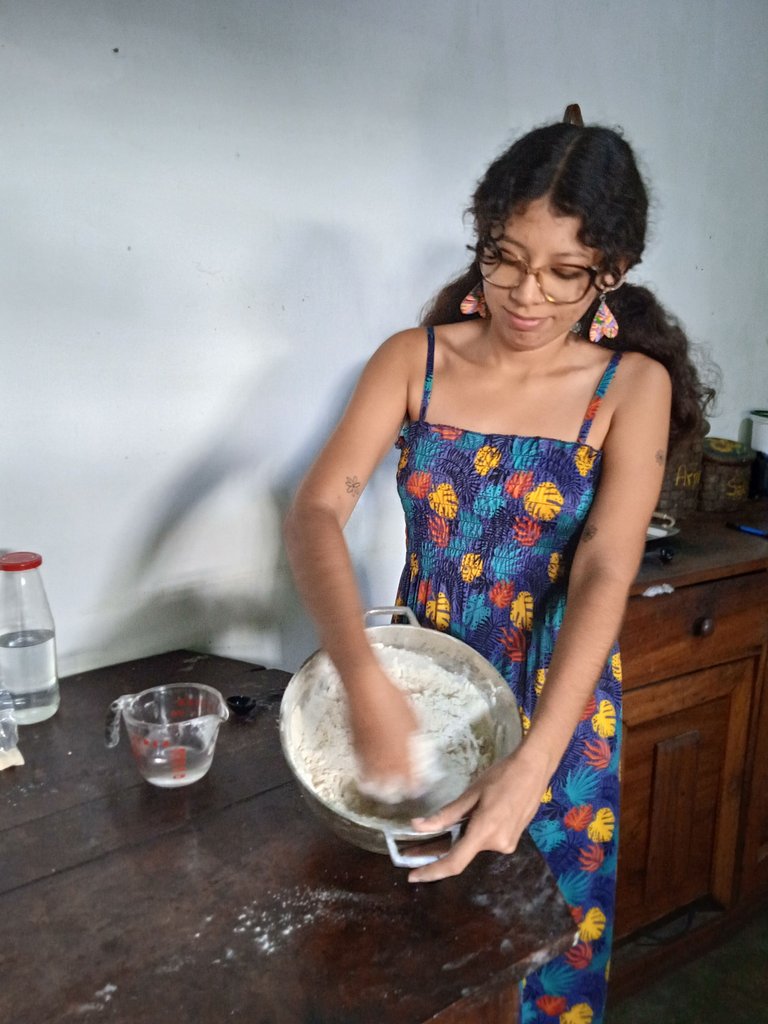
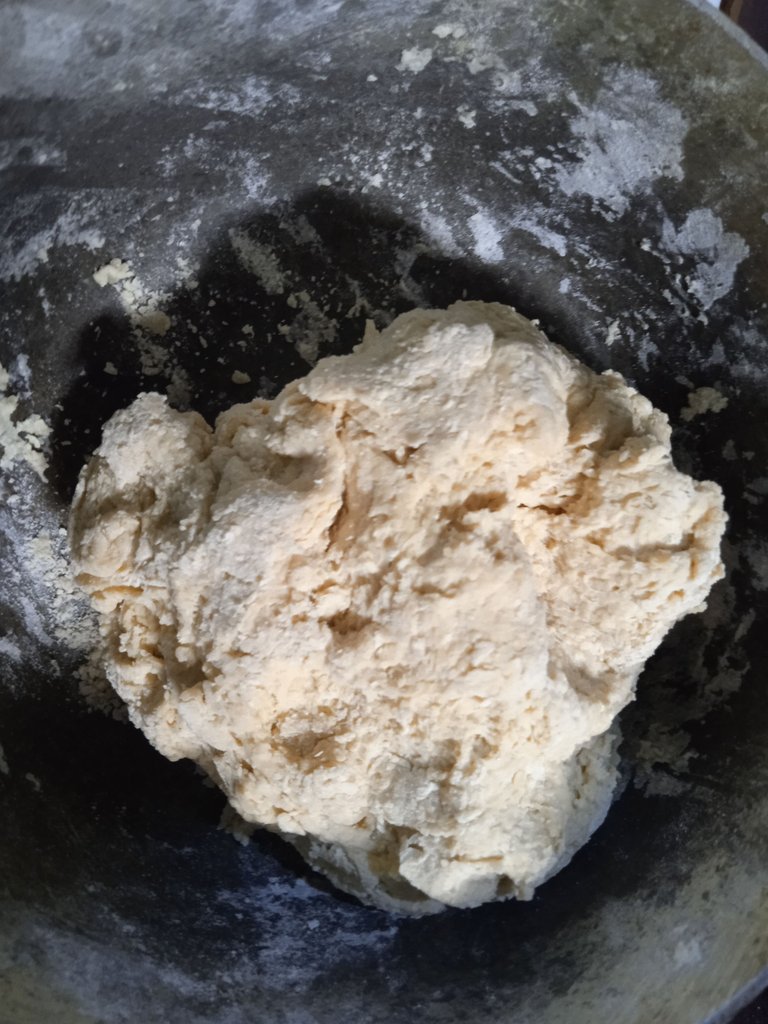

Step 3:
We sprinkle a little flour on the table so that our dough does not stick and also a pinch of salt for flavour.
Now we knead for about 20 minutes with force, until the dough becomes more elastic and smooth.
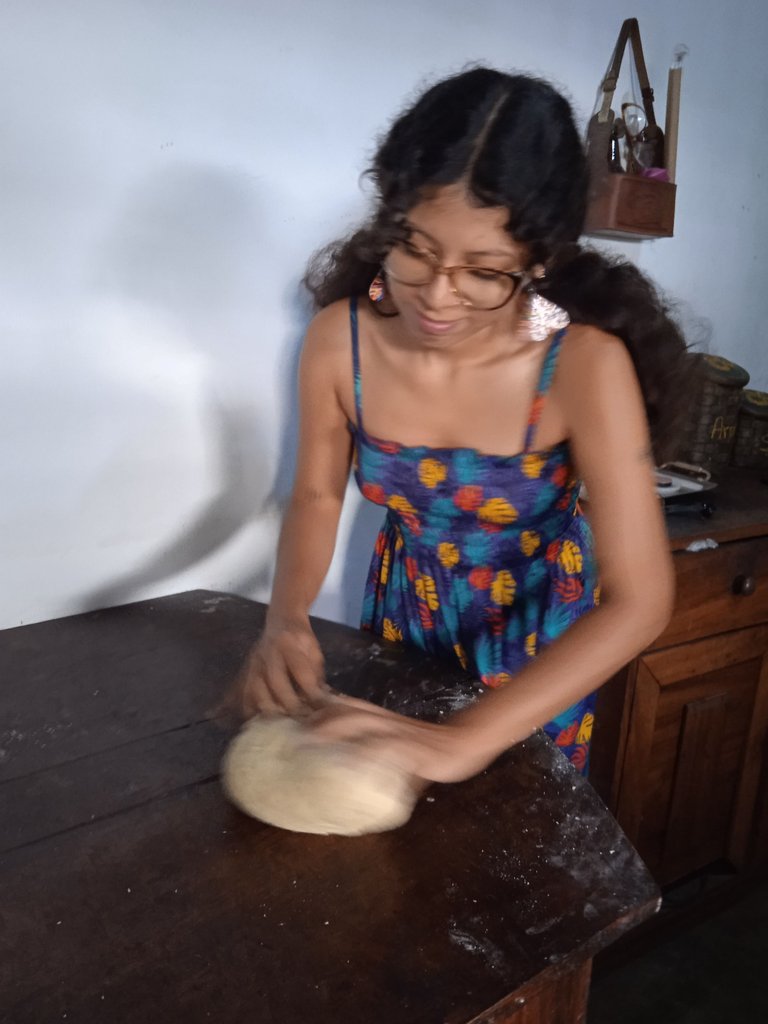
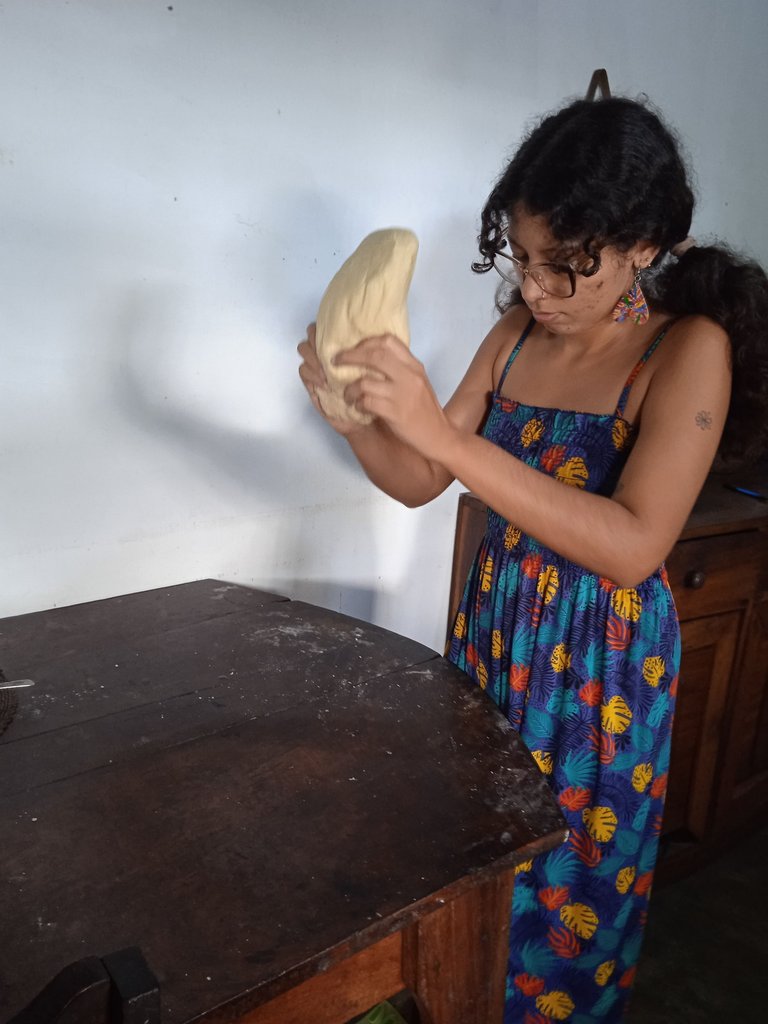
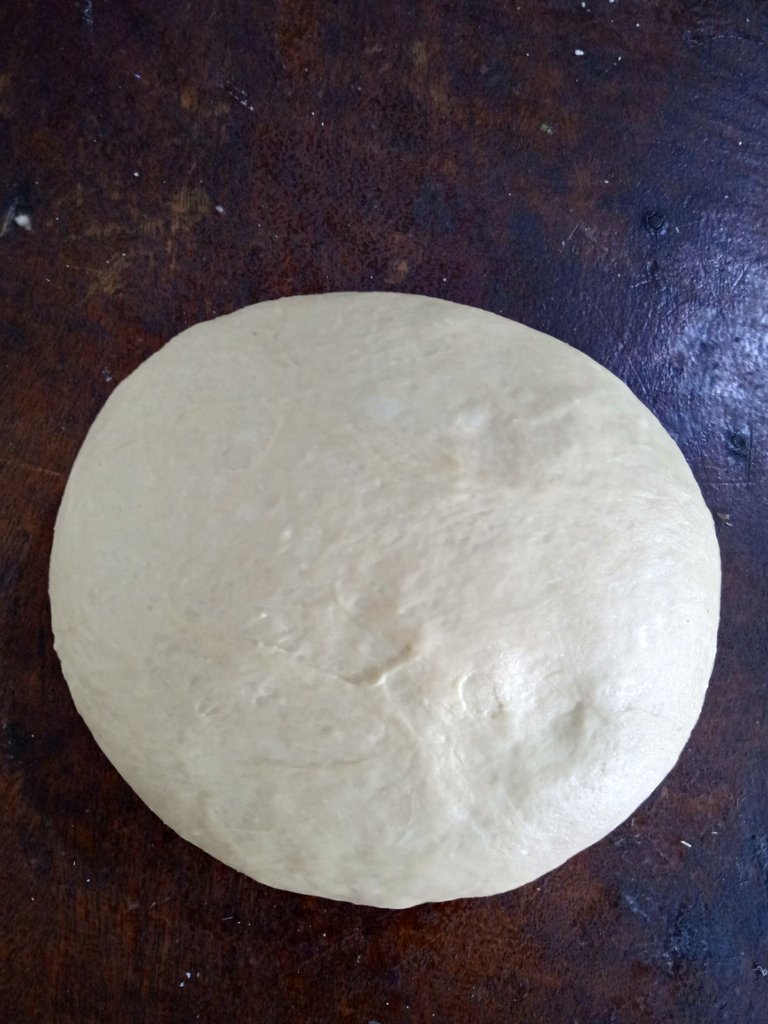
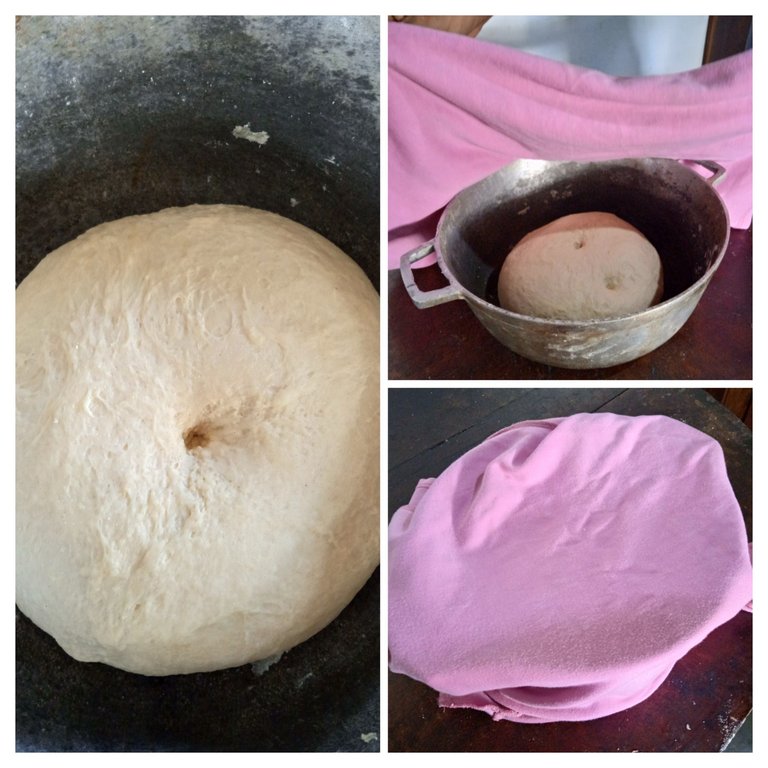
Once the gluten is activated, it is time to transfer it to the bowl and leave it to rise for 1 hour.

Step 4:
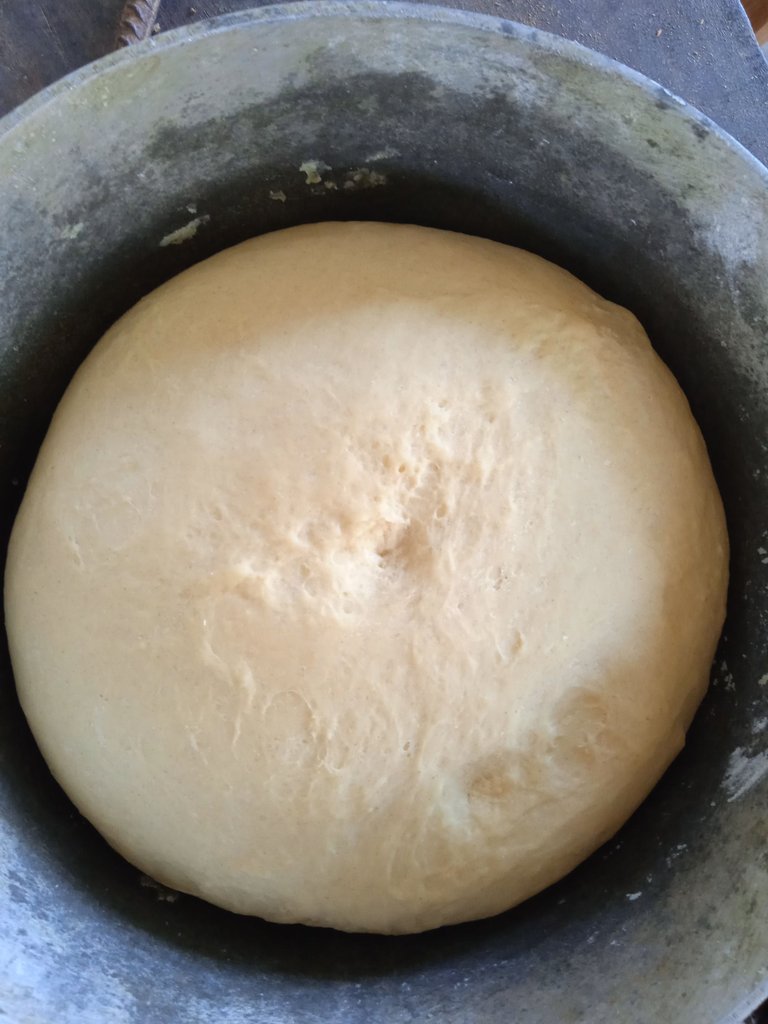
It's been 1 hour and I can almost taste the bread with coffee 😊. You can see how the dough has risen, as the little dot I made has almost disappeared.
We take the air out of our dough and stretch it and then divide it.
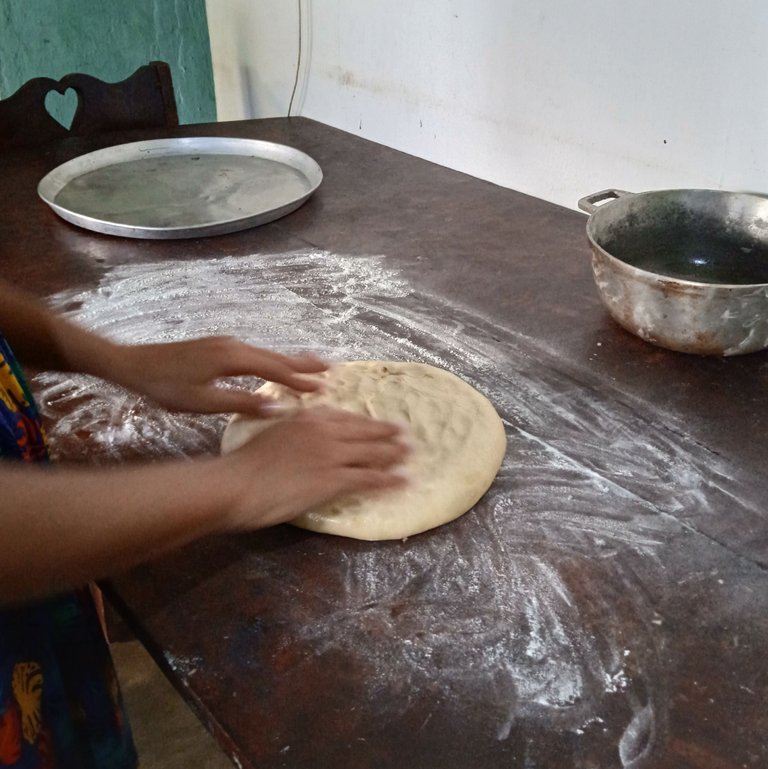
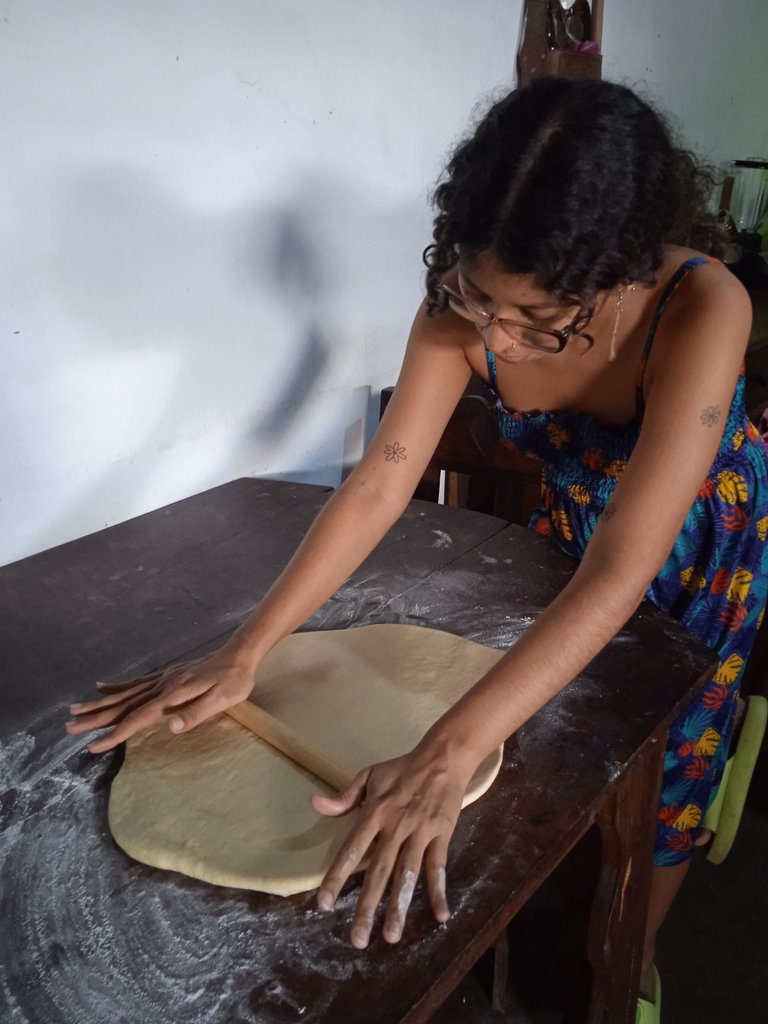
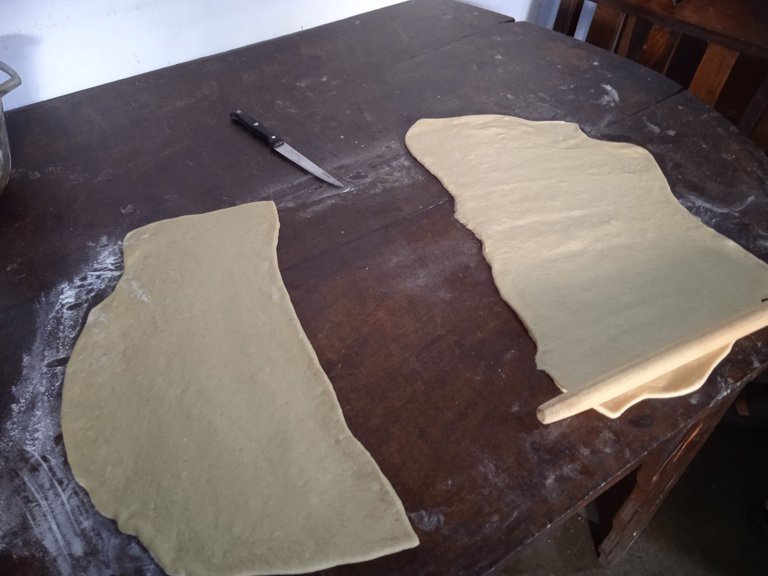
I'll put grated cheese on one of the halves because I really like the combination with jam. We roll it up and divide it into equal portions. The other part of the dough I will make without cheese 😊.
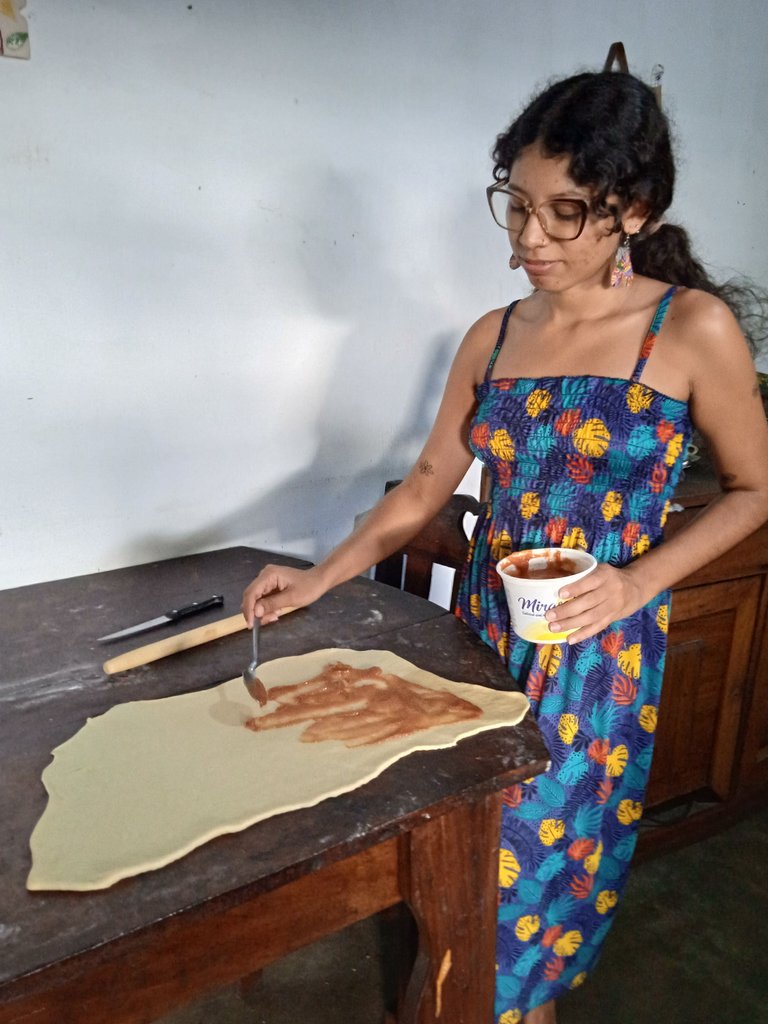
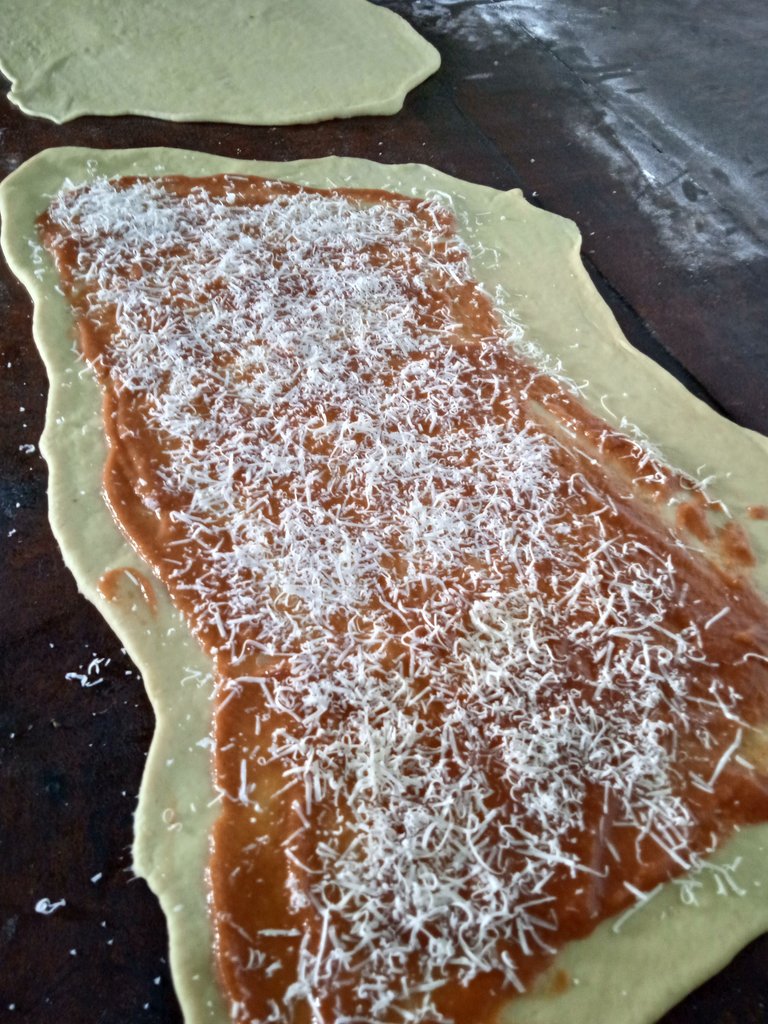
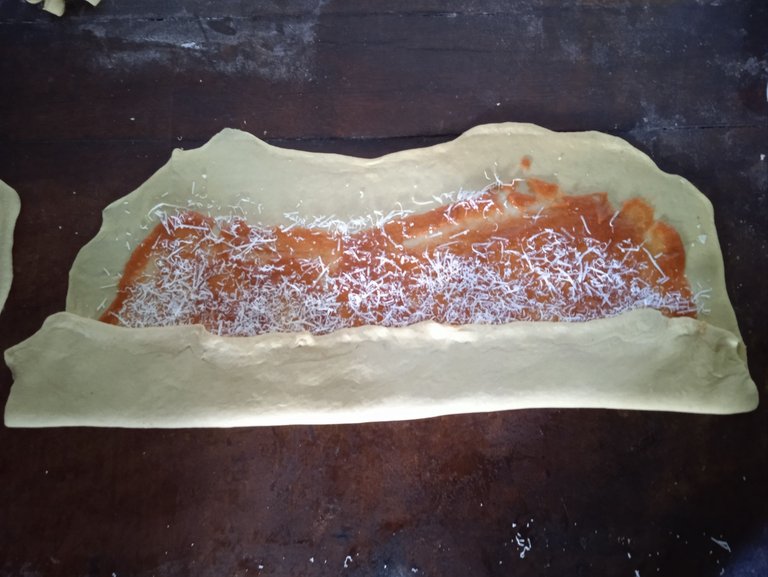
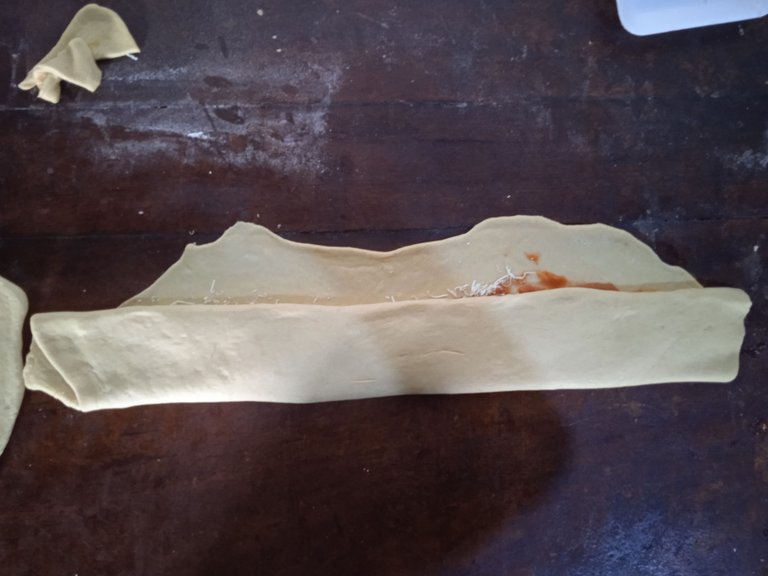
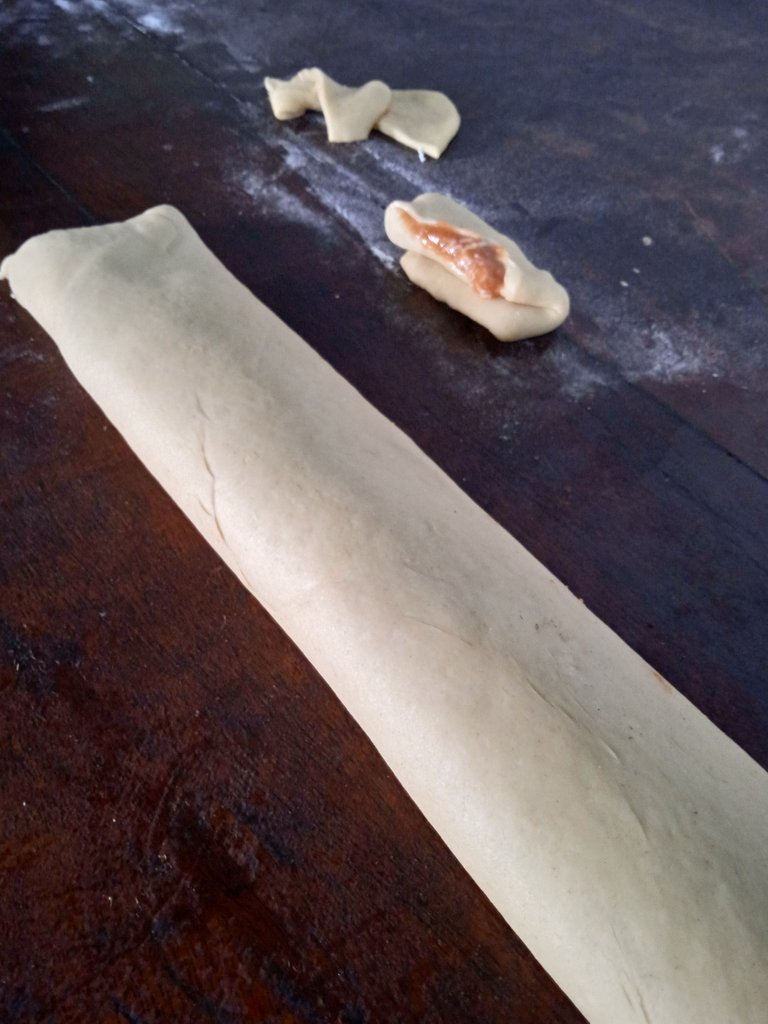
Once sliced, they go to the baking tray to rest for another 20 minutes. Preheat the oven to 180 °C and before putting the first batch of breads in, we glaze them with egg, so that they have a good colour after baking.
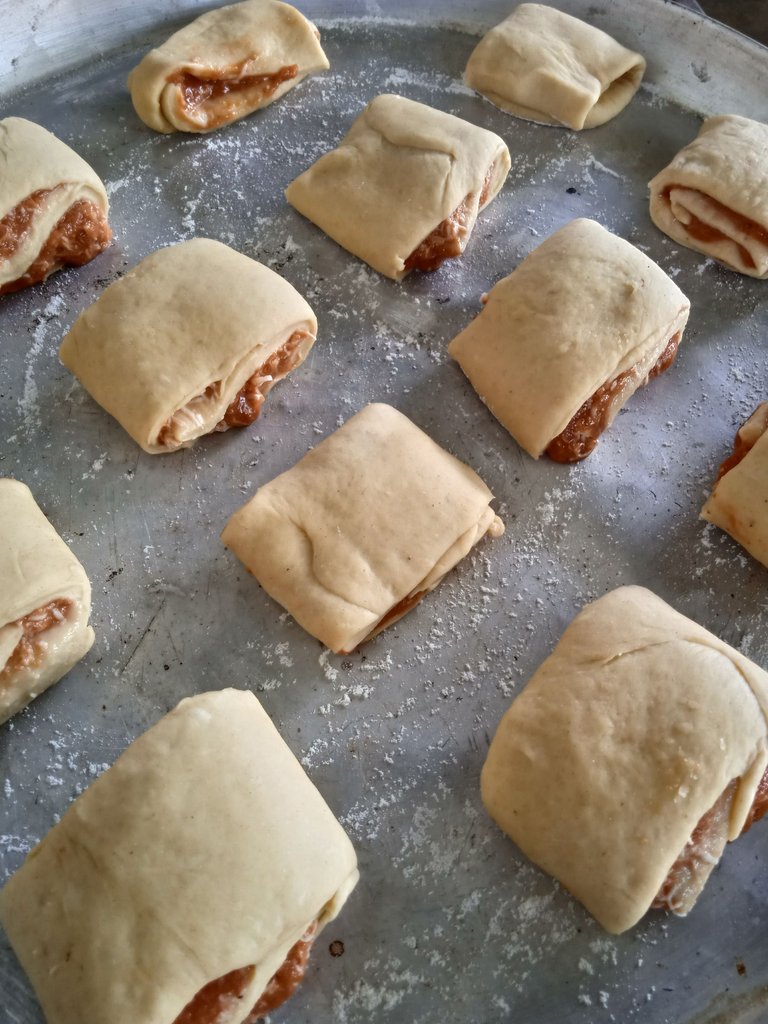
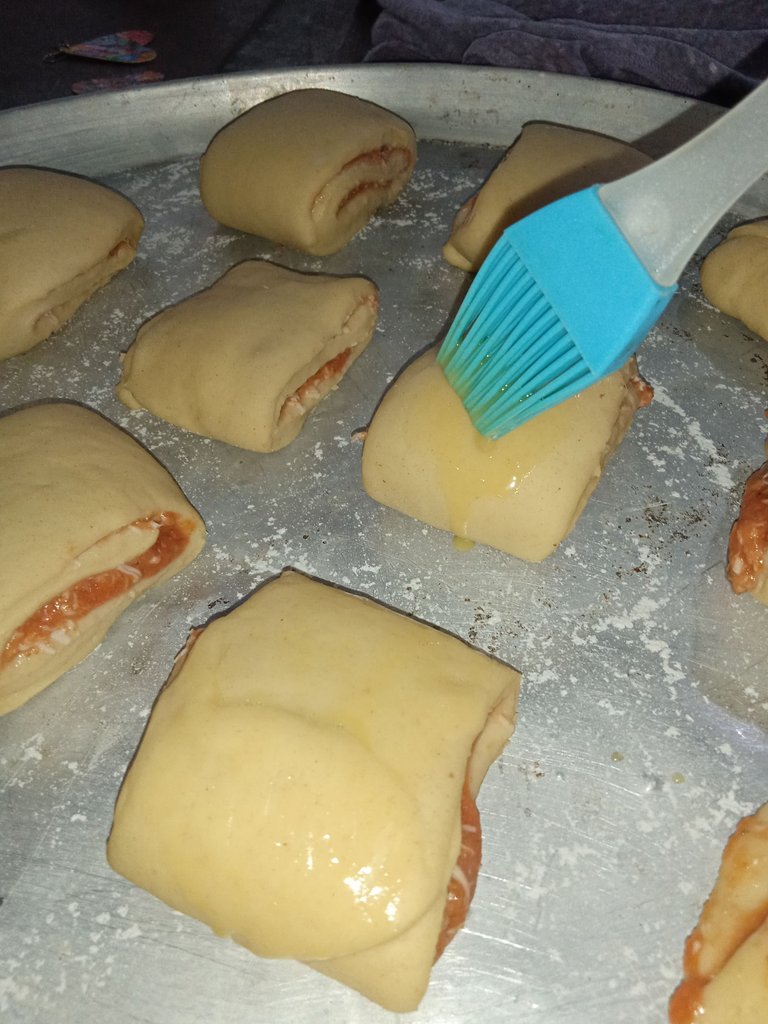
15 minutes later, the kitchen smells like a bakery and the breads are warm, ready and very pretty 😊
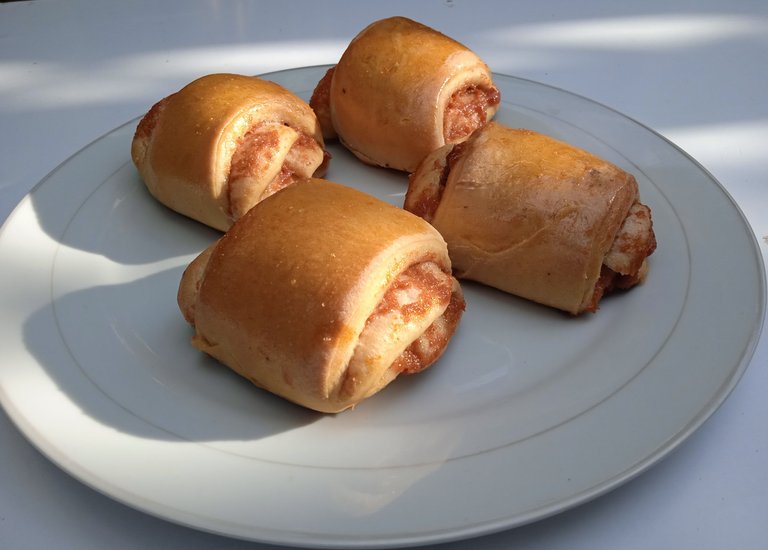
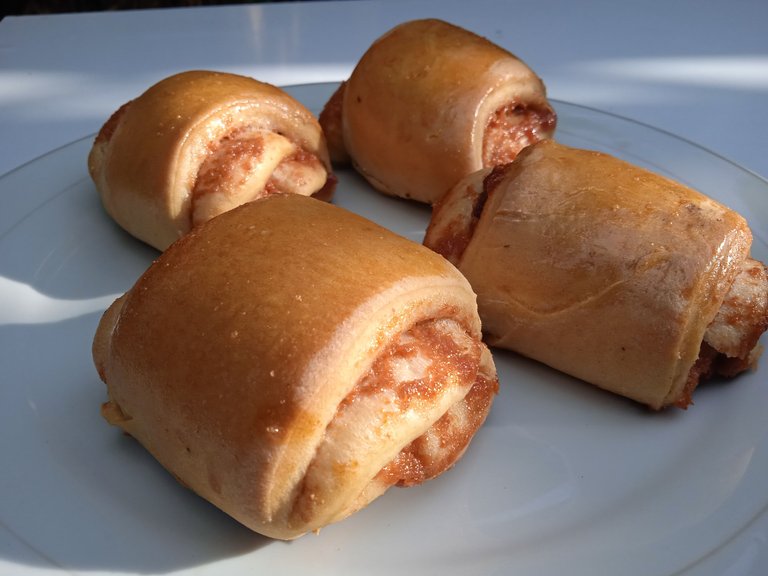
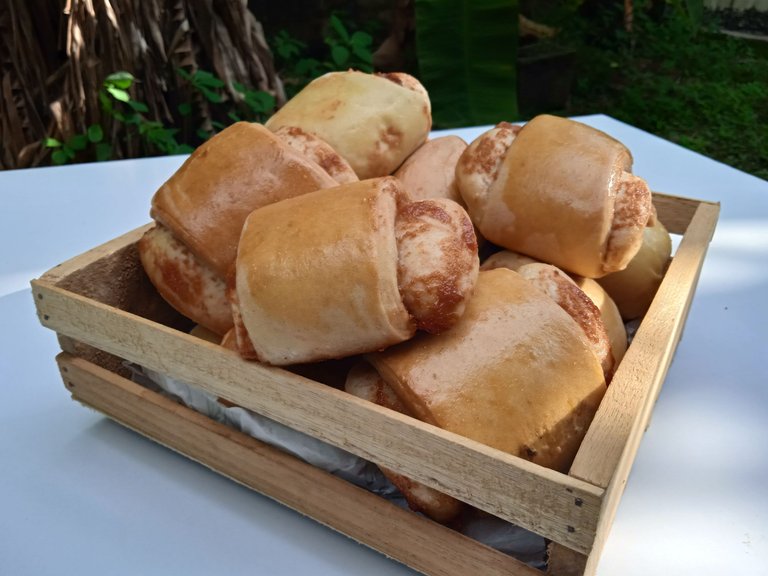
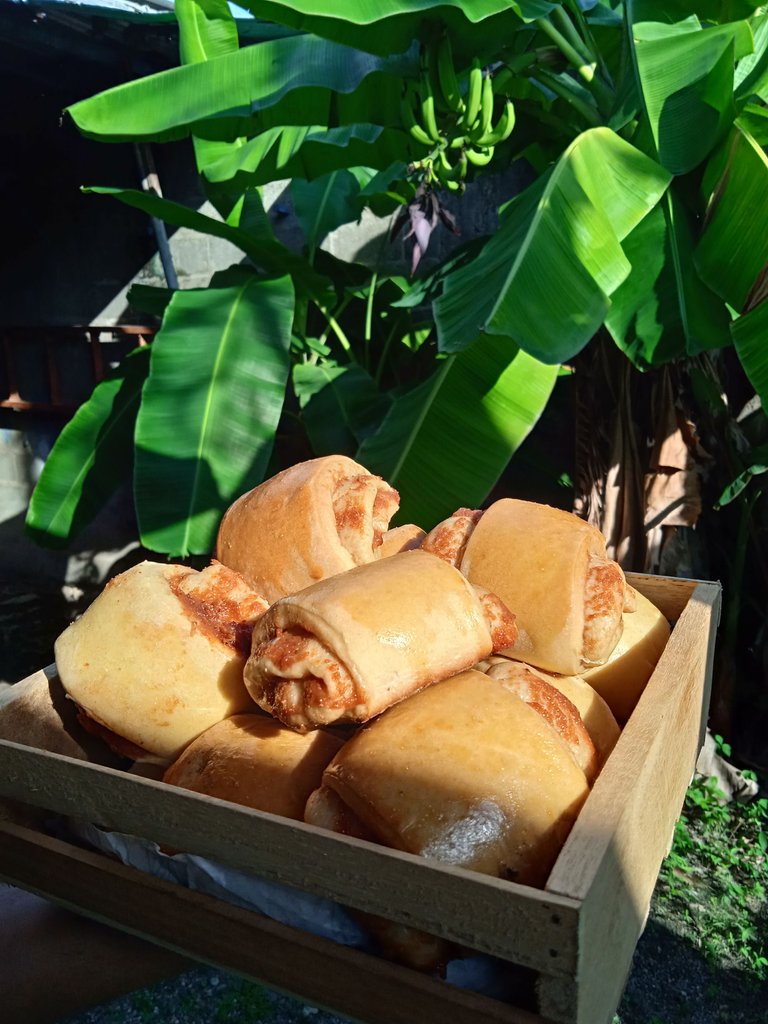
It takes time, but the taste is great, is it because you make it yourself? 😁 My favourite was the cheese with jam. ✨
And well, foodie bees, that was today's recipe. See you in a next post with more flavours to share. 🐝🥖

Credits
- Translated at DeepL.
- Photos edited in IbisPaint
X.

Español

¡Hola abejitas foodies! Hoy es el día perfecto para hacer pan de guayaba, ¿no lo creen? 🤭
En realidad pueden hacer pan cualquier día del año, pero para mí el día fue hoy porque por fin conseguí más guayabas y pude hacer mermelada de nuevo, por aquí les dejo la receta de mi mermelada ☺️ si siguen esta receta, solo tienen que cocinarla unos 15 minutos extras para que quede más espesa y sea más fácil rellenar el pan.
Este será un pan dulce muy sencillo, así que no se asusten, no lleva ingredientes que sean imposibles de encontrar. Lo único que deben tener es ganas de amasar, eso es lo más importante para activar el gluten y así tener un pan esponjoso.
Les recomiendo tener un peso digital a la mano para que todos los ingredientes sean medidos correctamente, porque así no hay margen de error. Cuando se trata de pan; si le agregas unos mililitros más de agua puedes alterar la mezcla y terminas con una masa pegajosa a la que posiblemente debas agregar más harina, ahí es cuando el pan se vuelve duro, pesado y pequeño.
Eso es la recomendación para los que hacen pan por primera vez. Yo tampoco es que he hecho muchísimos panes, pero sí tengo un conocimiento básico. No tengo peso digital aquí en casa de mi madre, aunque sí una taza medidora, unas cucharas medidoras y un poquito de experiencia. 😅
Ingredientes para 20 panes:
- 800 gr de harina de trigo todo uso.
- 130 gr azúcar.
- 2 cucharadas de leche en polvo (opcional).
- 5 gr levadura instantánea.
- 30 gr de margarina.
- 480 ml de agua.
- 2 huevos.
- 1 pizca de sal.
- 400 gr de mermelada de guayaba.

Nota: Aunque parezca raro, cada marca de harina de trigo es diferente y reacciona de forma distinta a la cantidad de agua que se le agrega. Hay unas que piden más agua en el momento del amasado y hay otras que no.
Por eso NO hay que agregar toda el agua de una vez, hay que hacerlo poco a poco e ir amasando y viendo cómo se comporta la mezcla.

Paso 1:
Para asegurarnos de que nuestro pan pueda crecer, hay que ver si la levadura está buena. Lo comprobamos de la siguiente forma: en un vaso agregamos un poquito de agua tibia con una cucharadita de azúcar y otra de harina. A esta mezcla le agregamos una cucharadita de levadura, revolvemos y dejamos en reposo por 15 minutos. Si la levadura está en buen estado, la mezcla se volverá espumosa, de lo contrario no hará ningún efecto en nuestro pan.

Lo comprobé porque compré un sobresito de levadura detallada en el abasto y así estoy más segura a la hora de usarla.
Esto cuenta como el paso 1 porque si usáramos una levadura caducada, nuestro pan simplemente no va a crecer y quedaría más como un pan para preparar enrollados. 😅 Así que no se salte este paso. ☝🏼

Paso 2:
A falta de bol, una olla también es útil. Aquí también se puede improvisar un poco.
En nuestro recipiente agregamos la harina y en el centro haremos un volcán que llevará el azúcar, la levadura, las dos cucharadas de leche, una parte del agua y el huevo. Lo revolvemos un poquito para después comenzar a integrar todo. No se olviden de la margarina 😅 a mí por poco se me olvida.


En el recipiente continuamos amasando hasta ver que no queda harina suelta. En esta parte es normal que se nos quede pegada en las manos. Confíen en su masa.


Paso 3:
Espolvoreamos un poco de harina en la mesa para que no se pegue nuestra masa y también una pizca de sal para darle sabor.
Ahora amasamos por unos 20 minutos con fuerza, hasta que la masa se vuelva más elástica y suave.


Cuando tengamos el gluten activado, es el momento de pasarlo al recipiente y dejarlo leudar durante 1 hora.

Paso 4:
Ya pasó 1 hora y casi puedo saborear el pan con café 😊. Pueden observar como creció la masa, pues el puntito que le hice casi ha desaparecido.

Le sacamos el aire a nuestra masa y la estiramos para luego dividirla.


A una de las mitades le pondré queso rallado porque me gusta mucho la combinación con mermelada. Lo enrollamos y dividimos en porciones iguales. La otra parte de la masa la haré sin queso 😊.


Ya cortados, van a la bandeja a reposar otros 20 minutos. Precalentamos el horno a 180 °C y antes de meter la primera tanda de panes, los barnizamos con huevo, para que tenga un buen color tras el horneado.


15 minutos después, la cocina huele a panadería y los panes están calentitos, listos y además muy bonitos 😊


Lleva su tiempo, pero el sabor es buenísimo, ¿será porque lo hace uno mismo? 😁 Mi favorito fue el de queso con mermelada. ✨
Y bueno abejitas foodies esta fue la receta de hoy. Nos vemos en un próximo post con más sabores para compartir. 🐝🥖

Créditos
- Traducido en DeepL.
- Fotos editadas en IbisPaint X.
Posted Using InLeo Alpha
se ven muy ricos, excelente para merendar!
they look very tasty, excellent for a snack!
Gracias! Estaban muy buenos 🤭 100% aprobados para la merienda 😁
A pesar de que cuando era niña odiaba la guayaba, ahorita es de mis frutas favoritas jajaja esos panes se ven divinos ✨
Me pasa con la piña porque todavía no he tenido conexión con esa fruta😅. Cuando uno va creciendo va haciendo las pases con ciertas frutas y verduras!
Aww gracias 🌷, lo mismo pensó mi mamá. Unos panes de portada Vogue 🤭
Pan de guayaba es todo lo que está bien en esta vida 🤤🤤, en las fotos se ven deliciosos, seguro quedaron así. Gracias por compartir la receta para hacerlos @verdeayer 🤗.
Riquísimos, mi papá y mi mamá fueron los jueces 😁🤭 ¡espero que te queden muy ricos! Feliz tarde ☕
Que receta más deliciosa! Nada mejor que acompañarlo con una buena taza de café, la combinación perfecta para esas meriendas☕️
O desayunos 🤭 aunque en Venezuela somos más de desayunar alguito salado. Pero para variar los días queda perfecto 👌🏼 ¡saludos!
Esos panes se ven super ricooos! Muchos éxitos mi querida. 😍
Muy buenos, ¡gracias! Lo único que quedó de los panes fueron las fotos 😅☕
Join the foodie fun! We've given you a FOODIE boost. Come check it out at @foodiesunite for the latest community updates. Spread your gastronomic delights on and claim your tokens.
Thank you ✨
Una gente por aquí está anotando la receta porque lo quiere hacer el fin de semana jeje!
¡Esoo! Así es! Manos a la masa👏🏼 y en diciembre nos espera el pan de jamón 😉 o al menos ese es mi plan 😁
Que bien, se ven muy buenos,
me recuerda cuando mi madre estuvo en clases de repostería y pastelería y nos hacía esos panes.
¡Gracias! No hay nada que se compare con lo hecho en casa 😉, que bonito tener una mamá que hace panes ✨
It looks so delicious, I will definitely try your recipe.
It will be delicious 🤗 guava goes very well with bread.