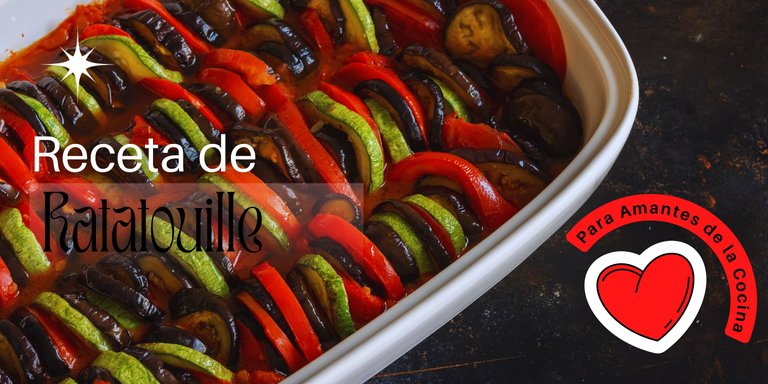
Foto tomada de Pixaby Banner creado con Canva
Estoy muy segura de que cuando escuchas la palabra Ratatouille lo primero en que piensas es en la película del mismo nombre ¿Me equivoco? Déjame informarte que el origen de esa palabra no tiene nada que ver con ratas. La palabra Ratatouille es el nombre de un platillo gastronómico muy conocido en Francia, el cual es originario del pueblo provenzal de Niza, este platillo algunos años atrás lo realizaban las personas de muy bajos recursos, tomaban las sobras de las verduras y las cocinaban. Este origen se puede apreciar más claramente en el nombre, “Rata” significa comida y “Touille” sacudido, de este modo “Ratatouille” significa “comida revuelta”
A mi hermana y a mí nos encanta la cocina, desde muy pequeñas tuvimos muy presente esa pasión gracias a una persona que fue muy importante en nuestras vidas y a la cual siempre amaremos, nuestra querida bisabuela Carmen Luisa o mejor conocida para nosotras como “La Nonna”. Desde muy corta edad pudimos apreciar a nuestra bisabuela preparar los platillos más suculentos que hemos probado y gracias a ello nuestro amor por la cocina nació y creció con el tiempo.
Basándonos en ese amor hemos decidido registrar algunas recetas familiares aquí en esta plataforma, esperamos que puedan disfrutarlo tanto como nosotras. Así que el día de hoy comenzaremos con nuestra receta de Ratatouille. Esta es una receta originaria de Francia, pero el día de hoy les enseñaremos nuestra propia interpretación de esta deliciosa comidilla. Mi hermana menor, Yannela Moreno, me ayudo durante todo el proceso, por esa razón debo de agradecerle y darle la mitad del crédito.
Ingredientes que vas a necesitar:
- 2 berenjenas.
- 2 calabacines.
- 3 tomates.
- Salsa de tomate casera (en una siguiente entrada le compartiremos nuestra receta).
- Orégano, saborizante, ajo en polvo y sal (cabe aclarar que la receta original lleva tomillo, pero puedes utilizar los condimentos que tengas en casa y que sean de tu preferencia, tal cual como lo hicimos nosotras).
- Aceite vegetal.
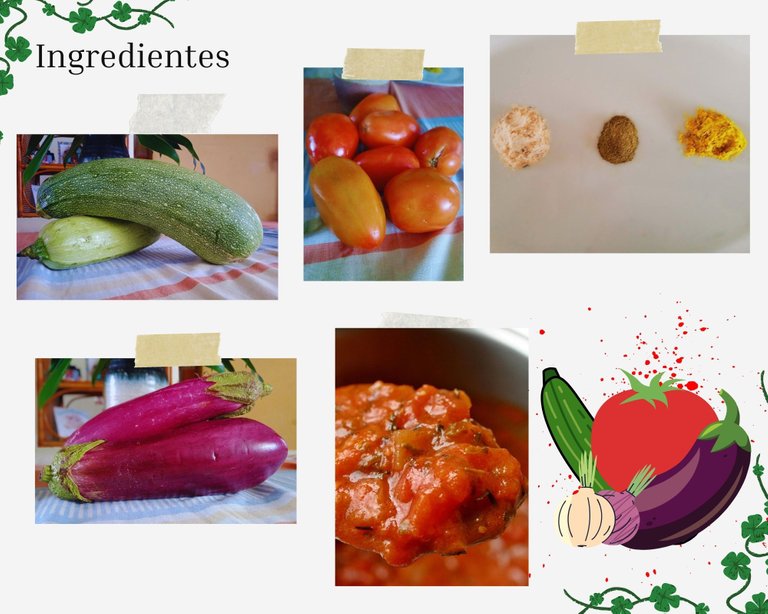
Foto de la salsa de tomate, tomada de Pixaby. Collage creado con Canva. El resto de las fotos fueron tomadas con mi teléfono Redmi 9 C, me reservo los derechos de autor
Preparación:
1- Lo primero que debes hacer es preparar la salsa de tomate casera. También puedes utilizar una precocida, sin embargo, la mayor parte del atractivo del Ratatouille es la salsa.
2- Debes de asegurarte de que los utensilios e ingredientes se encuentren desinfectados. Por lo que te recomendamos limpiar los vegetales con agua y vinagre, luego puedes secarlos con un paño de cocina.
3- Puede emplear una mandolina para que los cortes queden parejos. Sin embargo, no todos contamos con esta herramienta, y como es una receta echa en casa, con lo que tengas a la mano, te recomiendo utilizar un cuchillo de buen filo, eso te permitirá cortar los vegetales en rodajas del mismo grosor.
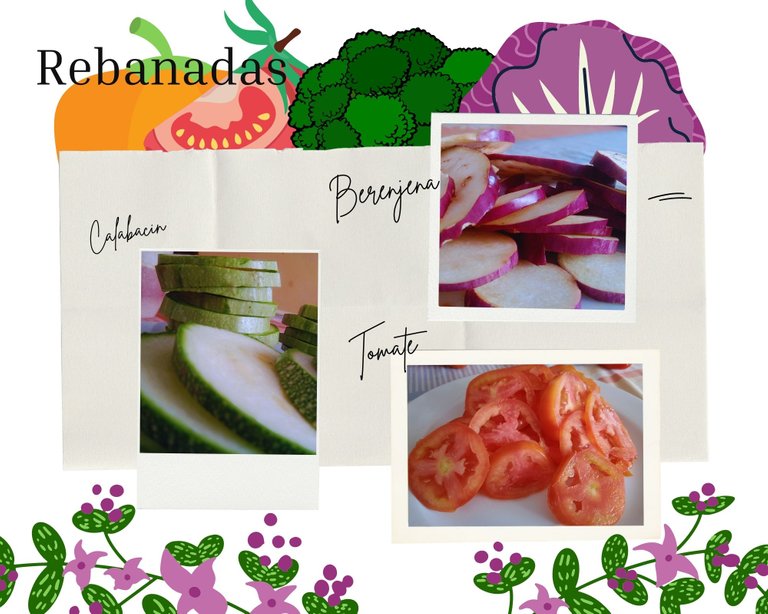
Collage creado con Canva. Las fotos fueron tomadas con mi teléfono Redmi 9 C, me reservo los derechos de autor
4- Cuando ya tengas el cuchillo en tus manos, procede a quitarle los extremos a los vegetales.
5- Una vez que tengas los vegetales sin los extremos, entonces córtalos en rodajas del mismo tamaño.
6- Después de tener tus rodajas, toma un bol, coloca tus vegetales y úntalos con el aceite vegetal, también agregarás los condimentas con las especias ya antes mencionadas para entonces mezclarlos hasta que todo esté bien integrado. (En la receta original condimentan los vegetales en el molde, así que cabe aclarar que esta es la manera en que a mi hermana y a mí nos gusta realizarla). Dejaremos reposar esto por unos minutos.
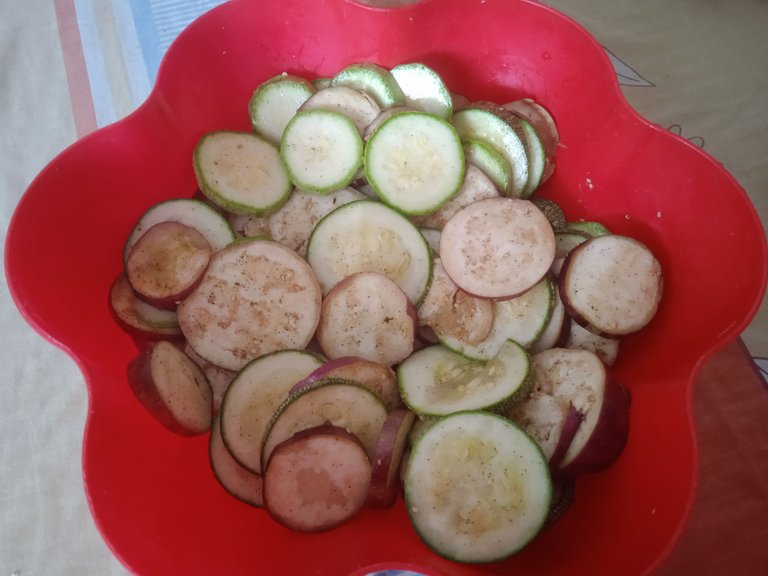
La foto fue tomada con mi teléfono Redmi 9 C, me reservo los derechos de autor
7- Vas a tomar un molde, preferiblemente circular (también puede ser cuadrado u ovalado, lo importante es que los vegetales queden uno detrás del otro, en un orden casi perfecto), con tu salsa casera, la cual debe de encontrarse lista antes de montar tu platillo, crearas una camita, o sea una capa en donde se armarán los vegetales.
8- Ahora viene la parte más divertida, tienes que colocar las verduras de forma alternada dentro del molde, si lo deseas puedes guiarte por medio de la imagen, te sugerimos que primero coloques una rodaja de berenjena, luego una de tomate y por último una de calabacín, para luego repetir el proceso. Has esta acción hasta completar la figura de un círculo y luego rellenas la parte de en medio, como puedes apreciar en la imagen.
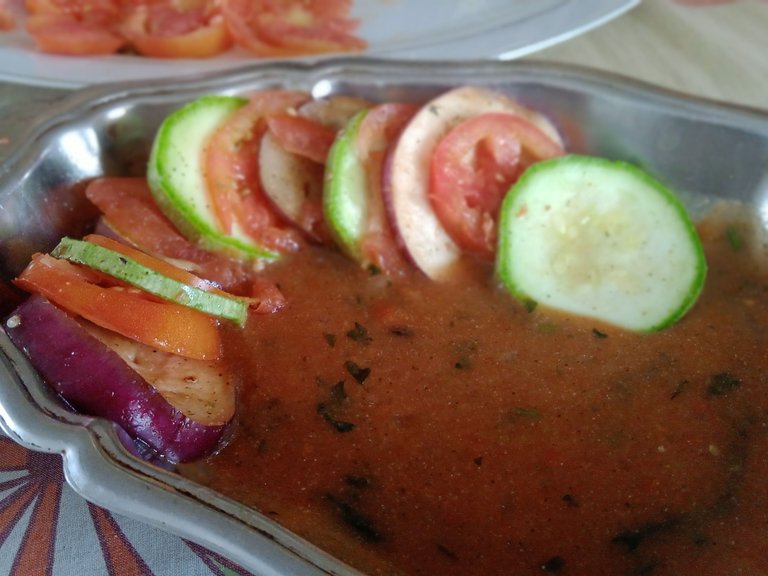
La foto fue tomada con mi teléfono Redmi 9 C, me reservo los derechos de autor
9- Si te sobran vegetales puedes guardarlos en el refrigerador para hacerlos otro día y así no desperdiciaras nada.
10- Ya estando el molde lleno con los vegetales puedes cubrirlo con papel alumno, aunque si no tienes en casa los vegetales igual quedan perfectamente cosidos con el tiempo requerido en el horno.
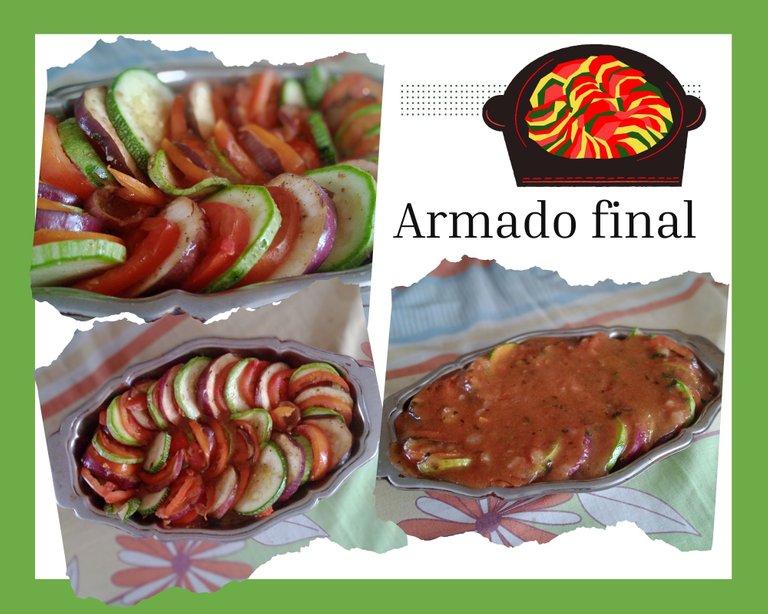
Collage creado con Canva. Las fotos fueron tomadas con mi teléfono Redmi 9 C, me reservo los derechos de autor
11- Precalienta el horno a 170º C.
12- Lleva el molde al horno ya precalentado.
13- Dejarás dentro del horno de treinta a cuarenta minutos.
14- Vigila las verduras y sácalas cuando estén doraditas por encima.
15- Deja que se enfríe un poco y ya podrás emplatar acompañado con la guarnición de tu preferencia.
16- Debo de aclarar que la porción es de tres a cuatro personas.
17- Y el resultado final será:
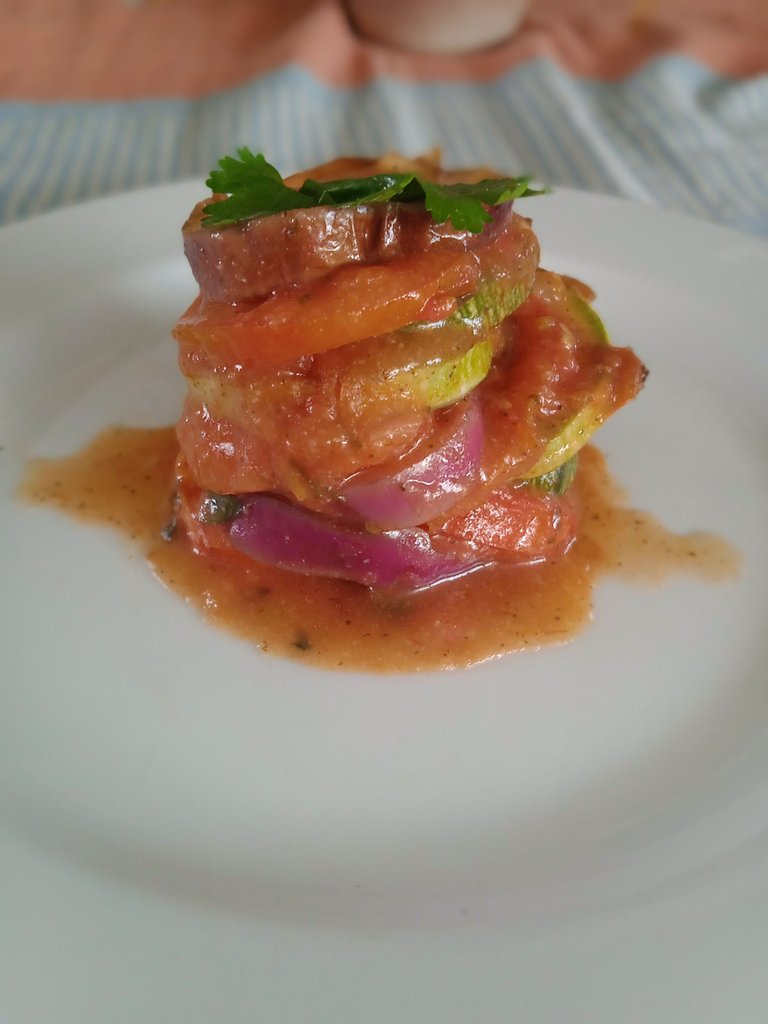
La foto fue tomada con mi teléfono Redmi 9 C, me reservo los derechos de autor
¡Muchas gracias por leer nuestra receta, esperamos que te haya gustado! Síguenos para aprender a realizar más comidas deliciosas como esta en casa. ¿Qué otro platillo te gustaría que preparáramos?
Ratatouille Recipe
I'm pretty sure that when you hear the word Ratatouille the first thing you think of is the movie of the same name, am I wrong? Let me inform you that the origin of that word has nothing to do with rats. The word Ratatouille is the name of a very well-known gastronomic dish in France, which is originally from the Provençal town of Nice, this dish some years ago was made by people of very low resources, they took the leftovers of vegetables and cooked them. This origin can be seen more clearly in the name, "Rat" means food and "Touille" means shaken, so "Ratatouille" means "scrambled food".
My sister and I love cooking since we were very young, we had this passion very present thanks to a person who was very important in our lives and whom we will always love, our beloved great-grandmother Carmen Luisa or better known to us as "La Nonna". From a very young age we could appreciate our great-grandmother preparing the most succulent dishes we have ever tasted and thanks to that our love for cooking was born and grew with time.
Based on that love we have decided to record some family recipes here on this platform, we hope you can enjoy them as much as we do. So today we will start with our Ratatouille recipe. This is a recipe originally from France, but today we are going to show you our interpretation of this delicious little dish. My younger sister, Yannela Moreno, helped me during the whole process, for that reason I have to thank her and give her half of the credit.
Ingredients you will need:
- 2 eggplants.
- 2 zucchinis.
- 3 tomatoes.
- Homemade tomato sauce (in the next post we will share our recipe).
- Oregano, flavoring, garlic powder, and salt (it is worth mentioning that the original recipe has thyme, but you can use the seasonings you have at home that are of your preference, just as we did).
- Vegetable oil.
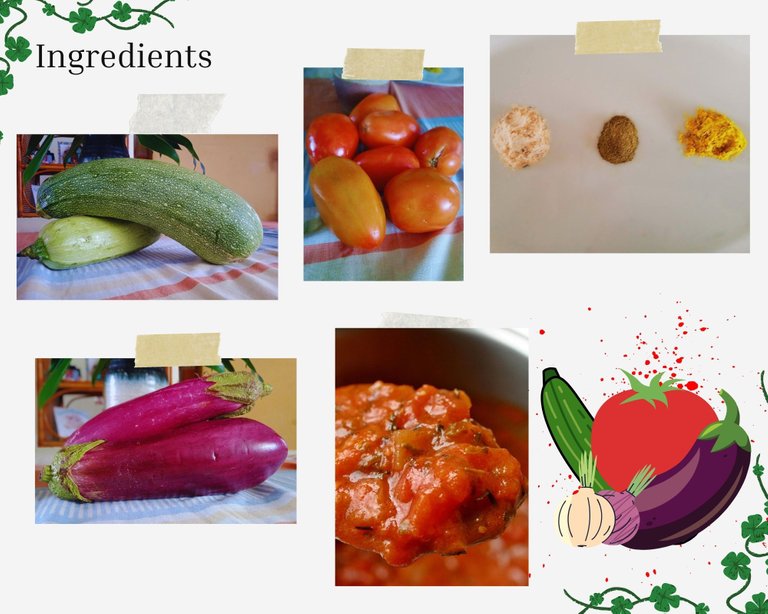
Photo of tomato sauce, taken from Pixaby. Collage created with Canva. The rest of the photos were taken with my Redmi 9 C phone, I reserve the copyright.
Preparation:
1- The first thing to do is to prepare the homemade tomato sauce. You can also use a pre-cooked one, however, most of the attraction of Ratatouille is the sauce.
2- You must make sure that the utensils and ingredients are disinfected. So we recommend you clean the vegetables with water and vinegar, then you can dry them with a kitchen towel.
3- You can use a mandolin so that the cuts are even. However, not all of us have this tool, and as this is a homemade recipe, with whatever you have at hand, I recommend using a sharp knife, that will allow you to cut the vegetables into slices of the same thickness.
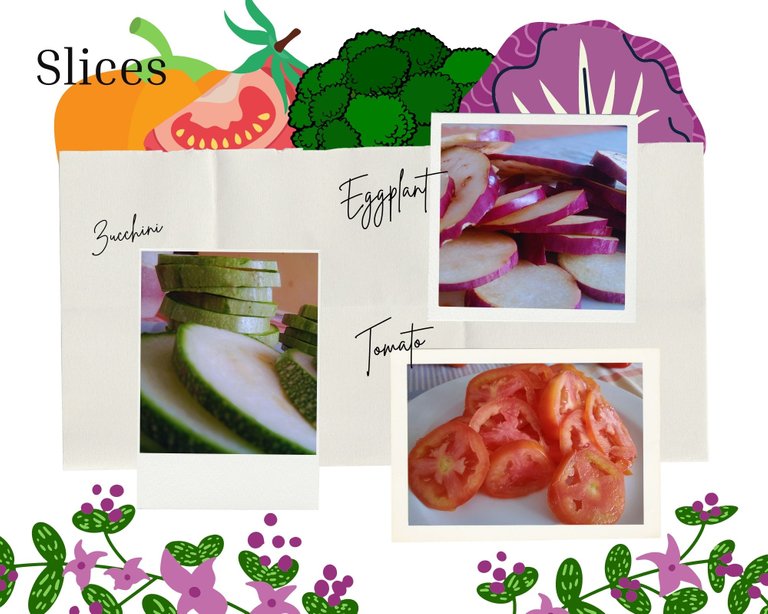
Collage created with Canva. The photos were taken with my Redmi 9 C phone, I reserve the copyright.
4- Once you have the knife in your hands, proceed to remove the ends of the vegetables.
5- Once you have the vegetables without the ends, then cut them into slices of the same size.
6- After you have your slices, take a bowl, place your vegetables, and spread them with the vegetable oil, you will also add the seasoning with the aforementioned spices and then mix them until everything is well integrated. (In the original recipe they season the vegetables in the mold, so it is worth clarifying that this is the way my sister and I like to do it). Let this stand for a few minutes.

The photo was taken with my Redmi 9 C, I reserve the copyright.
7- You are going to take a mold, preferably circular (it can also be square or oval, the important thing is that the vegetables are one behind the other, in almost perfect order), with your homemade sauce, which must be ready before assembling your dish, you will create a little bed, that is, a layer where the vegetables will be assembled.
8- Now comes the most fun part, you have to place the vegetables alternately inside the mold, if you wish you can be guided by the image, we suggest that you first place a slice of eggplant, then a slice of tomato, and finally a slice of zucchini, and then repeat the process. Do this action until you complete the figure of a circle and then fill the middle part, as you can see in the image.

The photo was taken with my Redmi 9 C, I reserve the copyright
9- If you have leftover vegetables you can keep them in the refrigerator to make them another day so you won't waste anything.
10- Once the mold is filled with the vegetables you can cover it with parchment paper, although if you don't have the vegetables at home, they will still be perfectly sewn with the time required in the oven.
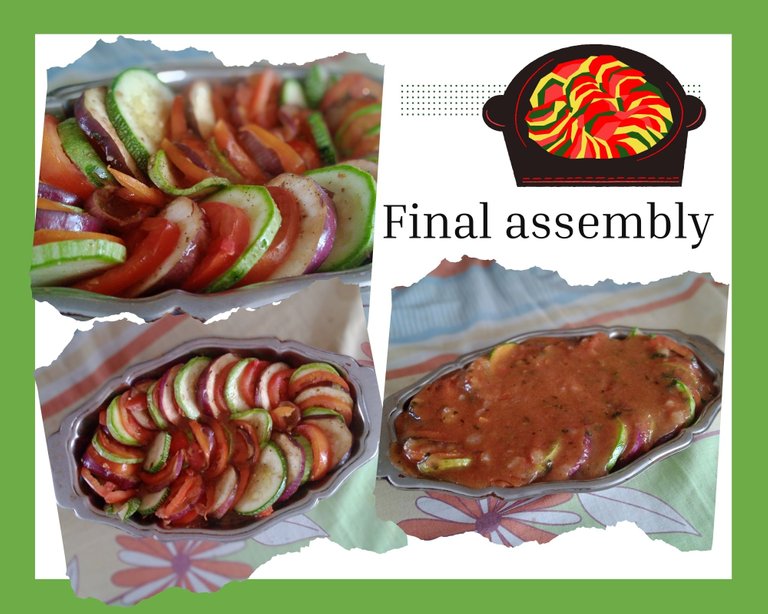
Collage created with Canva. The photos were taken with my Redmi 9 C phone, I reserve the copyright.
11- Preheat the oven to 170º C.
12- Place the mold in the preheated oven.
13- Leave in the oven for thirty to forty minutes.
14- Keep an eye on the vegetables and take them out when they are golden brown on top.
15- Let it cool a little and then you can plate it with the garnish of your preference.
16- I must clarify that the portion is for three to four people.
17- And the final result will be: ***

The photo was taken with my Redmi 9 C, I reserve the copyright
Thank you very much for reading our recipe, we hope you liked it! Follow us to learn how to make more delicious meals like this at home. What other dish would you like us to prepare?
