A DATABASE

A database is known as a structured set of data held in a computer, especially one that is accessible in various ways. It helps to access, manage and update things easily. A database is stored with relevant informations. Database would be use when you will create a website like YouTube, which contains a lot of information like videos, usernames, passwords, comments. if you were to create a website like YouTube, which contains a lot of information like videos, usernames, passwords, comments.
STEP 1 : Downloading XAMPP From Apache
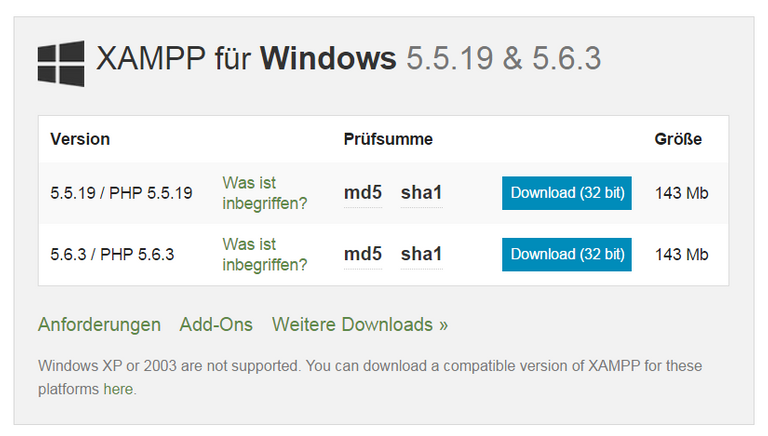
For Windows Users
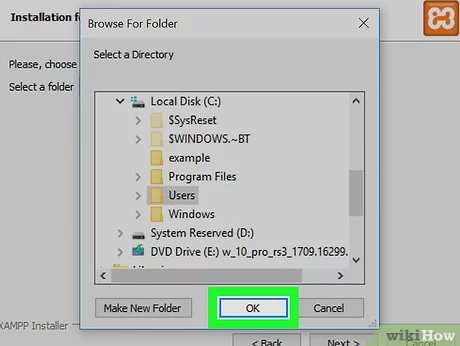
It has the same process with the Mac users but it is even easier. XAMPP has an installer for Windows systems on their website, and all you really need to do is follow a few steps. Go to your preferred browser and search Apache’s Website. By this, it will take you to another page where it will immediately prompt you to confirm downloading the Windows version of XAMPP. Simply run the .exe file that is downloaded and follow the steps you are prompted with. Be sure to remember where XAMPP Installs to, this is important for using the application.
STEP 2 : Setting Up Database
For Windows Users
Finding your XAMPP Files
All XAMPP files will be located in the same place as your control panel. If you have given this program administrator access (As suggested in the last step) you shouldn’t be prompted for any further input beyond maybe confirming that this .exe has administrator access depending on how your preferences are set.
Starting XAMPP
Select the control panel and if necessary confirm administrator access. This will open a panel with several options. The only relevant ones for operating a database are the top two. Those labelled Apache and MySQL. Start those two and you’re ready to proceed to the final step (They should be lit up green as in the image).
STEP 3: Connecting to PhpMyAdmin
For Mac and Windows
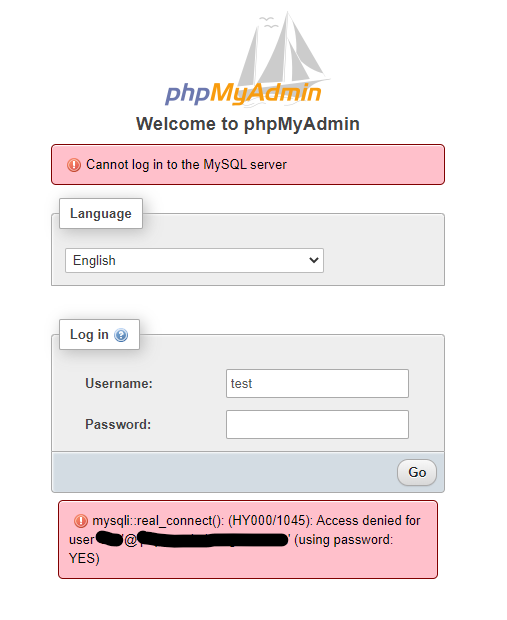
Getting to your local host is super easy. Open your preferred browser, and type “localhost” in the address bar. Note: (You do not want to type localhost into the google search bar. If you do, you will not allow access to phpMyAdmin). After hitting enter, you are now greeted with the XAMPP welcome page. That is the indication tha you successfully installed XAMPP.
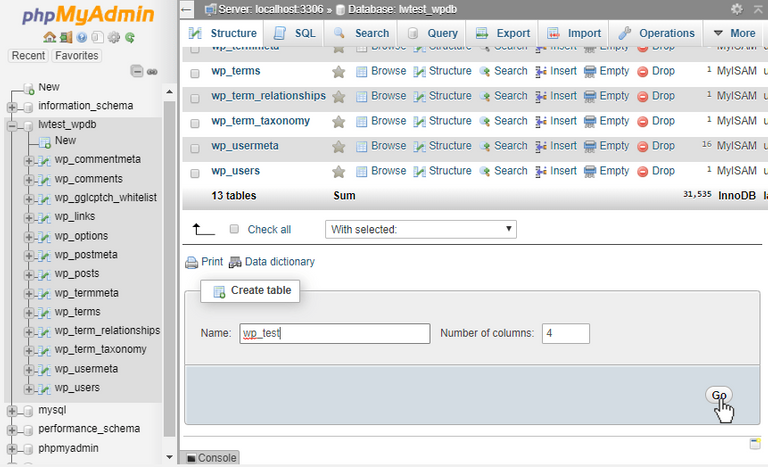
phpMyAdmin
STEP 4: Creating Your Database