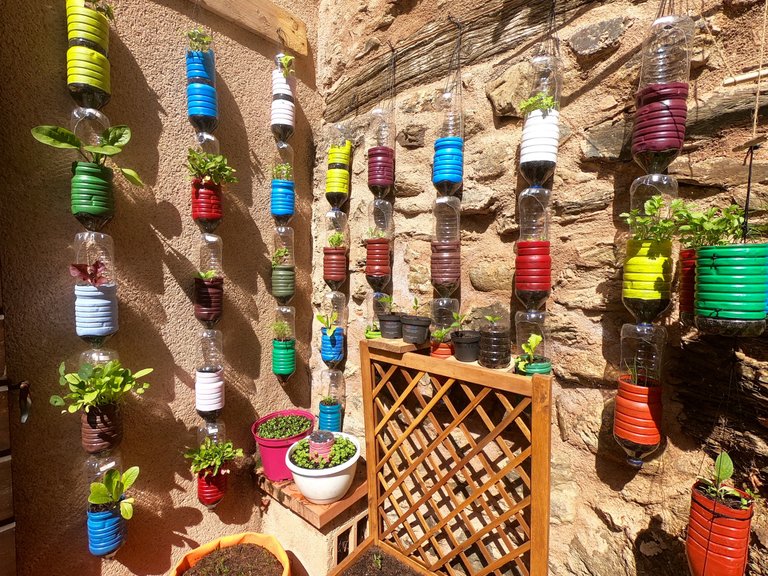
Those of you who think you don't have enough space to grow food are likely just lacking in inspiration because if you live in a home with exterior walls (which most of us do) vertical gardening with up-cycled plastic bottles provides a simple & free solution. If you are able to water the top bottle, the rest are watered automatically so perhaps you have windows you are be able to hang plants under? Or an ugly old wall which never had any real purpose before, beyond holding up a roof. Walk around your house on a sunny day bearing in mind that some plants need only a few hours of direct sunlight to thrive and you will likely be surprised by the possibilities on offer.
More and more people have been asking me how I created my colourful system in the south facing corner of our courtyard here in France, so today Esteban & I spent the afternoon shooting the required pictures to make this post.
Stuff you will need
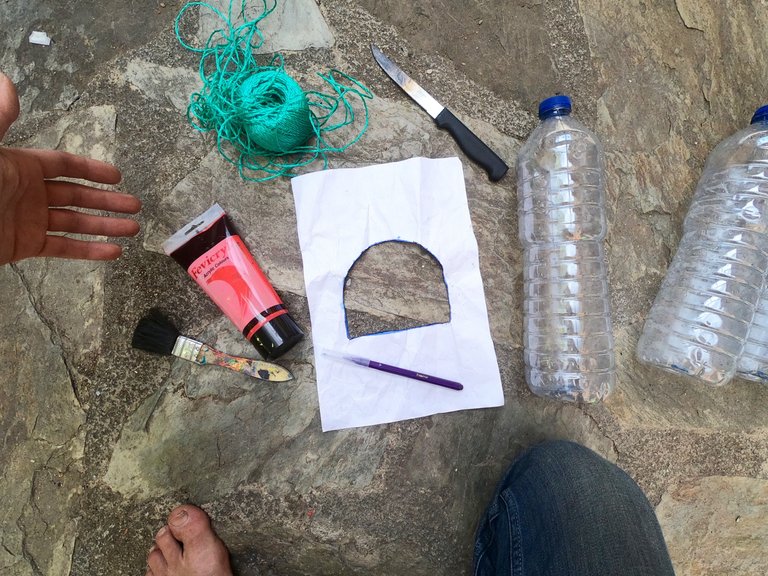
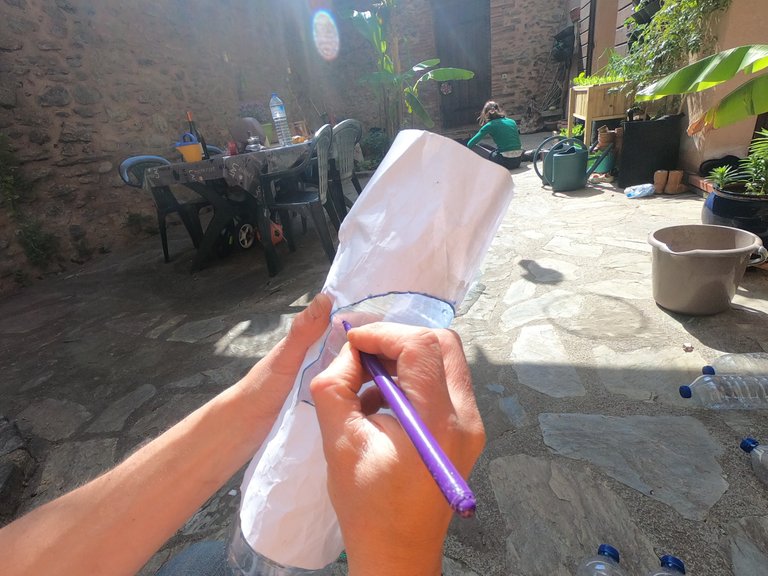
Use the paper template to mark the bottle. A card template would probably be better.
Be sure not to let your children get their hands on the knife.
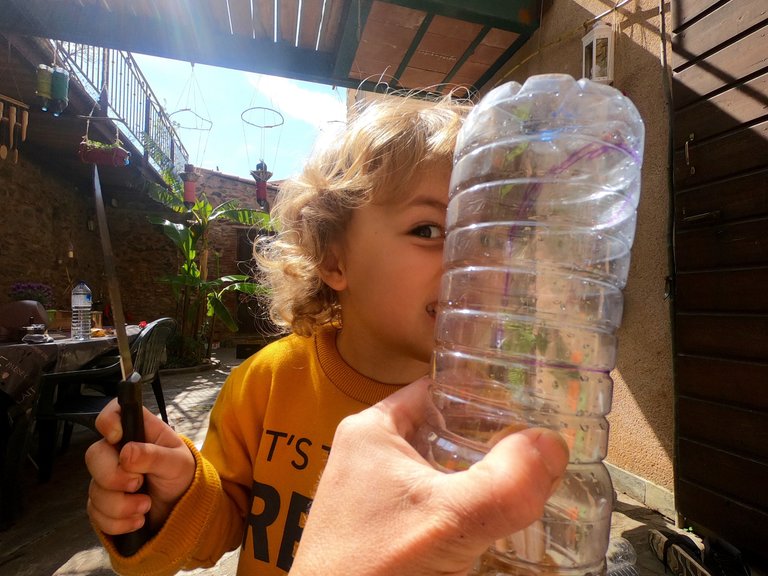
Heat up the knife on a gas stove till it glows red. Be sure to use an old knife. It will never look the same again.
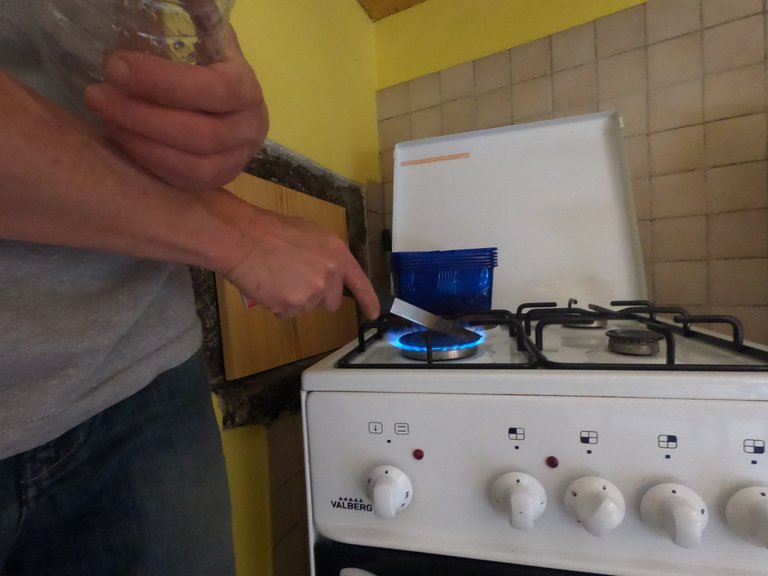
Cut marked area.
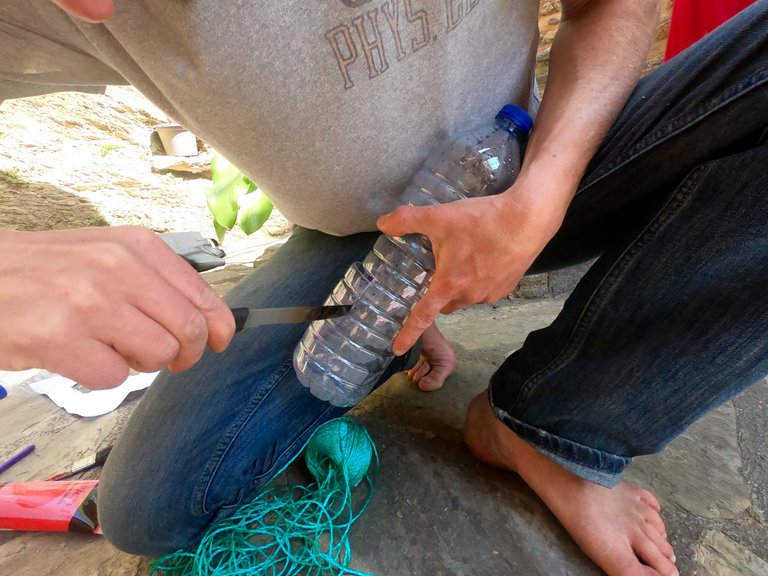
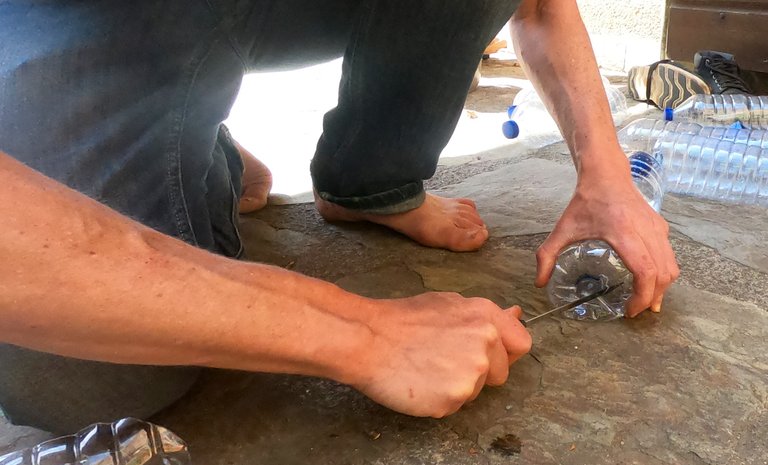
Re-heat knife and cut hole in bottom of bottle.
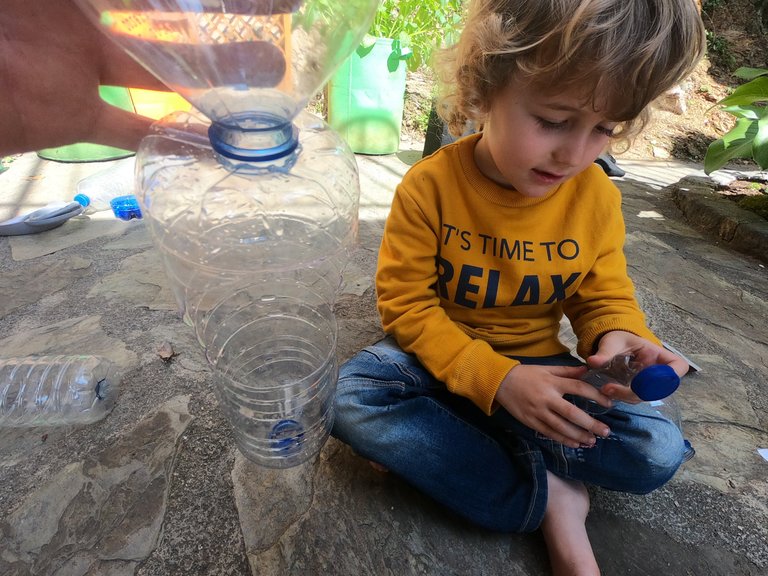
It should slot together like this.
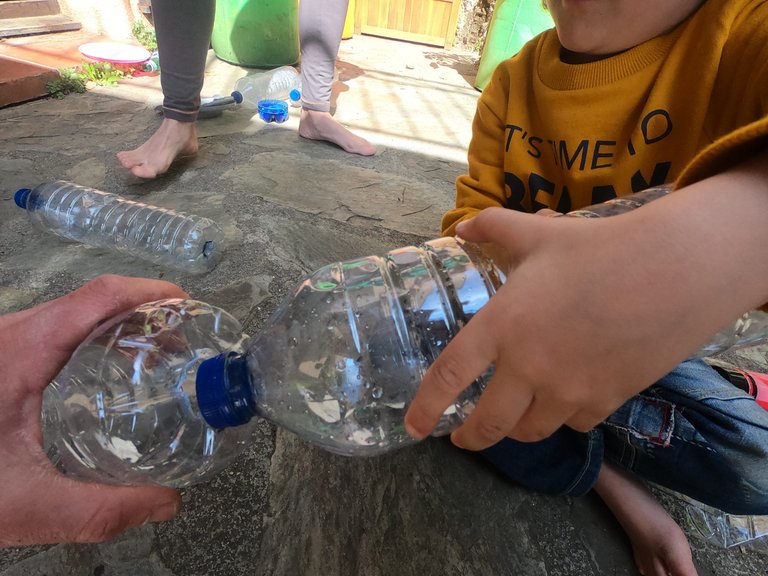
Once the mouth of the bottle above is pushed hard enough into the hole, beyond the blue ridge seen below, it is very secure and easily strong enough to support multiple bottles beneath it.
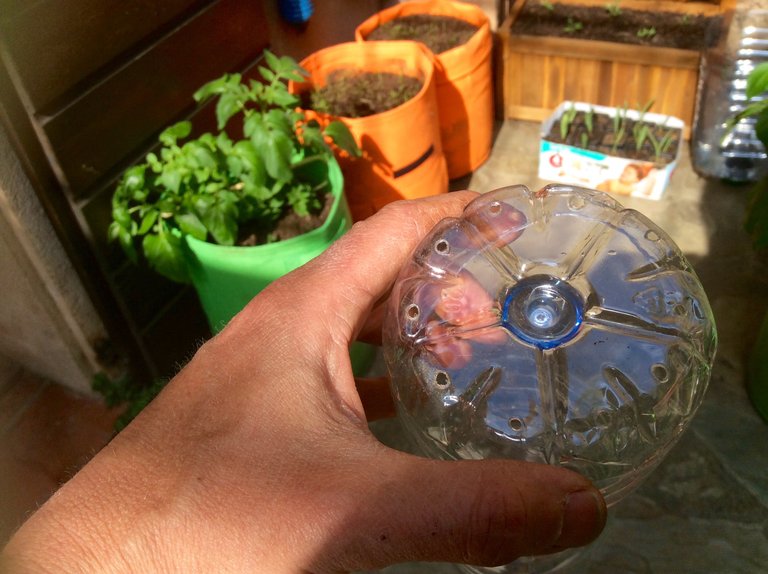
The top bottle in each row needs holes in it for the string. I make these by heating up a nail (held with a wet sponge) poking it into the plastic.
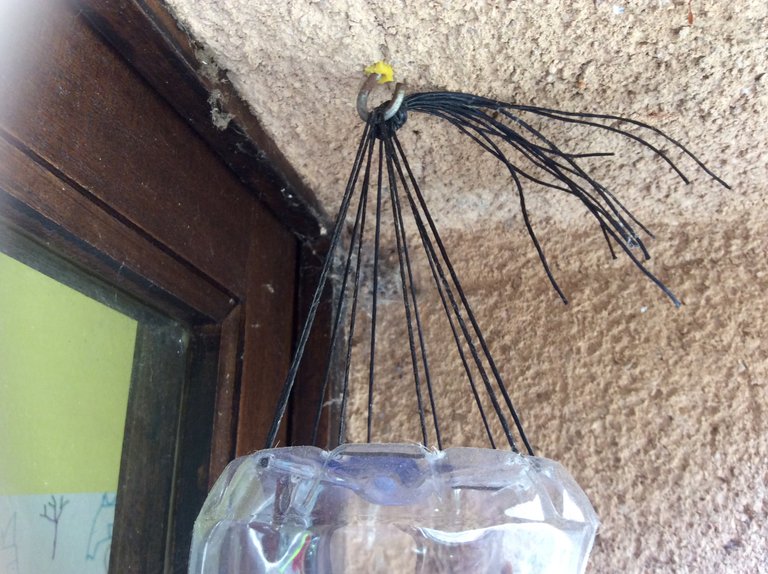
Five equal sized pieces of string will be required to hang the bottle, each piece looped through two of the holes.
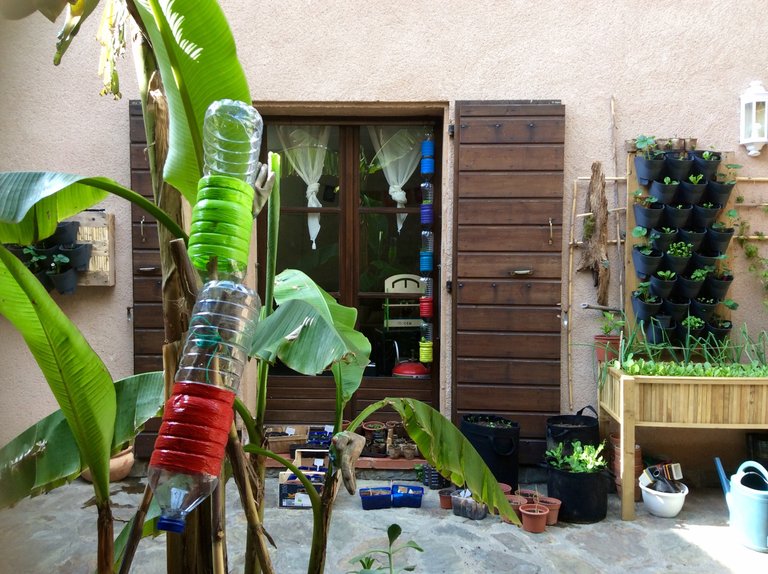
Paint the bottles.

Dry the bottles.
Once dry insert a handful of stones in the bottom of each bottle before adding the soil. Also, don't forget to mix your store bought soil with some soil from the ground 50/50. Seedlings can freak out if it is too rich with nutrients.
What am I growing in my vertical garden?
Lettuce seems to be working great.
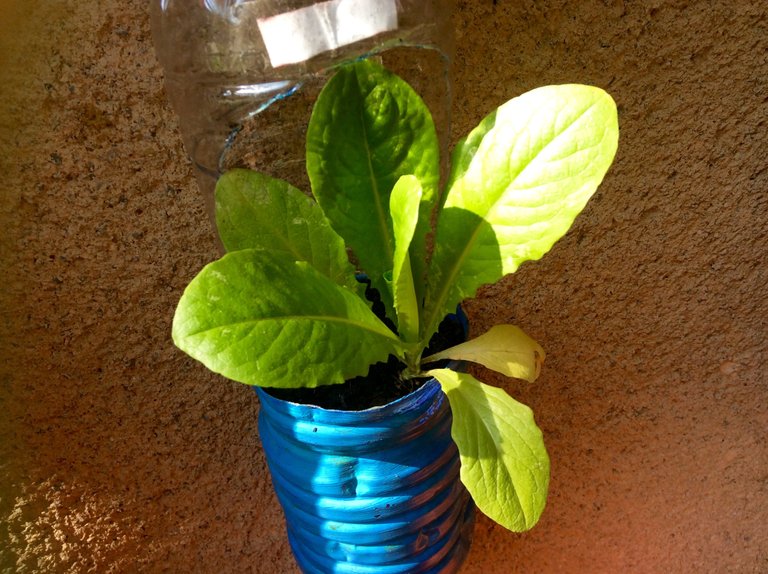
Seriously love this red one.
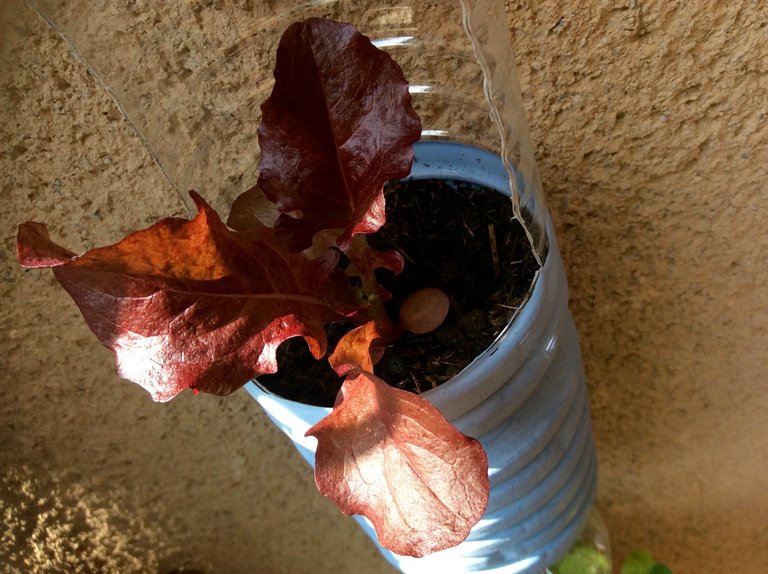
Spinach is looking good and so too is the rocket and all the other herbs. Basil, oregano & thyme have been slow but that's because it is still cold at night.
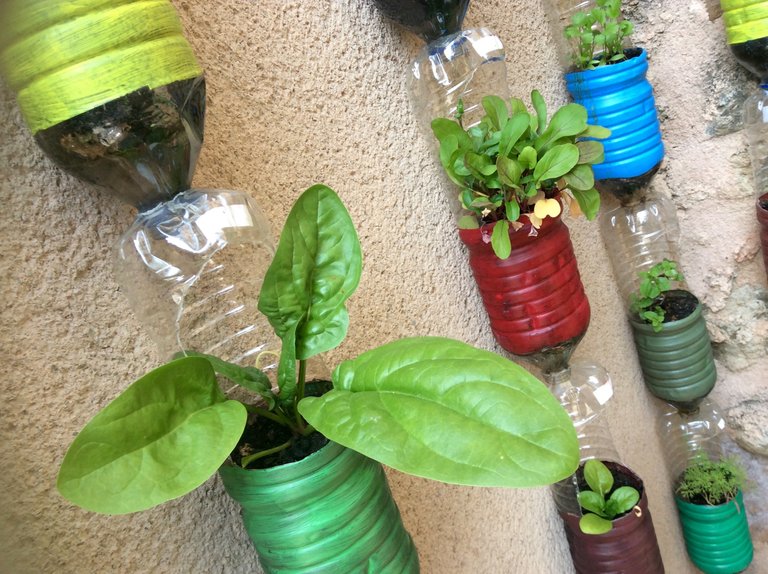
Here you can see another design idea with dill, coriander and basil.
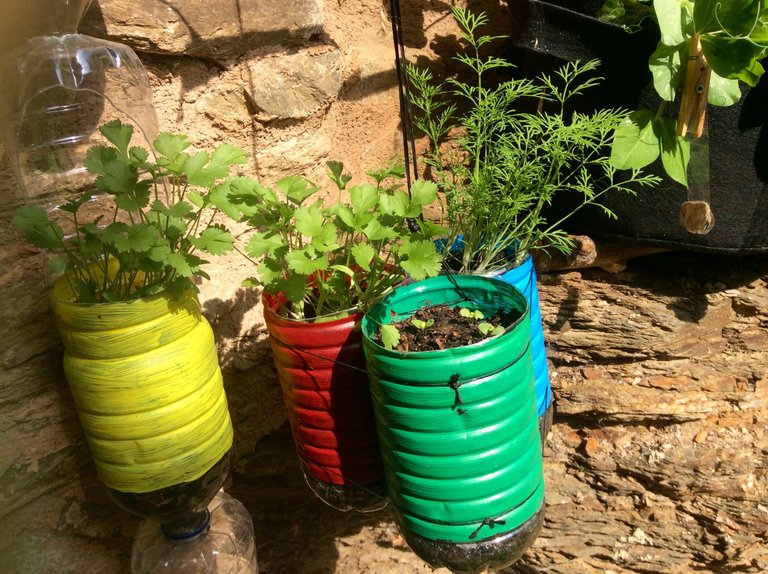
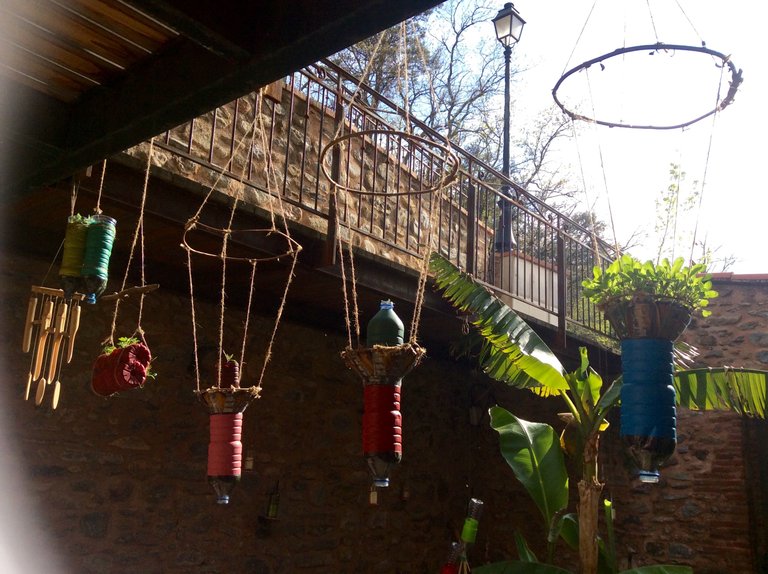
Under the walkway above our courtyard I tried something a little different. Rocket ships I call them.
In the centre of each rocket ship is a cherry tomato plant, surrounded by herbs. Thai basil in this one.
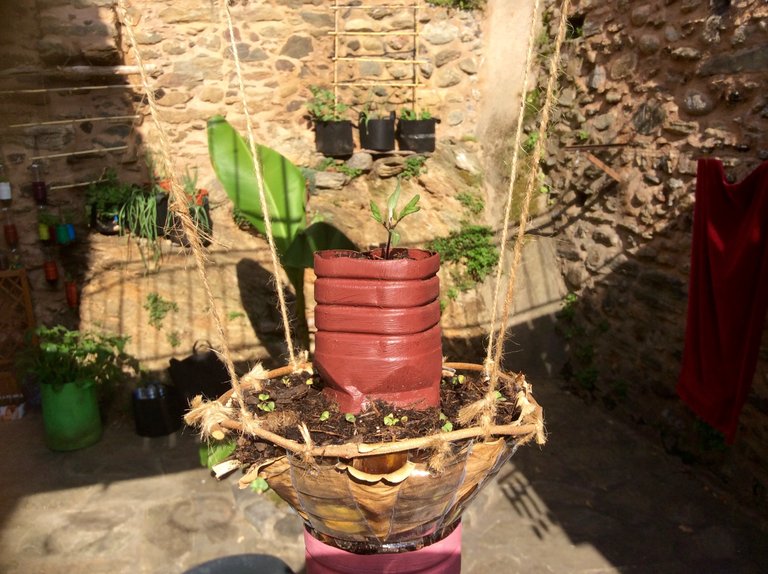
Purple basil here.
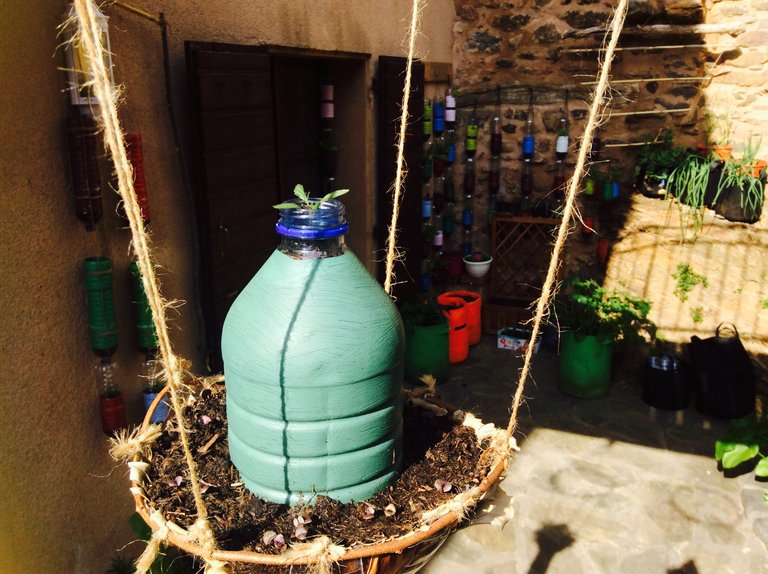
The key is to get creative with what you have. There are no mistakes. Only learning experiences.
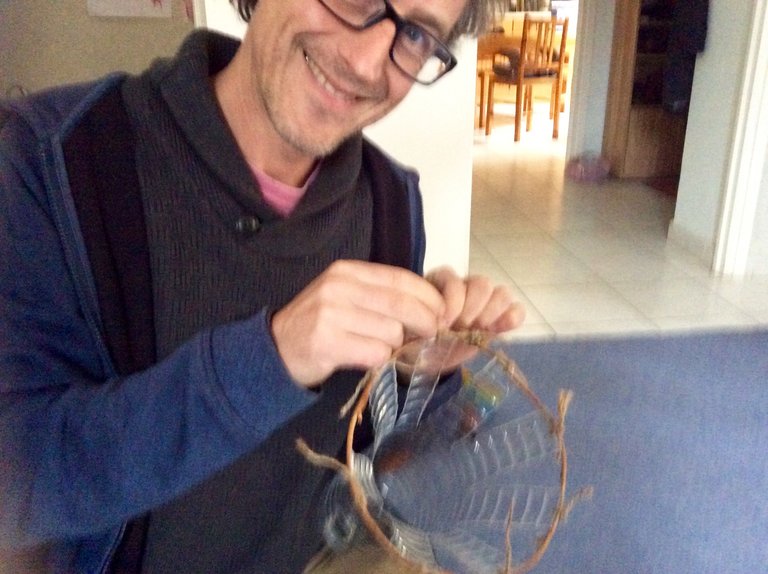
This one I call a boat ship. Double sided salad production.
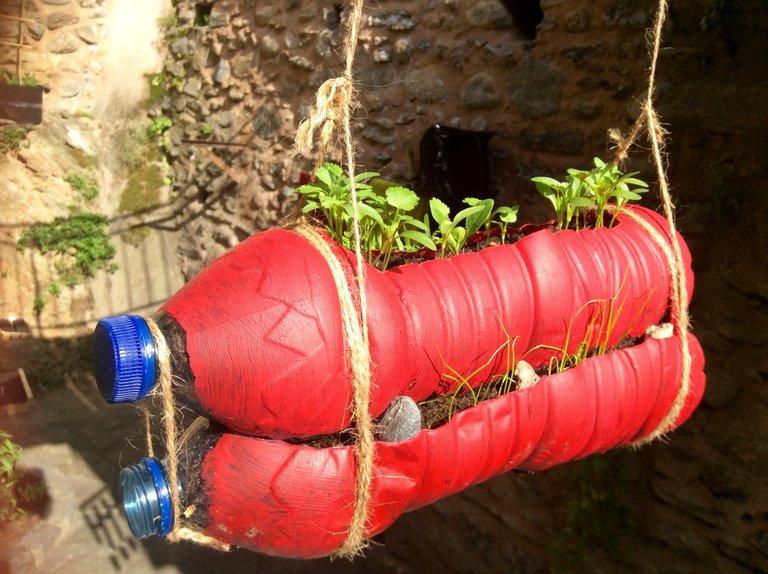
Dill, chives & coriander with a spinach plant in the middle.
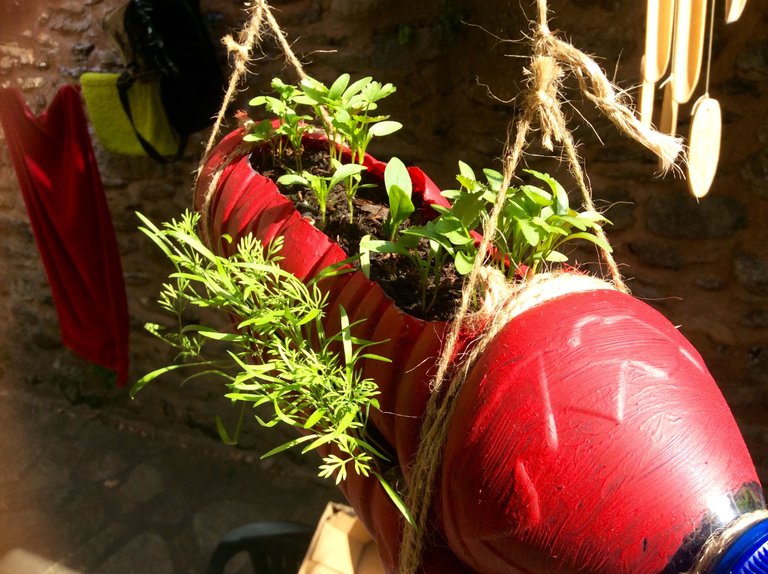
Make sure to keep things like this supported by a single piece of string so they can turn in the wind, providing light for both sides.
Tomatoes need more soil
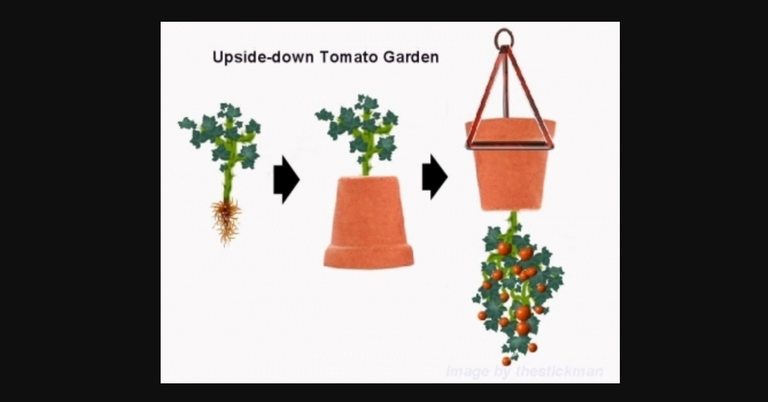
Today I created my first upside-down tomato planter using this 5L container I found in the forest.
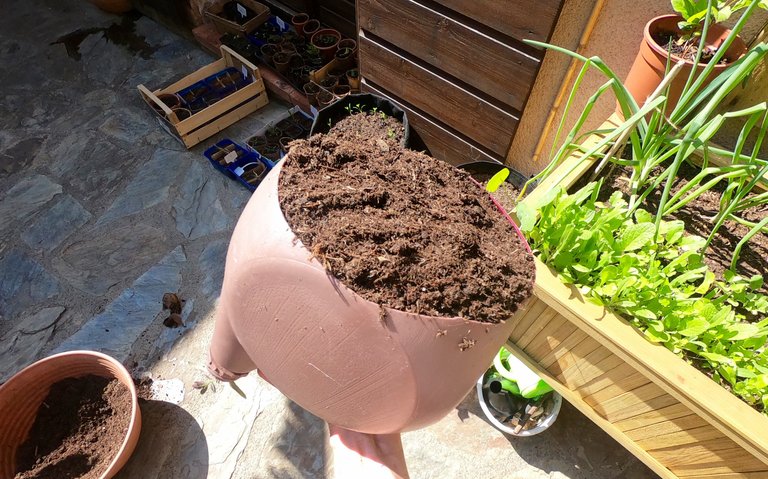
It will remain this way round sitting in a pot for the next month (giving the roots time to develop) before being hung the other way around, permitting me to plant more herbs in the exposed side.
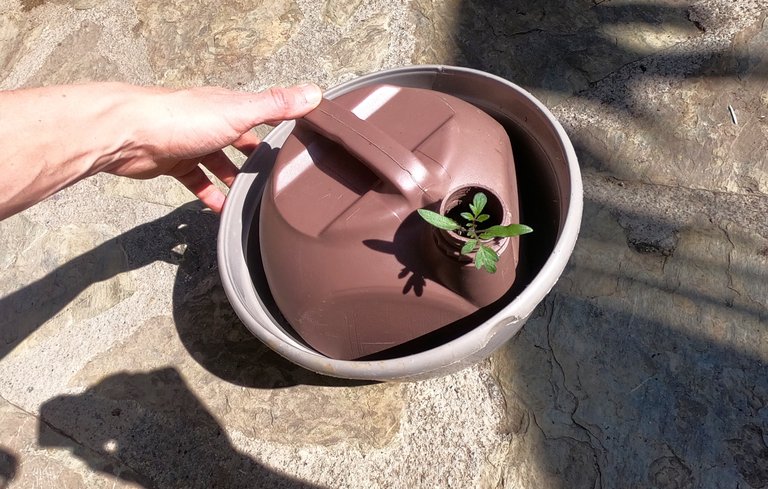
Do you see what I mean? Something like this, but with herbs coming out of the top.
I am currently working on a new design, seen on the left. They are elongated bottles with double the quantity of soil. Better for tomatoes.
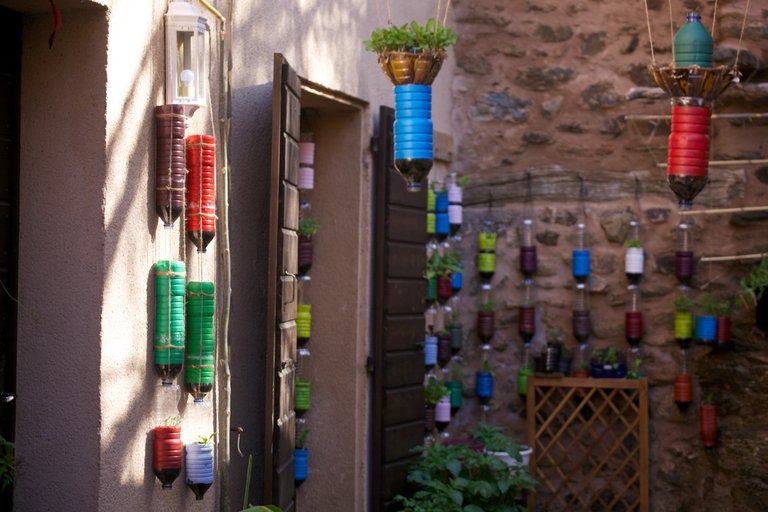
The advantage with hanging things of course is that they don't take up space on the ground. The walkway above our courtyard provides plenty of possibilities for this.
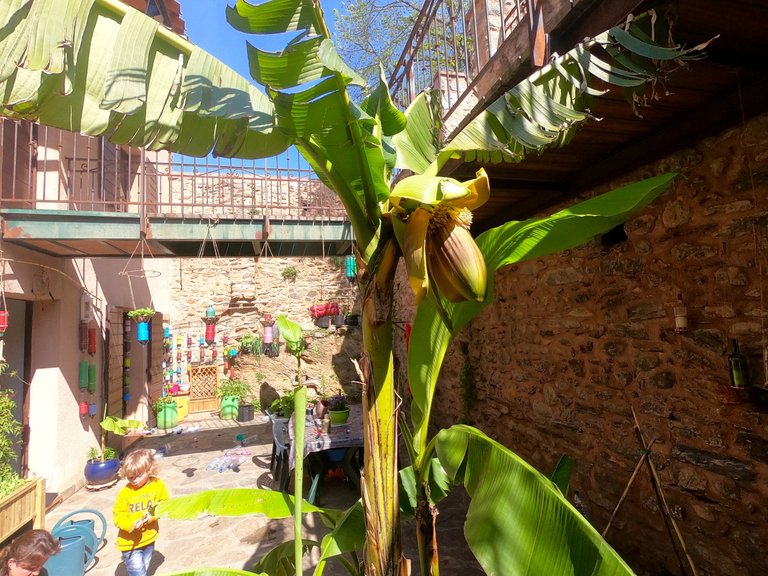
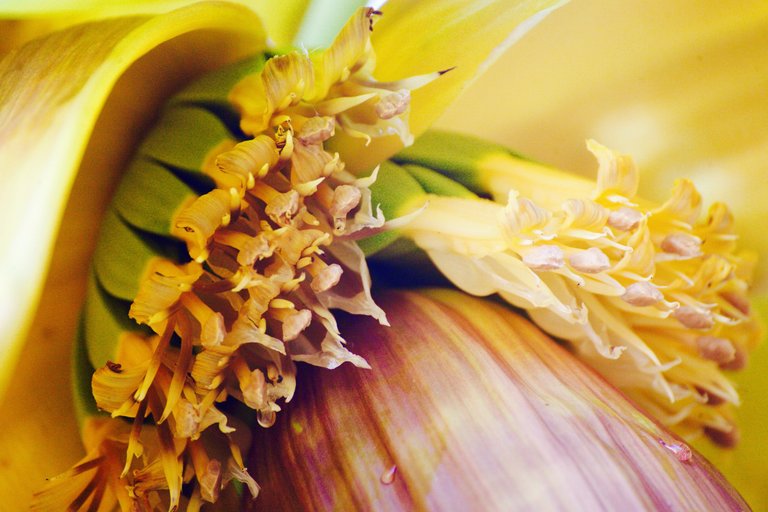
Check out our little green bananas. We planted this tree just two years ago when it was no bigger than Esteban.
We have a huge number of baby plants on the go constantly, most of them for our allotment.
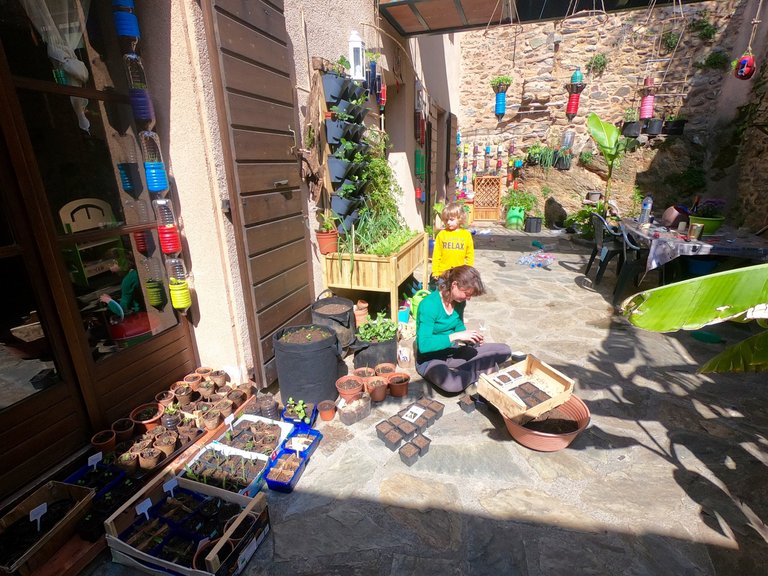
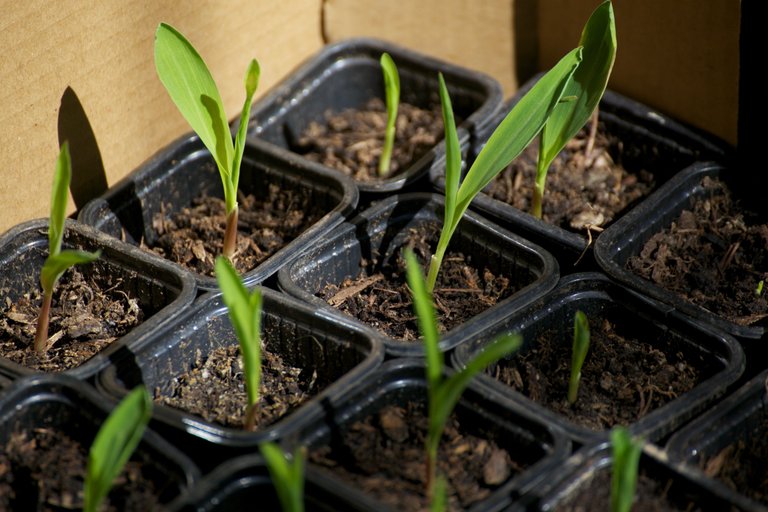
Many of them must come inside at night still, like these organic sweetcorn.
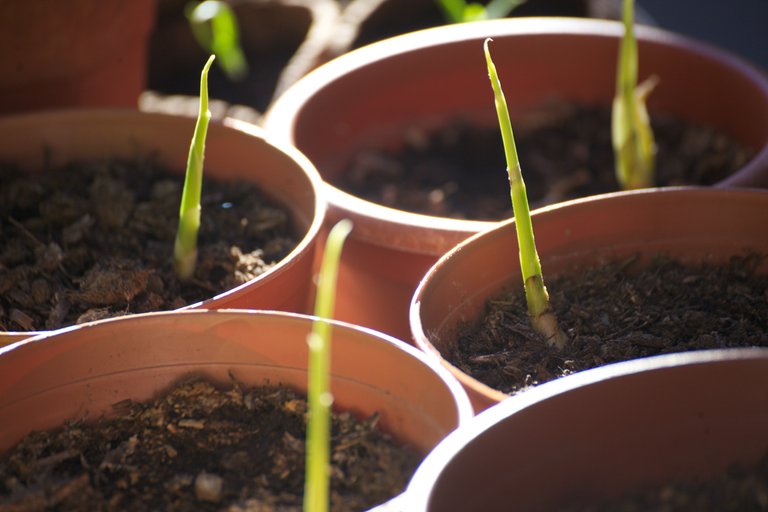
And this ginger, grown from organic store bought ginger.
And these peppers, grown from the seeds of an organic store bought pepper.
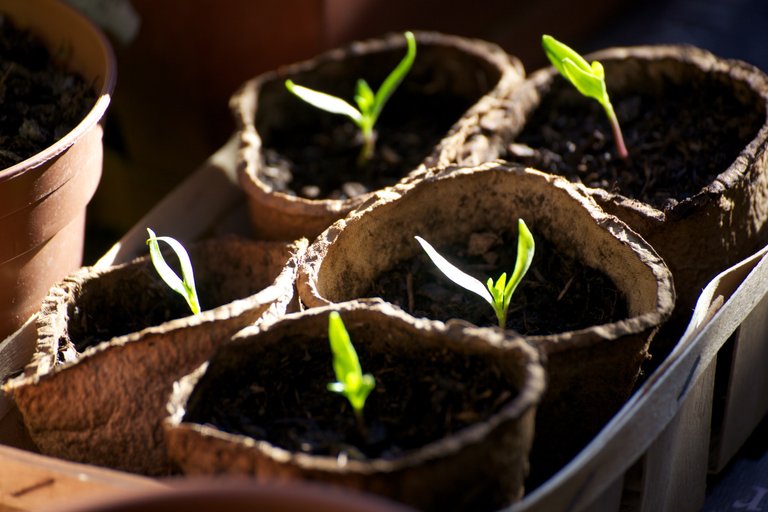
By the way, every one of my 50 cherry tomato plants came from a single cherry tomato and this trick can be applied to many different vegetables.
This film is pretty good but don't try the carrots! Only the green part of the plant will re-grow.
After planting a bunch of different seeds be sure you take the time to label everything. Sabrina can be seen here doing exactly that.
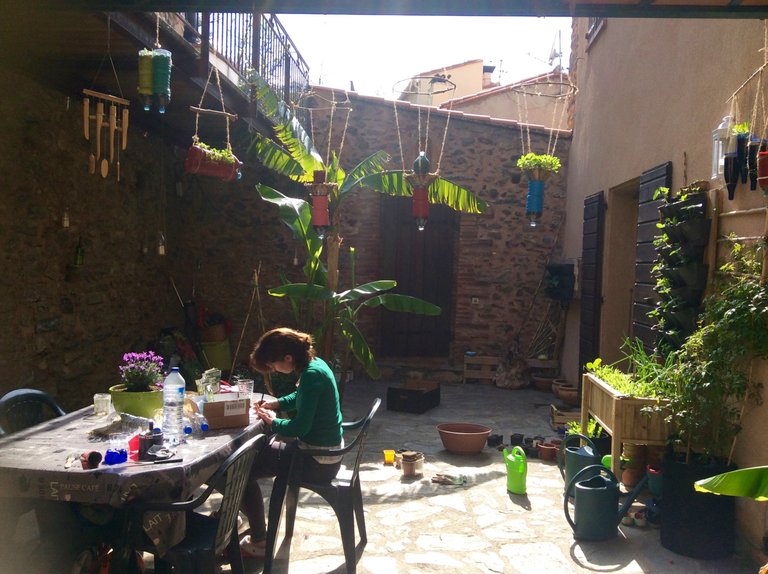
The only thing I will say about this lot is that it takes a good hour to water everything and the thin plastic bottles dry out quickly so this needs to be done twice a day when it is hot. The automatic watering system is coming next...
I want to create a separate post showing you where we are at with our allotment. For now I leave you with this image from a few days ago. We cooked veg kebabs on a little fire for our lunch ;)
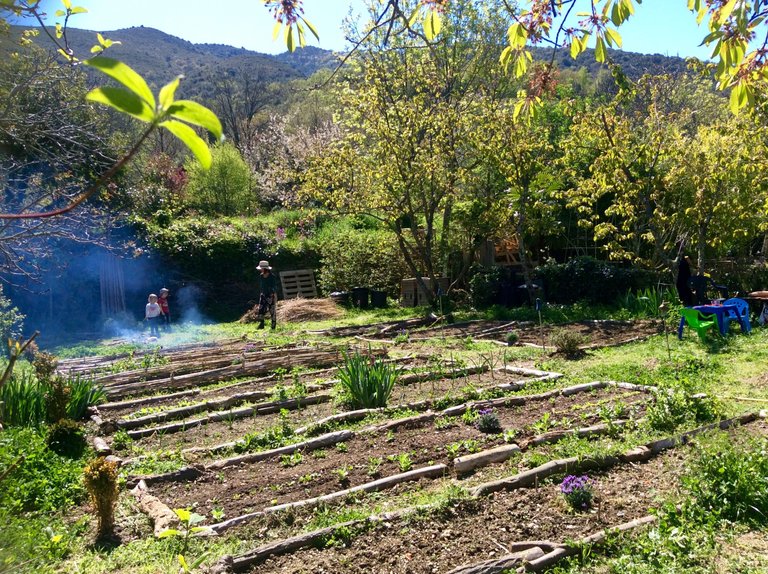
No viruses around here.
Just lots to do!
Love & Light everyone.
Very nice work I love it thanks for sharing :)
Appreciated ;)
Excellent use of space! Do you worry about things growing in plastic? Do you think it will leach any into the food/soil?
It isn't ideal but I don't worry about it. Wood would be the best I think, but no problem. We use what we have. The courtyard food is more of a back-up than anything else. Just in case our allotment food gets stolen. Though obviously I will eat everything I can, no matter where it is grown! Can't wait to be chomping on cherry tomatoes all day again ;)
Well said and I would agree!!!
Thats the WAY to do it! why do so few people realise you dont need land and gardens to grow food! Looks like you have LOADS of goodies starting up.. i mean,, why have a boring bare unproductive wall when you can have THAT!!! <3
Thanks for your enthusiasm Alex. I suppose we can't help but be the children of a generation who didn't need to think about vertical gardening. Our children however... they will know the full spectrum of possibilities :)
This is really productive way to grow up utilizing less space.
Exactly right. Logical, practical & functional. Especially when I add the automated watering system ;)
Interesting! I love the upside down tomato garden idea. Will show it to hubby and see if we can try to produce one.
We did try the hanging garden before, may we we should do it again.
Thanks for this post.
I've never tried the upside down tomato either but there is no time like the present and super excited to watch it develop. Good luck with yours!
Please send pics when you are up and running ;)
Thank you for sharing 😉
My pleasure.
Brilliant! Simply brilliant!
Thanks! Please send pics if you feel inspired to create your own :)
Super nice activity to do in family indeed 👌
I might just be a little worried about the decomposition of the plastic into smaller particles, which could migrate from the soil to vegetables and other plants...
But still, it's a bright, joyful & colorful article of your !
be well :)