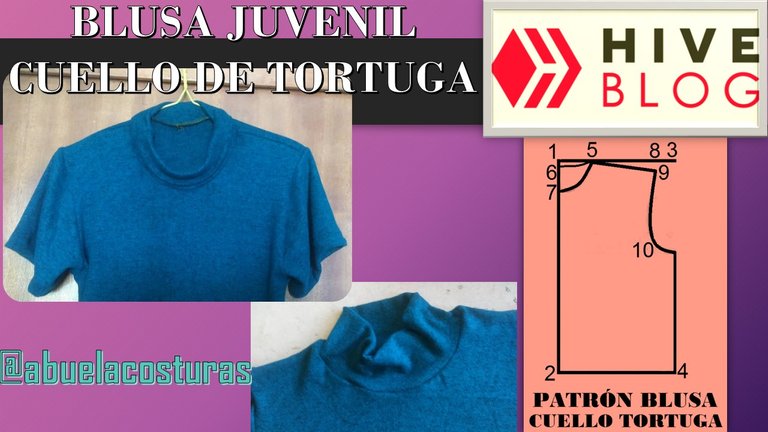
Bienvenidos de nuevo a otro tutorial especial para ustedes, amigos costureros de #NeedleWork.
Como es costumbre, estoy aquí con ustedes para compartir el proceso de elaboración de una moderna prenda de vestir, en este caso les traigo el de una blusa juvenil con cuello de tortuga.
Welcome back to another special tutorial for you #NeedleWork sewing friends.
As usual, I'm here with you to share the process of making a modern garment, in this case I'm bringing you the one for a juvenile turtleneck blouse.
Trazado del patrón, parte delantera / Pattern layout, front side:
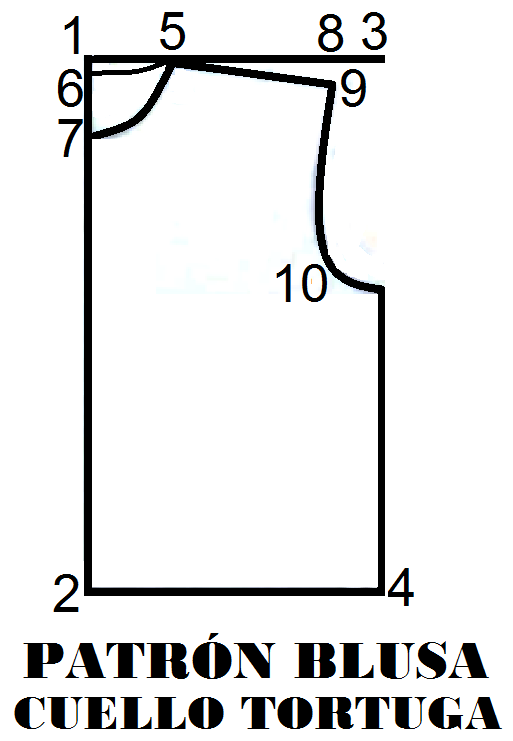
1-Del 1 al 2 marcamos el largo de la blusa (0,65 cm).
From 1 to 2 we mark the length of the blouse (0,65 cm).
2-Del 1 al 3 y 2 al 4, tomamos una 1/4 parte del contorno de pecho (25 cm).
From 1 to 3 and 2 to 4, we take a 1/4 part of the chest contour (25 cm).
3-En la recta del 1 al 3, a 10 cm del punto, marcamos el punto 5, que es el ancho del cuello.
On the line from 1 to 3, 10 cm from the point, we mark point 5, which is the width of the neck.
4-Del 1 al 2, a 3 cm del punto 1 para la parte trasera, marcamos el punto 6 (largo de cuello trasero, y, a 10 cm del punto 1 para la parte delantera, marcamos el punto 7 (largo de cuello delantero).
From 1 to 2, 3 cm from stitch 1 for the back, we mark stitch 6 (back neck length, and, 10 cm from stitch 1 for the front, we mark stitch 7 (front neck length).
NOTA: El patrón trasero es igual al delantero, solo el largo del escote es de 2 cm.
NOTE: The back pattern is the same as the front, only the length of the neck is 2 cm.
5-Unimos con líneas curvas los puntos 5 y 6 para marcar el escote trasero y 5 y 7 para marcar el escote delantero.
We join with curved lines points 5 and 6 to mark the back neckline and 5 and 7 to mark the front neckline.
6-A partir del punto 5 marcamos el punto 8, ancho del hombro (11 cm).
From point 5 we mark point 8, shoulder width (11 cm).
7-Desde el punto 5, 2,5 cm hacia abajo, marcamos el punto 9 (caída del hombro).
From point 5, 2.5 cm down, we mark point 9 (shoulder drop).
8-A partir del punto 9, 21 cm hacia abajo, marcamos el punto 10 (largo de la sisa).
From point 9, 21 cm down, we mark point 10 (armhole length).
9-Unimos con línea curva los puntos 9 y 10, prolongándola hasta la recta 3-4.
Join points 9 and 10 with a curved line, extending it to straight line 3-4.
Mangas / Sleeves:
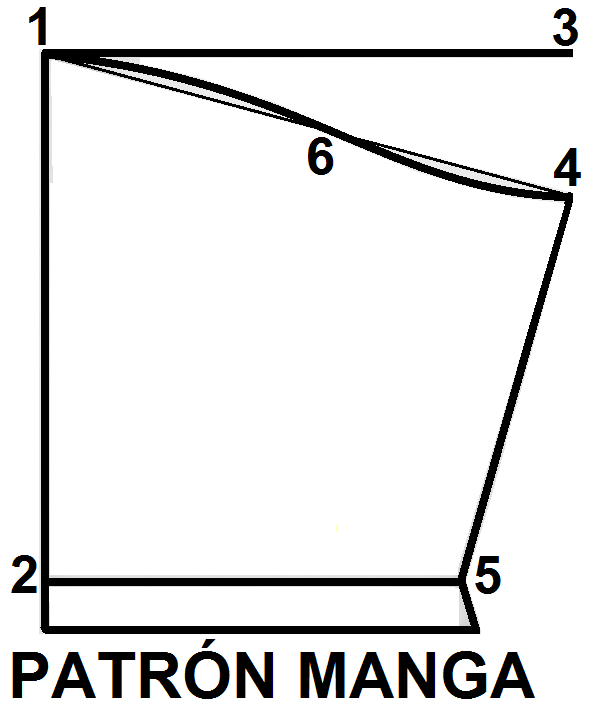
NOTA: Este patrón se realiza luego de haber unido las partes delantera y trasera de la blusa.
NOTE: This pattern is made after having joined the front and back parts of the blouse.
1-Marcamos el punto 1, bajamos 23 cm y marcamos el punto 2 (largo de la manga), del 1 a la derecha marcamos el punto 3 (ancho de la manga), esta medida la obtenemos midiendo el contorno de la sisa.
We mark point 1, go down 23 cm and mark point 2 (sleeve length), from 1 to the right we mark point 3 (sleeve width), this measurement is obtained by measuring the contour of the armhole.
2-Del punto 3, 6,5 cm hacia abajo marcamos el punto 4 (caída de la manga).
From point 3, 6.5 cm down we mark point 4 (sleeve drop).
3-Del punto 2, hacia la derecha marcamos el punto 5 (ancho de la manga), tomamos la mitad de la medida del contorno del brazo.
From point 2, to the right we mark point 5 (sleeve width), we take half the measurement of the arm circumference.
4-Unimos con línea recta 1 y 4, 4 y 5, buscamos la mitad de 1 y 4, desde ese punto subimos 1 cm y marcamos el punto 6.
We join with a straight line 1 and 4, 4 and 5, we look for the middle of 1 and 4, from that point we go up 1 cm and we mark point 6.
5-Unimos con curva abierta hacia arriba 1 y 6, y con curva abierta hacia abajo 6 y 4 y con línea recta 4 al 5 y 5 al 2.
We join with open curve upward 1 and 6, and with open curve downward 6 and 5 and with straight line 4 to 5 and 4 to 2.
Cuello tortuga / Turtle neck:
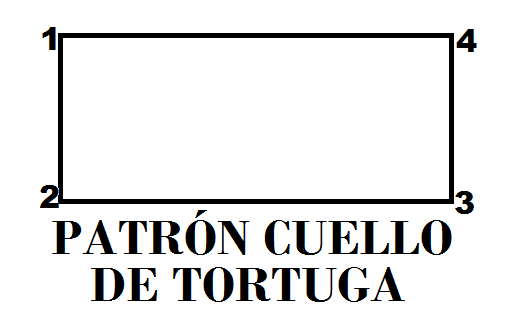
Para el cuello tortuga: medimos el contorno del cuello, trazamos una línea recta que mida 3/4 partes de largo y de ancho la altura que queremos darle al cuello, recordando que este va doblado.
For the turtleneck: measure the contour of the neck, draw a straight line that measures 3/4 of the length and width of the height you want to give to the neck, remembering that the neck is folded.
Corte de las piezas / Part Cutting:
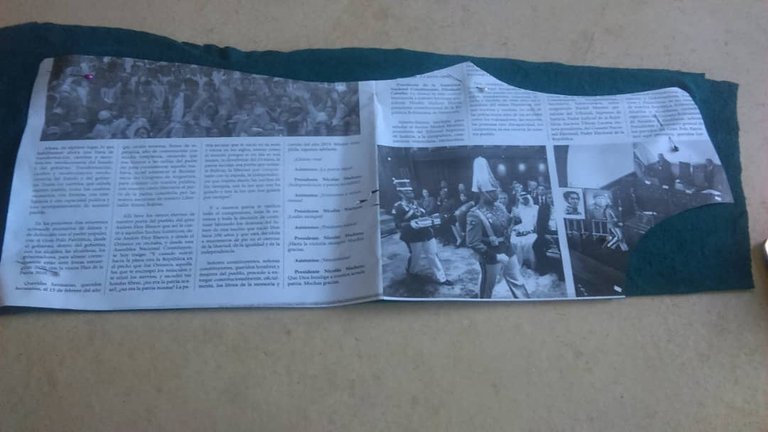
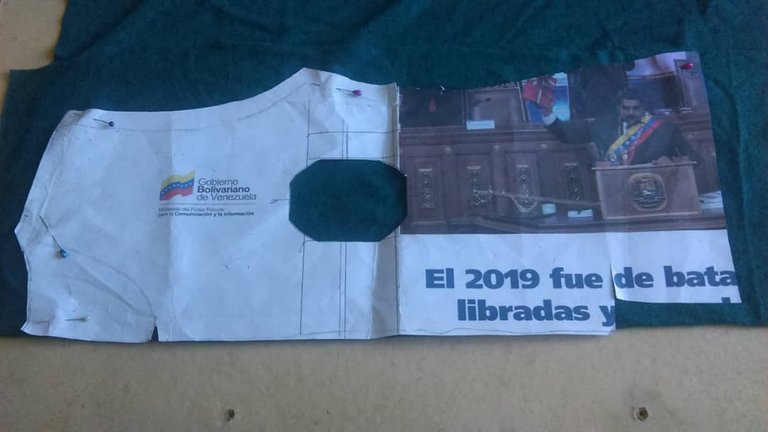
1-Delantero y trasero una pieza doblada por la mitad.
Front and back one piece folded in half.
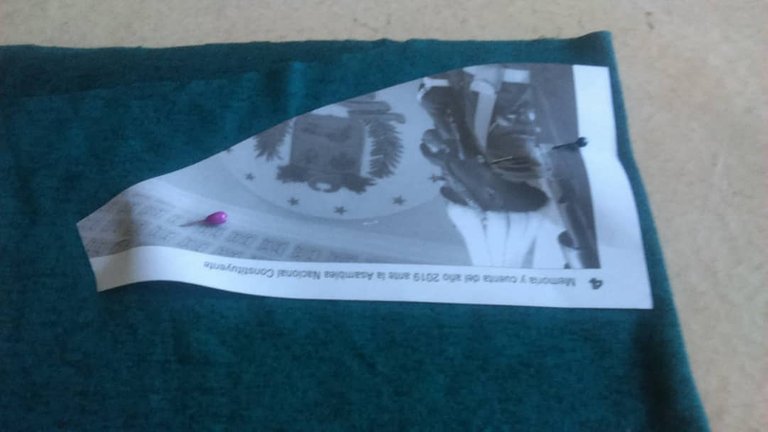
2-Dos mangas dobladas por la mitad.
Two sleeves folded in half.
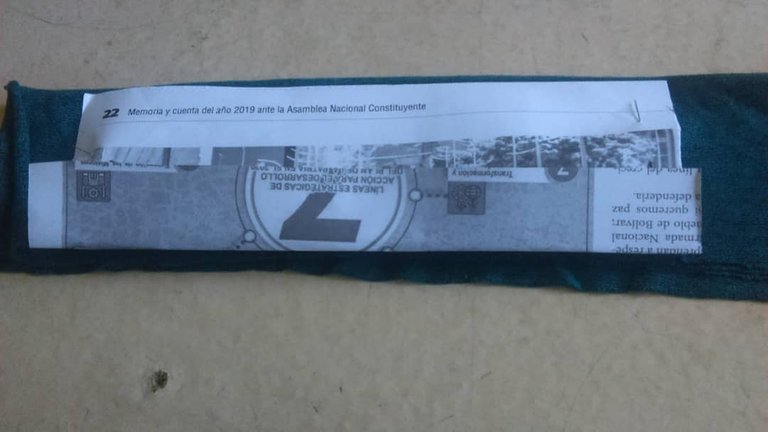
3-Cuello una pieza.
Neck one piece.
Confección / Making up:
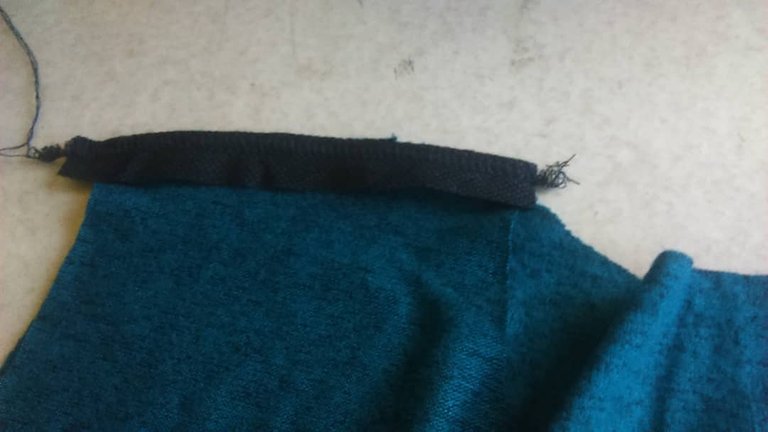
1-Unimos por el hombro, colocando un refuerzo para evitar que se estire.
We join at the shoulder, placing a reinforcement to prevent it from stretching.
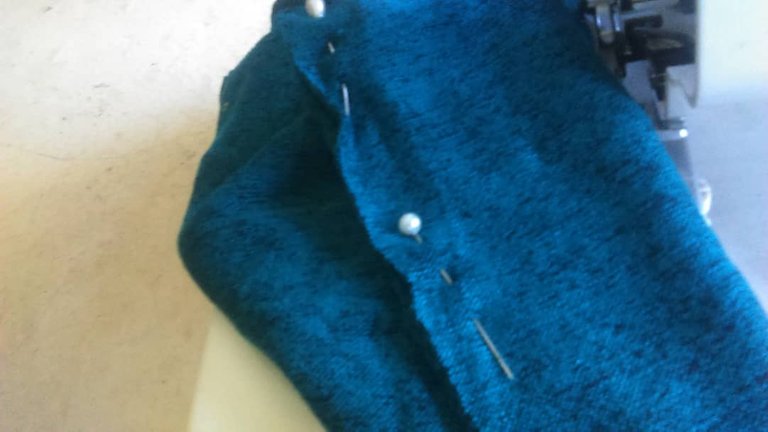
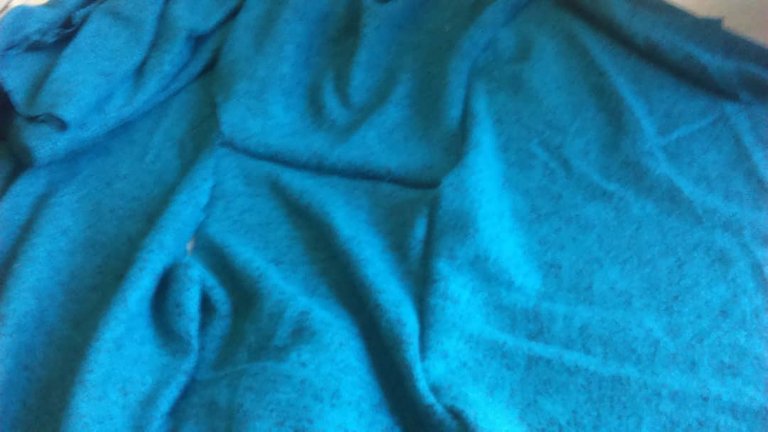
2-Colocar las mangas.
Place the sleeves.
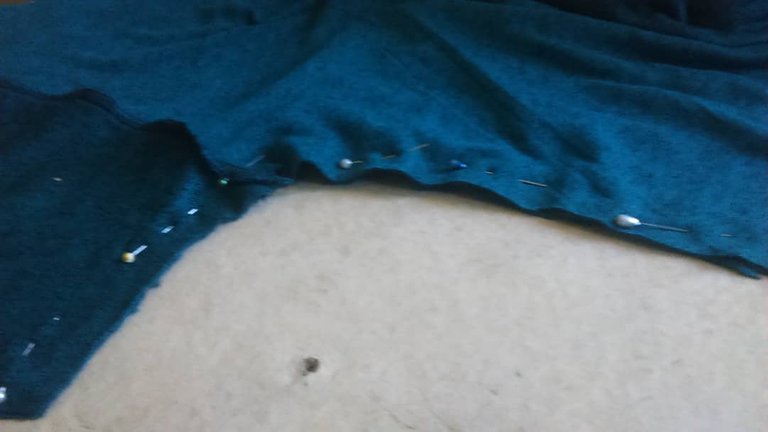
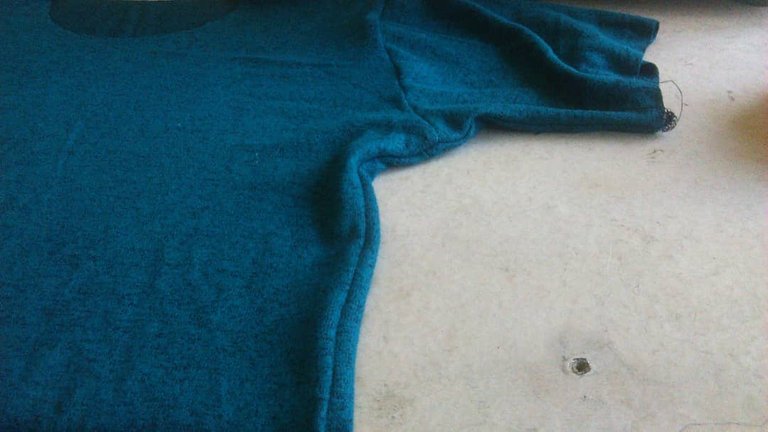
3-Coser las mangas y costado para cerrar la blusa.
Stitch the sleeves and side to close the blouse.
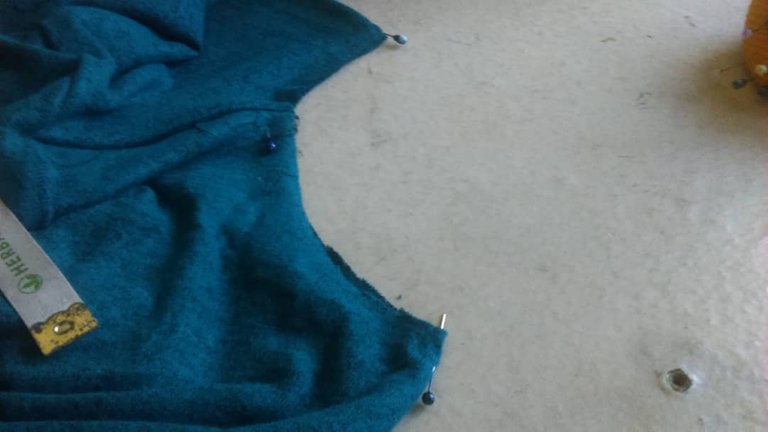
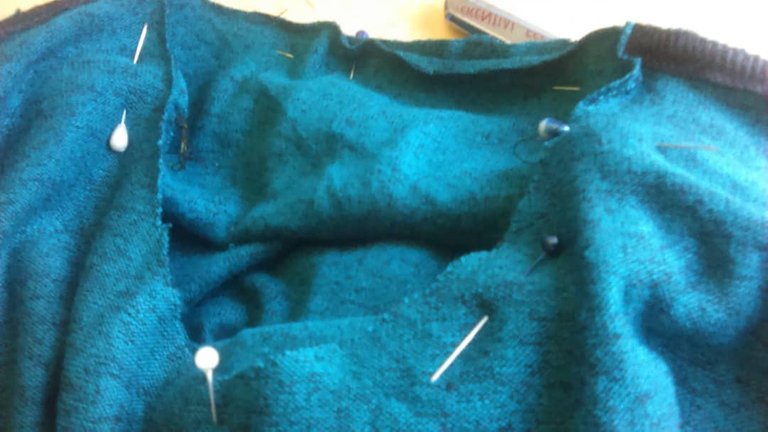
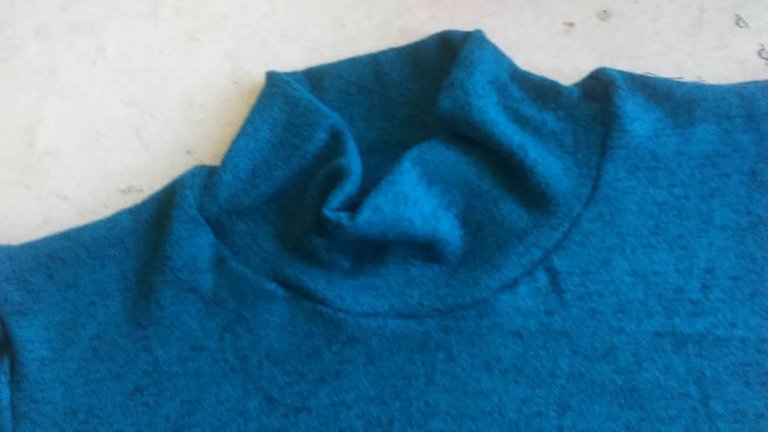
4-Cerrar el cuello por la mitad, separarlo en cuatro partes al igual que el escote, coserlo estirando un poco, para hacer coincidir los puntos.
Close the neck in half, separate it in four parts as well as the neckline, sew it stretching it a little, to make the stitches coincide.
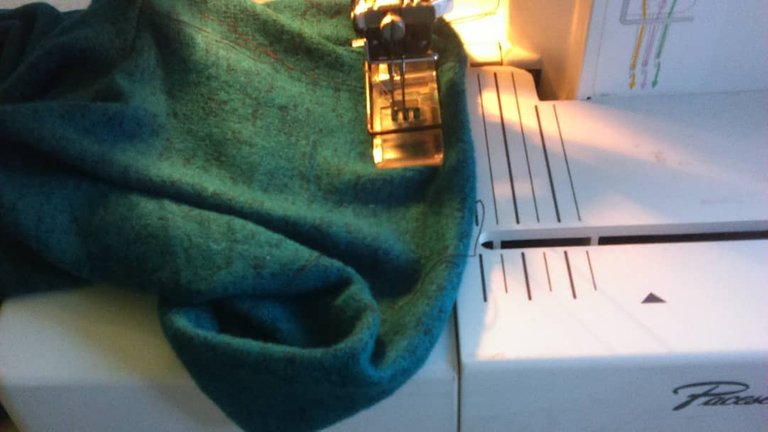
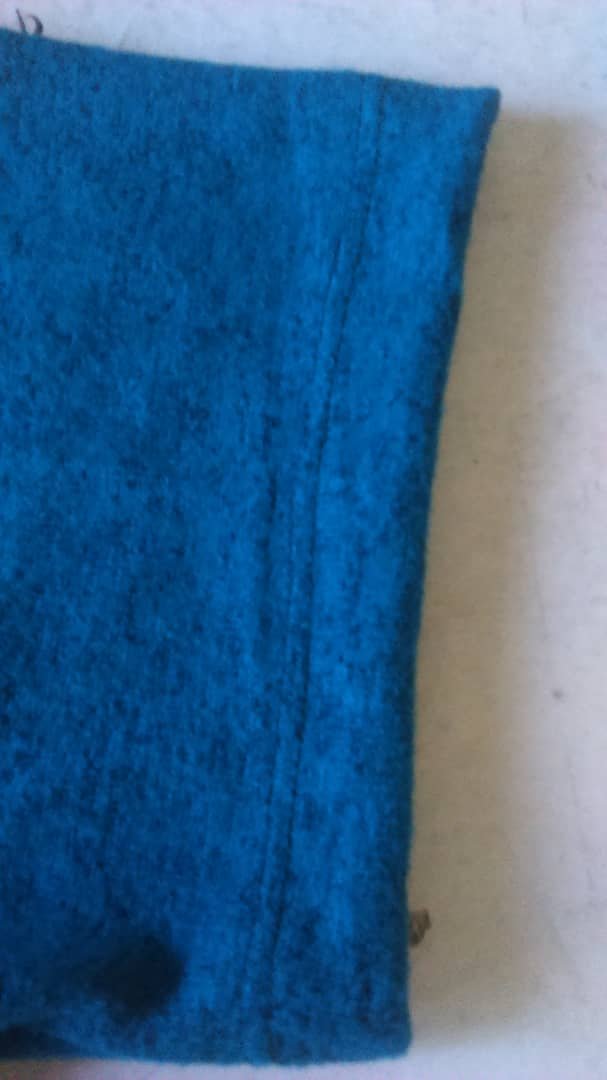
5-Coser ruedo en las mangas y abajo.
Stitch the hem at the sleeves and at the bottom.

¡Y lista la blusa!
And ready blouse!
Congratulations @abuelacosturas! You have completed the following achievement on the Hive blockchain and have been rewarded with new badge(s):
Your next target is to reach 30 posts.
You can view your badges on your board and compare yourself to others in the Ranking
If you no longer want to receive notifications, reply to this comment with the word
STOPTo support your work, I also upvoted your post!
Check out the last post from @hivebuzz:
Support the HiveBuzz project. Vote for our proposal!