”¡Jo jo jo! Queridos usuarios.
La comunidad de @mundo.autismo ha creado una bella iniciativa e instancia para participar, nada mejor que la magia de la navidad para regar la inclusión.
Si gustas hacerte partícipe, estás invitado a esta iniciativa titulada Creatividad Azul.
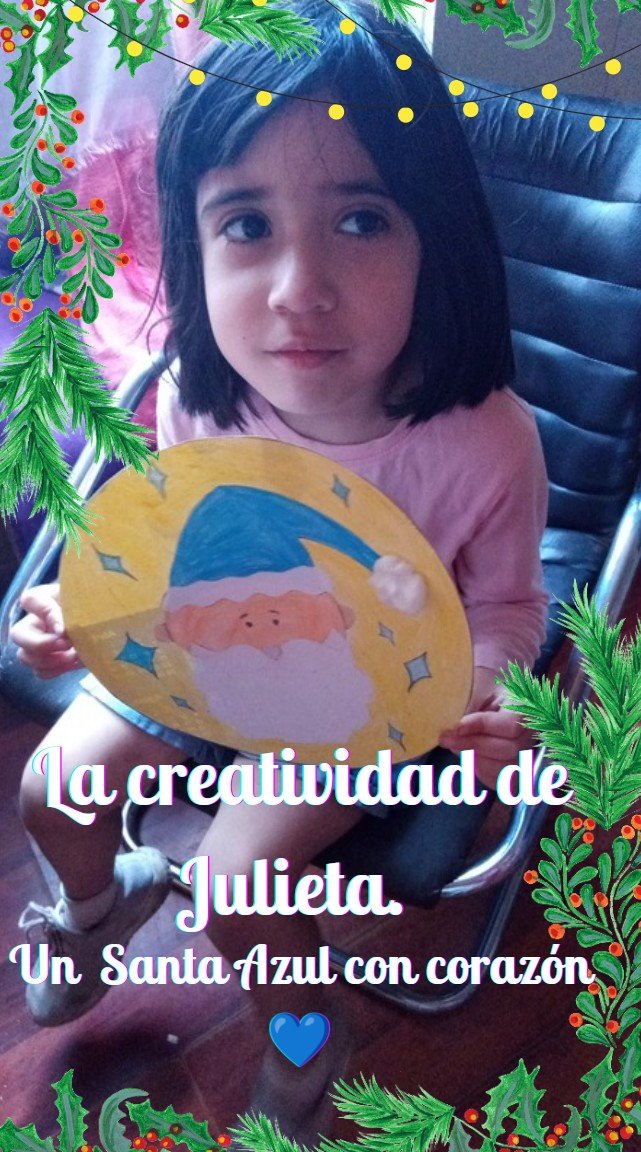
Al leer esta convocatoria en voz alta, mi hija menor, Julieta, escuchó y en un dos por tres ya estaba sonriendo para participar. Ella ama las manualidades y a sus cinco años, la podemos ver recortando, pintando y creando todo lo que su imaginación traiga.
Cuando le expliqué que Santa debía ser azul, amo la idea ya que es uno de sus colores favoritos, más aún le gustó la al decir el porqué y es que para ella todos somos iguales independiente de condiciones médicas o tonos de piel.
Creando un Santa para el árbol
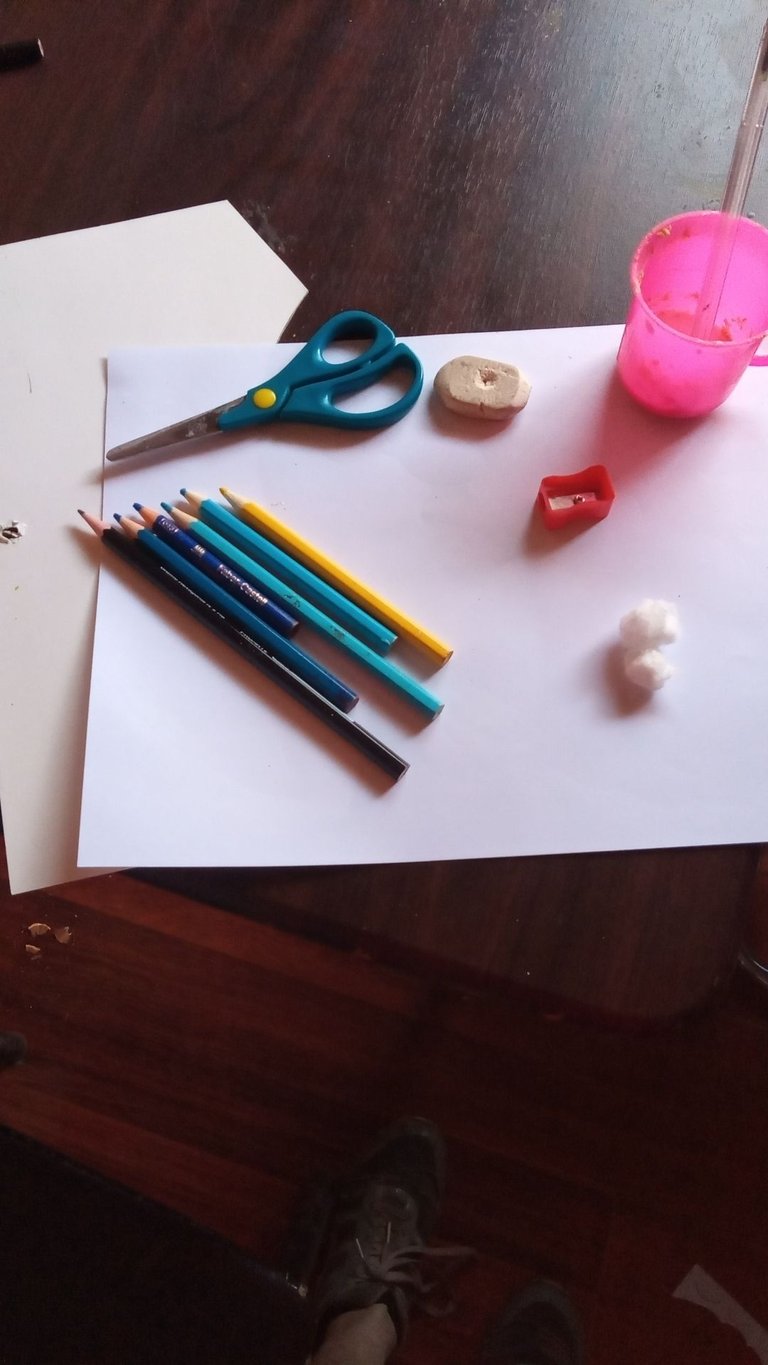
Materiales.
1 hoja de papel blanco.
1 trozo de cartón blando.
lápiz grafito.
goma de borrar.
Lápices de colores en tonos azules, rosado, amarillo y piel.
Tijeras
Pegamento
Sacapuntas
Algodón
paso a paso.
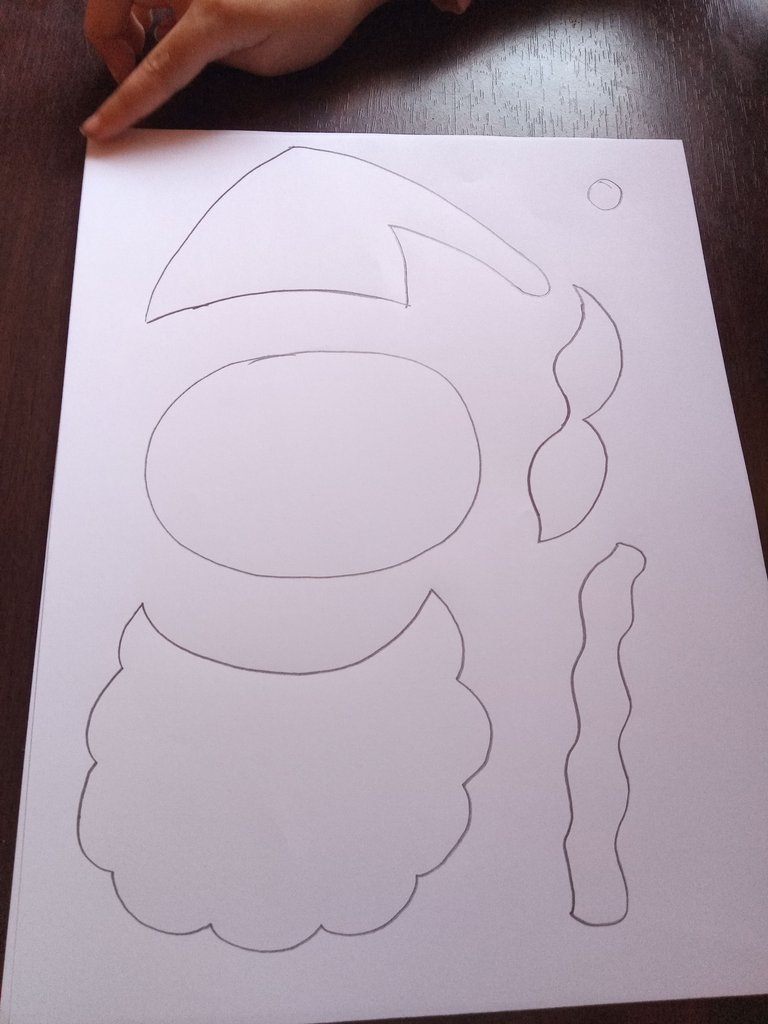
1- Dibujar las partes de nuestro Santa Claus.
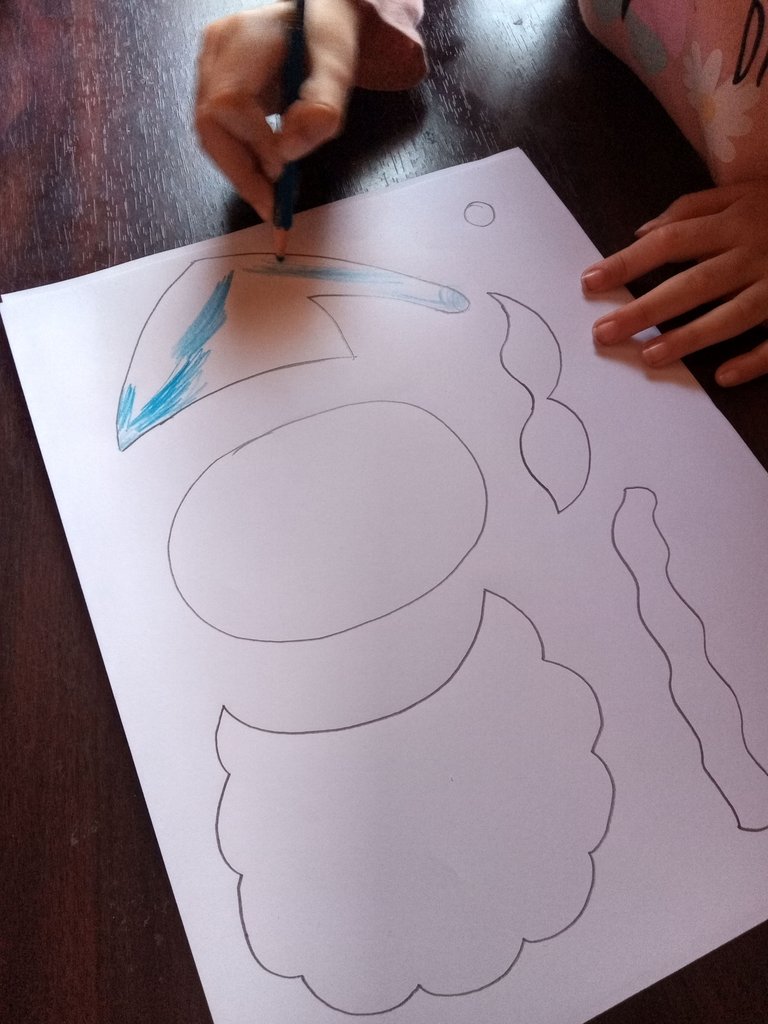
2- Colorear cada parte, tratando de no salir de sus márgenes.
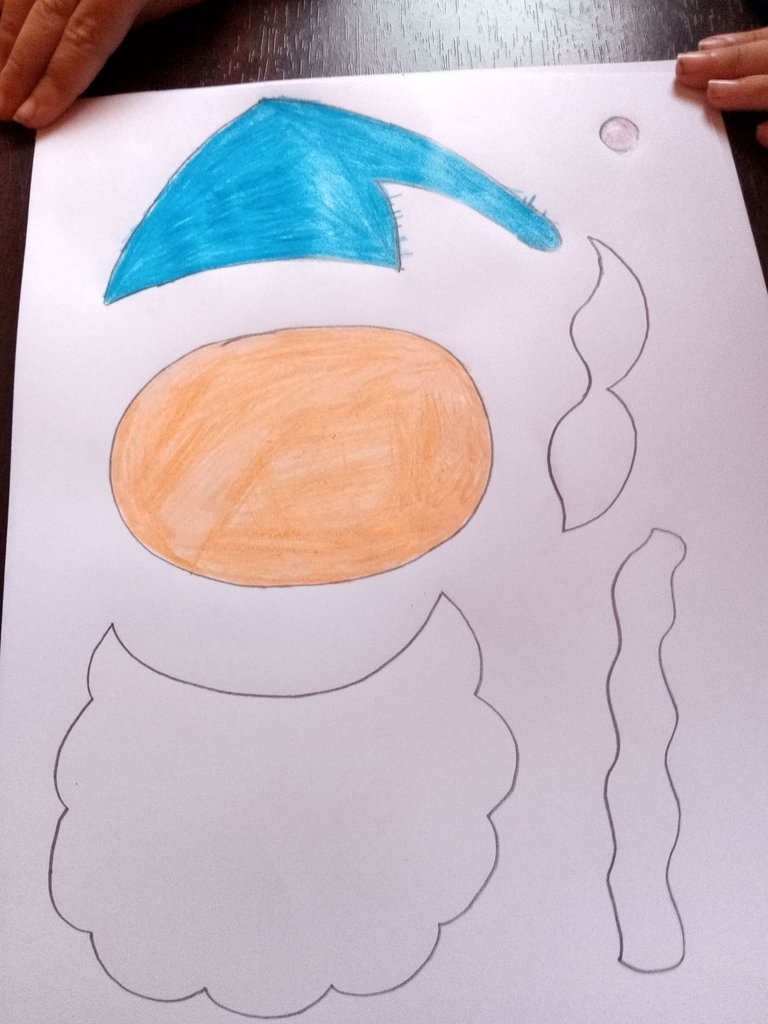
3- Recortar cada pieza de nuestro Santa Claus.
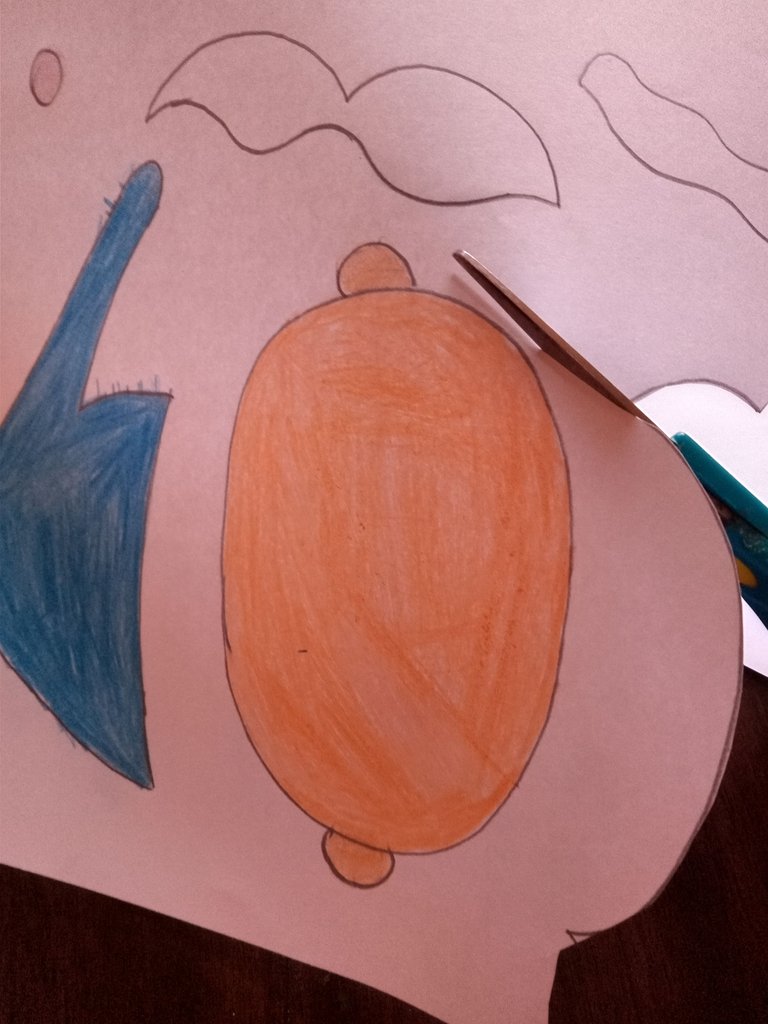
4- Pegar las partes al cartón blando.
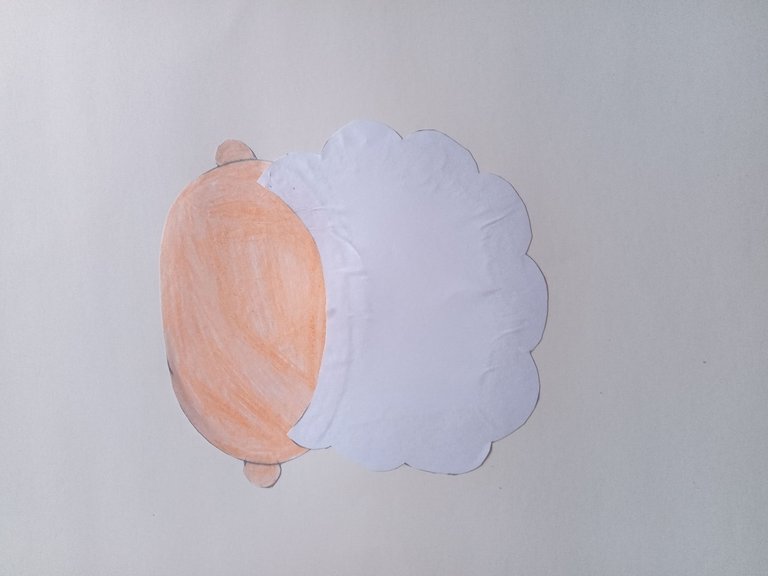
5- Pegar la bola de algodón al sombrero de Santa.
6- Dibujar los ojitos y cejas de nuestro Santa Claus.
7- Dibujar un círculo a base de marco y recortar.
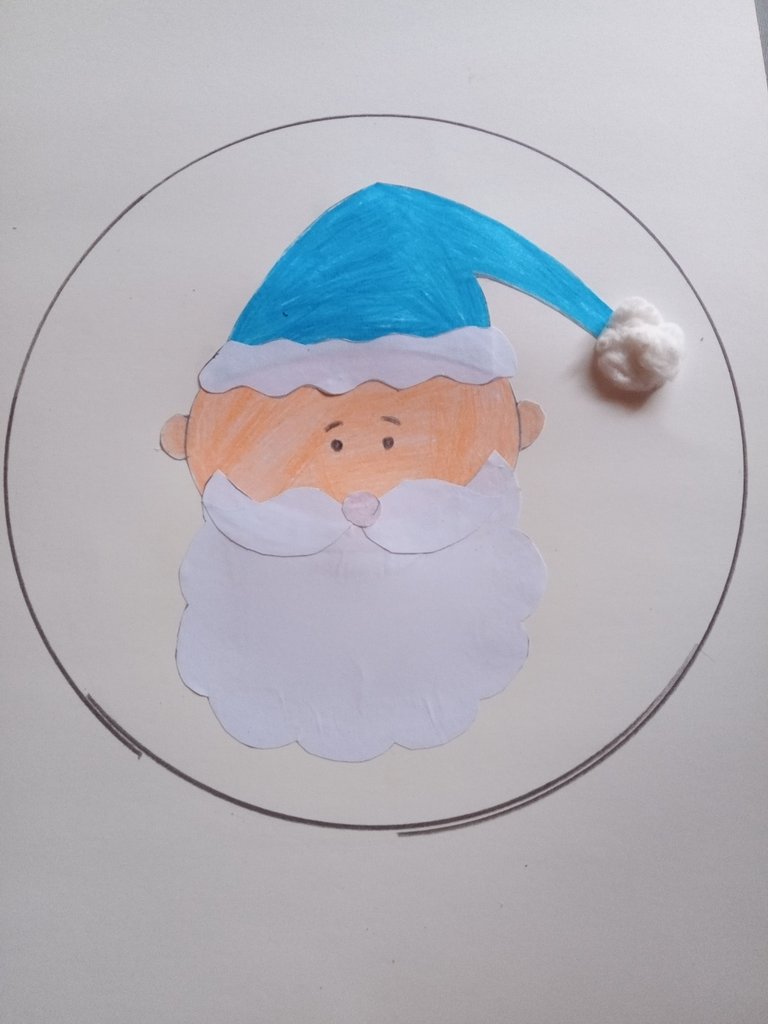
8- Decorar esta parte a gusto, (mi hija dibujo estrellas las cuales coloreó en distintos tonos de azul y posterior pinto el fondo de amarillo).
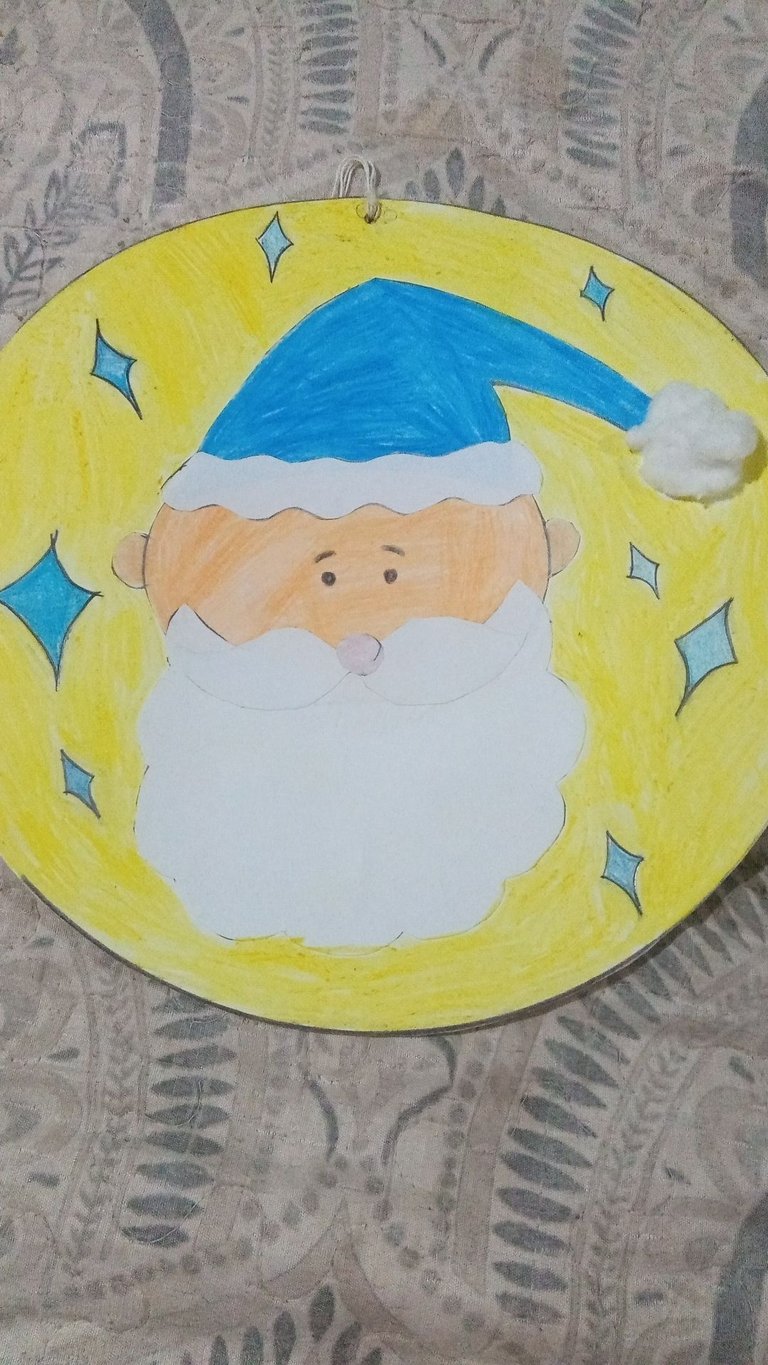
9- Hacer un agujero pequeño en la parte superior para poner un hilo y poder colgar.
El tiempo empleado para esta manualidad fue de 50 minutos, los cuales se distribuyeron en: búsqueda de materiales, dibujar, colorear, recortar y armar.
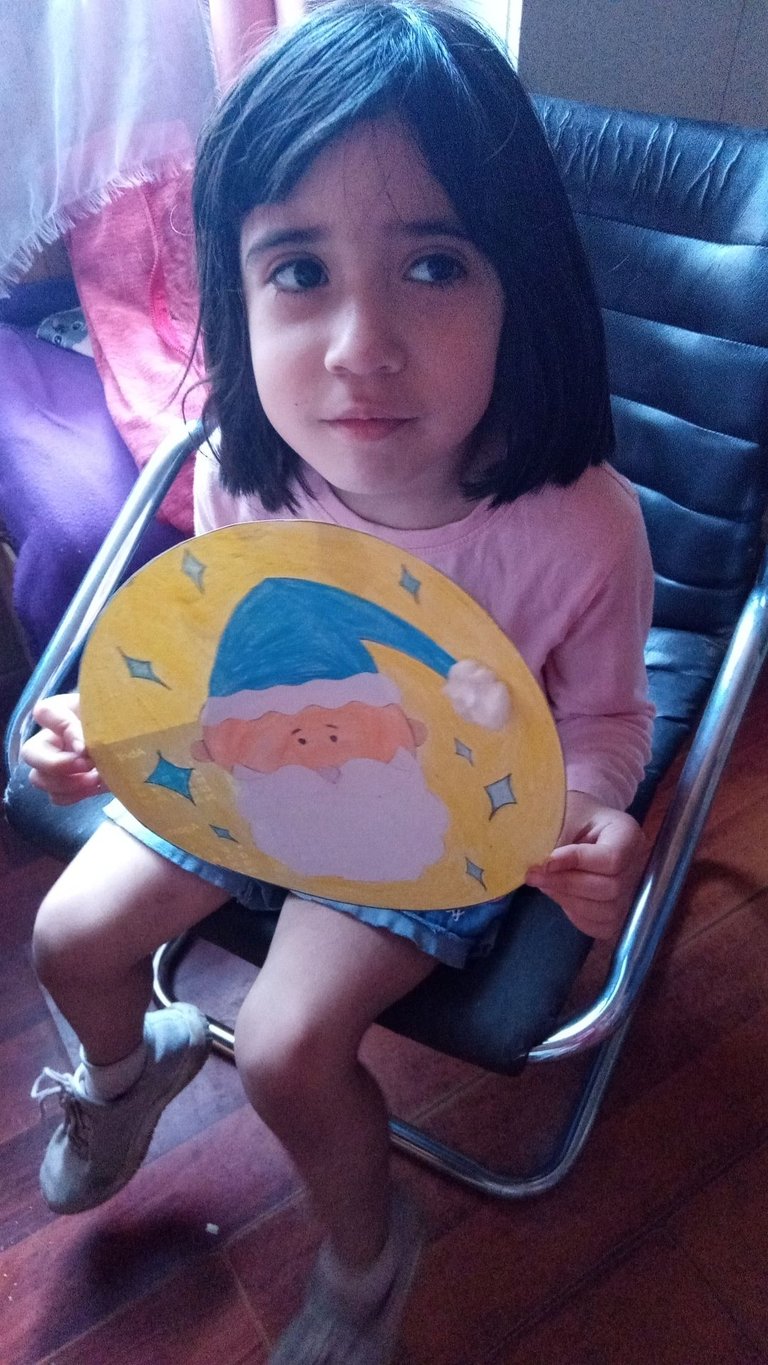
Además de eso lo más importante aparte de participar fueron las sonrisas, amor y dedicación que mi hija puso, fue un trabajo hecho en conjunto, quizás sea poquito, pero este Santa Claus nació de su imaginación.
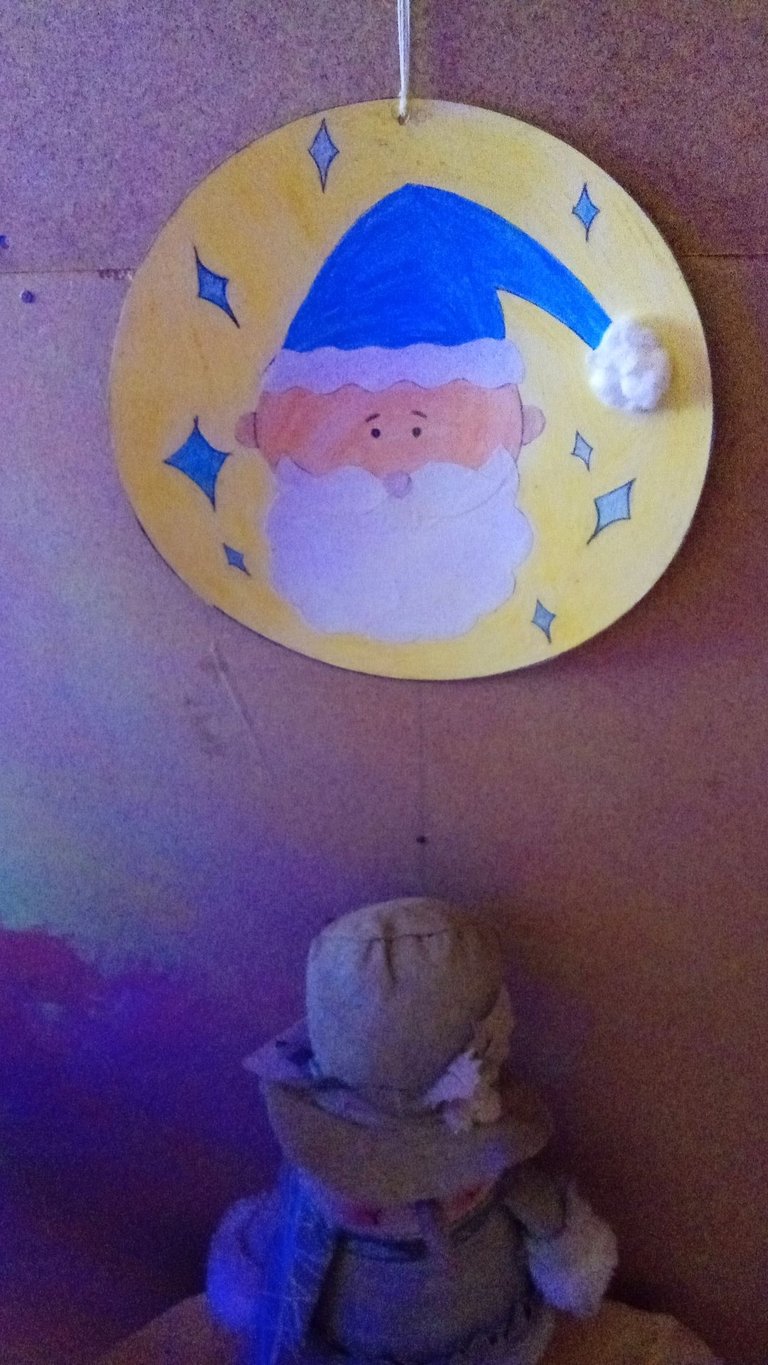
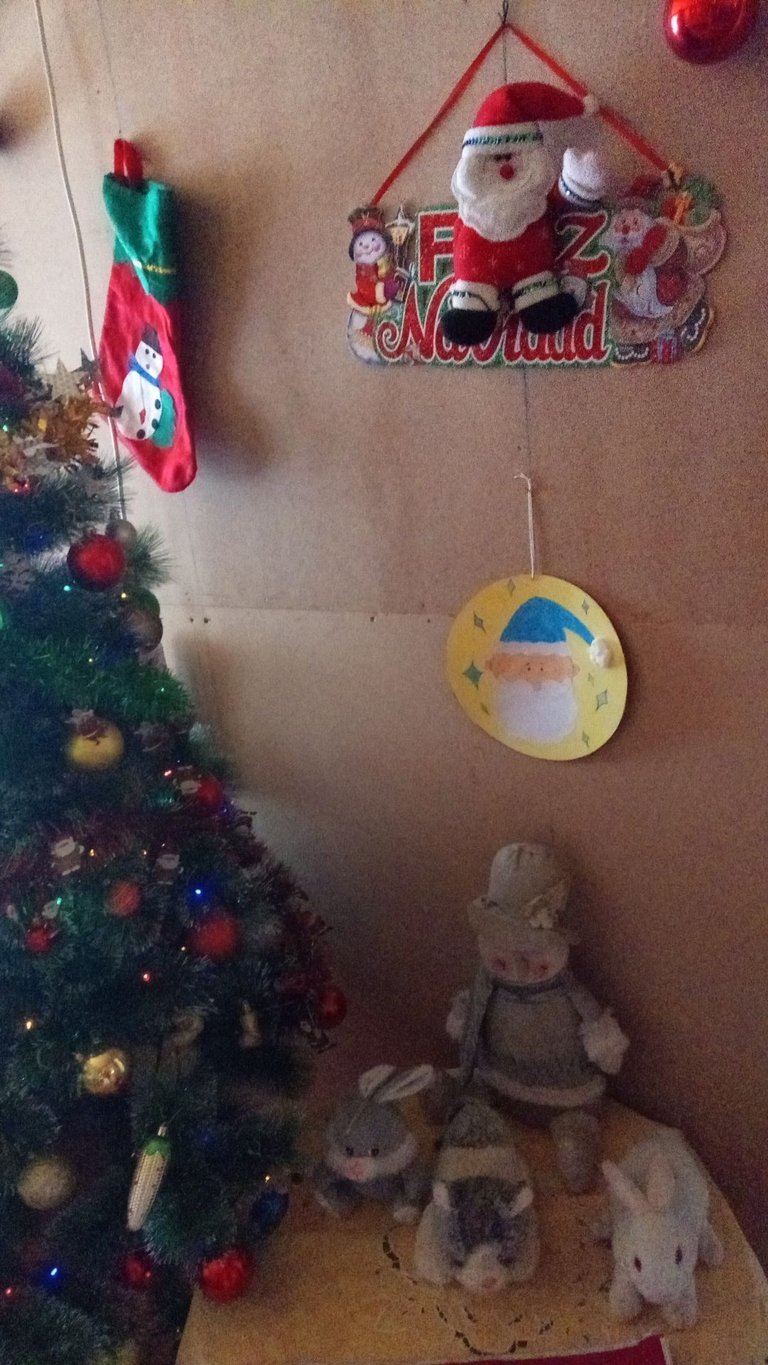
Decidió colocarlo cerca del árbol de Navidad, ya que dice que desde ahí podrá observar todo lo que ocurre, es como si el real Santa observará todo a través de los ojos de su dibujo.
English
Ho ho ho! Dear users.
The @mundo.autismo community has created a beautiful initiative and instance to participate, nothing better than the magic of Christmas to spread inclusion.
If you would like to participate, you are invited to this initiative entitled Blue Creativity.

When I read this call out loud, my youngest daughter, Julieta, listened and in no time she was smiling to participate. She loves crafts and at five years old, we can see her cutting out, painting and creating whatever her imagination brings.
When I explained to her that Santa had to be blue, she loved the idea since it is one of her favorite colors, and even more so when I told her why, because for her we are all the same regardless of medical conditions or skin tones.
Creating a Santa for the tree
Materials.
1 sheet of white paper.
1 piece of soft cardboard.
graphite pencil.
eraser.
Colored pencils in shades of blue, pink, yellow and skin.
Scissors
Glue
Pencil sharpener
Cotton

step by step.
1- Draw the parts of our Santa Claus.

2- Color each part, trying not to go out of its margins.


3- Cut out each part of our Santa Claus.

4- Glue the parts to the soft cardboard.

5- Glue the cotton ball to Santa's hat.
6- Draw the eyes and eyebrows of our Santa Claus.
7- Draw a circle as a frame and cut out.

8- Decorate this part as you like (my daughter drew stars which she colored in different shades of blue and then painted the background in yellow).

9- Make a small hole at the top to put a thread and hang.
The time spent for this craft was 50 minutes, which were distributed in: search for materials, drawing, coloring, cutting and assembling.

Besides that, the most important thing besides participating were the smiles, love and dedication that my daughter put, it was a work done together, maybe it is little, but this Santa Claus was born from her imagination.


She decided to place it near the Christmas tree, because she says that from there she will be able to observe everything that happens, it is as if the real Santa will observe everything through the eyes of her drawing.
Las imágenes del tutorial son de mi autoría,la imagen de portada fue editada en canva.

Me encanta que ya tenemos el primer participante. Es un hermoso Santa de gorro azul. Felicito a la bella Julieta quien se ha lucido con tan linda creación y a su mamá @issymarie2 que la ayudó en la tarea :) Un gran abrazo azul y muchas felicidades!! (✿◠‿◠)
Gracias por participar
Eres la participante nro. 1
Ambas agradecemos la oportunidad a participar, le traspasare las palabras a mi hija, se sentirá muy feliz por ellas.
Feliz noche.
Y nosotros el que te hayas animado y hayas involucrado a tu nena en esta actividad. Siempre bienvenida. Que tengas una excelente noche! ⛄