Welcome to the second of five tutorials to help you get the most out of your Hive Rocks experience!
In the first tutorial we covered finding and getting good paintable rocks ready... now comes the creative fun: we start painting!
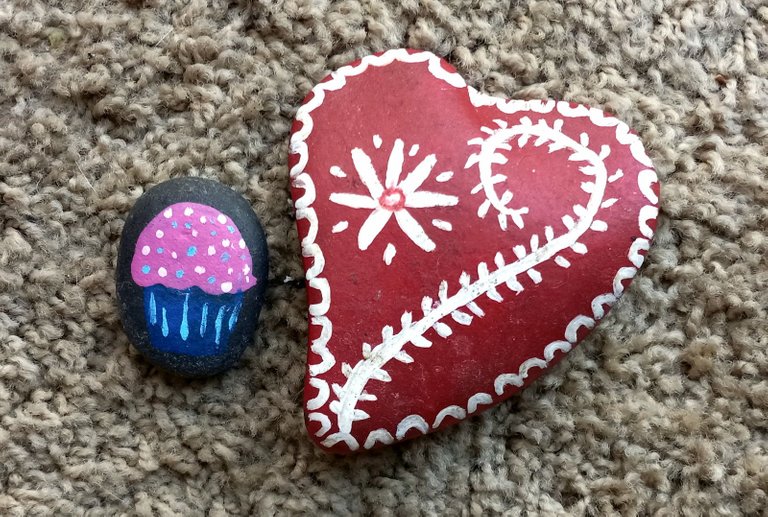
A couple of stones from regional "Art Rock" initiatives, now in our "collection."
Let's Talk About Paint!
Most commonly used ways to paint rocks for community art projects like Hive Rocks is either with acrylic paints, or oil based paint markers.
There's really no right or wrong way to paint a rock but something you do want to keep in mind is that you'll typically want a fairly thick paint that covers the base color of the rock so that your design stands out.
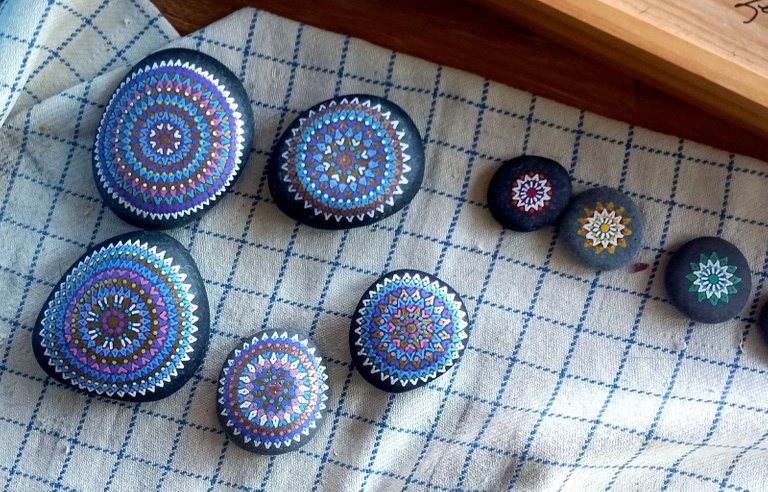
These rocks in my workspace have been PAINTED and are now DRYING before they can get a finish coat... which will be covered in the 3rd totorial!
Water based acrylic paints are convenient because the cleanup process is easy, and if you accidentally get paint somewhere in the wrong spot you can usually wipe it off pretty quick. I tend to use a damp cotton swab (or "Q-tip") for that. You can usually buy "starter sets" of acrylic paints fairly inexpensively at office supplies shops or stationers, unless you have a arts and crafts store where you live.
The downside, of course, is that if you get a little bit of water accidentally onto your acrylic paint design it tends to be destroyed very easily. The surface of a rock is nothing like painting on canvas; it is hard and unyielding, and the paint just sits there till it dries.
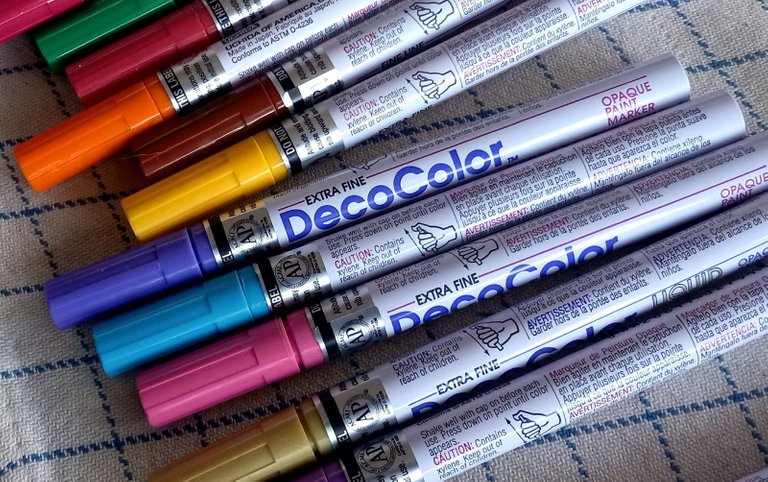
Opaque paint markers of the kind I often use
Conversely, if you use something like oil based paint markers it makes the design very permanent, but the downside there is that if you make a mistake it's all but impossible to undo it and typically what you'll end up having to do is somehow changing your design slightly to incorporate the mistake you made so it looks like it was put there deliberately.
If you do decide to use paint markers, look for the type that's designed to decorate pottery and glass.
It's also possible to get acrylic (water based) paint markers; just make sure you get a type that has opaque rather than transparent paint.
What Should I Paint on my Rocks?
As for what to paint I'll just let your imagination be your guide there!
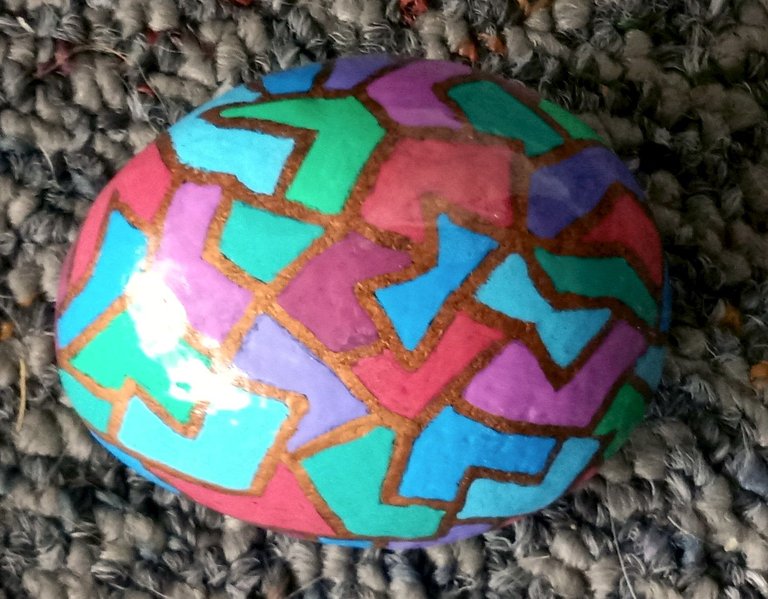
There is no wrong or right way to do this! There is only your way. Your design can be something as simple as just the red hive logo and something as complex as a landscape or a portrait of your pet.
That part is entirely up to you.
For those who regularly follow my blog here you'll know that I like to paint very intricate mandalas and rocks. But that's just my thing. I also paint trees, snowflakes, hearts, flowers and other things on my "public" rocks.
I've even seen people create mini collages and then adhere them to rocks with Mod Podge or a similar product. All I can suggest is that ”you do you.”
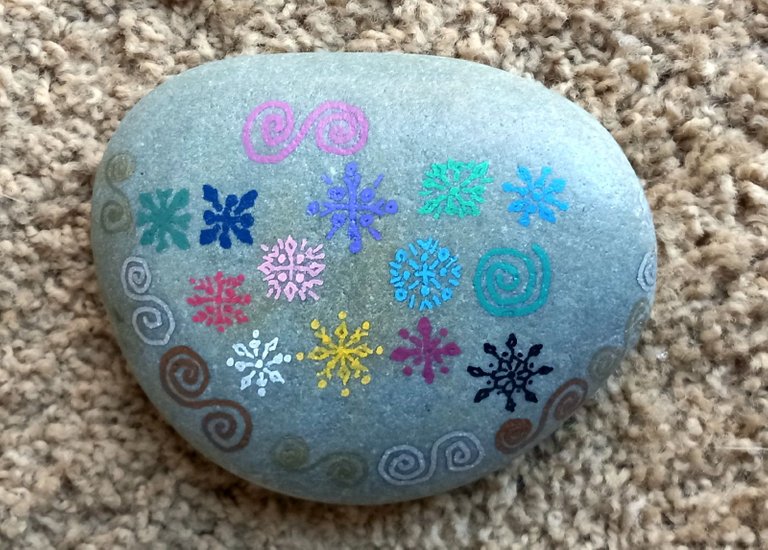
Designs don't have to be "fancy." This is just an experiment with snowflakes and swirls.
Let the Paint Dry THOROUGHLY!
Once you finished painting a rock and you're pretty satisfied with your design, I suggest you set it aside for at least 24 hours to dry thoroughly.
"Dry to the touch" is not the same thing as "dry and cured!"
When paint hasn't set entirely it's very easy to smear the design if you handle it too much. Similarly, I also suggest that you let it dry thoroughly before you turn it over to create the appropriate markings for Hive Rocks on the back.
This is why I always suggest to people that they take a day/afternoon/hour to paint several rocks at a time and then let them dry completely overnight...
Marking Your Rocks for Hive Rocks!
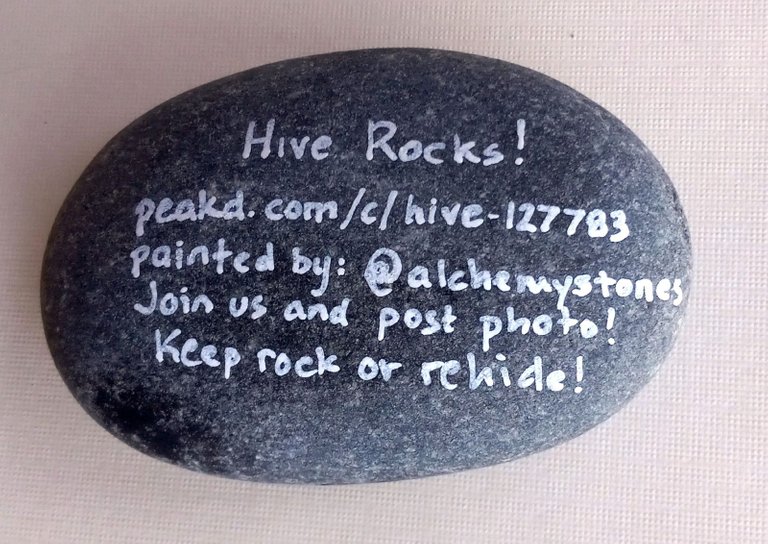
Hand painted markings on a stone, done with a white paint pen
Which brings us to the next part: Marking the rock properly with the appropriate Hive Rocks community information so that when somebody finds your painted stone, they will find their way to our community here on Hive!
Although the information is already in the original introductory post I will repeat it here, and add a couple of ideas:
Line 1: The words ”Hive Rocks!”
Line 2: Our web address (URL): peakd.com/c/hive-127783
Line 3: Painted by (your Hive ID): @alchemystones
I like to add the two optional lines:
Join us and post photo!
Keep rock or re-hide
...below, as many rocks are found by people who have never heard of rock painting community groups before, and wouldn't necessarily know what to do with a pretty rock found somewhere.
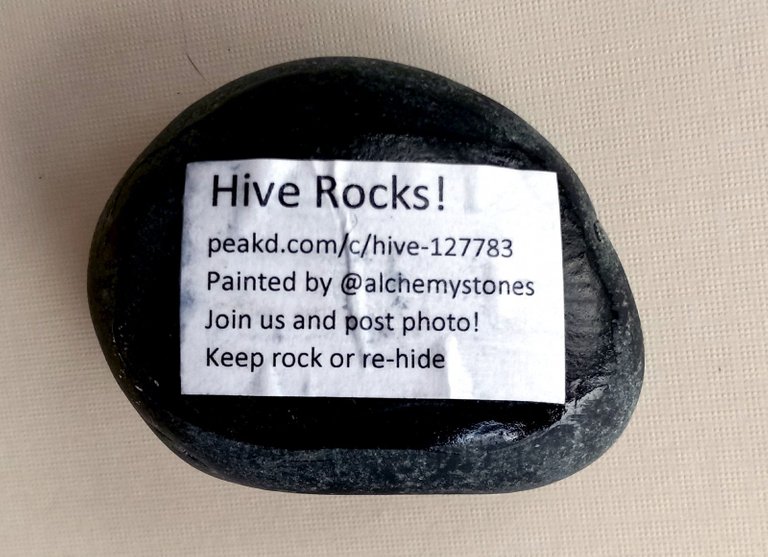
Printed on my laser printer and adhered to back of stone with "Mod Podge."
Now, you can either neatly PAINT this (This is where I always use a contrasting paint marker — black for pale rocks, white for dark rocks to keep it readable) or you can PRINT it on a small piece of paper and securely adhere the paper to the back of the rock.
The benefit of the paper option is that you can work on a smaller scale and it's neater to read... but as you can see in the image above, stones are rarely completely flat so parts of the paper will tend to buckle.
Make sure the label is glued all the way out into the corners, and use a glue that dries clear so you can also brush the edges down from above.
I do NOT recommend using self-adhesive mailing/shipping labels as the self-adhesive glue tends to not stck very well to most rocks!
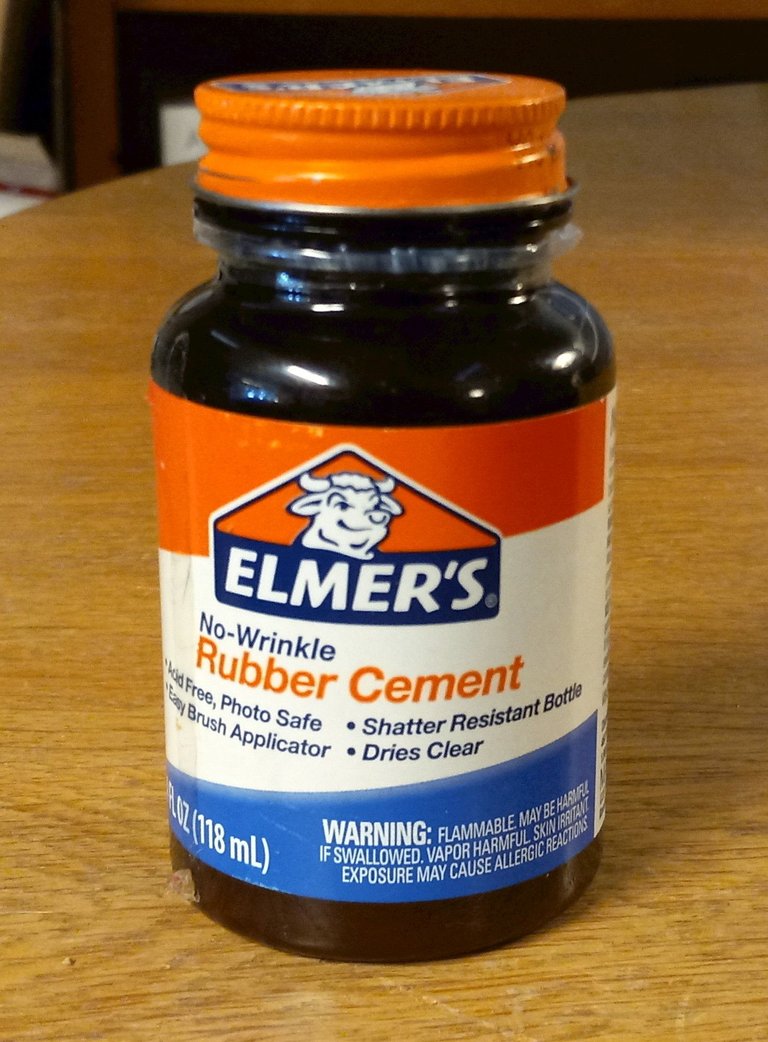
A product like Elmer's Rubber Cement (photo) works really well, or Mod Podge (as mentioned above) is also a good option.
Don't worry too much about the paper being out in the rain, as it will still get protected from weather when we apply a good finish coat in Tutorial No. 3!
Once you’ve marked your painted rocks, let the back paint (and glue) dry thoroughly; 24 hours is preferable.
Next Time: Adding a Finish so Your Rocks are Safe Out in Nature!
In Part 3, we’ll cover one of the most important parts of the process: putting a protective weatherproof coating over your design so it won't get ruined by being outside wherever you hide it potentially in a place where it might get rained on.
Thanks for joining us on this community building journey!
Hive Rocks Tutorial 2: Created 2021-12-08; Last update 2021-12-08
AS-TXT-070/036
I love that you are making tutorials for this. I need to get me some paint markers, at least one or two for marking the back. Trying to write with my acrylics and paintbrush, I would never have enough room for all the group info unless I was writing on a VERY big rock, lol. In the past I would paint a design on top and then write a little happy message on the back, like "you rock!" so it was good enough fitting it with a brush.
Thanks!
This wasn't actually my group, but if we're going make a sincere go of having a Hive Rock painting group might as well do our best. Hoping to have all 5 tutorials done by the end of next week... at which point I'm going to suggest we all create a few rocks and then write our own interpretations of "join Hive Rocks!" to see if we can't get some more people involved.
I don't know if @yangyanje has any interest in setting up a Discord server for the Community; we can always do that later, if it takes off.
Congratulations @alchemystones! You have completed the following achievement on the Hive blockchain and have been rewarded with new badge(s):
Your next target is to reach 80 posts.
You can view your badges on your board and compare yourself to others in the Ranking
If you no longer want to receive notifications, reply to this comment with the word
STOPTo support your work, I also upvoted your post!
Check out the last post from @hivebuzz: