Welcome to the third of five tutorials to help you get the most out of your Hive Rocks experience!
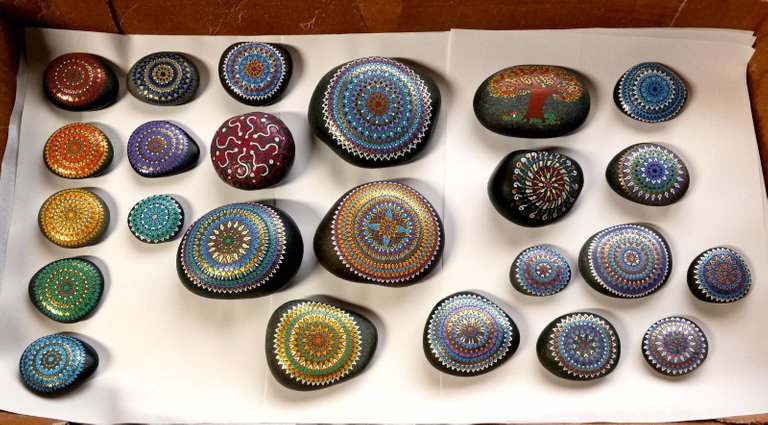
A whole tray of painted rocks, ready to go... or ARE they?
In the first tutorial we covered finding and getting good paintable rocks ready... in the second tutorial we talked about paints, painting your rocks and marking them with Hive Rocks information.
It would be nice to think that was all we needed to pay attention to, but let's keep in mind that most of the fun of a rock painting initiative is hiding and finding rocks out in public spaces. And that means your painted rocks will be out in the weather!
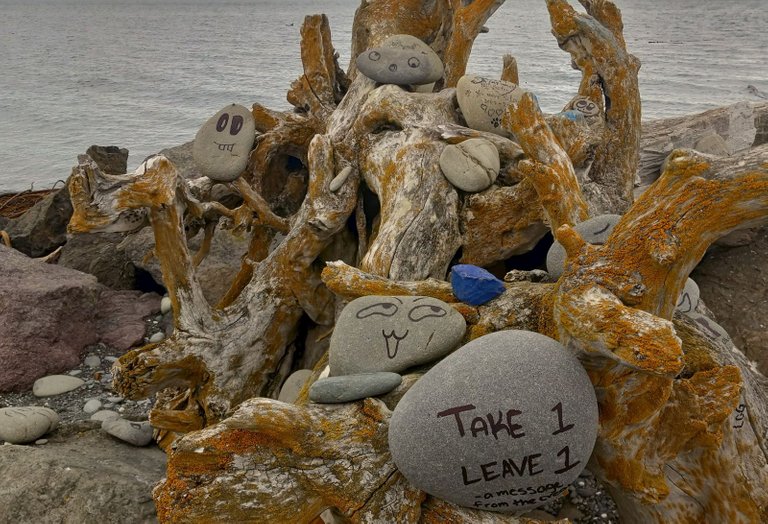
One of many "rock trees" in Port Angeles, Washington where the very first community rock painting initiative got its start. The "good ones" tend to vanish almost immediately!
Wait... What? Outside?
Since the central and most important aspect of a community rock painting project is hiding your painted rocks in a public space for others to find, it is also essential that your rocks can withstand not only being handled extensively, but whatever weather they might be subjected to; frost, snow, ice, rain...
It would be very sad to spend a long time creating a beautiful design, put it somewhere for someone to find, and due to a certain downpour your beautiful painting of two kittens playing gets turned into a color BLOB!
And yes, I have actually found more or less destroyed rocks, the result of people using acrylic paints and not putting anything protective over the paint.
Always Use Protection!
After about 10 years of experimentation, I finally settled on treating all my painted stones with multiple coats of transparent weatherproof clear lacquer.
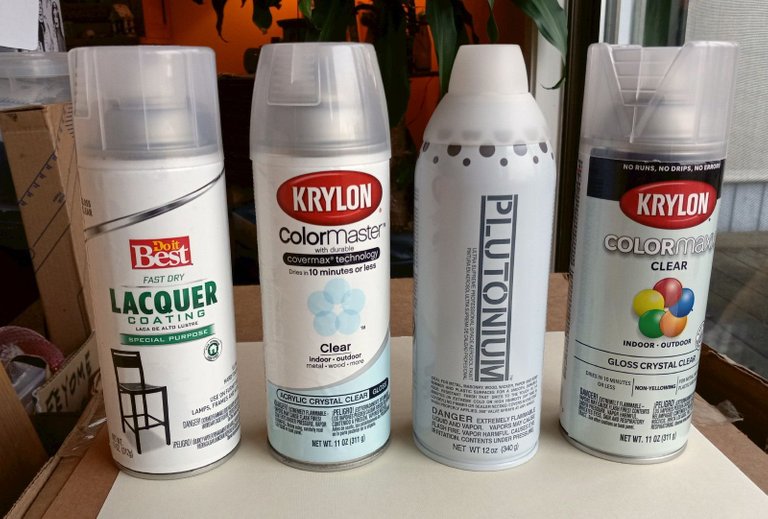
Various brands of clear finish I have used
This is generally not hard to find; the kind I use is available at my local hardware store, and is normally used to protect outdoor wicker furniture from the elements. You can also find it at stores that sell house paint.
Typically, I prefer to use a high gloss finish because it tends to enhance your design but that part is entirely up to you. One of the things you do want to look for is getting a quick drying type of spray lacquer. The type I use dries to the touch within about 15 to 20 minutes as long as the temperature is above 50 degrees or 10 degrees centigrade.
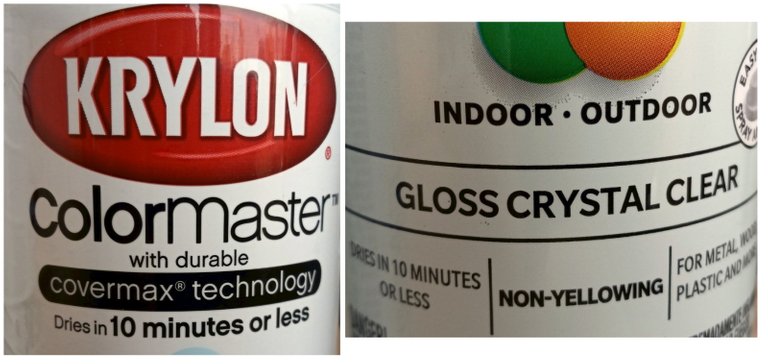
Things to consider: Dries quickly, and Glossy clear finish
Best Done Outside or in the Garage!
Because it tends to be a bit smelly, I recommend finishing your rocks either in your garage, or maybe outside on your balcony or porch. For the same reason, I find it easier to treat 5 to 10 or more rocks at a time rather than each rock as I finish it.
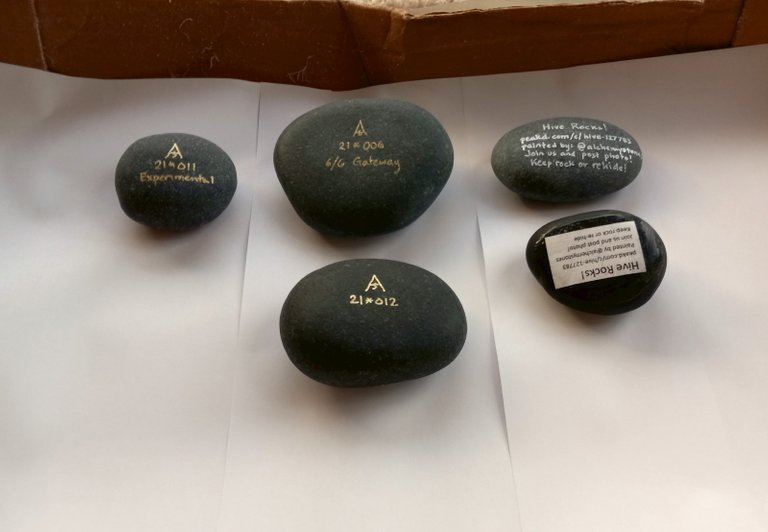
Laying the stones out on a cardboard box lid, back side up...
The easiest and least messy way to do this is to get a piece of board or thick piece of cardboard, lay a couple of sheets of plain white paper on there, and then set your rocks on top of that. I suggest NOT using newspaper, because newsprint has a way of transferring onto anything that touches it and it would be a shame to have a bit of yesterday's news in the middle of your painted landscape! Setting your rocks on the board before you spray them also protects your surroundings from excessive overspray.
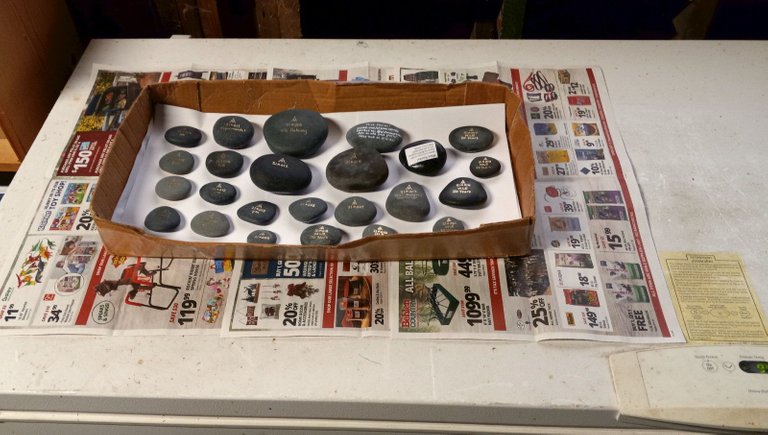
I use the freezer in the garage as my work table. No, those are not all Hive Rocks, most are for my own online shops!
Spray the Back, Then the Front
In terms of getting the most successful finished painted rocks, my recommendation is that you spray the back first and let it dry thoroughly, preferably overnight. Then flip the rocks over to do the front before letting that dry thoroughly.
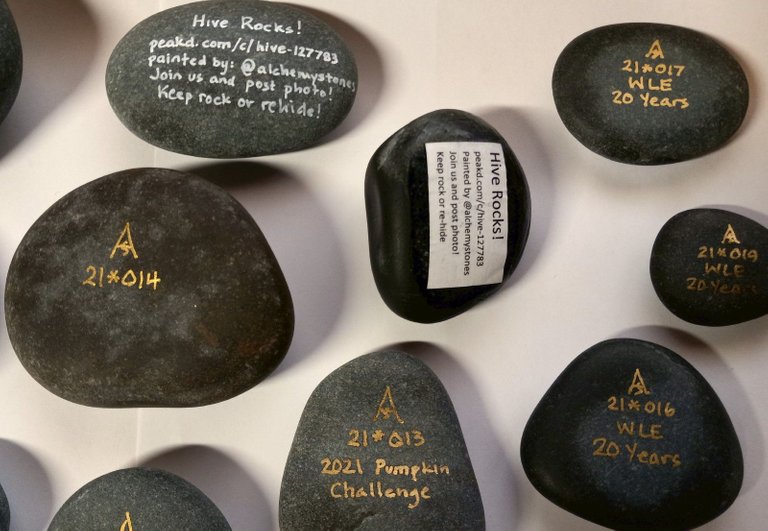
The backs of the rocks, before spraying...
Before you flip the rocks over however, put a fresh couple of sheets of white paper on your board so that the freshly painted back won't stick to the lacquer already on the paper. Even though it may feel dry, lacquer has a tendency to "stick to itself" for up to a week.
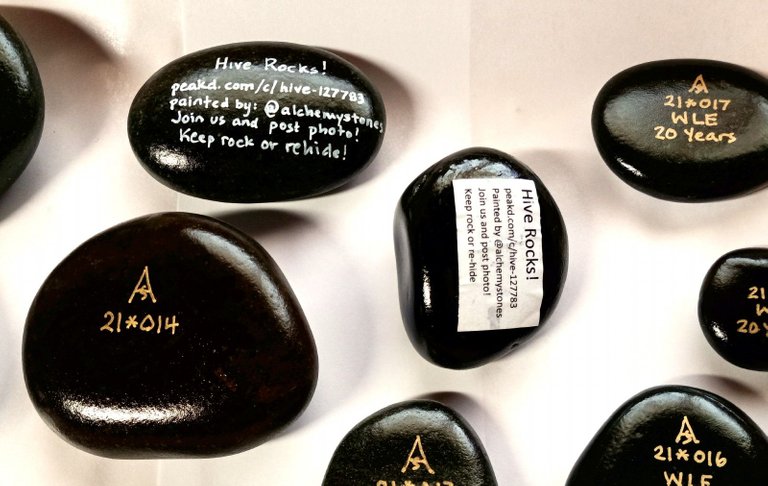
Backs, after finish has been applied
Multiple THIN Coats!
IMPORTANT: It is far better to give each rock 5 to 6 very thin layers of protective coating, rather than one thick layer.
Why? Because if you put a single very thick layer of lacquer on top of your painted design, you run the risk that the excess lacquer will start running/dripping and it will literally cause your design to look like it is starting to ”melt!”
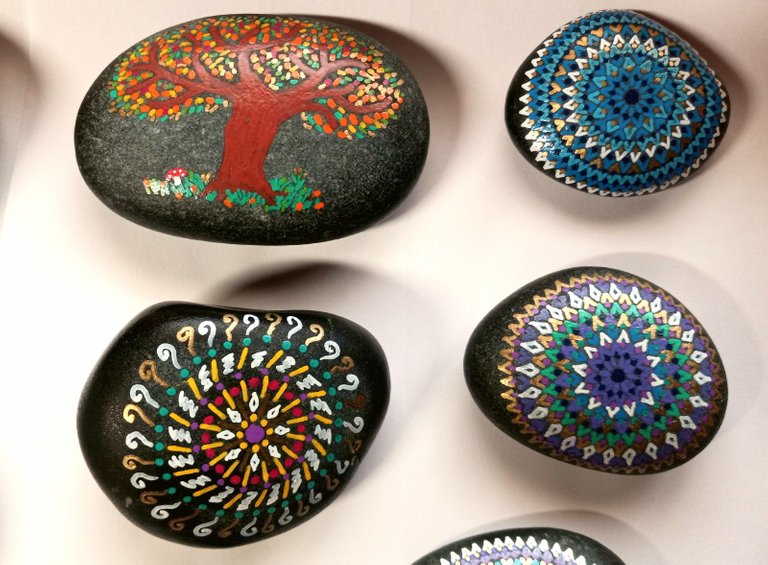
Fronts, before...
Very thin layers don't have enough thickness to affect the paint. Yes, you have to be a little bit more patient to use this process, but you will lose far fewer rocks to having the design ending up looking blurry.
Typically, I apply each thin coat after about 30 minutes, which is about as long as it takes for the spray lacquer to be dry to the touch.
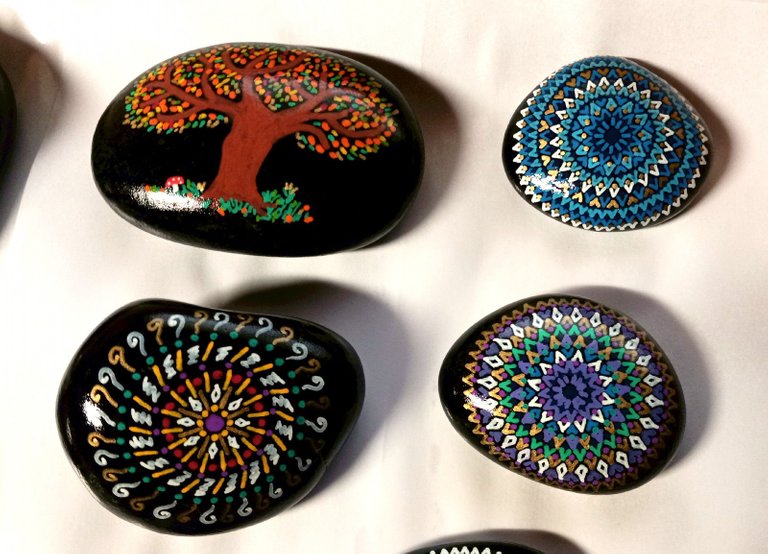
...and after
Let Dry COMPLETELY!
Once you have sprayed both sides of the rocks, I recommend letting them sit for at least 24 hours for the finish coat to fully ”cure.”
There is a big difference between "dry to the touch" and "completely dry and hardened." You're striving for the latter.
Alternatives...
Do you really have to use a spray lacquer?
No, but it does offer the best protection, and because it's spray there are no brushes to disturb the painted design when you apply it.
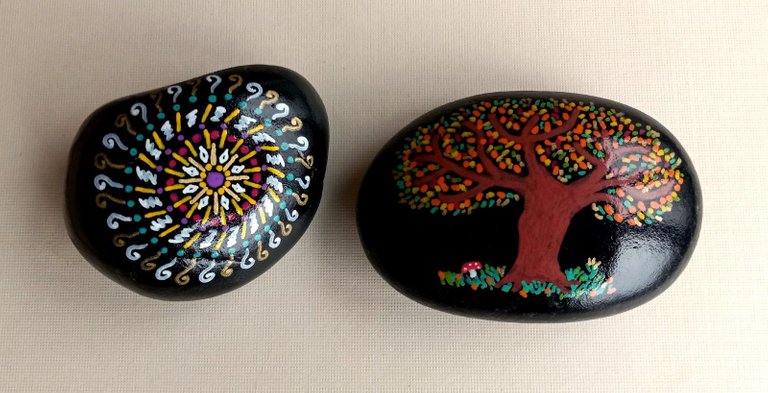
These two are now ready to be "set free!"
If you used paint pens suitable for ceramic and glass to decorate your rock, you can choose to not add a finish coat... it's helpful, but not essential.
Some people like to only use water-based coatings like Mod Podge (mentioned in Tutorial no. 2), which offer some protection, and might be perfectly adequate if you live in a pretty dry climate.
Next Time: Hiding Your Rocks in Public and Letting People Know!
In Part 4, we’ll cover some of the basics of "hiding" your rocks for others to find, and letting people know (with hints) where to start looking.
Thanks for joining us on this community building journey!
Hive Rocks Tutorial 3: Created 2021-12-16; Last update 2021-12-16
AS-TXT-073/039
Very cool art work 😅👌👌🥃
Thank you!
you're welcome :)
Your content has been voted as a part of Encouragement program. Keep up the good work!
Use Ecency daily to boost your growth on platform!
Support Ecency
Vote for new Proposal
Delegate HP and earn more
Thank you for your support, I appreciate it!