Welcome to the Hive Rocks Community!
This is the first of five tutorials on how you can become involved in this exciting interactive community! Links to the other parts of the tutorials will be added below, as they are published.
We also recommend that you read the introductory post here; it explains more about Hive Rocks, and what a Community Stone Painting initiative is about and what it does.
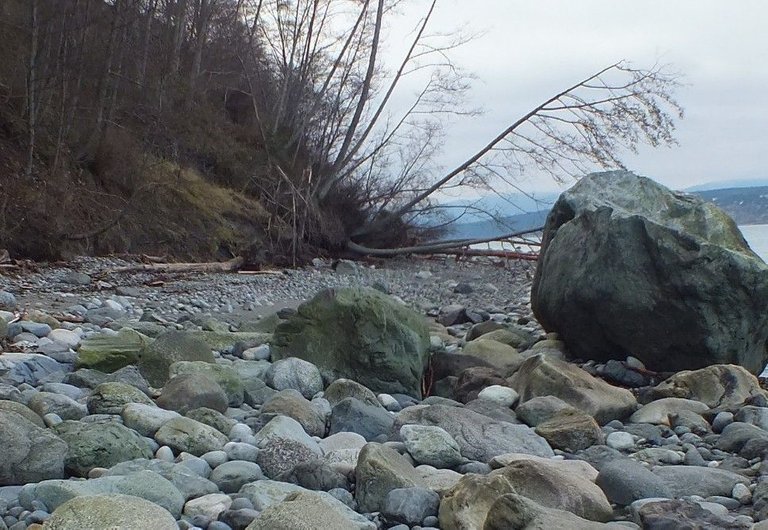
It all begins with a rocky beach, shore or riverbank!
Getting Started: What’s In A Rock?
The first thing you have to do is come up with some nice "blank" rocks to use as the "canvases" for your creativity!
Are all rocks suitable for being painted on?
In a sense they are, but since not everybody who's participating here is likely to be a skilled artist there are a few basic ideas we like to start out with.
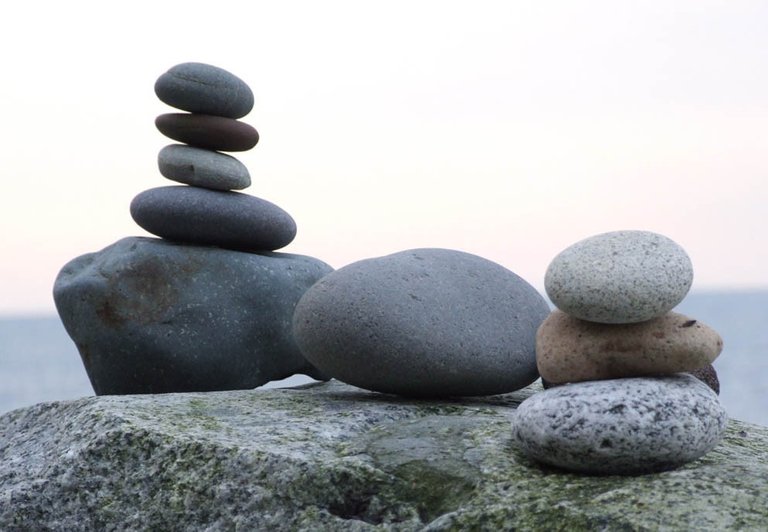
Which rocks would you choose?
It's a really good idea to pick rocks that feel very smooth on both sides. When you look at a rock we also recommend that you pick one that doesn't have any cracks in it. The problem with cracks is that — even though they might make the rock look interesting — when you come to paint the rock your paint tends to bleed into those cracks and end up going to places where you don't really want the paint to be!
Rocks with patterns and different colors can be fun to look at, but in general a solid colored rock is easier to paint than a mottled one. Unless, that is, you have thought of a way to use the pattern of the rock as part of your painted design!
When you're out looking for rocks, it's also fun to pay attention to shapes. Sometimes I find rocks there are natural heart shapes for example. Along the way I've also found a few rocks that you could easily imagine being the shape of a fat woolly sheep or a pig. Of course one of the other popular shapes to look for would create a nice ladybug or some other kind of beetle. For the most part though, I prefer to look for nice flat, very smooth and largely round rocks. Those allow your imagination to run as free as possible when it comes time to paint them.
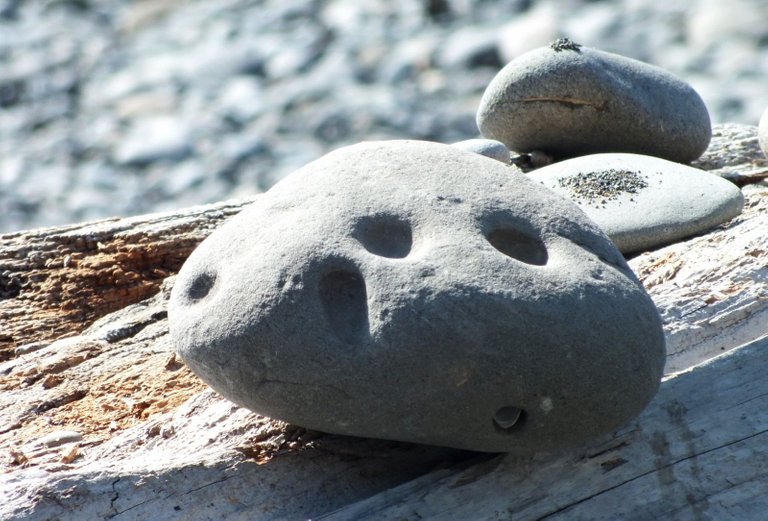
This "holy" rock might be cool if you can make the holes part of your design
Where Should I Look?
I generally find the smoothest and roundest rocks either on the beach, or along the shores of fast flowing rivers, where centuries of being tumbled by the water has made their surfaces very smooth.
However, there are no real "rules" there, as long as the rock "speaks to you."
One note, though: Even though it may seem like "just a rock" don't grab rocks out of people's roadside/streetside landscaping! That's just bad Karma!
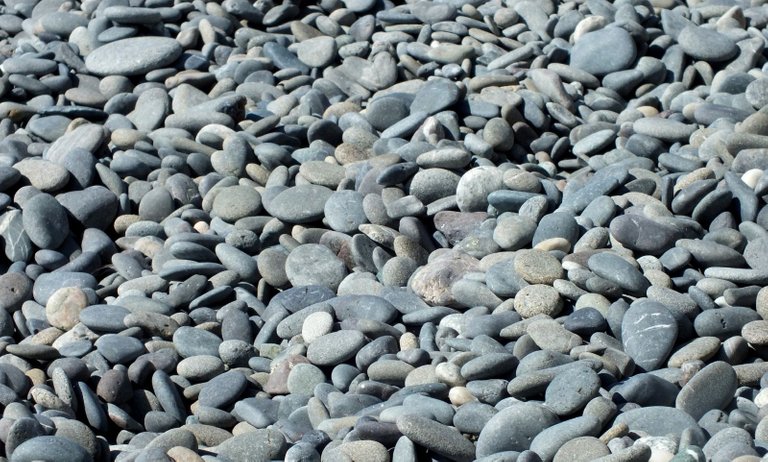
A beach with MILLIONS of possibilities!
What Size Rocks Should I Use?
Keep in mind that your rocks shouldn't be so small that they get lost, and also keep in mind that you need them to be big enough that you can write the "Hive Rocks" identifying information on the back.
On the opposite end of the scale, they shouldn't be so big that they become awkward and heavy for both you and potential finders to tote around!
In the years I've been involved with rock painting, the small end of the scale tends to start around 1 1/2" (3.5cm) and go up to no more than maybe 6-7" (15-18cm) across. Of course those are just guidelines; you're always free to do your own thing!
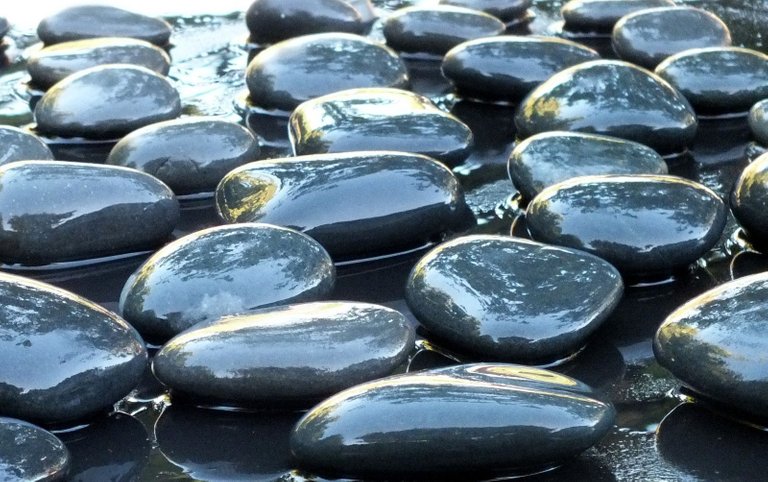
A bunch of rocks from a beach trip have just been washed!
Preparing Rocks for Painting!
OK, so now you've found some stones to paint! A couple of additional suggestions before you start painting:
It's a really good idea to thoroughly wash rocks you find in nature before you go to paint them. A lot of times when you simply rub the dirt off a rock there may still be caked on silt or other residue there, and once that gets wet and mixes with your paint you easily end up with a mess.
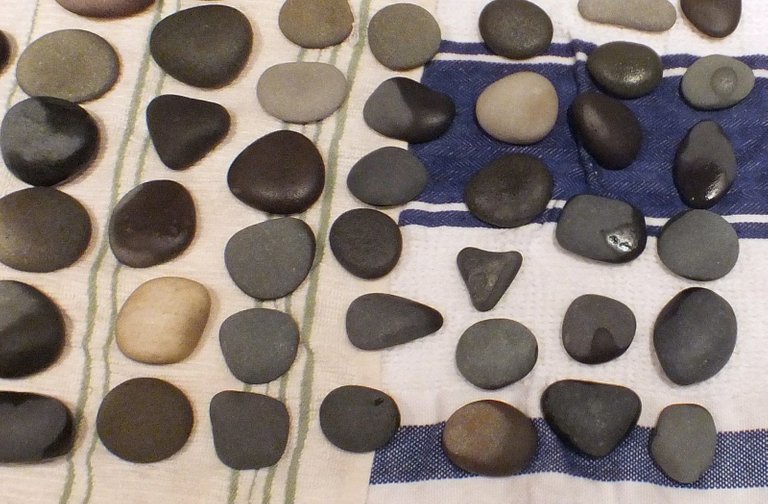
Washed rocks drying on towels
So even if your rock looks clean we highly recommend that you wash it before you get ready to paint!
Prepare several rocks at a time! Most of the time when I do rock painting I end up picking up anywhere from ten to many rocks on each trip out. When I get home I wash all of them, check them for cracks, and let them dry thoroughly before getting ready to paint.
If you're the impatient sort and want to start right now, you can always take a hair dryer to them to speed up the drying process!
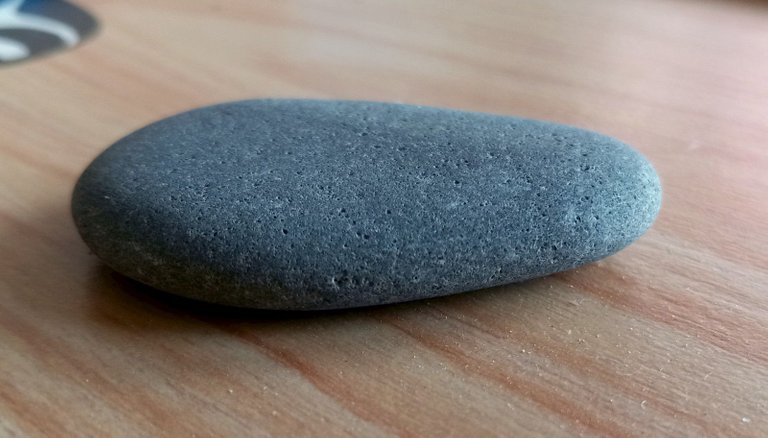
That's a nice flat rock, very smooth and ideal for painting on!
And Now, You're Ready to Paint!
In the next tutorial we'll talk about different kinds of paint, ideas for designs and how to mark your rocks so someone who finds one of your rocks will also find you and Hive!
Thanks for joining us on this community building journey!
Hive Rocks Tutorial 1: Created 2021-12-04; Last update 2021-12-04
AS-TXT-069/035
Amazing!
And a great excuse to go hunt for the rocks. Might try out some, preferrably a natural and durable paint?
Thank you so much for the idea, can't wait for whole totorial
If you didn't see it already @warrkin, the second tutorial (about painting) has been posted to the group!
https://peakd.com/c/hive-127783/created