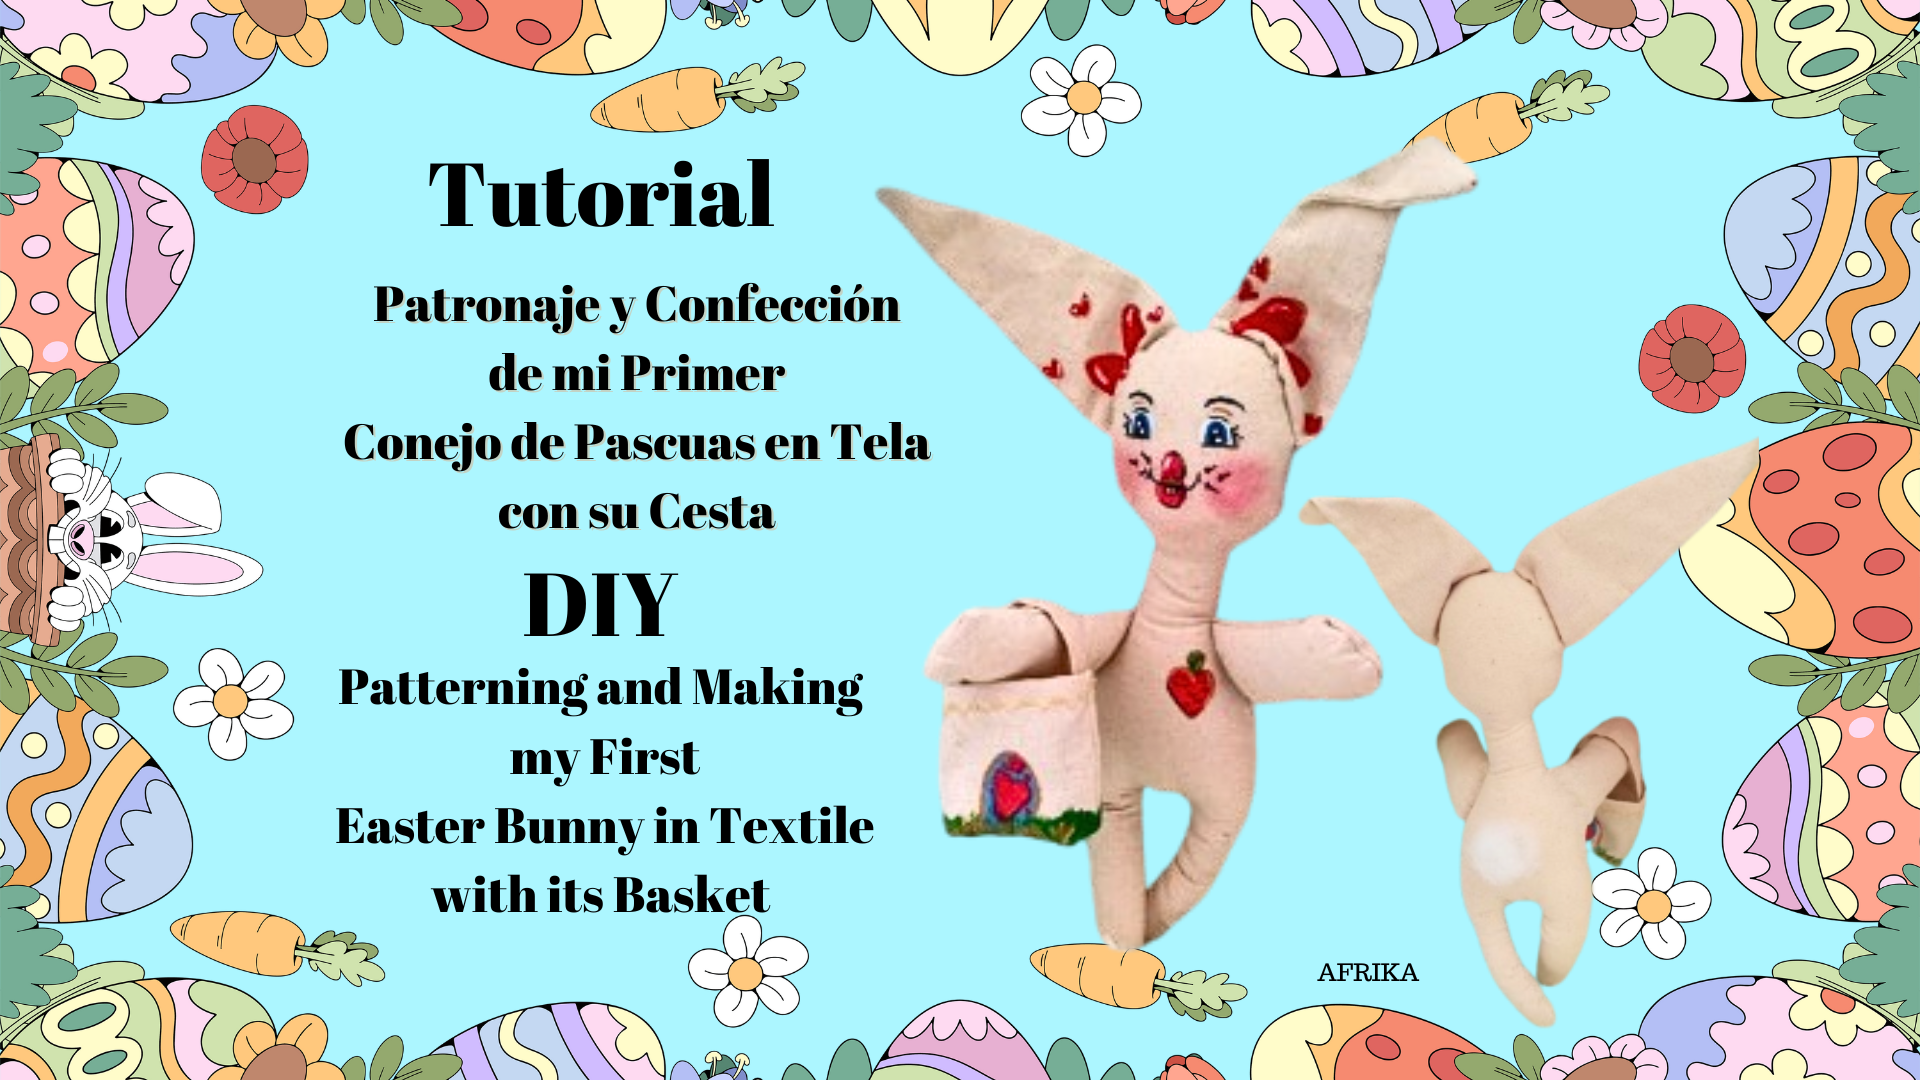
Very good morning hivers, creatives, lovers of yarn and needles. On this side of the world autumn is here and we are close to Easter, which is also celebrated with the search for decorated eggs and the distinctive bunny. I was researching and I found out that this character of the cultural imaginary has its origins in northern Europe, when spring begins, it emerged as a representation of fertility and light, referring to a goddess. And so it spread throughout the world.
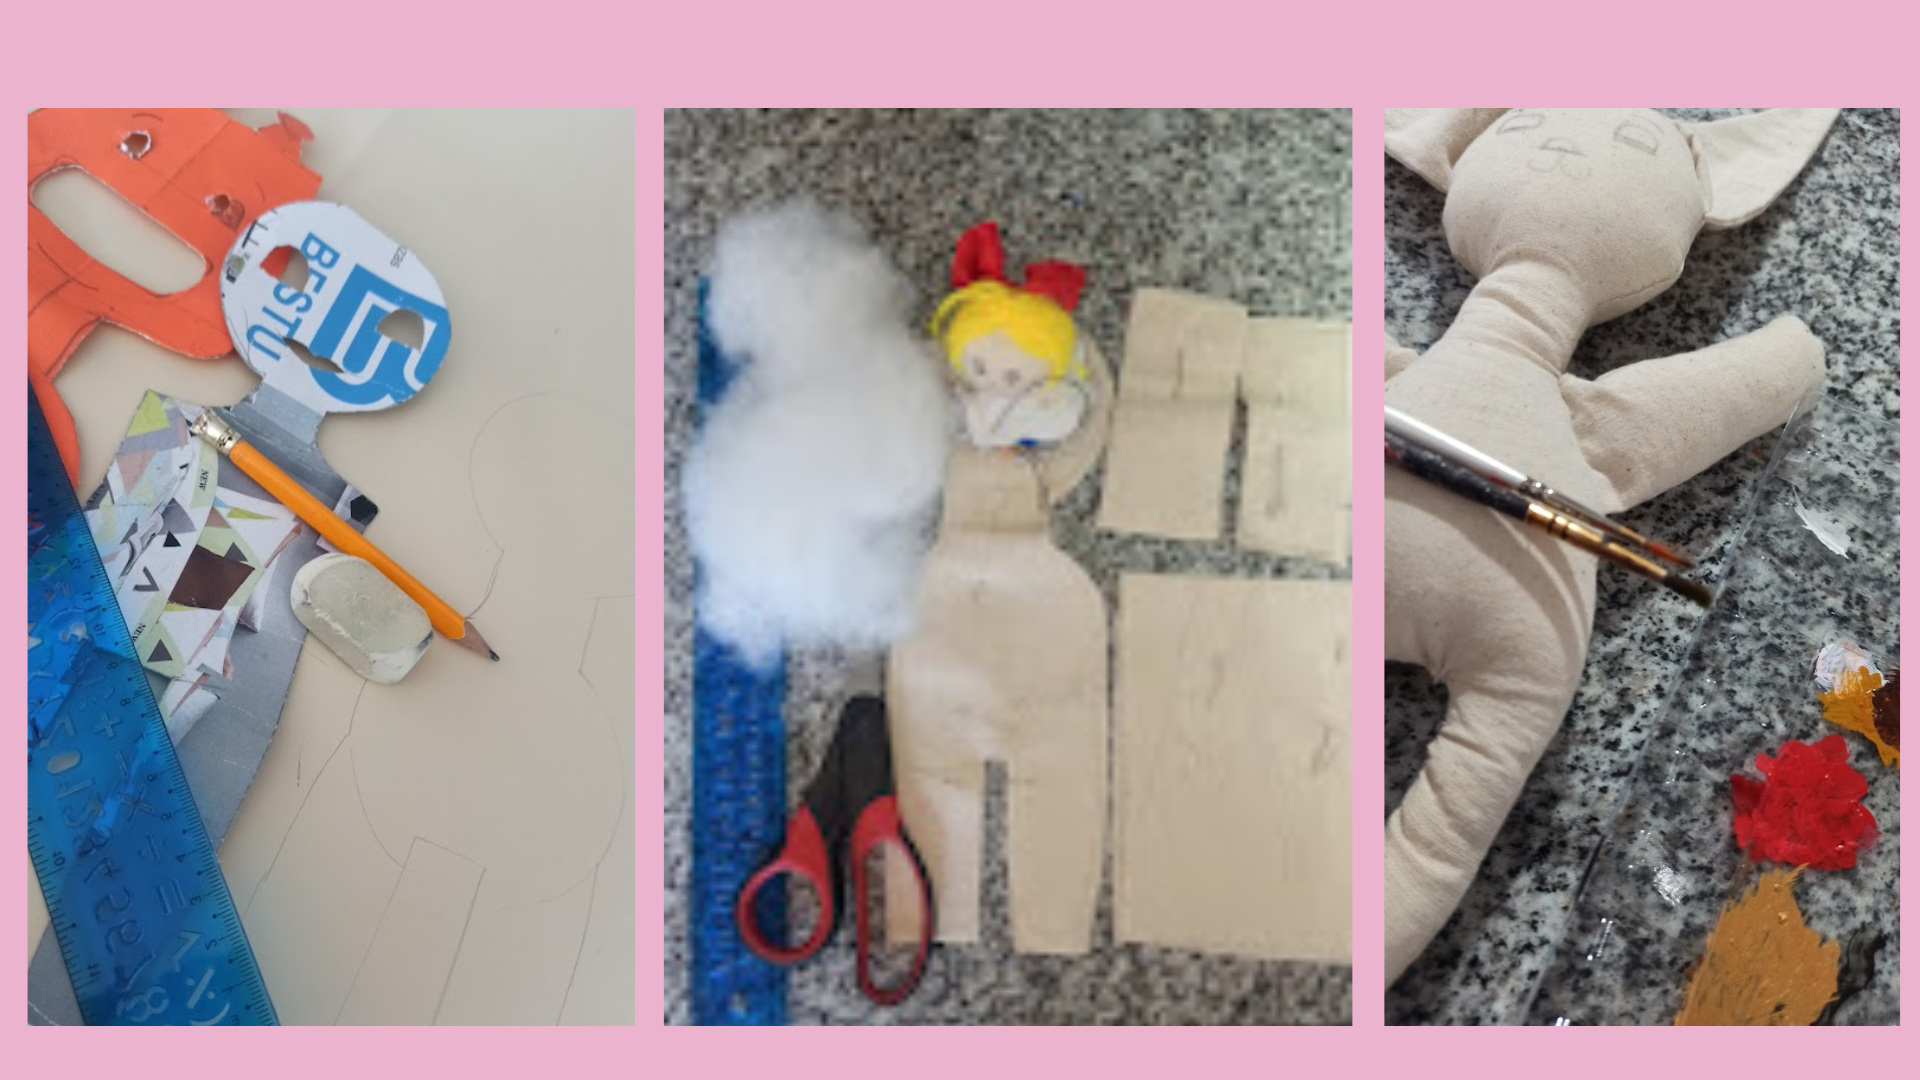
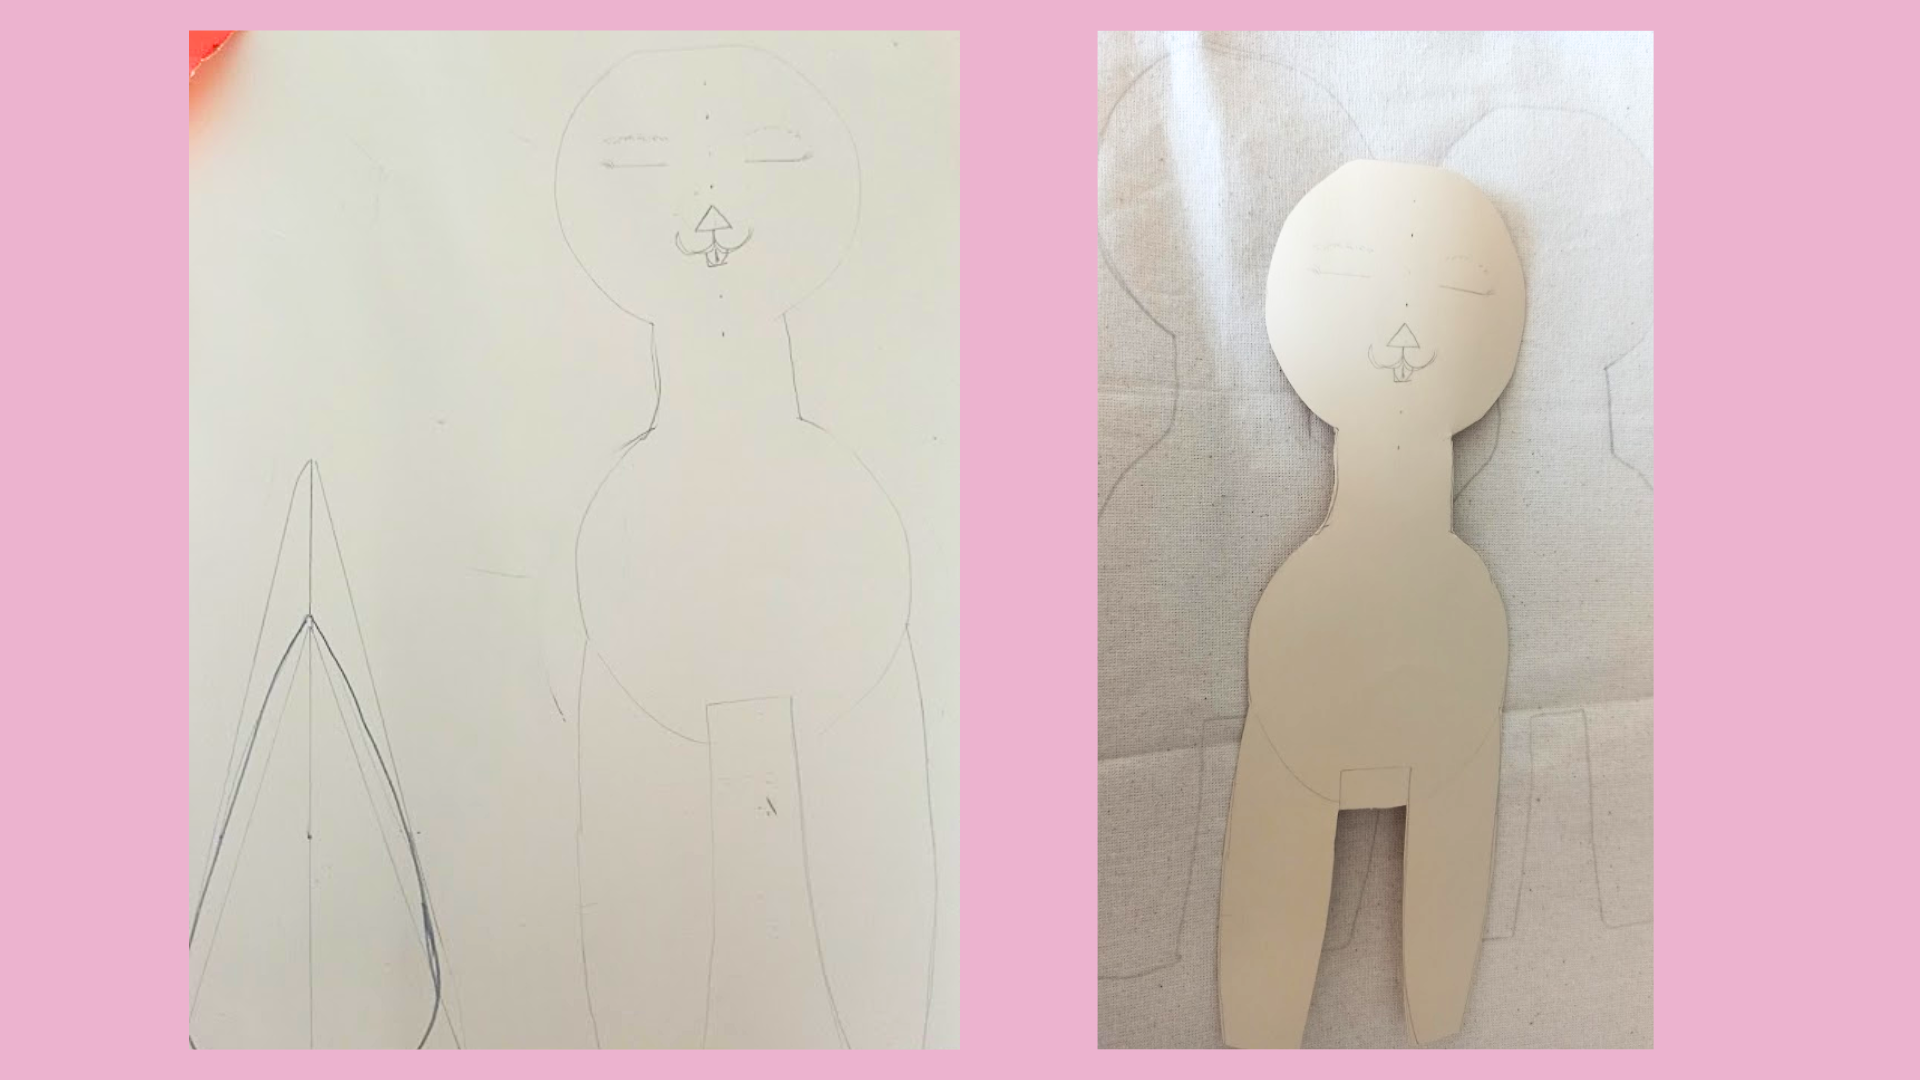
So to make my first Easter bunny I used: 2 old patterns to make his, pencil, cardboard, canvas or raw fabric, stuffing cotton, acrylic and fabric paint, brushes, scissors, threads and needles. For the pattern, I joined the giraffe and the dolls, but also, I mixed a little what I learned recently from a dollmaker I saw on instagram: Lele Rele, she uploaded a course on a well known platform and there is a discount on all of them.
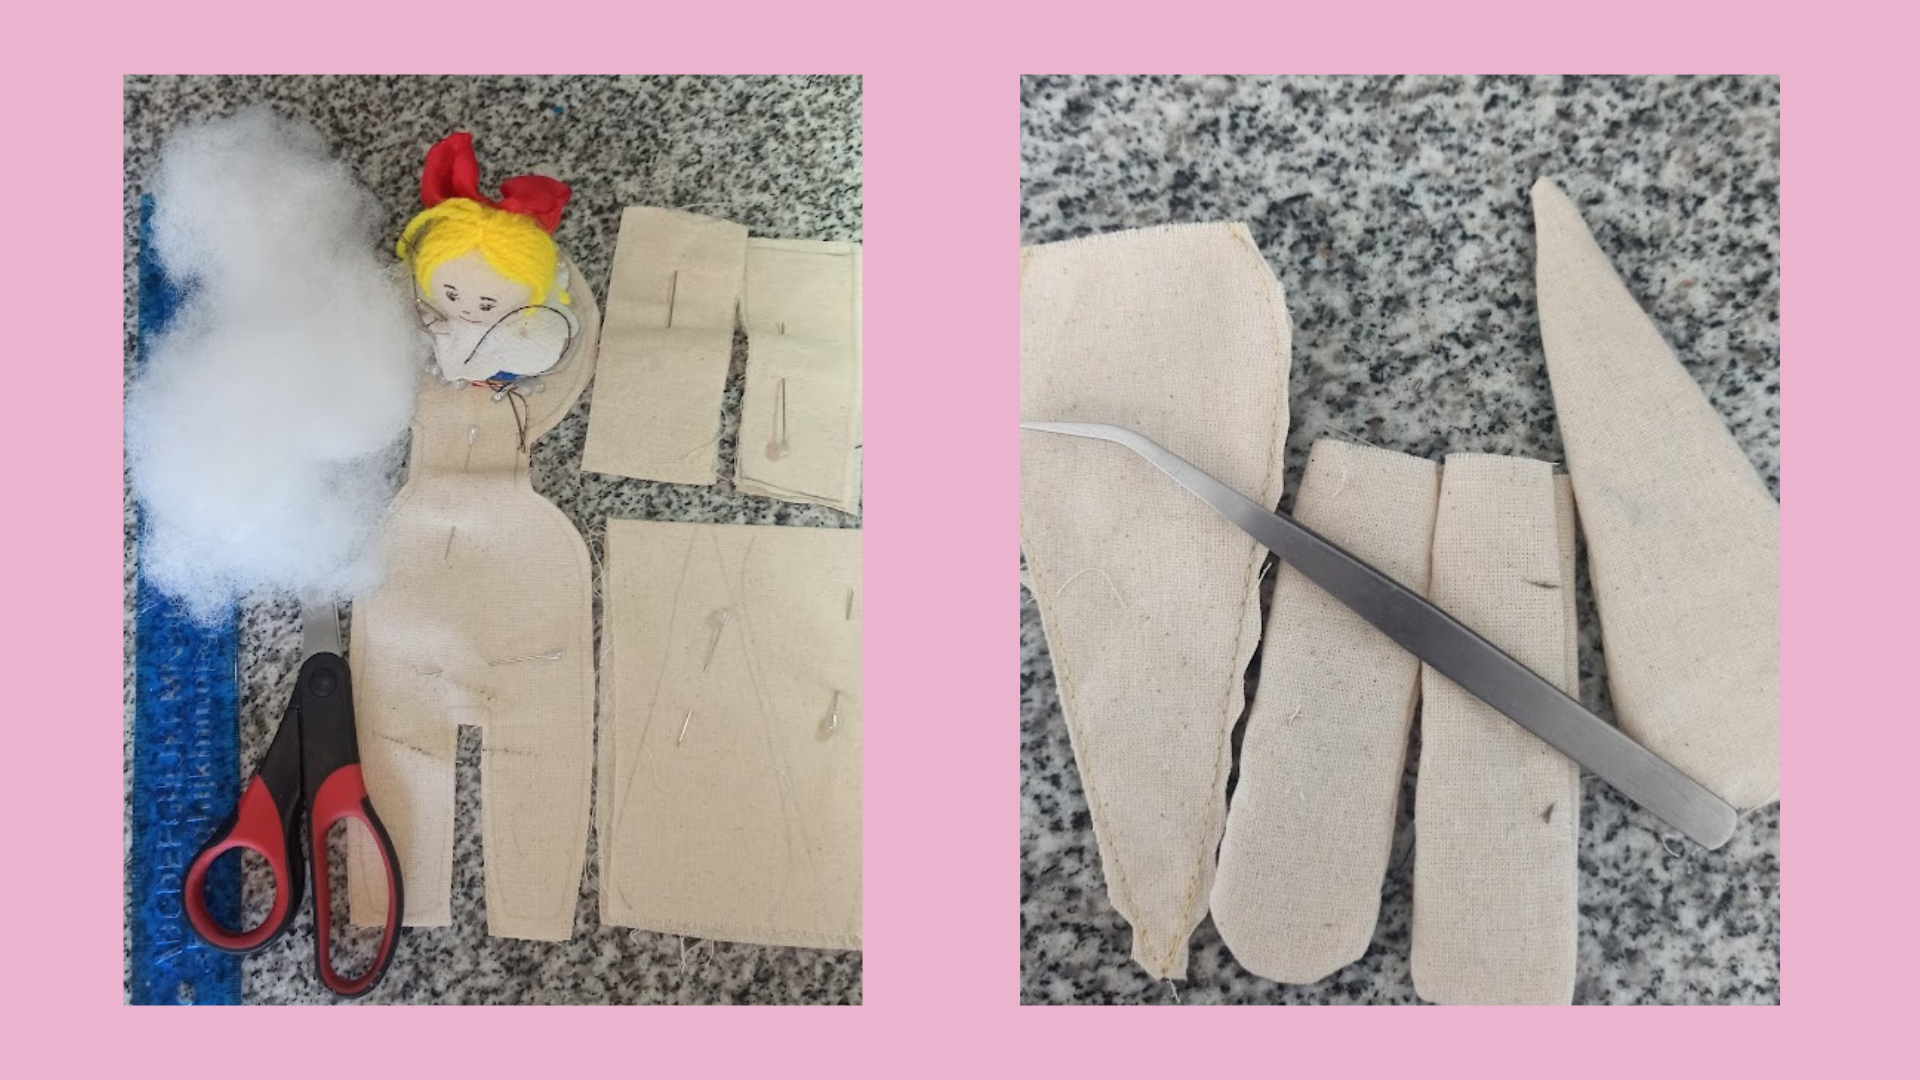
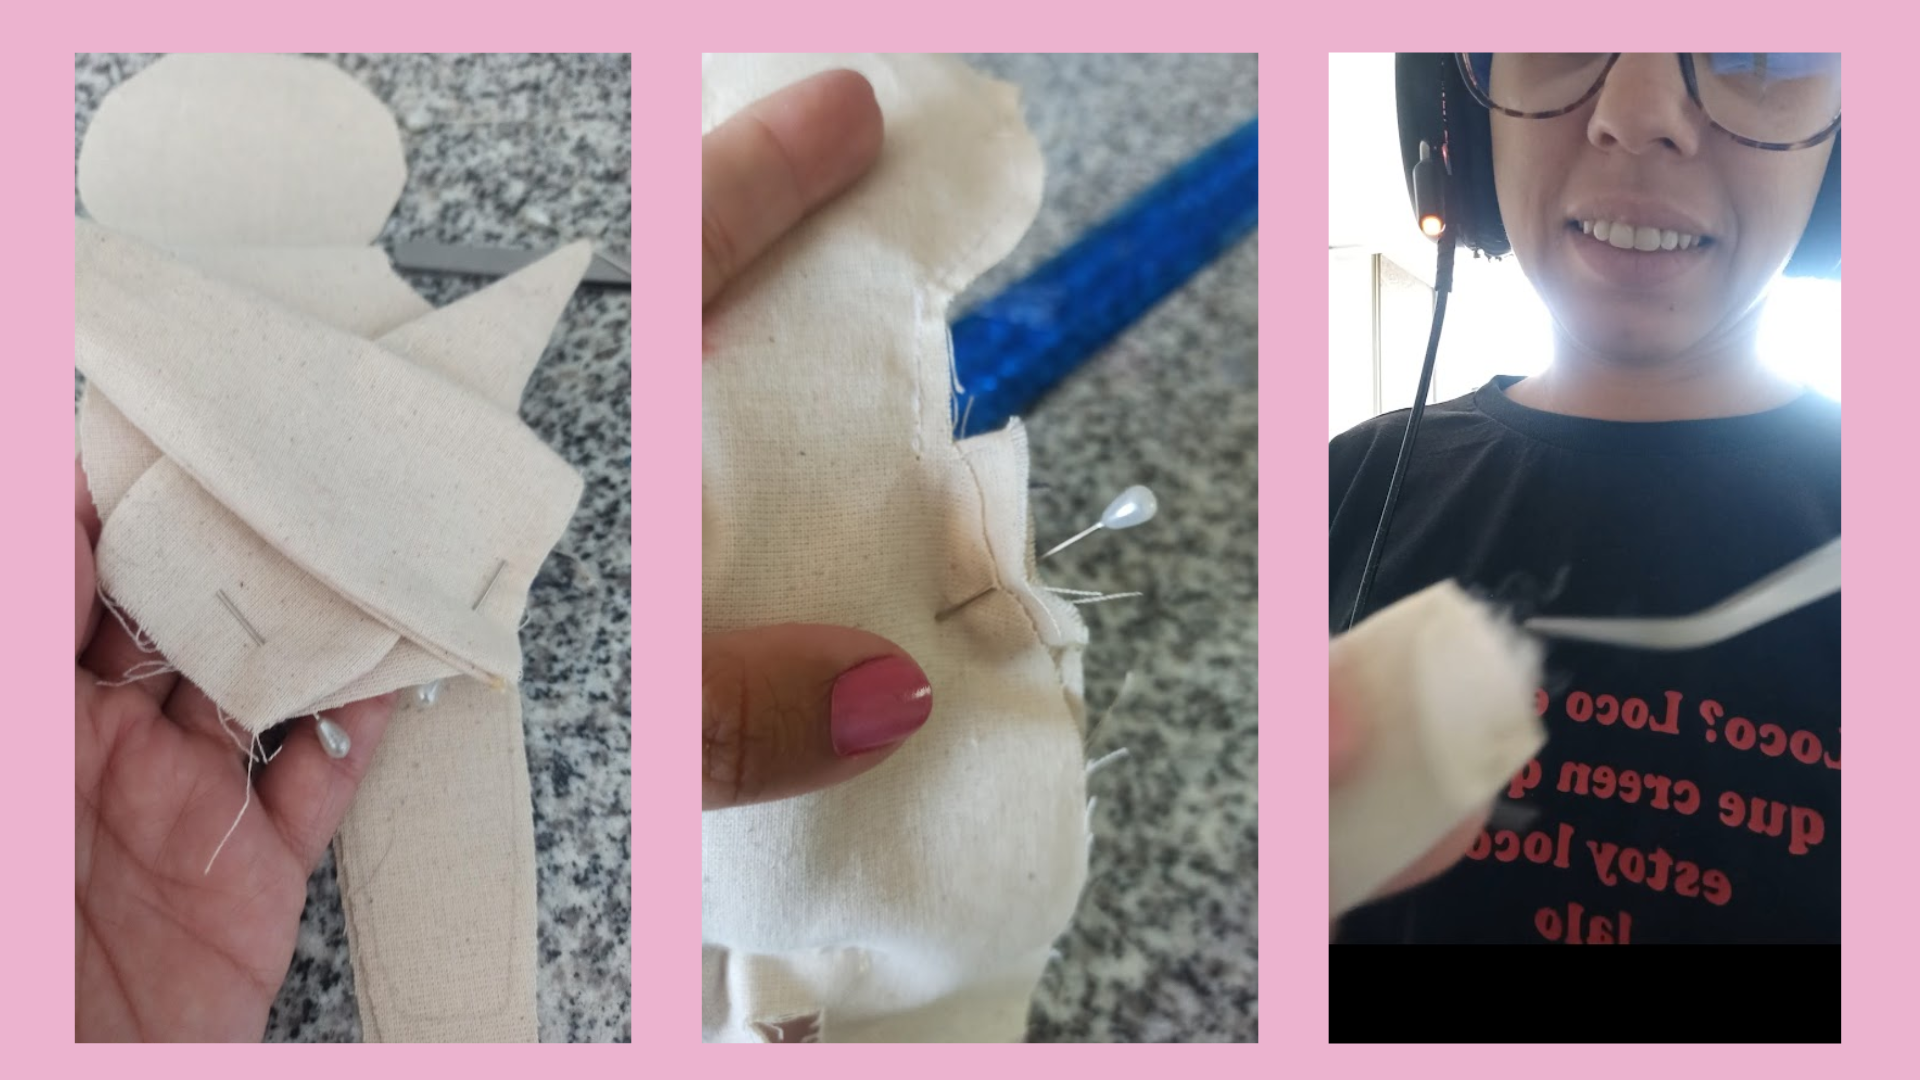
Well, once the pattern was finished, I transferred it to the fabric, cut all the pieces. Before assembling, I sewed the ears and turned them inside out, keeping the seams on the inside, I did the same with the arms and stuffed them. Following the example of the course, this time, I made a sandwich, leaving the ears and arms in the middle of the body pieces. The truth is that this technique was a little complicated to turn it over, however, it turned out quite well, it's just a matter of practice.
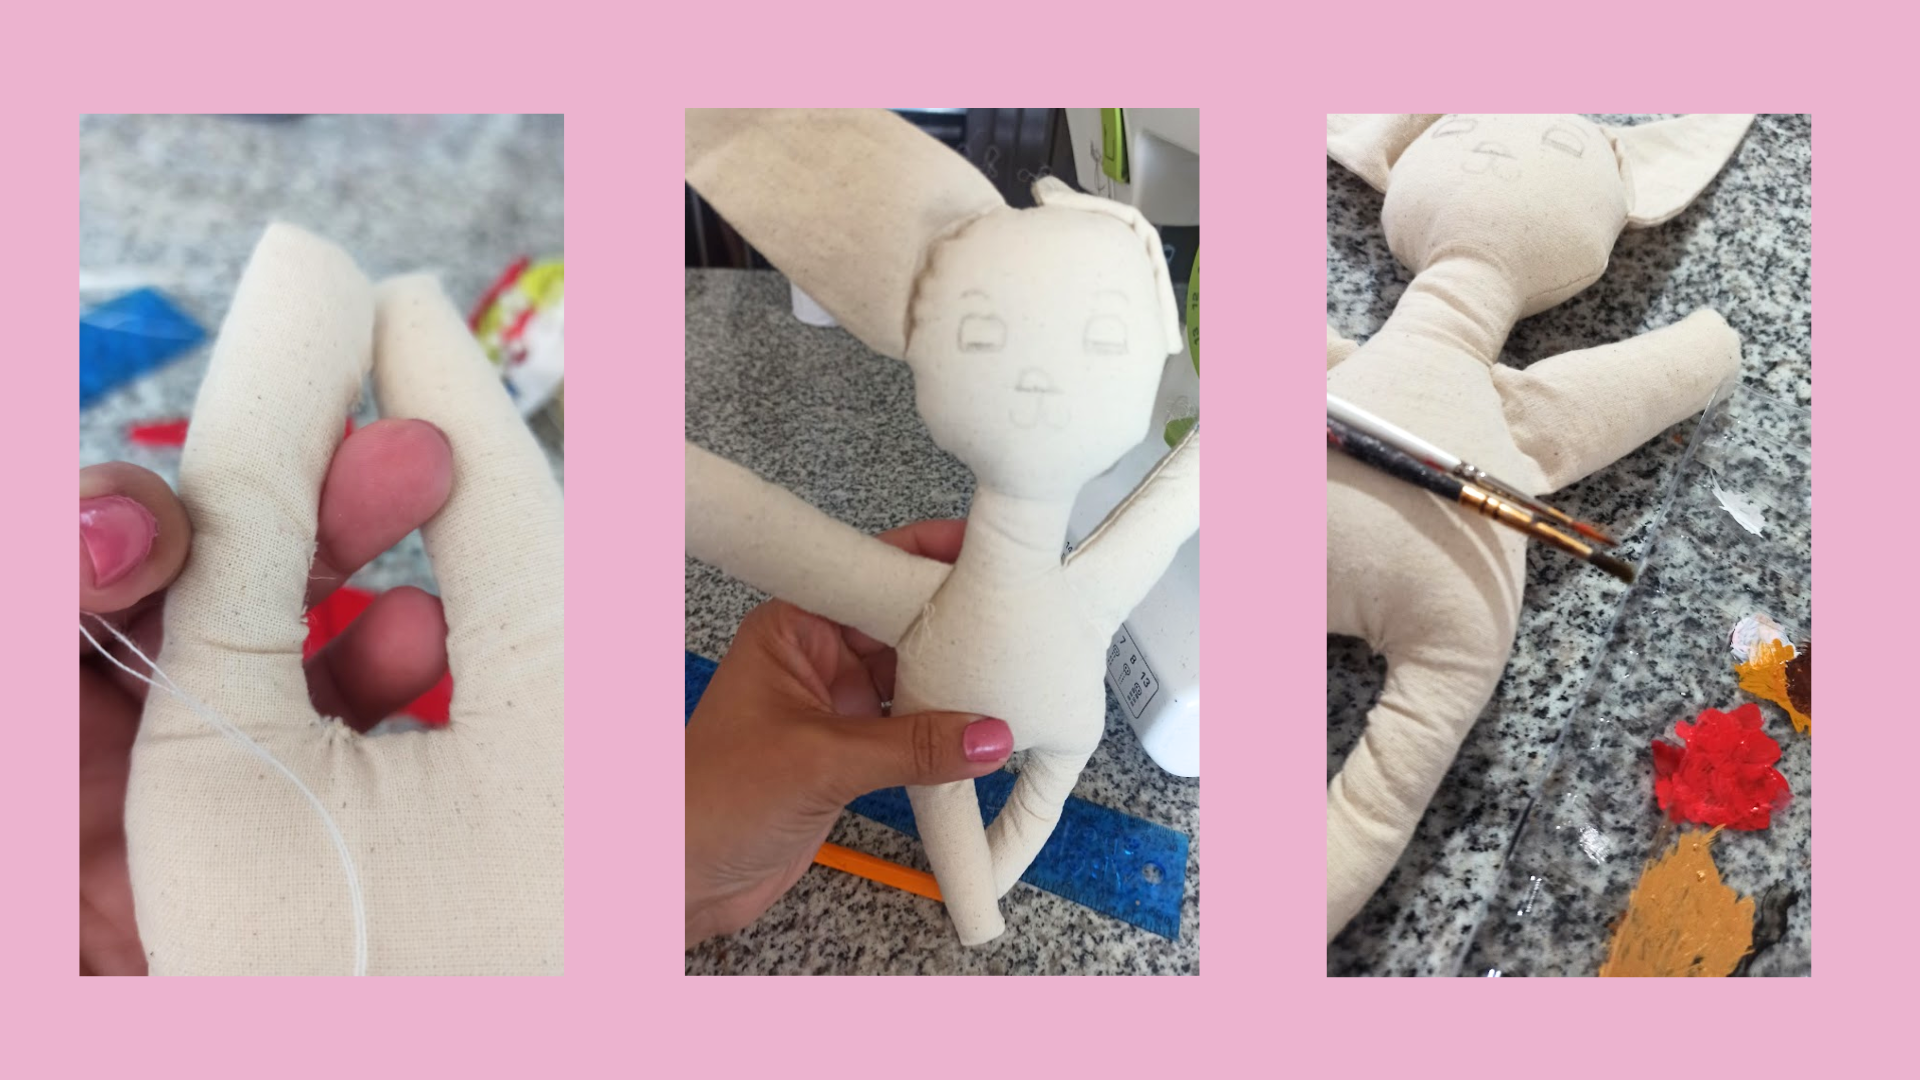
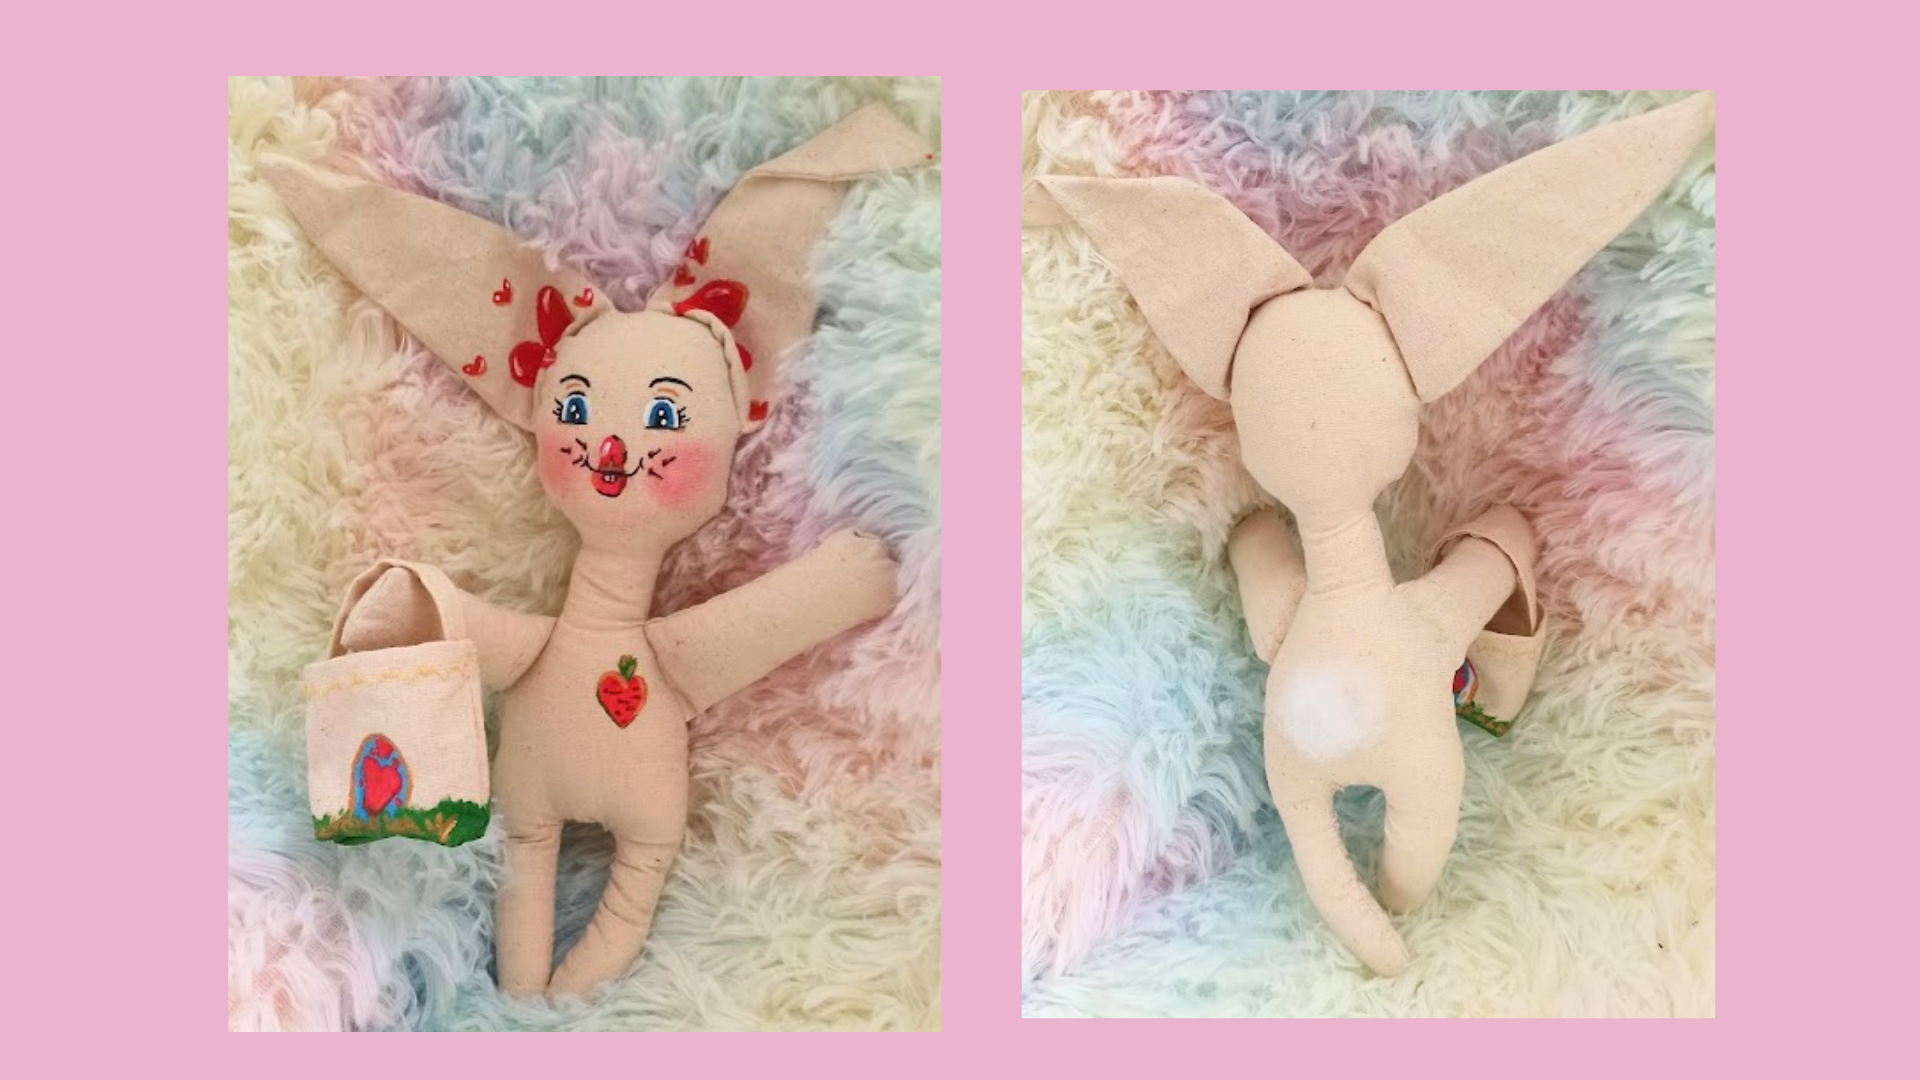
Once the whole piece was turned over, I ironed it a little, then I filled it with the cotton and with the help of some tweezers, finally with a hand stitch I closed the opening that is in one of the legs, remember, that for the dolls I leave it by the head and I cover it with the hair. Now, it's the part that I had the most fun, painting the heart and her face. First I used the pencil to mark that everything is centered and reduce the mistakes, then brushstroke after brushstroke the magic of the Easter bunny emerges.
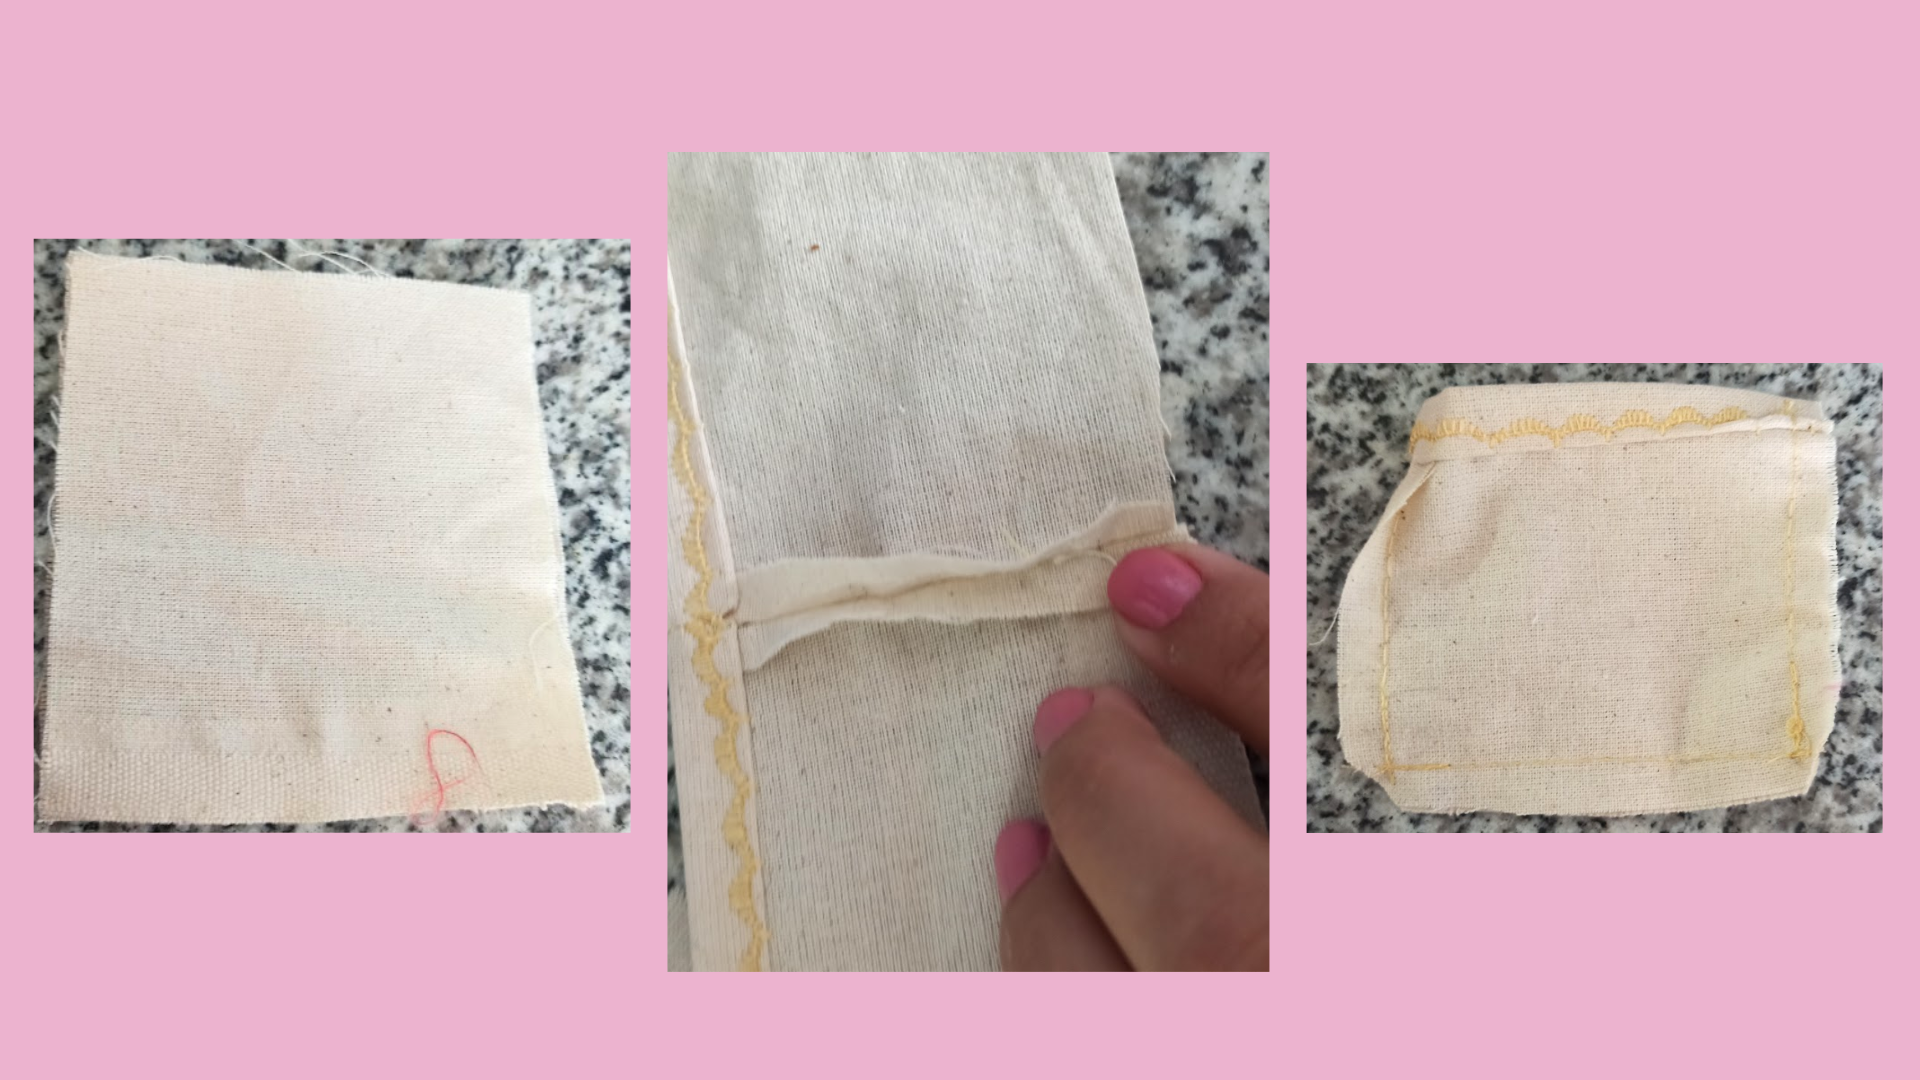
This character carries decorated eggs to the children, he does it with a basket, which I made with fabric, following the steps as if it were a normal bag, I cut 2 squares of 6 cm each, I sewed joining one side, then I opened it to make a hem at the top, with a decorative stitch that comes with the sewing machine.
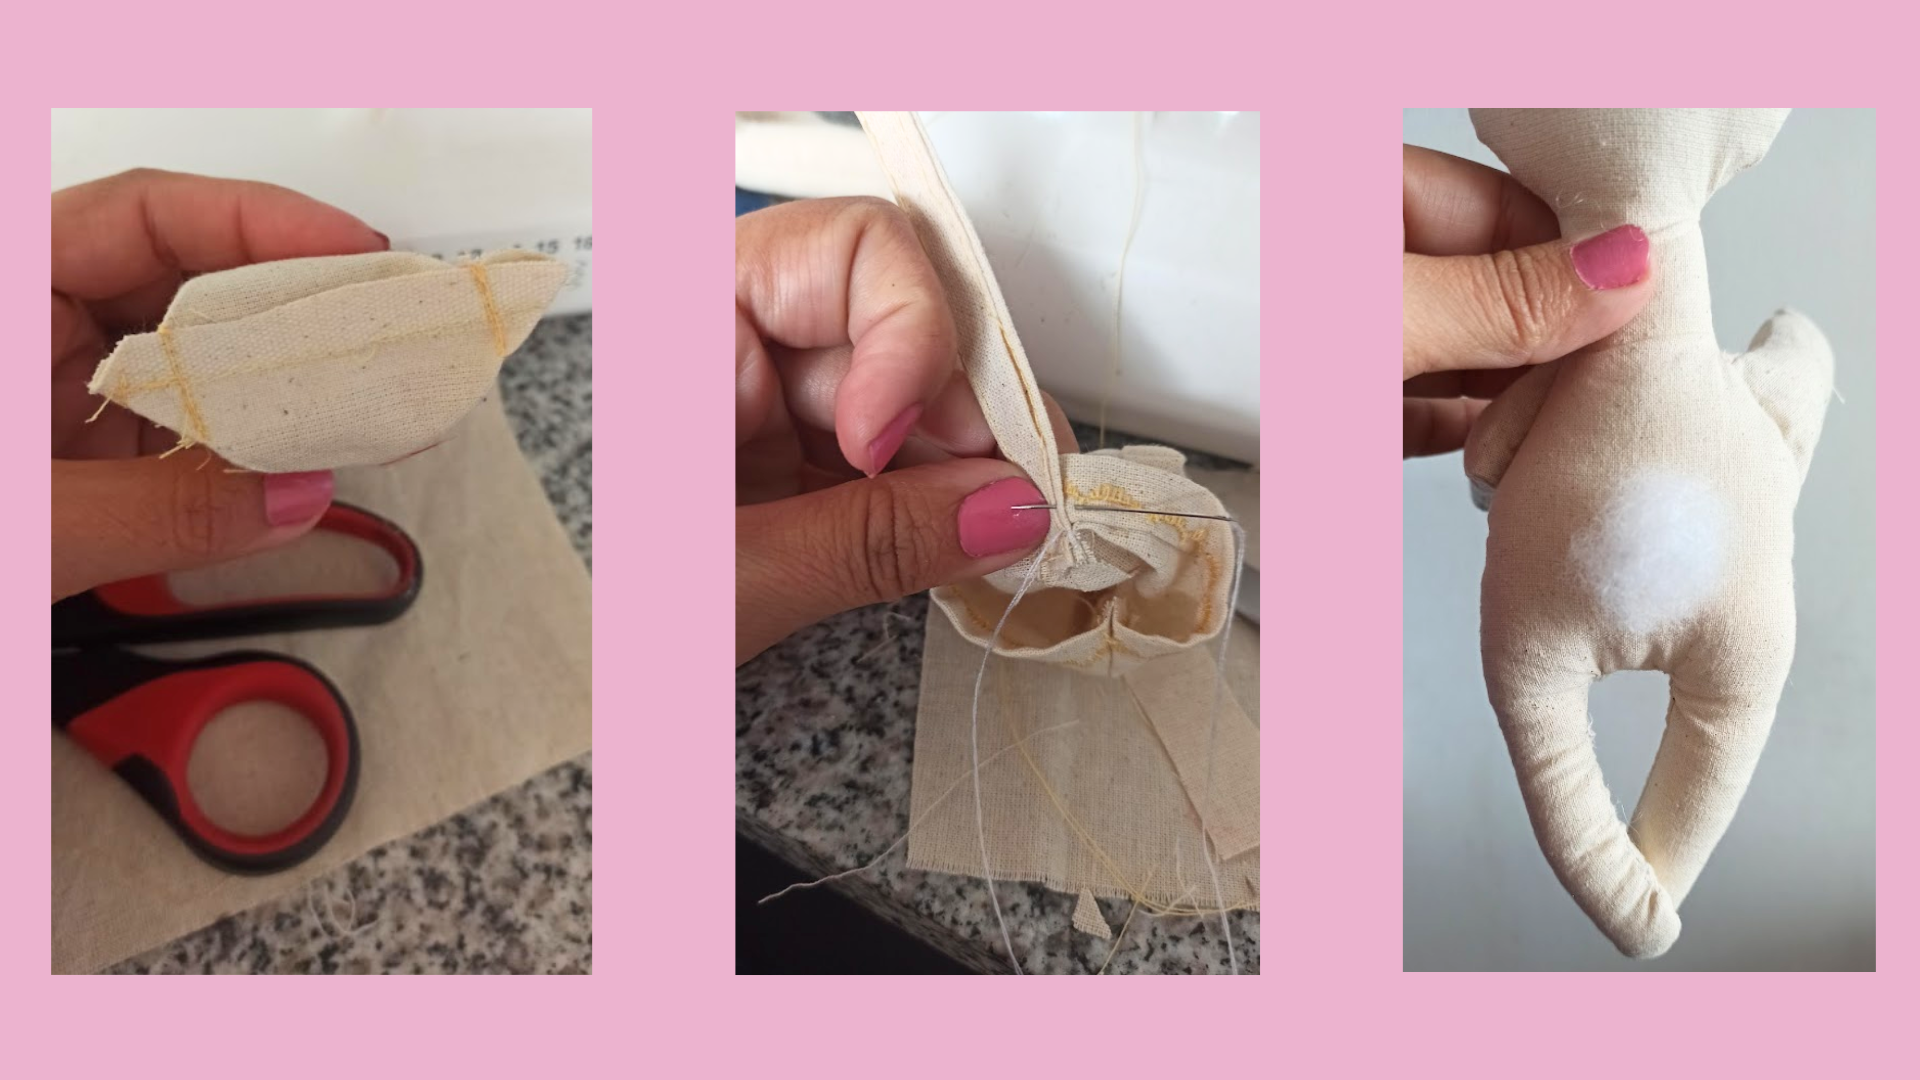
In this part, I joined the sides and the bottom of the basket, then I sewed diagonally the corners to give it the shape of a basket. To finish, I cut a rectangle that is the handle, folded it and passed a couple of straight seams. I sewed it by hand from side to side on the inside of the basket. Finally, I painted it to decorate it. On the other hand, I removed the excess threads and fabric in both pieces: the Easter bunny and its basket. I gave it the final touch, with its cottontail, tell me if it is not a cuteness. I really loved it.
What did you think? Did you know about the origin of the Easter bunny, I'll be waiting for you in the comments. The photos are made as a personal record and edited in canva. See you in a future tutorial. I say goodbye with my gratitude for all the love and support I receive from you.
I didn’t even know about the origin of Easter bunny and I didn’t know it was from Europe.
You did a great job with the needle sewing.
The whole process was entertaining and you even made a sandwich 😁
The last photo isn’t even loading for me but I’m sure it looked nice
Oh, thanks a lot My dear, it is really a travel sewing this.
You’re welcome
Quedó muy hermoso ese conejo te felicito.
Ay muchas gracias 😊
Feliz pascua con tu lindo conejo. Saludos.
Muchas gracias 😊🫂. Igual para ti