
Good morning hivers and needleworkers, has it ever happened to you that you master a technique to make something and some time later you forget it or it doesn't come out? Well, it happened to me recently turning a scrunchie and I don't know if it was because of stress, but I had no way to make it complete, so today I bring you another way to make scrunchies, bows, and ponytails.
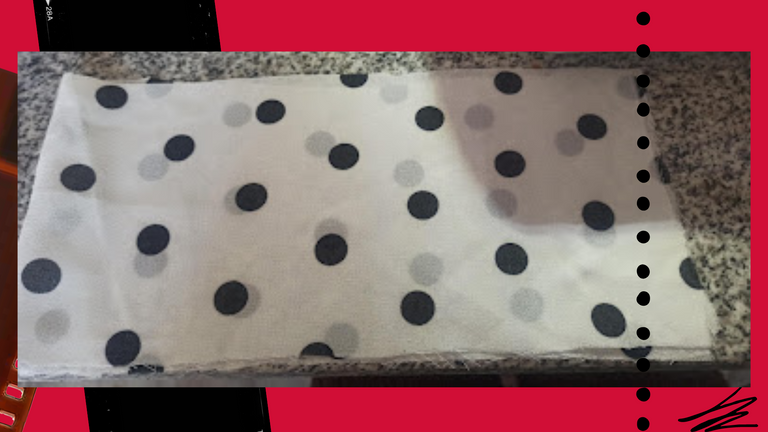
As it is a simple scrunchie I only used: 60 cm x 16 cm of fabric, depending on the measures you can make the maxi scrunchies so fashionable, following with the materials: scissors, elastic of the length of the wrist contour plus 1 cm, scissors, thread, sewing machine, although you can do it by hand.
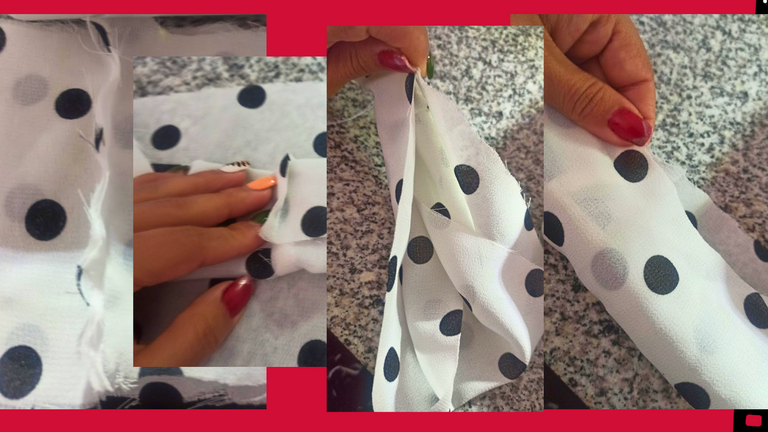
The first procedure is to close the rectangle of fabric with a simple straight seam, as shown in the image, here comes the tricky part, we will make a fabric sandwich, finding the edges of the fabric below, hiding the fabric above, and as I was sewing, I pulled the fabric inside.
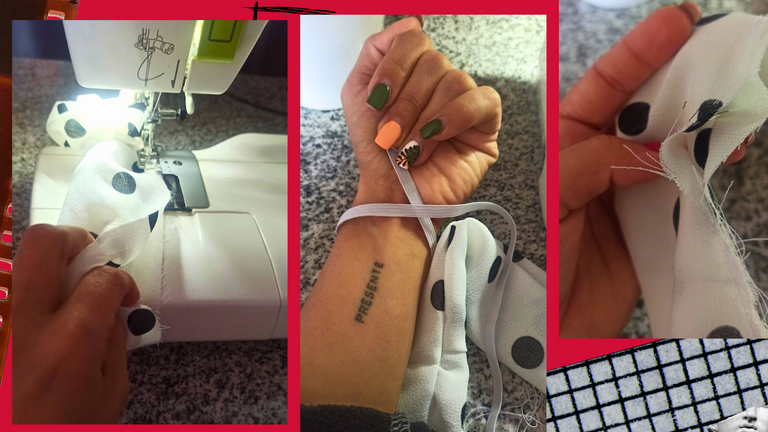
When I got to the part of the first join we made, I left a space and continued sewing, then in this way the whole backside of the scrunchie was saved at once. Now, through the free space, with the help of a crochet hook I went through the elastic, holding it with a pin until it was completely through, then I joined it with a seam and a knot for safety.

Already with all the pieces together, I closed the space with a simple seam, but with double stitching, and ready hivers, I consider that with this technique is faster the process of making the scrunchie, there is another one even faster, but of advanced level, when I have mastered it I will share it with all the pleasure too.
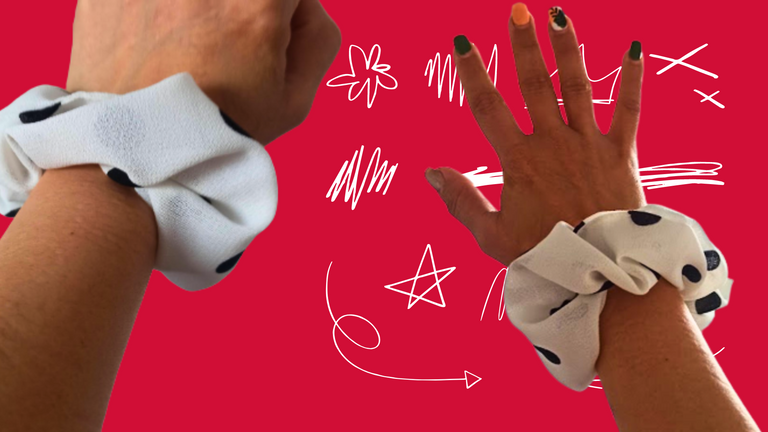
Ready hivers and needleworkers, to show off the scrunchie, I can give you the assurance that this is a necessary accessory for those who have long hair, so I reiterate it is good to start a business, because at the level of monetary cost and time does not take much, you can start with scraps of fabric and offer by volume, who knows and you become a wholesaler of these things, is my heart's desire speaking. Until another tutorial, thank you always for your support and receptivity, I wait for you in the comments, the photos are personal record with a redmi note, edited in canva.
Totalmente, me pasa con los amarres y nudos de las pulseras, olvido cómo fue que hice un nudo cualquiera y me toca revisar mis propios tutoriales, jajajaja.
Quedó muy bonita, éstas nunca pasan de moda y además evitan que el pelo se parta como con ligas y cosas así.
Jajaja menos mal no estoy sola. Los buenos creativos siempre están estudiando, bien por nosotras 💞☕
Congratulations your publication has been chosen among the best of the day.
KEEP CREATING GOOD CONTENT.
Thanks a lot <3