Steps For Making A Simple 'Finger Design' Shoe
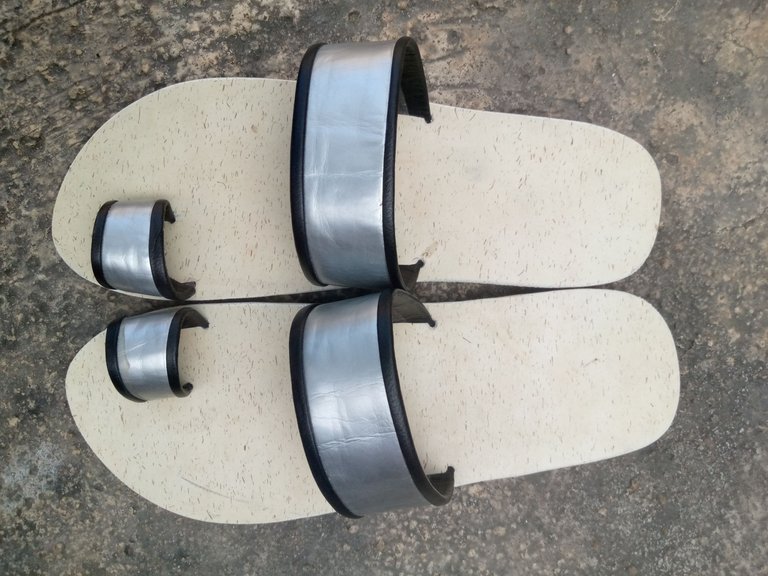
Good day guys, thanks for visiting my today's entry post. Without wasting any time I'm going to be highlighting all the procedures I followed to archive the above results.
Shoe in general is made up of some certain parts (ie the top, the floor and the sole) and I am going to reveal all the steps to be taken in constructing each part. The steps include;
1. Know The Design You're Producing:
In shoe making, you don't just pick up your tools and begging to cut out your materials without knowing exactly what you want to produce. In essence, you should have in mind a particular pattern of shoe or the design you want to produce. By such doing you will save yourself a lot of time stressful moments of thinking of 'what to do next.'
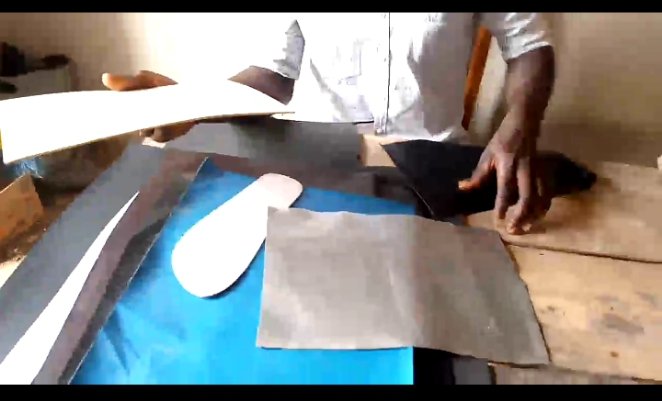
2. Get Your Patterns and Materials Ready: The pattern or the design for the top, floor and sole must be ready for use. Such patterns are the shapes for either the top, floor or sole that is cut out on a cardboard paper or carton before finally sketched on the leather material to avoid wastage of materials.
Also, Having known the design you are producing, and have all the patterns for the disign figured out, the next step is to note and have a collection of the materials (ie the leather, Marco, gum, pin etc.). You make sure all your materials are set to avoid any slow down or disruption in your work.
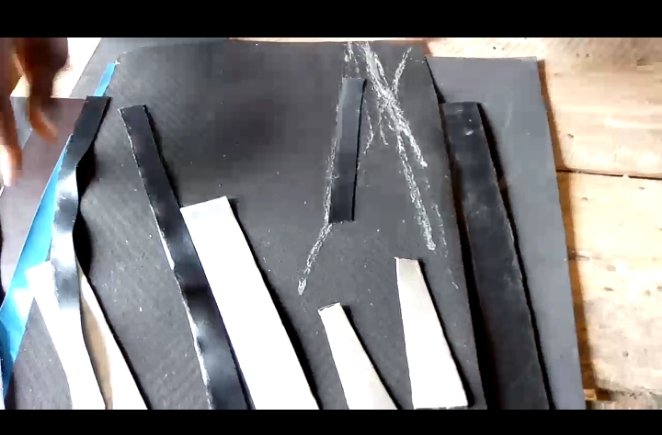
4. Produce The Top:
Having put in place all that is needed for the shoe, the next thing to do is sketch and cut out the pattern or design you've constructed on the leather material or skin you want to use for your production. In most cases if the leather skin is too light then you have to double it and keep it aside for sawing.
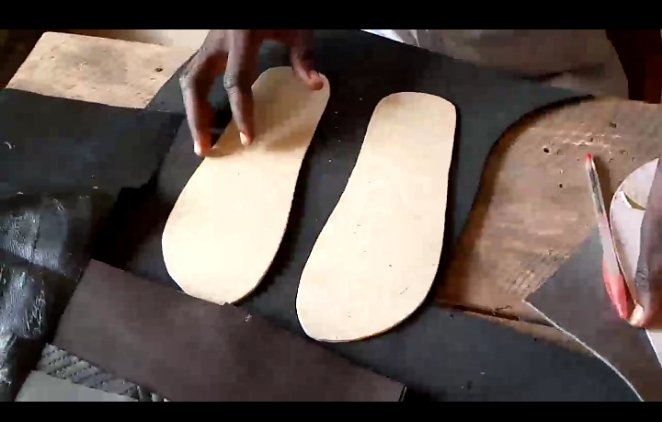
5. Produce The Floor: Using the pattern you've constructed for the floor, place it on the soft Marco you're using for the production, trace or sketch it with your pen and then cut it off before you finally place it on the leather material you are using for the floor and then cut it out.
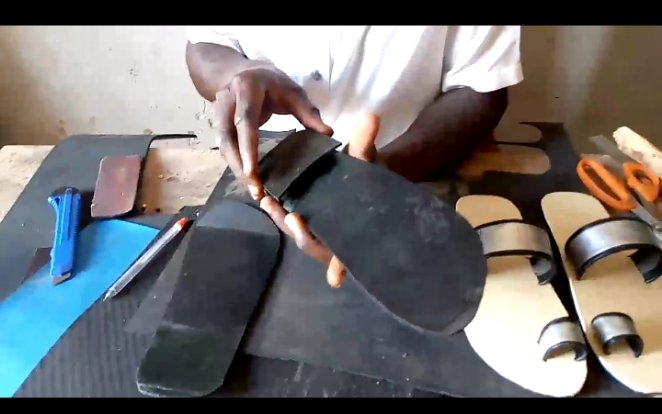
6. Produce The Sole:
The same pattern or shape use to produce the floor will be used to make the sole by placing the shape or pattern on the strong Marco or nurra you will be using for your sole. Sketch it with pen and the cut it out.
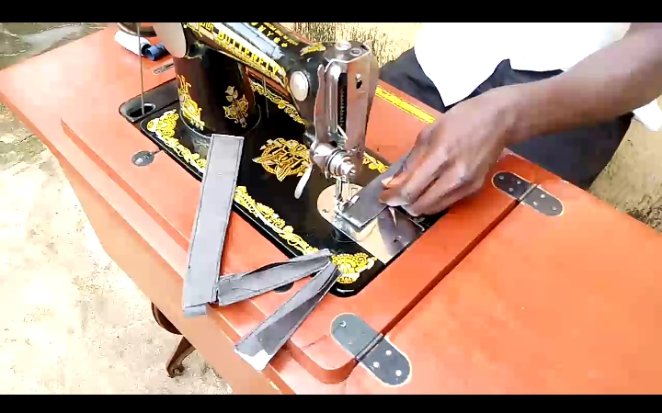
8. Sawing: Having put in place the top, the floor and the sole. You proceed by sawing the top you've doubled initially, so as to prevent it from opening and also to give it a good design.
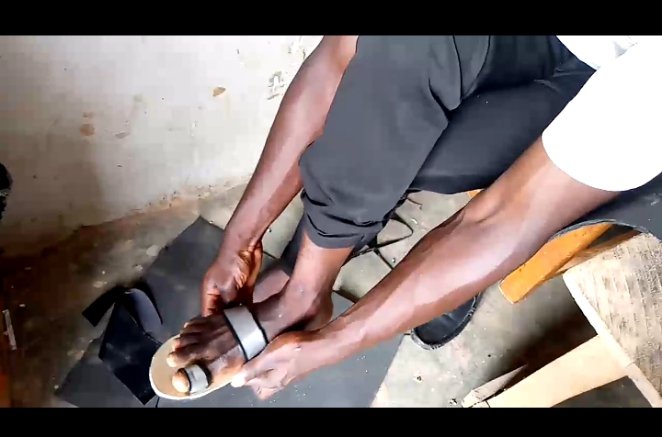
9. Lasting:
By the time all the three parts are set, you place your last or leg (incase you don't have a last) on the constructed floor, place the constructed top on the last or leg, then mark the areas that the top will be passing through on the floor using your pen. Punch the mark areas, join the punched holes by using your cutter or jacknife. Put in the top to the floor and last the shoe by making it balance on your foot or the last you're using. And finally when it's balanced, you gum the top to the floor.
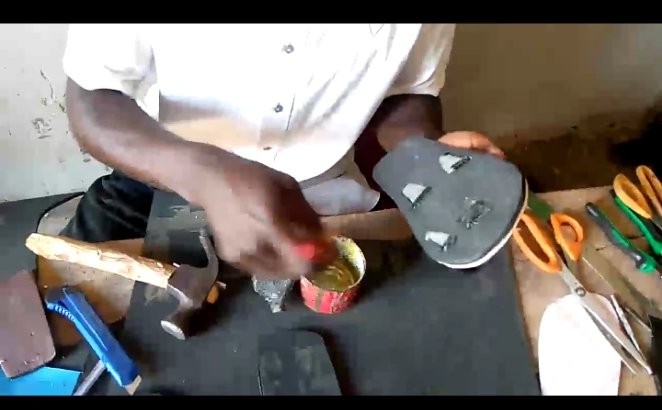
10. Join The Sole To The Lasted top: After lasting the shoe properly, you put the lasted top to the final sole by applying gum properly to both surfaces.
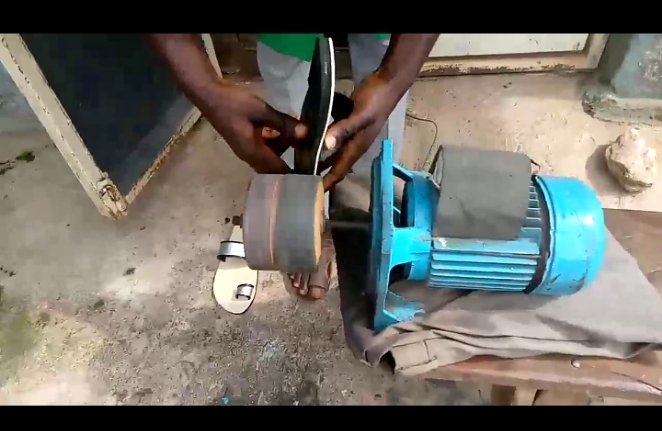
11. Filling: Filling is the last stage in shoe processing. It is the soothing of the edges of the shoe to make it look neat and good to the eyes.
Note: These are just the basic and simple steps to follow in producing the above simple footwear.
Thanks for reading through my today's entry and I believe you've archive something today. Do have a great day...!
Thank you for sharing this amazing post on HIVE!
non-profit curation initiative!Your content got selected by our fellow curator @rezoanulvibes & you just received a little thank you via an upvote from our
You will be featured in one of our recurring curation compilations and on our pinterest boards! Both are aiming to offer you a stage to widen your audience within and outside of the DIY scene of hive.
Join the official DIYHub community on HIVE and show us more of your amazing work and feel free to connect with us and other DIYers via our discord server: https://discord.gg/mY5uCfQ !
If you want to support our goal to motivate other DIY/art/music/homesteading/... creators just delegate to us and earn 100% of your curation rewards!
Stay creative & hive on!